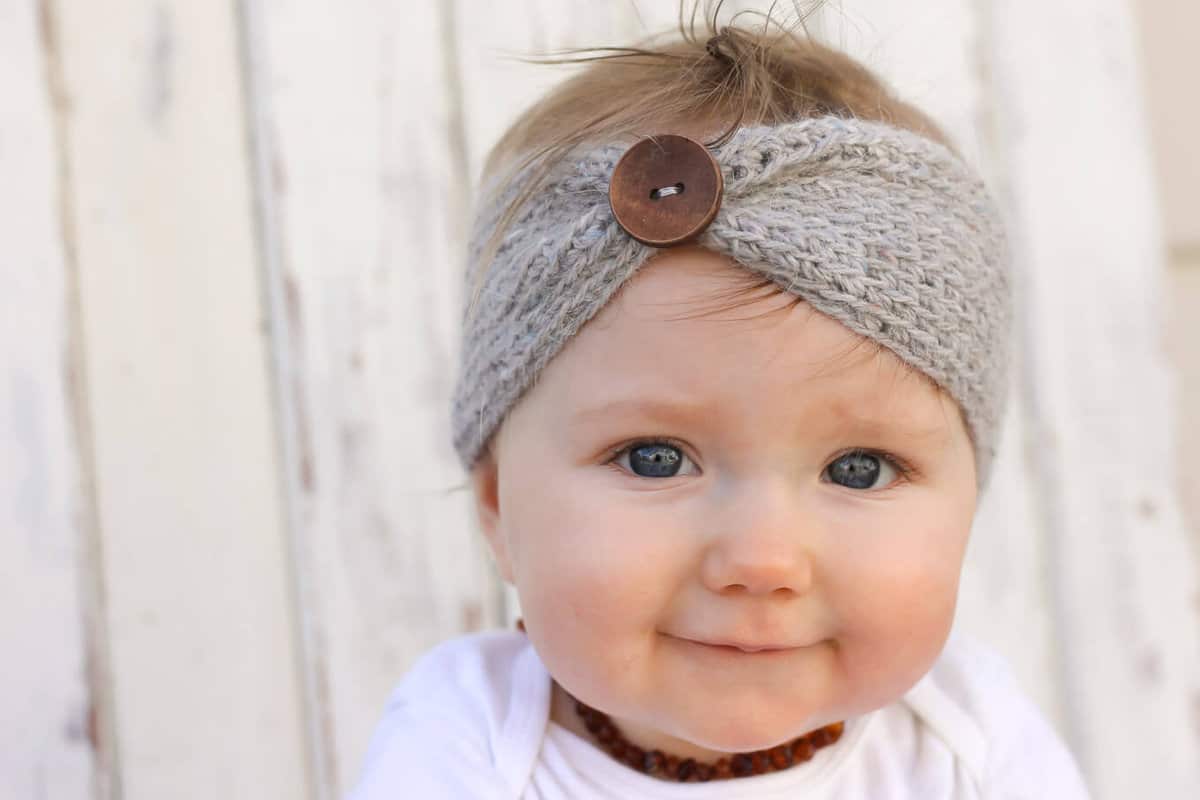
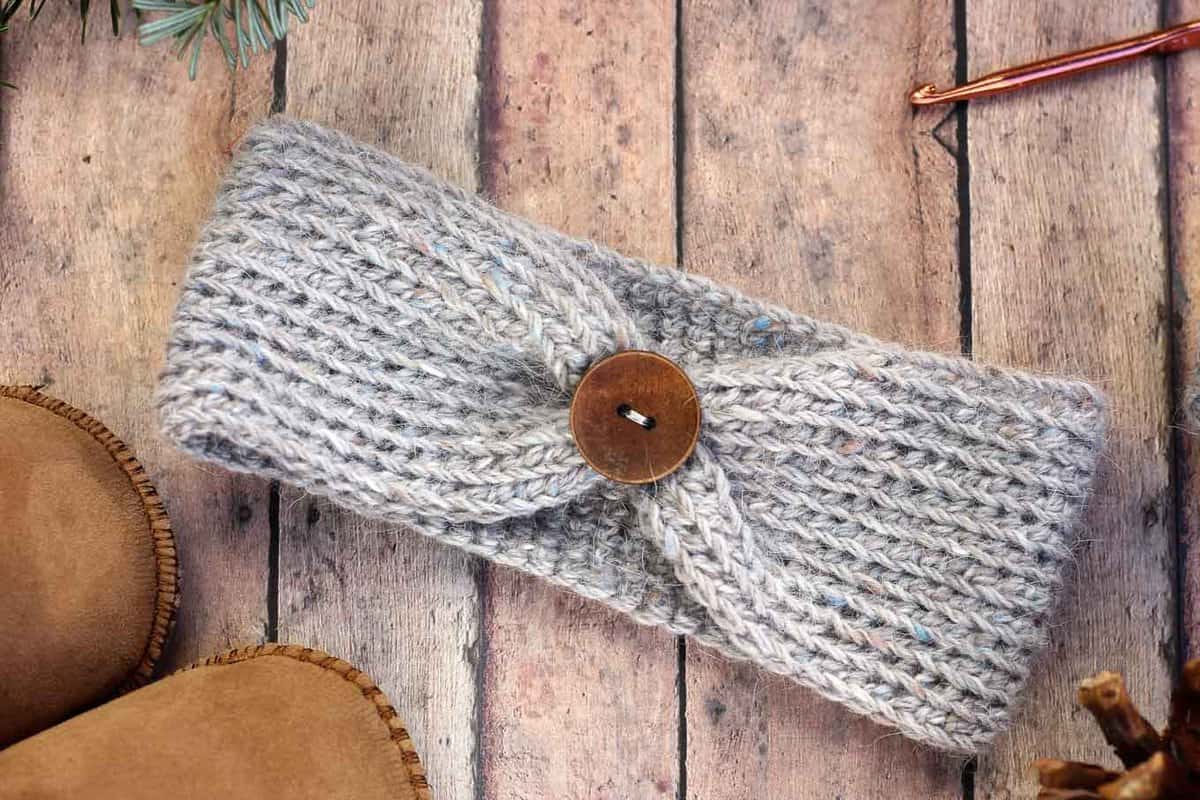
 So you have a baby shower, birthday party or gift-exchange in an hour? No problem. You still have time to make this crochet headband before then so you can waltz into the party like your life is just one big, thoughtful DIY-fest.
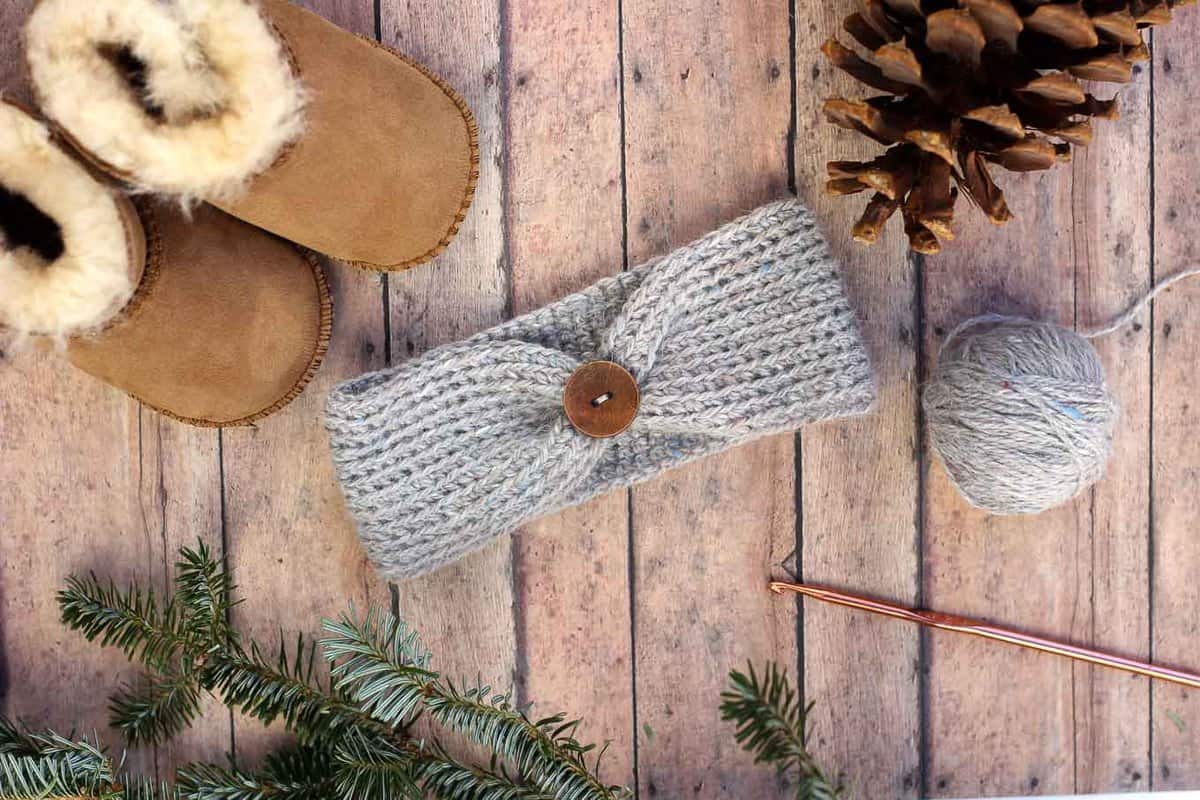
Seriously, this crochet headband (aka ear warmer) pattern is a quickie. It’s got last-minute DIY gift written all over it.
husbands presidencies if I didn’t teach them how to play the part.)
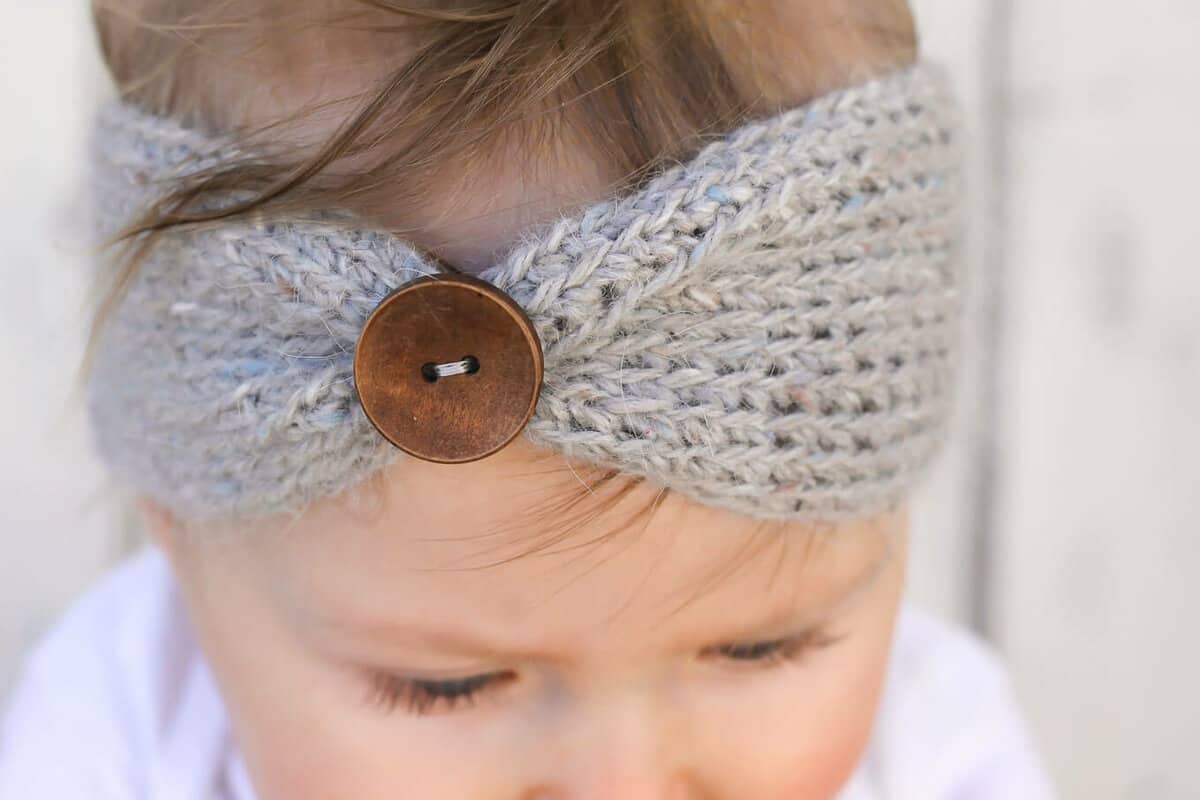
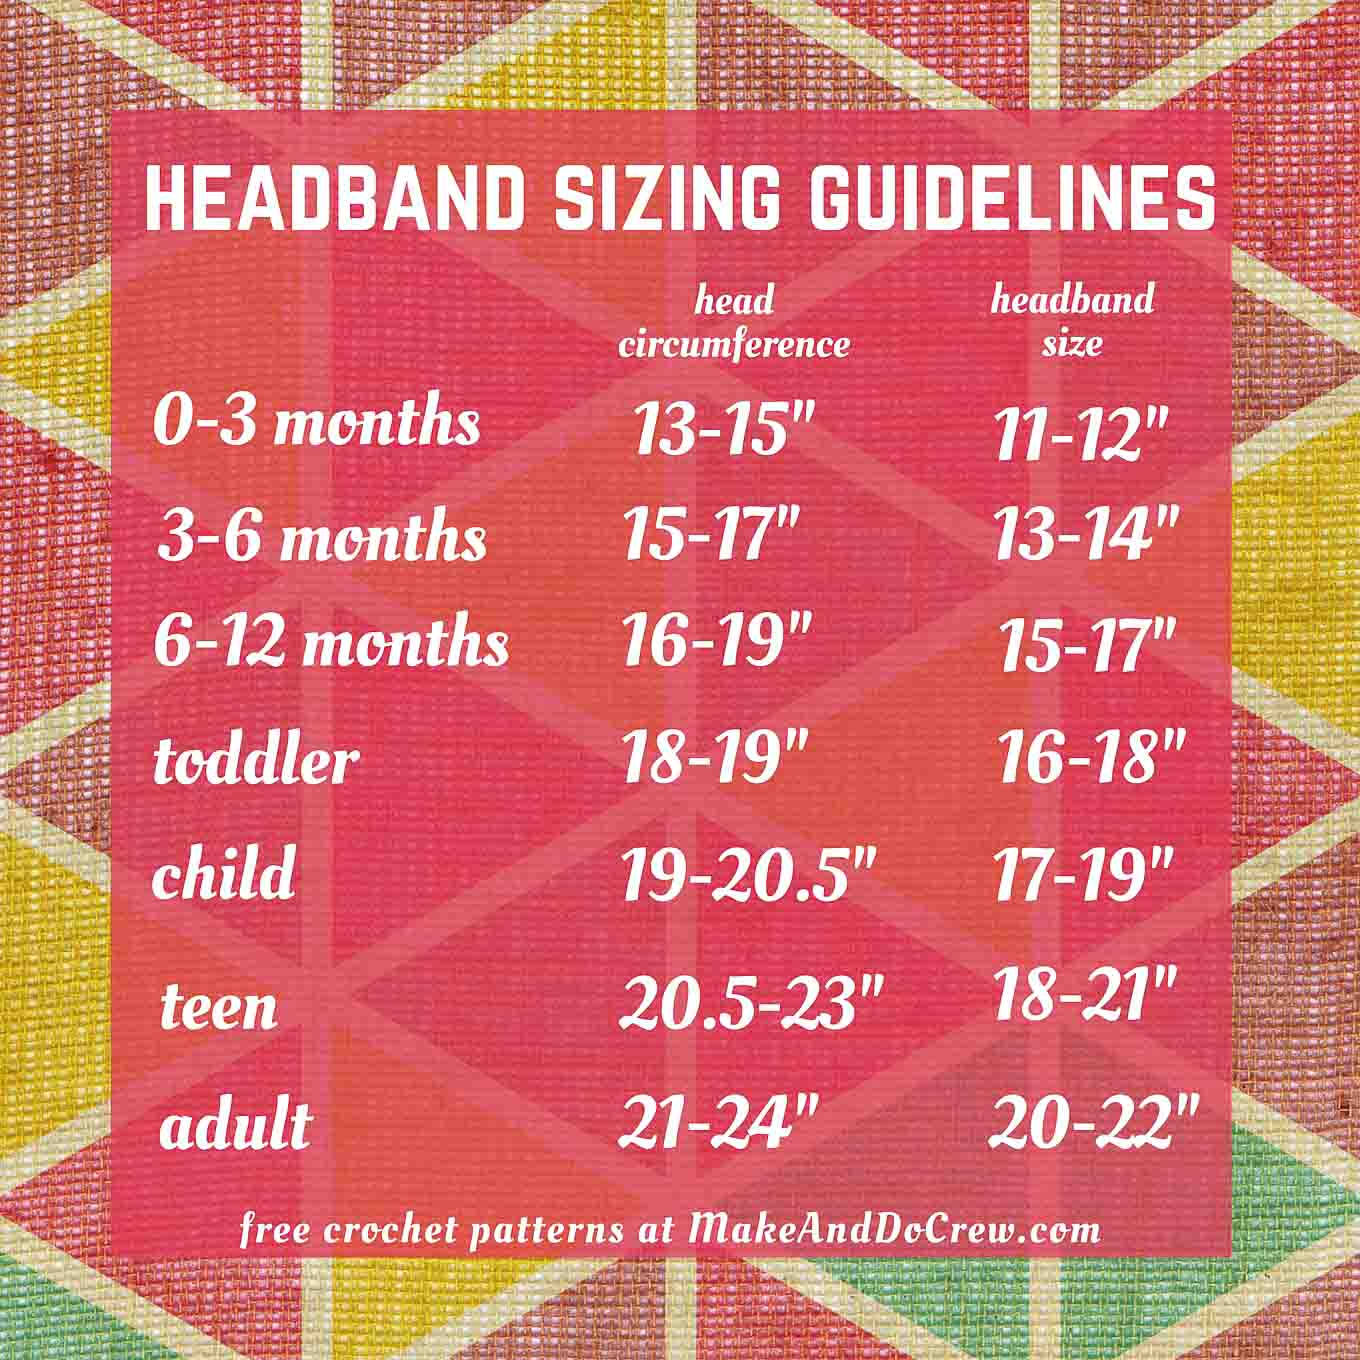
Please note that you should still follow the pattern instructions to chain a bit shorter than the wearer’s head circumference. When you do that, you should end up with a headband in the recommended headband size.
Seeing your finished projects brings me so much joy! I’d love for you to follow me on Instagram and use the hashtag #MakeAndDoCrew to show me your DIY successes (and even less-than-successes!)
You may make items to sell with this pattern. In exchange, please link back to MakeAndDoCrew.com and refrain from using my photos as your sales photos. Now, let’s make something awesome!
If you’re into adorable kids’ winter-wear, you might also like these free patterns:
Santa’s Helper Elf Hat
Frosty the Snowman Hat
Just Like Mommy Knit Cowl
Related: 35+ Easy Chunky Crochet Hat Patterns
Wanna save this pattern?
Aspen Socialite Crochet Headband Materials
So you can spend more time crocheting and less time shopping, this post contains affiliate links at no extra cost to you. Thank you for supporting this little site of mine!
• DK or worsted weight yarn (I used some 8-year-old stash yarn that I bought in Half Moon Bay on a whimsical pre-children weekend getaway. I’d guess it’s about a DK weight, but the label was lost about 9 moves ago.) Lion Brand Babysoft would work well.
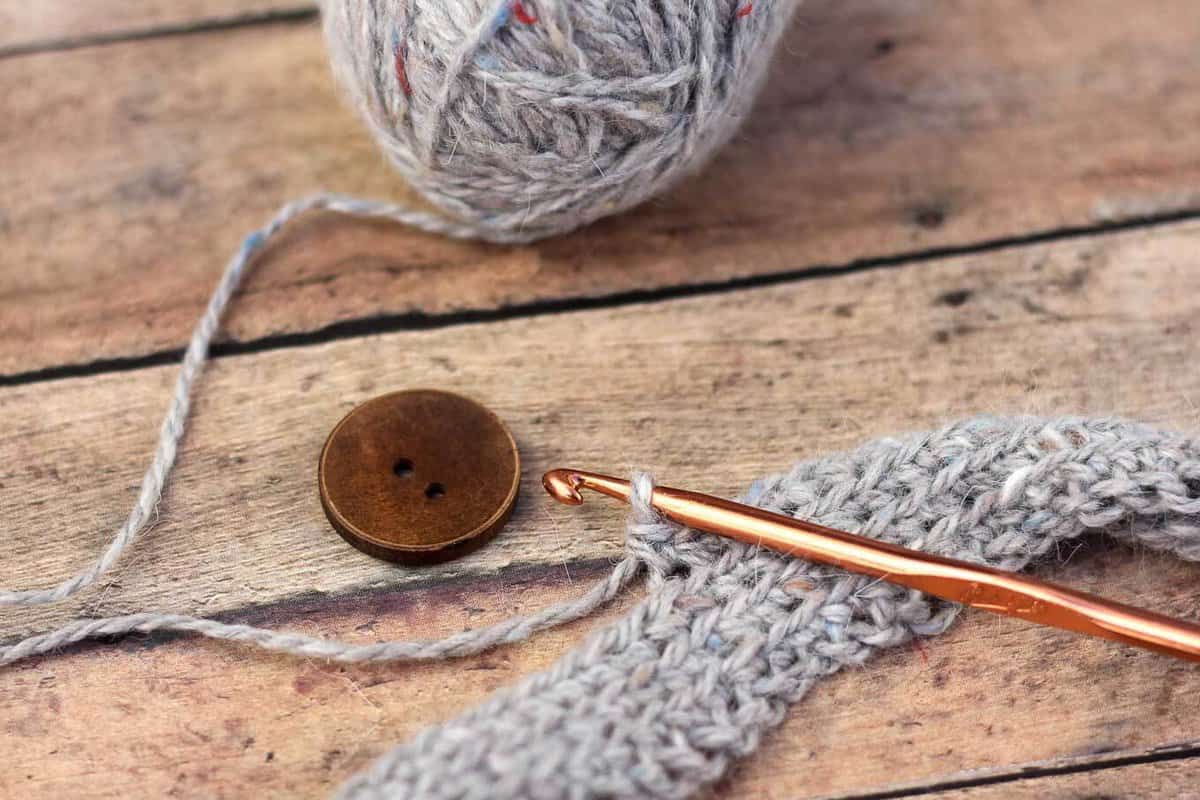
• crochet hook to achieve gauge on yarn label (I used an F/5)
• wooden button
• needle and thread
Abbreviations
ch – chain
sc – single crochet
blsc – back loop single crochet
Notes: Lay your chain out flat, but not stretched to measure it. Once you start crocheting, the chain will tighten up a bit, resulting in a slightly smaller headband circumference.
Newborn:
Maintaining a 8″ tail at your slipknot, ch enough stitches so that your chain measures .25″ shorter than the head circumference, join, ch 1
Round 1: sc around, join with a sl st into the first sc of round, ch 1
Round 2-10: blsc around, join with a sl st into the first sc of round, ch 1
Fasten off, keeping a 8″ tail.
3-6 Months:
Maintaining a 8″ tail at your slipknot, ch enough stitches so that your chain measures .5″ shorter than the head circumference, join, ch 1
Round 1: sc around, join with a sl st into the first sc of round, ch 1
Round 2-11: blsc around, join with a sl st into the first sc of round, ch 1
Fasten off, keeping a 8″ tail.
✨Unlock this free subscriber-exclusive pattern ✨
Follow these steps to view the full free pattern below
Related: 27+ Best Crochet Hat Patterns for Winter
I believe the best patterns are free patterns! Check out more of my free crochet and knitting patterns and subscribe below if you’d like to receive my once weekly update of subscriber exclusive patterns and templates.


Tama says
I have a niece that just turned a 1 year old and i wanted to make her one of those headbands but i’m not understanding the pattner and i need to have it done for tomorrow can u help me understand it more
Jess @ Make and Do Crew says
I’d be happy to help if I can, Tama. What part are you having trouble understanding?
Tama says
My niece just turned a year old and I would love to do one of those head bands but I’m not understanding the chart you have there
Robyn says
Hi! I’m new to crochetingand have only done a few things. Do you have any visual examples of how you join the first round and start the next? I know, stupid question for all you experts!
Jude M says
Thanks for the information. Love your site and the patterns.
But most of all I love the Picture of your beautiful baby…
So sweet.
Jude
Jess @ Make and Do Crew says
Thanks so much, Jude! She really is one lovable little person. 🙂
Jude says
You are so Welcome.
My niece is expecting her first baby (a girl) in Dec for this year.
So I will be using your pattern to make a Mother and Baby Girl
matching headbands…Thanks again for the free pattern.
Jude
Jess @ Make and Do Crew says
Oh, Jude, that is going to be SO cute! I love that idea!
Cindy Sandberg says
Daughter No 2 emailed me this headband, thinking it would be something really cute for a little girl. Now we find out that she’s expecting a little girl in January! I will be making a newborn and a 6-9 mos size. These will be ready for the baby shower after Thanksgiving. I have plenty of stash yarn to choose from, too. Thanks for posting it with the cutie-pie modeling it!
Jess @ Make and Do Crew says
What wonderful news, Cindy! Congrats! I personally loved receiving handmade gifts for my babies. I bet your daughter will be so happy to get these after Thanksgiving. Enjoy that sweet little girl when she comes. 🙂
Jess
Jess @ Make and Do Crew says
Thank you so much, Kelly! This is the side of the internet that just bums me out. I can’t seem to find any sort of contact info on this site, but I’ll keep working on tracking them down. Thanks again for looking out for me!
Jess
Tracy says
Love your headband! In trying to duplicate it for a friend, I’ve found that there is not much stretch or elasticity.. could I have done something wrong?
I used Caron soft medium weight yarn, and a G hook. I am total beginner, so may have done something wrong!?
Thank you for your help!!
Tracy
Jess @ Make and Do Crew says
Hey Tracy,
It might have something to do with the yarn you’re using. I don’t think it has a TON of elasticity, but mine does have enough stretch to keep in on the head. You could play around with using a slightly bigger hook because that might make it a bit stretchier. If you’re not getting the result you’d like though, perhaps you could try a swatch of a different yarn and see if that helps. Please report back–I’d love to know what you find out!
Jess
Maggie Gibbs says
This is so cute. I make headbands for adults but had been asked to make one for a toddler and I’ll be having a go at this.
Jess @ Make and Do Crew says
Awesome! You could even make everyone matching ones with this pattern 😉
Happy crocheting!
Jess
Stacy says
Jess, I think this pattern is very cute, I’m gonna make it for my baby girl but I had a question…does the headband size 11-12″ include the 8″ tail from the slip knot or is that separate?
Jess @ Make and Do Crew says
Hey Stacey!
Nope, the 8″ is separate from the 11-12″. The 8″ is simply so you can wrap that extra yarn around the headband to scrunch it up under the button area. Does that make sense?
Congrats on your new baby!!
Jess
Kayla says
I have a quick question on the back loop stitch for this pattern. When you get to the end of the row, do you chain a single stitch down the new row, then continue with the back loop or should I be doing rows 2-11 of only back loop single crochet stitches?
Jess @ Make and Do Crew says
Hey Kayla,
I’m not sure I understand your question, so please feel free to respond if this doesn’t answer it. For each row, you should join your last stitch of the row to the first stitch of that row with a sl st. Then you’ll chain 1, than you’ll proceed with the back loop crocheting. So at the beginning of each row, you should be chaining 1. Does that clear things up? Please let me know if not!
Happy crocheting!
jess
Dana @ 3boysunprocessed says
Thank you so much! Making this for a baby girls first birthday gift!
Jess @ Make and Do Crew says
My pleasure, Dana! What a thoughtful gift! I’m sure she (and her mom 🙂 will love it!
Happy crocheting!
jess
Chris Camp says
Love this but what does blsc mean please?
Jess @ Make and Do Crew says
Hey Chris,
“blsc” means back loop single crochet. So when you’re beginning a stitch, instead of putting your hook through both loops of it, you simply put your hook through the back loop only. Other than that, it’s just like a regular old single crochet. Let me know if that’s not clear and I’ll find a resource to illustrate it for you. Thanks for reading M&DC and happy crocheting!
j
Denise/DIY Crush says
Absolutely adorable!! Great tutorial! Love!! Thank you for linking up at my craft party! I pinned your entries! Hope you can make it again on Thursday at 7pm EST.!
Jess @ Make and Do Crew says
Thanks so much, Denise! I’d love to link up at your party. Thanks for the reminder.
j
Shana says
Hey I am very confused. I don’t know appt about crocheting yet. I really love your headband and want to make a mother daughter set for myself and daughter but don’t understand your directions. Do you ever do video tutorials?
Peggy Branhsm says
I am going to try and make one for my little friend at church thanks for the pattern
Jess @ Make and Do Crew says
That sounds lovely, Peggy. What a lucky little friend she is 🙂
Happy crocheting!
Jess