In Part 2 of this free crochet pouf pattern, we'll join the sampler squares together and stuff the pouf to make the perfect side table, ottoman or bean bag chair. Get Part 1 of the free pattern here. Purchase an ad-free, printable PDF of the complete pattern here.
 This free crochet pouf pattern is part of a collaboration with Lion Brand yarn. This post may contain affiliate links.
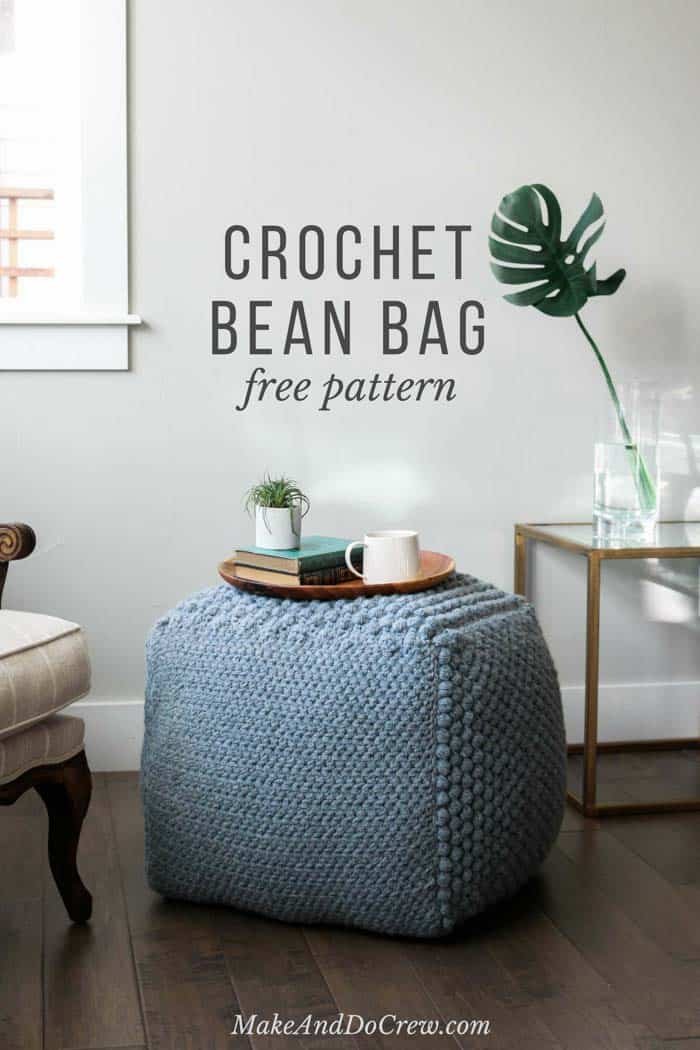
It's been so fun to watch my family use our new completely handmade piece of yarn furniture. My kids love jumping on it and I'll love re-fluffing it to make it into a square again. (Ahem, yes, a little compulsively.) It's substantial, stylish and looks and feels like a "real" store-bought pouf or bean bag. Today, I'm excited to share Part 2 of this free crochet pouf pattern so you can finish yours up too!
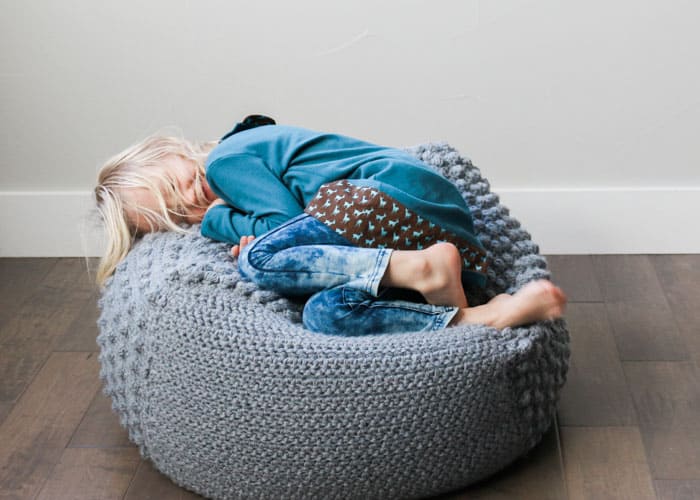
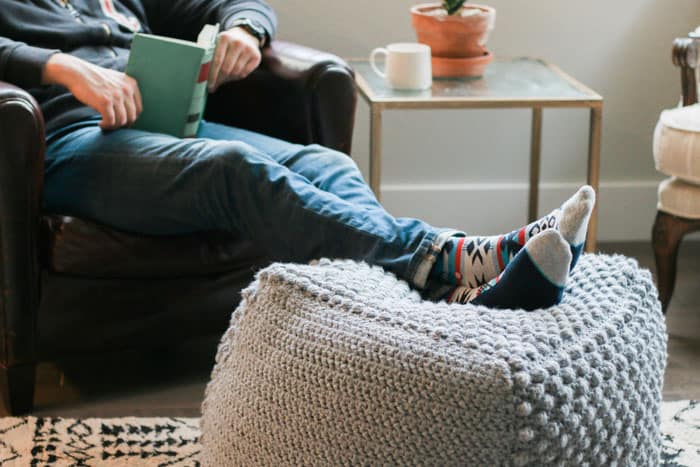
In Part 1, I shared the instructions for creating the six different sampler squares that make up this free crochet pouf pattern. I'm looking forward to seeing how you use interpret this pattern in your own creative way. While I really love the variety of textures in the "sampler" style pouf, I can also see choosing one of the bobble-type stitches and making six identical squares using that one stitch for a more uniform texture. Either way, this is one of those projects you're just gonna put your mitts all over. 🙂
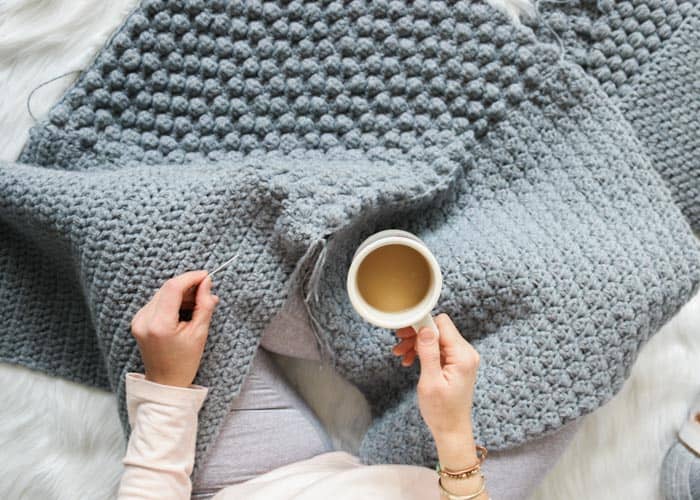
While I don't always love seaming other projects, this one is different. Each of of these seams literally builds your pouf before your very eyes and it's so fun to watch it take shape from a bunch of flat squares. Every time I sit on this seriously large and substantial piece of furniture, it blows my mind that it was made with only four and a half skeins of Lion Brand Pound of Love. How is that possible!?
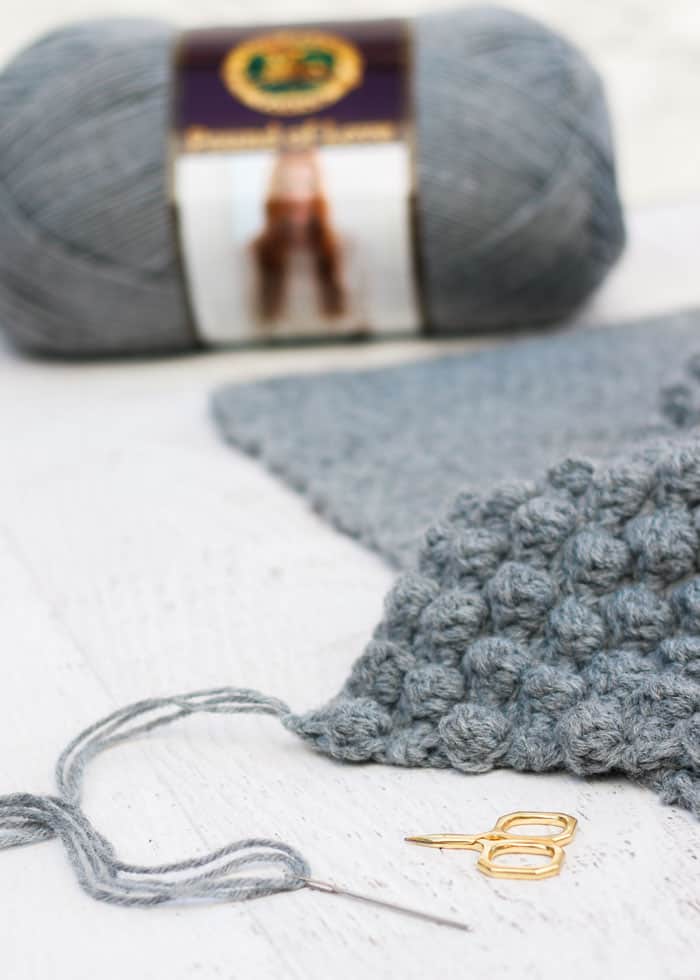
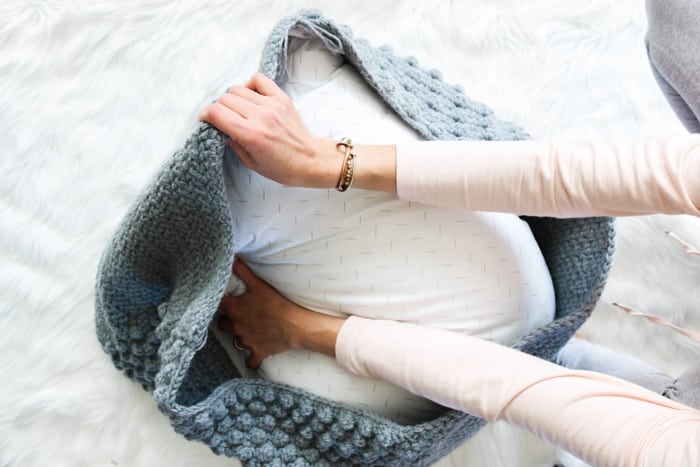
I'm including the :50 video overview of this pattern again below because I think you may want to check it out before stuffing your pouf. If nothing else, it'll give you motivation for bringing your project to completion! After you check out the video, you can find the second half of this free crochet pouf pattern right below the video.
The Sampler Pouf - Part 2
Free Crochet Pouf Pattern
Purchase the ad-free, printable PDF with parts 1 & 2 here.
Add this pattern to your Ravelry favorites here.
Pin it for later here.
Explanation:
This free crochet pouf pattern lets you’ll build new skills while making your own functional furniture. Worked in six squares with six different stitches, this large show-stopper is a surprisingly portable project. This pouf makes a great seat or ottoman, or set a tray on it to make a texture-rich side table. Perfect crochet project for nurseries, living rooms or bedrooms.
Supplies:
• Lion Brand Pound of Love (Weight: 4/Medium - 1020 yds, 16 oz)
- Color: Oxford Grey (#150) – 5 skeins
• Tapestry needle
• Size K (6.5 mm) crochet hook
• Stitch markers or safety pins
• Pouf Filling. Some items to try:
- 6 inexpensive pillows ($3 at Target)
- Plastic grocery bags
- Foam scraps
- Fiber fill stuffing
Find Part 1 of the Sampler Pouf pattern here.
BLOCKING
Unless your squares are all exactly the same size (which is very unlikely!), they’ll benefit significantly by being gently blocked. Since Pound of Love yarn is 100% acryilic, we want to avoid steam blocking it heavily because the fabric will lose all its structure. Instead, you can use T-pins to stretch your squares to approx. the same size, spritz them with a good dose of water and let them hang out for 24 hours.
Wanna save this pattern?
It’s okay if your square sizes aren’t identical after blocking. You’ll be able to accommodate some small differences during seaming.
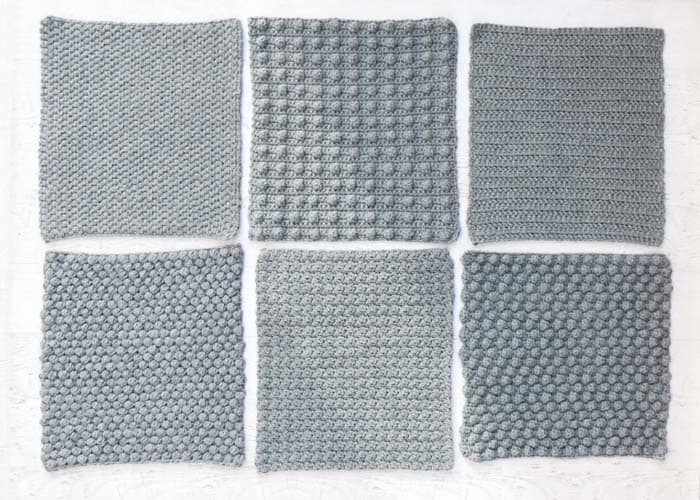
JOINING SQUARES
The squares are joined using a simple seaming technique. If you find yourself struggling spatially with the construction of the cube-shaped pouf, take a look at a tissue box to study how each side fits together to form a cube.
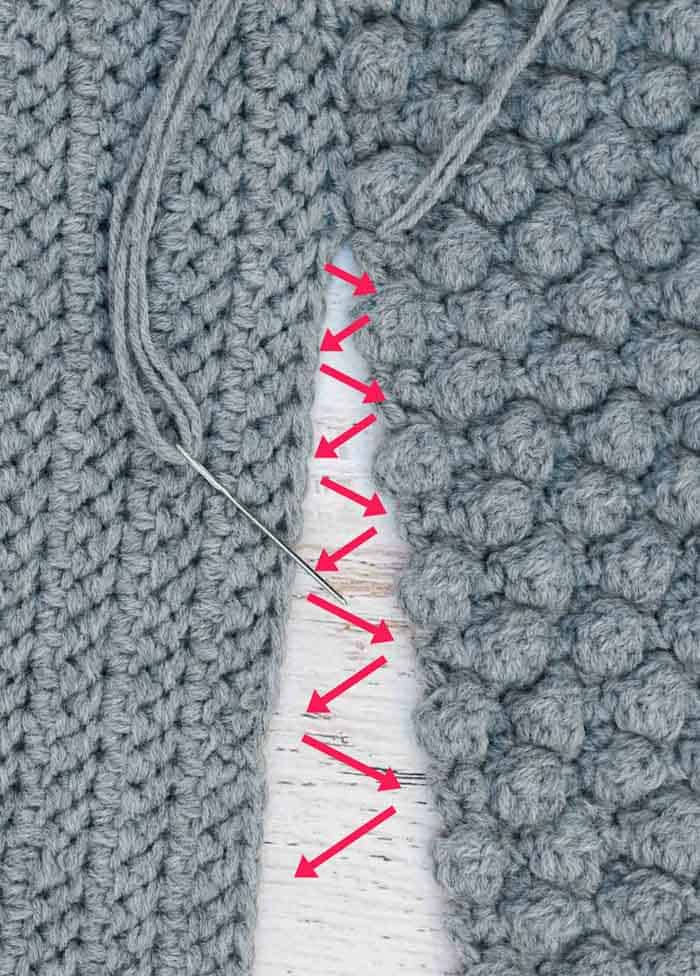
Cut a doubled-over piece of MC yarn approx. the length of your wingspan. Thread both strands through a tapestry needle and double over once again, creating four strands of yarn to sew seams with.
With right sides facing out, join two squares by seaming back and forth as if lacing one side of a shoe. The seam should be tight enough to prevent stretching once stuffed, but not so tight that the stitches bunch. Continue seaming squares with RS facing out until two unseamed sides remain.
FILLING THE POUF
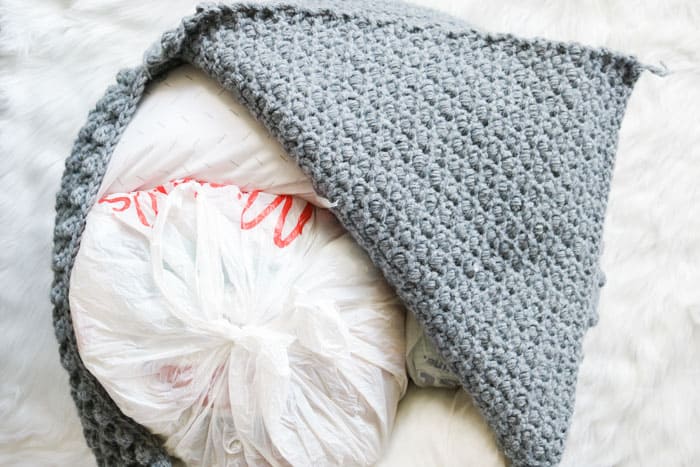
Your pouf can be stuffed with a variety of fillings, many of which you can recycle from around the house. You may choose different materials depending on how squishy or firm you want your pouf to be. Keep in mind it will compress a bit over time, so it’s a good idea to include at least one filling material that will give it some structure like foam, balled up plastic bags or newspaper.
For the sample, I used four pillows ($3/each at Target) around the perimeter of the pouf. I stuffed balled up plastic bags in the corners and a large plastic bag stuffed with other plastic bags in the center of the pouf to add stability. Check out the video overview above to see the process in action.
Since your pouf is crocheted, there will be some slight gaps within the fabric as it stretches. For this reason, I recommend putting any loose filling (poly-fil, small foam scraps, bean bag filler) into large bags or pillowcases before filling the pouf so as to prevent slow leaks over time.
FINISHING
Use the same seaming technique described above to join the final two sides. Weave in any remaining ends.
Give your new pouf few solid whacks to fluff it up and then sit back, put your feet up and enjoy your new crocheted furniture!
I love to see your finished projects! Use #MakeAndDoCrew and tag me Instagram (@MakeAndDoCrew) to show off your stitches and have a chance to be featured.
Here are some more modern free crochet patterns from Make & Do Crew you might enjoy:
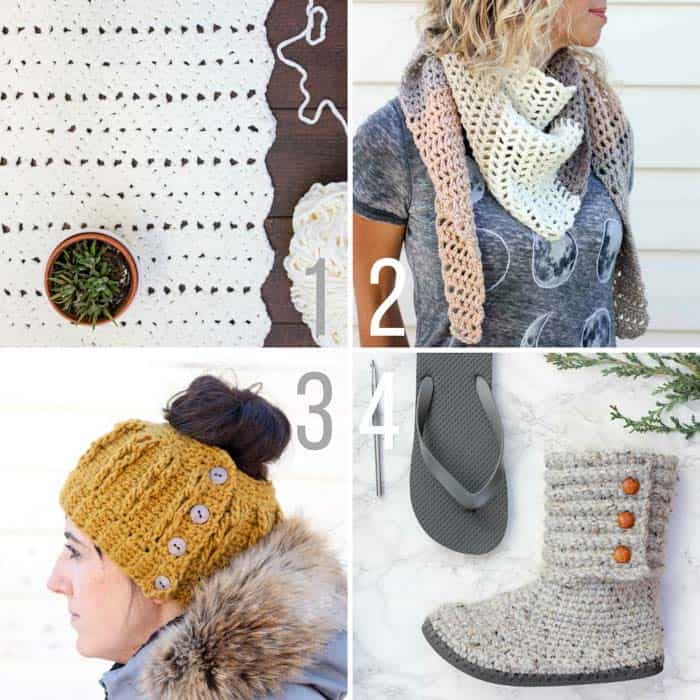
1. Super Chunky + Fast Baby Blanket - free crochet pattern
2. Desert Winds Triangle Scarf - free crochet triangle scarf pattern
3. Faux Cabled Bun Beanie - free crochet messy bun pattern
4. Cabin Boots - free crochet boot pattern with flip flop soles

Nancy says
I was wondering about the filling. I lost a bunch of weight and I'm wondering if I could stuff this pouf with some of the old clothes that aren't really good enough to donate? Old sweats with pilling, ripped seams, stains, etc.? The stuff I was going to toss out might make a good stuffing. I don't want it to be lumpy.
Jess @ Make and Do Crew says
Hey Nancy,
Congrats on your weight loss. I def think that would work. I found that if you pack the densest filling in the middle and then surround it by pillows on the outside, it doesn't feel lumpy, but it does have some good structure.
Good luck! This part is pretty fun. 🙂
Jess
Yvette says
Hi, Jess I love ♥️ your crochet designs! You have great style right up my alley ?!!! Thanks for sharing ???❤️ I have question on your pouf I am making one and to sew together how do I start do I sew 4 together and then top bottom?
Thank you, ♥️
ErinP says
Your pouf is so cute! I think my kids would really love one! Have you needed to wash it? Do you think it's possible to do so?
Jess @ Make and Do Crew says
Hey Erin,
My kids love it! I haven't had to wash it yet. I think your best bet would be to add a zipper or buttons to make the cover removable. The yarn is very washer-friendly, so as long as you can remove the pouf filling, you should be good. 🙂
Jess
Janet says
Hello! I adore this idea and finding a way to reuse pillows that no longer exactly match my home and plastic bags is especially cool. Are the plastic bags in there noisy in the pouf? I could see that getting annoying if it is. Thanks!
Jess @ Make and Do Crew says
Hey Janet,
There're pretty compressed in there, so I don't find that they have a lot of room to make scrunching sounds, if that makes sense. I also think putting the pillows around the outside of the clump of bags sort of helps insulate any bag sounds. 🙂
Jess
Lori Brenig says
Hi, I love love love this pattern! Just wondering, how big is the one in the picture? I was surprised that the pattern makes an 18"cube. Not sure how much yarn I need to make one the same size as yours? Thanks.
Jess @ Make and Do Crew says
Hey Lori,
The squares are 18" each, but the final pouf is much larger when it's put together. The dimensions and yarn amounts are listed at the top of the pattern and should give you a good idea if you want to swap out yarn. 🙂
Jess