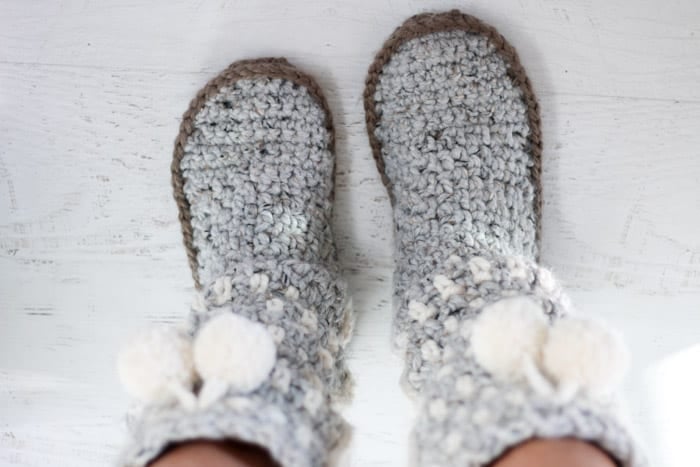
In part 2 of the Sierra crochet mukluk slippers, we’ll crochet the sole, seam the slipper to the sole and add the pom pom tassels. Get part 2 of the free pattern below or purchase the complete ad-free, printable PDF of this pattern here. Part 1 can be found here.
This free crochet mukluk pattern is part of a collaboration with Lion Brand yarn. This post may contain affiliate links.
I shared Part 1 of the Sierra crochet mukluk slippers pattern and now we’re going to learn how to finish off these cozy kicks beginning with crocheting soles.
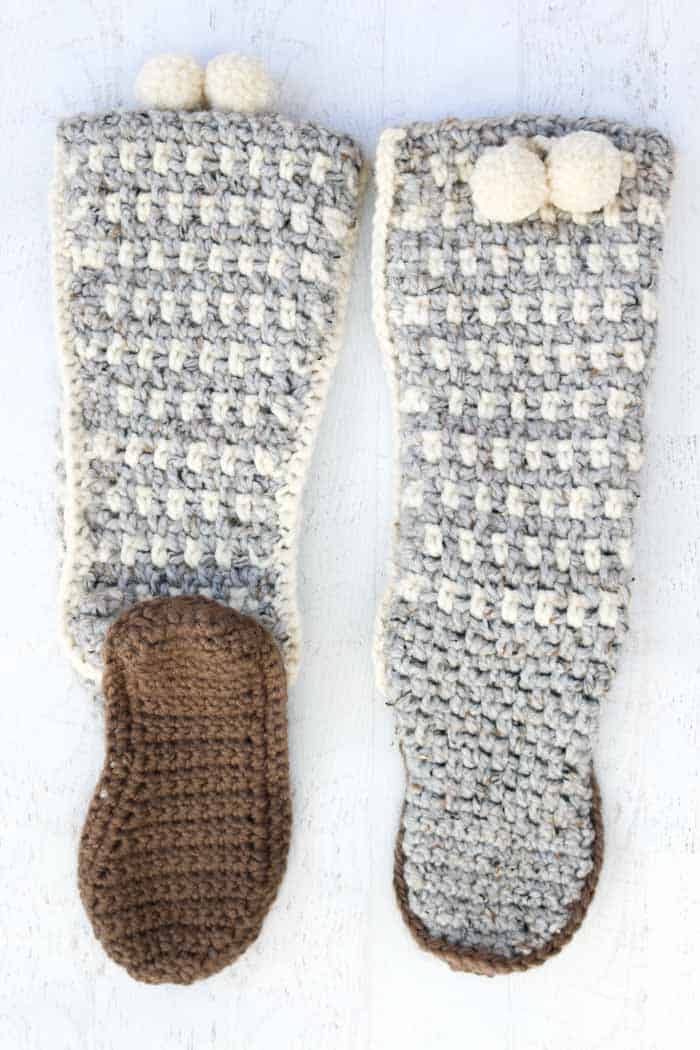
This pattern is based on my Taos Slipper Boots pattern, which uses flip flops for the soles. (If you’ve never crocheted on flip flops before, the Taos Boots are a great first project because most of the crocheting is done separate from the flip flop and then seamed at the end. You can see all my free patterns using flip flops here.)
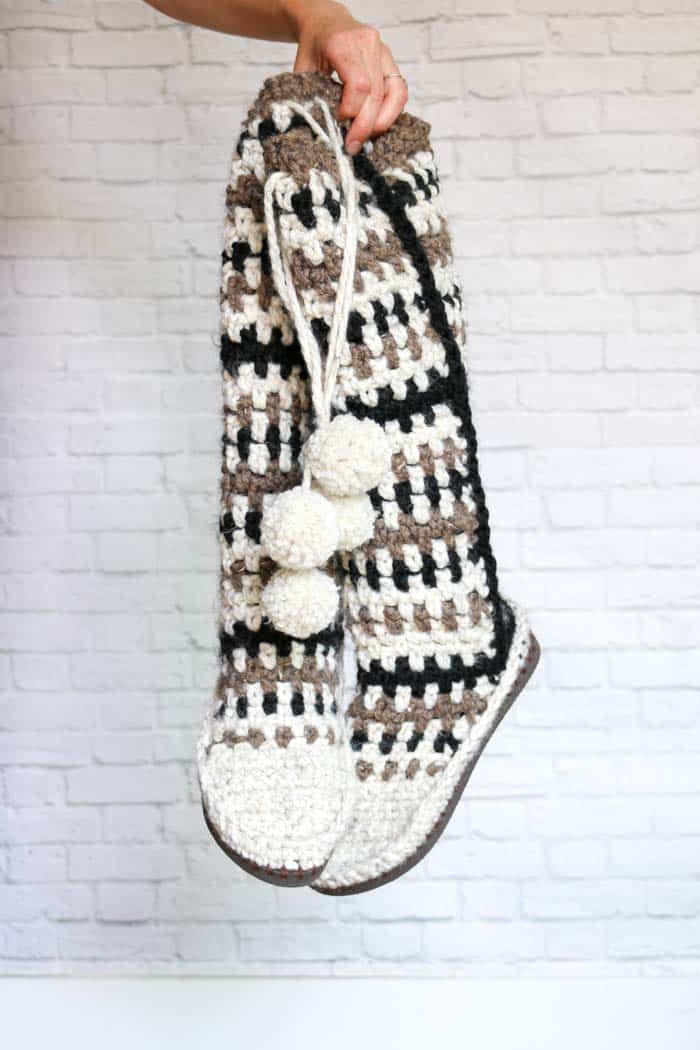
If you like the look of the Sierra Slippers, but would rather use flip flop soles instead of the crochet soles pictured in the sample, don’t fret! The Taos Boots and the Sierra Slippers are completely interchangeable, so you can basically choose the upper pattern you like the best and the sole option you like the best and combine them to make your own personal foot heaven. (And if you’d like to add leather accents to your crochet soles, check out the Sunday Slippers free pattern and template!)
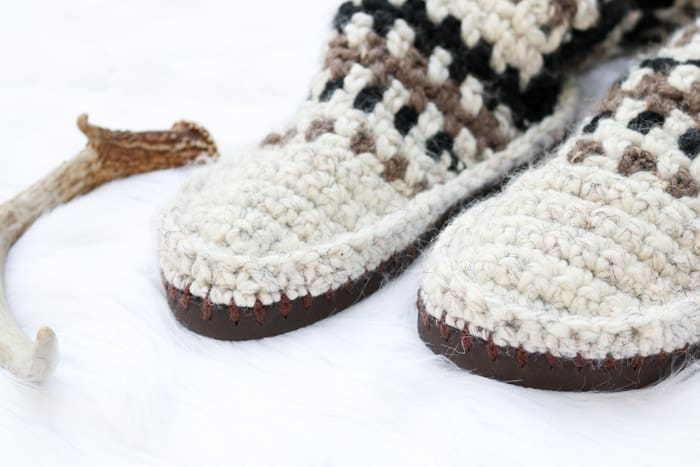
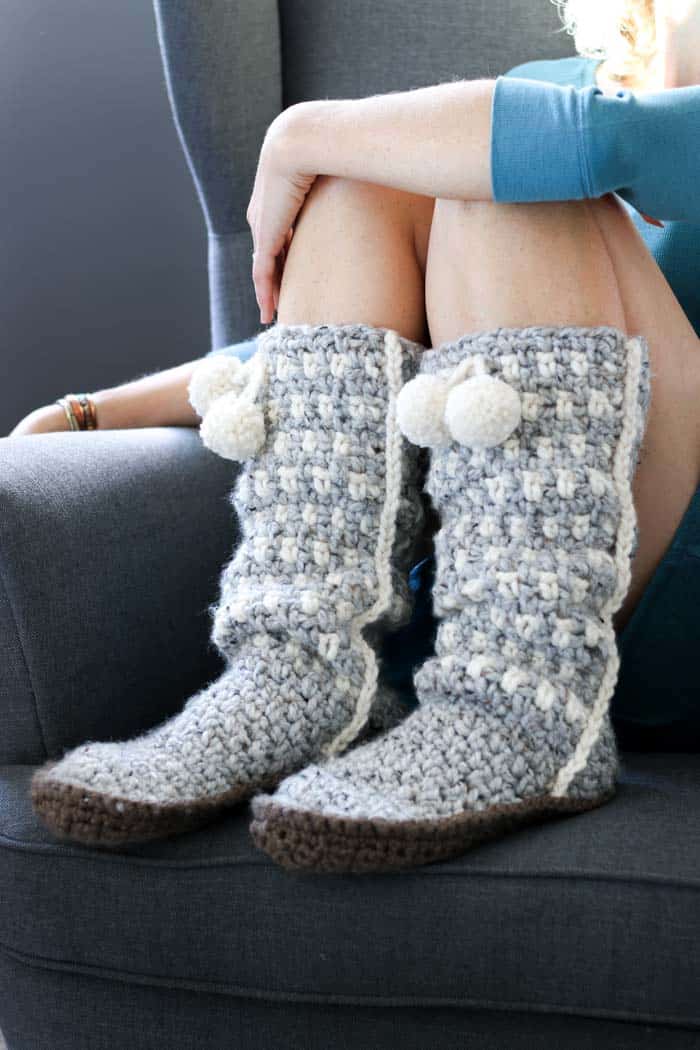
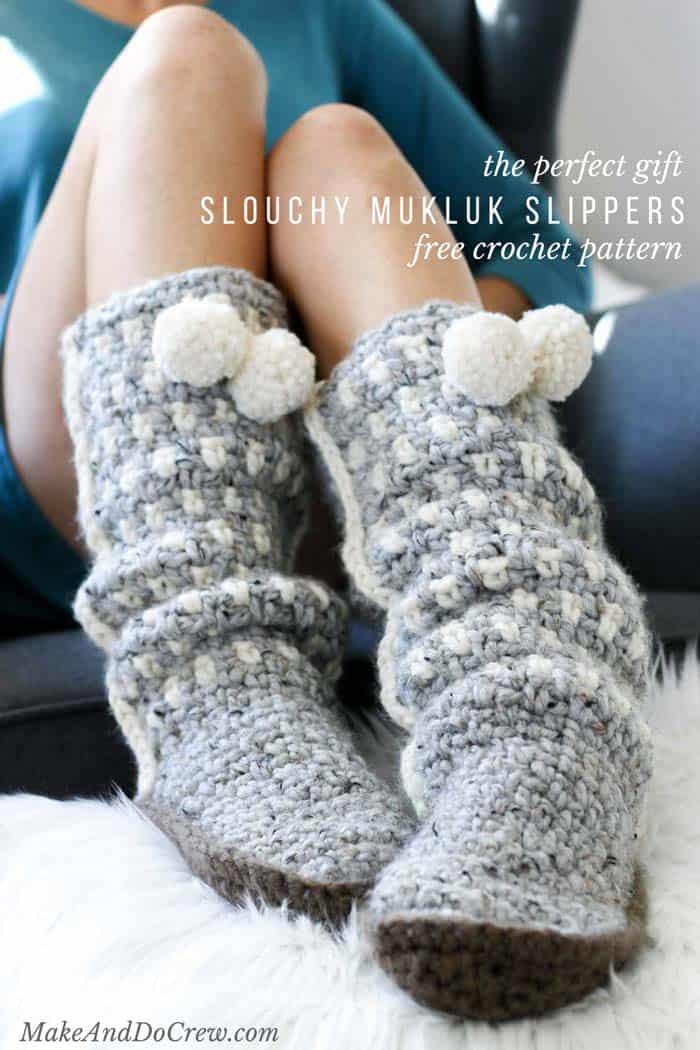
When I originally designed the Taos Boots, I envisioned them being worn pulled up and tied around the calf. The Sierra Slippers just seemed to want to be scrunched down though and I kinda love the relaxed, slouchy look. If you decide you’d rather wear yours pulled up, just add the type of pom pom tie used in the Taos Boots so that you can tighten the upper boot shaft around your calf.
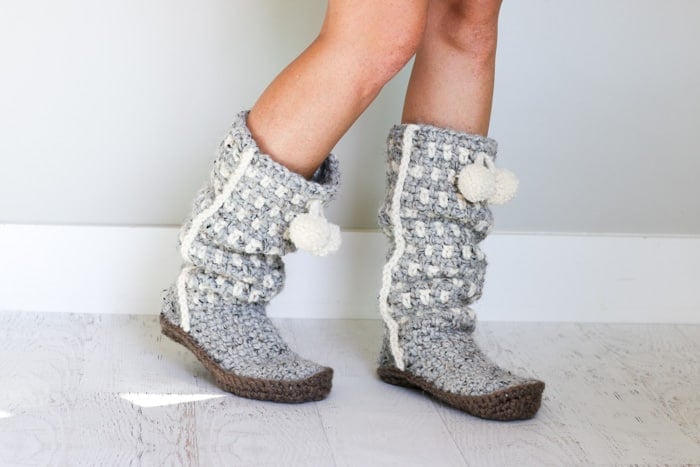
Thanks to my friends at Lion Brand yarn for sponsoring this crochet mukluk slippers pattern and enabling more free patterns on Make & Do Crew!
Sierra Crochet Mukluk Slippers
Free Pattern – Part 2
Purchase the ad-free, printable pattern with Parts 1 & 2 here.
Add this pattern to your Ravelry favorites here.
Pin it for later here.
Supplies:
So you can spend more time making slippers and less time shopping, this pattern contains affiliate links at no extra cost to you.
Purchase a kit with all the yarn you’ll need, plus a printed copy of the pattern here.
• Lion Brand Wool-Ease Thick & Quick (Weight: 6/super bulky – 106 yds, 6 oz)
– Color A: Grey Marble (#154) – 2 skeins
– Color B: Fisherman (#99)– 1 skein
– Color C: Taupe (#122) – 1 skein
• Tapestry needle
• Size K (6.5 mm) crochet hook
• Size L (8 mm) crochet hook
• Size N (10 mm) crochet hook
• Sharp scissors
• Stitch markers
• Pom pom maker or a small piece of cardboard
Abbreviations (US Terms):
ch – chain
sc – single crochet
sk – skip
ch1sp – space created by one chain
sl st – slip stitch
st(s) – stitch(es)
sc2tog – single crochet two stitches together (decrease)
RS – right side
WS – wrong side
View Part 1 of the Sierra crochet mukluk slippers here.
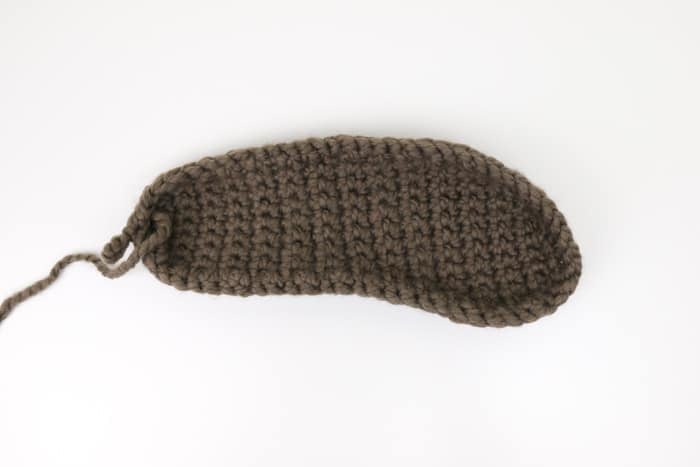
SOLES
Notes:
• Right and left soles are worked identically. When seaming, one will be flipped over to make a right and left set.
• Use size K hook (or size needed to achieve gauge) for the entire sole.
Make 2.
Foundation: With size K hook and Color C, ch 4.
Row 1 (increase): 2 sc in second ch, 2 sc in each of next 2 ch; turn. (6)
Row 2 (increase): Ch 1, 2 sc in first sc, sc in each of next 4 sc, 2 sc in last sc; turn. (8)
Rows 3-13: Ch 1, sc in each sc; turn. (8)
Shoe sizes 6-8, move on to Row 16. Shoe sizes 9-11, work Rows 14 and15 as described.
Rows 14-15: Ch 1, sc in each sc; turn. (8)
Row 16 (increase): Ch 1, 2 sc in first sc, sc in each of next 7 sc; turn. (9)
Row 17: Ch 1, sc in each sc; turn. (9)
Row 18 (increase): Ch 1, 2 sc in first sc, sc in each of next 8 sc; turn. (10)
Wanna save this pattern?
Row 19: Ch 1, sc in each sc; turn. (10)
Row 20 (increase): Ch 1, 2 sc in first sc, sc in each of next 9 sc; turn. (11)
Rows 21-26: Ch 1, sc in each sc; turn. (11)
Row 27 (decrease): Ch 1, sc2tog, sc in each of next 9 sc; turn. (10)
Row 28 (decrease): Ch 1, sc2tog, [sc in each of next 2 sc, sc2tog] twice; turn. (7)
Row 29 (decrease): Ch 1, sc2tog twice, sc in next sc, sc2tog; turn. (4)
Row 30 (decrease): Ch 1, sc2tog twice. (2)
Fasten off.
Lay both soles out so that you have one for a left foot and one for a right foot. From here on, the side of the sole that will be inside the slipper will be referred to as the RS.
Attach Color C at back of heel. Using a size K hook, work with the RS of the sole facing you:
Round 1: Ch 1, place marker, sc evenly around sole, working one sc2tog decrease at each “corner” of the heel, sl st to first sc to join. Do not fasten off.
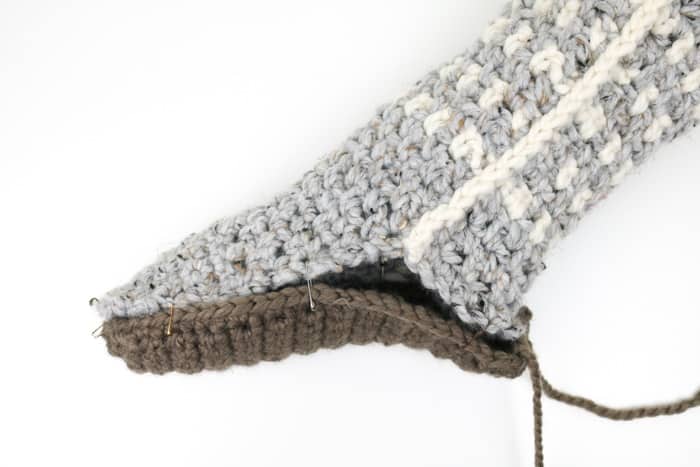
JOINING SLIPPER TO SOLE
Notes:
• This seam can also make or break the look of your boots. If you’re not happy with your first attempt, just rip it out and try again!
• Weave in any ends before seaming the slipper to the sole.
• The slipper and sole are seamed together with single crochet. You’ll want the “back” of the single crochet stitches facing out. This means right-handed crocheters, you’ll work around the sole counter clockwise. Left-handed crocheters, you’ll work around the sole clockwise. (See photo below.)
Use stitch markers to pin the boot onto the crocheted sole. You may find it easiest to pin the toe and the heel sections first and then accommodate whatever is left in the middle. If you do find that there’s a little extra fabric, try to absorb the excess in the middle of the boot where the top/back seams meet.
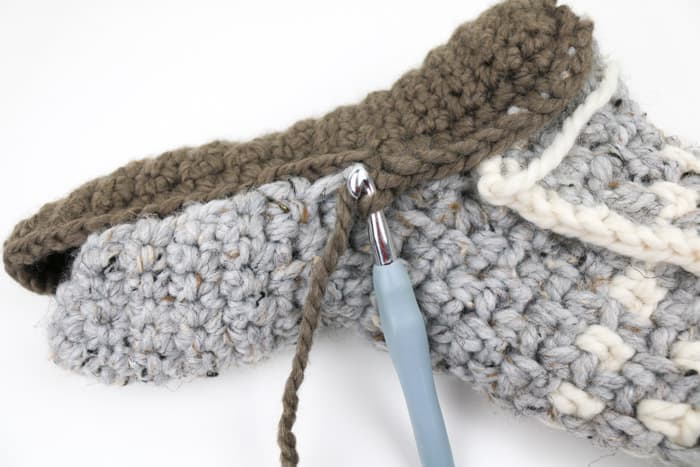
Using size L hook and Color C working yarn that is already attached to sole, slip stitch so as to join the back of the slipper with the sole.
Seam Round: Ch 1, place marker, sc around sole working into the edge of the slipper pieces and the sole, sl st to join. Again, err on the side of stitches that are closer together.
Fasten off. Weave in any remaining ends.
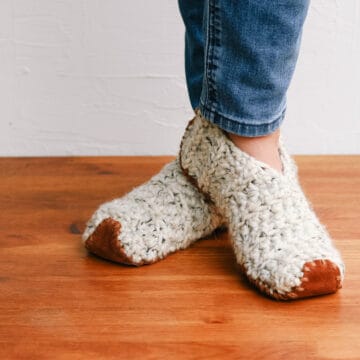
Optional: If you’d like to make your slippers less, well, slippery, consider adding a leather sole with the free template I offer in this crochet Sunday Slippers pattern.
ADDING POM POM TIES
Use either a pom pom maker or a piece of cardboard to create four pom poms in Color B. When you tie off the pom poms, leave the tying strands long so that you can use them to tie the pom poms to the slipper front.
Let your feet slide into their new happy place and then begin making a pair of these easy crochet mukluks for each of your friends!
TIP: When pulling you slippers on, gather the top of the boot in your hand and then insert your foot, like you would when putting on tall socks. This will prevent your beautiful new boots from stretching out.
I love to see your finished projects! Use #MakeAndDoCrew and tag me Instagram (@MakeAndDoCrew) to show off your stitches and have a chance to be featured.
Now that you’re on a roll, you might also like these other free crochet patterns from Make & Do Crew:
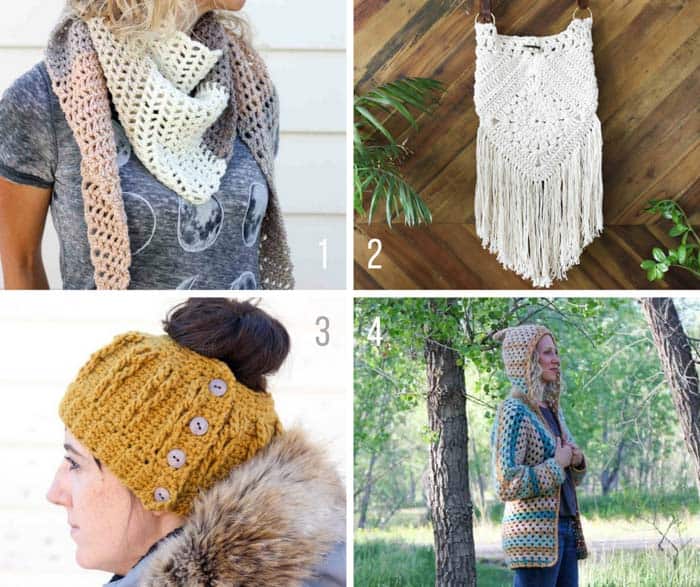
1. The Desert Winds Triangle Scarf – free crochet pattern
2. Urban Nomad Boho Bag – free crochet pattern
3. Faux-Cabled Bun Beanie – free one-skein crochet pattern and video tutorial
4. The Campfire Cardigan – free crochet sweater pattern made from two hexagons

Paula Elk says
Tried to get the template for the leather soles, but it would not work. I would love to have it!
Jess @ Make and Do Crew says
Hey Paula,
Be sure to subscribe in the box on the sidebar or above this comment area. Then you’ll receive an email from me with download instructions. Check your junk/spam folders if you don’t see it.
Jess
Jennifer Jones says
Should the first line be ch 4 if row 1 is a total of 6 stitches?
Jess @ Make and Do Crew says
Yes! Thanks so much for pointing that out!!
Jess
elena - mocaliana says
Hi Jess! I’m wondering if is right using color A to make the last round of the sole as is written up after row 30. It isn’t color C?
thank you for the amazing patterns!
bye from Italy!
Jess @ Make and Do Crew says
Yes! Thank you so much for catching that! You’re correct. 🙂
I’ve changed it in the pattern.