This unique crochet granny square pattern is a great way to use up scrap yarn in different weights! Find the photo and video tutorials below.
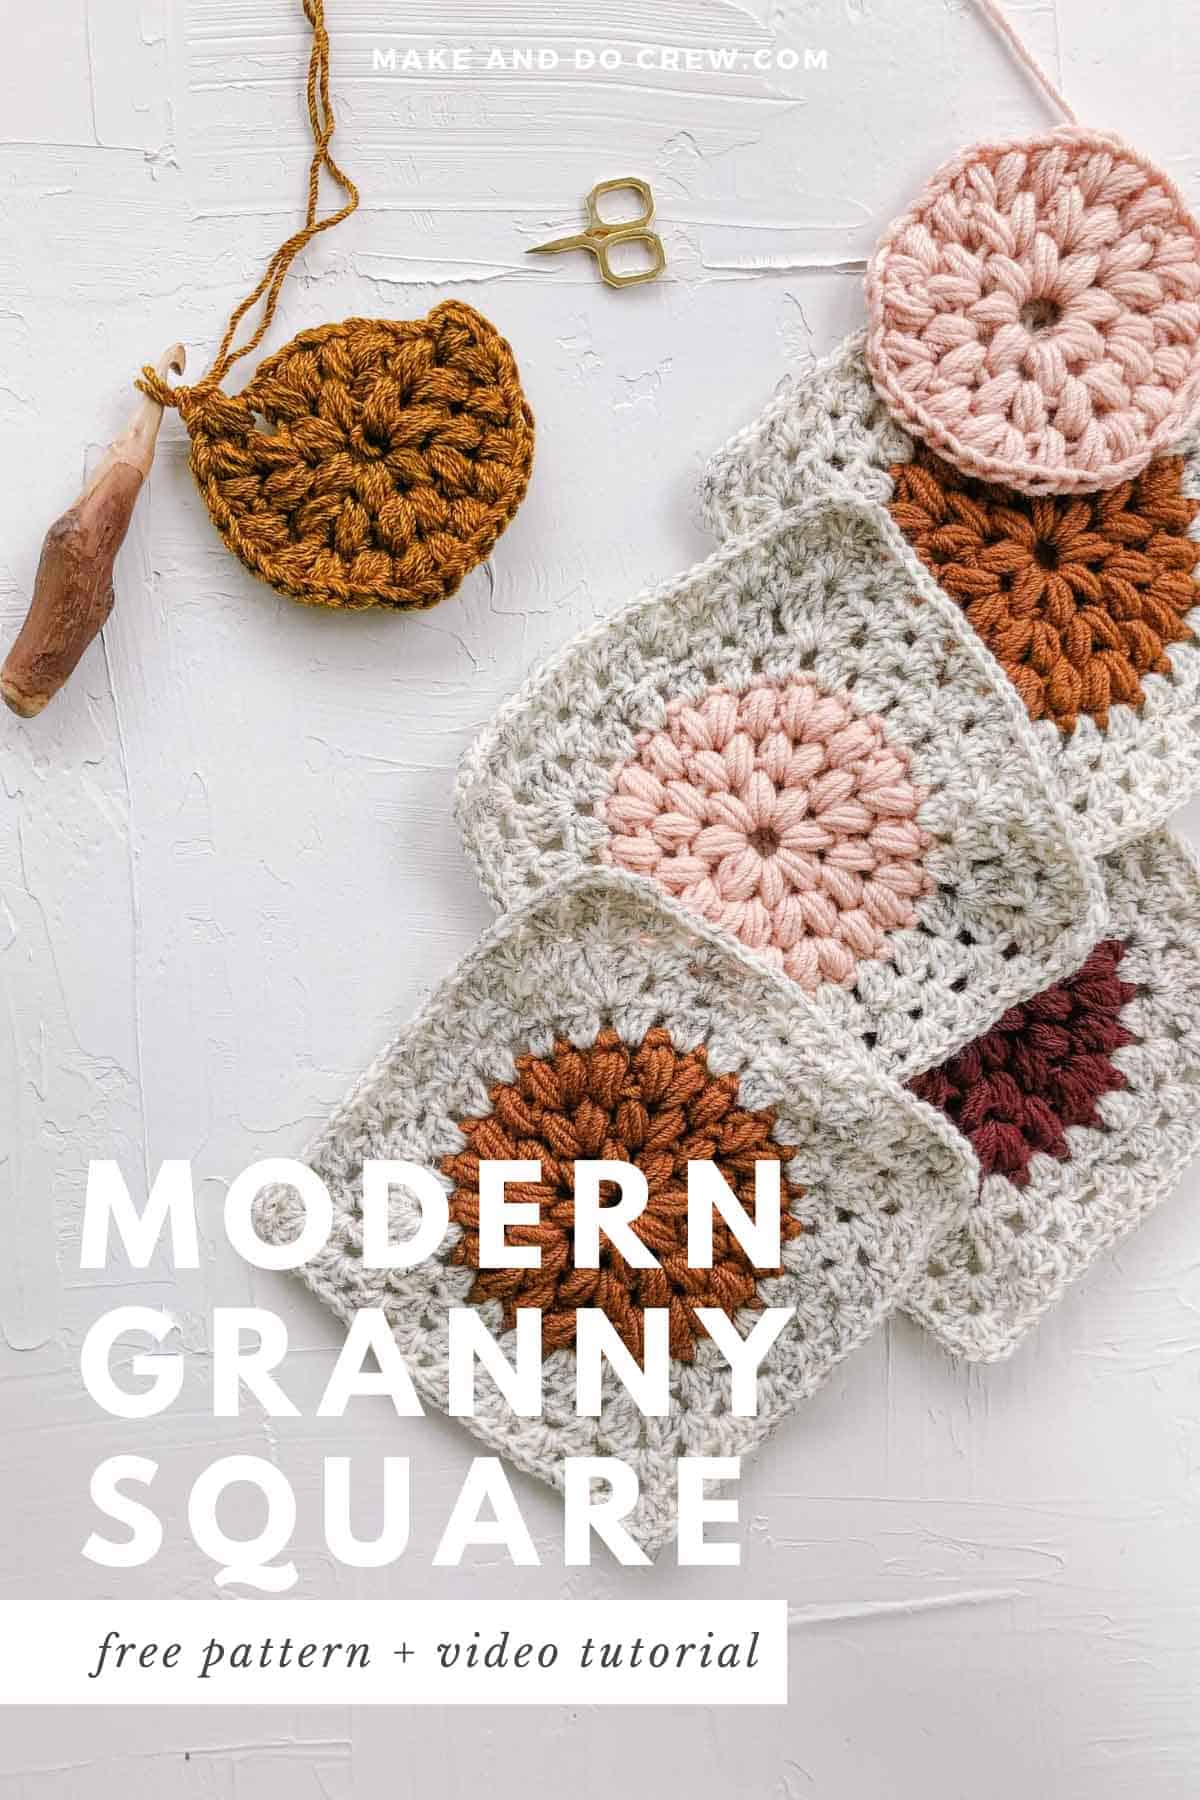
This unique crochet granny square pattern is part of a collaboration with Lion Brand Yarns. This post contains affiliate links.
If you've been following along with the Dahlia Scrapgan casual crochet along, this puff stitch granny square will look quite familiar. If you're looking to crochet your own personalized blankets or pillows, this modern granny square design is perfect because the finished square dimensions are completely adjustable.
Unique Granny Square Video Tutorial
Follow the video tutorial below to learn how to crochet this puff stitch circle granny square. Then scroll down for the photo tutorial and more details that aren't covered in the video.
Links mentioned in the video:
• Dahlia Scrapgan - free pattern
• Dahlia Scrapgan - printable, ad-free PDF
• How to crochet a puff stitch circle tutorial
• All our free crochet patterns
A Granny Square with A Circle In the Middle
This unique granny square pattern begins with a simple puff stitch circle. (See the puff stitch circle video tutorial here.) I love these circles because they only take about 15 minutes to crochet and they can be made with a variety of weights of yarn. You know all those half-skeins you've saved from other projects and never known what to do with? Now you can make these circles!
Related: Step-by-Step Daisy Granny Square Tutorial
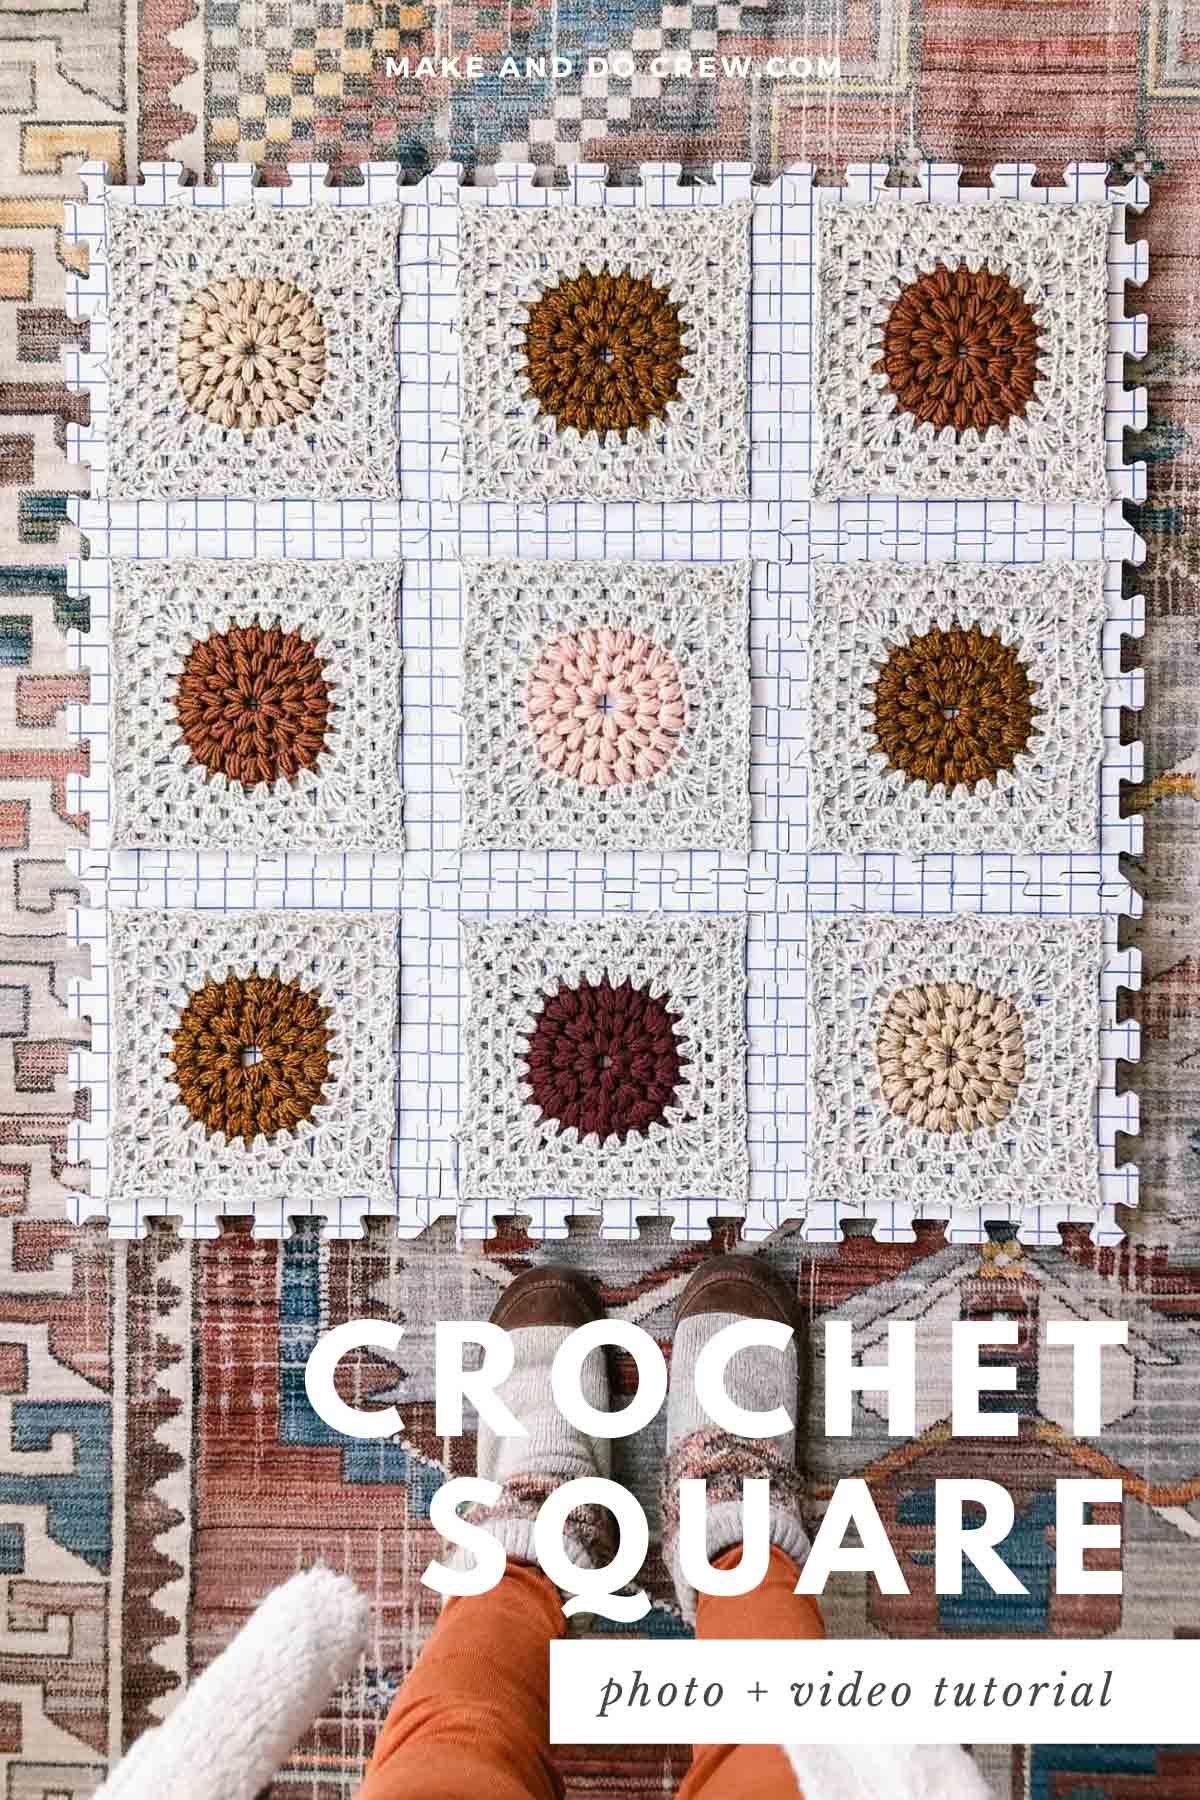
Adjust Your Square to Any Size
One of the things that makes these squares so versatile is that they can be made as large as you'd like them to be. By simply adding more or fewer rounds of granny stitch to the outside of the square, you can increase or decrease the visual "padding" around the circle.
Wanna save this pattern?
What to Crochet With These Granny Squares
As I mentioned, I used this particular puff stitch square as part of the Dahlia Scrapgan pattern. There are so many ways you can use these unique and unusual crochet granny squares in a project. Think baby blankets, throw pillows, bags, afghans and even rugs. The look of a project can be adjusted consiberably by the approach you take to choosing colors.
Here are a few ideas:
• use one accent color for all your puff circles.
• make each puff circle in your project a completely different color.
• use different shades of one main color for your puff circles. (see @pattysfrankle's green example here)
• make a monochromatic project by making puff circles from a yarn very similar in color to your main color.
• create sunflower granny squares like @thinkstitchmade did
• hold two strands of worsted weight yarn that are different colors together for a marled look. (see @ole.crochet's example here)
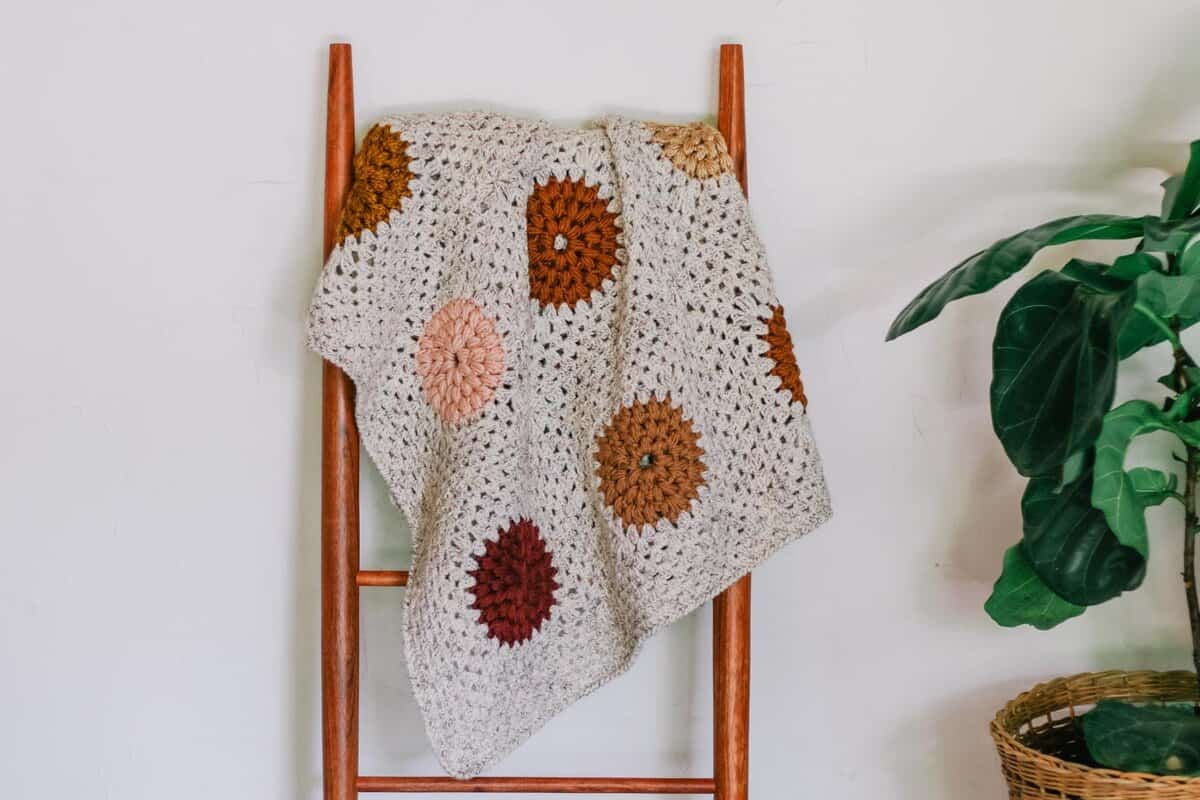
Photo Tutorial + Written Instructions
If video isn't your thing, I've got you covered with a few photos and written instructions that outta get you whippin' up grannies in no time!
Begin by making a puff stitch circle (tutorial here).
With size J (6.0mm hook) and category 4 yarn:
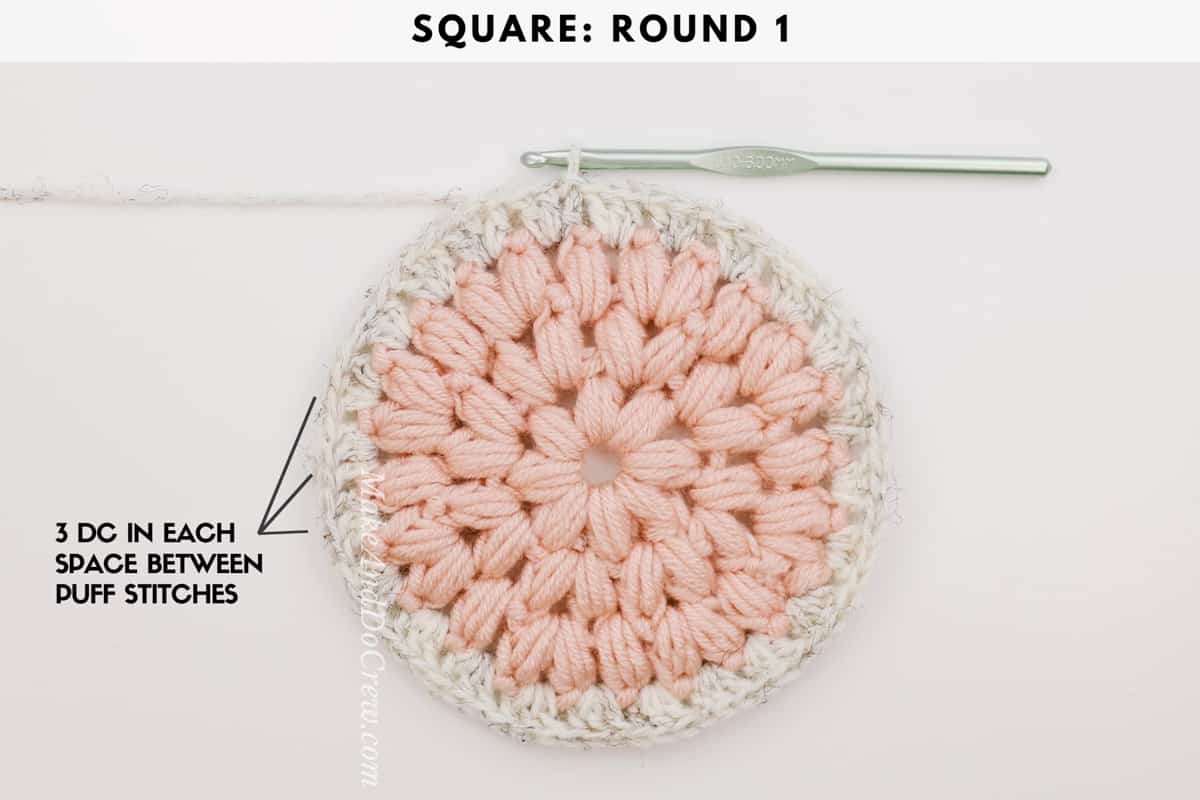
Join yarn between any two puff stitches.
-
Ch 3 tightly, 2 dc in same chsp, 3 dc in each chsp around circle; slst to top of beginning ch to join. (24 3dcClusters)
-
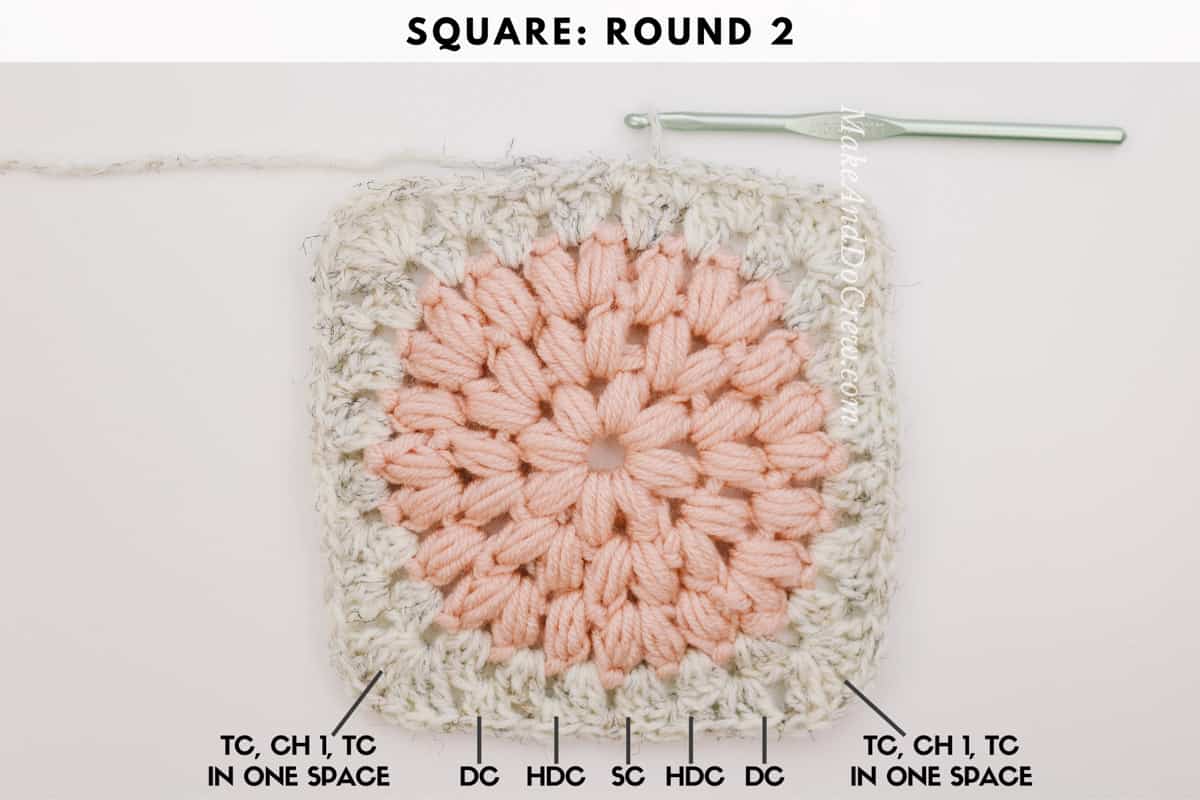
Slst 2 into next sp between 3dcClusters, ch 1 (does not count as a stitch), 3 sc in same space, 3 hdc in next sp, 3 dc in next sp, [3 tc, ch 1, 3 tc] in next sp (corner made), *3 dc in next sp, 3 hdc in next sp, 3 sc in next sp, 3 hdc in next sp, 3 dc in next sp, [3 tc, ch 1, 3 tc] in next sp; rep twice more, 3 dc in next sp, 2 hdc in next sp, slst to first st to join. (4 distinct sides, 7 clusters per side)
-
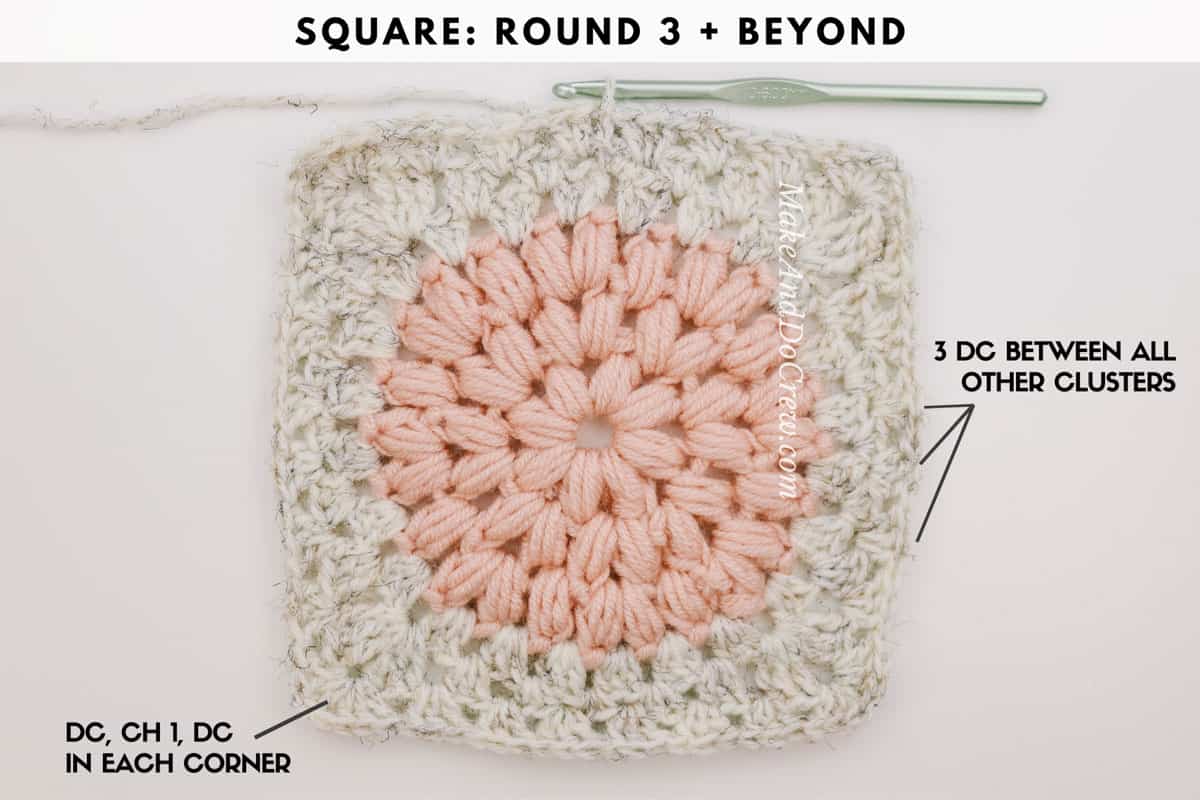
Slst 2 into next sp between 3dcClusters, ch 3 tightly, 2 dc in same sp, *3 dc in each sp to corner, [3 dc, ch 1, 3 dc] in corner sp; rep from * 3 more times, 3 dc in each sp to end of round; slst to top of ch from beginning of round to join. (8 clusters per side)
Rep Round 3 twice more. Rounds should increase by 1 cluster per side per round.
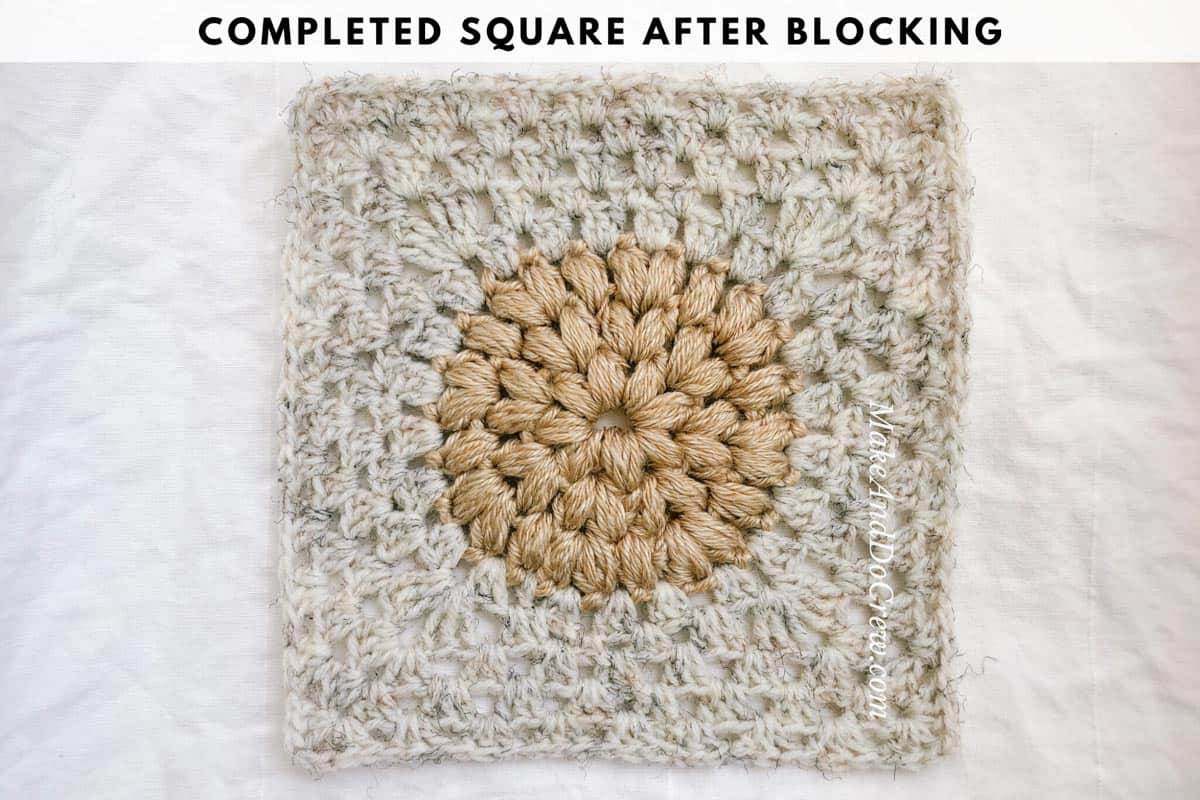
Square should now have 5 total rounds and 10 clusters per side. Fasten off or continue with additional rounds if desired.
BLOCKING SQUARES
Taking the time to block your squares before joining will result in a much tidier looking project
Use T-pins to pin each square down to a blocking board or other surface. Stretch squares enough that any waviness is removed. Steam block squares using steamer or iron, taking care not to touch yarn directly.

Leave a Reply