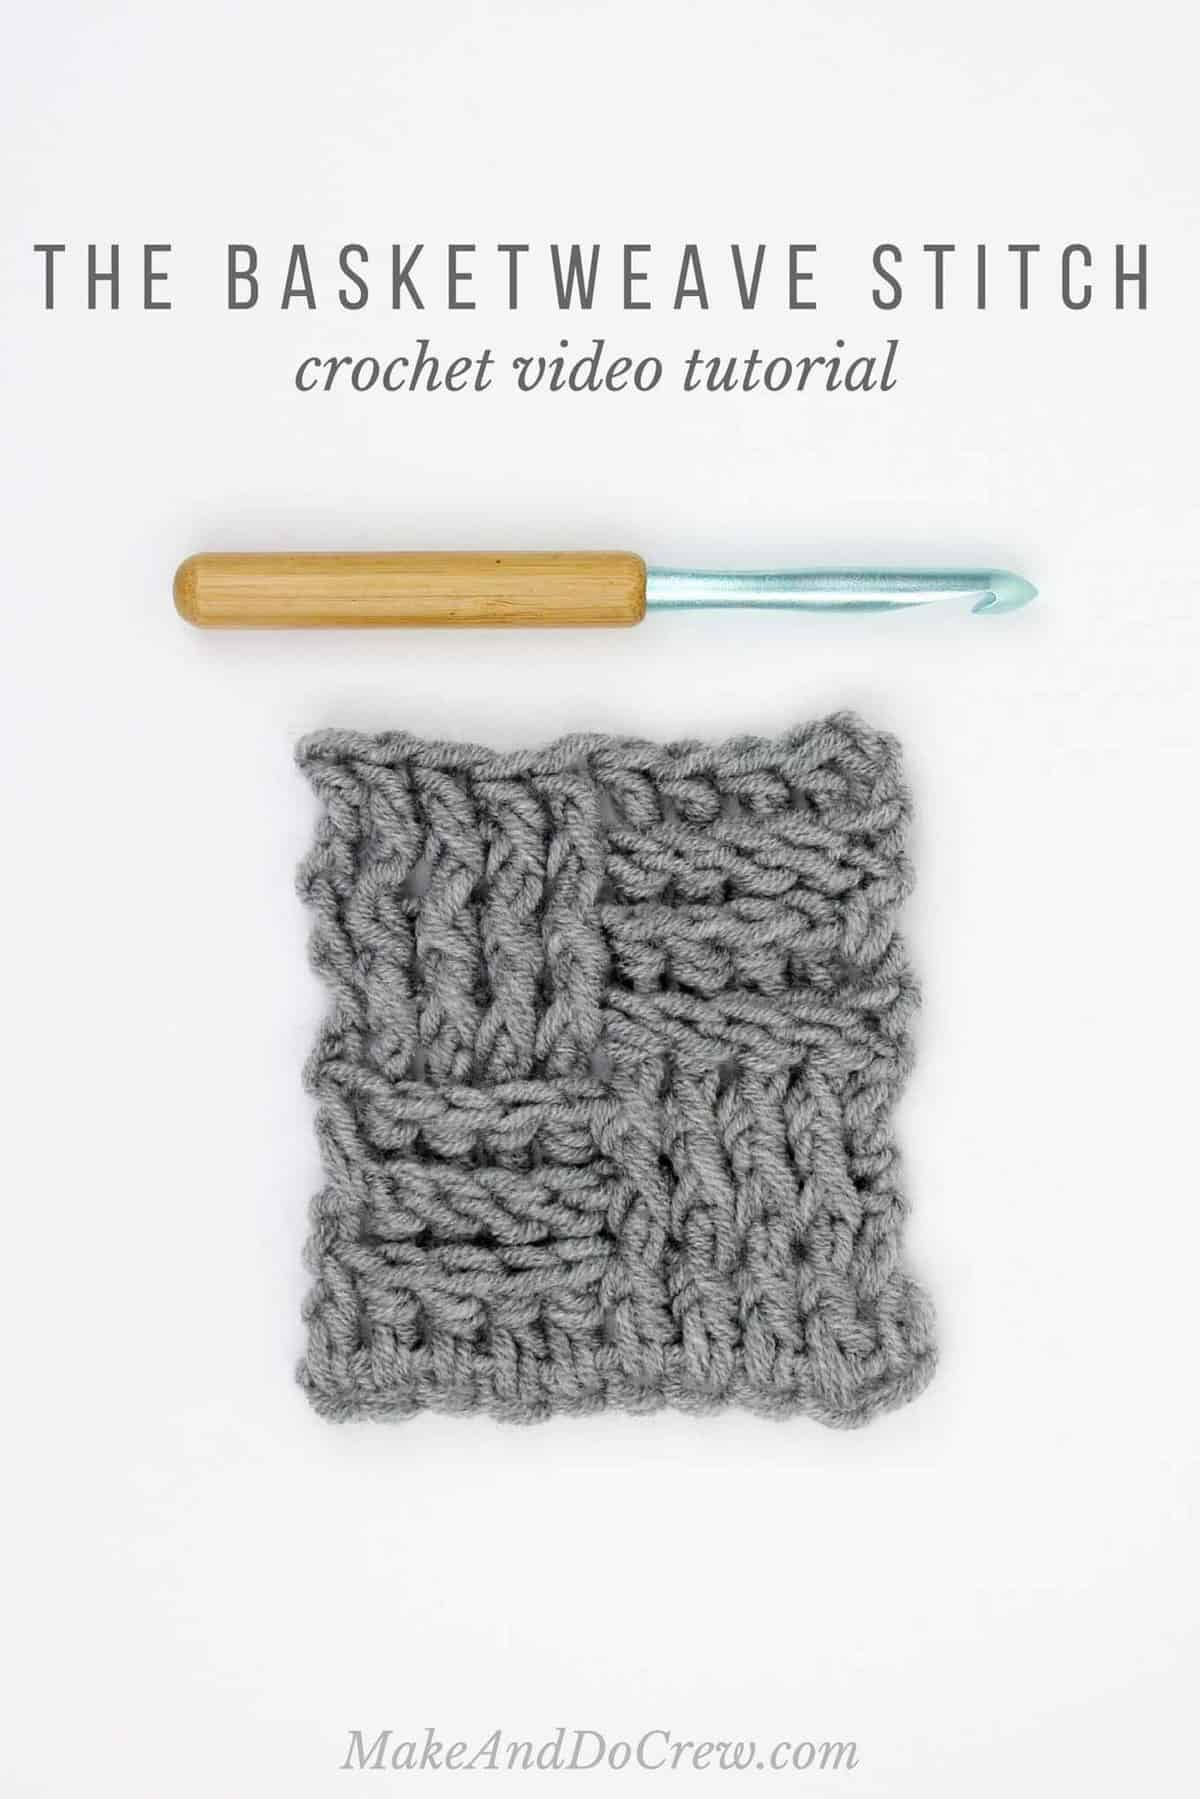
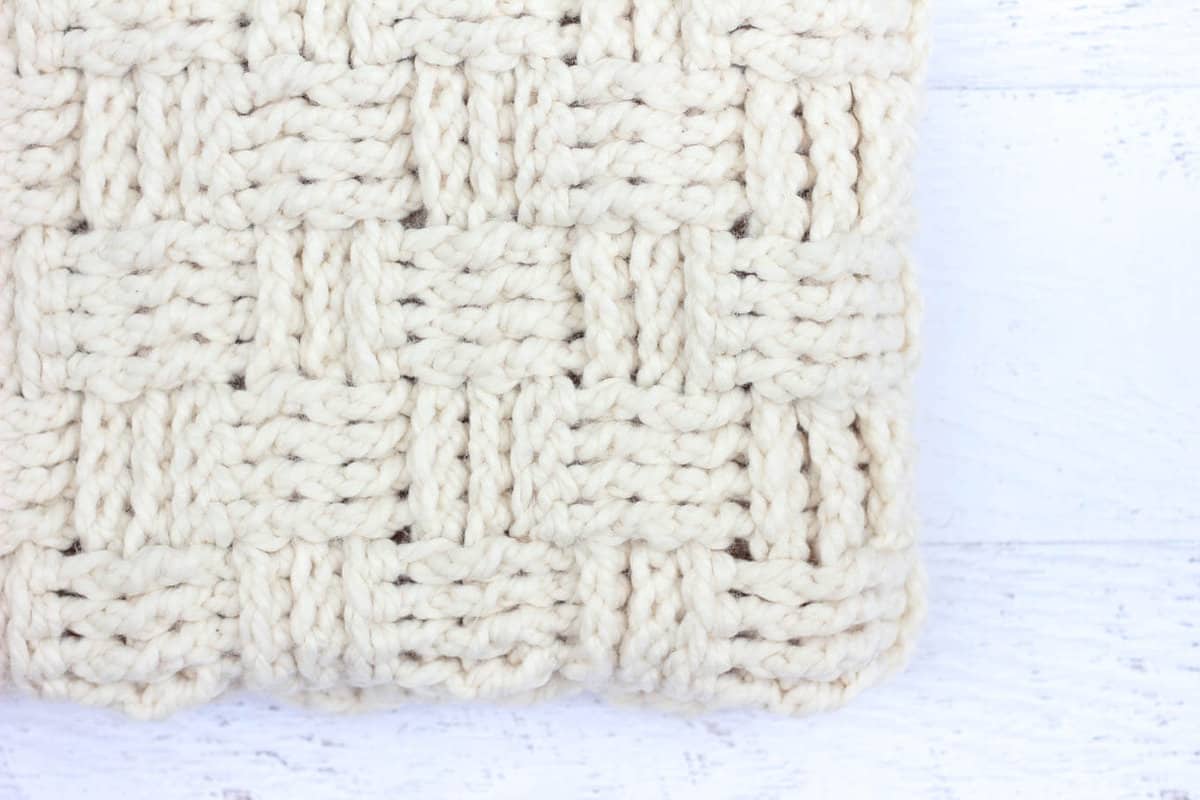
Learn how to crochet the basket weave stitch in this step-by-step video tutorial. The basket weave stitch is modern, beautifully textured and perfect for crochet afghans and blankets.
 This post contains affiliate links.
Last week I shared the Lineage Lapghan free basketweave afghan pattern, so I thought it would only make sense to share a quick video tutorial on how to crochet the basket weave stitch for all us visual learners.
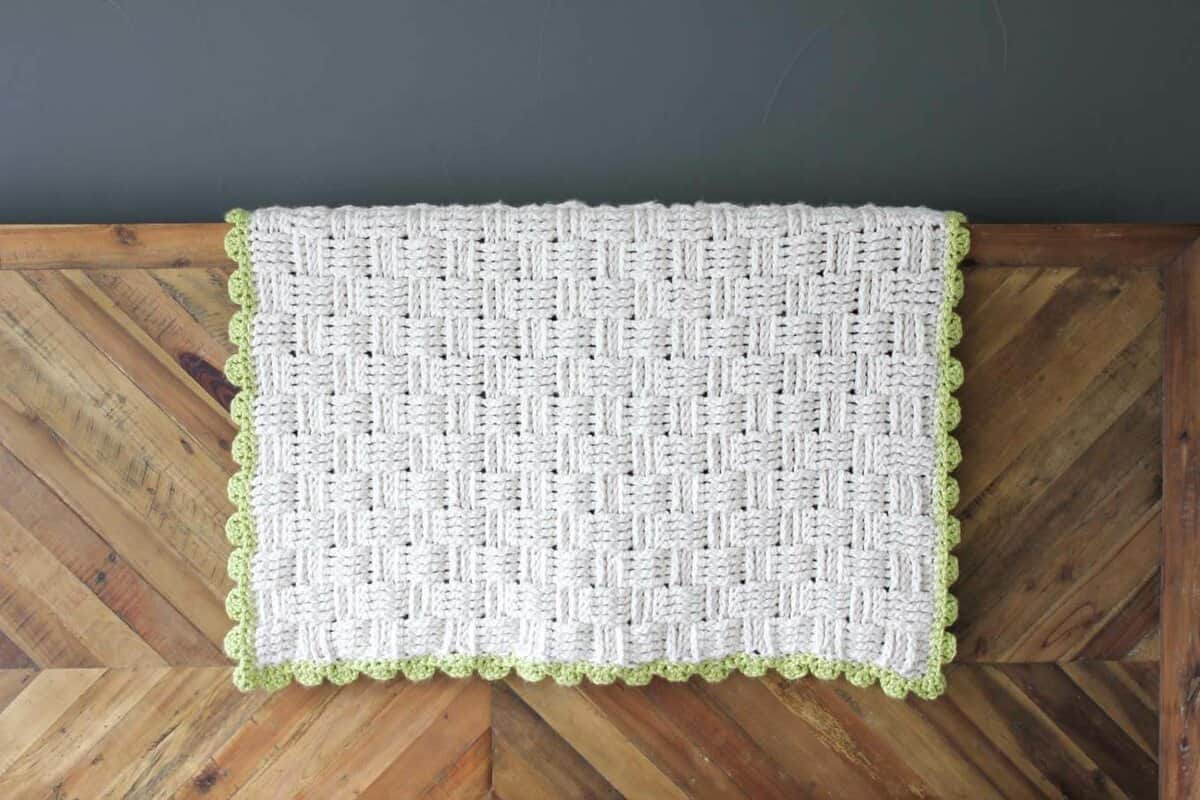
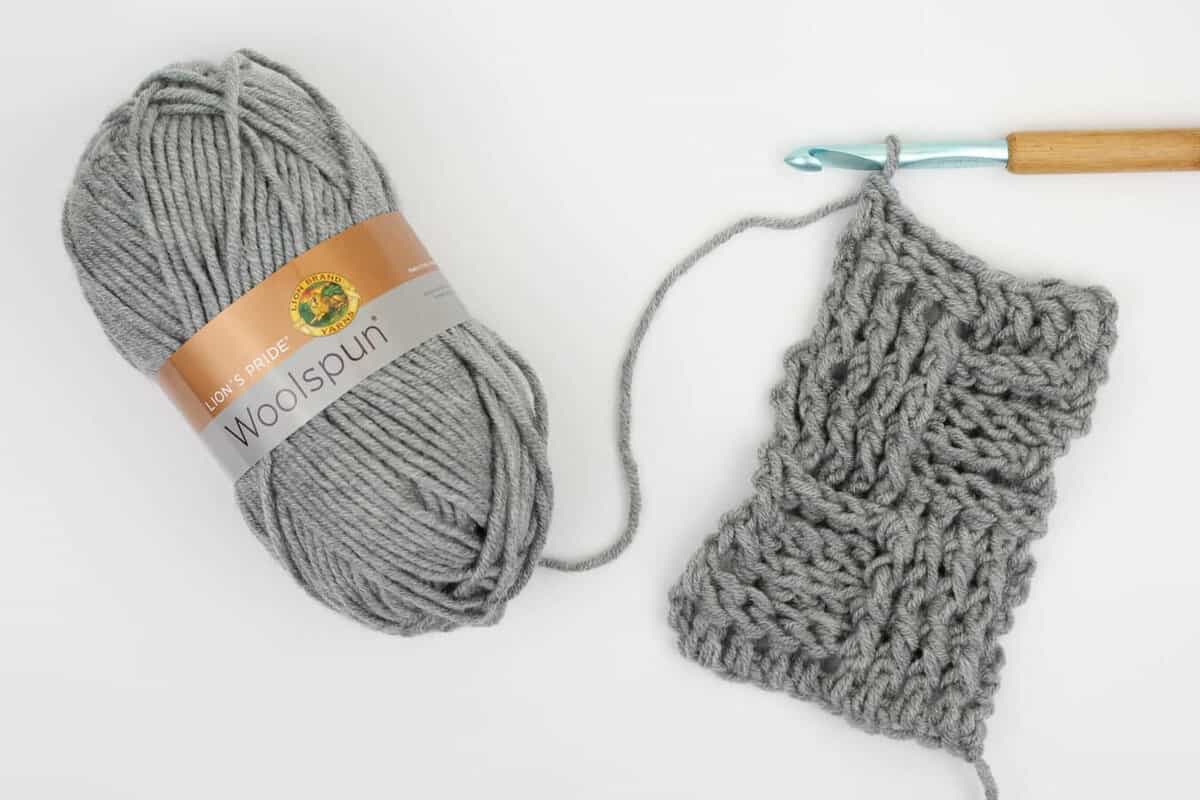
In the video below, I explain everything you need to know about how to crochet the basket weave stitch, but in case you're a skim and pin for later kinda crocheter (me too!), here's the cliff notes on the basketweave stitch. You can find the full written "pattern" instructions below the video.
• The first stitch of each row is not worked into the last dc of the the previous row. It's worked into the second-to-last dc of the previous row. (So once you've flipped your work around for the new row, this is the second stitch in the previous row.)
• The last stitch of each row is a regular double crochet worked into the top of the turning chain of the previous row.
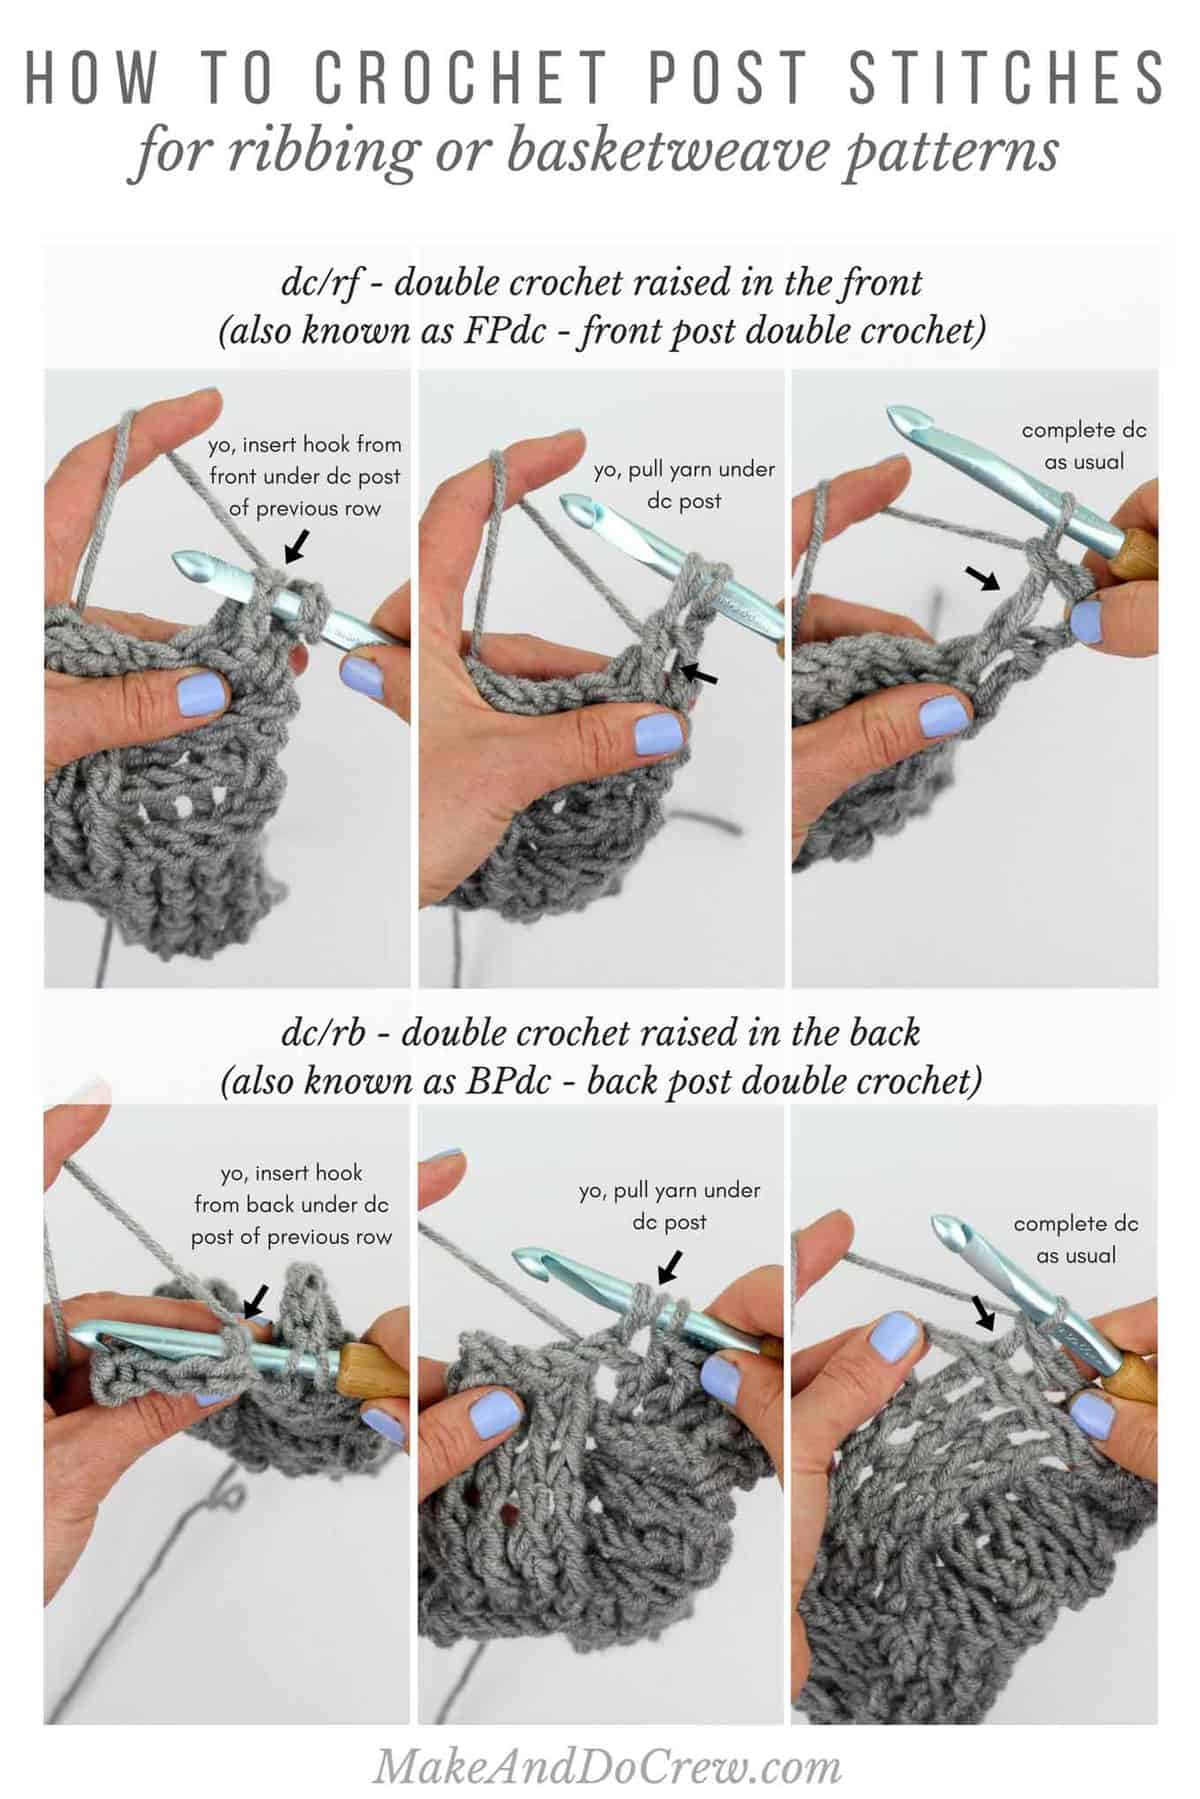
• A simple way to remember how to work a front post double crochet (FPdc or dc/rf) versus a back post double crochet (BPdc or dc/rb) is that a FPdc is always worked by inserting your hook from the front of the fabric around to the back. A BPdc is worked by inserting your hook from the back of the fabric around to the front of the post.
• Pin the image below to jog your memory each time you need to crochet post stitches.
How to Crochet the Basket Weave Stitch - Video Tutorial
Important note: The conventional basketweave stitch is worked in repeats of four rows. The Lineage Lapghan uses three row repeats to create slightly more square-looking tiles. In the video, I explain the traditional four-row basket weave approach, but the same concept applies for a three row repeat if you're crocheting the Lineage Lapghan.
How to Crochet the Basket Weave Stitch - Written Instructions
Abbreviations (US Terms):
dc – double crochet
st – stitch
ch – chain
sk – skip
rs – right side
ws – wrong side
tch – turning chain
rep – repeat
Wanna save this pattern?
dc/rf – raised double crochet at the front of the fabric (also known as FPdc): Wrap yarn around hook, insert hook from in front and from right to left (or left to right for left handed crocheters) around the post of appropriate stitch and complete the stitch as usual.
dc/rb – raised double crochet at the back of the fabric (also known as BPdc): Wrap yarn around hook, insert hook from behind and from right to left (or left to right for left handed crocheters) around the post of appropriate stitch and complete the stitch as usual.
The crochet basketweave stitch is worked in any multiple of 8 + 2, and add 2 for the foundation chain. (ie. 10 x 8 = 80, 80 + 2 + 2 = 84.)
Base Row (ws): Skip 3 ch (counts as 1 dc), dc in each chain to end; turn.
Begin Basketweave Pattern:
Row 1 (rs): Ch 2 (counts as 1 dc), skip first dc, *1 dc/rf around each of next 4 sts, 1 dc/rb around each of next 4 sts; rep from * to end, 1 dc in top of tch at end; turn.
Rows 2, 3, 4: Repeat row 1.
Row 5: Ch 2 (counts as 1 dc), sk first dc, *1 dc/rb around each of next 4 sts, 1 dc/rf around each of next 4 sts; rep from * to end, 1 dc in top of tch; turn.
Rows 5, 6, 7: Repeat row 4.
Repeat rows 1-8 as many times as you wish to create the basketweave pattern.
If you're building a mental crochet encyclopedia in your brain, you'll love these video tutorials too:
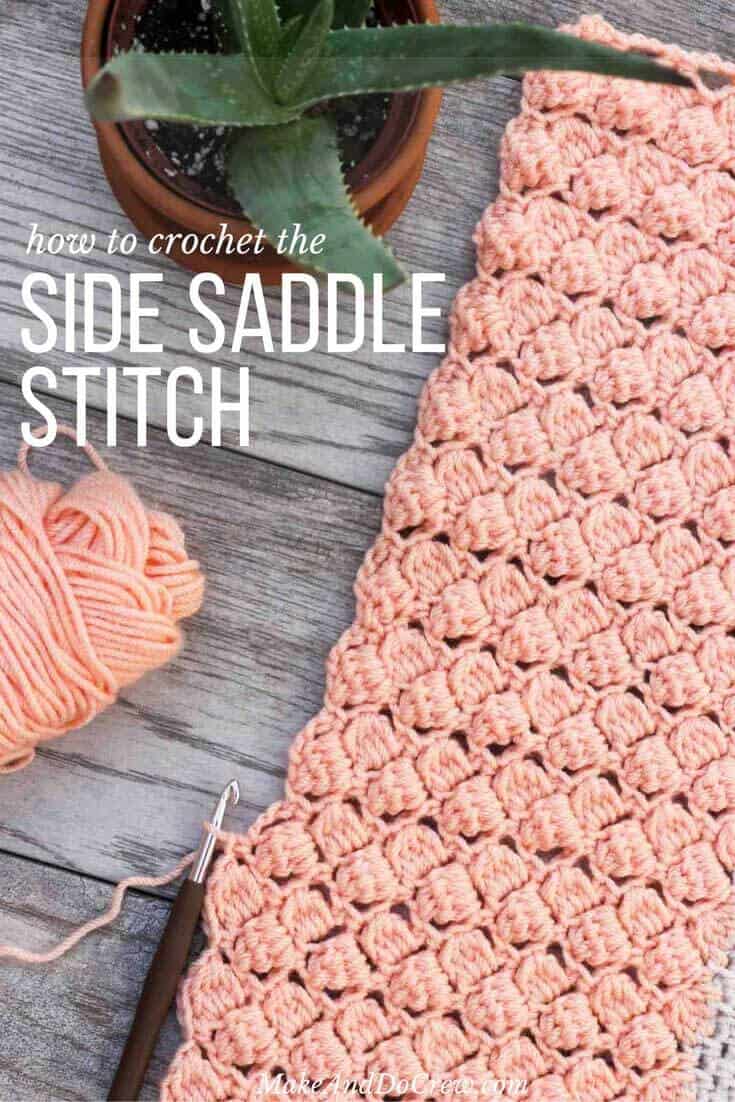
How to Crochet the Side Saddle Stitch


Kimberlyn says
This tutorial helped me so much, thank you! I've been crocheting for almost 6 years and never could quite get the hang of basket weave. I'm also left handed and really appreciate the part you included for lefties, even if it was just a minor directional tip, it helped tons! Thanks again!
Jamie Shank says
I'm so glad this helped! Thank you for the kind words. 🙂
Linda Bender says
Your tutorial was of tremendous help! Thank you! Do you also have instructions to finish off the edging as shown in the picture?
Dara says
Hi Jess
Thank you so much for sharing such a clear lessons of crochet.
Do you have any pattern or tutorial or chart to crochet a triangle scarf? I have many problem in it especially at start!
Greatfully
DARA
Emily says
Hi Jess. What a beautiful crochet stitch. Our readers will love this tutorial. We've included it in our latest craft inspiration roundup. on Crafty Like Granny dot com Cheers Emily 🙂
Jess @ Make and Do Crew says
Thanks so much, Emily! I love the name of your blog. 🙂
James Cooper says
Thank you for sharing this tutorial, here is shown the easiest way to do crochet the basket weave stitch, so I think when we will be interested to do so we will be benefitted by this tutorial and can or we will be able to get help from this tutorial, thank you very much.
Vicki says
Thank you for teaching all the beautiful works. Really easy to follow all the patterns.