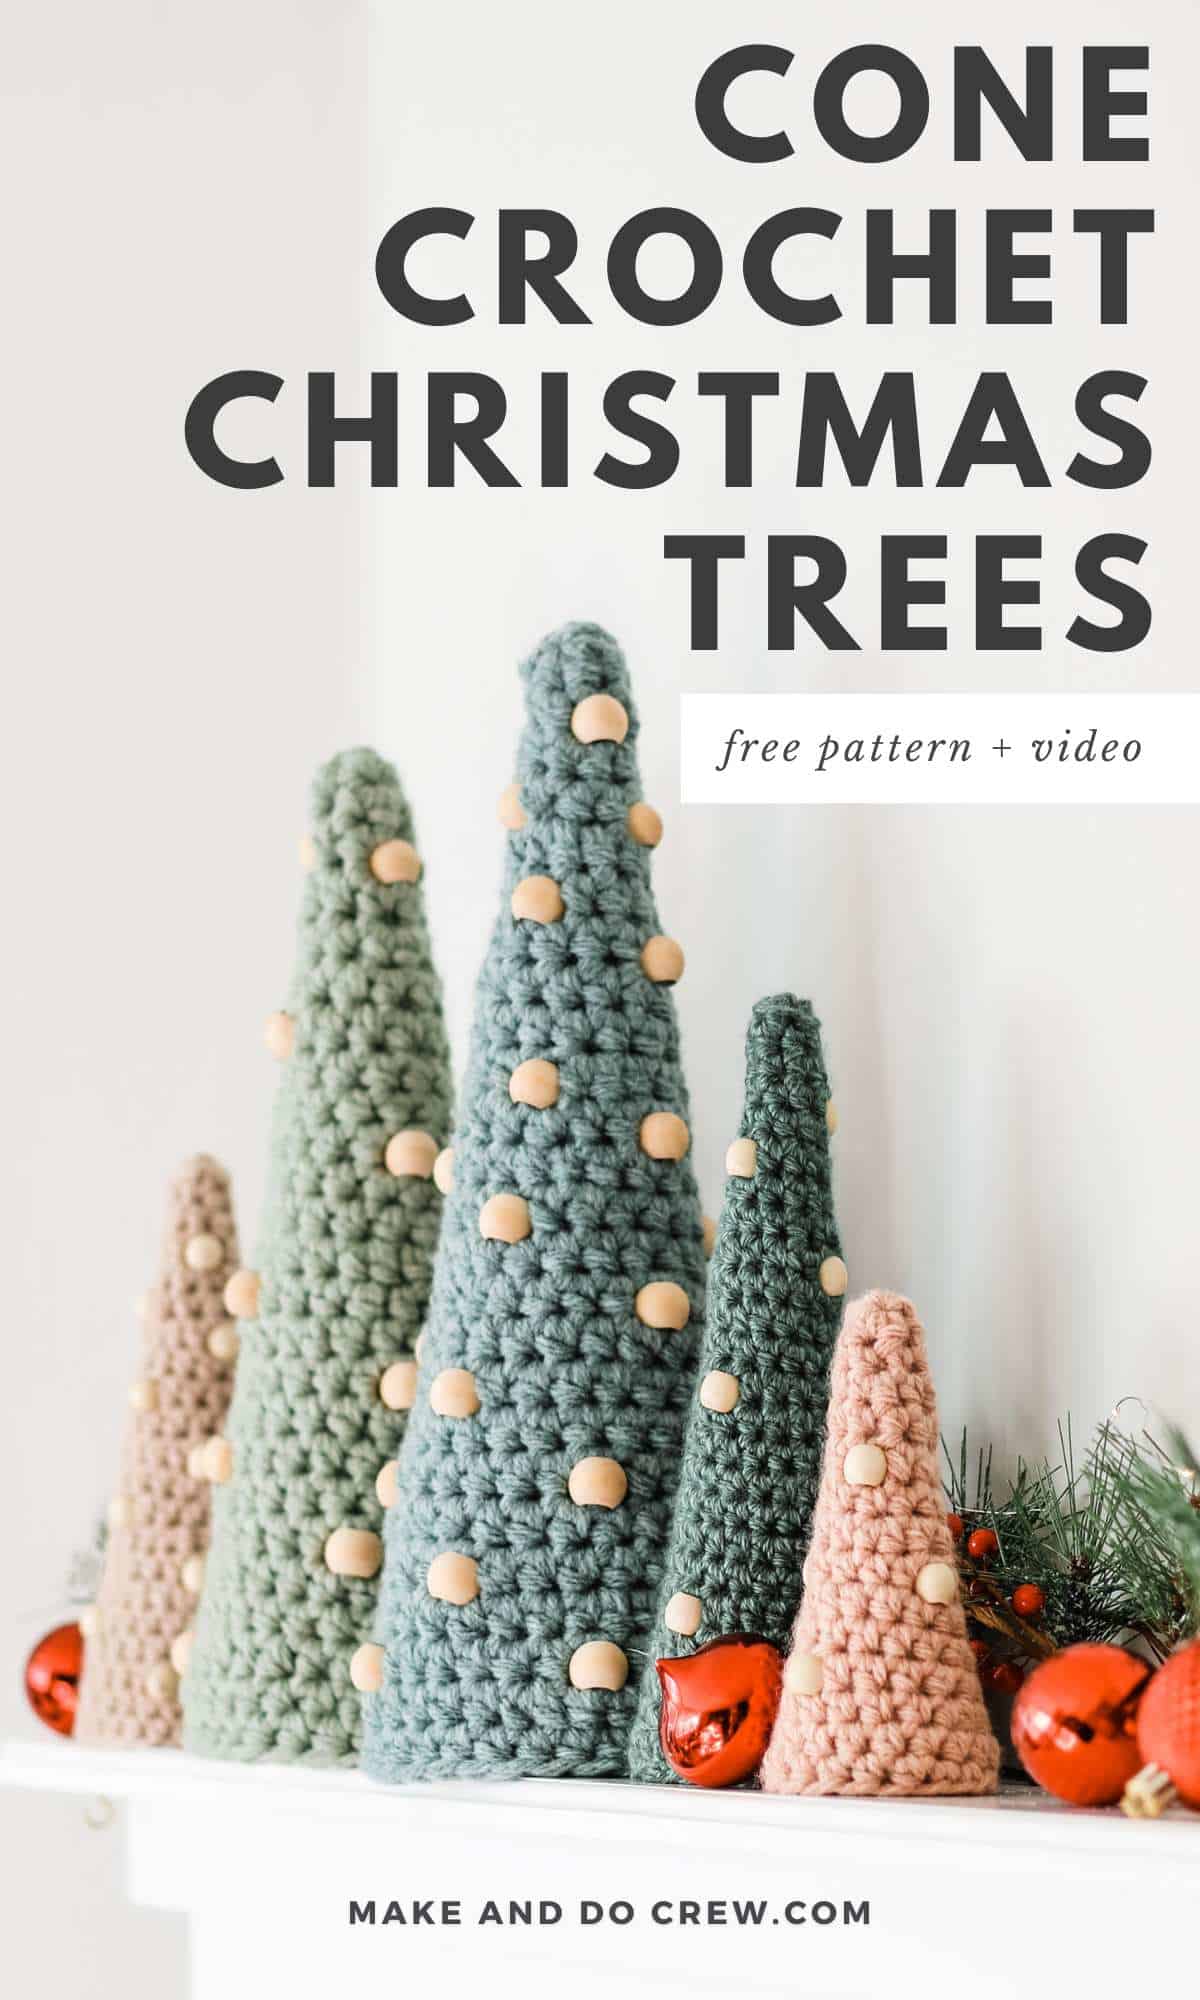
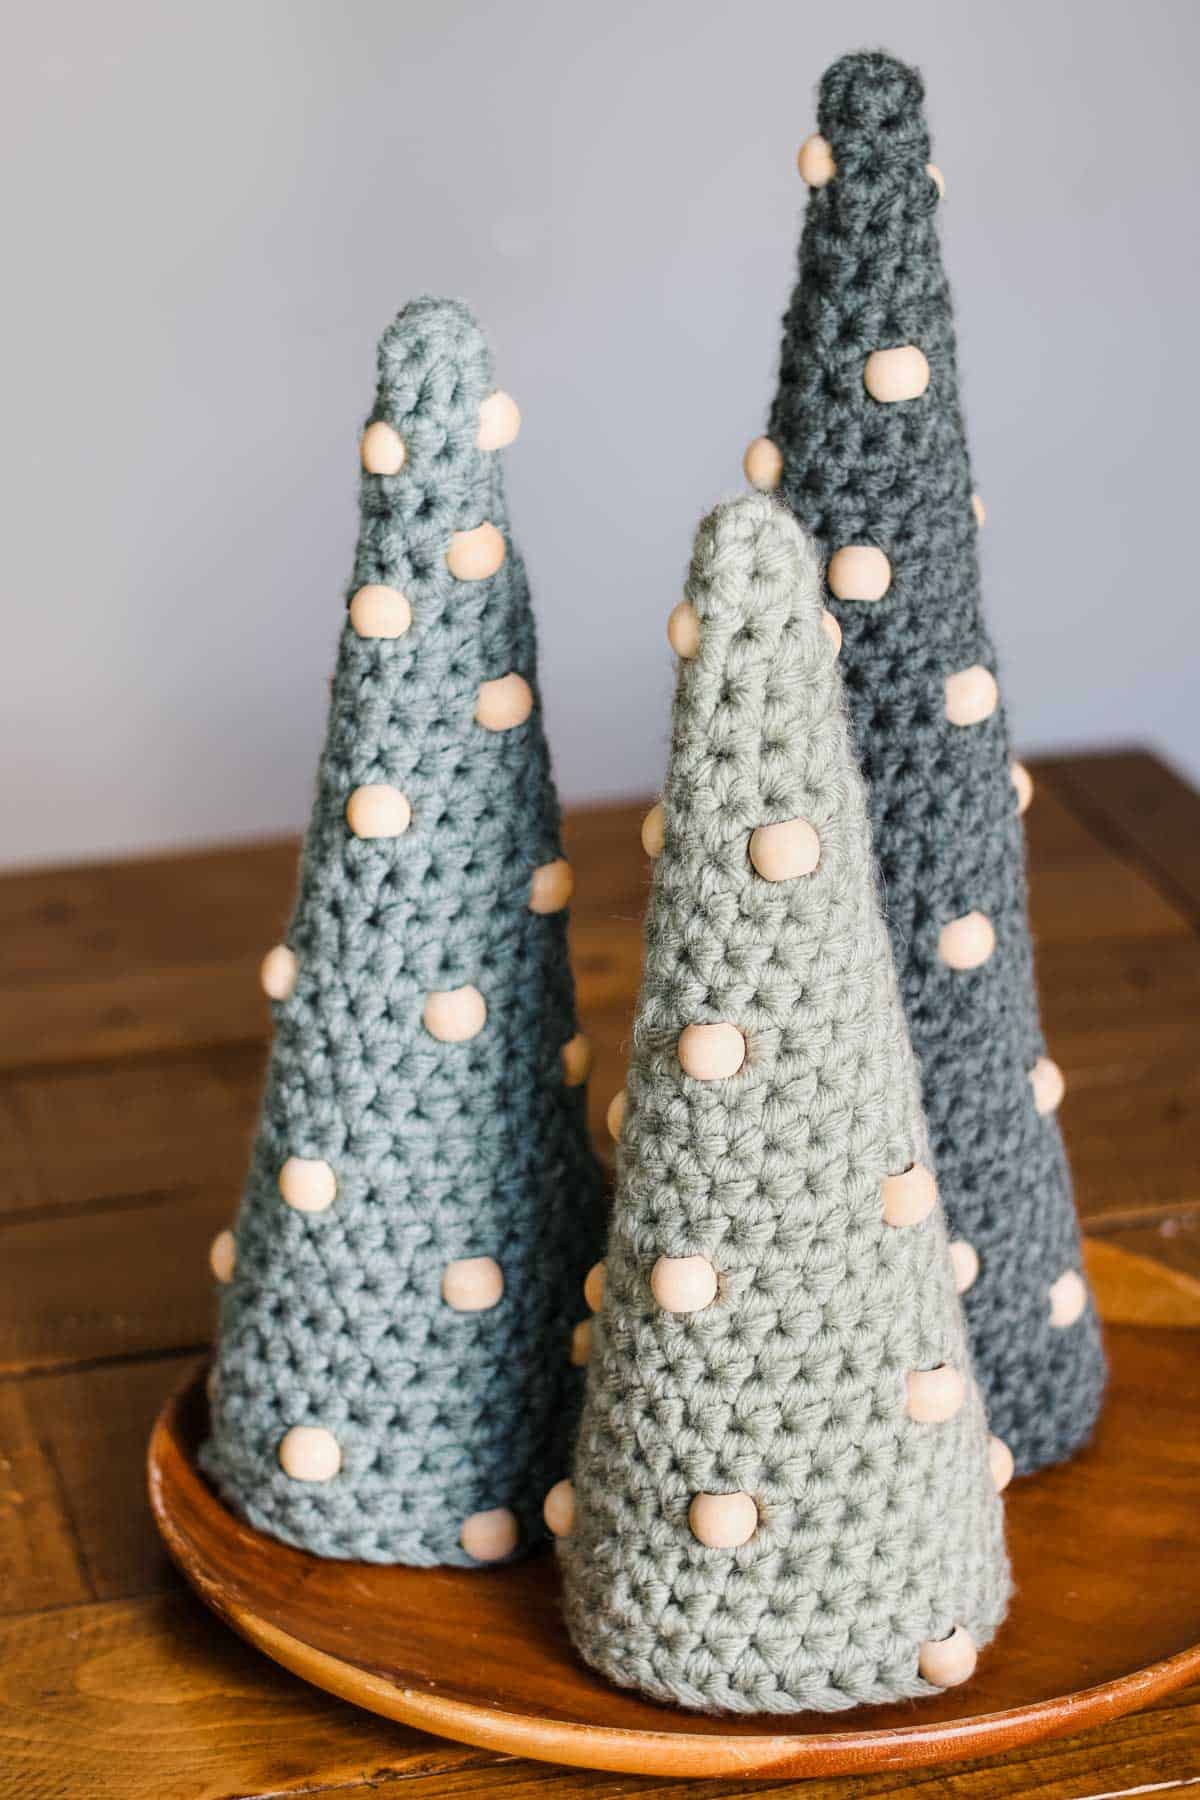
Crochet cone Christmas trees by combining beads and any weight yarn! The best part? There's no need to pre-string the beads. You pick them up as you work to “decorate” your tree. Stuff your trees with styrofoam cones, twinkle lights, or polyfill!
The free crochet tree pattern and video tutorial is below or purchase the ad-free, printable PDF.
This post contains affiliate links.
Jump to:
Crochet Trees with Wooden Beads
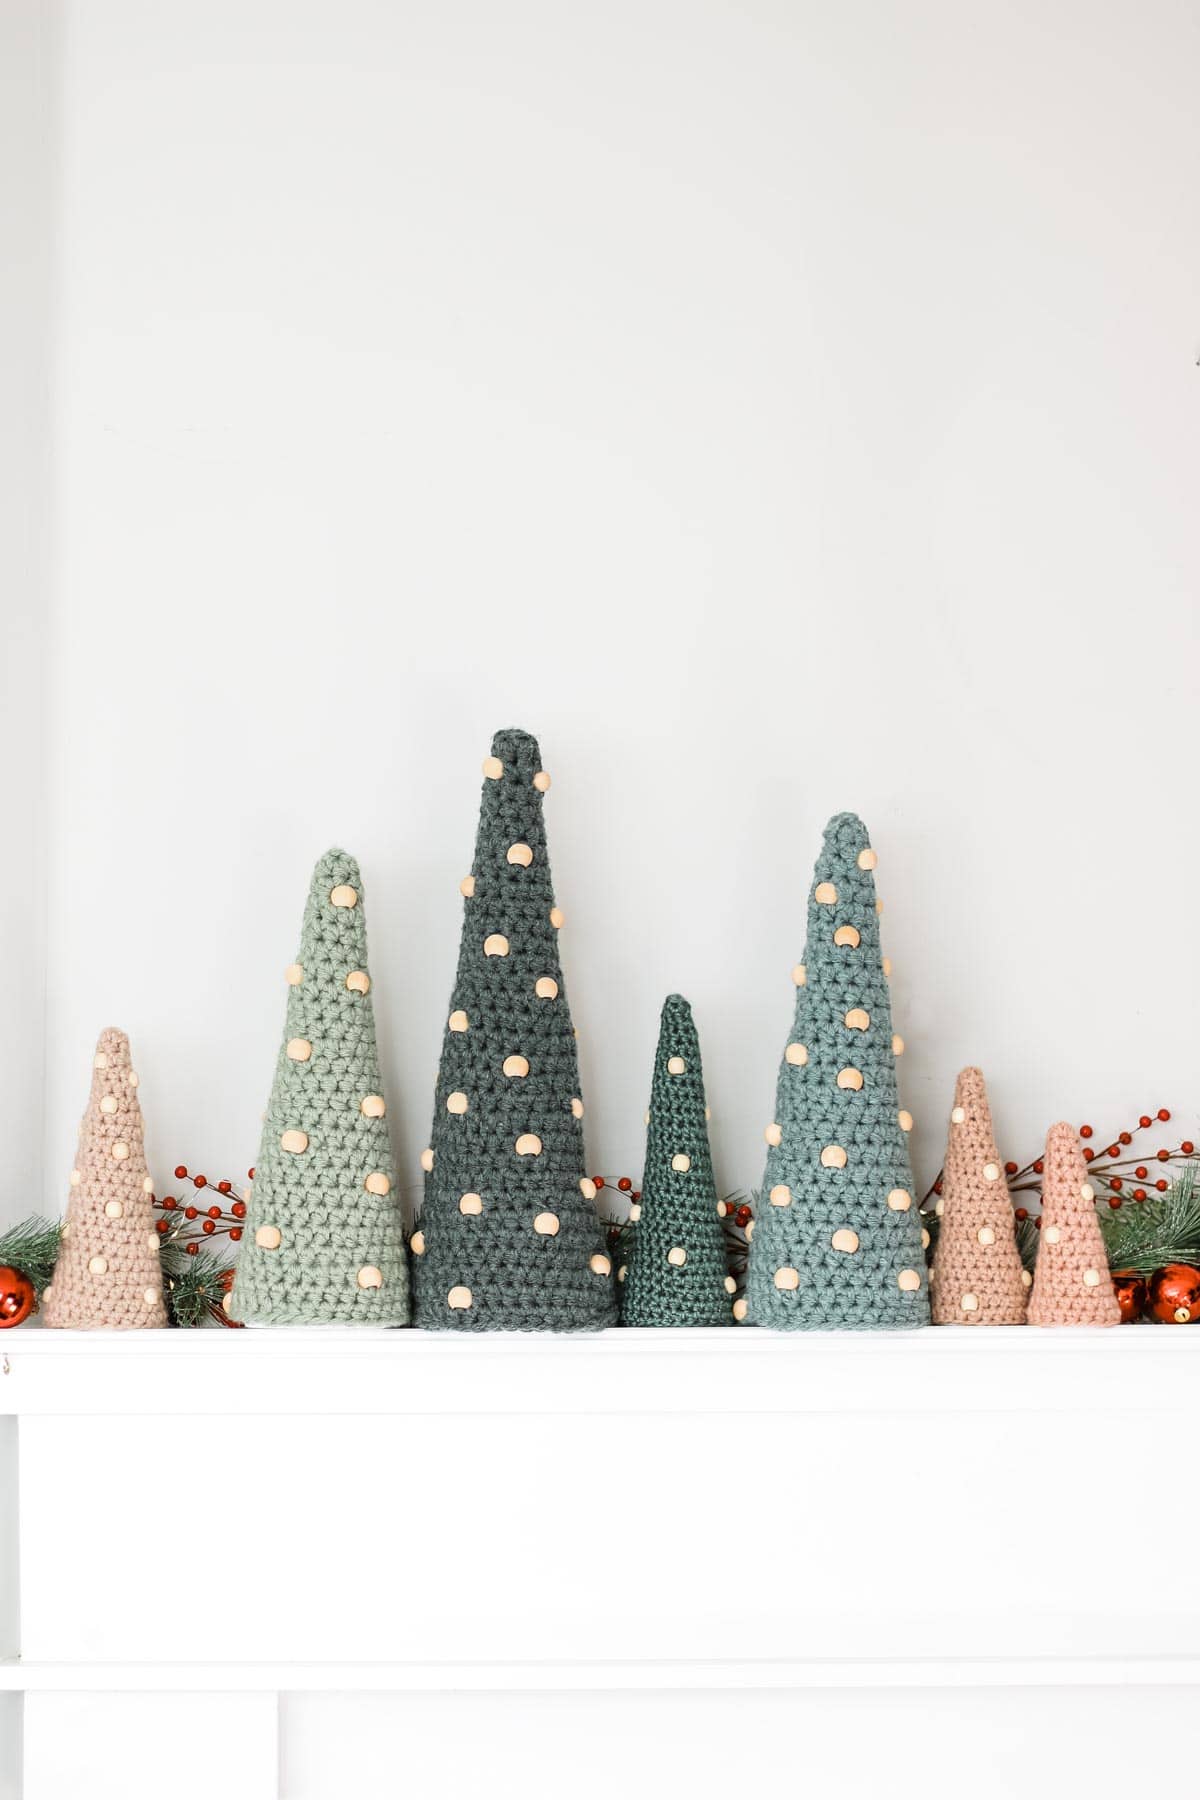
These cone trees are so fun and simple to make. I love how the wooden beads adds a bit of texture contrast against the backdrop of single crochet stitches.
Keep reading for more yarn and inspiration details or jump down to the free pattern.
More Free Patterns That Use Beads:
Check out these free patterns that add beads as you crochet.
How To Add Beads As You Crochet
Here's how you'll add beads to your cone trees without pre-stringing the beads onto your yarn.
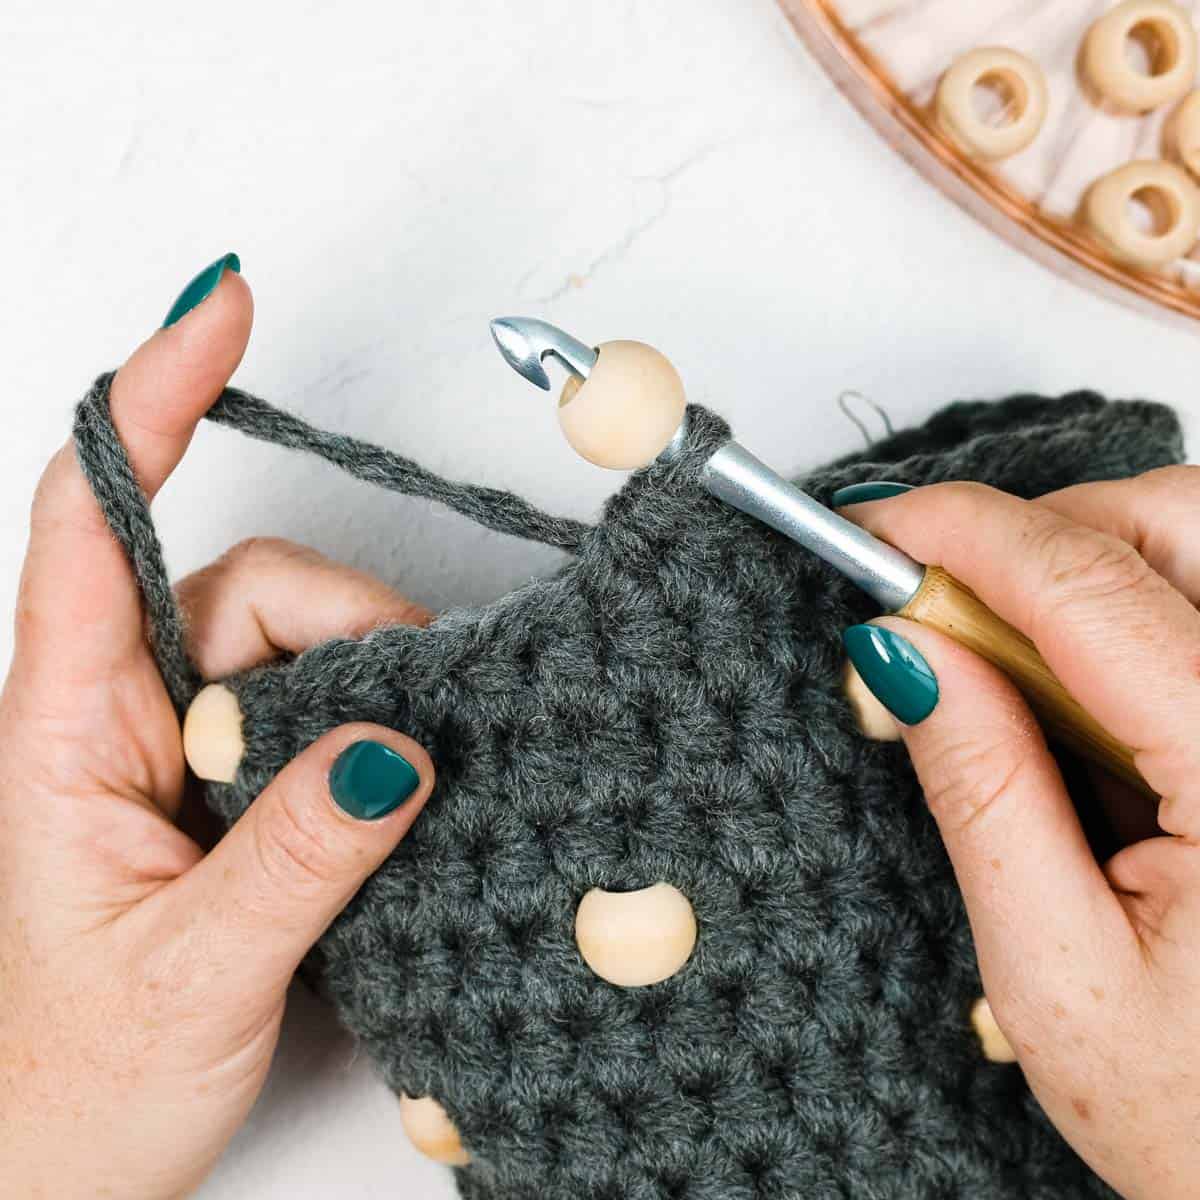
Step 1: Place bead on crochet hook.
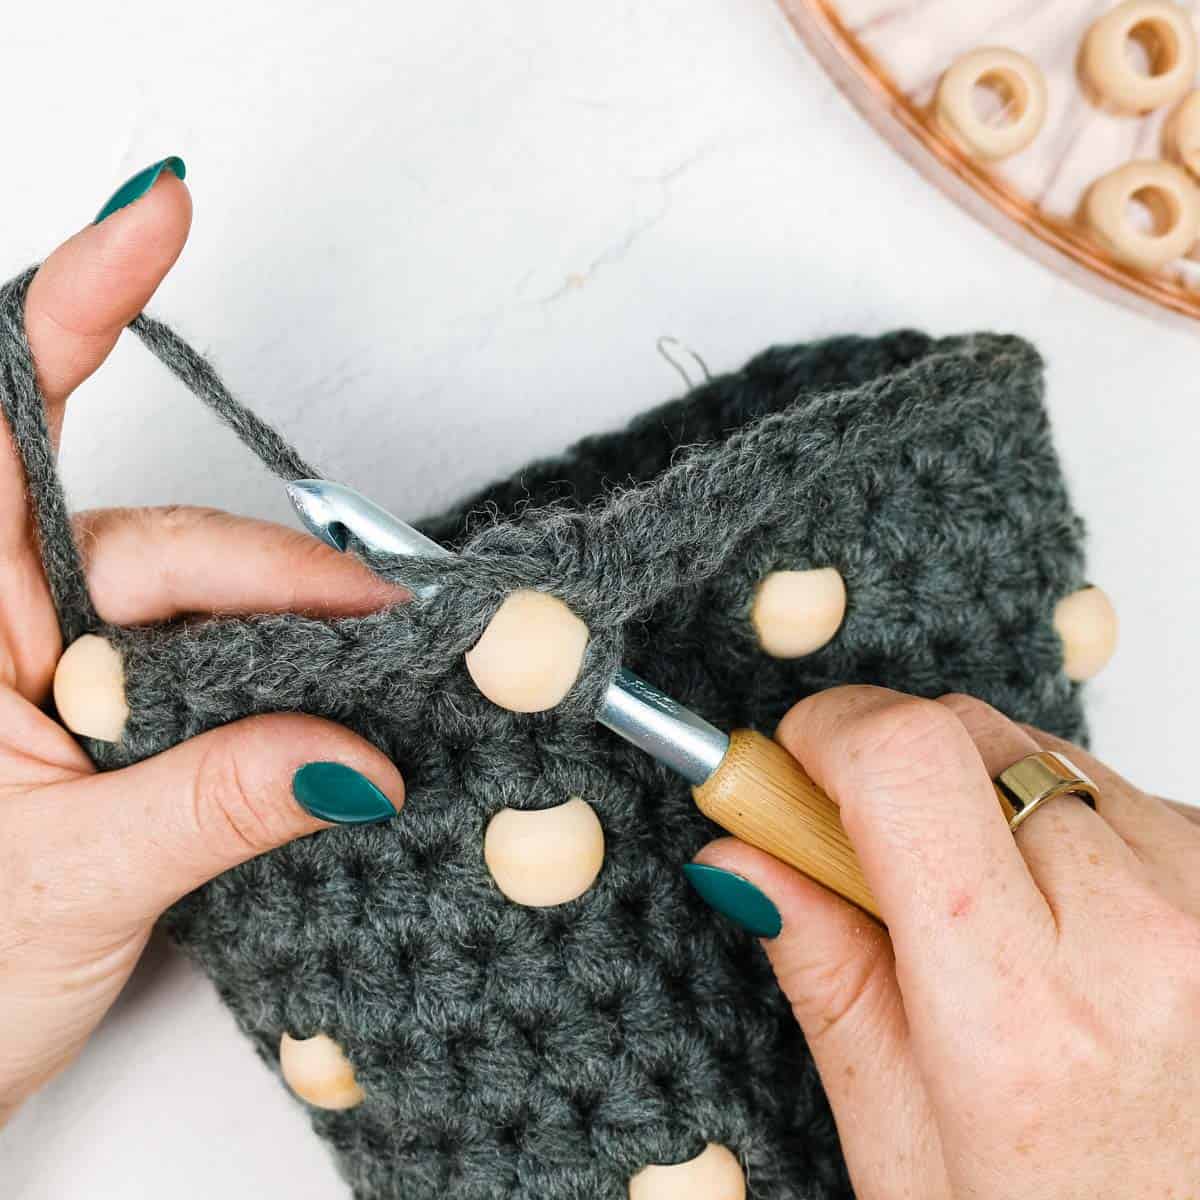
Step 2. Insert hook in next stitch. Yarn over
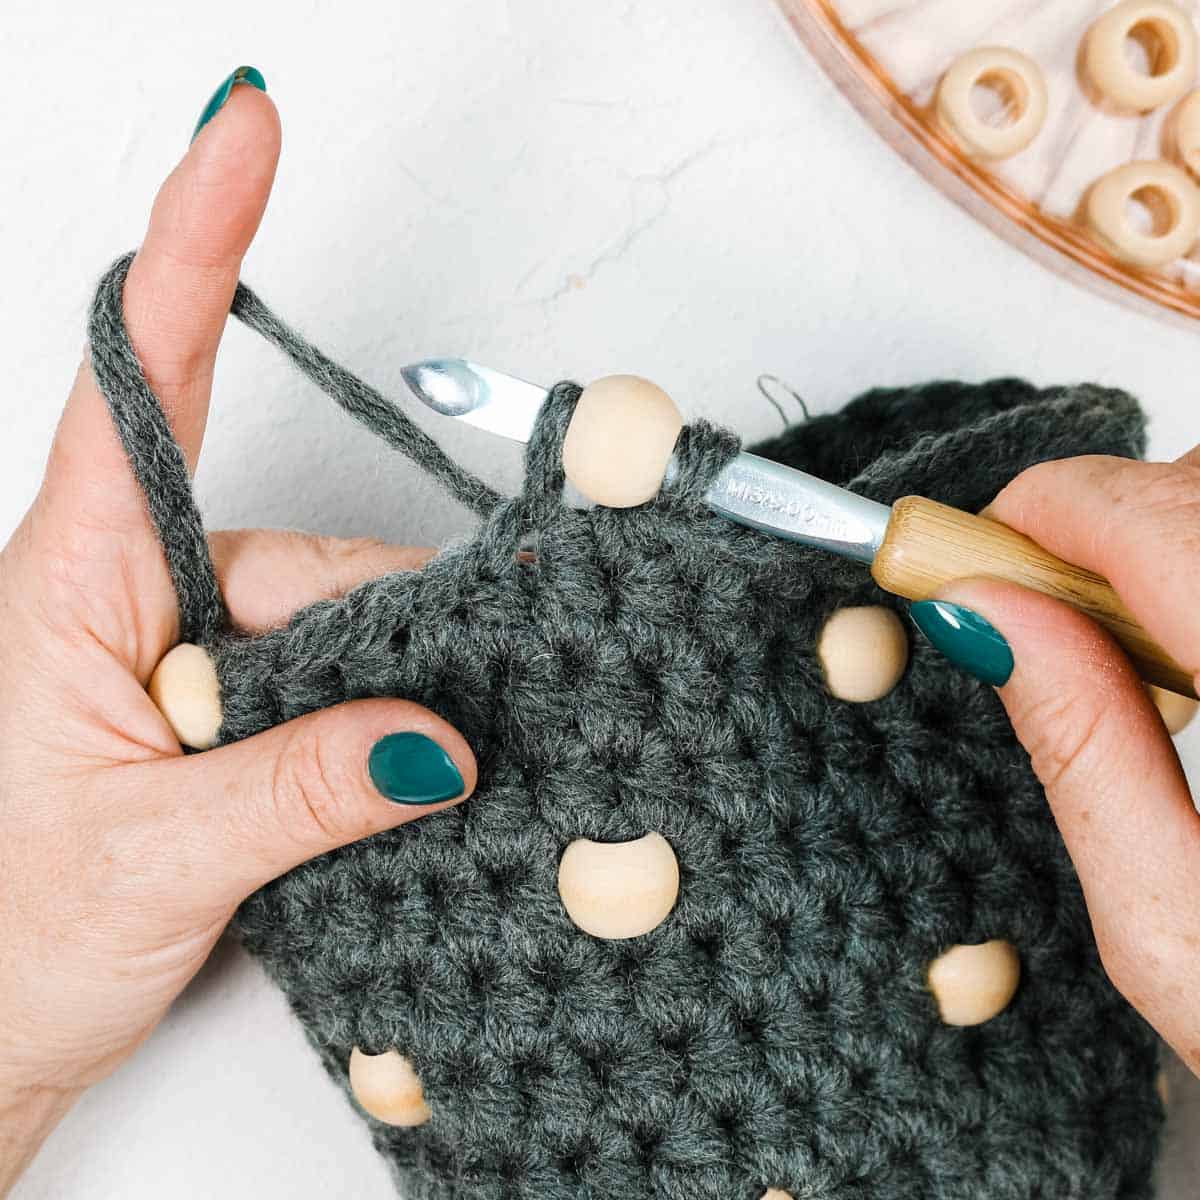
Step 3: Pull up a loop.
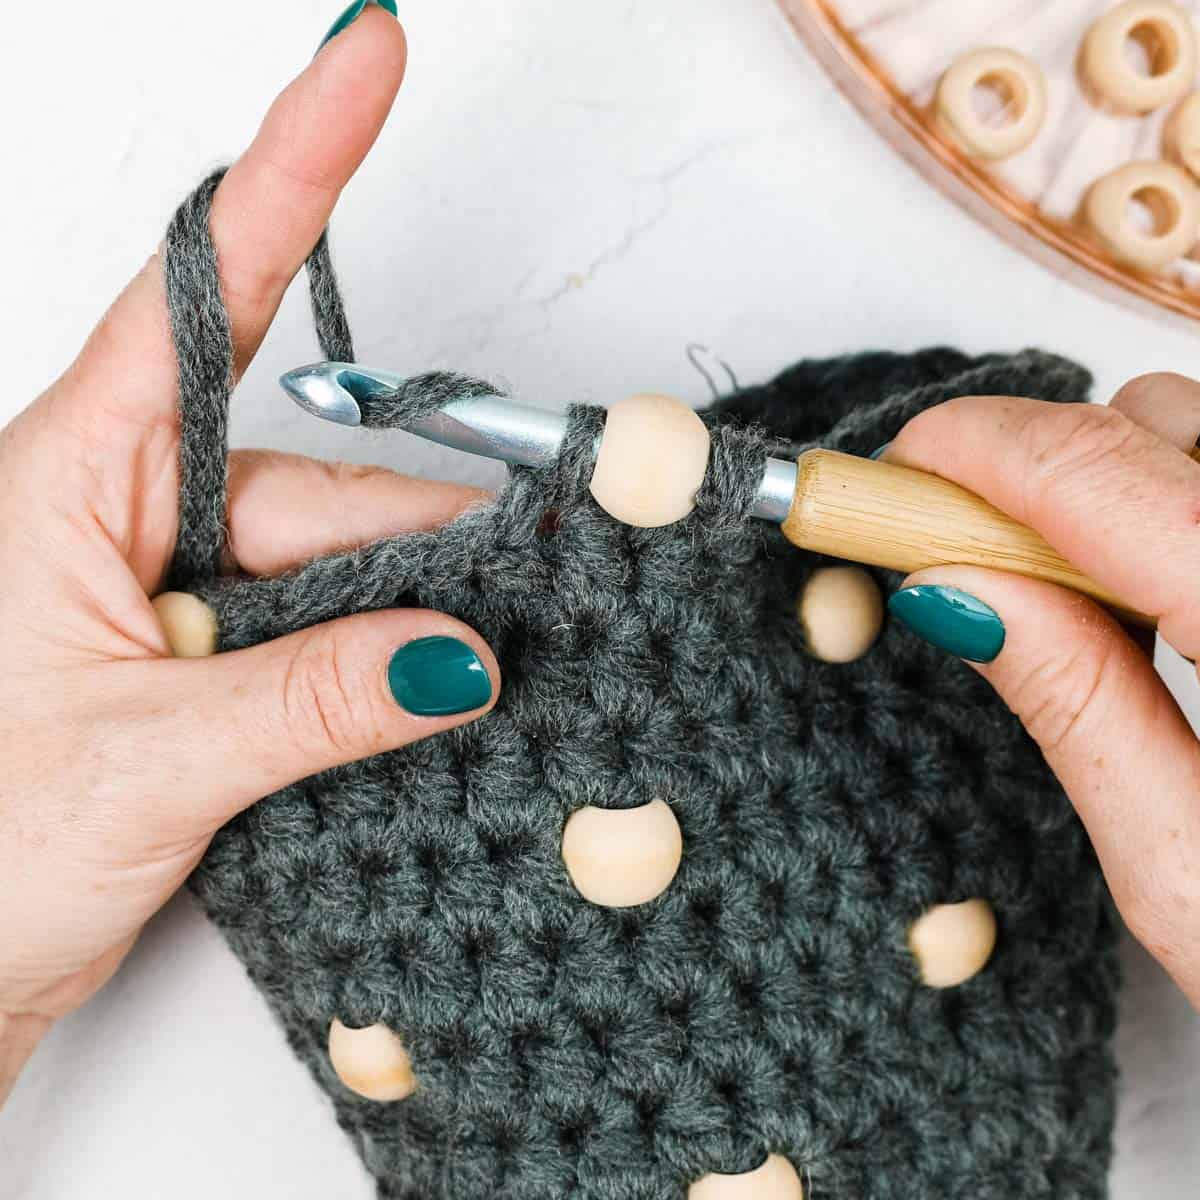
Step 4: Yarn over.
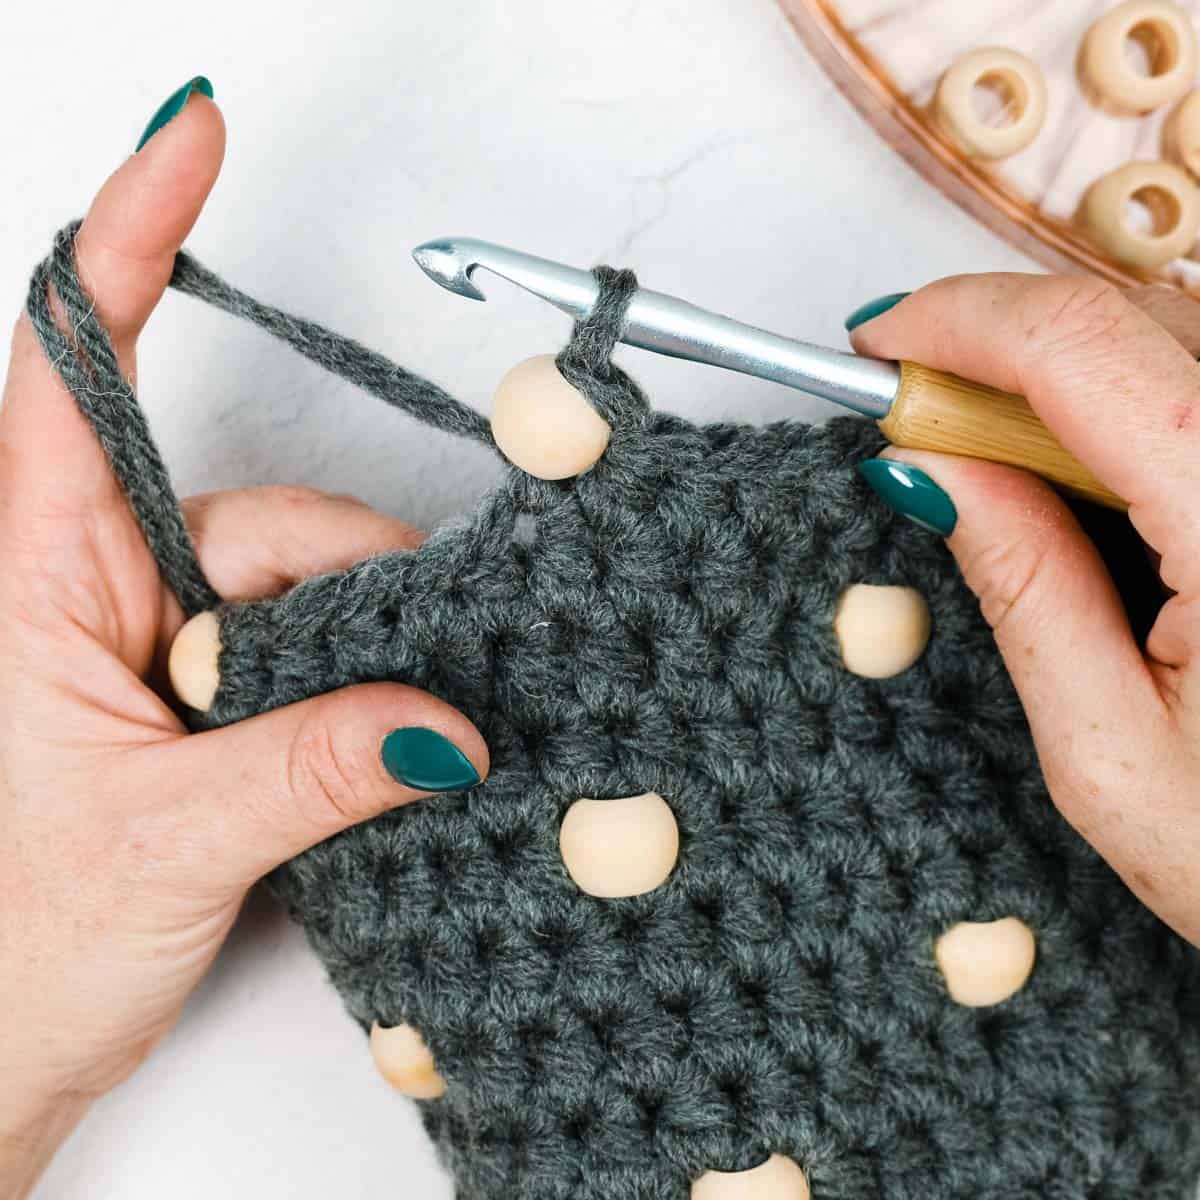
Step 5: Pull through first loop, bead and second loop.
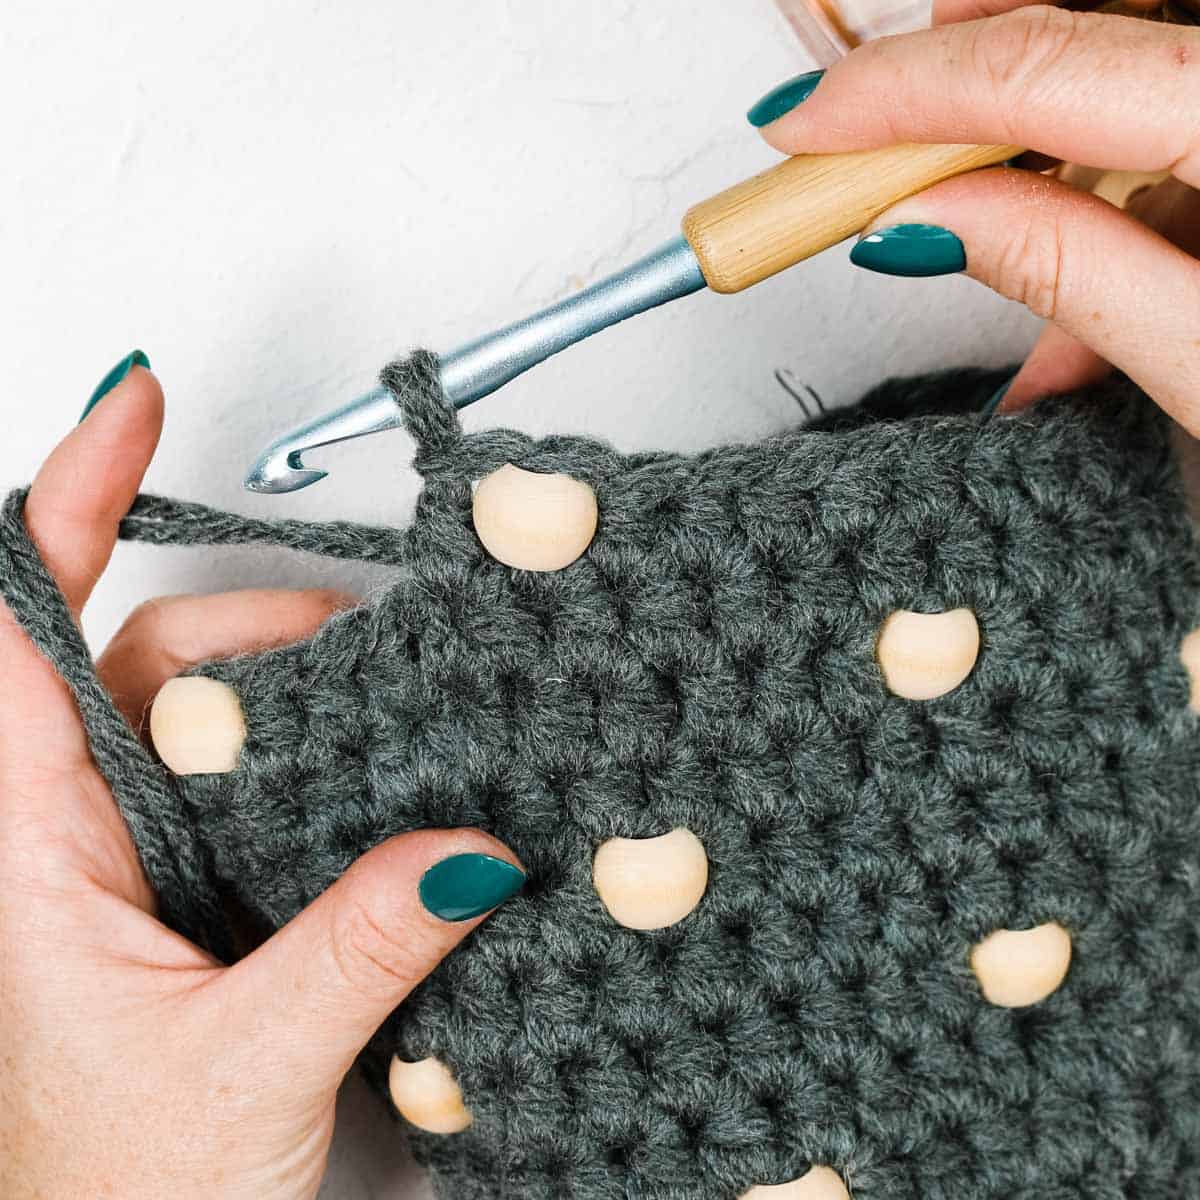
Step 6: Half double crochet in next stitch as usual.
Said another way, you’ll add a bead to your hook, then work a single crochet, pulling the yarn though the bead as you complete your stitch.
In the next round, you’ll treat these bead stitches like any other and simply insert your hook into the top of the stitch.
When To Add Beads
You can add beads as frequently as you wish. Like decorating a real Christmas tree, aim to place each bead in a “window” between the beads that were already placed.
The goal isn’t to mathematically triangulate the perfect bead placement but rather to create a tree that looks balanced and dynamic.
Print this Pattern
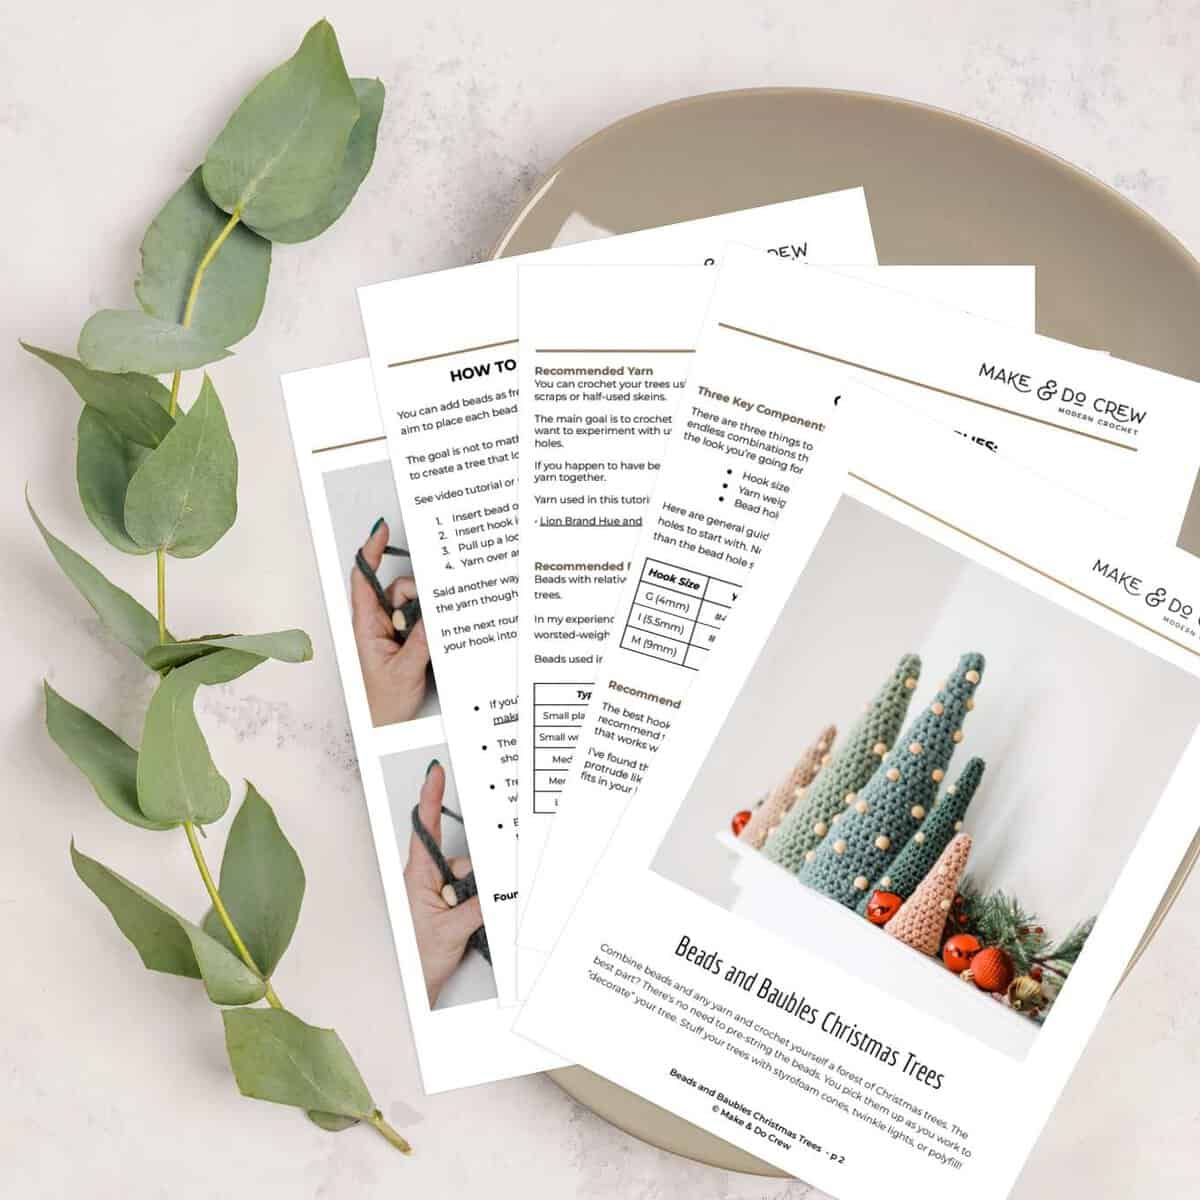
Want to avoid the ads and have a relaxing crochet experience? You'll love the premium PDF! The instantly downloadable, ad-free file is formatted for easy printing and includes the complete pattern, all the photo tutorials and lists of recommended supplies.
Step-By-Step Video Tutorial
In this video, I go over how to choose the beads and yarn that will work together and how to crochet your trees from start to finish. I share how to add beads as you go and modify the size of your cone tree.
Note: If you're running an ad-blocker, please disable it in order to view the video player below.
Watch the video tutorial on Youtube here.
Supplies + Materials
There are endless combinations that can work together and your job is to find one that suits the look you’re going for.
Three Key Components:
There are three things to consider when deciding the supplies to use:
- Hook size
- Yarn weight (thickness)
- Bead hole size
Here are general guidelines for the combinations of hook size, yarn weight and bead holes to start with, but you’ll want to play around a bit based on your exact materials.
| Hook Size | Yarn Weight | Two Strands Held Together | Bead Hole Size |
|---|---|---|---|
| G (4mm) | #4 Worsted/Aran | 2x #3/DK | 5mm |
| I (5.5mm) | #5 Bulky/Chunky | 2x #4/Worsted/Aran | 6mm |
| M (9mm) | #6 Super Bulky | 2x #5/Bulky/Chunky | 10mm |
Recommended Crochet Hook Sizes
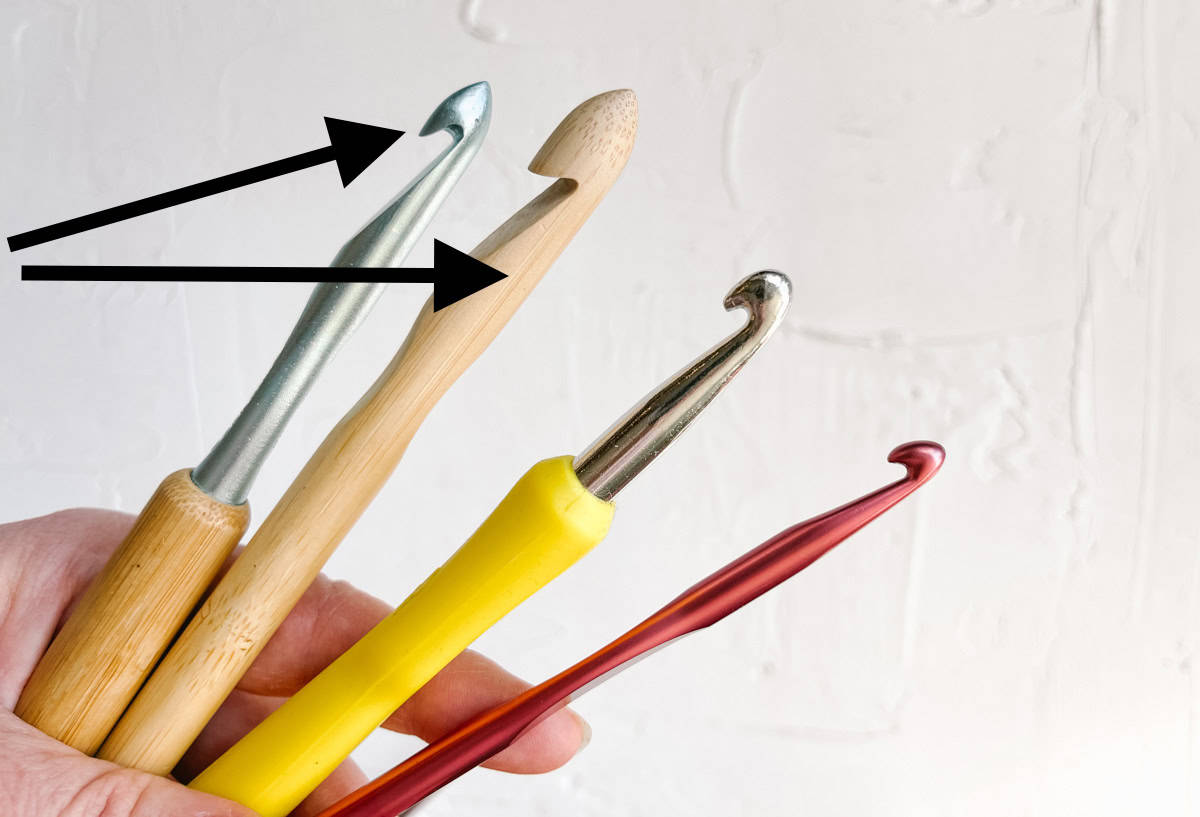
Hook Size: The best hook size to use will depend on the yarn and beads you’re using. I recommend trying your yarn and bead combo and choosing the largest size hook that works with the bead holes.
As a general guideline, a hook that’s 1mm smaller than the bead hole size tends to work well.
Hook Shape: I’ve found that inline crochet hooks tend to work the best because the tip doesn’t protrude like tapered hooks. That said, use what you have and find the hook size that fits in your beads!
Recommended Yarn
You can crochet your trees using any yarn, making this a fun project to use up scraps or leftover skeins.
The main goal is to crochet a dense fabric that has some structure. To do this, you’ll want to experiment with using the thickest yarn that can still fit through your bead holes.
If you happen to have beads with very large holes, consider holding two strands of yarn together.
Yarn used in this tutorial:
Wanna save this pattern?
• Lion Brand Hue and Me (Weight: 5/Bulky - 137 yds, 4.4 oz/125 g)
Recommended Beads
Beads with relatively large center holes are what work best for crocheting these cone trees.
In my experience, a 4mm hole is the minimum size that works well with worsted-weight yarn. This is the hole size of most plastic “pony” beads.
Beads used in this tutorial:
| Type | Bead Hole | Total Bead Size | Where to Purchase |
|---|---|---|---|
| Small plastic (pony) | 4mm | 9mm | 🛒Amazon |
| Small wooden (pony) | 5mm | 10mm | 🛒Amazon |
| Medium plastic | 6mm | 12mm | 🛒Amazon |
| Medium wooden | 6mm | 12mm | 🛒Amazon |
| Large wooden | 10mm | 20mm | 🛒Amazon |
Additional Supplies
• 2 stitch markers
• Styrofoam cones (alternative: use poly-fil)
• Battery-operated fairy lights (optional)
Beads and Baubles Christmas Trees - Free Pattern
Gauge
The gauge will vary based on the weight of yarn you use. What’s important is that your stitches are tight to give the tree structure.
Abbreviations + Glossary (US Terms)
ch – chain
chsp – chain space
dc – double crochet
hdc – half double crochet
PM – place marker
rep – repeat
RS – right side
sc – single crochet
slst – slip stitch
st(s) – stitch(es)
yo – yarn over
Skill Level
Advanced Beginner: In this pattern, you'll practice working in the round, increasing and learning how to add beads as you crochet.
Premium PDF
easier and faster with fewer mistakes.
- Complete pattern + photo tutorials
- Instant download
- Formatted for easy printing
Cone Tree Pattern
- If you’re new to reading crochet patterns, check out more info here.
- The number in parenthesis at the end of each round is how many stitches you should have after completing the round.
- Tree is worked from the top down until the desired height is reached. Crochet with the right side (RS) facing. (Don’t turn your work at the end of each round.)
- Because you’ll be working in a spiral, it’s important to place a stitch marker in the first stitch and move it to the first stitch of each round.
A few rounds into the pattern, it’s also helpful to place a marker where the second increase takes place so that you don’t have to count your stitches each round.
Foundation: Make a magic ring (aka magic loop).
Round 1: Ch 2 (does not count as a st), 1 hdc in ring (place marker), 3 more hdc in ring. (4 sts)
Round 2: Hdc in each st around. (4 sts)
Round 3 (inc): 2 hdc in first st, hdc, 2 hdc, hdc. (6 sts)
Round 4: Hdc in each st around. (6 sts)
Round 5 (inc): 2 hdc in first st, hdc in each of next 2 sts, 2 hdc, hdc in each of next 2 sts. (8 sts)
Round 6: Hdc in each st around. 8 sts)
Round 7 (inc): 2 hdc in first st, hdc in each of next 3 sts, 2 hdc (place marker in first hdc of increase), hdc in each of next 3 sts. (10 sts)
🧶 Instead of counting your stitches from now on, look for the markers to indicate the stitches where you should increase on each odd-numbered round.
Round 8: Hdc in each st around. (10 sts)
Round 9 (inc): 2 hdc in first st, hdc in each st to second marker, 2 hdc in marked st, hdc in each remaining st of round. (12 sts)
Round 10: Hdc in each st around. (12 sts)
Repeat Rounds 9 and 10 until the desired tree height is reached. If using a styrofoam cone, I suggest trying your tree “sleeve” on the cone rather than working to a particular measurement. Sometimes you’ll need a tree sleeve that is a bit taller than the cone.
It doesn’t matter if you end on an even or odd-numbered round.
Finishing: To taper spiral before fastening off, sc in first 2 sts of round, slst in next 2 sts.
Fasten off. Weave in your final yarn tail.
Finishing
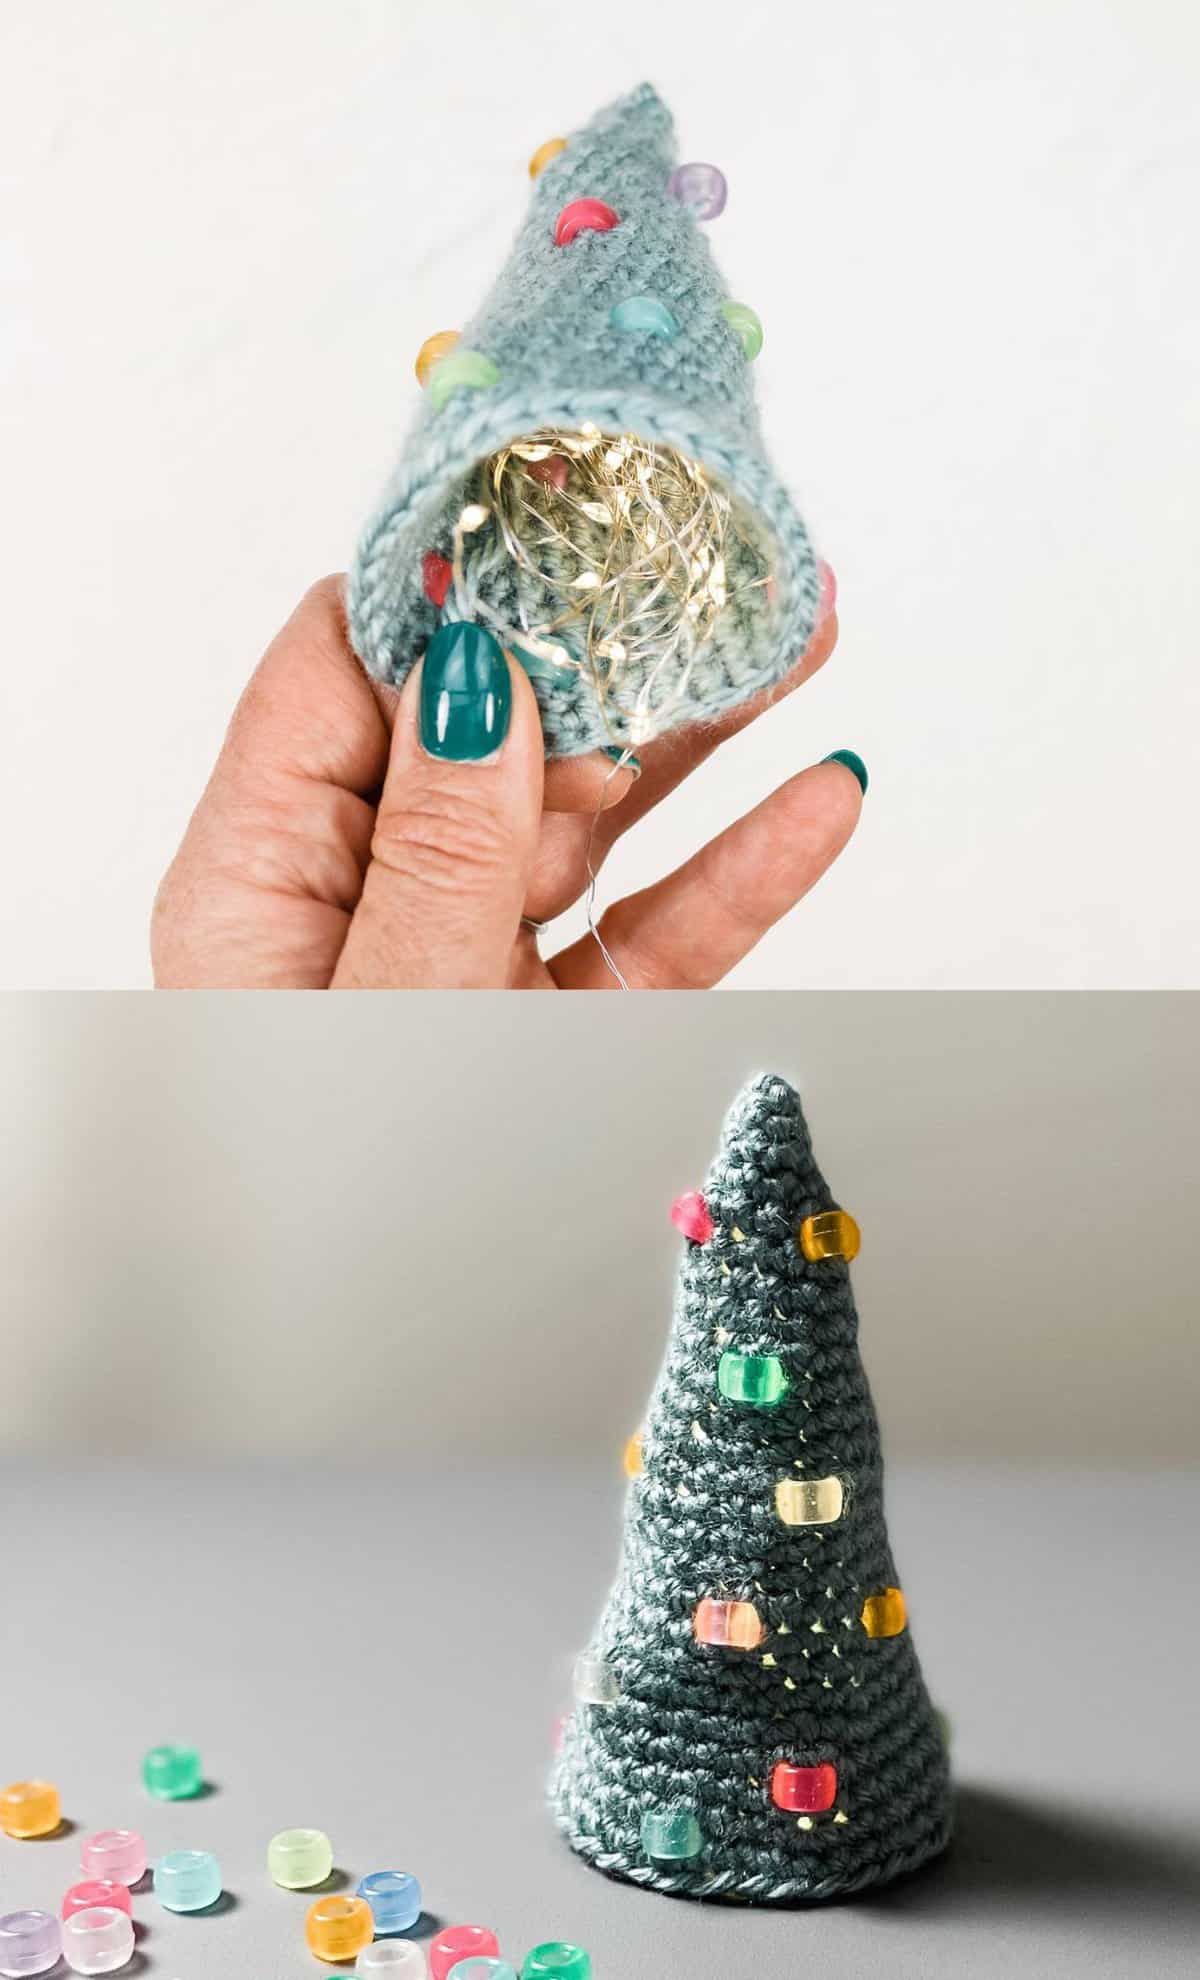
Pop a styrofoam cone or some poly-fil into your tree to give it the structure it needs to stand tall.
Consider adding a strand of battery-operated fairy lights inside your tree for an extra magical effect. This works particularly well when using transparent plastic beads.
Start planting the next yarn-y seeds to grow your beads and baubles forest!
More Free Christmas Patterns
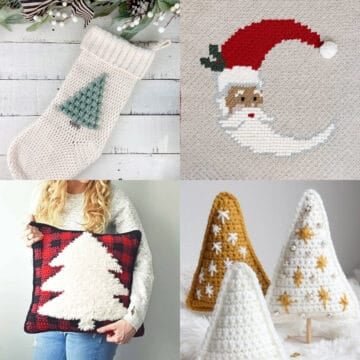
We've got so many fun, festive patterns for you to crochet for Christmas. Here are some to sink your hook into.
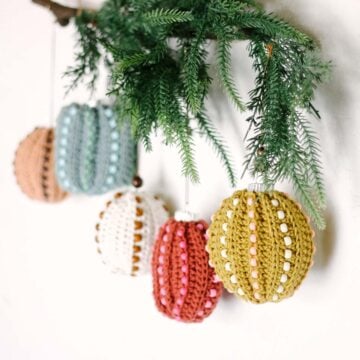
- Modern Crochet Bauble Ornaments with Beads | Free Pattern + Video
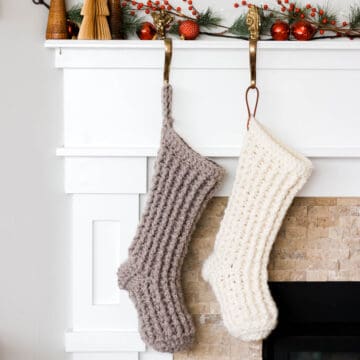
- 2 Hour Fast Crochet Stocking - Free Pattern + Video
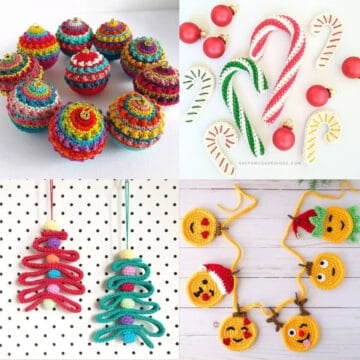
- 55+ Free Crochet Christmas Ornament Patterns to Trim Your Tree
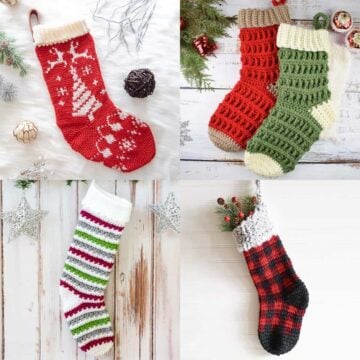
- 35 Free Crochet Christmas Stocking Patterns for Easy Heirlooms
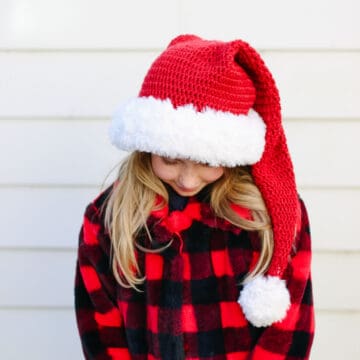
- Easy Classic Santa Hat Crochet Pattern
- 40 Crochet Gift Ideas - Free Patterns for Every Occasion
That was so fun! Now what?
Invitation to our Facebook group
Come discuss crocheting Christmas decorations and lots of other projects and techniques in our Make & Do Crew Facebook group. Here thousands of helpful crocheters answer each other's questions and share their stitches. Join us!


Leave a Reply