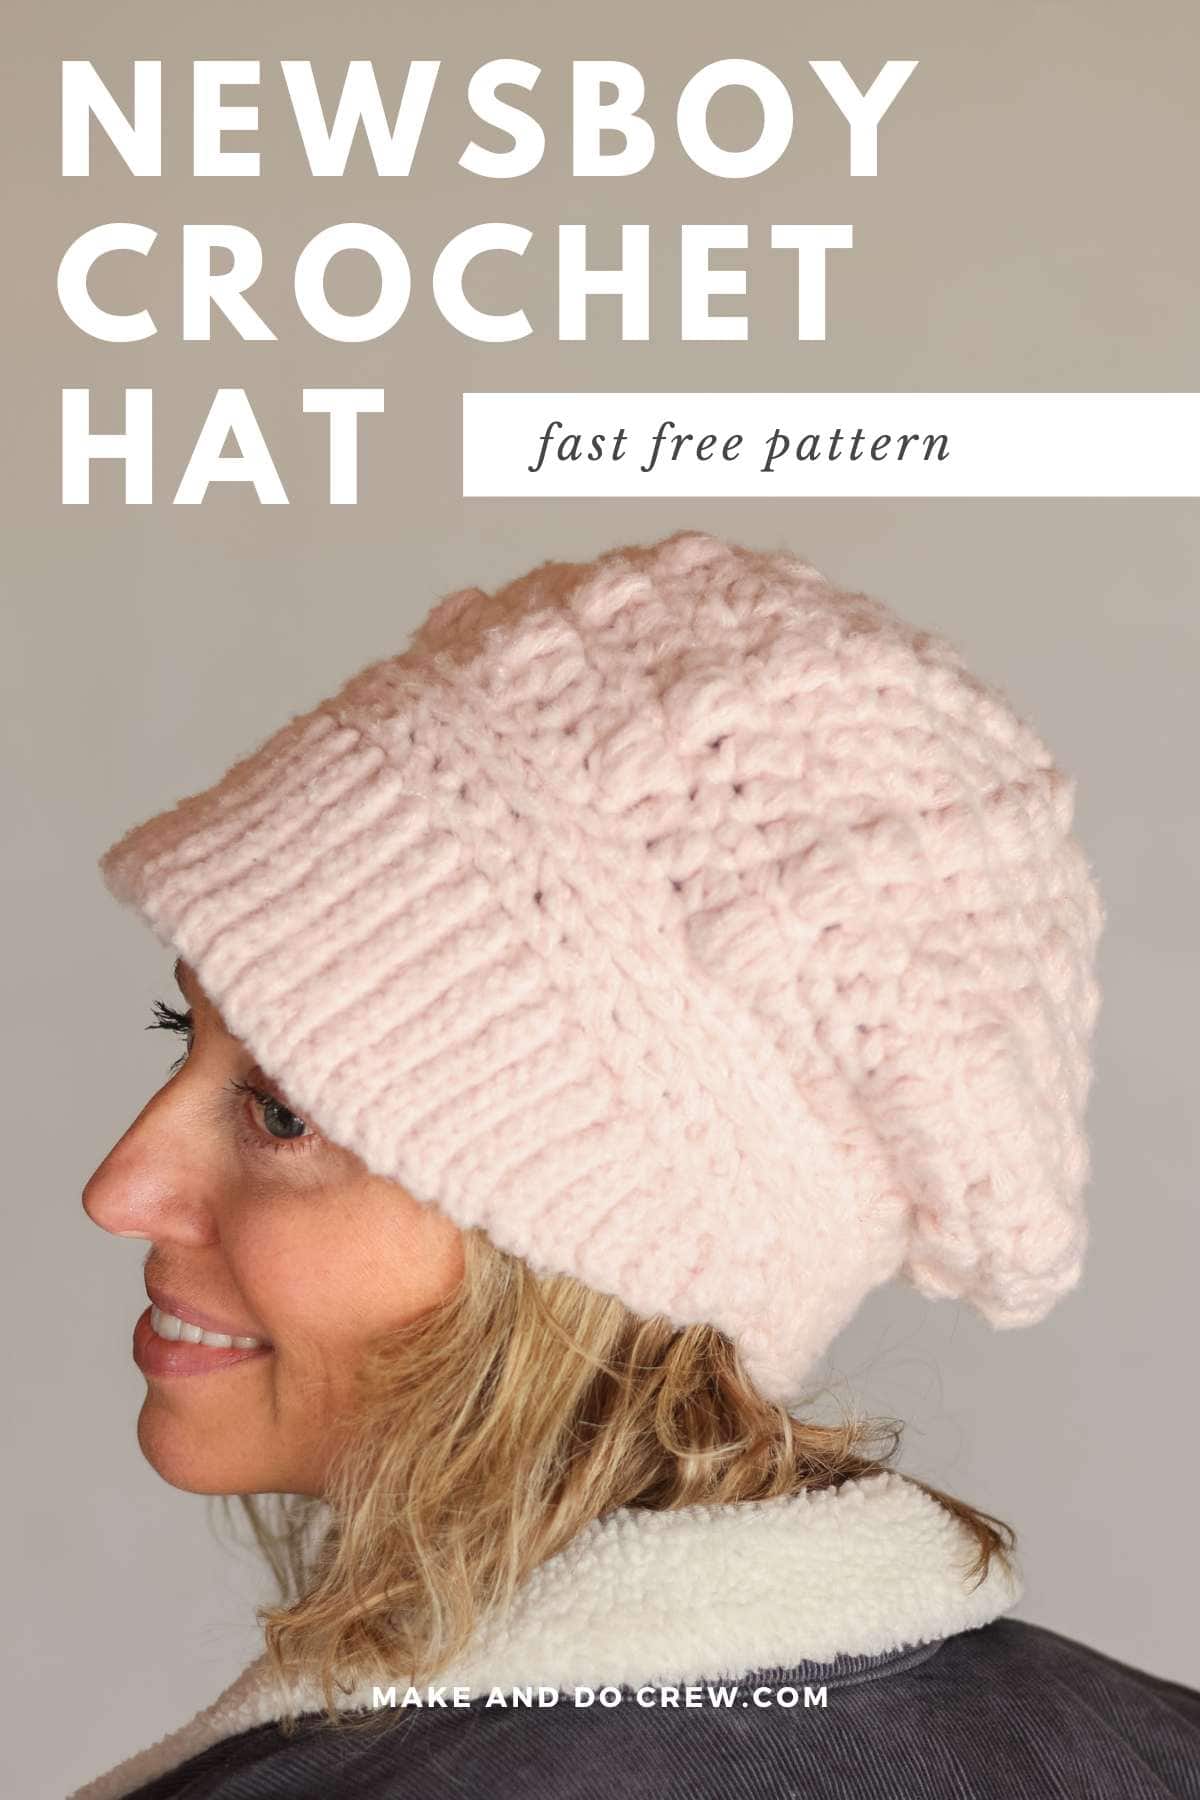
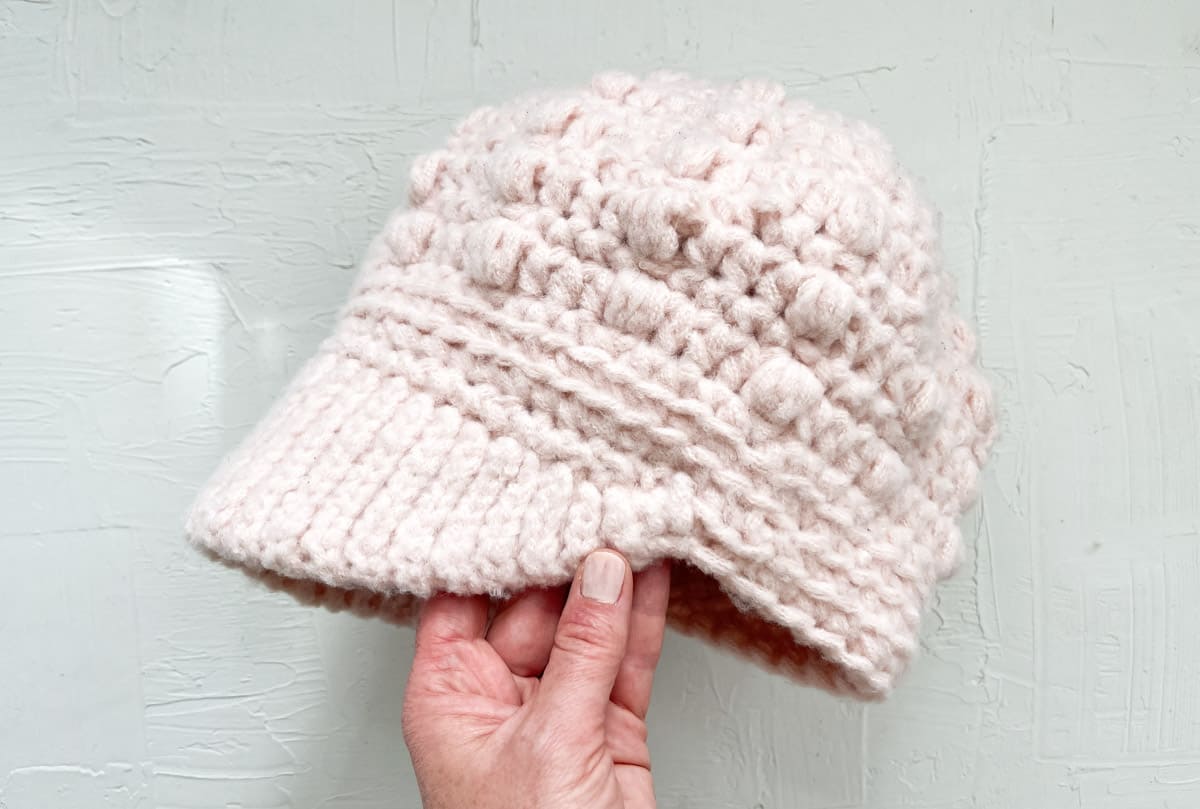
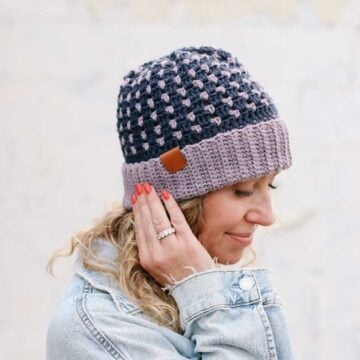
This crochet newsboy hat pattern uses chunky yarn to whip up a stylish, slightly slouchy beanie with a brim.
Get the free pattern below or purchase the ad-free, printable PDF.
This brimmed beanie pattern is part of a collaboration with Lion Brand Yarns. This post contains affiliate links.
Jump to:
3 Hour Free Crochet Newsboy Hat Pattern
Newsboy-style hats have been having a moment for a while now. Perhaps Taylor Swift's Red Album is to thank?
So we thought it would be fun to design a crocheted newsboy hat pattern that you can finish in a few hours! (Check out these fast crochet projects if you're a quick gratification addict, too.)
Skills You'll Practice
This crocheted newsboy hat pattern will give you a chance to work on the following beginner crochet skills:
- Reading a crochet pattern
- Making a magic ring (aka magic circle or magic loop)
- Half double crochet stitch
- Puff stitches
- Slip stitch (sl st) ribbing to make the brim
- Basic seaming
New to making beanies? Check out our crochet hat tutorial for complete beginners.
Yarn Requirements
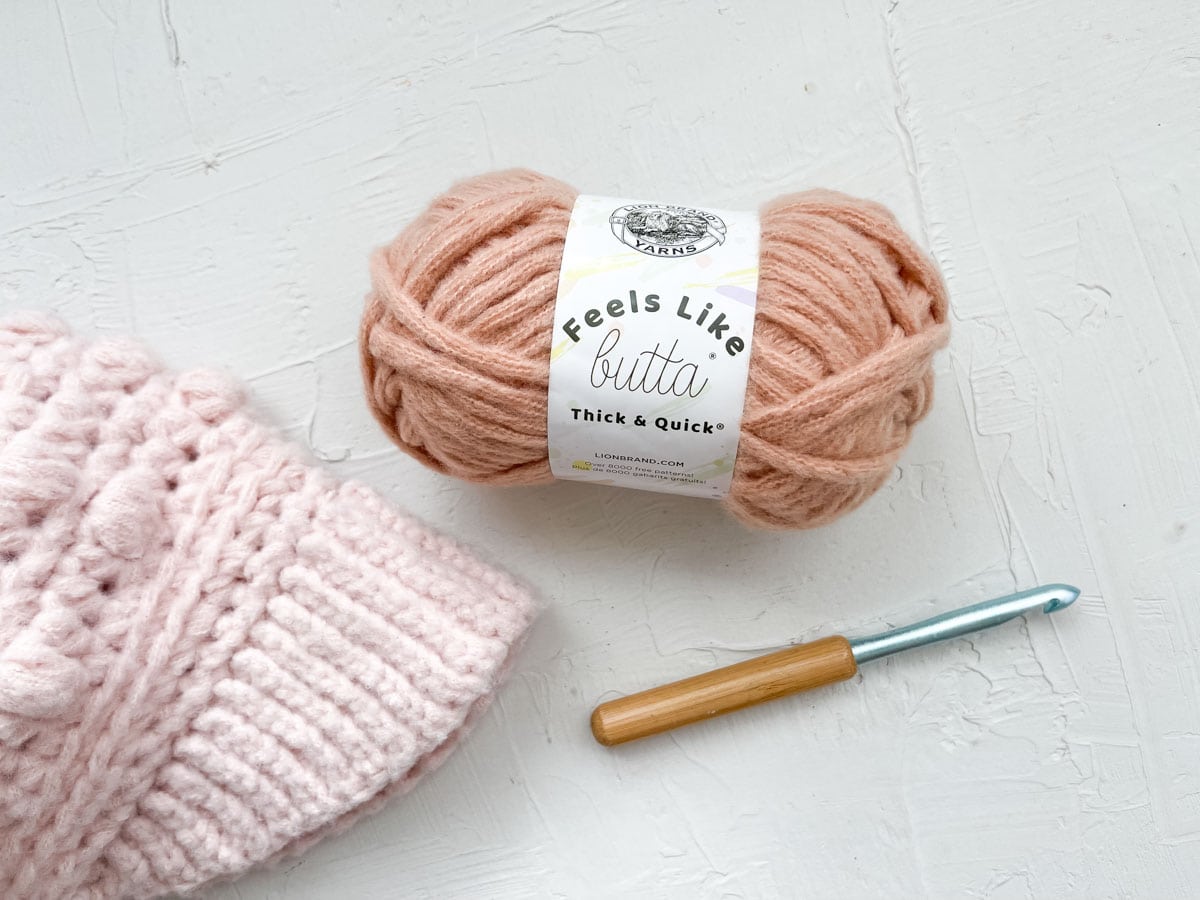
You'll need CYC category #6, super bulky weight yarn to make your newsboy cap. We used Lion Brand Feels Like Butta Thick & Quick for the sample pictured here. This yarn is velvety soft, and the chainette construction gives it some cozy loft.
Substitutions
If you want to substitute a different yarn, look for another CYC #6 super bulky weight option that has a similar billowy feel. While I haven't tried Wool-Ease Thick & Quick to crochet a newsboy hat yet, I suspect it might be too dense for this pattern.
Pro Tip: Often, two strands of CYC #5 yarn held together are equivalent to the thickness of one strand of a #6 yarn. If you have a lot of #5 bulky/chunky scrap yarn in your stash, see if you're able to meet the pattern gauge using two strands of it.
Newsboy Hat - Free Pattern
Supplies + Materials
Order an all-in-one kit from Lion Brand here.
• Lion Brand Feels Like Butta Thick & Quick (Weight: 6/Super Bulky - 55 yds, 3.5 oz, 100 g) – approx. 250g / 138 yds (3 skeins) (to make hat and mitts, you'll need 4 total skeins)
Color: Peach Blush (155-184U)
• Tapestry needle
• Size K (6.5 mm) crochet hook or size needed to obtain gauge for hat body
• Size I (5.5 mm) crochet hook for hat brim
• Stitch markers
• Tape measure to check the gauge
Related: Our favorite crochet supplies (and what you can skip!)
All-in-One Crochet Kit
If you don't live near amazing yarn stores or if you just like to get fun packages in the mail, the all-in-one kit is a perfect way to make your Newsboy Hat.
This bundle from Lion Brand includes all the Feels Like Butta Thick & Quick you'll need, plus a bonus printable PDF of the pattern (delivered digitally).
Sizing/Measurements
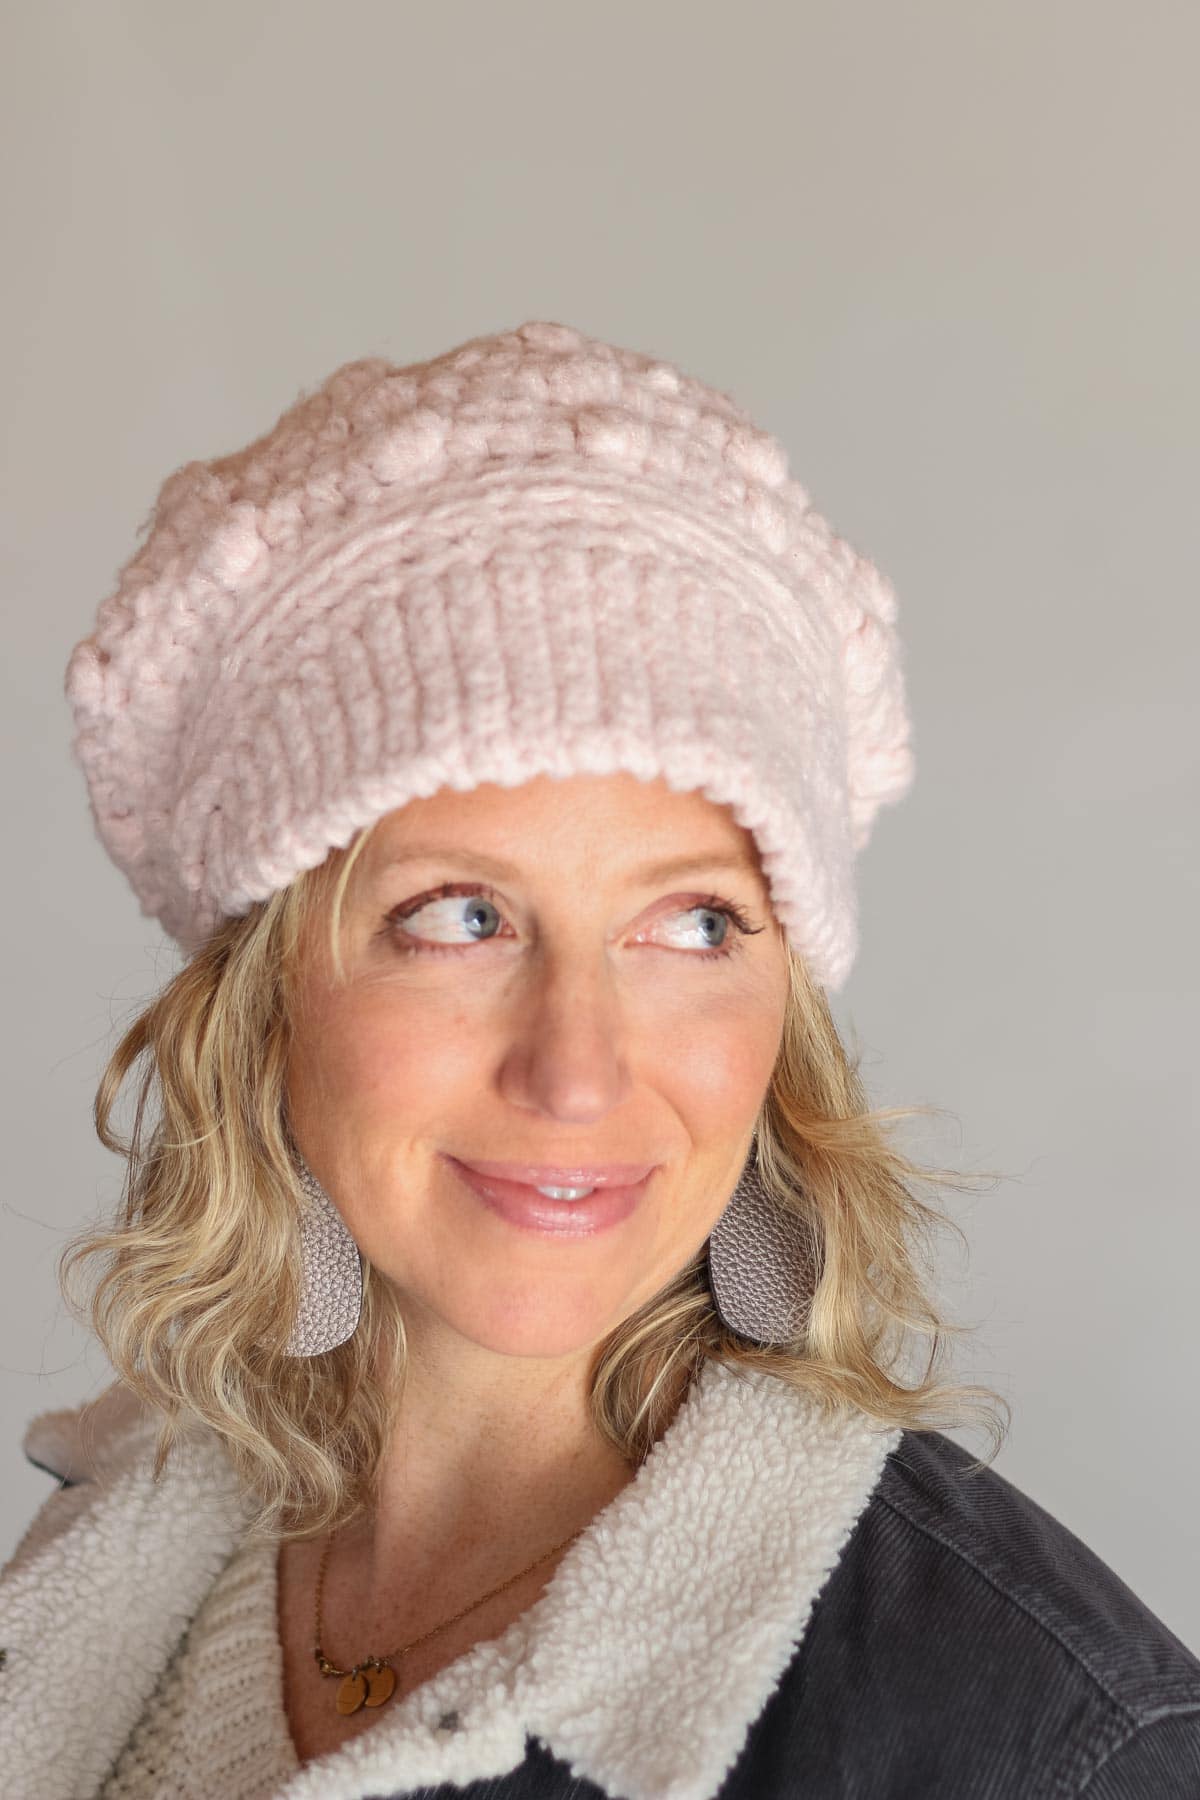
One size fits most adults with a head circumference of 21.5-23"
Abbreviations + Glossary (US Terms)
See our crochet glossary for more detailed explanations.
ch – chain
chsp – chain space
hdc – half double crochet
rep – repeat
RS – right side
sc – single crochet
scblo – single crochet through the back loop only
sk – skip
slst – slip stitch
slstblo – slip stitch through the back loop only
st(s) – stitch(es)
WS – wrong side
yo – yarn over
Special Stitches
Puff stitch – [yo, insert hook in the designated stitch, yo and pull up a loop] three times in the same stitch, yo and pull through all 7 loops on hook, ch 1 to close puff. Check out our puff stitch tutorial.
Skill Level
This is an intermediate-level crochet pattern.
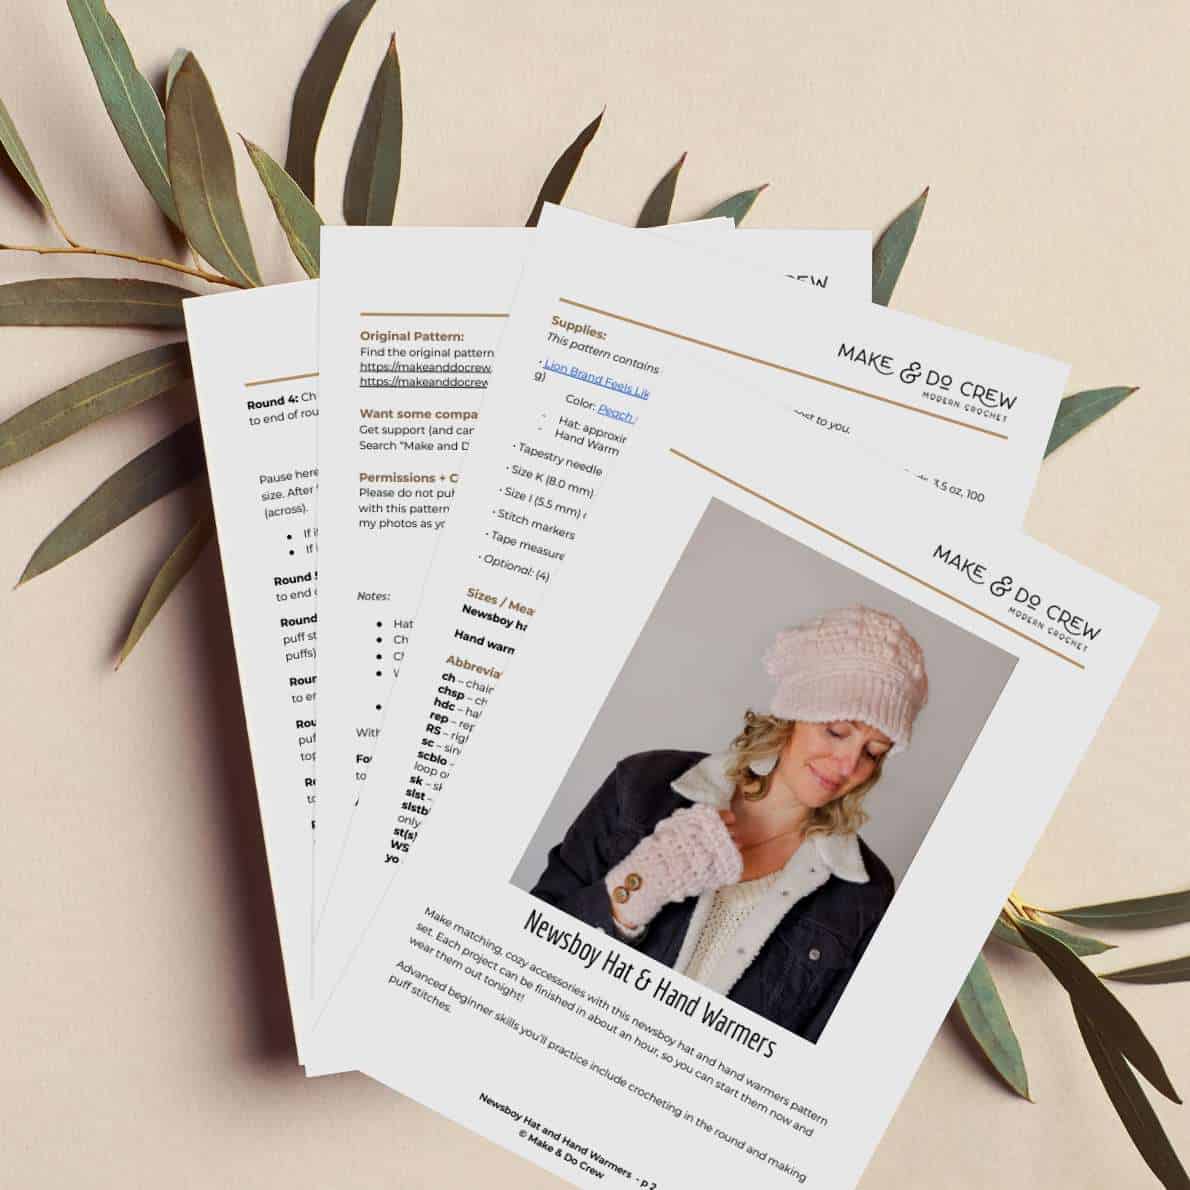
Print this Pattern
Prefer to crochet from a printed pattern? You'll love the premium PDF! The instantly downloadable, ad-free file is formatted for easy printing and includes the complete newboy hat pattern and several photos.
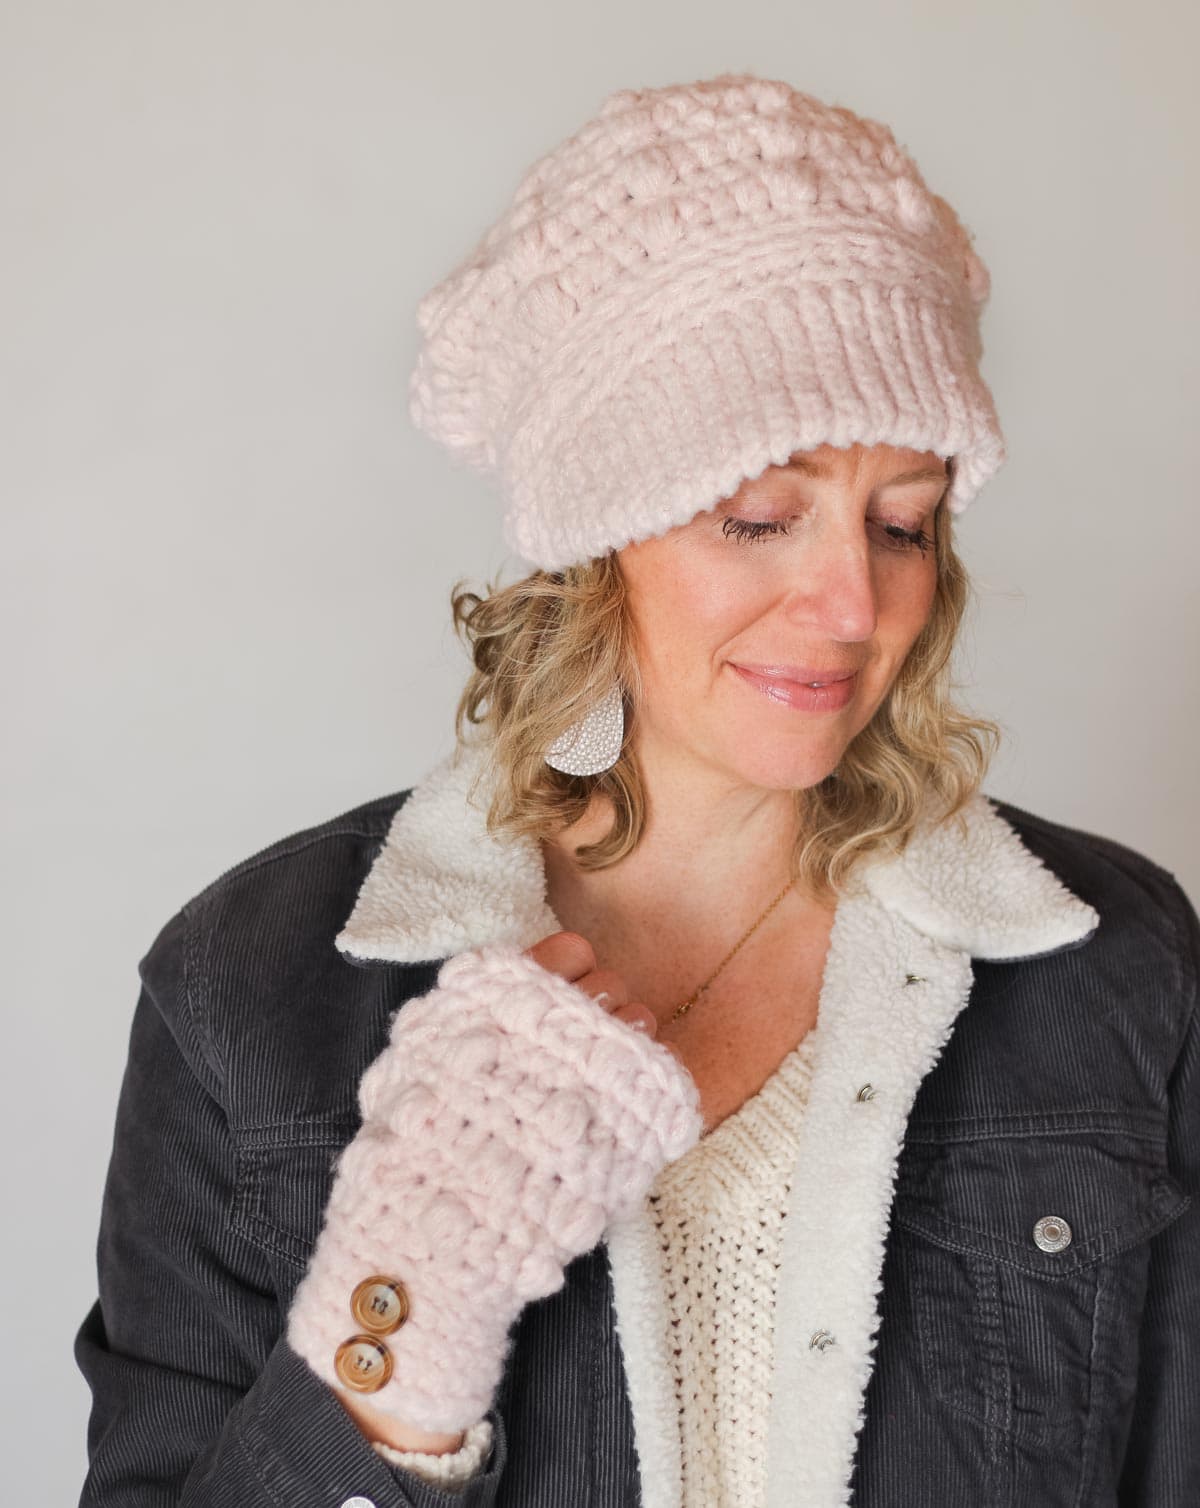
You'll also get the coordinating crochet hand warmers pattern as a free bonus!
Hat Main Body
In this section, we'll crochet the main beanie portion of the pattern.
Notes:
- Hat is worked in joined rounds without turning.
- Chain 2 at start of round counts as 1 half double crochet throughout.
- Chain 1 at start of round does not count as stitch.
- Watch this magic ring tutorial if the technique is new to you:
- When working into each puff stitch, work into the ch-1 that closed the stitch.
With larger hook:
Wanna save this pattern?
Foundation Round: Create a magic circle, ch 2, work 11 hdc in circle, join with slst to top of ch 2. (12 sts)
Alternative Foundation Round: Ch 4 and join with slst in first ch to create a circle, ch 2, work 11 hdc in circle, join with slst to top of ch 2. (12 sts)
Round 1: Ch 1, sc in each st around, join with slst to first sc (12 sts)
Round 2: Ch 2 (does not count as a st), puff st in first st, puff st in each st to end of round, join with slst to top of ch 2. (12 puff sts)
Round 3 (inc): Ch 1, 2 sc in each puff stitch, join with slst to first sc. (24 sc)Round 4: Ch 2, sk first sc, puff st in next st, *hdc in next st, puff st in next st; rep from * to end of round, join with slst to top of ch 2. (12 hdc and 12 puffs)
Print This Pattern: purchase the ad-free, printable PDF
Gauge Check: Pause here to measure your circle so that your finished hat turns out the expected size. After four rounds, the circle should measure approximately 4” in diameter (across).
✨Unlock this free subscriber-exclusive pattern ✨
Follow these steps to view the full free pattern below
- If it measures smaller than 4” across, rework rounds 1-4 using a larger hook.
- If it measures larger than 4” across, rework rounds 1-4 using a smaller hook.
Round 5 (inc): Ch 1, *sc in same st, sc in each hdc, 2 sc in each puff stitch; rep from * to end of round, join with slst to first sc. (36 sts)
Round 6: Ch 2, sk first st, hdc in next st, puff st in next st, *hdc in each of next 2 sts, puff st in next st; rep from * to end of round, join with slst to top of ch 2. (24 hdc, 12 puffs)
Round 7 (inc): Ch 1, *sc in same st, sc in each hdc, 2 sc in each puff stitch; rep from * to end of round, join with slst to first sc. (48 sts)
Round 8: Ch 2, sk first st, hdc in next st, puff st in next st, *hdc in each of next 3 sts, puff st in next st; rep from * to end until one st remains, hdc in last st, join with slst to top of ch 2. (36 hdc and 12 puffs)
Round 9 (inc): Ch 1, *sc in same st, sc in each hdc, 2 sc in each puff stitch; rep from * to end of round, join with slst to first sc. (60 sts)
Round 10: Ch 2, sk first st, hdc in each of next 2 sts, puff st in next st, *hdc in each of next 4 sts, puff st in next st; rep from * until two sts remain, hdc in each of last 2 sts, join with slst to top of ch 2. (48 hdc and 12 puff sts)
Round 11 (dec): Ch 1, sc in each st until puff st, *sk puff st, sc in each st until next puff st; rep from * until end of round, join with a slst to first sc. (48 sts)
Round 12: Ch 2, sk first st, hdc in each of next 2 sts, puff st in next st, *hdc in next 3 sts, puff st in next st; rep from * to end of round, join with slst to top of ch 2. (36 hdc and 12 puff sts)
Round 13: Ch 1, sc in same st, sc in each of next 2 sts, sc in puff st, *sk ch 1, sc in each of next 3 sts, sc in puff st; rep from * to end of round, join with slst to first sc. (48 st)
Round 14: Ch 2, sk first st, hdc in each of next 2 sts, puff st in next st, *hdc in each of next 3 sts, puff st in next st; rep from * to end of round, join with slst to top of ch 2. (36 hdc and 12 puff sts)
Round 15: Ch 1, sc in same st, sc in each of next 2 sts, sc in puff st, *sk ch 1, sc in each of next 3 sts, sc in puff st; rep from * to end of round, join with slst to first sc.
Rounds 16-18: Ch 1, scblo in each st to end of round, join with slst to first sc.
Fasten off and weave in ends.
Hat Brim
In this section, we'll crochet the brim of the hat using slip stitch ribbing.
Notes:
- It’s helpful to place a marker on the edge the increases occur on so that you also know which side the decreases happen on.
- A hook with a pointier tip can be easier to insert in slip stitch ribbing.
- The tighter the stitches are worked, the more rigid the brim will be.
- Brim is reversible so there is no right or wrong side. Pick the side that looks good to you.
- This video tutorial shows you how to work a slip stitch increase. (In pattern below, this is called “2 slstblo.”)
Increasing Brim:
With smaller hook:
Foundation Row: Ch 3.
Row 1: Slst in second ch from hook, slst in next 2 ch; turn. (3 sts)
Row 2 (inc): Ch 1, slstblo in first st, 2 slstblo in next st, slstblo in last st; turn (4 sts)
Row 3: Ch 1, slstblo in each st to end of row; turn. (4 sts)
Row 4 (inc): Ch 1, slstblo in first st, 2 slstblo in next st, slstblo in each st to end of row; turn. (5 sts)
Place marker at beginning of Row 4 to indicate the increase side of the brim.
Repeat Rows 3 and 4 until you have 10 sts total in row. Repeat Row 3 once more. On the same edge as the marker indicating the increases, place a marker at end of the last row.
Working Even:
Continue working Row 3 until piece measures 5” from last marker. Make sure the final row ends on the same side as markers. If not work one more Row 3.
Decreasing Brim:
Row 1 (dec): Ch 1, slstblo in first st, sk next st, slstblo in each st to end of row; turn. (9 sts)
Row 2: Ch 1, slstblo in each st to end of row; turn. (9 sts)
Repeat Rows 1 and 2 until 3 sts remain.
Using attached yarn and working on the long side of brim opposite of the side increases and decreases are worked:
Final Row (dec): *Slst, in the first row end st, sk next row end st, slst in next row end st; rep from * to end of row. (27 sts)
Fasten off leaving a 24” tail for seaming brim to hat.

Attaching Brim
Now it's time to join the brim to your beanie.
- Fold hat in half with seam in back.
- Place a stitch marker in the stitch opposite the back seam to mark the middle front.
- Fold Brim in half and place a marker in the middle stitch.
- Line up the markers and attach them together.
- Use markers to fasten ends of brim to hat.
- Sew brim to hat using whip stitch, going through both loops on hat and back loop only on the brim.
Fasten off and weave in ends.
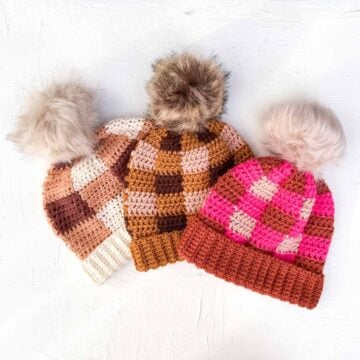
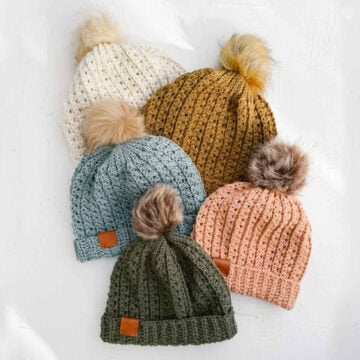
More Crochet Hat Free Patterns
We've got enough chunky beanie and headband patterns to ensure your ears are never cold again! Which one will you make next?
See all our favorite hats to crochet →
That was so fun! Now what?
Invitation to our Facebook group
Come discuss crocheting newboy hats and lots of other projects and techniques in our Make & Do Crew Facebook group. Here, thousands of helpful crocheters answer each other's questions and share their stitches. Join us!
Leave a Reply