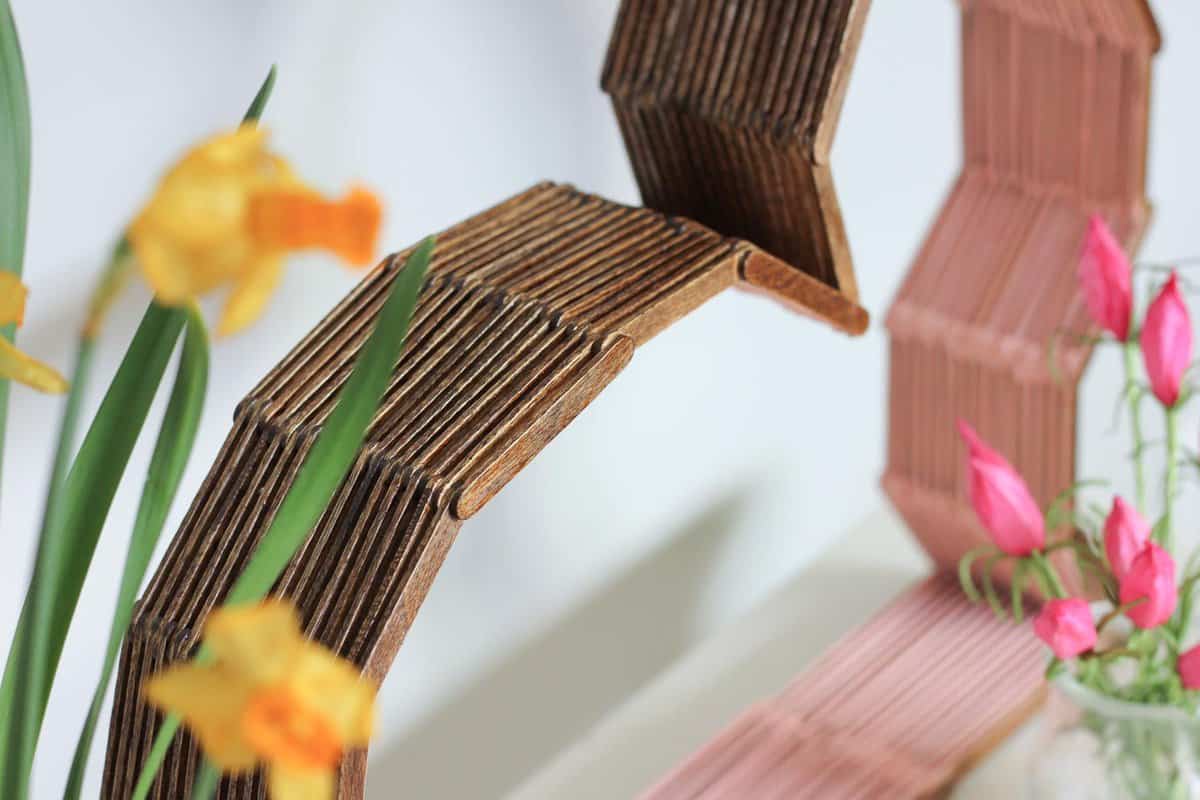
This bunny shelf makes a perfect Easter craft idea for Spring or DIY nursery decor to enjoy year round!
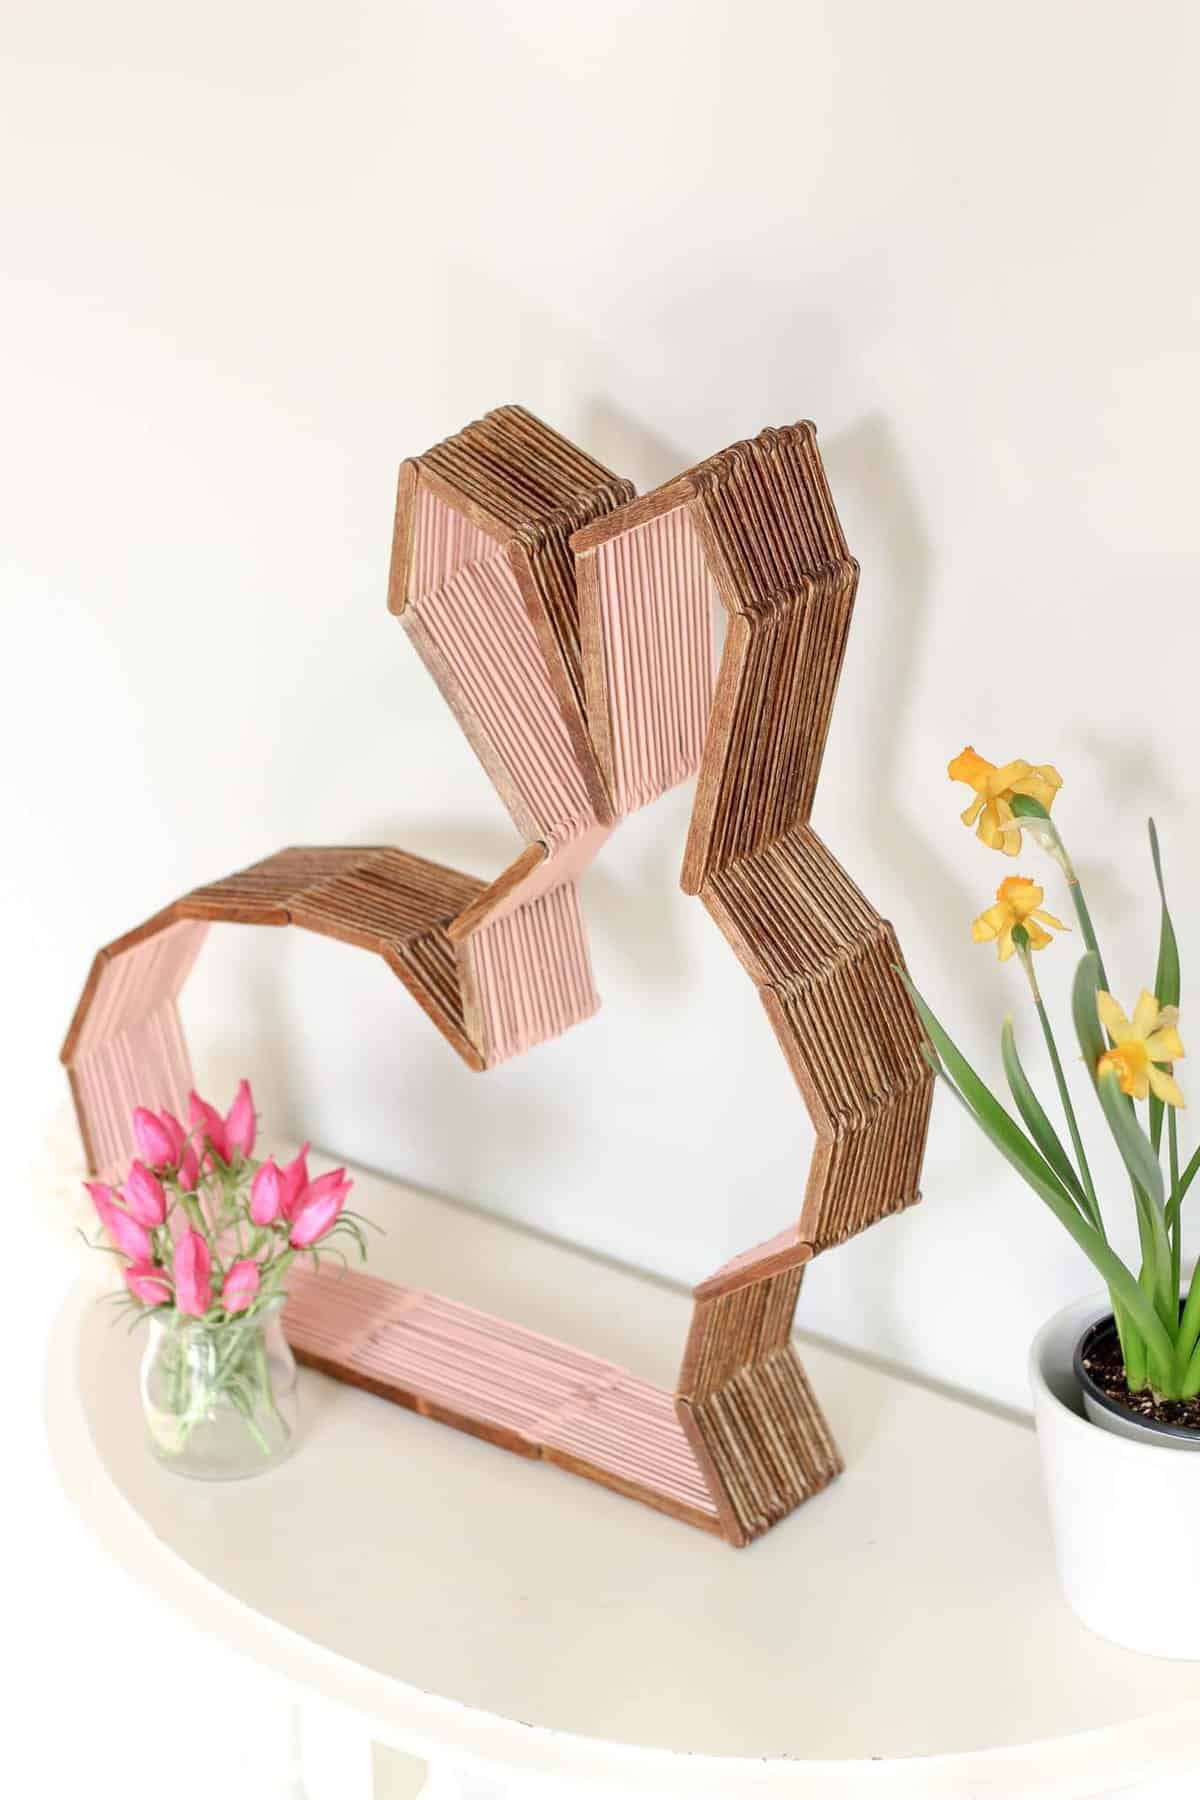
I’m just “hopping” by to drop off a DIY bunny project that can be made entirely from popsicle sticks! This is one of those crafts that looks much harder than it actually is, so as long as you can stack sticks, you can make this DIY art.
Really, our bunny might just hop from one room to the next around our house.
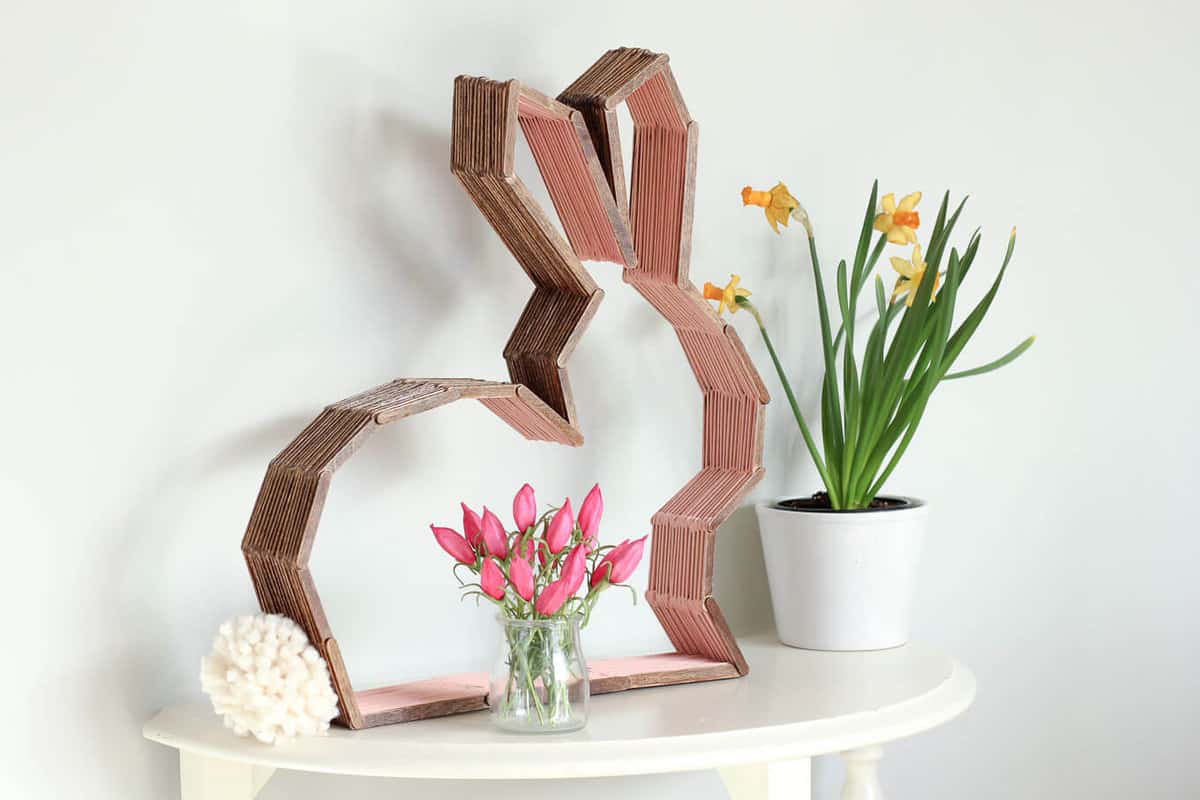
To download the bunny template, enter your email address in the pink and green box at the bottom of this post to gain immediate access to our exclusive subscriber “Vault.”
(Plus, you’ll find a lot of other free patterns and templates for home decor projects including several other popsicle stick projects!)
This post contains affiliate links at no extra cost to you so you can spend less time “hopping” from store to store looking for supplies. Thanks for supporting this blog!
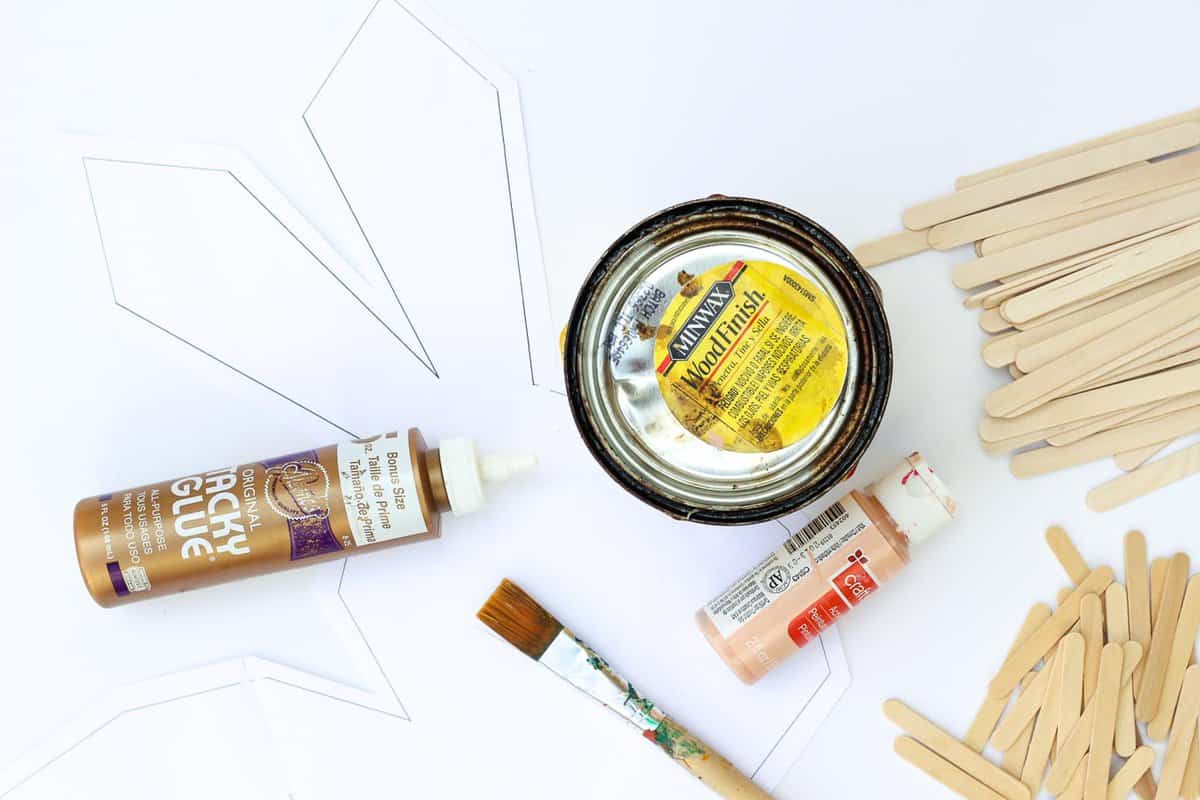
• bunny template (Enter your email address in the box below get the free download.)
• full size 4.5″ popsicle sticks (I used about 120. I buy them in bulk on Amazon.)
• mini 2.5″ popsicle sticks (I used about 310.)
• glue (Wood glue is great, but you can use more basic school or tacky glue too.)
• acrylic paint
• wood stain
• paintbrushes
• yarn (If you prefer a pom pom tail to a popsicle stick tail.)
1. Print the template and tape it together. HINT: if you’re having trouble lining up the pieces, hold it up to a window to make the paper more transparent.
Wanna save this pattern?
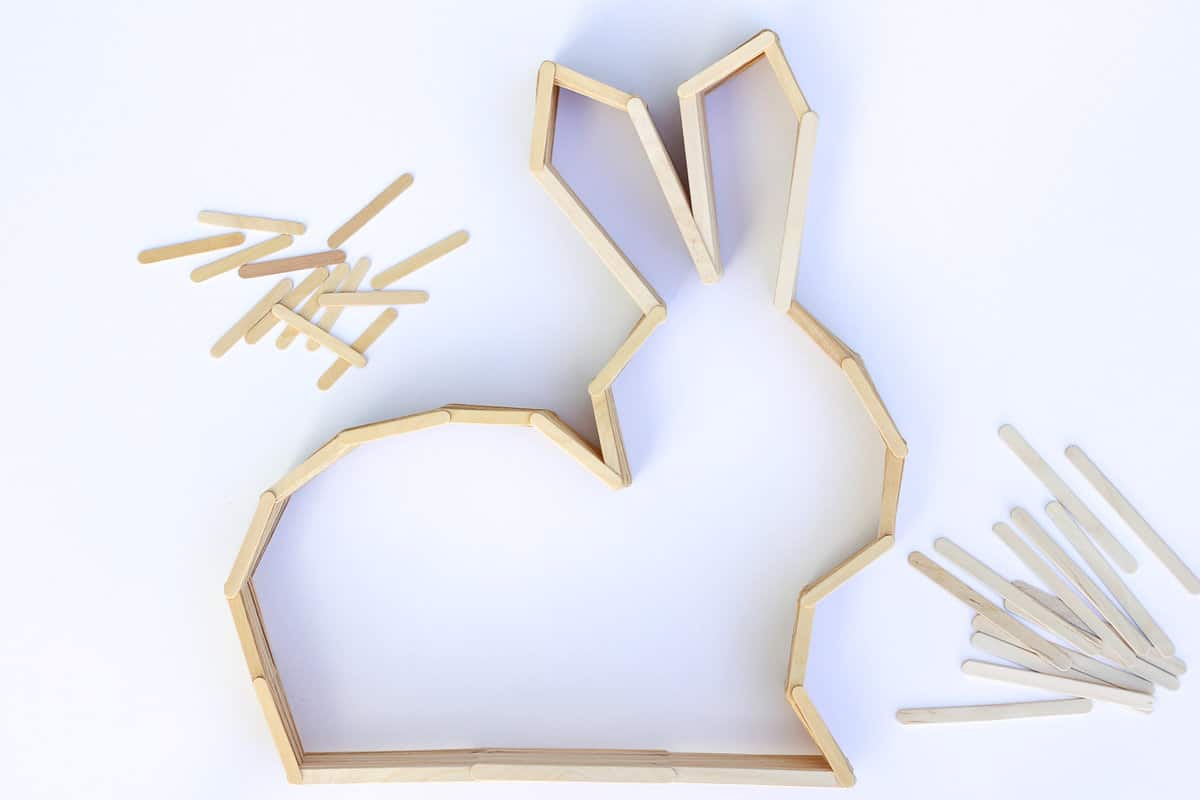
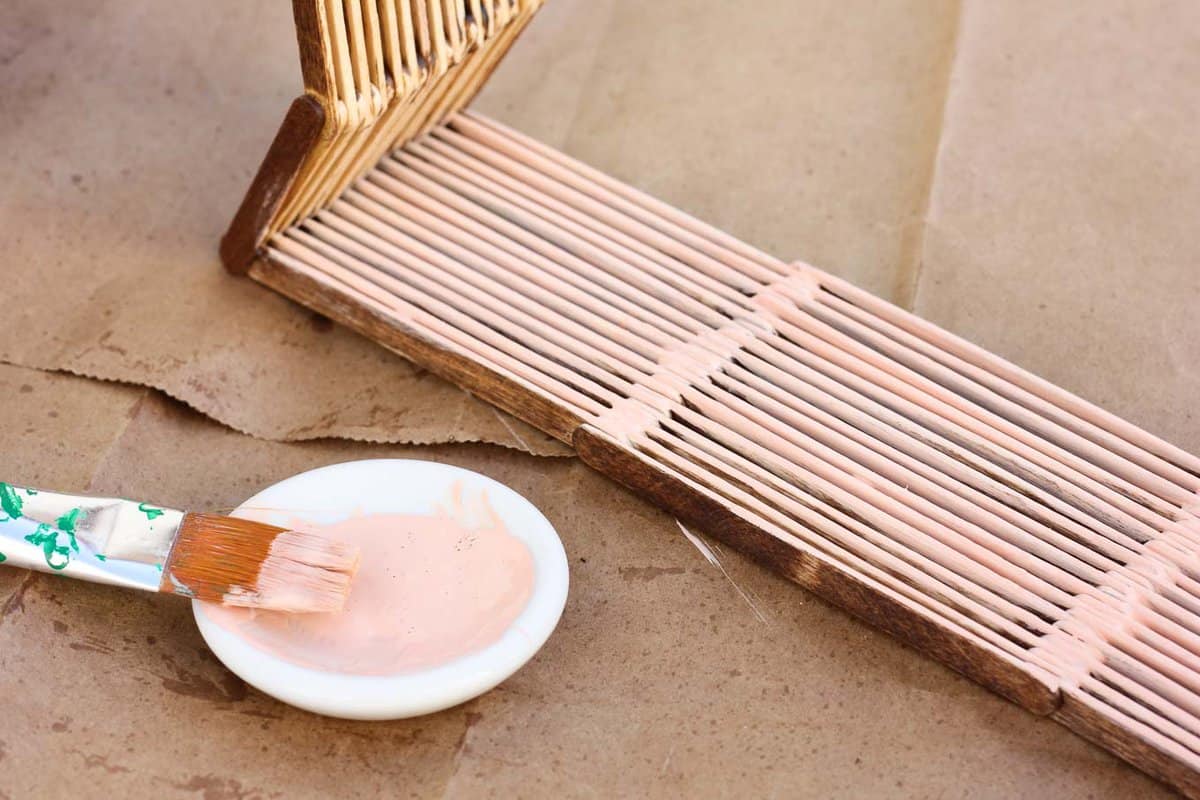
2. Arrange your first row of popsicle sticks as pictured, alternating every other stick. I find it efficient to add glue to several sticks before laying them down, but find a system that works for you.
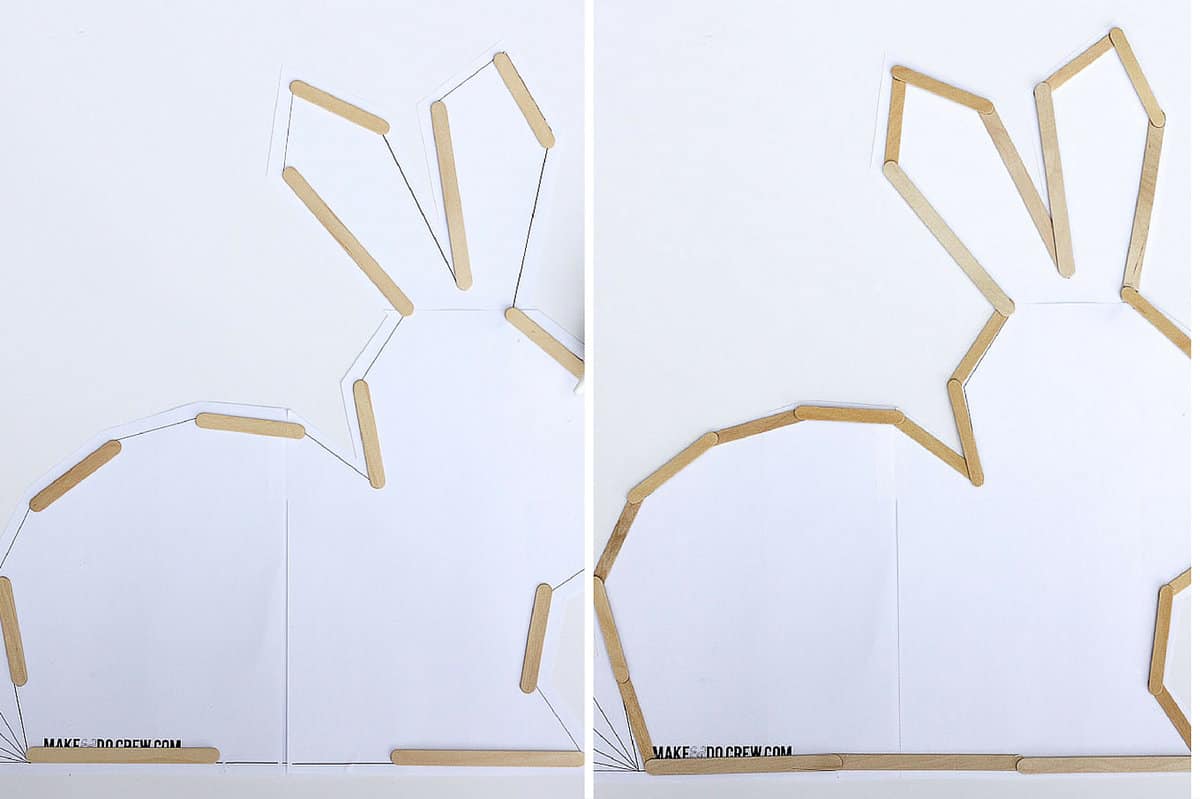
4. Continue gluing and layering like this until your bunny is as deep as you’d like it to be. (Mine is about 16 sticks deep.)
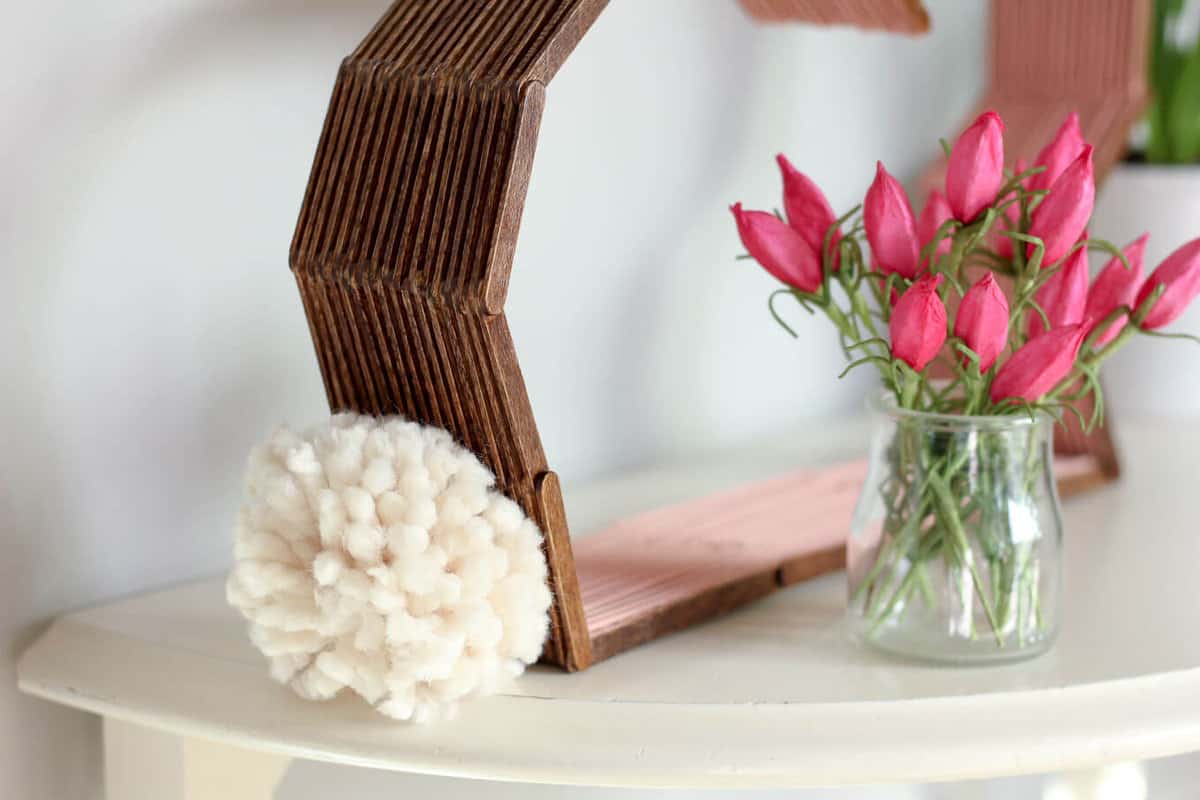
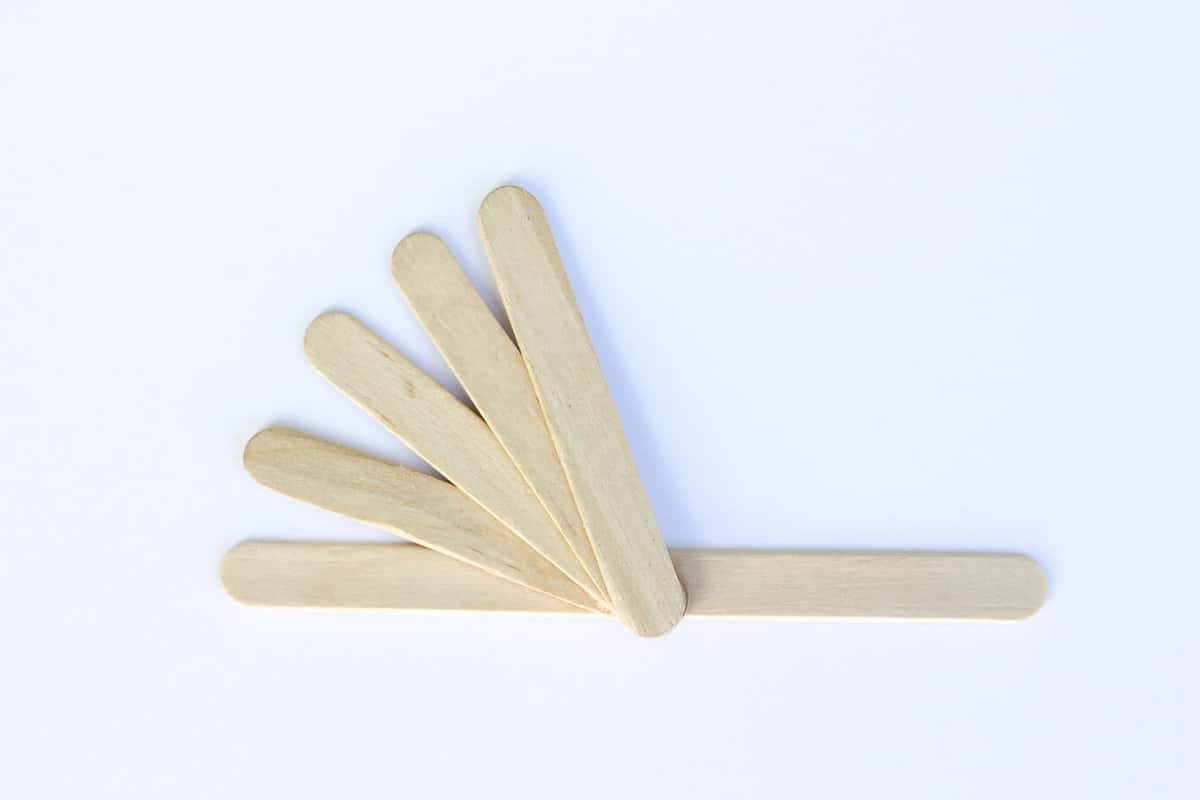
5. Glue popsicle sticks together as pictured to create your bunny’s tail. Glue the non-tail half of the longer stick (the right side in the photo) to the back of your shelf. If you prefer, create a pop pom for a fluffier tail and glue it to your bunny. Here’s how to make a perfect pom pom.
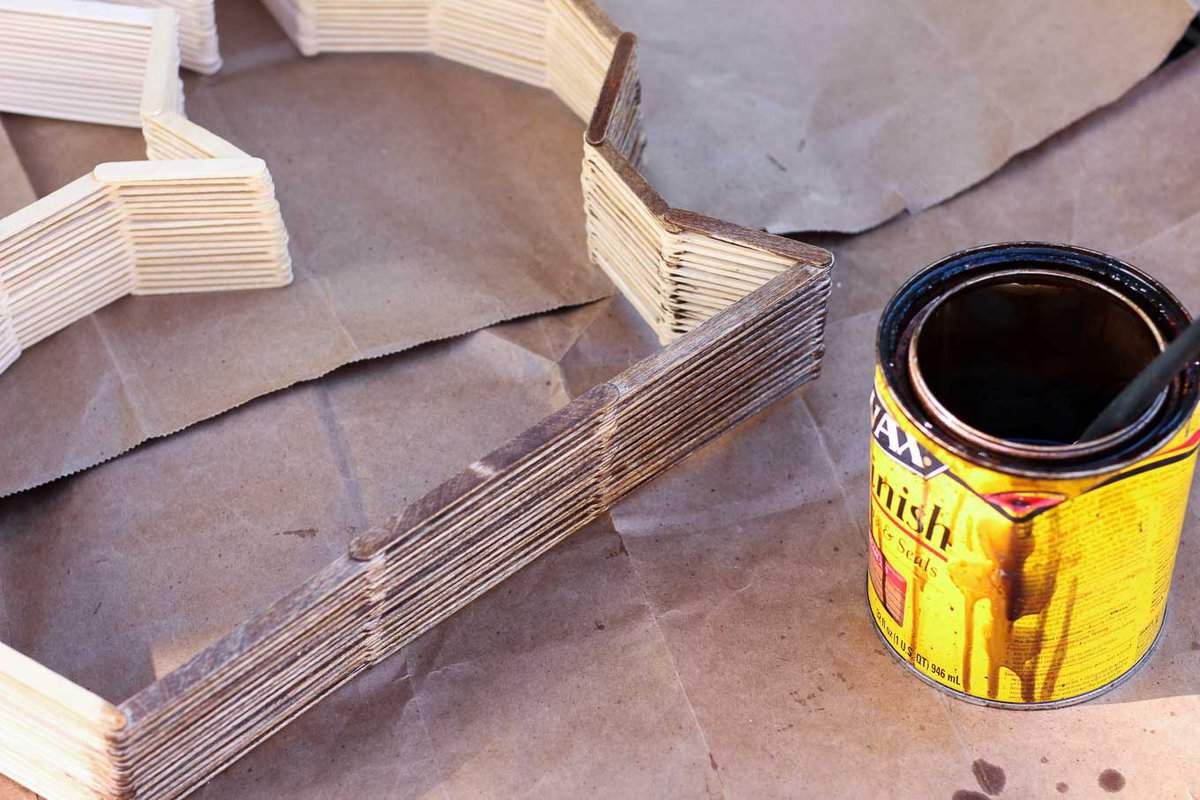
And keep a good eye on her, you know how bunny crafts like to reproduce!
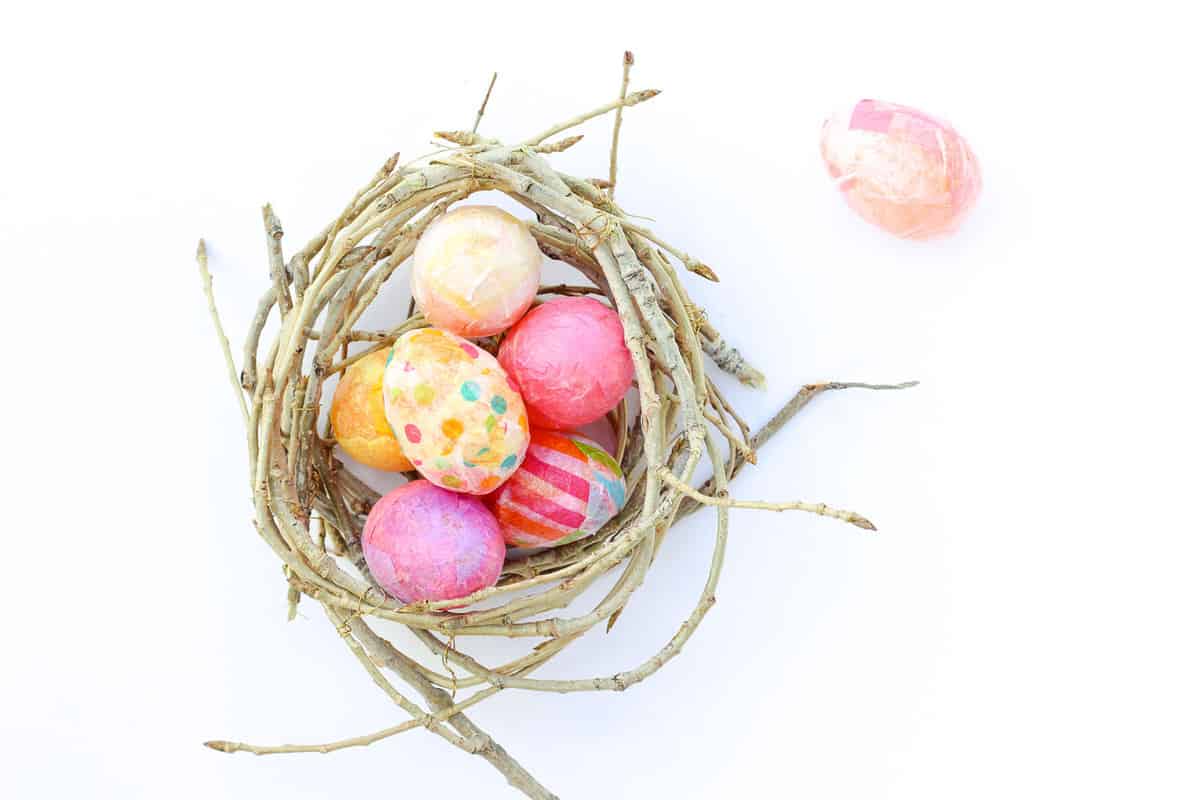
Check out my other DIY Easter craft ideas, like this easy decorative nest, if you’re in the mood for more making.
How To Make a Hexagon Shelf
How to Build Honeycomb Shelves
Geometric Heart DIY Wall Art
Mini Heart Art (Perfect for DIY Valentine’s or decor in a kids space!)
This post was written as part of a #DIYMySpring collection for Hometalk. (For those of you who don’t know, Hometalk is bursting at the seams with do-it-yourself inspiration. It’s a bit like Pinterest, but without all the posts about how to get skinny :))
An extremely creative group of bloggers have put together loads of Spring decorating ideas so be sure to check them out below! But consider this a warning: you might fall down a DIY decorating rabbit hole never to be seen again! (Actually sounds lovely, doesn’t it?)
<!– end InLinkz script →

Mary-the boondocks blog says
This is incredibly original and very, very pretty! How did you come up with it? The technique can be used for a variety of things but this is very special. Visiting from the blog hop, a fellow contributor.
Emily says
WOW!!! This is so adorable, and absolutely incredible that you made it from popsicle sticks!! Already pinned 🙂
Michele says
I have GOT to make one of these with my children. What a great Easter art project!! Thank you for the tutorial! Pinning!!
Jess @ Make and Do Crew says
Thank you so much, Michele! I think it would be so fun to make with kids. Mine are better helpers at chewing on the popsicle sticks than gluing them at this point, but my 3-year-old loves seeing the finished bunny up in our house.
I hope you have a fun time crafting together! They are lucky to have a creative momma (who is also apparently really good at flipping furniture–I love your projects!)
jess
Lucy - Patina Paradise says
You are so clever to use the popsicle sticks. Your bunny is so sweet! I may attempt something like this with my munchkin. Thanks for the inspiration! ;o)
Celeste says
This is just adorable and so creative! I love how you stained the outside and painted the inside a different color. It turned out so beautifully, and you could use this in so many different places!
Jess @ Make and Do Crew says
Thanks, Celeste! I really had fun dreaming her up. I think I WILL use her so many places. I can’t imagine tucking her away all the way until next Easter!
Your beautiful tissue paper flowers tutorial makes me think she needs some of those sitting next to her!
Happy crafting!
jess
Denise on a whim says
Adorable! What a creative idea. Sharing on my page tomorrow!
Holly says
Hi Jess – I saw the thumbnail picture and was like… how did she make that?!?!? Popsicle sticks? Wowza! Visiting as a fellow contributor to #DIYMySpring. Hope your week is full of sunshine! Hugs, Holly
Jess @ Make and Do Crew says
Ha–thanks, Holly! I did indeed eat a lot of popsicles to whip up this bunny 😉
Happy crafting!
jess
Claire says
Wow I’ve never seen a Popsicle stick craft like this before. I think your bunny is gorgeous !
Jess @ Make and Do Crew says
Thanks so much, Claire. I’ve kind of gotten on a popsicle stick craft kick. There are so many possibilities once you buy a box of 1,000 popsicle sticks 😉
And speaking of unexpected supplies, I can’t believe your bird cage is made of coat hangers! So creative! I would have never guessed.
Happy crafting!
jess
Funky Junk Interiors - Donna says
Jess, how in the WORLD did you ever even dream up something so creative?! Mind blown! This is so adorable! Nothing spells Easter or spring like your sweet bunny!
Jess @ Make and Do Crew says
Thank you SO MUCH, Donna. I really had fun making it! This was my first Hometalk blog hop and I really enjoyed knowing I was working away “alongside” other creative women. Can’t wait to check out everyone else’s projects!
Happy making!
jess
Valerie Ott says
Talk about clever! This is absolutely awesome!
Jess @ Make and Do Crew says
Valerie,
THANK YOU! I love looking at our bunny up on the mantle 🙂
The “branding” of your site is so nice and cohesive. I love the name, the logo and how you’ve threaded the idea of “home” and “modern” throughout. (I have a background in advertising and so I always when bloggers pull it together as well as you have.)
Happy crafting!
jess
Lindsay Eidahl says
Amazing project~! I was floored when I saw they were Popsicle sticks! Nice job! Love it!
Jess @ Make and Do Crew says
Ha, thanks, Linsday! I tend to agree with you. It doesn’t really look anything like popsicle sticks until you get close up. Although the night I made it, I went to bed with visions of popsicle sticks that I couldn’t shake 🙂
Happy crafting!
jess
Cindy diy beautify says
This is so clever, and would be fun to do with older kids! Thanks for a great idea!
Jess @ Make and Do Crew says
I agree, Cindy! My kids are still too little to do anything but scribble and suck on the popsicle sticks, but I know they’ll be glueing them together in no time!
I LOVE how your cabinet makeover turned out! It’s so fresh looking now. You’re inspiring me to try out chalk paint.
Happy crafting!
jess