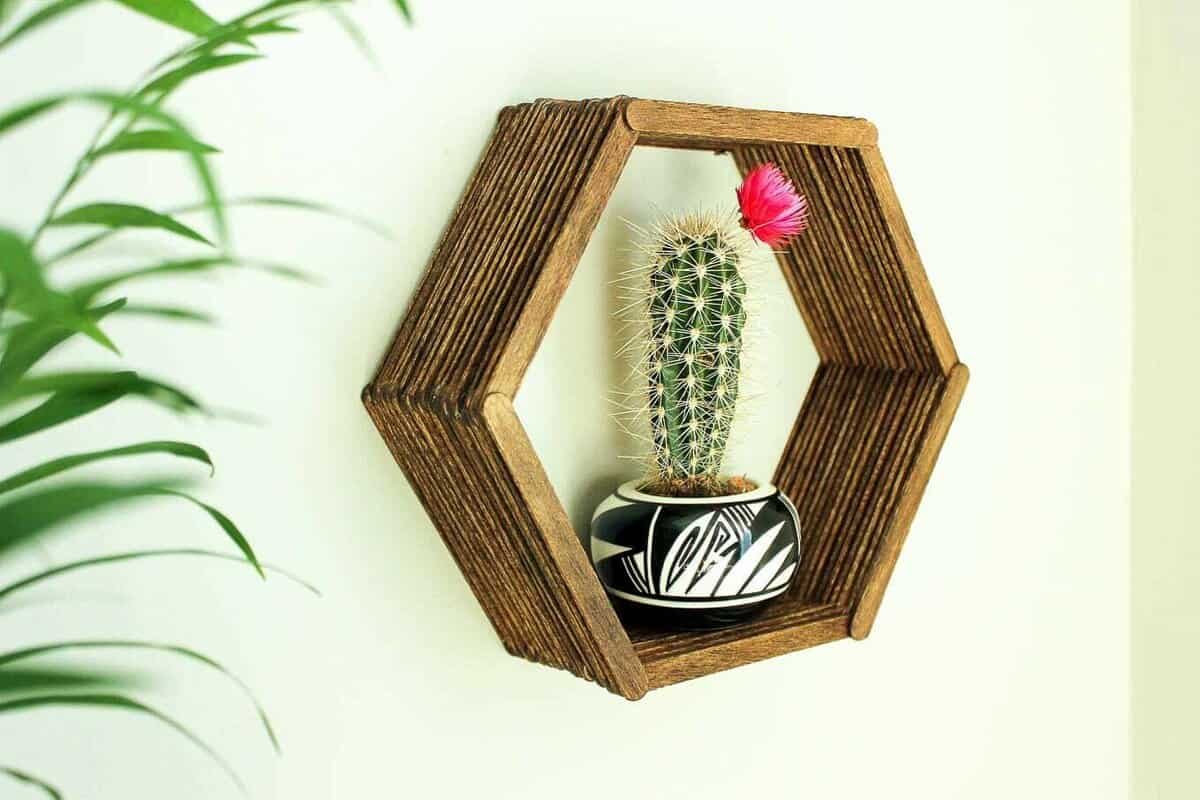
Yes Really, A Hexagon Shelf Made From Popsicle Sticks
I absolutely love DIY projects that transform utilitarian everyday objects into unexpected works of art. Not only do these become fantastic conversation pieces in your home, they also allow you to create super budget-friendly art that doesn't feel too "crafty."
(Don't get me wrong, I love crafts. That's why I made a whole website about them. But I especially adore DIY projects that achieve a high-end look for a fraction of the price, like this Coffee Stirrer Wall Art.)
The Inspiration
And if you're reading this, I'm assuming you like to make stuff too, because, well, that's what we do here. So I'm guessing that you can relate to having an idea for a project and how it can get tangled in your brain like a Bruno Mars song, refusing to dislodge until you just make the darn thing.
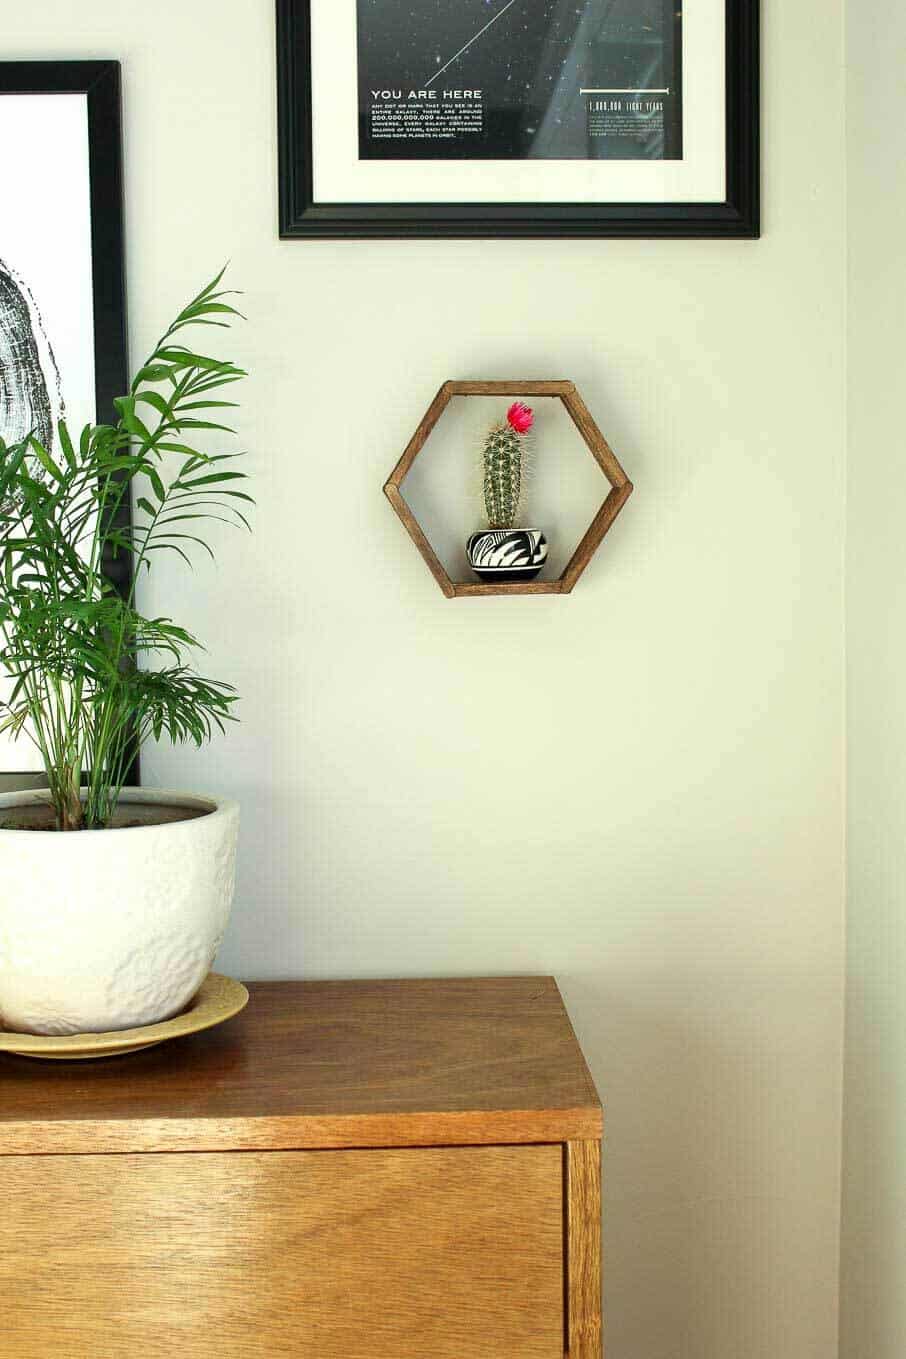 That's what happened with this popsicle stick hexagon shelf idea. It came to me one night when I was pacing back and forth in our bedroom in the dark. (Comforting a baby, of course. I don't do that otherwise. At least not often.)
I was thinking about additional three dimensional art pieces I could DIY for our bedroom gallery wall. I wanted something that would add texture, warmth and angles amoung our framed coloring pages and other DIY art. Unfortunately, most do-it-yourself geometric display shelf tutorials I've seen are waaay complicated.
Basic Supplies, Big Impact
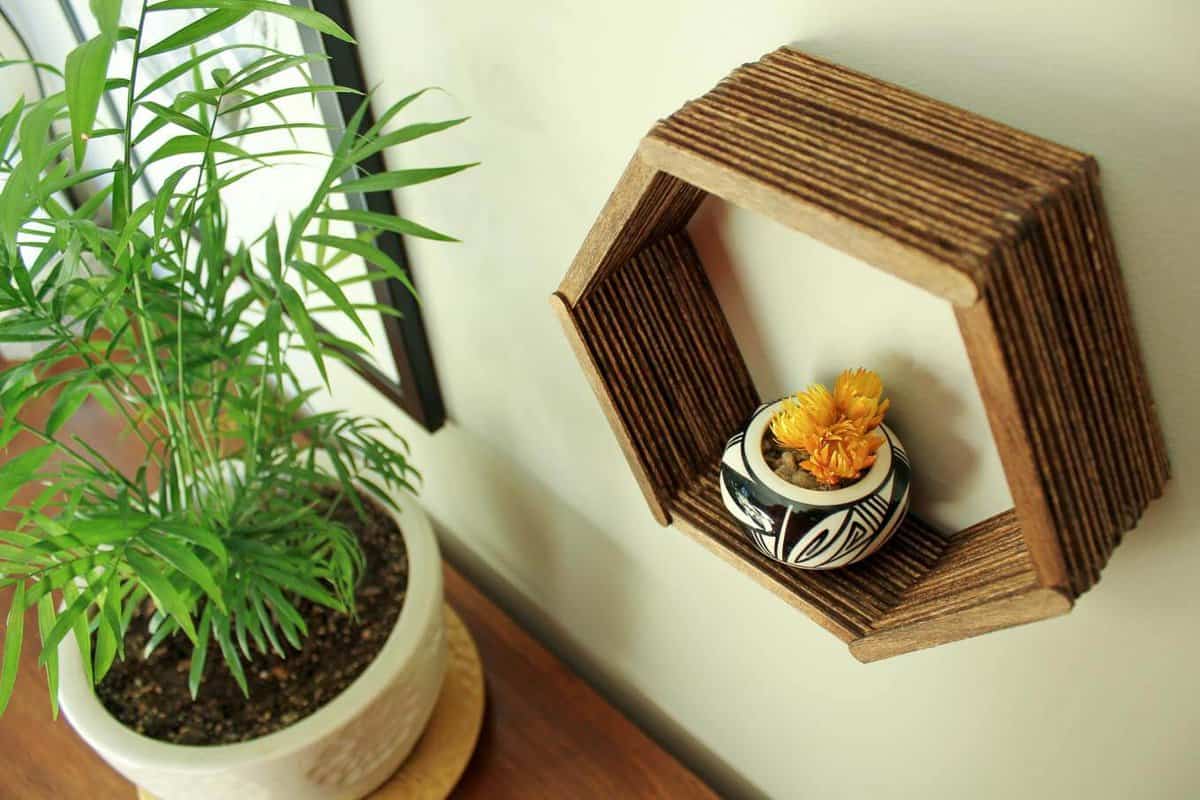
So in a moment of frozen-dessert-craft-mashup inspiration, I realized I could make an awesome hexagon shelf with one of the most basic craft supplies out there--popsicle sticks.
Every night that I've paced back and forth since (and trust me, there have been many), I perfected my plans for this simple, mid-century-inspired hexagon shelf.
More Home Decor Crafts to Make with Popsicle Sticks
In fact, I've thought about it so much that I came up with an expanded hexagon shelf idea that builds on this one. It's even more mid-century-y and popsicle stick-y.
Learn how to make these rockin' DIY honeycomb shelves to complement your single hexagon version.
A Hexagon-Making Template
After experimenting a bit, I realized that having a template to guide my shelf angles would be super helpful. So I put one together and added it to the Make & Do Crew Vault.
Wanna save this pattern?
If you'd like the template, simply enter your email in the pink and green box at the bottom of this post and you'll gain immediate access to it and all our past and future free patterns and printables.
Hexagon Shelf Supplies
This post contains affiliate links for your crafting convenience at no extra cost to you. Thanks for supporting Make & Do Crew!
• popsicle sticks (about 100)
• tacky glue (most other glue would probably work too)
• Min-Wax Stain in English Chestnut
• paintbrush
• picture hanger (totally optional)
• hexagon shelf template (Using the template makes getting the angles right a lot easier and elevates your shelf from 3rd grade art project to West-Elm-worthy home decor. Subscribe in the box at the bottom of the post to receive access to it instantly.)
Step-by-Step dInstructions
1. Add a drop of glue to both ends of three popsicle sticks and lay them as shown.
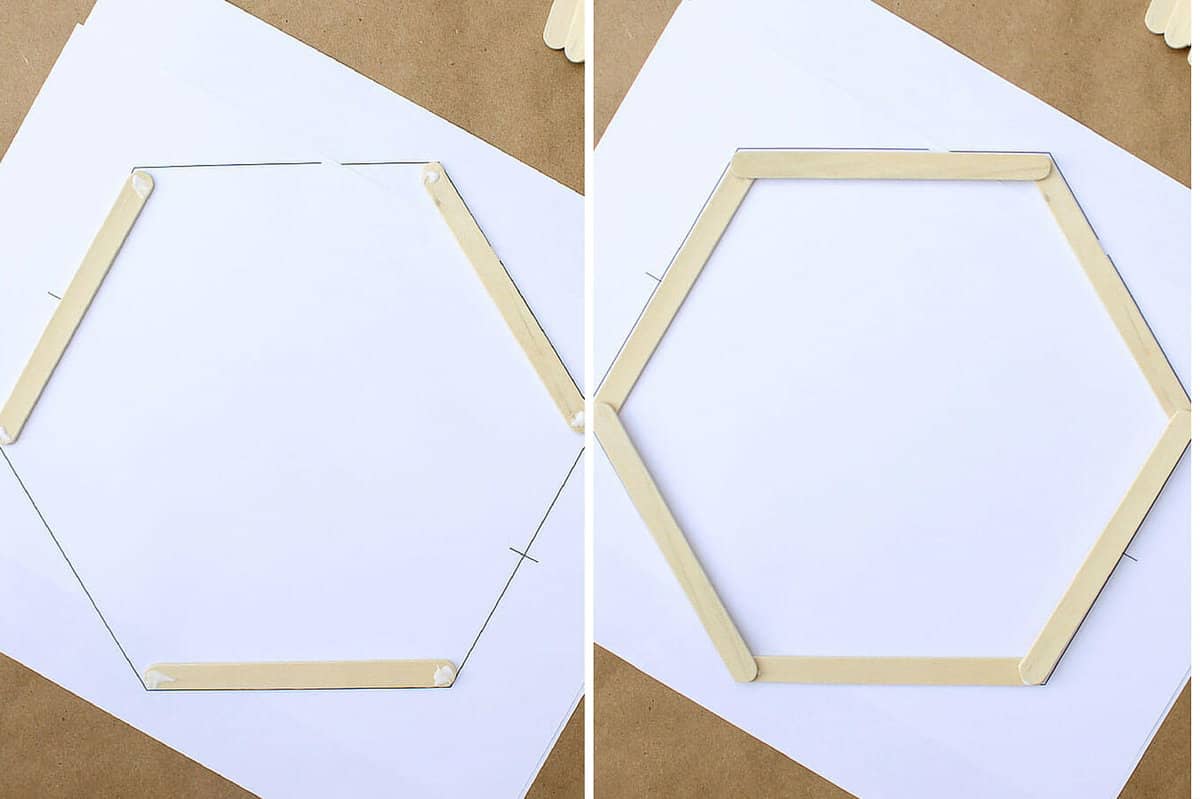 2. Layer three more sticks to complete the hexagon.
3. Continue glueing and layering like this until your hexagon shelf is a deep as you'd like it to be. Mine is about 16 sticks deep.
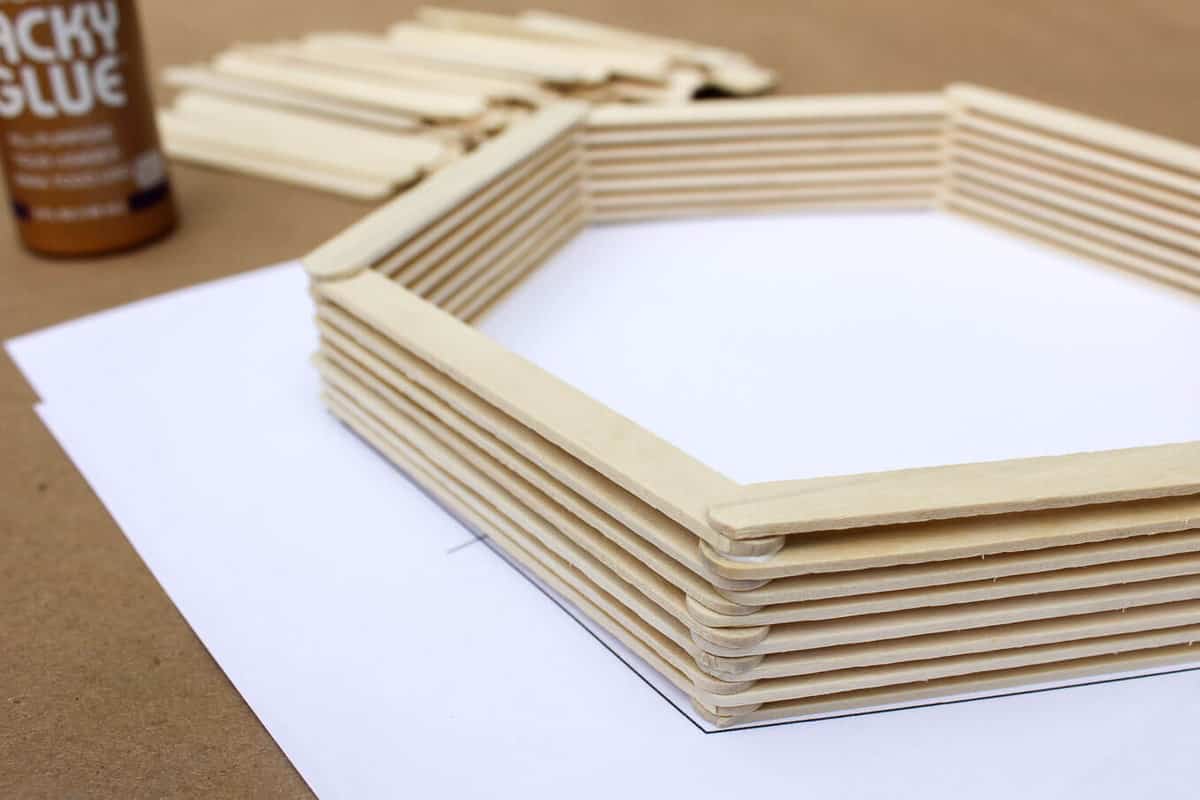 4. Allow the glue to dry. Do your best to keep your three-year-old from using your in-progress shelf as a wooden Bumbo seat for her dolls.
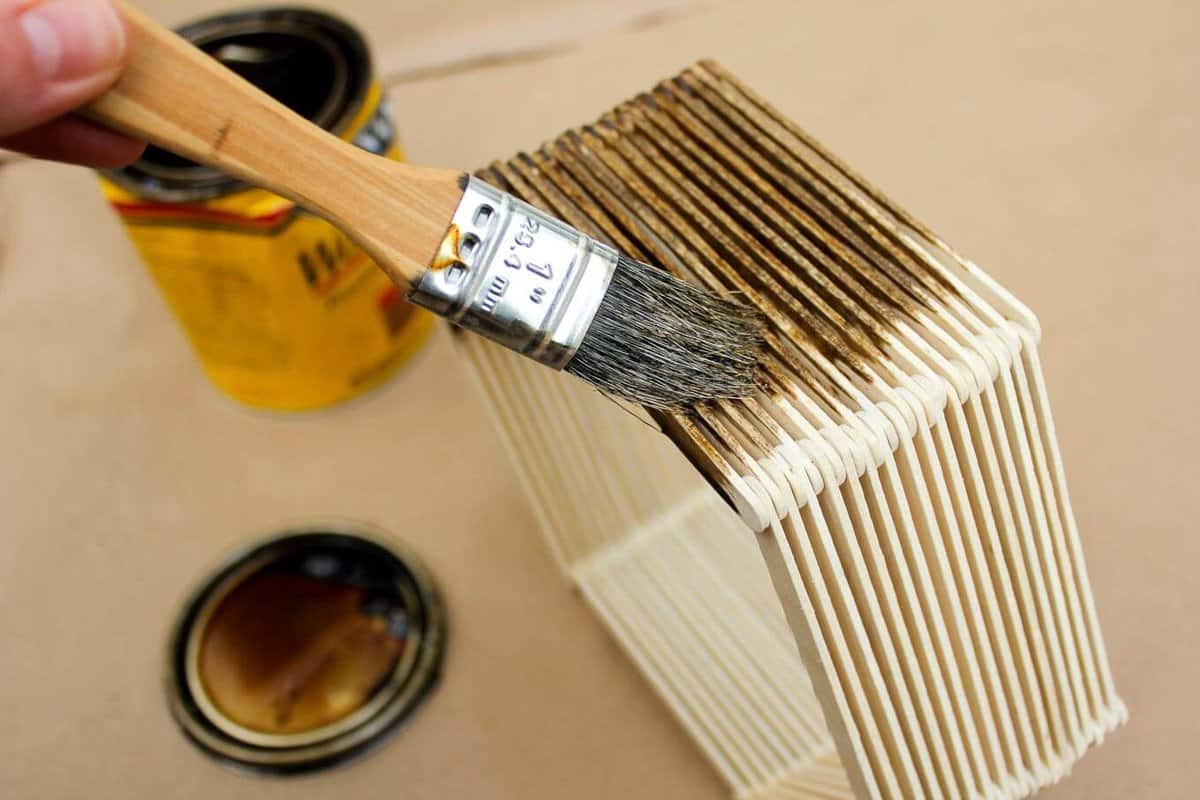
6. Stain your hex shelf, taking care to get stain in between all of the popsicle sticks.
 7. If you'd like, glue a picture hanger to your shelf. I skipped this step because I opted to just put two nails in the wall that the shelf could hang on.
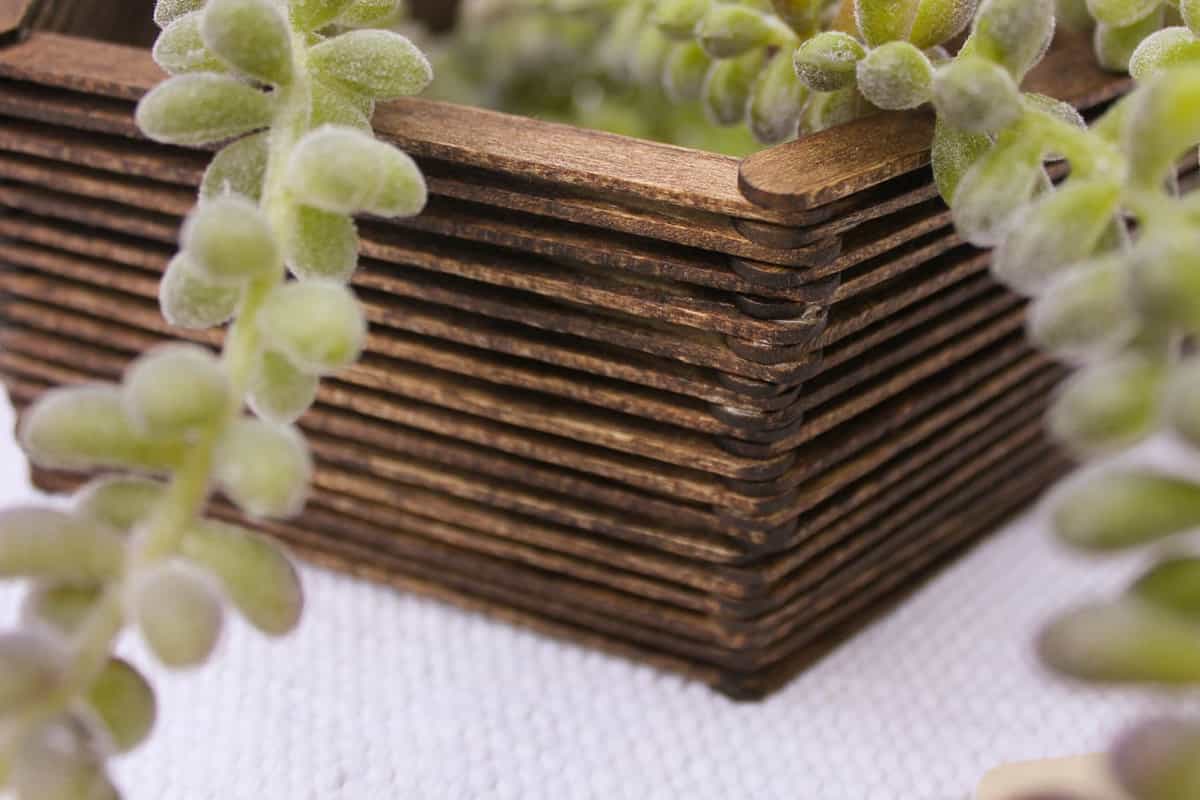
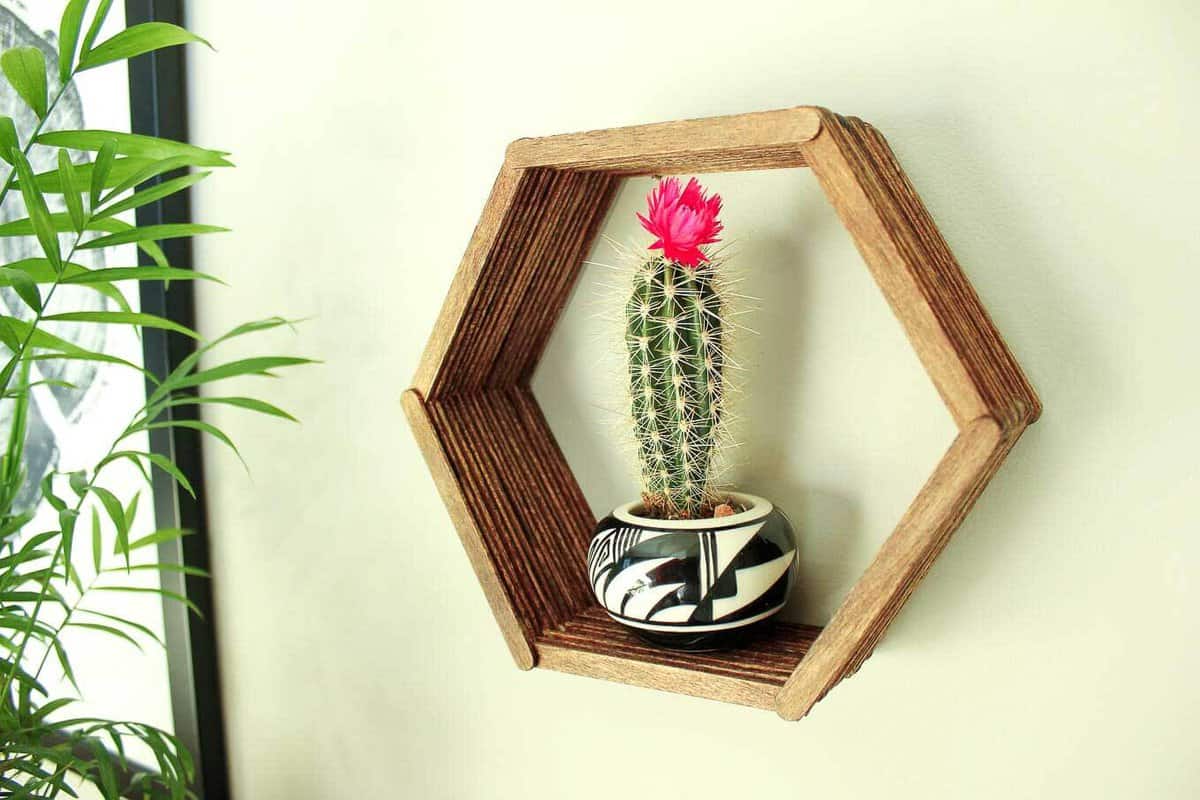
8. Find your cutest homeless home decor knick knack and place it lovingly in its new wall home. Then start planning your next popsicle stick wall art:
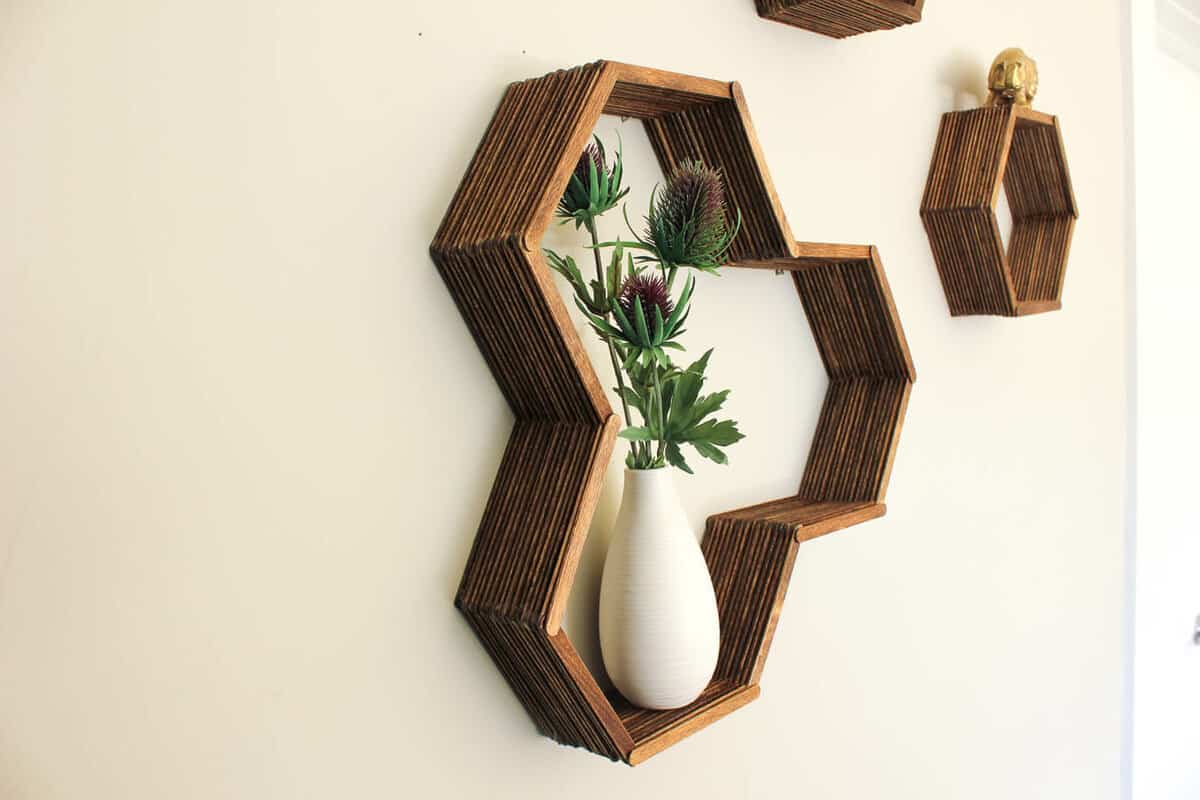
Honeycomb Shelves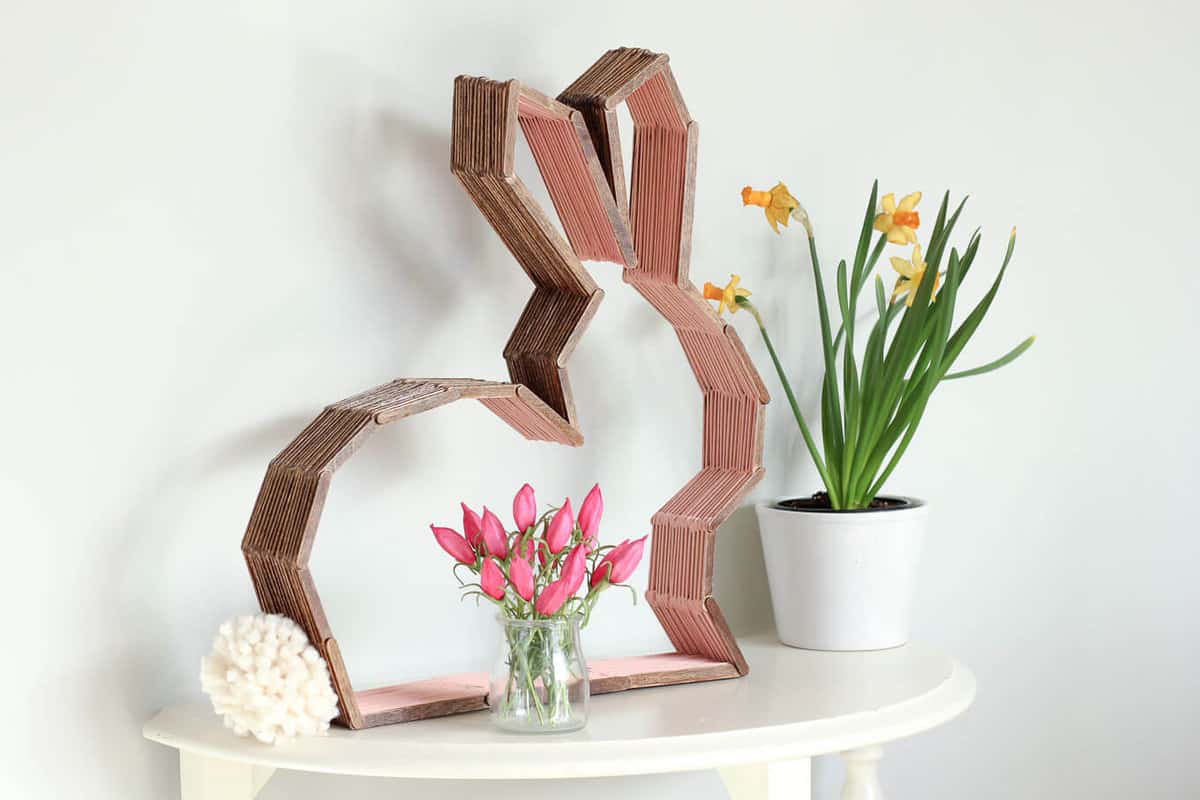
Modern Bunny Shelf (perfect for Easter or a nursery!)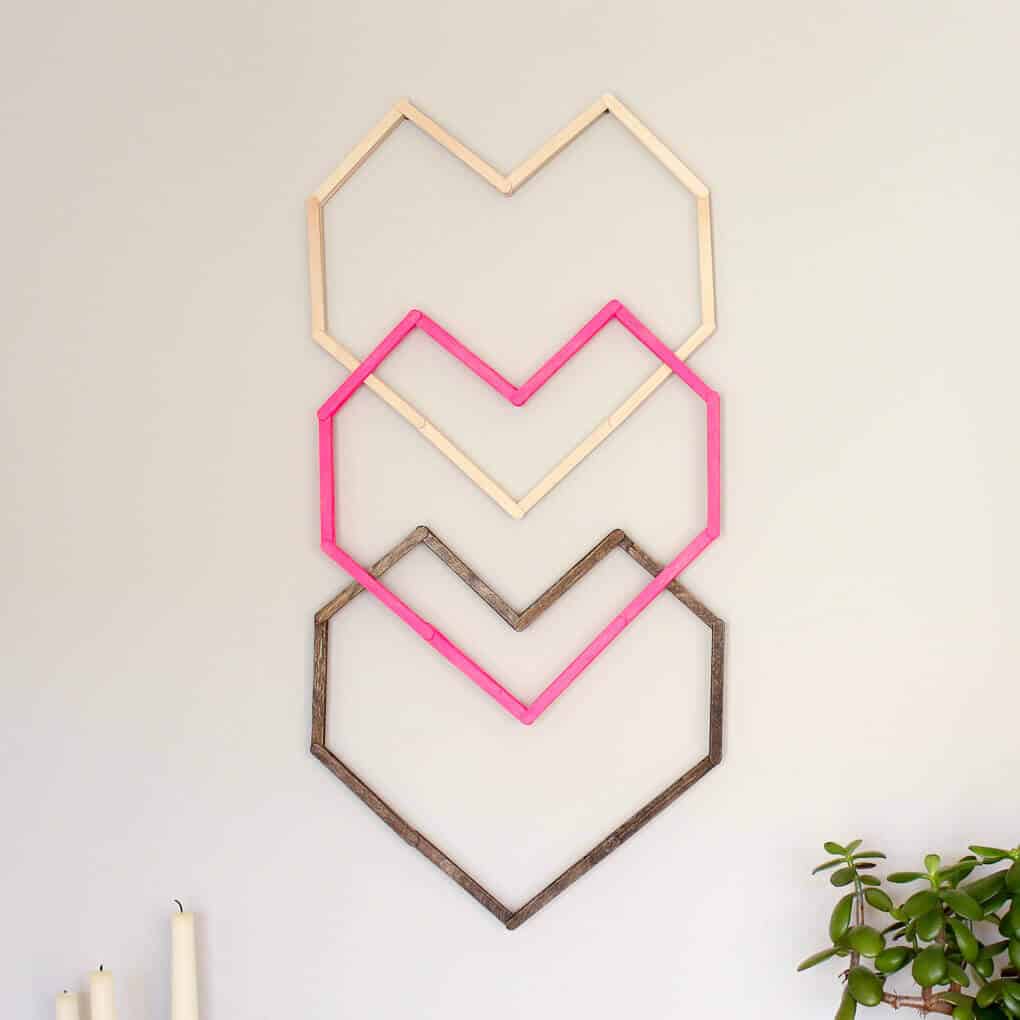
Geometric Heart DIY Wall Art

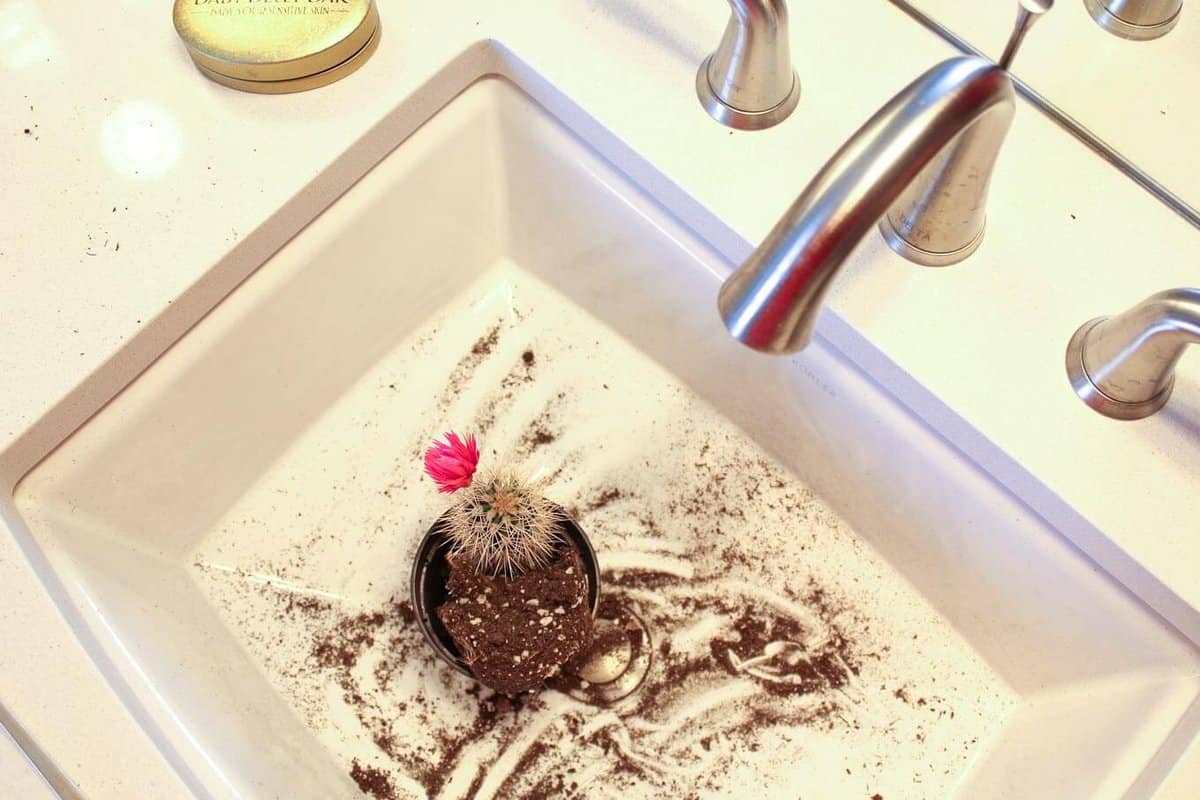
Snazzy blog photos can make it look like some people are doing it all (effortlessly!) while others of us (me!) are barely holding it together. So whenever I can, I like to introduce a little reality check in the form of a very un-Pinterest-worthy detail from my perfectly imperfect real life. My hope is that it’s a helpful reminder all of us that NO ONE is nailing it all the time.
Here's a tip: When you're trying to take photos of your project and decide you need to transplant a cactus mid-photoshoot, don't do it in your bathroom sink. Instead, do it in your husband's bathroom sink, like I did. (Shh...don't tell him!)

Brittany Morrow says
Cute Idea, keep trying to subscribe to getting the print out for the shape but having issues subscribing to get the password
Jess @ Make and Do Crew says
Hey Brittany,
You should receive an email from me right after you subscribe that has the PW in it. If you haven't seen it, perhaps check your spam folder or search your email for "Make and Do Crew." Hope that helps!
Jess
Morgan Bodwin says
Could I get the template for the popsicle shelf project?
Jess @ Make and Do Crew says
Hey Morgan,
If you subscribe in the box above this comment area, you'll get an email with download instructions. 🙂
elephant tapestry says
Great ideas! Very nice diy art. thanks for sharing.............
tishushu says
OMG! An accessible diy project to add to my midcentury modern decor!!!
I have a question, how much weight will these hold? I notice you have a succulent in a pot for the main image. How much does that plant weigh? I will only be using mine for dollar store type knickknacks and possibly only one or two...
Thanks so much for making this easy to do, and elegant when done! <3
Jess @ Make and Do Crew says
Thanks so much! I always look for those qualities in DIY projects too! The shelf is actually really stable. I think it's because there are so many touch points with glue on them. The limiting factor with the weight is more likely just what you use to hang it in the wall. I have a brass rhino sitting in the shelf now that is far heavier than the little succulent and I've had no problems. I hope you enjoy!
Jess
Alejandra says
Would love to make some shelves for my guest room
rielley legge says
just trying to get access to the template
Jess @ Make and Do Crew says
Hey! If you subscribe in the box above this comment area, you'll get an email with a link to the template. 🙂
Soz says
Can't wait to start! But will any kind of glue do? I'm afraid that the glue that I have won't be strong enough and will make it unable to place something as heavy as a vase in the hexagon.
Jess @ Make and Do Crew says
Surprisingly, even Elmer's glue makes a pretty strong bond. I think it's because there is glue on so many separate surface areas within the shelf.
Happy crafting!
Jess
Katrin Debus says
I find this idea just great and would like to create such elements for my apartment.
Could I please get a password, so I can download the template?
I would send you pictures of my results if you wanted.
Regards from germany
Jess @ Make and Do Crew says
Hello from the US, Katrin! If you subscribe in the box above this comment area, you'll receive an email with the download instructions for the free template. I'd love to see a pic of what you make!
Joyce Faught says
I;m about to make the shelf, just need the template to get started this evening. Thank you.
Jess @ Make and Do Crew says
If you've subscribed, you should have an email waiting for you with the download instructions. If you don't see it, search your spam and junk folders for "Make and Do Crew." Sometimes it can get stuck in there.
Happy crafting!
Jess
Alexis says
Hi, just stumbled across your gem of a website! And I'm in love and also wondering if you think using a glue gun would be okay?
Jess @ Make and Do Crew says
Hey Alexis,
Welcome! The thing with a glue gun is that you'll have a lot more "spiderwebs" to contend with. This shelf uses so many small dots of glue that I think it could get a little messy. That said, I have used regular Elmer's school glue and it's worked fine as an alternative to tacky glue.
Hope that helps!
Jess
lacie gardner says
i cant download the hexagon pattern , could you just email it to me
tracy says
I am planning on working on this shelf this weekend! Have you tried E6000 or hot glue or is Tacky Glue really the best? Also - have you ever tried gluing a picture hanger on the back of one? I wonder how sturdy that would be.
Jess @ Make and Do Crew says
Hey Tracy,
I realize this might be too late because you might have already made this, but here's why I prefer tacky glue--hot glue creates so many glue cobwebs that I don't think the overall look is as clean. E6000 is great, but I find it messier (and stinkier!) to work with. Tacky glue can easily be wiped off if you use too much and the shelf is actually incredibly strong by the time you've glued all the sticks together. I think a picture hanger on the back would be great!
If you did try a diff glue, I'd love to hear how it worked.
Jess