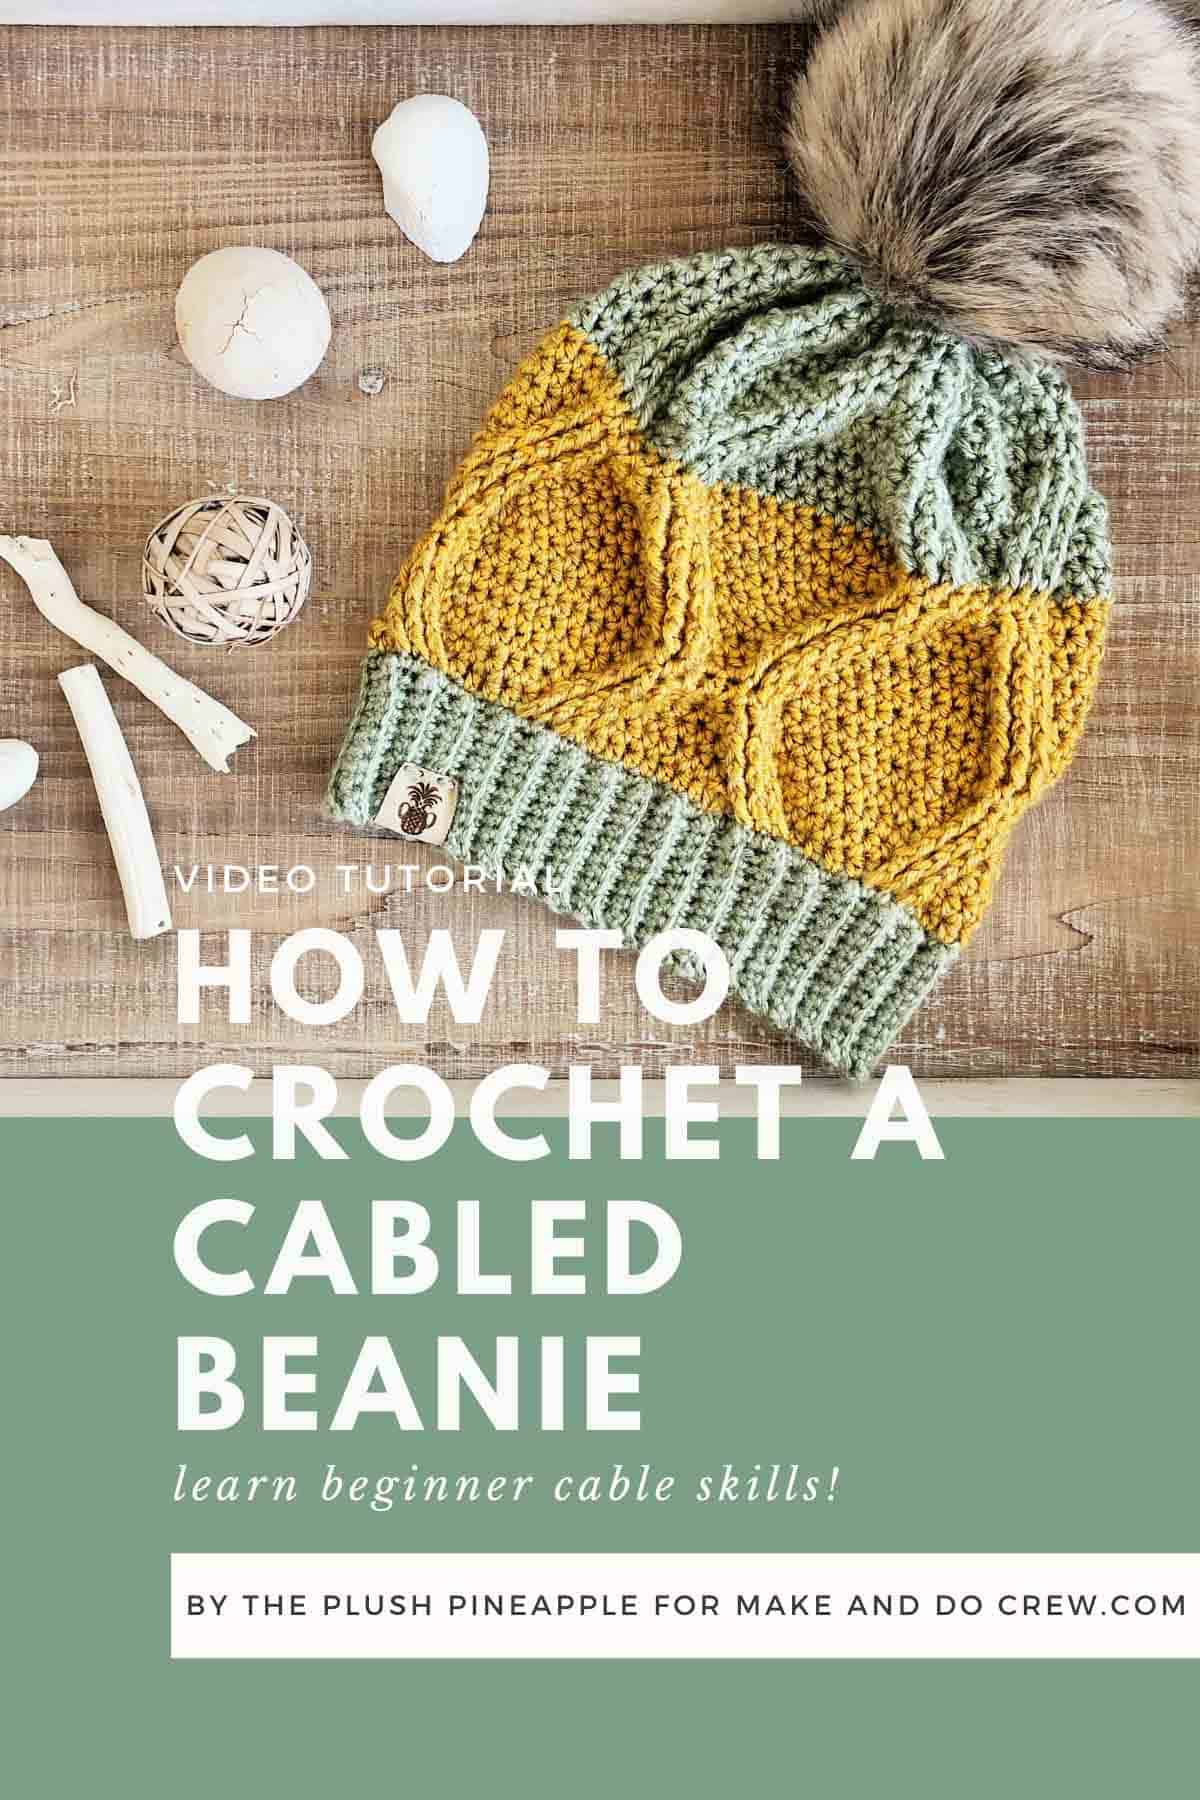
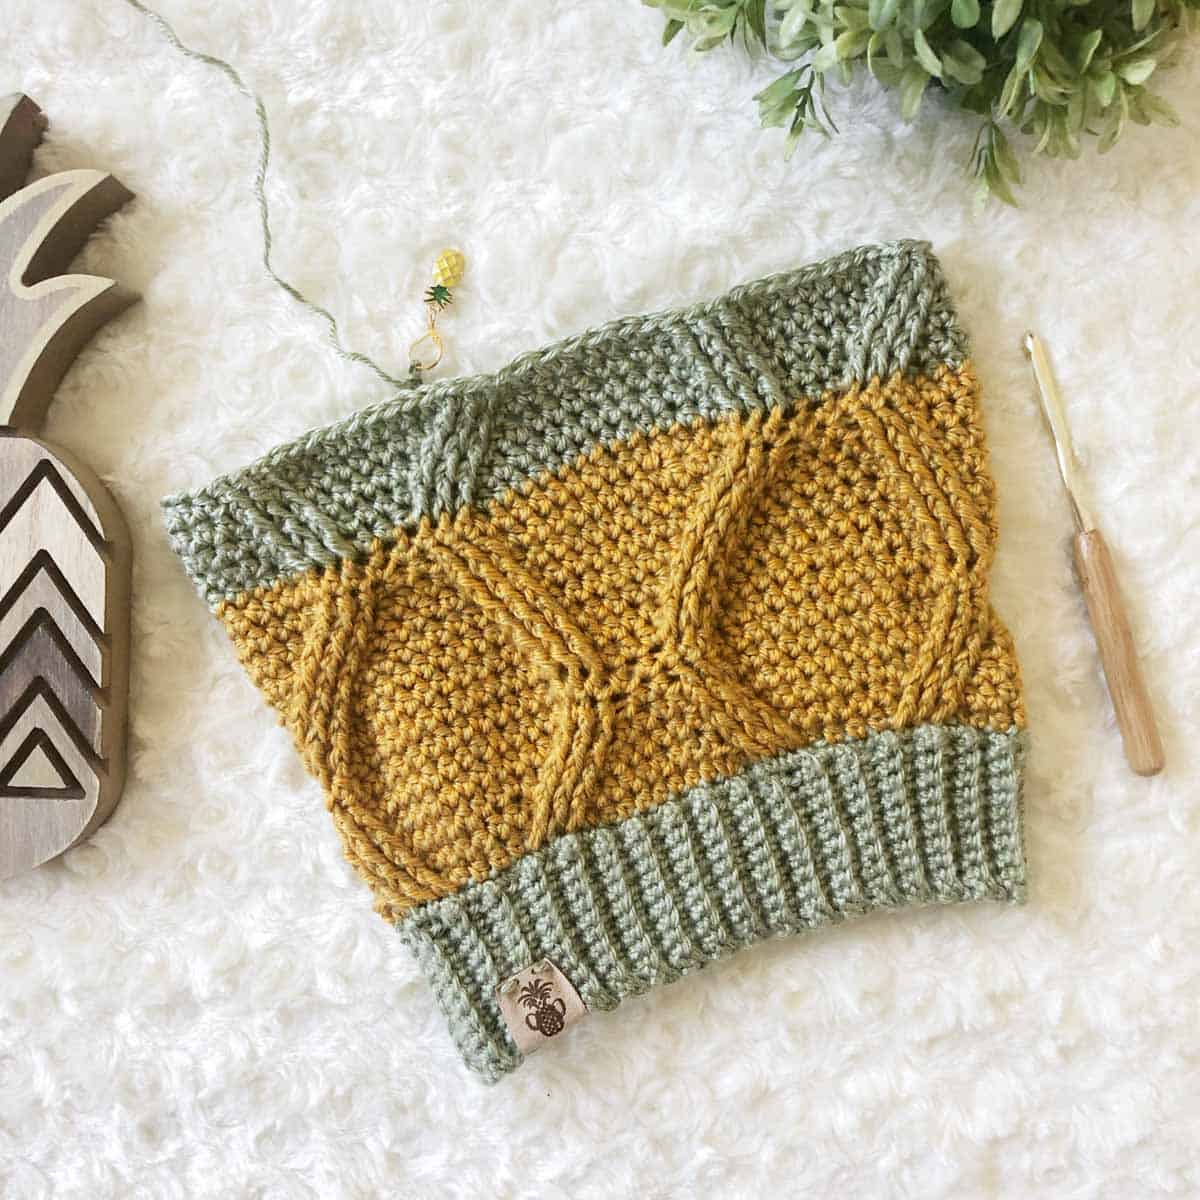
This beginner crochet cabled hat pattern is a great introduction to cables. You can follow the included photo and video tutorials for extra instruction. Get the full free pattern below or purchase the ad-free, printable PDF here.
Thanks to Lion Brand Yarns for providing the yarn for this cabled crochet hat pattern. This post contains affiliate links.
Welcome back to the Make & Do Crew guest designer series where talented designers from across the internet share their free patterns with you, right here on Make & Do Crew.
Today Sarah from The Plush Pineapple is here with her free crochet cable hat pattern! You can see lots of of Sarah’s crochet patterns her blog, The Plush Pineapple, and on Etsy and Ravelry. And be sure to check her out on social media too: Instagram, Pinterest, and Facebook. Sarah, take it away!
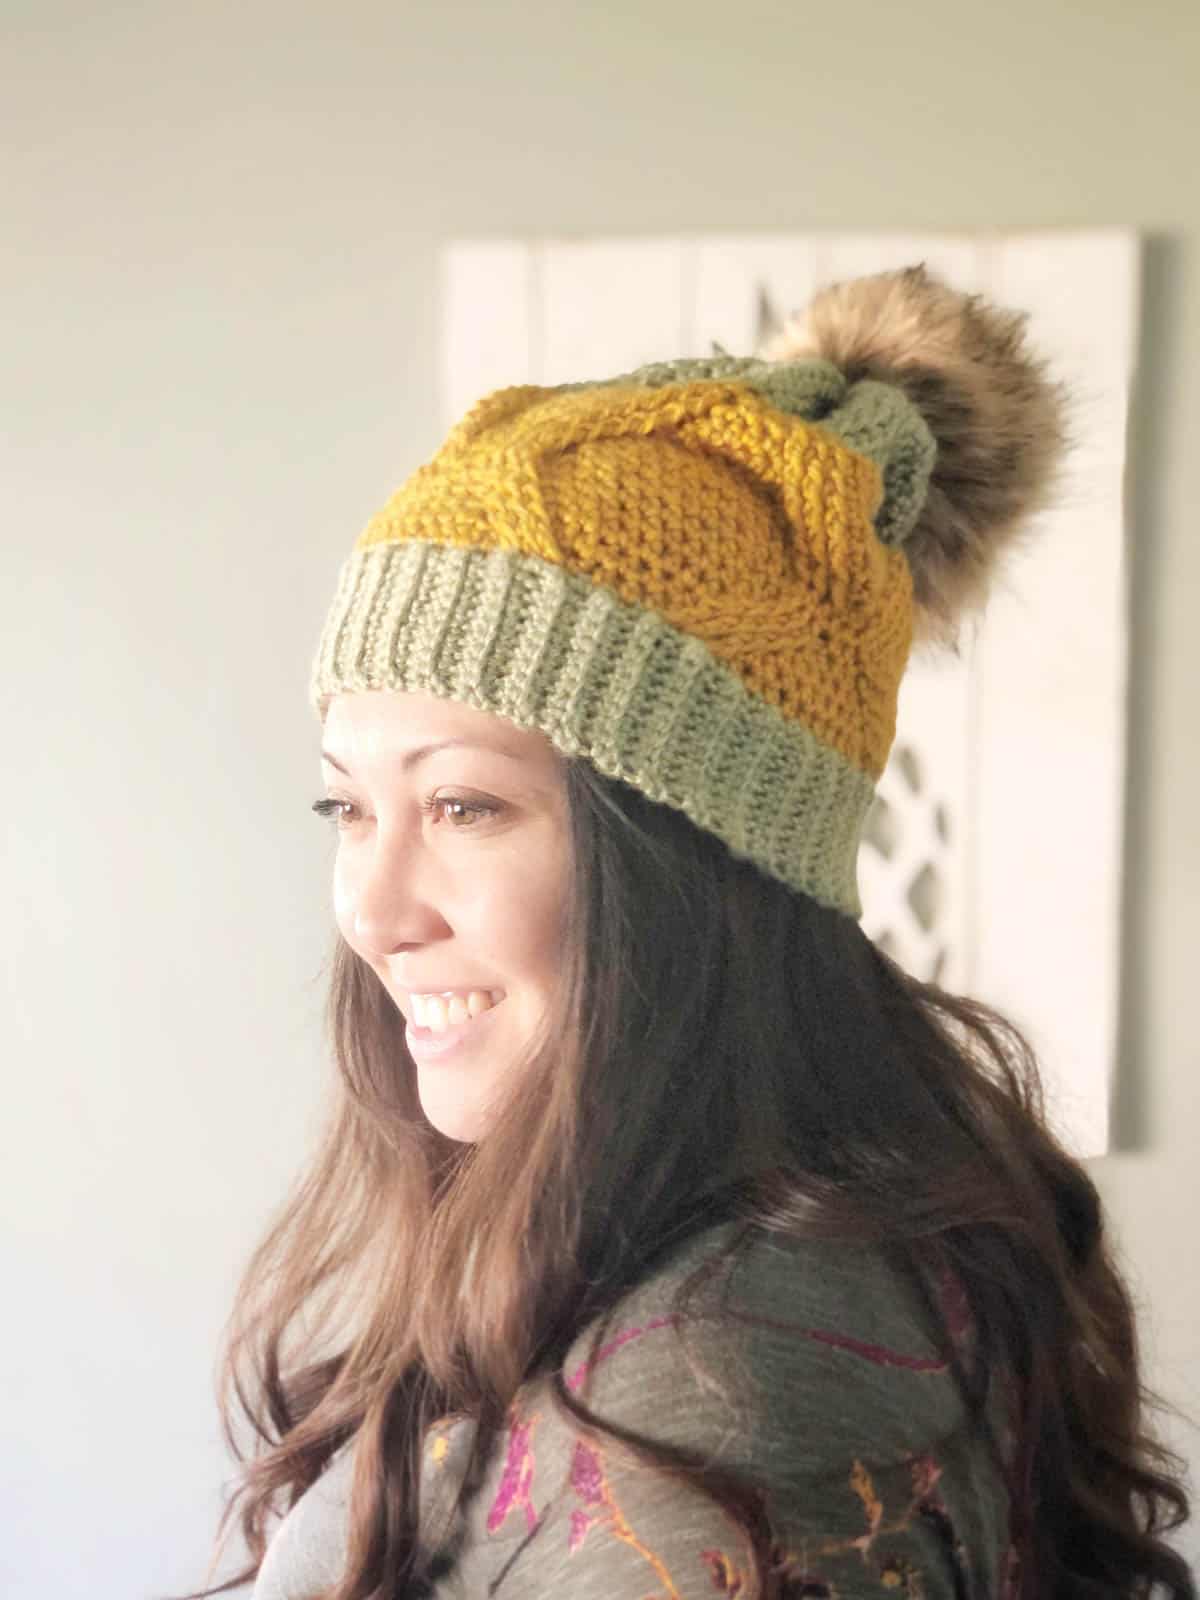
The Inspiration For My Crochet Cable Hat Pattern
Hey there, yarn friends! I hope this blog post finds you surrounded by lots of sunshine and pineapple-y things! I am Sarah, the maker and designer behind The Plush Pineapple.
If you know anything about me, you know that I always try to incorporate some kind of tropical flavor into every design, even if it is just subtle notes of texture or color! The Pineapple Crown Beanie is no different!
The inspiration behind this design came from the quote, “Be a Pineapple. Stand tall, wear a crown, and stay sweet on the inside.” Sometimes life gets tough, and I mean REALLY tough. Major life changes can come about in a fleeting moment or as the result of one decision. These circumstances can leave a giant question mark on the future.
In times like these, remember that the only way out is through! You can either choose to pout and feel miserable, or you can choose to pick yourself up and move forward the best way you know how!
Just as The Pineapple Crown Beanie has subtle texture that is reminiscent of pineapples, my hope is for it to also be a subtle reminder that in the difficult moments, sometimes you just need to straighten that crown and move forward towards loving friends, brighter days, and sweeter victories!
One of My Favorite Yarns Comes Through Again
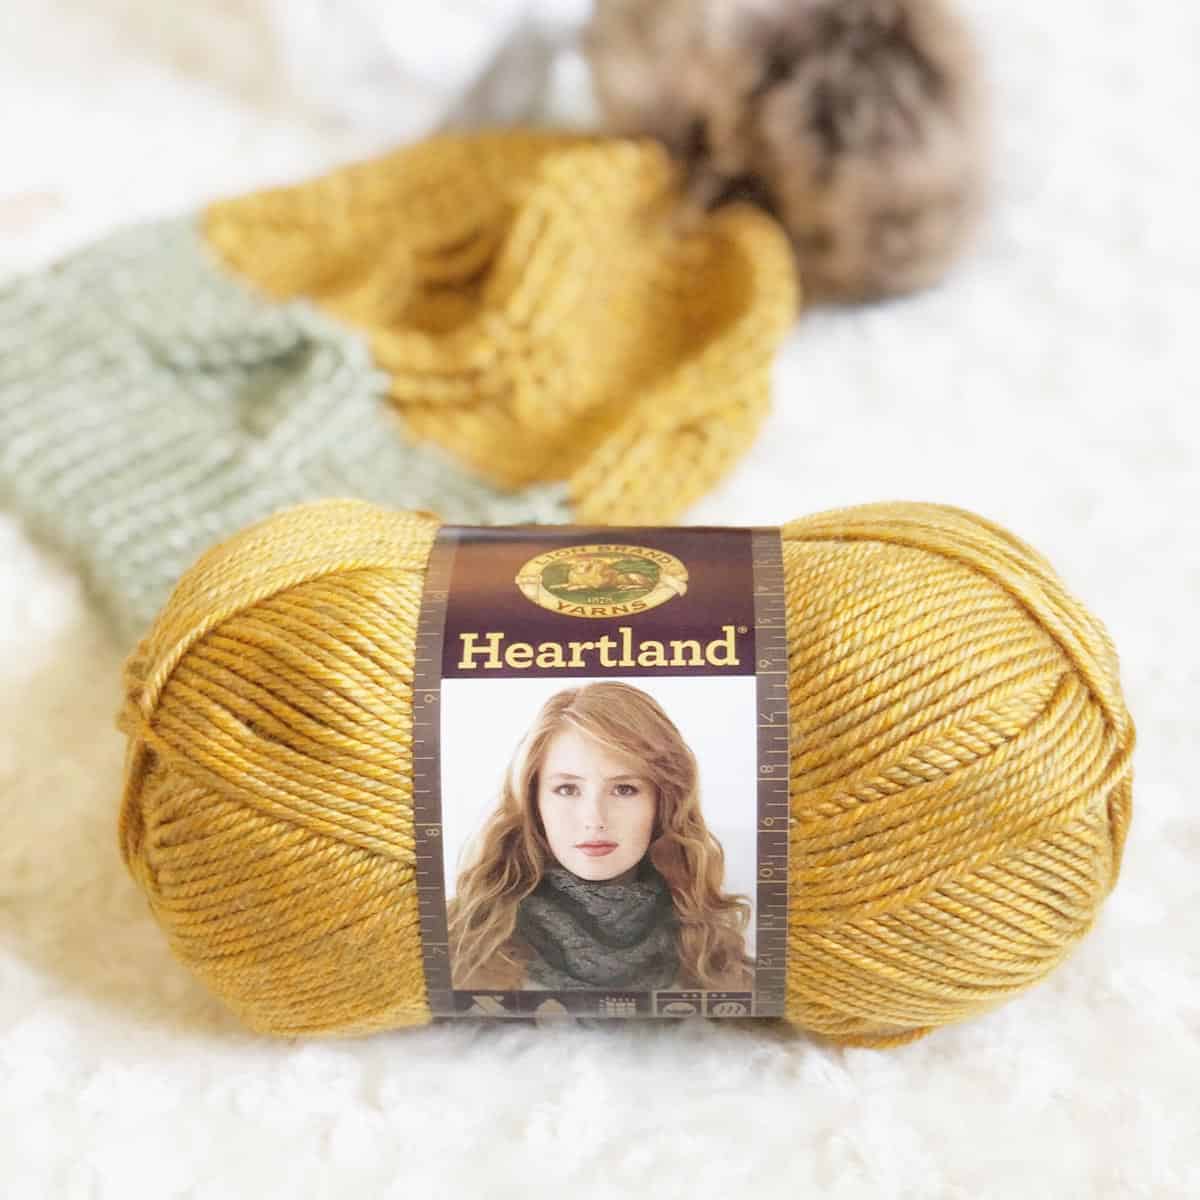
I chose to use Lion Brand Heartland for The Pineapple Crown Beanie. Heartland has always been one of my most favorite yarns to use. Each color way has varying shades that add so much dimension to the finished product! Heartland is a lighter worsted weight so I feel that it works up with great drape and movement.
I chose Saguaro, which is a soft green with subtle hints of white that just add the most glorious sheen. I also chose Yellowstone, which is a deep mustard that actually has flecks of green throughout making it the perfect compliment to Saguaro!
Related: 35+ Cozy Chunky Hats to Crochet
click to pin this pattern for later ⇨
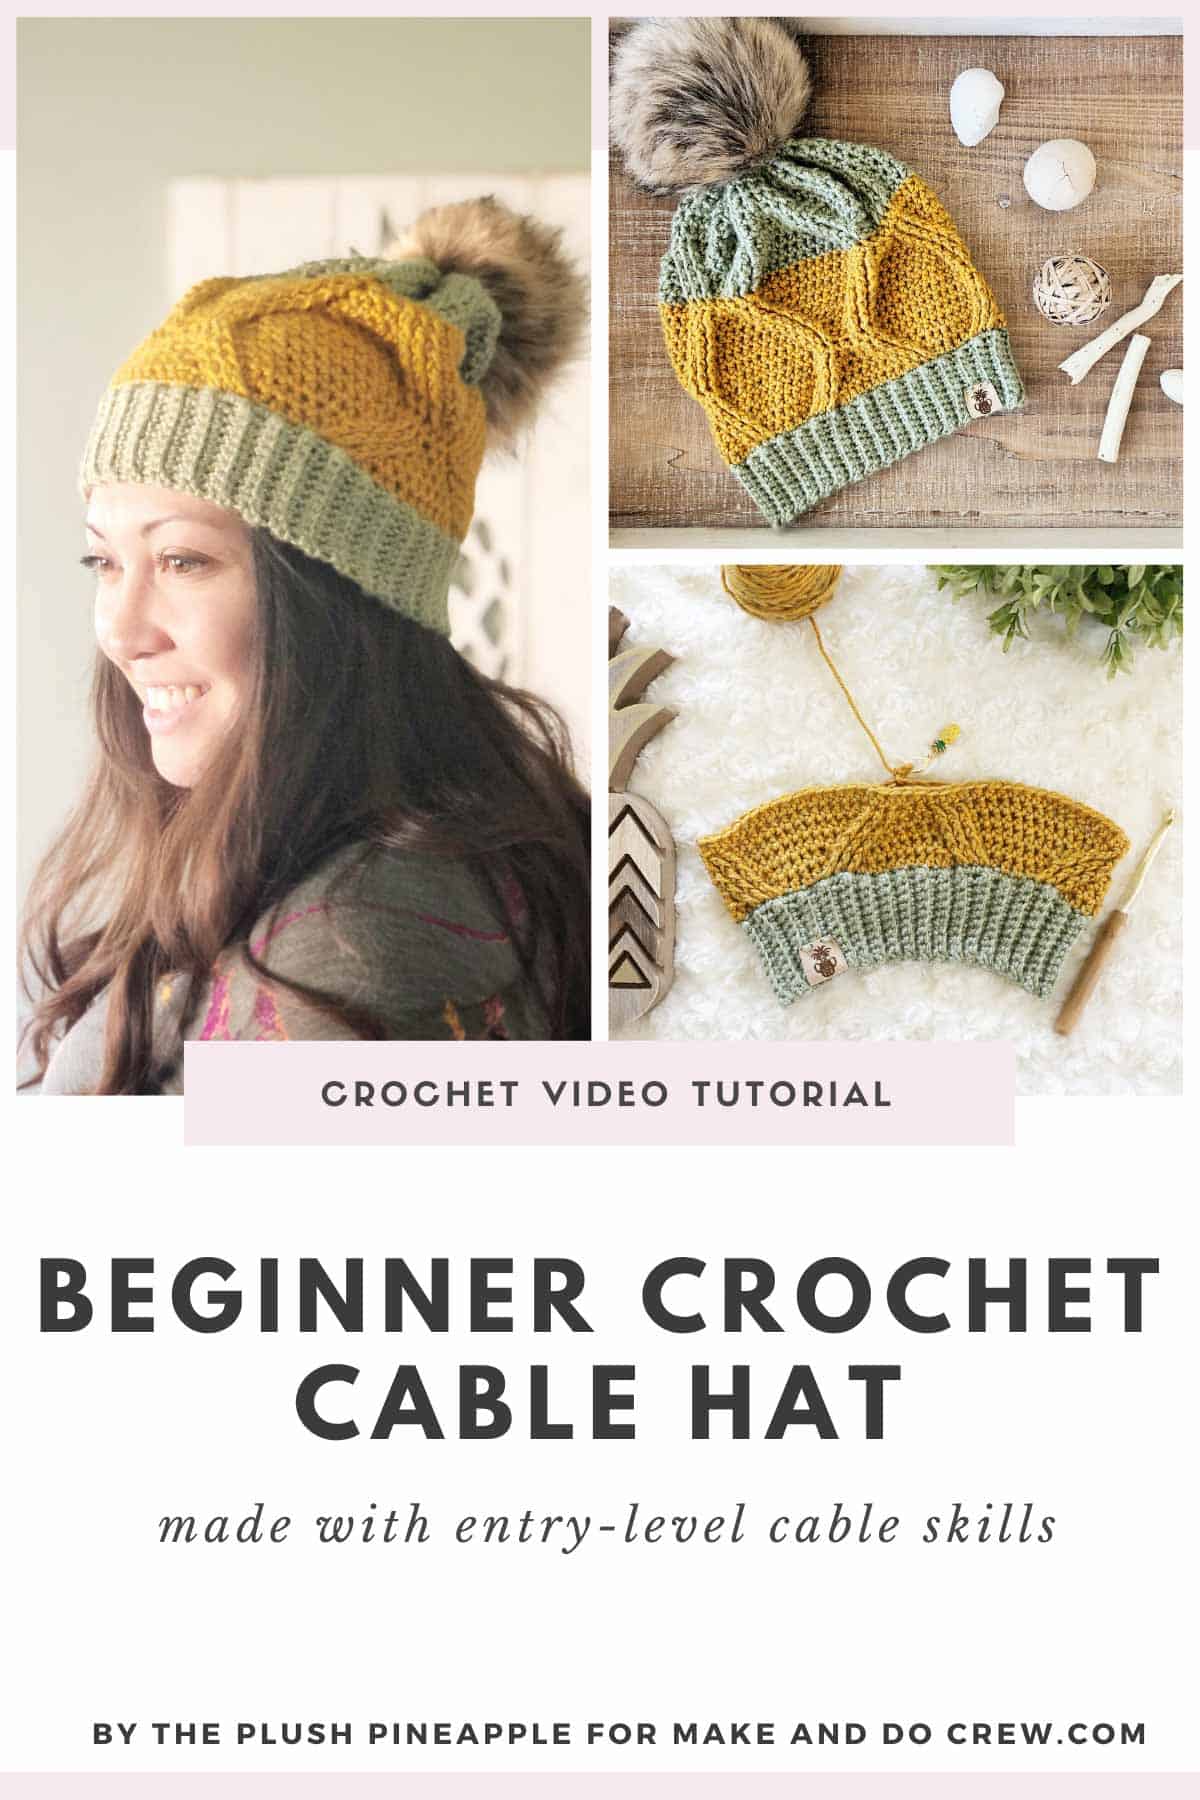
A Perfect Introduction to Crochet Cables
The Pineapple Crown Beanie is an intermediate pattern. If you are new to cables, this is the project for you!
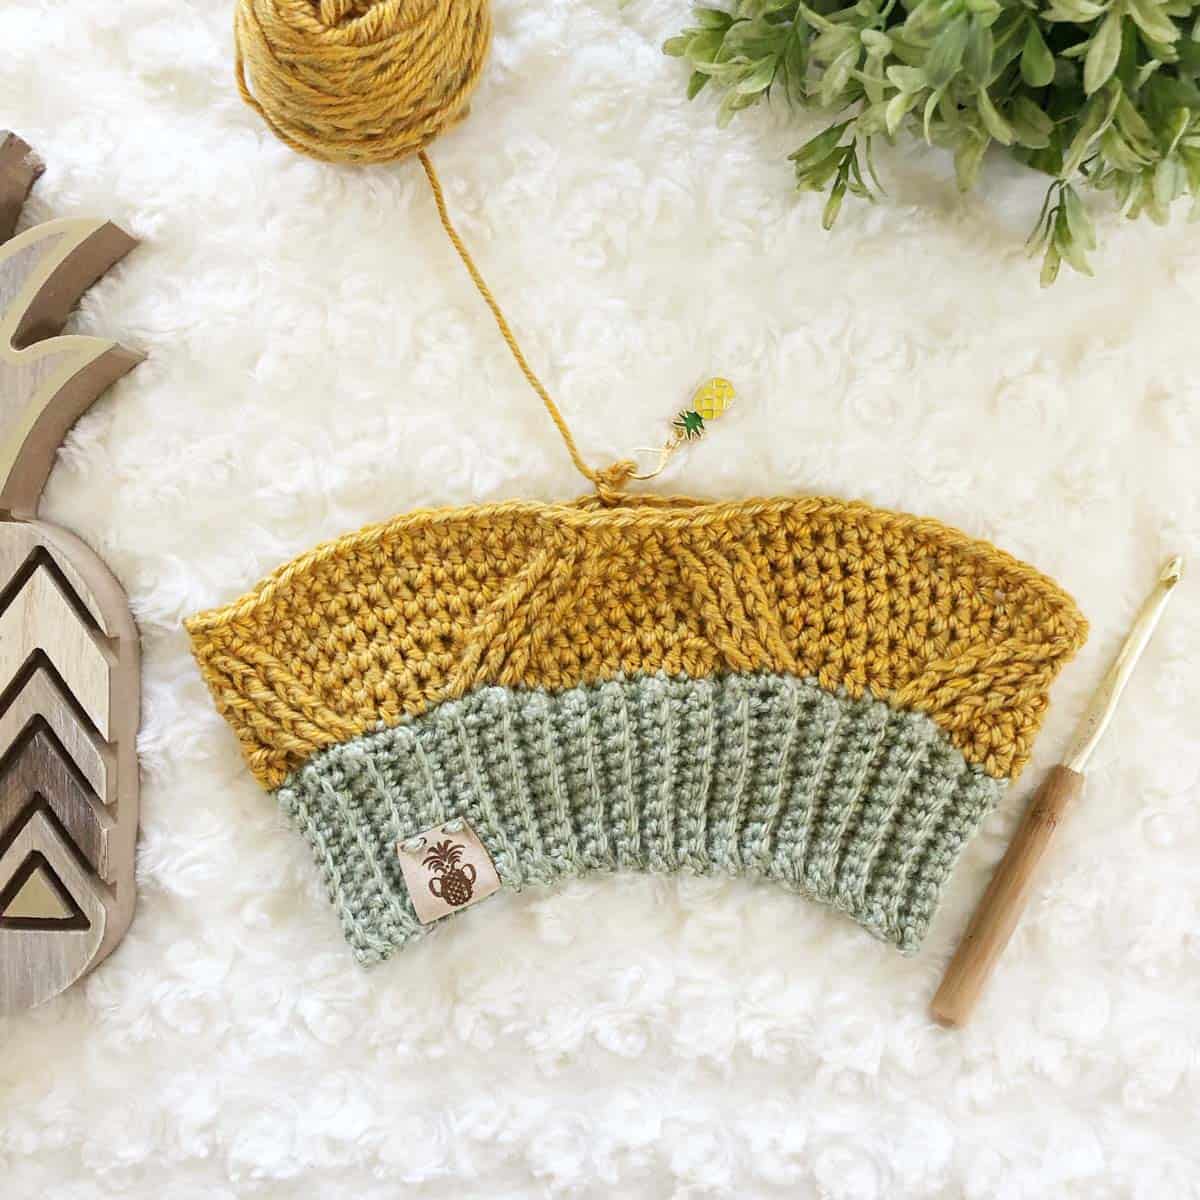
I have provided detailed progress photos as well as links to my blog where you can find videos on how to do the trickier rounds. Once you get the basic concept down, the hat works up in no time!
Related: 27+ Best Crochet Hat Patterns for Winter
More Free Crochet Hat Patterns
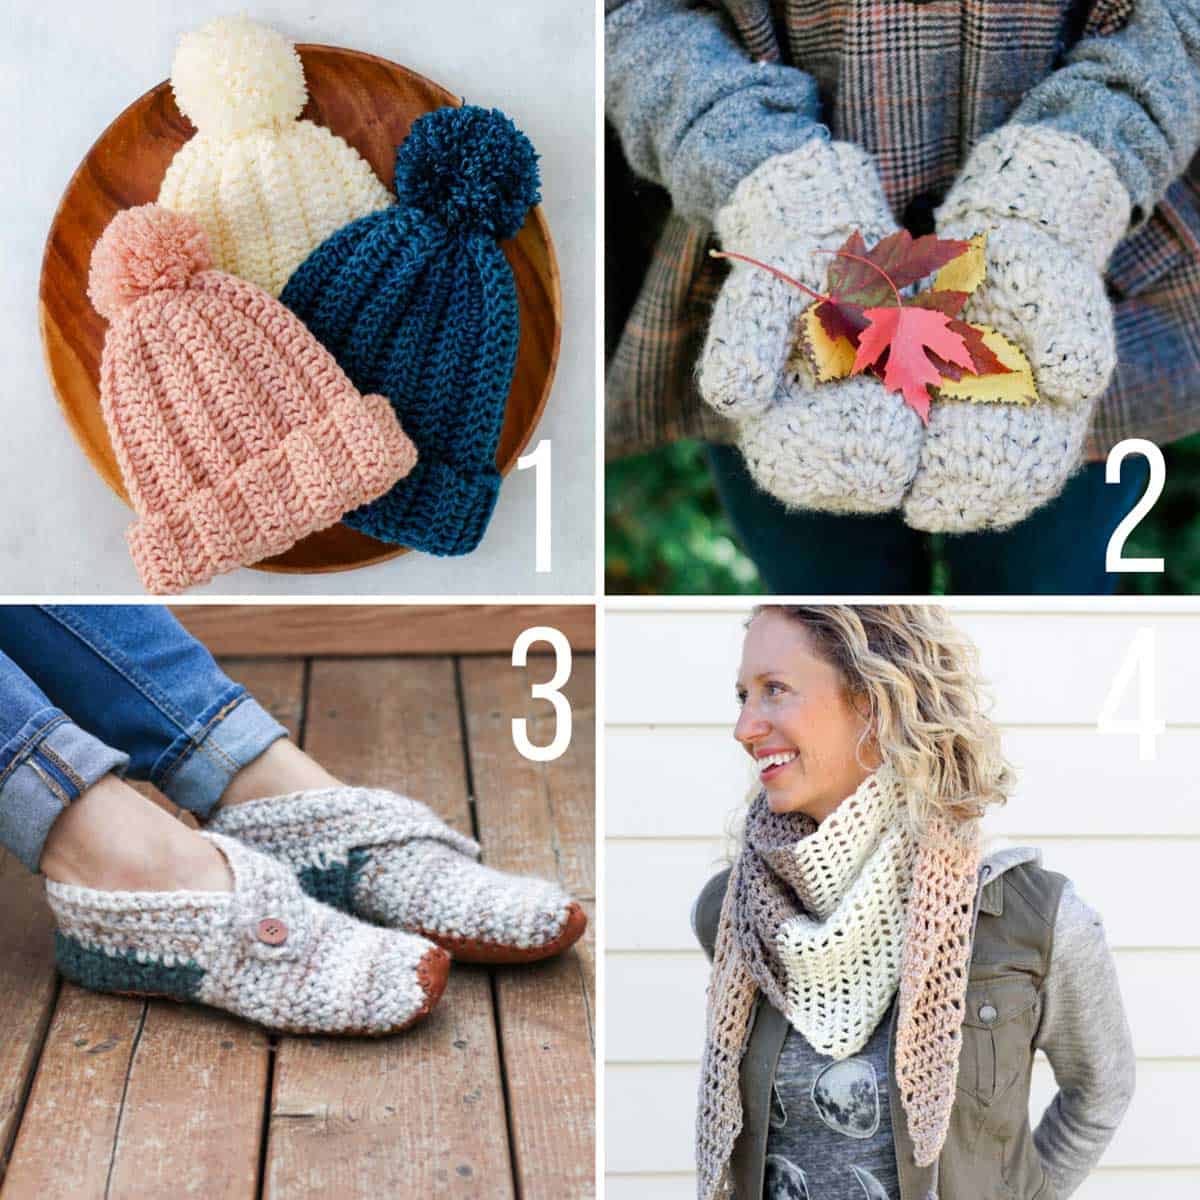
Crochet hats make such satisfying, quick projects and they’re perfect for gift giving. Here are a few more of our most popular free crochet hat patterns for women. You can always find all our free crochet beanies and hats here.
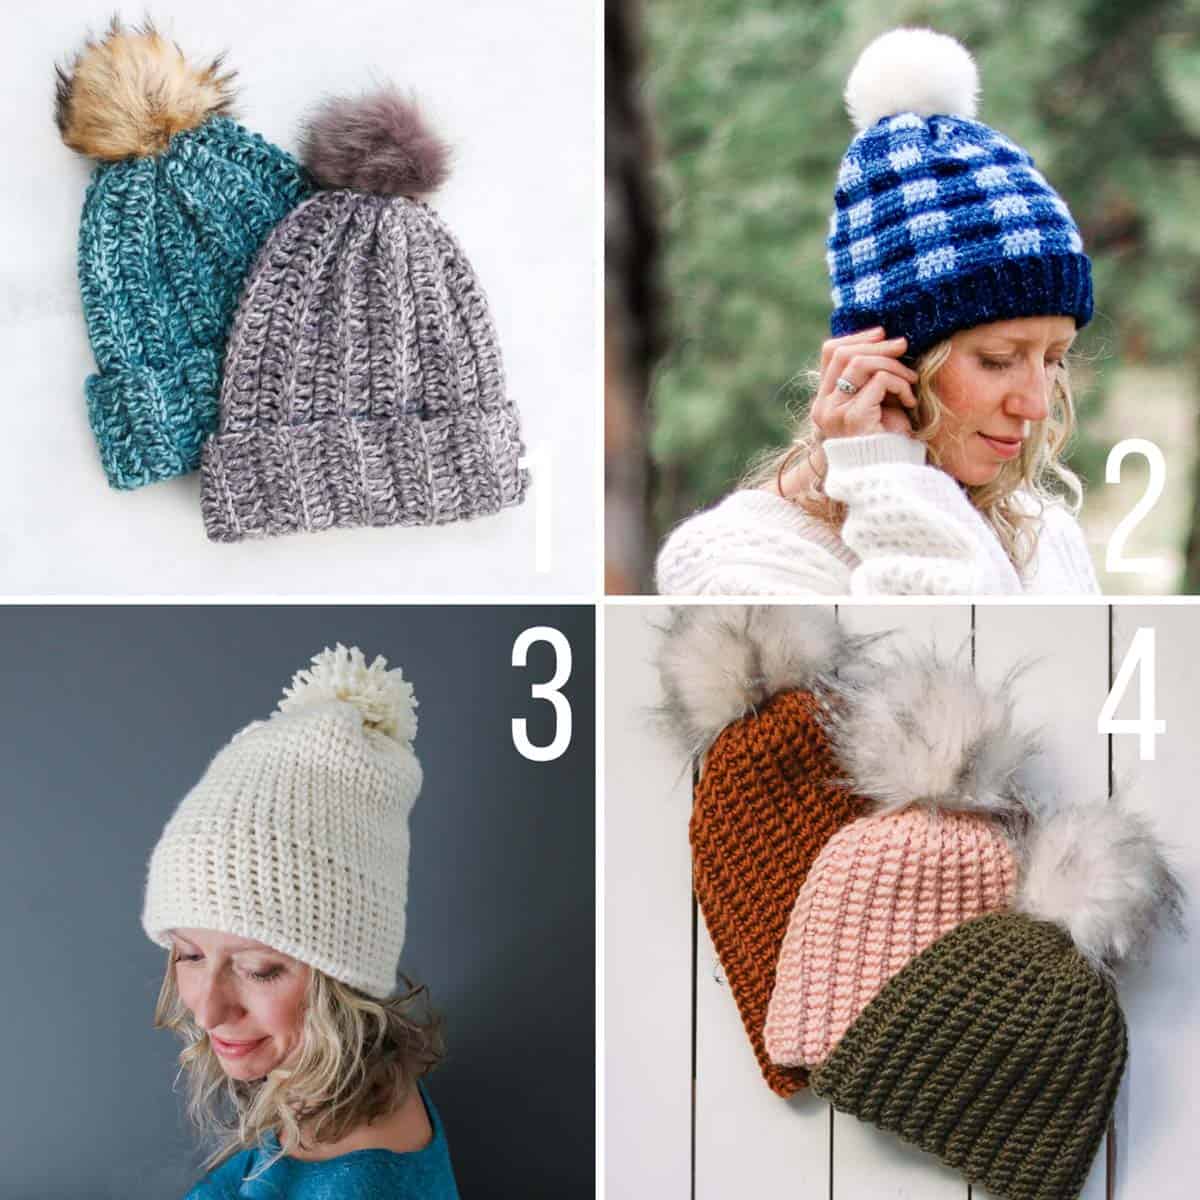
1. 1.5 Hour Beanie // 2. Unity Plaid Beanie // 3. Everywhere Beanie // 4. Easiest Ever Beanie
Pineapple Crown Crochet Beanie
Free Pattern
Purchase an ad-free, printable PDF of this pattern here.
Save this pattern to your Ravelry here.
Pin this pattern for later here.
Explanation: The Pineapple Crown Beanie will have you dreaming of summer with strategically placed cables that come together to represent pineapple outlines! While the design itself is subtle, the texture from the cables adds depth and dimension along with three optional color changes to give the maker lots of options.
Supplies:
• Lion Brand Heartland (Weight: 4/medium – 251 yds, 5 oz)
– Saguaro (#136-176)
– Yellowstone (#136-158)
• US 7 (4.50mm) crochet hook
• US I/9 (5.50mm) crochet hook
• Yarn needle
• Scissors
• Faux fur pom pom
Sizes/Measurements:
• Hat Body – 10” tall x 9.5” wide
• Brim – 18” circumference
Gauge:
• Band (SC in BLO) – 2 in = 10 SC/9 rows with US I/9 5.5mm Crochet Hook
• Body (HDC) – 3 in = 12 HDC/9 rows with US I/9 5.5mm Crochet Hook
Abbreviations and Glossary (US Terms):
YO – yarn over
CH – Chain
SL ST – Slip stitch
SC – Single crochet
HDC – Half double crochet
HDC INC – Half double crochet increase
HDC DEC – Half double crochet decrease
FPDC – Front post double crochet
Overall Pattern Notes:
• The hat is worked from bottom up. The band is crocheted in rows equal to the circumference of the hat and then seamed. The hat is then worked in the round.
• Be sure to check your gauge if using a yarn other than the recommended yarn.
• I use a smaller hook size for the band of the hat to ensure a snug fit. If you wish to have a looser fit, then the US I/9 5.50mm crochet hook can be used for the entire project.
• Beginning chains DO NOT count as a stitch.
• This project uses crochet cables. Detailed progress photos for working these cables are included in the pattern. There are also links throughout the pattern that will lead to stitch videos on my blog if further assistance is needed.
Wanna save this pattern?
Ribbed Band
Use US 7 4.50mm crochet hook.
Row 1: CH 11, SC in second CH from hook and in each remaining SC (10)
Row 2: CH 1, turn, SC in the back loop of each SC (10)
Rows 3-70: Repeat Row 2 (10)
After Row 70, you should have a ribbed, rectangular strip. Fold the strip with right sides together (you will know you are looking at the right side if the crochet hook is at the top right corner).
Once the piece is folded, turn your work so that the working side is closest to you and the beginning chain is furthest from you. The crochet hook should be on the right end.
CH 1 and SL ST through the back loop of the stitch closest to you and the corresponding beginning chain. Continue joining each stitch in this manner until the band is completely joined.
Turn the band right side out before beginning the hat portion.
Cabled Hat
Use US I/9 5.50mm crochet hook.
The remaining portion of the hat will be worked in the round.
Round 1: CH 1, SC in the end of each row of the band, SL ST to the beginning SC to join. (70)
***If changing colors, change after Round 1.***
Round 2: CH 1, (HDC 9, HDC INC) 7x, SL ST to the beginning HDC to join. (77)
Stitch videos for Rounds 3-6 & 9 can be found on my website.
Round 3: CH 1, HDC in the same stitch as the beginning CH and in the next 7 stitches, *(Count 2 stitches back, FPDC around the corresponding SC post from Round 1) 3x, before continuing be sure you are only leaving 3 stitches unworked from the main row to account for the 3 FPDC into Round 1, HDC 8, (Count 2 stitches forward, FPDC around the corresponding SC post from Round 1) 3x, before continuing be sure you are only leaving 3 stitches unworked from the main row to account for the 3 FPDC into Round 1, HDC directly behind the last FPDC and in the next 7 HDC, repeat from * until you reach the last 3 stitches, HDC in the remaining 3 stitches to complete the round, SL ST to the beginning HDC to join. (77)
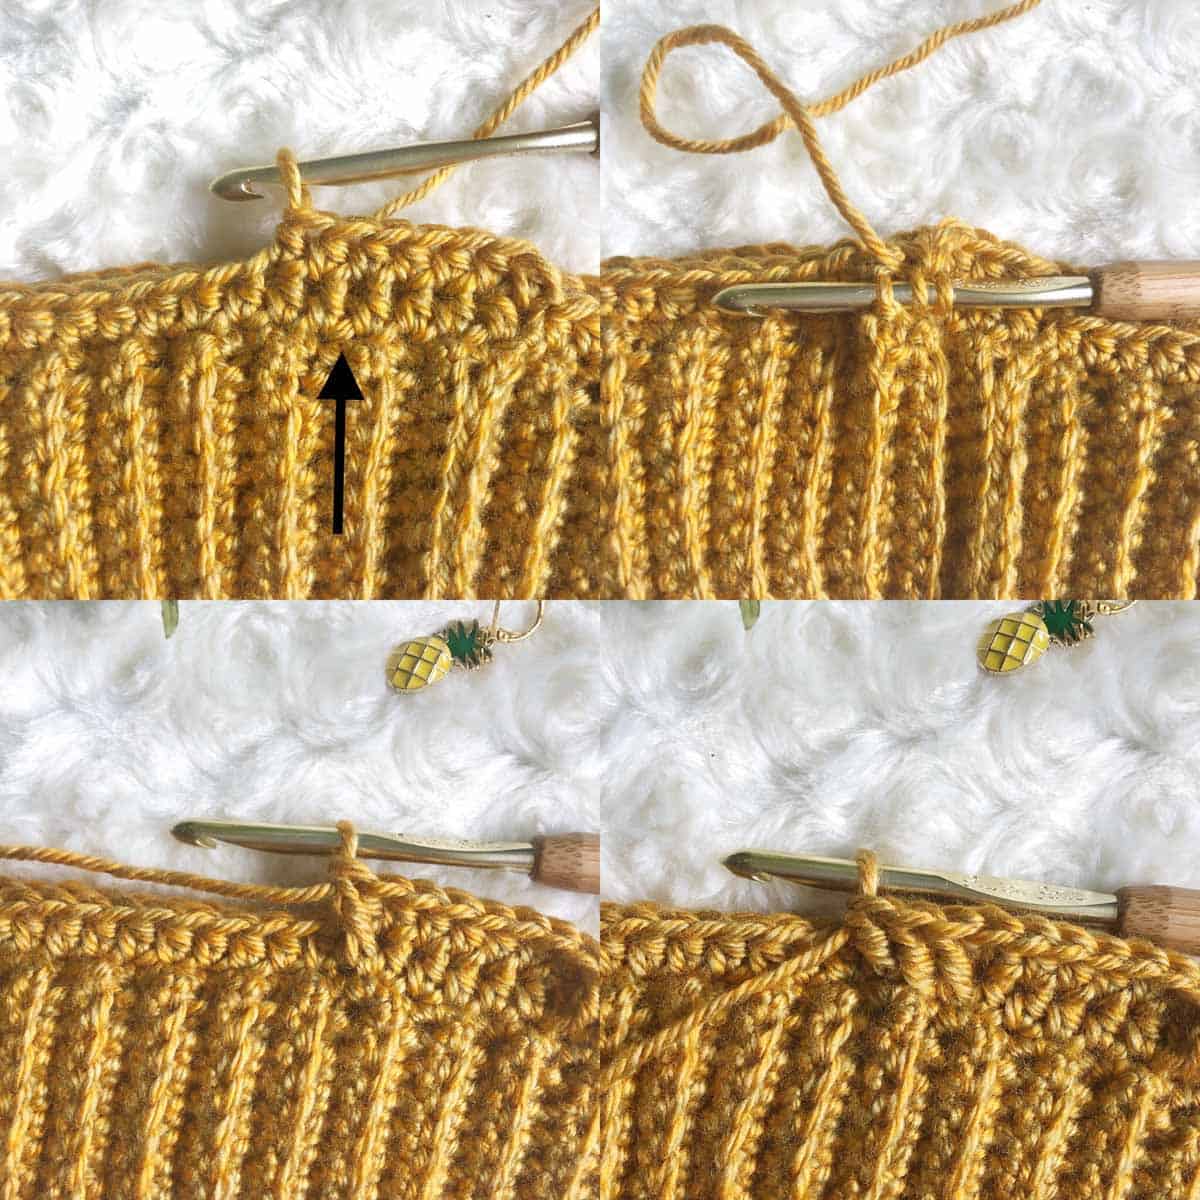
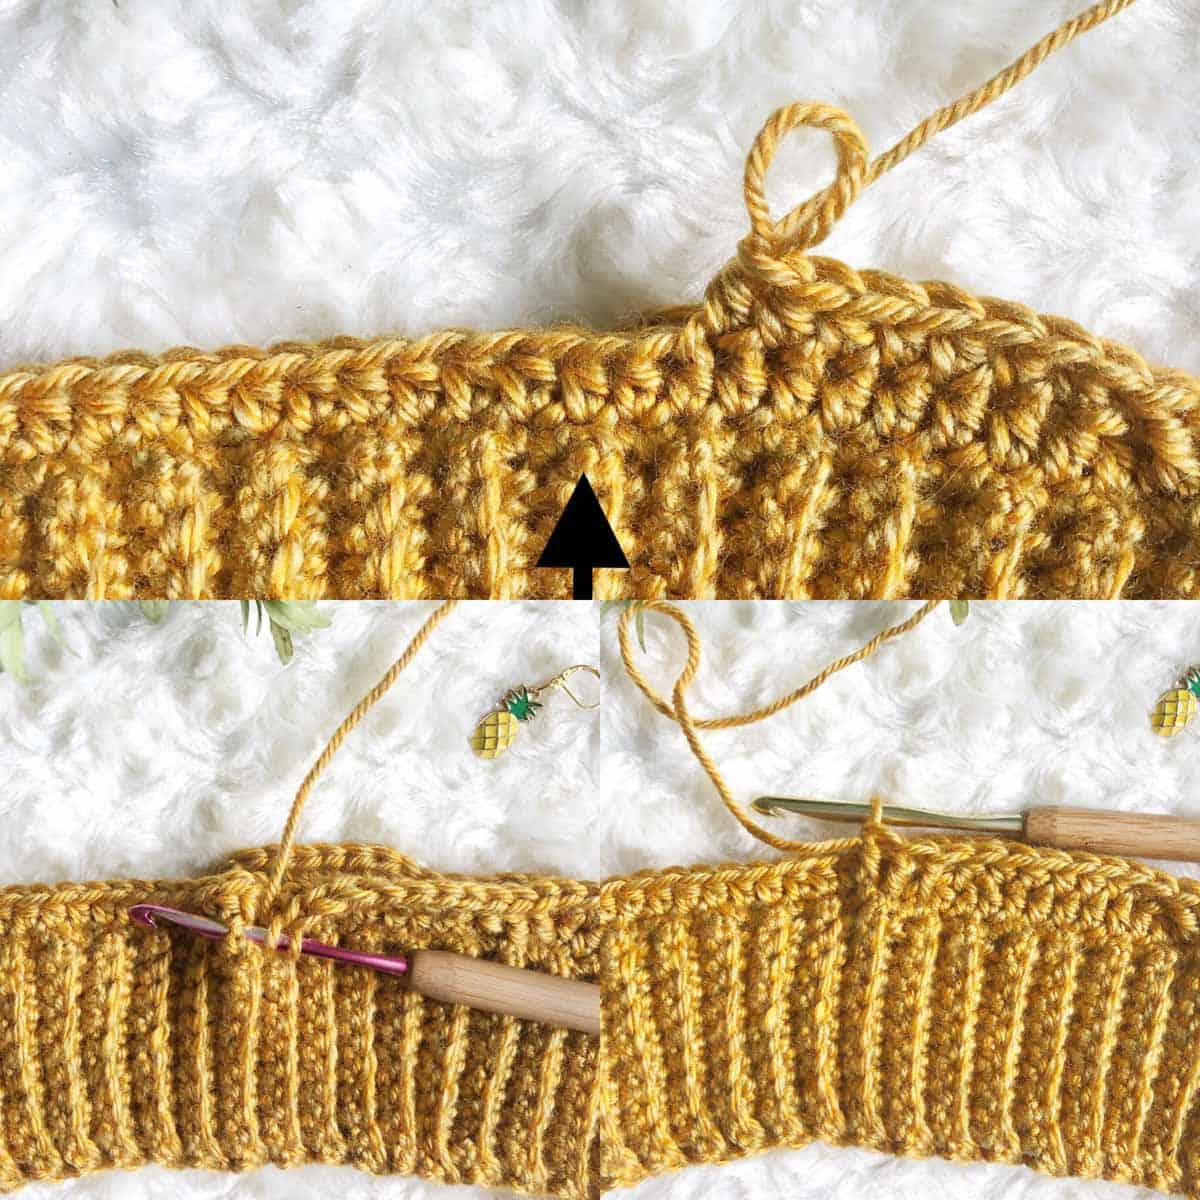
*From this point forward, any time you work the FPDC, check the main row to be sure that only 3 stitches are left unworked before continuing, or the stitch count for that row will be off.*
✨Unlock this free subscriber-exclusive pattern ✨
Follow these steps to view the full free pattern below
Round 17: CH 1, HDC in the same stitch as the beginning CH and in the next 9 HDC, *(FPDC around the corresponding post from Round 15 NOT Round 16) 3x, HDC 12, SK 1, (FPDC around the corresponding post from Round 15 NOT Round 16) 3x, HDC directly behind the last FPDC and in the next 3 HDC, repeat from * until 1 stitch remains, HDC 1 to complete the round, SL ST to the beginning HDC to join. (77)
Round 18: CH 1, HDC in the same stitch as the beginning CH and in the next 9 HDC, HDC in the top of the next FPDC, *(FPDC around the DC post from Round 17) 3x, HDC 10, SK 1, (FPDC around the DC post from Round 17) 3x, HDC directly behind the last FPDC and in the next 5 HDC, repeat from * to complete the round, SL ST to the beginning HDC to join. (77)
Round 19: CH 1, HDC in the same stitch as the beginning CH and in the next 10 HDC, HDC in the top of the next FPDC, *(FPDC around the DC post from Round 18) 3x, HDC 8, SK 1 (FPDC around the DC post from Round 18) 3x, HDC directly behind the last FPDC and in the next 7 HDC, repeat from * until 7 stitches remain, HDC 7 to complete the round, SL ST to the beginning HDC to join. (77)
Round 20: CH 1, HDC in the same stitch as the beginning CH and in the next 11 HDC, HDC in the top of the next FPDC, *(FPDC around the DC post from Round 19) 3x, HDC 6, SK 1 (FPDC around the DC post from Round 19) 3x, HDC directly behind the last FPDC and in the next 9 HDC, repeat from * until 8 stitches remain, HDC 8 to complete the round, SL ST to the beginning HDC to join. (77)
Round 21: CH 1, HDC in each stitch around. SL ST to the beginning HDC to join. (77)
Round 22: CH 1, *HDC 9, HDC DEC,* repeat from * to complete the round. SL ST to the beginning HDC to join. (70)
Round 23: CH 1, *HDC 8, HDC DEC,* repeat from * to complete the round. SL ST to the beginning HDC to join. (63)
Round 24: CH 1, *HDC 7, HDC DEC,* repeat from * to complete the round. SL ST to the beginning HDC to join. (56)
Round 25: CH 1, *HDC 6, HDC DEC,* repeat from * to complete the round. SL ST to the beginning HDC to join. (49)
Round 26: CH 1, *HDC 5, HDC DEC,* repeat from * to complete the round. SL ST to the beginning HDC to join. (42)
Tie off, and leaving a long tail, cut yarn. Using a yarn needle, thread the yarn through each stitch of the last round and pull to cinch the top together. Weave the yarn through the opposite sides of the remaining hole to tighten the opening.
Weave in ends.
Attach a faux fur pom or yarm pom as desired.
Thanks again to Sarah of The Plush Pineapple for sharing this free cabled crochet hat pattern! Be sure to check out Sarah’s blog for lots more free modern crochet patterns!
More Quick Free Crochet Patterns
If you love smaller projects that are perfect for gift giving (or keeping!), look no further than these favorites. You can always find all our free crochet patterns here.
1. 1 Hour Crochet Beanie – This slightly slouchy easy child’s crochet hat pattern works up in about an hour and is perfect for beginners because it’s made from a simple rectangle. Adult sizes, too!
2. 3 Hour Chunky Crochet Mittens – These simple chunky crochet mittens look knit and can be worked up in about three hours!
3. Sunday Crochet Slippers – This free crochet slippers pattern will satisfy the modern minimalist in you while also making you feel like a gift giving hero.
4. Desert Winds Crochet Triangle Scarf – Toss on this modern crochet triangle scarf to head out to the desert, the mountains…or just the grocery store. The cake yarn takes all the stress out of choosing colors because the skein does it for you!

Leave a Reply