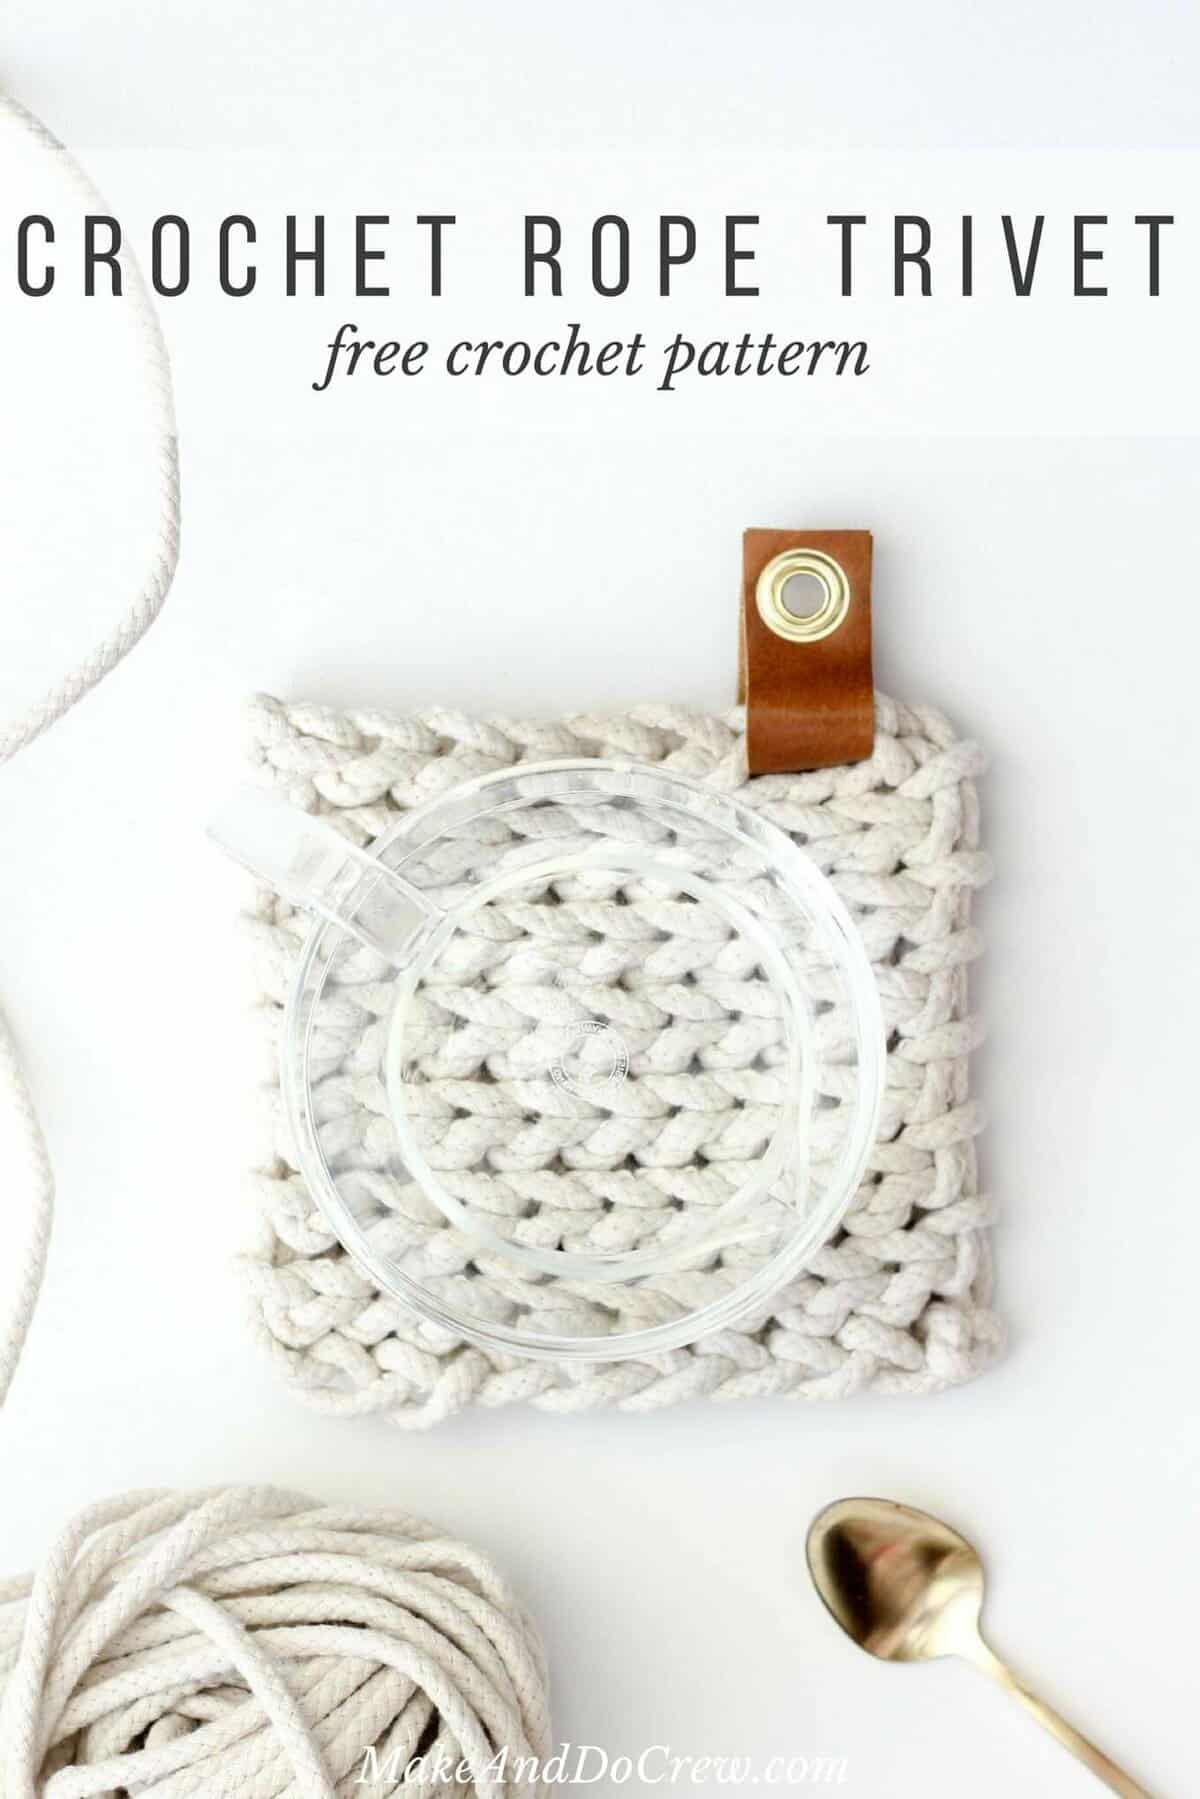
Add a handmade accompaniment to your purchased gifts with this modern crochet trivet made from rope!
 What I'm about to tell you with undoubtably make you think I'm either:
a. a procrastinator
b. lazy
c. so freaking smart
So here goes: I started my Christmas shopping at approximately 11:04pm last night (from bed) and finished it at approximately 11:37pm (from bed). Without my wallet. While drinking tea and watching Jimmy Fallon.

Really though, with two young kids at home, shopping online for EVERYTHING protects my last shreds of sanity. I also like that doing so allows me to support some fantastic small businesses that I would have no access to if it weren't for their online shops.
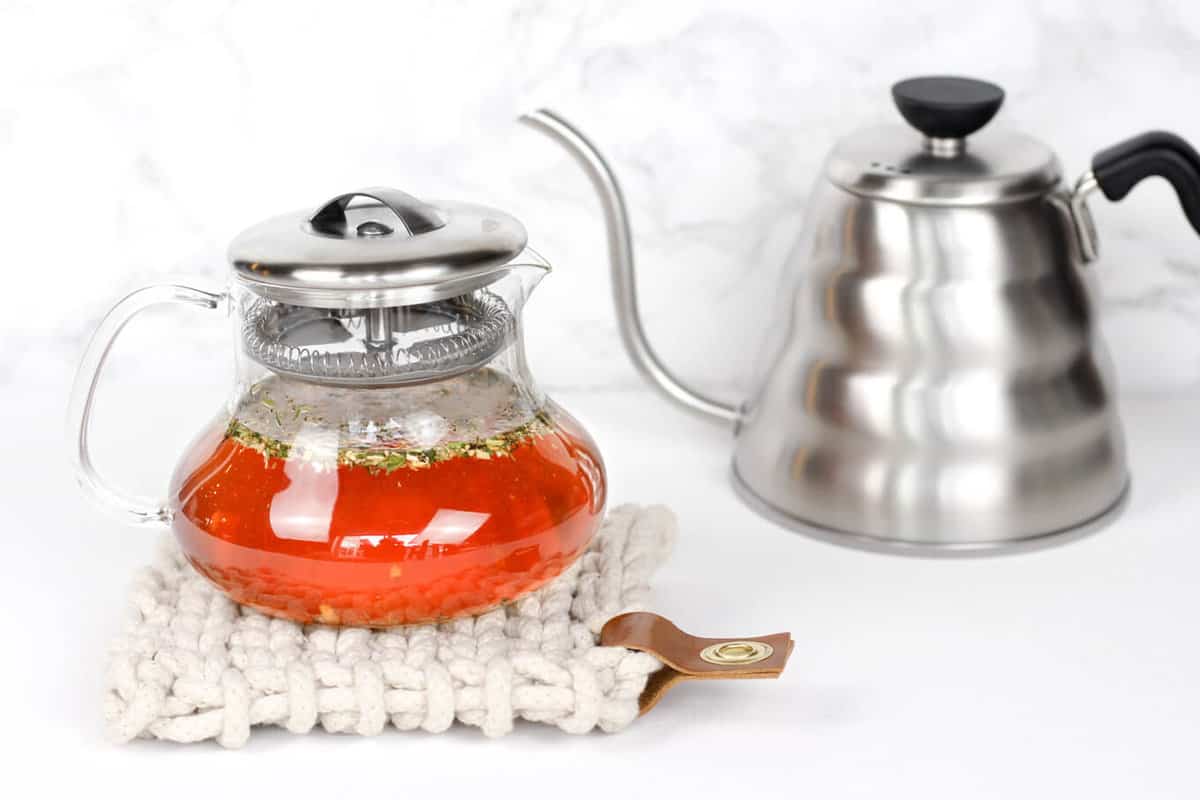
I got this modern kettle and teapot from a small company in Olympia called Espresso Parts. They're doing good stuff in the world and I'm proud to send my dollars their way in exchange for some super awesome, total yuppie coffee and tea gear.
Plus, when I wanted to buy a gift for my husband last night without him seeing the purchase immediatly appear on our credit card, I went stealth Santa on him and used the balance in my PayPal account. Now he has no idea that I actually remembered to buy him a gift!
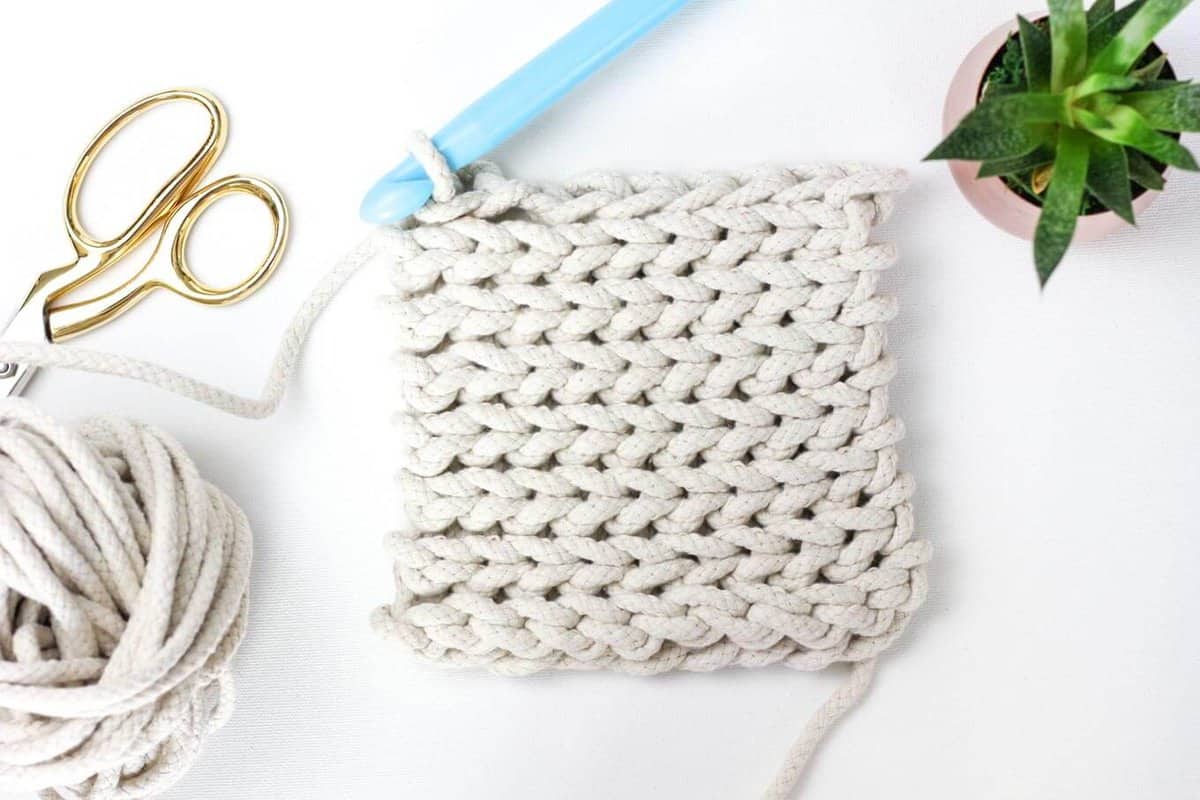
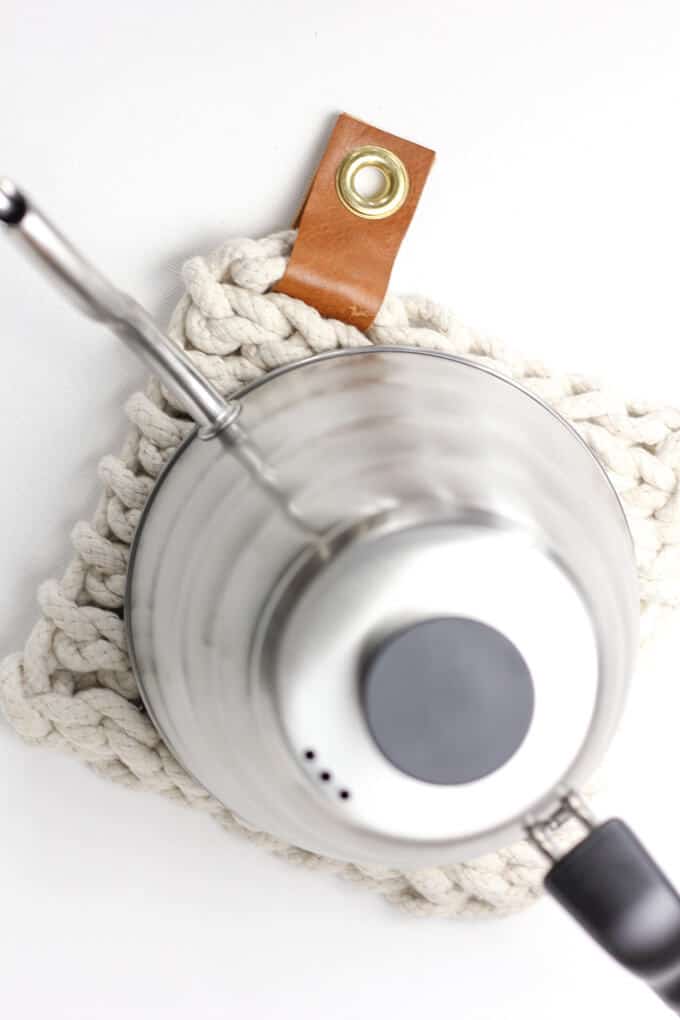
I'll tell you what, wrestling some rope with a crochet hook is probably the closest you'll come to a cardio workout while sitting on the couch, but the resulting texture is so gorgeous that it's totally worth the effort.
More Patterns for Your Kitchen
If you love making functional projects you can put to use around your house, you'll love these free crochet patterns!
Crochet Trivet - Free Crochet Pattern Using Rope
Add this pattern to your Ravelry favorites here.
Wanna save this pattern?
Measurements:
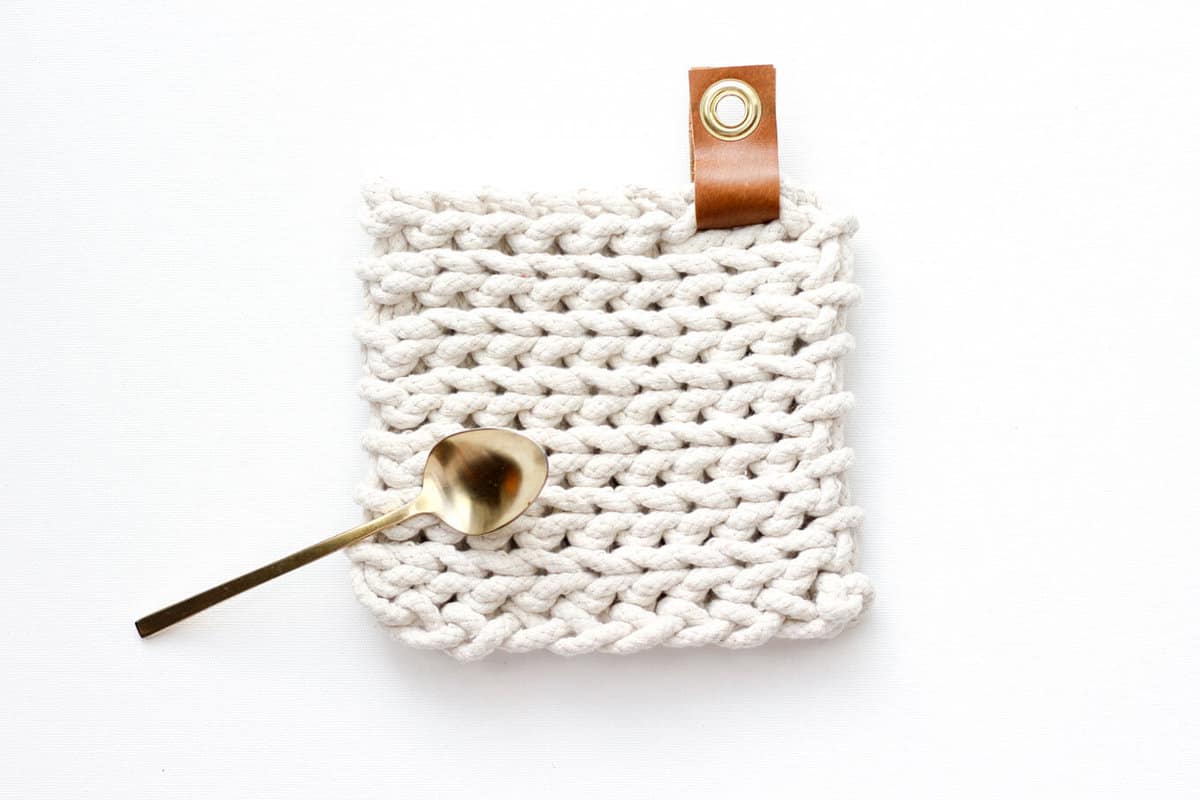
Approximately 6.5"x6.5" (not including leather hook)
Supplies:
• Approximately 50' of clothesline (I used size #7, which is 7/32" thick)
• Size S crochet hook
• Gold grommet (I used size 2, with an inside diameter of ⅜")
• 5"x1.25" scrap of leather (Try using a thrifted jacket or handbag!)
• Hammer
• Leather punch or utility knife
Abbreviations:
Ch - chain
Sl st - Slip stitch
St st blo - slip stitch through the back loop only (the loop farthest from you)
Sk - skip
Notes:
• You can customize the size of your trivet by chaining as many stitches as you'd like to begin. Chain 2 extra beyond the width you desire. One will be lost to the turning chain and one (the very first chain) will be removed to make a cleaner edge.
• I preferred the look of flipping my chain over and working into the bottom loops of it. (It sort of looks like a series of upside down pretzels in that case and I worked what would be the bottom of the pretzels.) Experiment with what looks best to you.
To Crochet the Trivet:
Tie a slip knot on your hook, leaving approximately a 9" tail. Ch 11.
Row 1: Sl st in second ch from the hook and in next 8 ch; turn. (9 sl st)
Row 2: Ch 1, sl st blo in each of next 9 sl st; turn. (9 sl st)
Repeat Row 2 until piece is almost square. When one additional row is needed to make piece square, complete Row 3 to create hole for leather tag.
Row 3: Ch 1, sl st blo in each of next 6 sl st, sk next 2 sl st, ch 2, sl st blo in last st; turn. (9 sts)
Finishing:
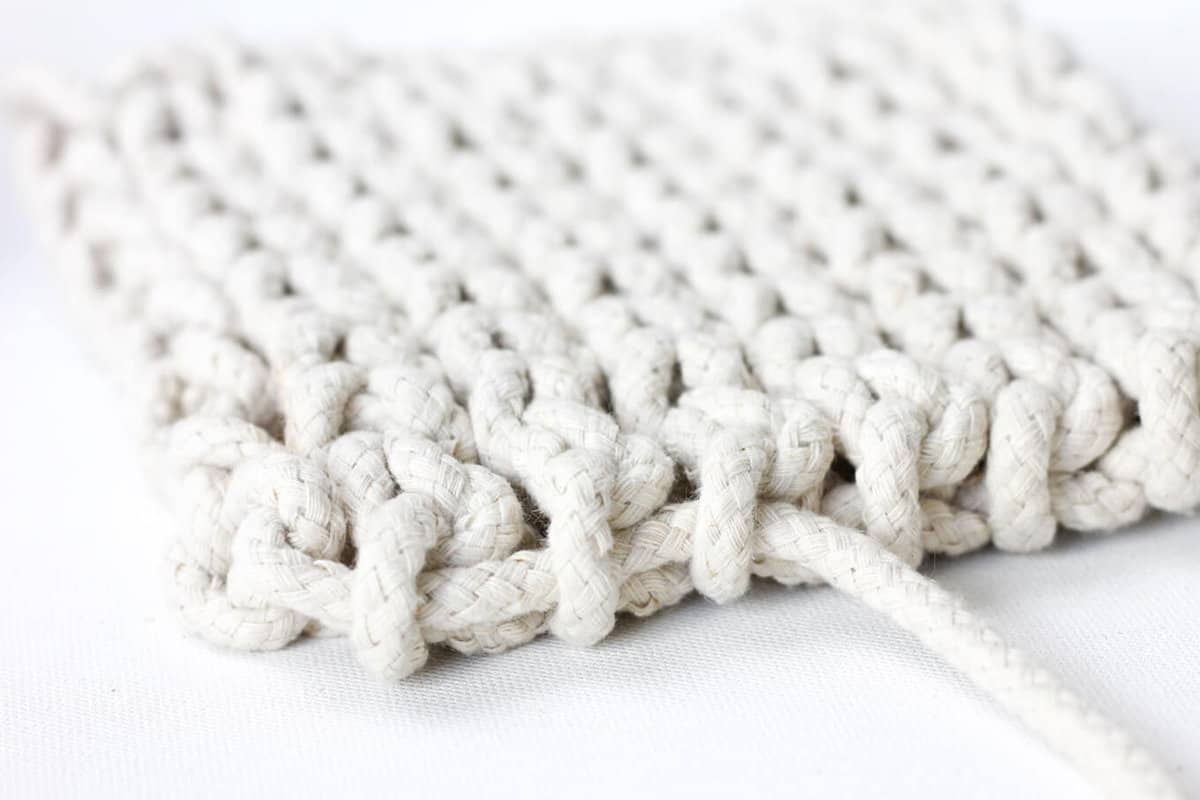
Cut rope, leaving a 9" tail. Weave the tail through the loops of the turning chains as pictured below and tucking it between two rows at the bottom of the trivet. Untie the slip knot from the first chain stitch at the beginning of the project and remove the first chain to create a cleaner edge at the bottom. Weave this tail through the turning chains on the other side of the trivet.
1. Using either a leather punch or a utility knife, cut a hole at either end of your leather strip the size of your grommet opening. (My leather punch doesn't make holes this big, so I just punched several holes in a circle.)
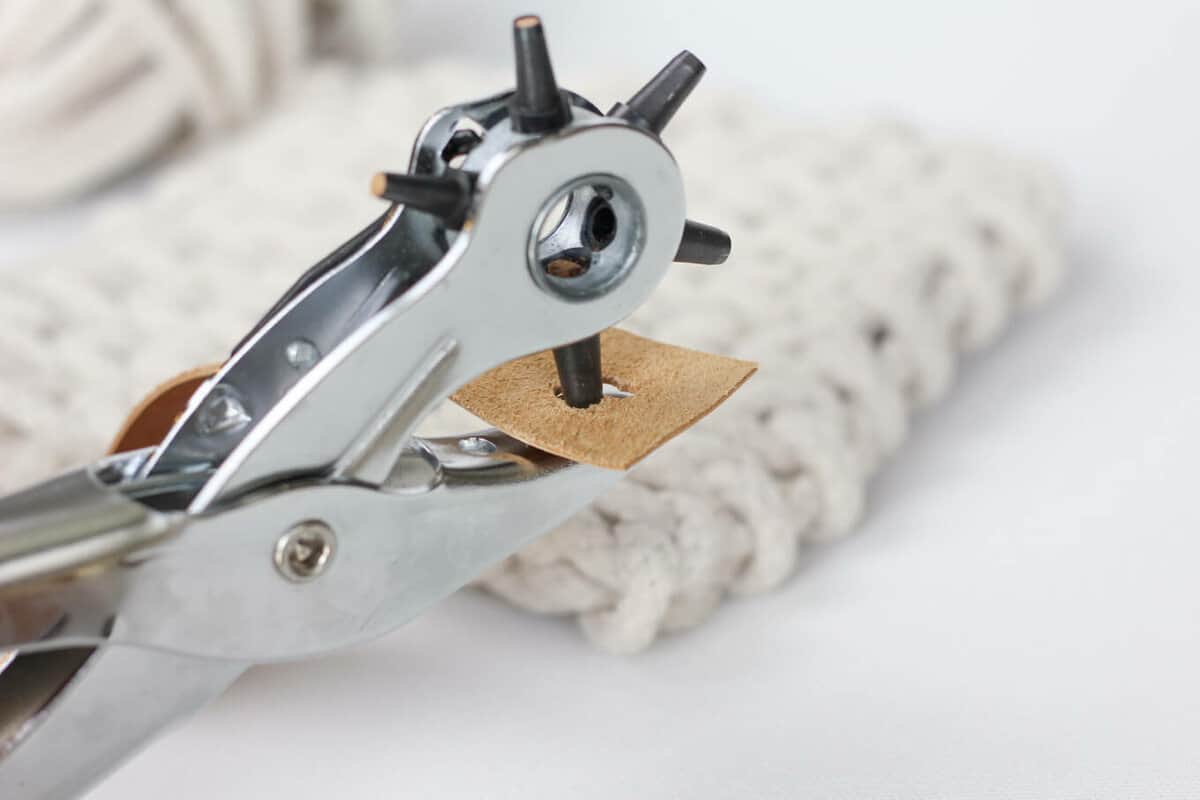
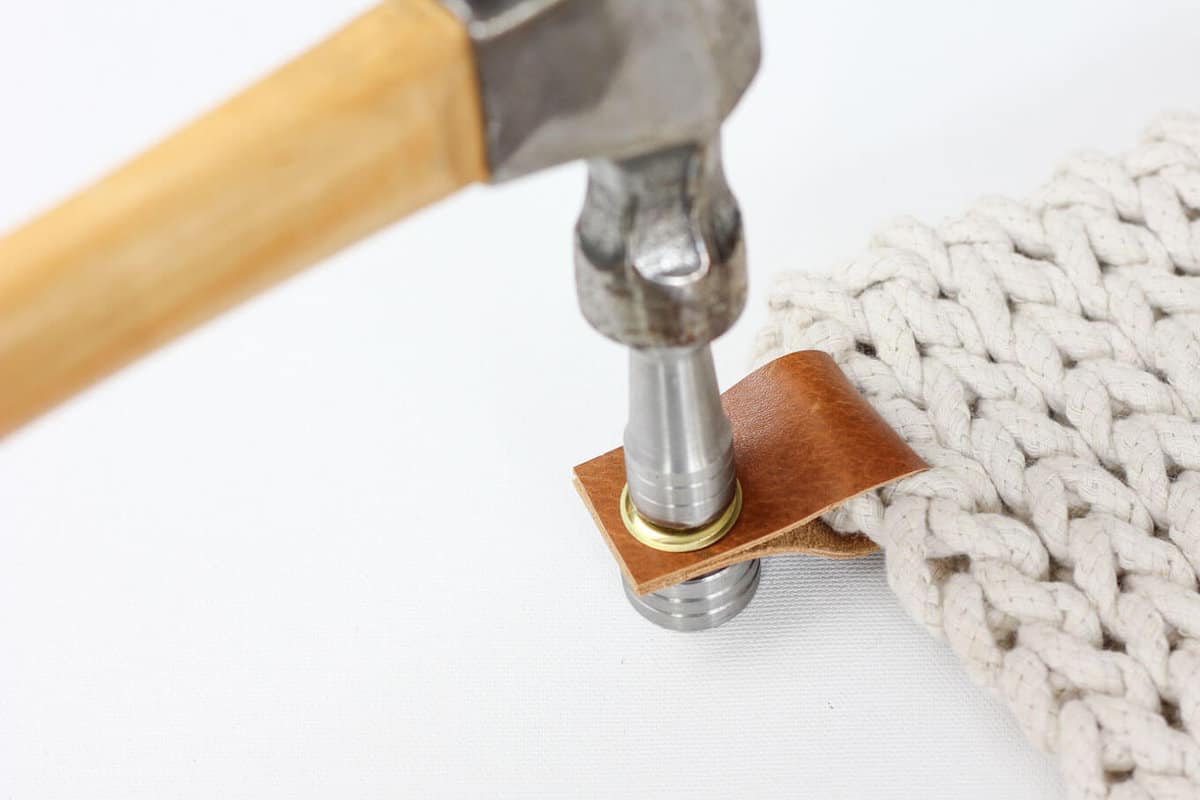
3. Your grommet kit should have clear instructions on it, but in essence, here's how you'll attach your grommet. Arrange the grommet tools (which should be included in your grommet kit) as pictured below. Strike your hammer on the grommet "handle" (that little cylindrical tool) and rotate it about ¼" each time you do. You might be surprised at how hard you have to pound to get the grommet to clasp on.
If you're as into making utilitarian supplies look super cool modern housewares as I am, you might also like:
Dollar Store Twine + Thrifted Leather Belt - Free Crochet Basket Pattern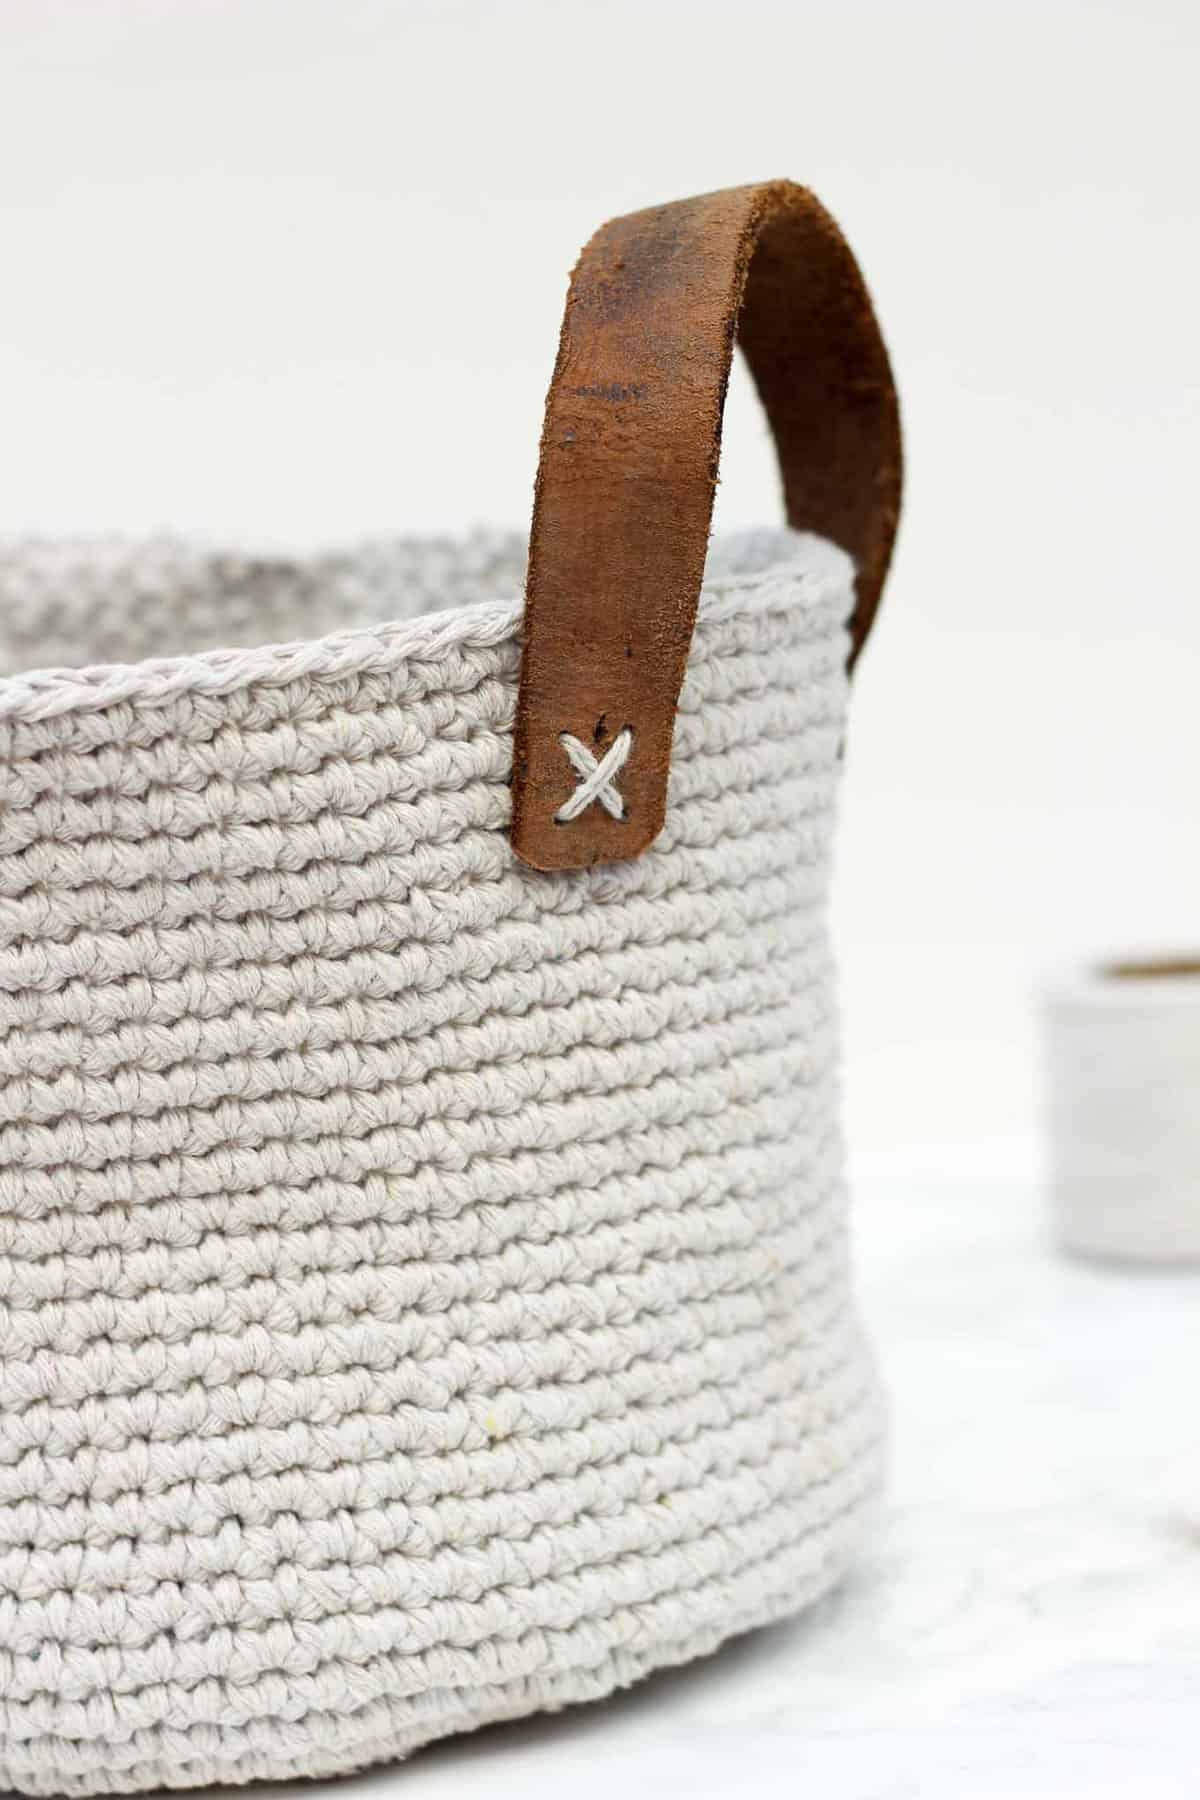

Amy C. says
Hi Jess, I just finished my rope trivet and even though I lost a fingernail and have the beginnings of a blister or two, I absolutely love this! I haven't attached my grommet yet so I'm a little nervous about that. I just wanted to say thank you for the pattern. It's brilliant!
Jess @ Make and Do Crew says
Lol, crafting isn't always glamorous is it? I have so been there. It's all worth it when you make something you love though. Thanks so much for letting me know you enjoyed the pattern. 🙂
Jess
Kim McAllister says
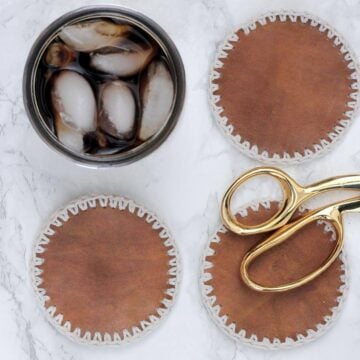
These would make cute coasters too, if crocheted with a thinner rope and smaller hook!.
Jerrie Willbanks says
Thanks for sharing your pattern. Would love for you to do a video, for us dummies just starting out. This is something I've always loved but could never get it down. My mother had made some beautiful pieces, but I could never catch on. Hoping now that I'm a little older I will be able to do it now. My son learned how to crochet in 10th grade at school. Was so proud of him. He didn't think it was to cool but I have 2 little pot holders he made me the I cherish.
Penny says
Hi, Jess! Love the simplicity of the project and how sophisticated it looks, a design project no doubt!
Jess @ Make and Do Crew says
Thanks so much, Penny! Some of my favorite projects are those that have eliminated all but the most relevant and beautiful details. I love those t-shirt yarn snowflakes you shared recently!