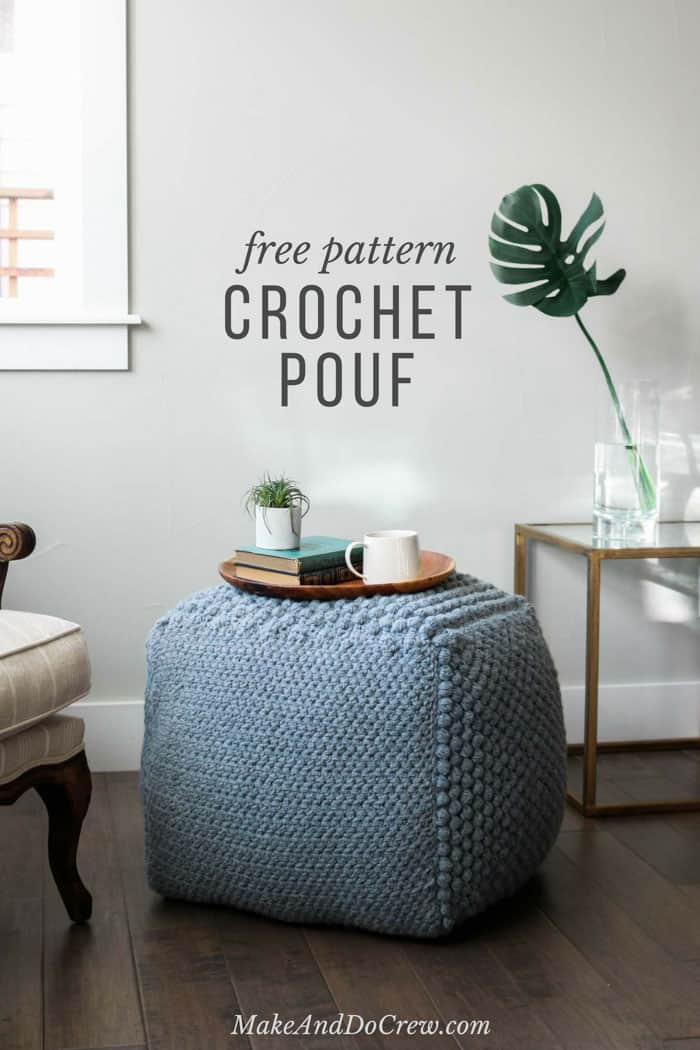
Learn some new stitches while crocheting your own oversized pouf ottoman. This free crochet bean bag pattern is comprised of six simple squares and stuffed with inexpensive household items to create a high-end looking piece of DIY furniture. Get Part 1 of the free pattern below or purchase the full pattern in an ad-free PDF here. (And when you're finished, find Part 2 here!)
 This free crochet bean bag pattern is part of a collaboration with Lion Brand yarn. This post may contain affiliate links.
Making things with someone you love. Does it really get better than that? I have memories of being 3 or 4 years old and cutting up tissues alongside my mom as I pretended to cut sewing patterns like she was. My mom hasn't stopped making and doing since then and neither have I, so the blog has presented an really fun opportunity to take our collaborative making to a whole new level. (A make & do CREW, one might say. 🙂 )
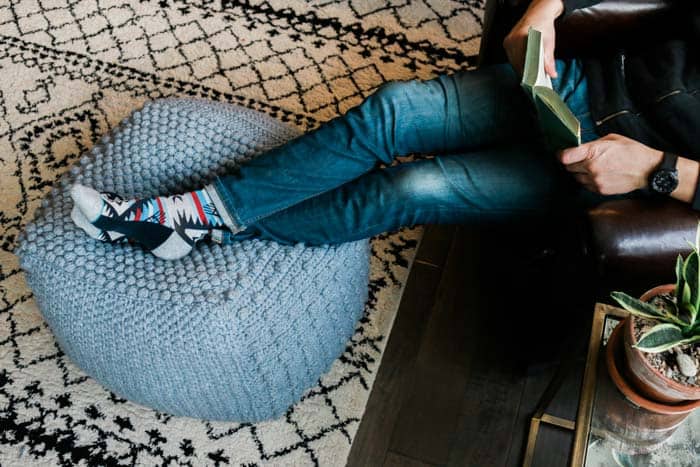
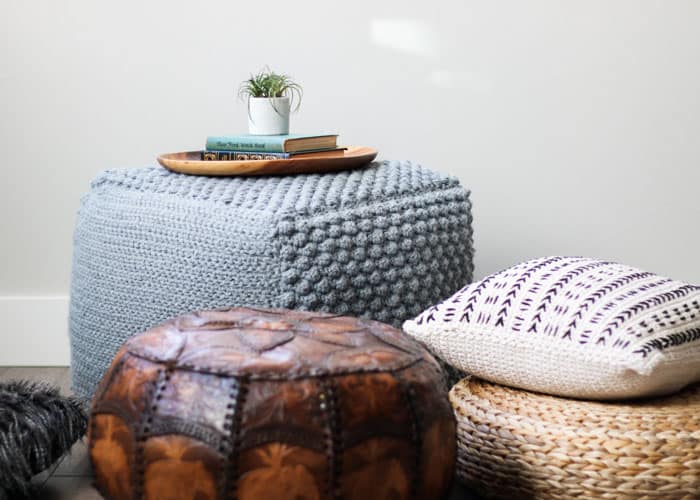
In the case of this free crochet bean bag pattern, my mom did all the hard work and I'm just riding her coattails across the internet. Ha. Really though, this pouf was super collaborative because my mom came up with the idea of making a crochet bean bag and chose the different crochet stitches she wanted to include on each side. (I recently gifted her this crochet stitch dictionary, which is where she found all the stitch ideas!)
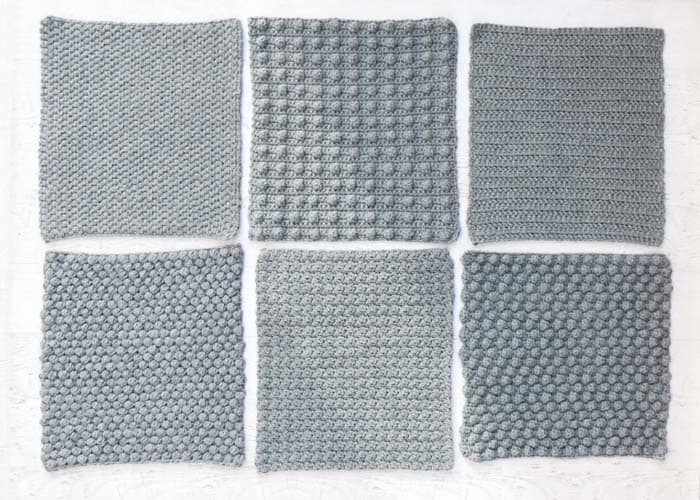
Then, being the crochet machine she is, my mom whipped up the six squares and passed them off to me for photography and assembly. (Pretty sweet deal for me, huh?!) I joined them together and stuffed the cube and then did some "quality testing" by letting my kids jump all over it for a few days.
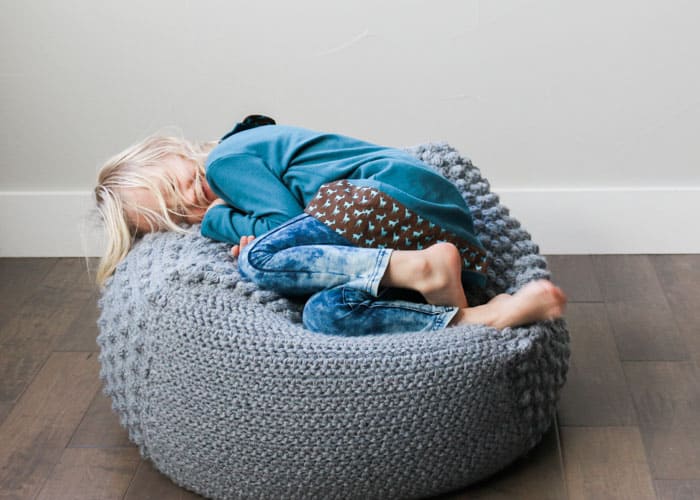
I always love seeing new and interesting ways to incorporate crochet into my life and home, but I just know that I never personally will spend $300 on the yarn to make something I could buy for $150 at a store. Yes, there's something much cooler about it being handmade, but I think there's something even cooler about it being handmade AND affordable.
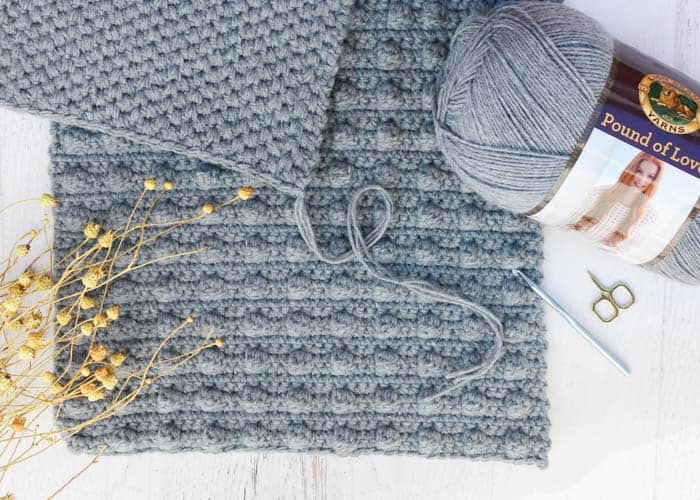
To that end, my mom and I decided to use Lion Brand Pound of Love yarn for this free crochet bean bag pattern and I'm thrilled with how this economical yarn worked out. At 1020 yards per skein, Pound of Love provides a serious load of creative potential for the price. To achieve the richly textured look of chunky yarn, we decided to hold three strands together throughout, and even doing that, this free crochet pouf pattern only requires five skeins of yarn!
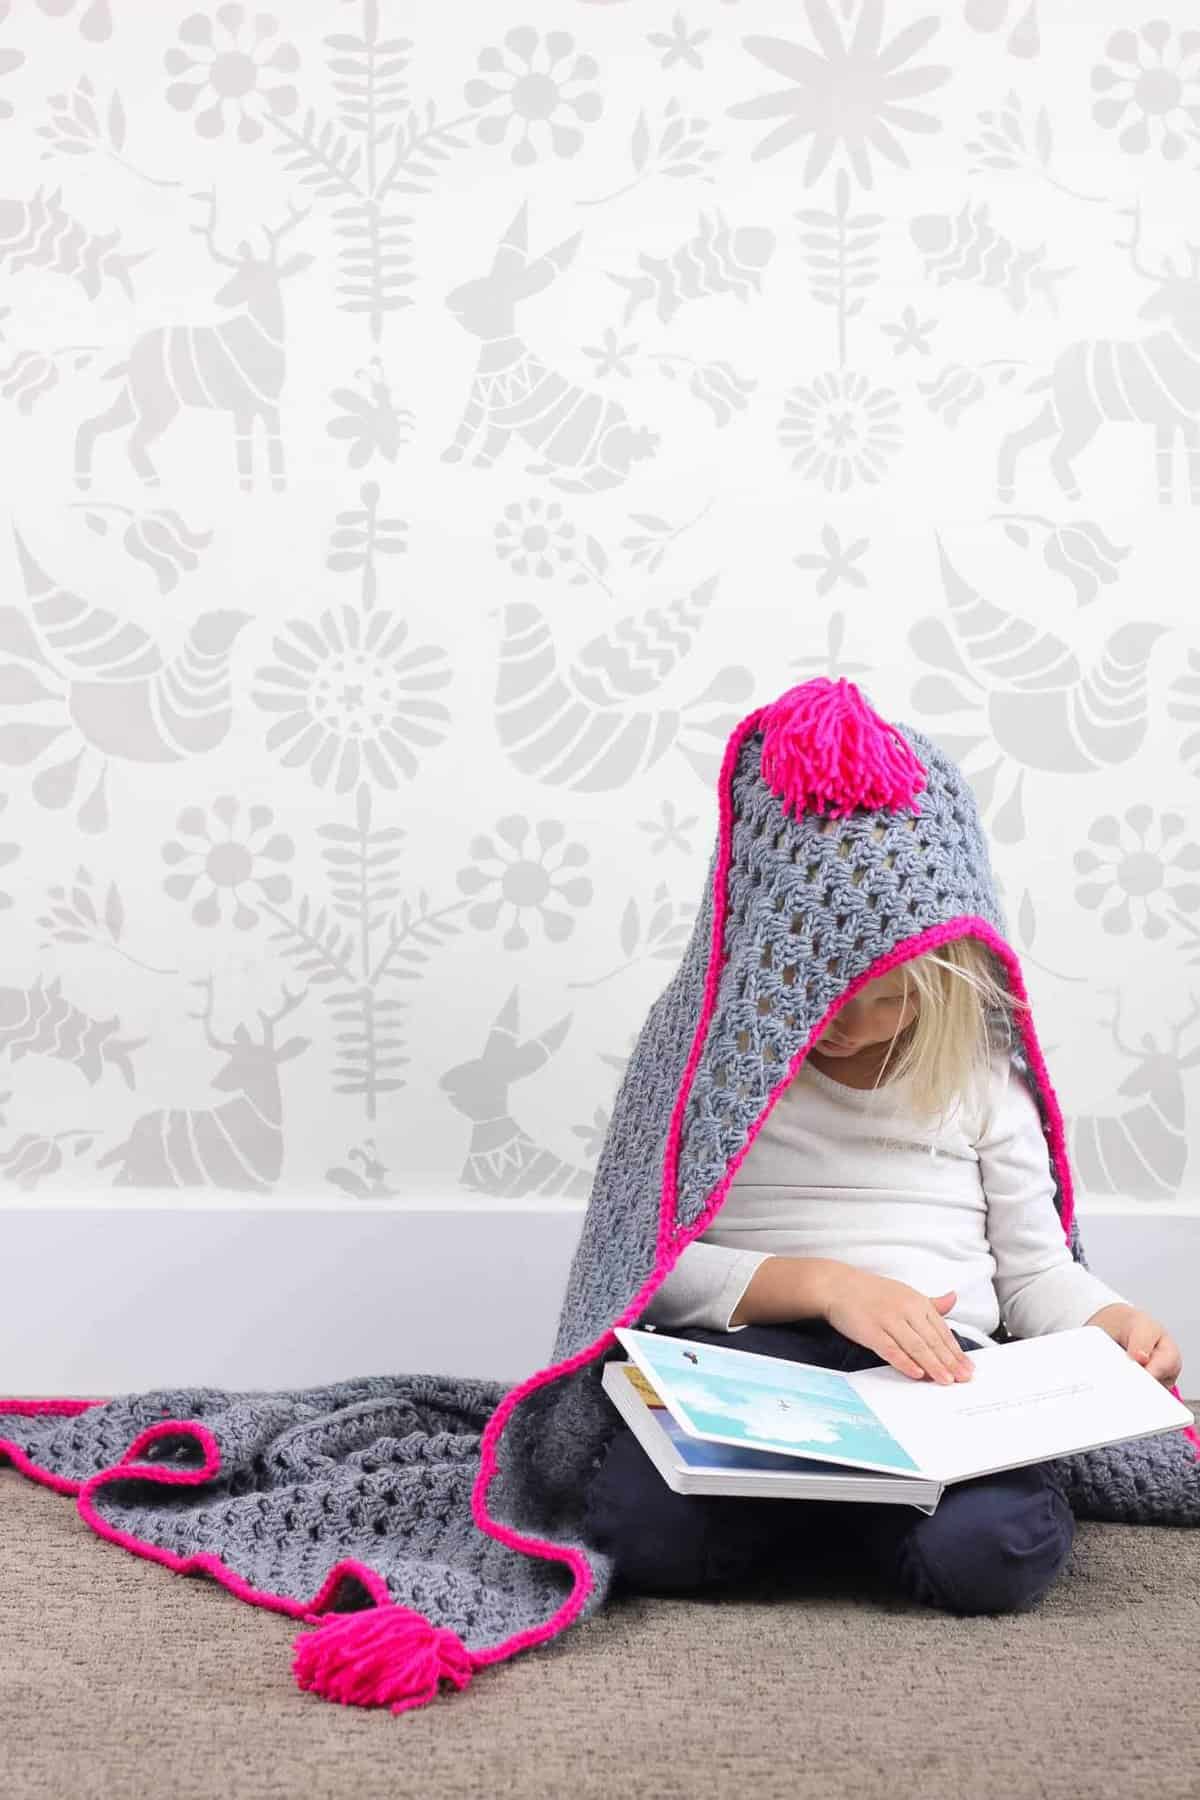
(I actually used this exact same color of Pound of Love last year for the free "Granny Gives Back" hooded baby blanket pattern.)
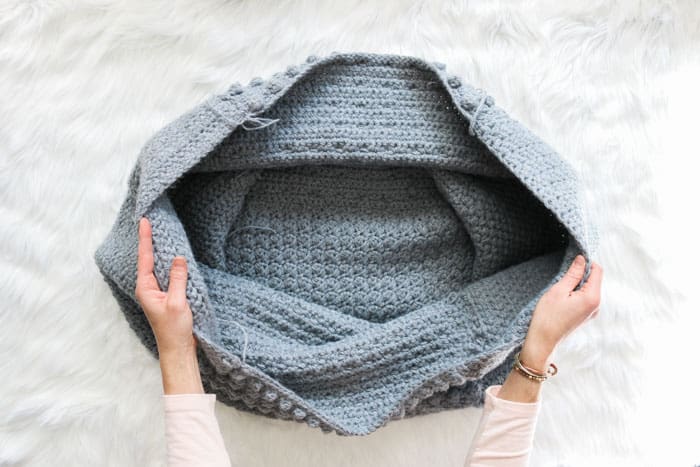
In Part 2, I'll be covering how to block your squares, join them together and stuff the pouf. For a great start-to-finish overview of this free crochet bean bag pattern though, check out the :50 second video below. Then scroll down for Part 1 of the free pattern. I'll be sharing Part 2 of this sampler pouf pattern later this weekend.
Sampler Pouf
Free Crochet Bean Bag Pattern
Purchase the ad-free, printable PDF with parts 1 & 2 here.
Add this pattern to your Ravelry favorites here.
Pin it for later here.
Get Part 2 of the free pattern here.
Explanation:
This crochet pouf pattern lets you’ll build new skills while making your own functional furniture. Worked in six squares with six different stitches, this large show-stopper is a surprisingly portable project. This pouf makes a great seat or ottoman, or set a tray on it to make a texture-rich side table. Perfect crochet project for nurseries, living rooms or bedrooms.
Supplies:
• Lion Brand Pound of Love (Weight: 4/Medium - 1020 yds, 16 oz)
- Color: Oxford Grey (#150) – 5 skeins
• Tapestry needle
• Size K (6.5 mm) crochet hook
• Stitch markers or safety pins
• Pouf Filling. Some items to try:
- 6 inexpensive pillows ($3 at Target)
- Plastic grocery bags
- Foam scraps
- Fiber fill stuffing
Abbreviations (US Terms):
ch – chain
sc – single crochet
sp – space
dc – double crochet
tch – turning chain
sl st – slip stitch
st(s) – stitch(s)
sk – skip
cl – cluster
hdc – half double crochet
RS – right side
WS – wrong side
MC – main color
Measurements:
Each square measures 18” x 18”
Final pouf measurements will vary based on filling, but sample pictured is approx. 26” across and 23” tall, depending on how you fluff it.
Gauge:
Gauge varies per square. More important than meeting a specific gauge is making sure the fabric is tight enough to limit stretch and that each square is the same size.
Overall Pattern Notes:
• The pattern is written to create six 18” squares. To make a smaller or larger pouf, use the stitch multiples listed to crochet six squares that are all equal in size. Make a square in each stitch to create a sampler pouf or choose your favorite stitch to make a pouf with uniform texture.
• IMPORTANT: Pattern is worked with three strands of yarn held together throughout. Divide final skeins into multiple balls to create multiple working strands.
THE SQUARES
SQUARE #1: Alternate Spikes Stitch
Stitch Multiple: Any even number of stitches
Note: The spike stitches are created by inserting hook into the row below the working row when indicated. Take care to draw this loop up to the working row quite loosely to ensure a successful spike.
Wanna save this pattern?
Foundation Row: Ch 40.
Row 1: Sc in second ch from hook, sc in each ch; turn. (39)
✨Unlock this free subscriber-exclusive pattern ✨
Follow these steps to view the full free pattern below
SQUARE #4: Adjusted Honeycomb Stitch
Stitch Multiple: 3 sts, plus 1 for the foundation chain
Cluster stitch: [Yo, insert hook where directed, yo, pull loop through, yo, pull through 2 loops] 3 times in same place, yo, pull through first 3 loops on hook, yo pull through both loops on hook.
Foundation Row: Ch 46.
Row 1: Sc in second ch from hook, sc in each ch; turn. (45)
Row 2: Ch 1, sc in each of first 2 sc, *cluster in next sc, sc in each of next 2 sc; rep from * to last sc, cluster in last sc; turn.
Row 3: Ch 1, *sc in top of first cl, sc in each of next 2 sc, rep from * to end of row; turn.
Row 4: Ch 1, cluster in next sc, *sc in each of next 2 sc, cluster in next sc; rep from * to last 2 sc, sc in each of last 2 sc; turn.
Row 5: Ch 1, sc in each of first 2 sc, *sc in top of first cl, sc in each of next 2 sc; rep from * to last cl, sc in top of last cl; turn.
Repeat Rows 2-5 until piece measures 18” square.
SQUARE #5: Herringbone Half Double
Stitch Multiple: Any number of sts, plus 1 for the foundation chain
Hbhdc (Herringbone Half Double Crochet): Yo, insert hook into next st, yo and pull through st and first loop on the hook, yo and draw through both loops on hook.
Note: Work the final stitch into the top of the tch of each row to maintain a straight edge.
Foundation Row: Ch 41.
Row 1: Sk first 2 ch, hbhdc in next ch and each ch to end, turn. (40)
Row 2: Ch 2 (counts as 1 hdc), sk first st, hbhdc in next and every hbhdc to end of row, working last hbhadc in tch; turn.
Repeat Row 2 until piece measures 18” square.
SQUARE #6: Spot Stitch
Stitch Multiple: 4 sts + 2.
Bobble stitch: [Yo, insert hook where directed, yo, pull loop through, yo, pull through 2 loops] 3 times in same place, yo, pull through first 3 loops on hook, yo pull through both loops on hook.
Note: Work the sc that follows each bobble quite tightly so that the bobble visibly pops out.
Foundation Row: Ch 46.
Row 1: Sc in second ch from hook, sc in each ch; turn. (45)
Row 2: Ch 1, sc in each of next 2 sc, *bobble in next sc, sc in each of next 3 sc; rep from * until 3 sc remain, bobble in next sc, sc in each of next 2 sc; turn.
Rows 3-5: Ch 1, sc in each sc to end; turn.
Rep Rows 2-5 until piece measures 18” square.
Now it's time for Part 2 of this free crochet bean bag pattern later where we cover how to block your squares, join them together and stuff your pouf. And if you'd like the pattern in one easily printable place, you can pick up the full pattern (Parts 1 and 2) in the ad-free, printable PDF here.
Here are a few more free crochet patterns from Make & Do Crew you might enjoy:
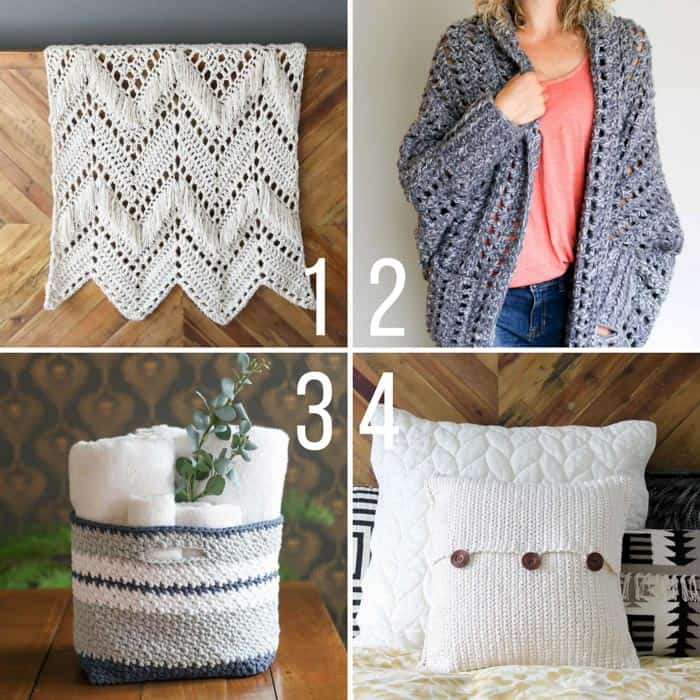
1. The Sedona Fringed Throw - free crochet blanket pattern
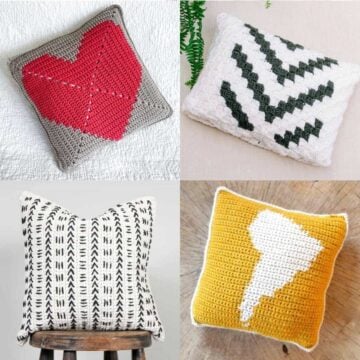
2. The Dwell Sweater - free easy crochet cardigan pattern + video tutorial
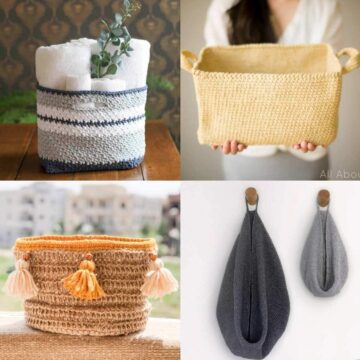
3. The Jaqueline Basket - free crochet pattern
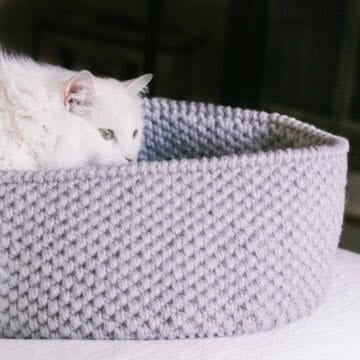
4. Mudcloth Pillow - free crochet pattern

Gabi says
Hi, Jess! I think I’ve pinned pretty much everything you do, haha! But I did go ahead and purchase this pattern, as I thought it would be helpful since I’m a beginner. 🙂 The problem I’m having is that my foundation chain is measuring much shorter (around 13” when stretched) than the 18” you said the squares should eventually work up to. I’m using the exact yarn weight and hook size you specify, so I’m not sure what I’m doing wrong. Can you offer any suggestions? I did some research about too-tight foundation chains, and even tried the suggestion of sizing up my hook to an M just for the foundation chain, but that still only gets me to 16” when fully stretched. What else can I try?
Thanks so much for all your fab, modern patterns!! 🙂
Jess @ Make and Do Crew says
One simple (maybe silly) question-- are you using three strands of yarn held together? That's how this pattern is worked. 🙂
I hope the answer is that simple, lol. Thanks so much for your support in pinning my patterns!
Jess
Stacey Reese says
On the berry square, I am having trouble with one side not being straight. I noticed on your picture that it’s not all that straight. Will this cause me a problem later and do you have an idea as to why ? Thanks
Susana says
I have made 5 of the squares and am really having trouble following square #2 uneven berry. I tried to crochet it and diagram it and I still can't make it work. It may be helpful to write how many berry stitsches need to be made in each row. I’m guessing 20? When I diagrammed it I ended up with 20 then 19 and then 18. Something’s wrong. Another suggestion would be to place a picture along with each square pattern as a way to check if you’re following the pattern correctly. I’m gonna try one more time but if I can’t make it work I will just repeat one of the other squares.
Thanks
Jess @ Make and Do Crew says
Hey Susana,
Would you mind sending me an email? I can send you a photo with a few more details. 🙂
Jess (at) makeanddocrew (dot) com
Susana says
That would be very nice! Thanks.
Jenny says
Did you make the pillow in the photo? If so, do you have the pattern? It's super cute!
Lisa says
I just purchased the 5 skeins of Pound of Love yarn and am excited to make this! I have a question...when you stated in the instructions that you crochet with 3 yarn's, how did you do that? Meaning, did you take three of the skeins at one time? Which would leave two skeins. How did it all work out in the end?
Thanks for your help. I am a Beginner+ crocheter.
Lisa
Jess @ Make and Do Crew says
Hey Lisa,
Yup, use three skeins at a time and then divide the last couple skeins into three separate balls. (This helps avoid needing to buy a 6th skein.:) )
Jess
Heather says
What a fun project! I l really enjoy working with Pound of Love.
Tae says
This is such a wonderful project! I’ve been thinking about making bean bag pouf in my room since my old one I bought from Target shrunk after being used for...oh I don’t remember exactly but I remember it didn’t last that long.
My mom is the one who taught me how to knit and crochet so it’s so amazing to see mother-and-daughter collaboration project ♡ I wish I can do that with my mom but she’s busy woman and doesn’t have time to do that...
Thank you for sharing!!
Jess @ Make and Do Crew says
Hey Tae!
Nice to hear from you. I do feel really lucky to get to make things with my mom like this. How cool that your mom taught you too! It's something you'll share forever even if you don't "collaborate" directly on a project like this. 🙂
Jess
Mary says
Looks wonderful. Can't wait to try this. Please tell me you did not have 3 skeins going at the same time in order to have 3 strands at a time (to obtain the 'chunky' yarn effect). I looked for the instructions in this pattern but could not find it.
Jess @ Make and Do Crew says
Hey Mary,
Yup, my mom used three skeins at a time. This yarn is really easy to pull from the inside of the skein, so it's quite manageable to have three skeins going. Your other option is to wind one skein into three different balls. 🙂
Jess
Gramz says
Sweet!! Love it for the little ones to sit and read on!! Thank you for sharing!!
Jess @ Make and Do Crew says
Yes! My kiddos are loving playing on it!