This post is one of my favorites from the archives. I just took some additional photos for it so I thought I'd give it a proper repost to show off its new snaps. You can find lots more affordable DIY art ideas here.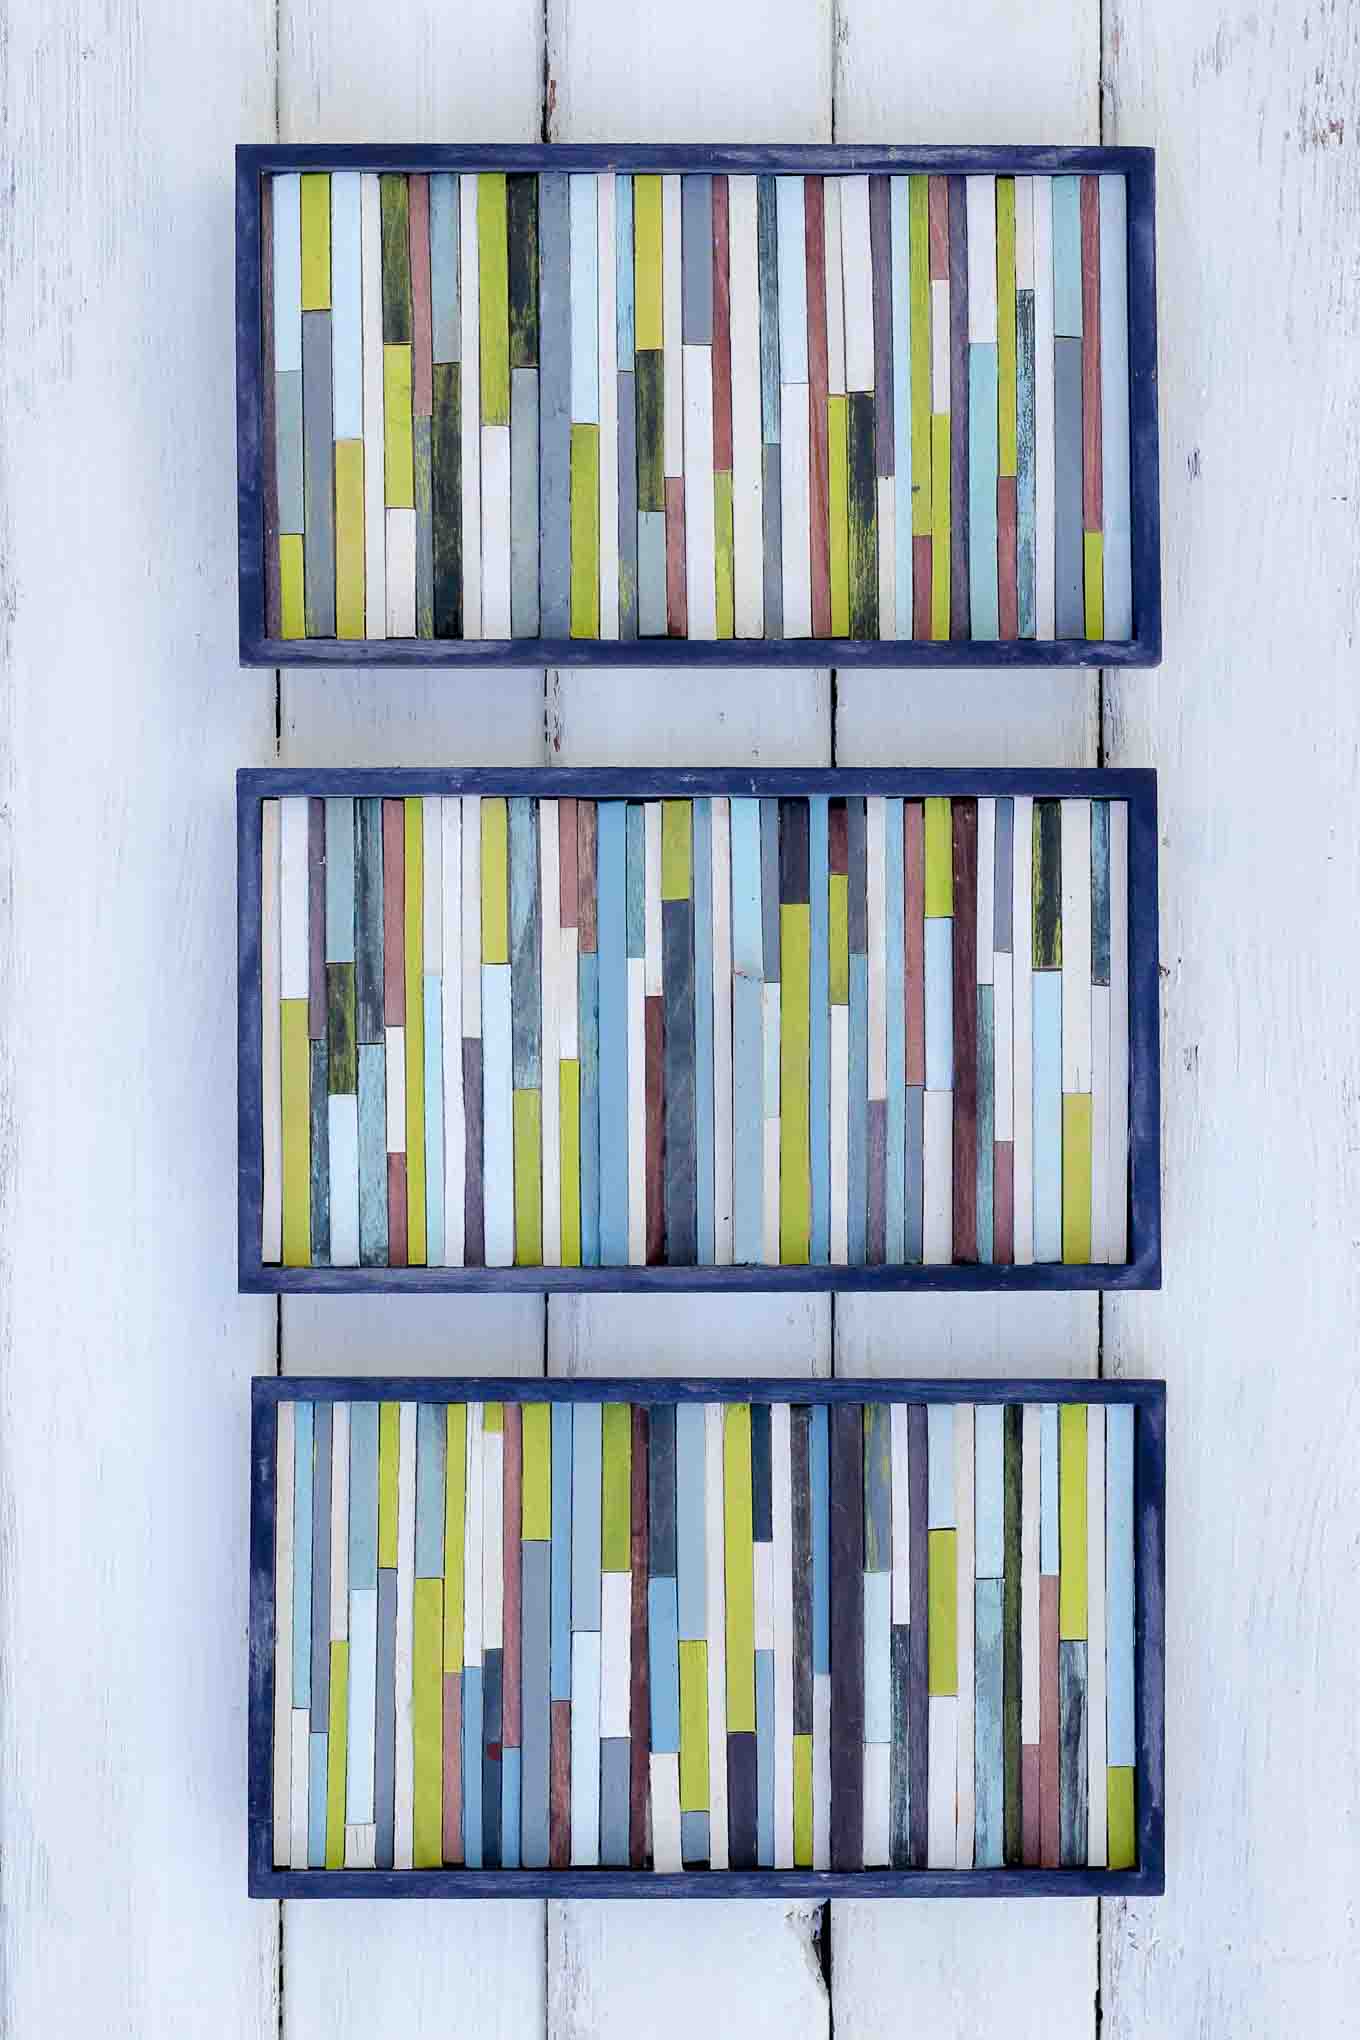 I'm big on projects that anyone can do. And this is one of those projects. If you can smear paint on wood and use scissors, you can make this easy "reclaimed wood" DIY wall art. All in, this project costs less than $7. That's a lot of eye candy bang for your buck.
And how do we ensure we get this awesome organic woody texture? Coffee stirrers.
Yup, you heard me, coffee stirrers.
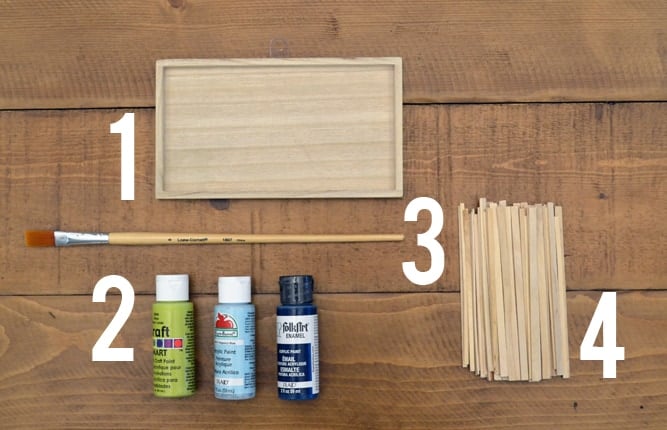
Coffee Stirrer DIY Wall Art Supplies
• Wooden frame(s). We got these at Michael's in the wood section for $1.49 each. (Talk about a cheap frame!) I used three for my project. You could also use a normal picture frame and remove the glass to let all your great woody texture show.
• Acrylic paint.
• A paint brush.
• Coffee stirrers. ("Borrow" them from Starbucks!) I also got some extra wooden sticks from Walmart for $3 that were a slightly different width to add extra texture and dimension. I've seen LOTS of wooden sticks of varying sizes at Hobby Lobby too.
Additional Supplies
• Scissors.
• Glue. Tacky glue. Elmer's Glue. Whatev.
• A picture hanger (optional).
Okay, first things first. Choose a color palette. Doing this first, before I crack the first bottle of paint, always helps reduce my hemming and hawing during the creative process. (I'm quite an slippery noodle when it comes to decision making.) If you need color palette ideas, I suggest checking out Colour Lovers. It's a great resource for color combo inspiration and an easy way to create your own palette. I selected colors that are fairly similar in tone because I wanted the overall look to be a bit subtle.
So, once you've got your palette, it's time to paint your frames and your coffee stirrers! I just sort of guessed how many sticks I needed in total and I ended up needing to paint more which was kind of annoying. I'd suggest painting more than you think you'll need. Coffee stirrers are basically free anyhow.
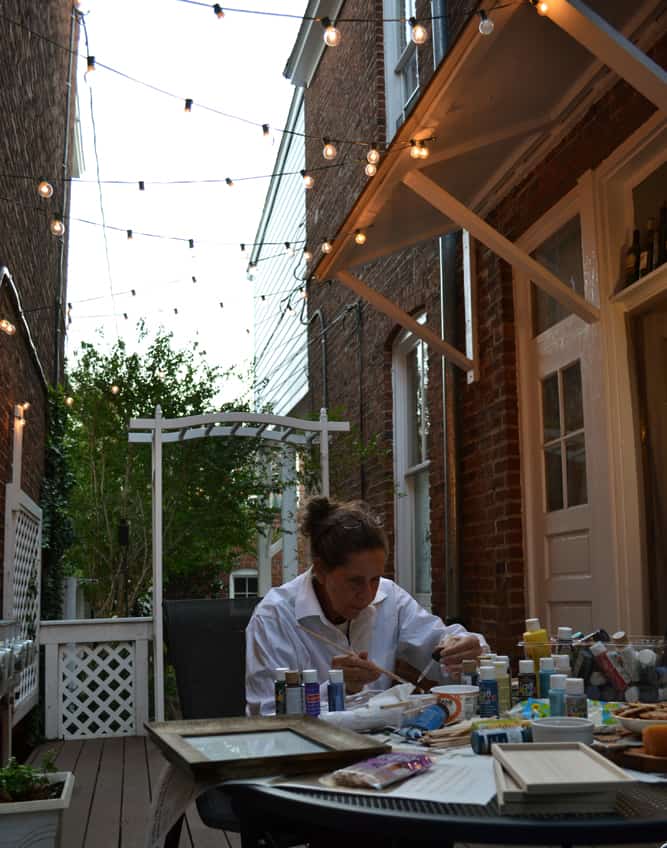
My mom and I made this project together. We did our painting as the sun was setting, which is always a questionable decision. Seems to have turned out okay.
Wanna save this pattern?
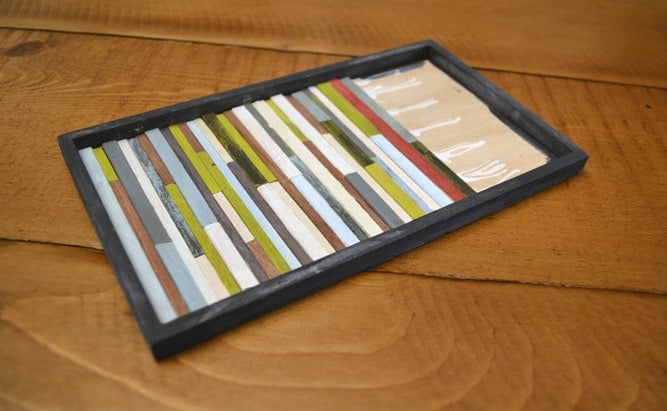
I was going for the reclaimed driftwood sort of look. Like these coffee stirrers were wood siding that had been battered by 100 years of ocean rain on the coast of Maine and freshly plucked from the side of dilapidated house. (A doll house. These sticks are tiny.)
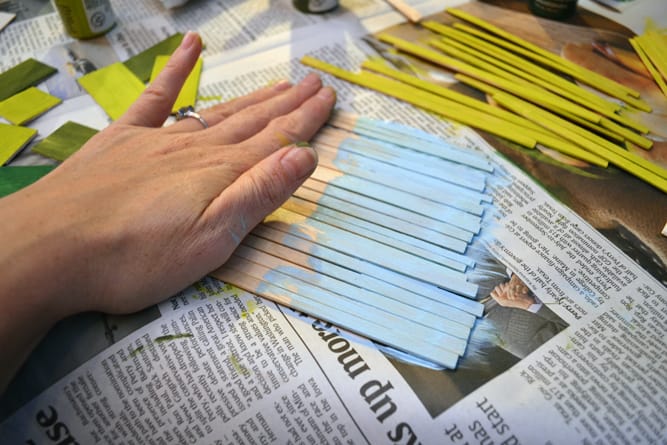
To achieve this look, I developed a simple, very unscientific technique. I'd paint the a brighter color (say, pea green) and then let it dry. Then I'd paint a second coat of a 50/50 mix of black paint and water. I'd let it sit for about a minute and then I'd go to think sink and rinse off some of the black paint, exposing the "weathered" green wood underneath.
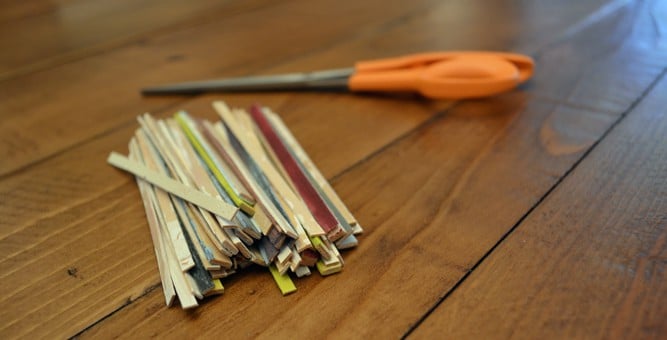
 Once your coffee stirrers are painted, it's time to trim them to fit into the frame(s) you've chosen.
I found the quickest way to do this is to measure one stick to be the length you need it and then use it as the guide for trimming all the others. (Please excuse the paint under my nails. DIY dirty girl!)
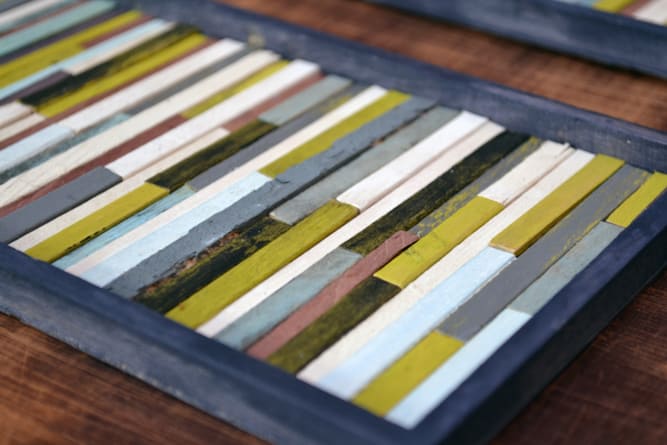
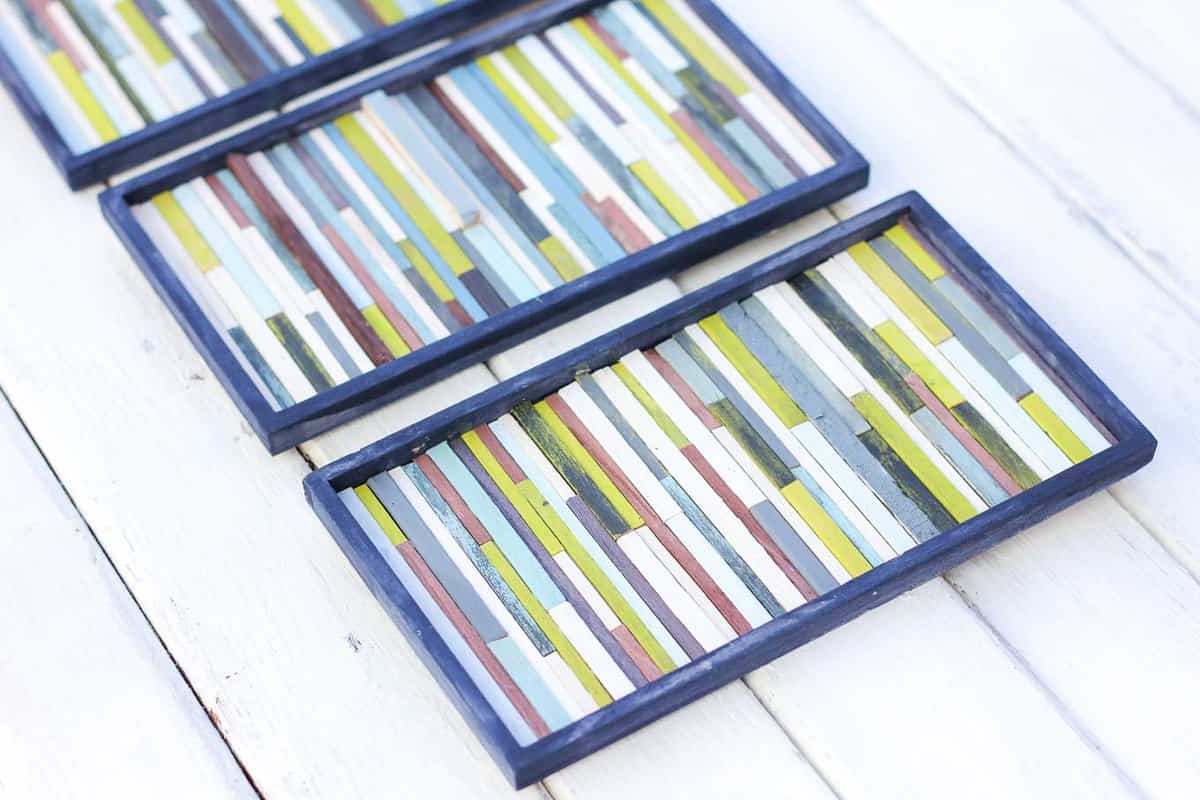
This next part is fun because you'll start to see your piece come together fairly quickly. Starting on one side of the frame, put down plenty of glue and begin laying your sticks down.
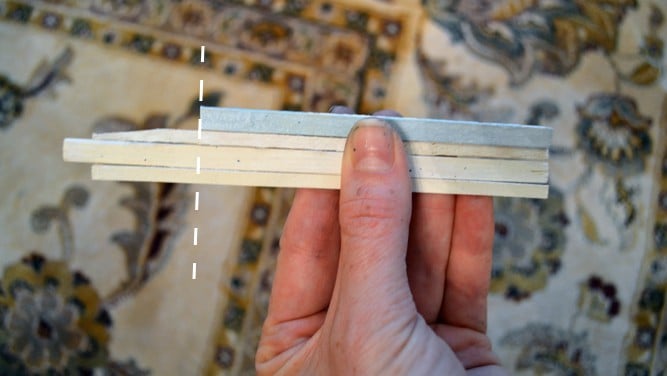
I used some sticks at their full length and then I also combined multiple pieces to create more of a patchwork effect. The key when combining them is to use sticks that are the same width so that you aren't left with awkward gaps in between the vertical rows.
After I finished the set of three, I realized I didn't like the red splashes of color. Nothing a little butter knife couldn't pry out.
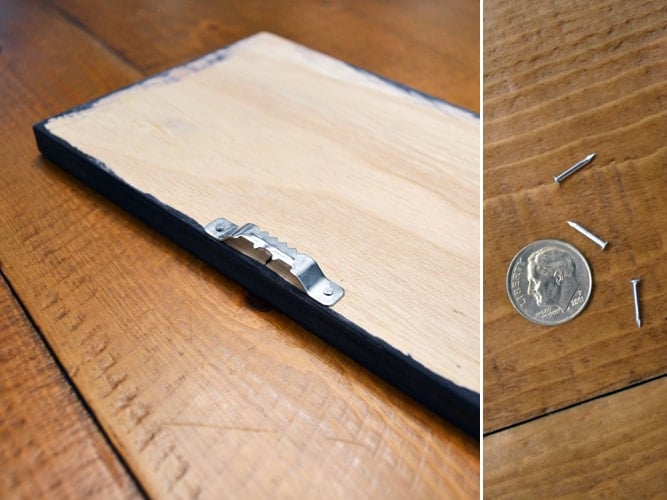
Since the "frames" I used were really just very thin wooden boxes, I needed to add hanging device to the back. Unfortunately the picture hanging thing came with nails that were made for elf hands.
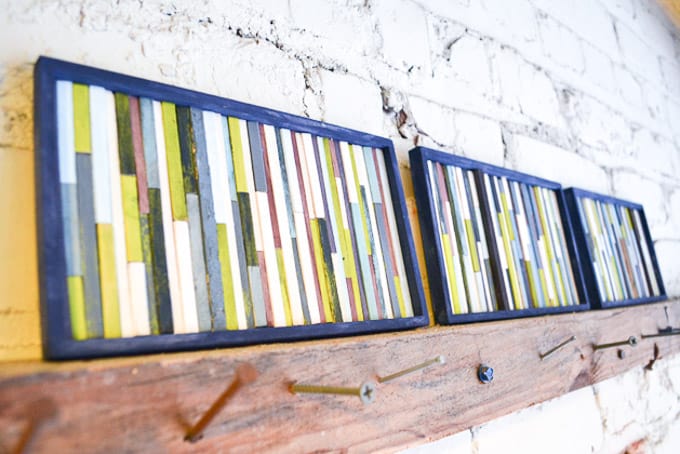
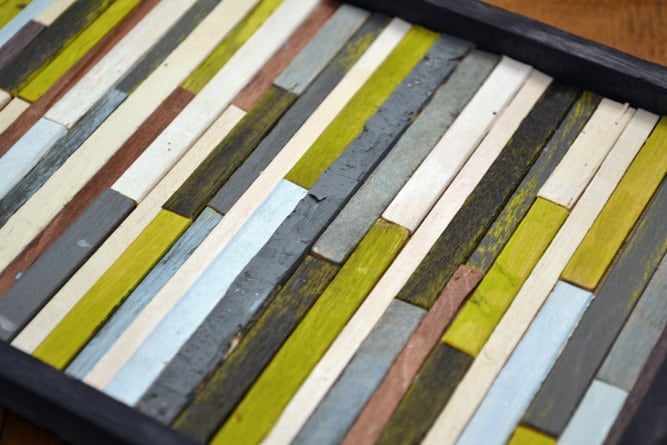
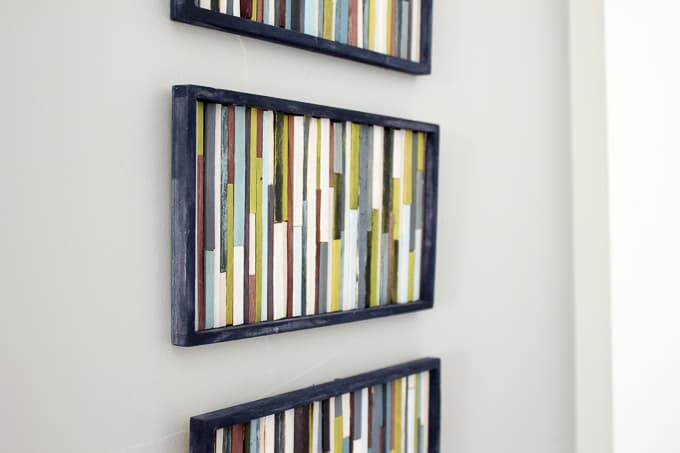
What's left? Plop those puppies on the wall. Voila! DIY wall art that cost less than $7 total.
There are lots of cool things you can do with these sticks, from placing them in the frame at an angle, or even cutting the "seams" between the sticks at angles. There's no wrong way to do it. And as far as I can tell, there's no shortage of coffee stirrers either, so go ahead and get crazy!
If you love handmade, texture-rich, budget-friendly accents for your wall, you'll love these ideas too:
How To Make a Mid Century Modern Hexagon Shelf With Popsicle Sticks
Honeycomb Shelves From Popsicle Sticks
Awesome Typography Wall Art With Faux "Letterpress" Printing Blocks
DIY Button Art Tutorial - Perfect for nurseries or playrooms!
Wendy says
I love this idea! I went to Michael's today to get the supplies, but couldn't find those wonderful wooden frames anywhere! I looked all through the wood section, and frames. I might hit up another local Michael's later in the week. Any idea for an alternative frame?
Sarah says
this is amazing! i actually 'borrowed' a handful of coffee stirrers from the cafe on campus thinking i'd do something amazing with them. but got a good idea or found any diy online so now i'm glad i have something to do with the 50plus stirrers i have lying around lol
Make and Do Girl says
Awesome! Good luck with it!
Nicole Berry says
great idea!! I love the end result
LinhC says
Love how this turned out, love your color palette, and especially love that you did this with your Mom!
I haven't "borrowed" coffee stirrers from Starbucks, but I have saved most of the ones I've used. Did you see that Starbucks have those green plastic stirrers now? Well, I keep those too because they have the little Starbucks design on top and I use these stirrers as embellishments in my scrapbooking.
Cindy says
Perfect idea for my grandgirls over spring break next week!
Make and Do Girl says
Oh sounds great, Cindy. Have fun with them!
ATasteOfMadness says
Wow, this looks gorgeous! I may make this sometime soon, thank you!
Anne-Marie says
Very creative idea .. wonder if I can do the same with the bundles of popsicle sticks that I bought from Michael's?
JT says
Love the idea, but the thought of wasting all that new wood makes me cringe. Thousands of trees are cut down to make those silly little things. I save them to re-use, but now will save for art. It may take a while to collect enough used stirrers, but my conscience will be happy.
Pam says
I saw this the other day and just made one to match our new bathroom set! I love it and its so easy and fun.
Make and Do Girl says
I bet it's great in a bathroom. Sounds fun!
Walter says
Great idea!
Kristen says
Such a creative idea! Would have never thought of it myself! Thanks for the inspiration.
delhiwonders says
wow this is very nice...