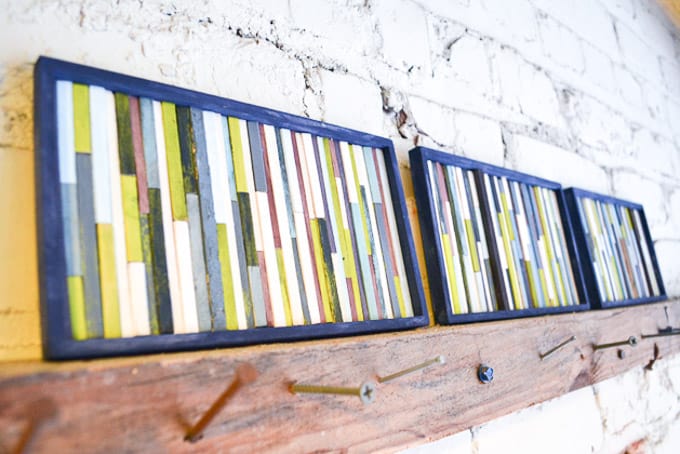
This post is one of my favorites from the archives. I just took some additional photos for it so I thought I'd give it a proper repost to show off its new snaps. You can find lots more affordable DIY art ideas here.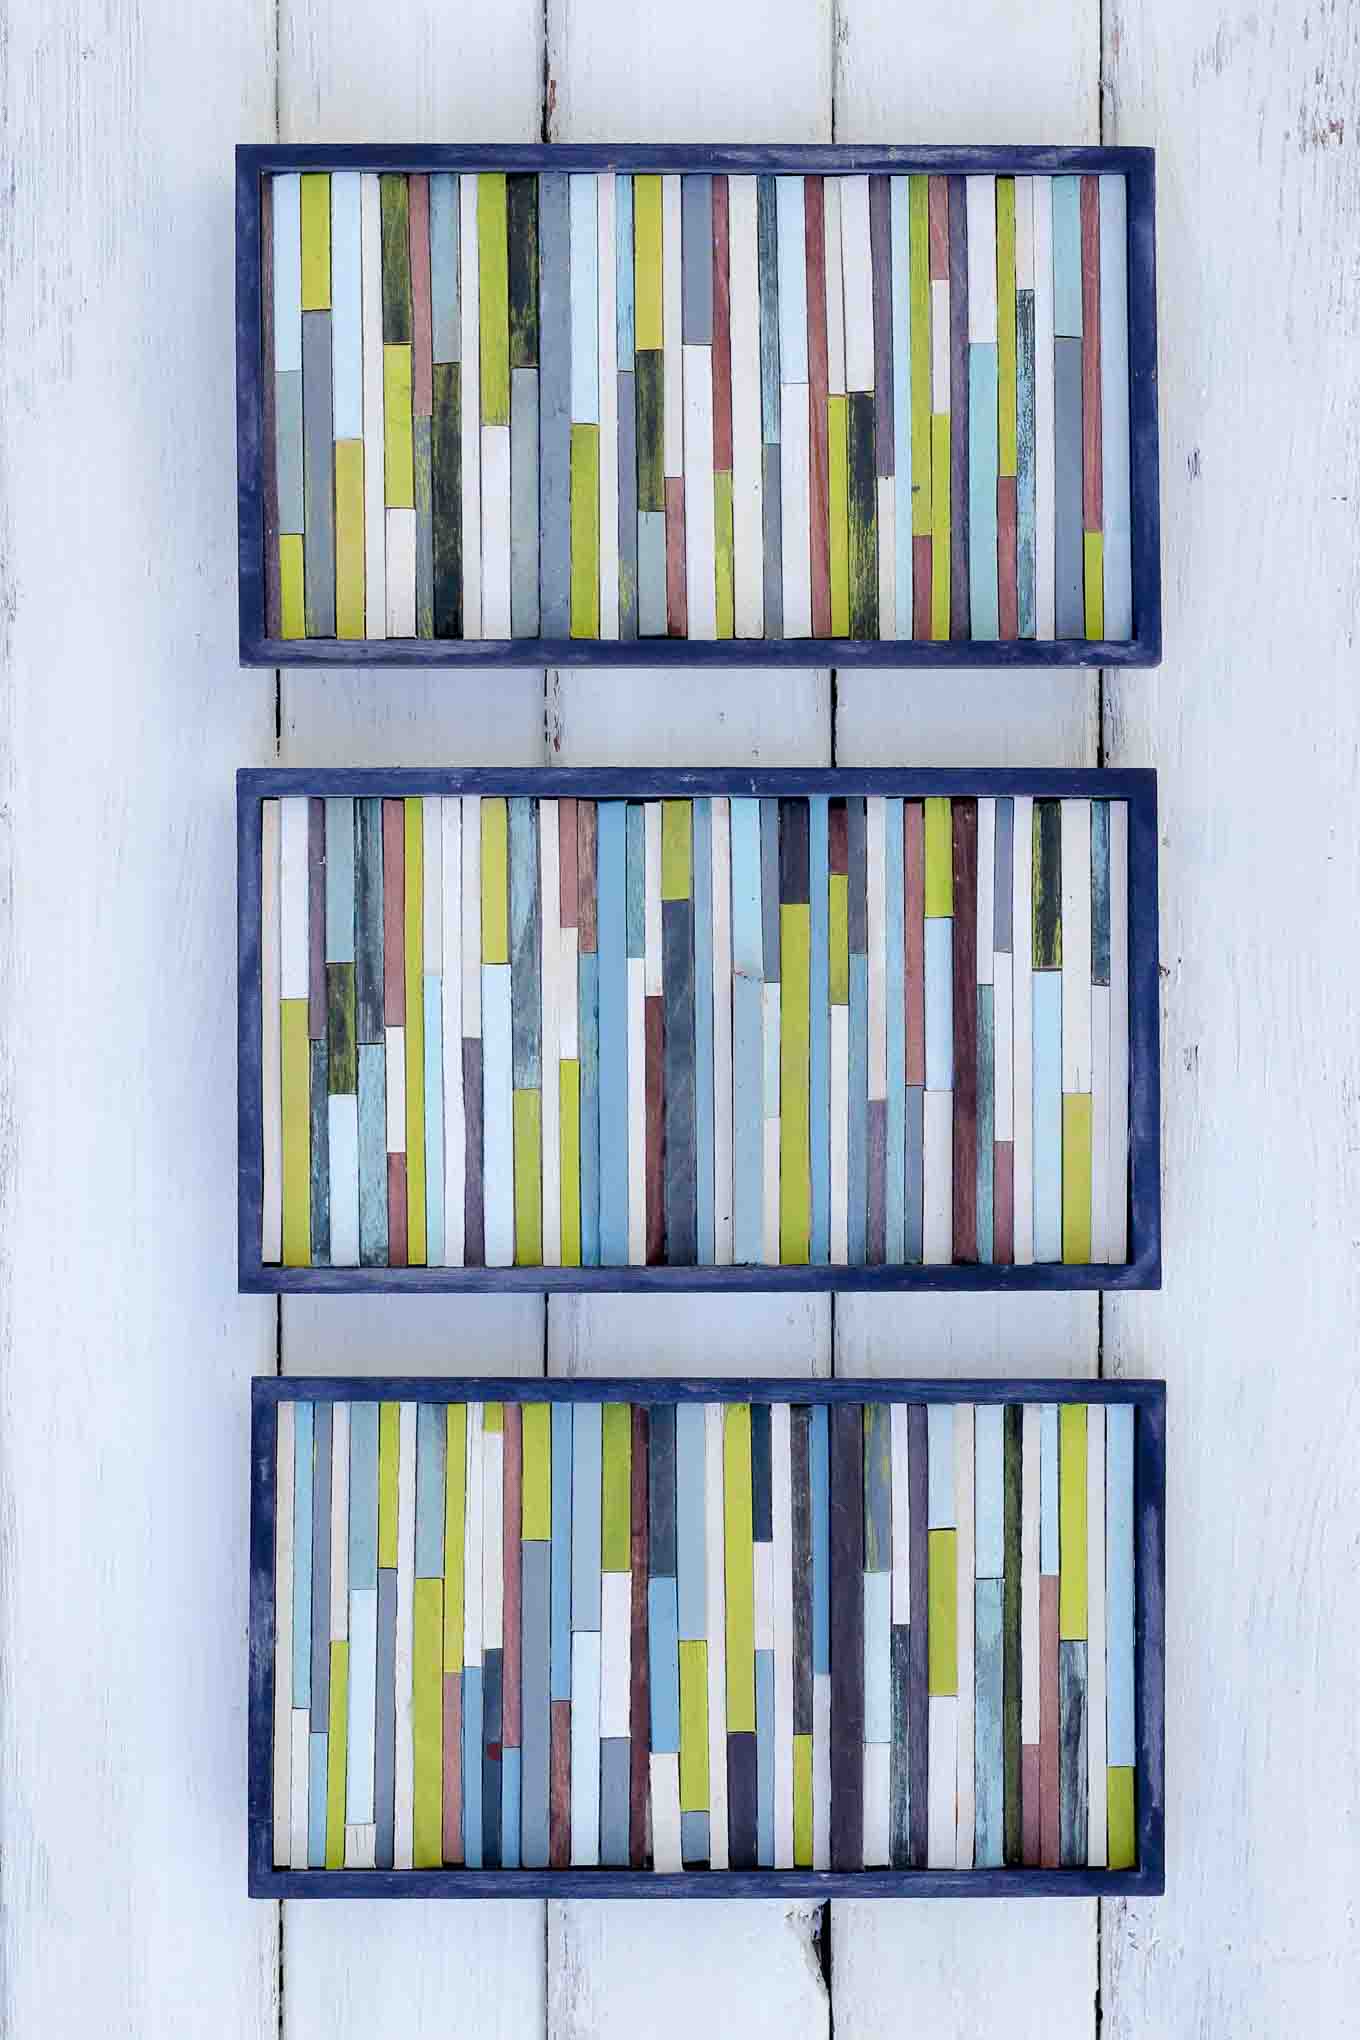 I'm big on projects that anyone can do. And this is one of those projects. If you can smear paint on wood and use scissors, you can make this easy "reclaimed wood" DIY wall art. All in, this project costs less than $7. That's a lot of eye candy bang for your buck.
And how do we ensure we get this awesome organic woody texture? Coffee stirrers.
Yup, you heard me, coffee stirrers.
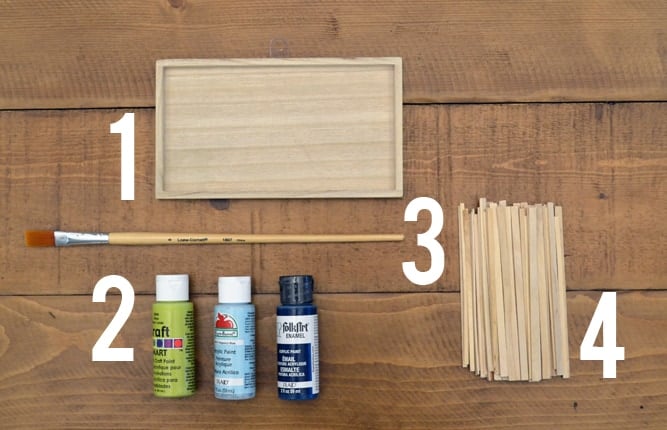
Coffee Stirrer DIY Wall Art Supplies
• Wooden frame(s). We got these at Michael's in the wood section for $1.49 each. (Talk about a cheap frame!) I used three for my project. You could also use a normal picture frame and remove the glass to let all your great woody texture show.
• Acrylic paint.
• A paint brush.
• Coffee stirrers. ("Borrow" them from Starbucks!) I also got some extra wooden sticks from Walmart for $3 that were a slightly different width to add extra texture and dimension. I've seen LOTS of wooden sticks of varying sizes at Hobby Lobby too.
Additional Supplies
• Scissors.
• Glue. Tacky glue. Elmer's Glue. Whatev.
• A picture hanger (optional).
Okay, first things first. Choose a color palette. Doing this first, before I crack the first bottle of paint, always helps reduce my hemming and hawing during the creative process. (I'm quite an slippery noodle when it comes to decision making.) If you need color palette ideas, I suggest checking out Colour Lovers. It's a great resource for color combo inspiration and an easy way to create your own palette. I selected colors that are fairly similar in tone because I wanted the overall look to be a bit subtle.
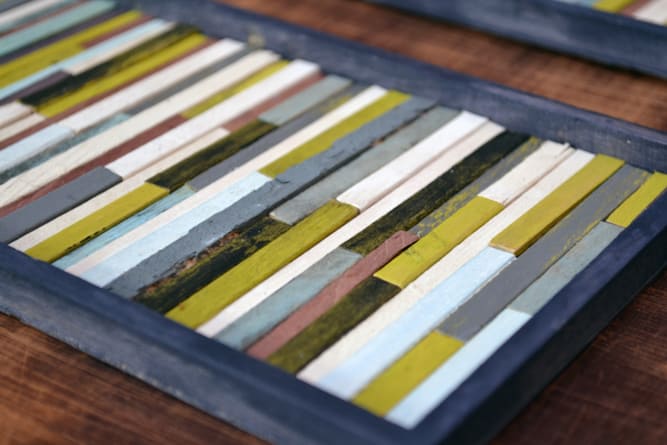
So, once you've got your palette, it's time to paint your frames and your coffee stirrers! I just sort of guessed how many sticks I needed in total and I ended up needing to paint more which was kind of annoying. I'd suggest painting more than you think you'll need. Coffee stirrers are basically free anyhow.
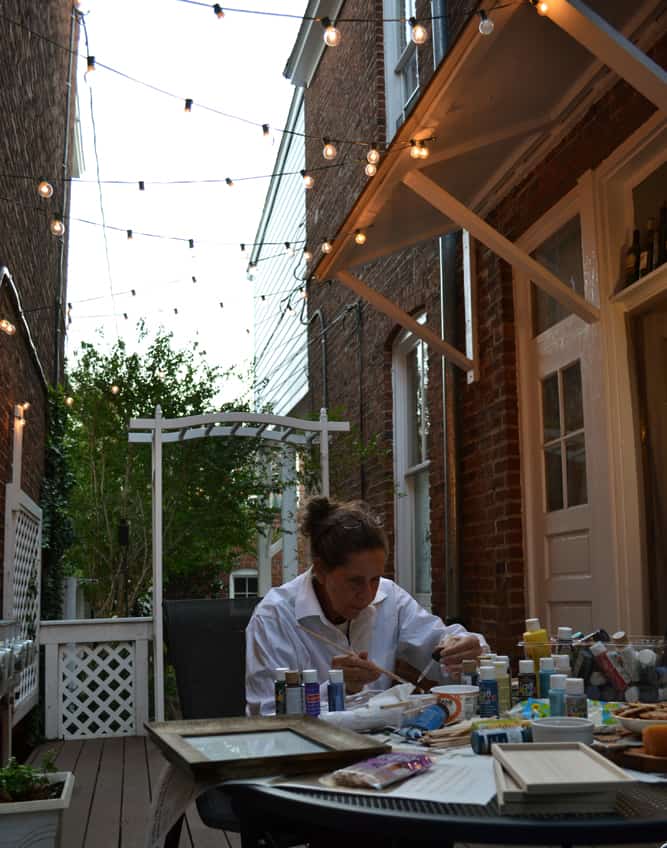
My mom and I made this project together. We did our painting as the sun was setting, which is always a questionable decision. Seems to have turned out okay.
Wanna save this pattern?
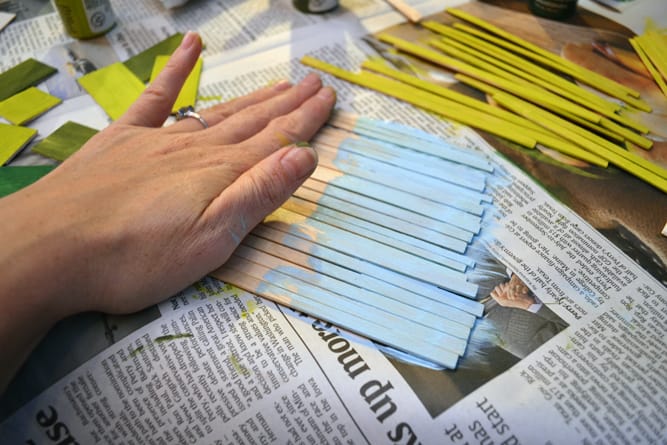
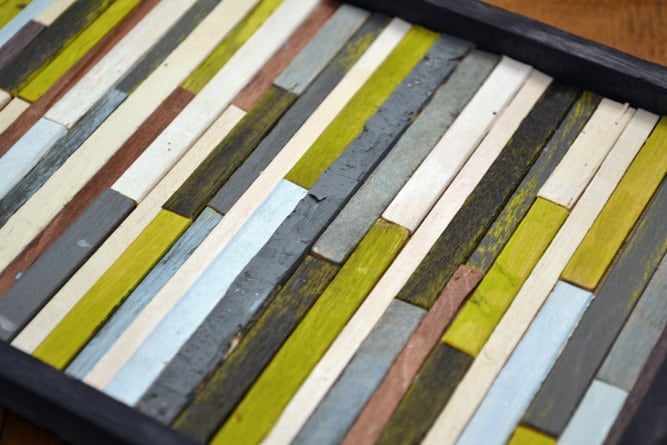
I was going for the reclaimed driftwood sort of look. Like these coffee stirrers were wood siding that had been battered by 100 years of ocean rain on the coast of Maine and freshly plucked from the side of dilapidated house. (A doll house. These sticks are tiny.)
To achieve this look, I developed a simple, very unscientific technique. I'd paint the a brighter color (say, pea green) and then let it dry. Then I'd paint a second coat of a 50/50 mix of black paint and water. I'd let it sit for about a minute and then I'd go to think sink and rinse off some of the black paint, exposing the "weathered" green wood underneath.
 Once your coffee stirrers are painted, it's time to trim them to fit into the frame(s) you've chosen.
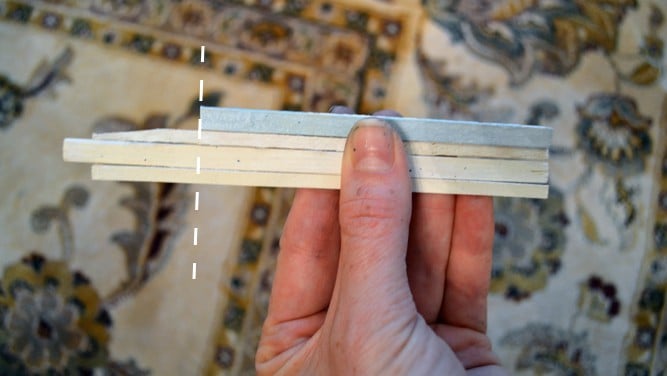
I found the quickest way to do this is to measure one stick to be the length you need it and then use it as the guide for trimming all the others. (Please excuse the paint under my nails. DIY dirty girl!)
This next part is fun because you'll start to see your piece come together fairly quickly. Starting on one side of the frame, put down plenty of glue and begin laying your sticks down.
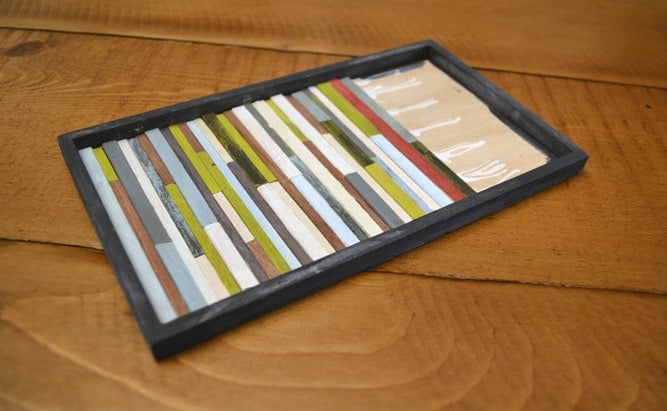
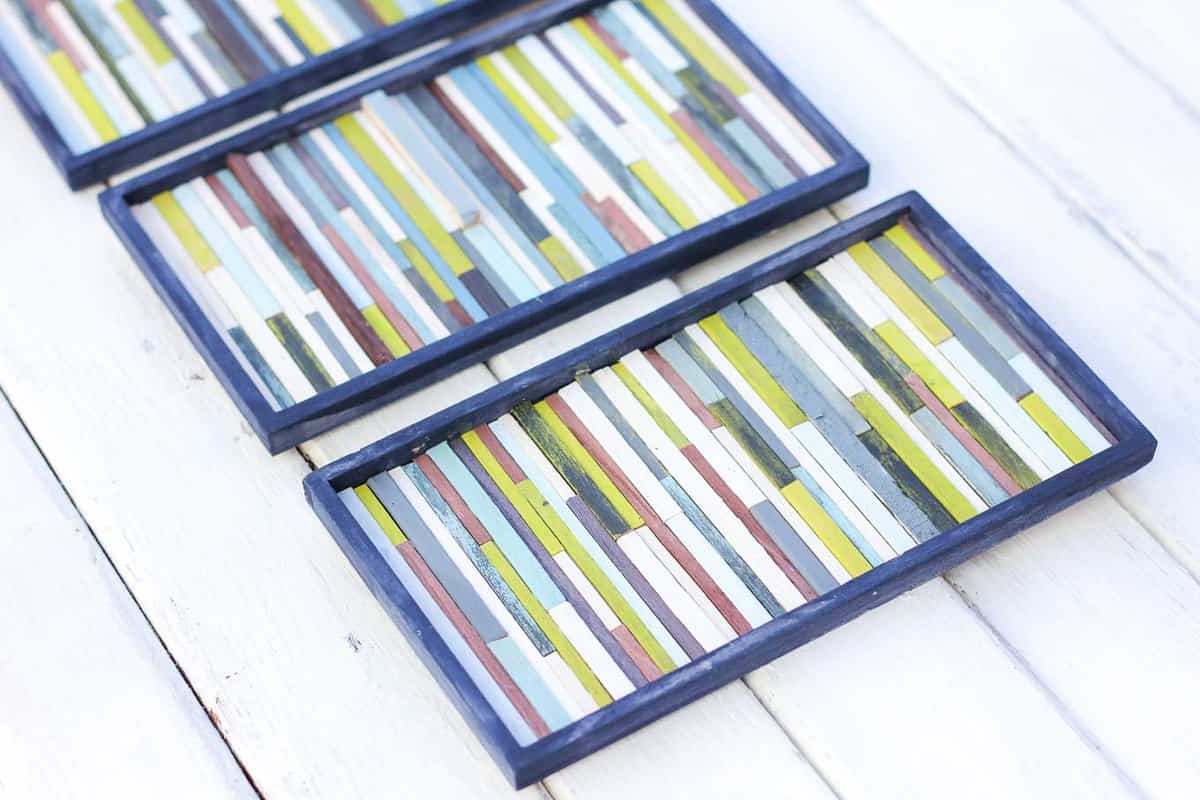
I used some sticks at their full length and then I also combined multiple pieces to create more of a patchwork effect. The key when combining them is to use sticks that are the same width so that you aren't left with awkward gaps in between the vertical rows.
After I finished the set of three, I realized I didn't like the red splashes of color. Nothing a little butter knife couldn't pry out.
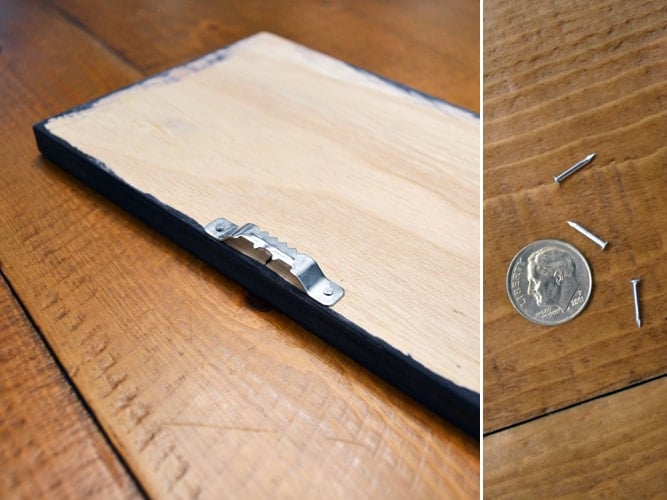
Since the "frames" I used were really just very thin wooden boxes, I needed to add hanging device to the back. Unfortunately the picture hanging thing came with nails that were made for elf hands.
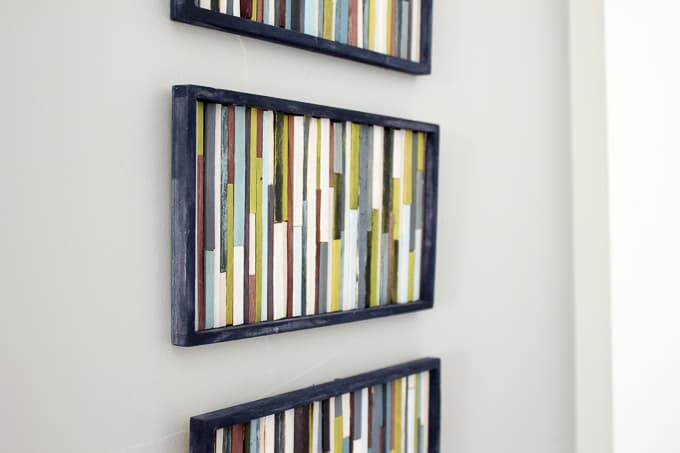
What's left? Plop those puppies on the wall. Voila! DIY wall art that cost less than $7 total.
There are lots of cool things you can do with these sticks, from placing them in the frame at an angle, or even cutting the "seams" between the sticks at angles. There's no wrong way to do it. And as far as I can tell, there's no shortage of coffee stirrers either, so go ahead and get crazy!
If you love handmade, texture-rich, budget-friendly accents for your wall, you'll love these ideas too:
How To Make a Mid Century Modern Hexagon Shelf With Popsicle Sticks
Honeycomb Shelves From Popsicle Sticks
Awesome Typography Wall Art With Faux "Letterpress" Printing Blocks
DIY Button Art Tutorial - Perfect for nurseries or playrooms!

Kay says
Thanks for the idea! My boys (6 and 2) just helped me do this fun project. We used an old frame (without the glass), frame backing (glued the sticks on this back), and a mixture of jumbo and regular sized popsickle sticks (with the curved ends cut off). It was easy enough for them to do with me and now for no cost, we have new beautiful art in their bathroom 🙂
Make and Do Girl says
Kay,
I love to hear that this project inspired some good old-fashioned quality time with your boys! My daughter is still a little squirt, but I so look forward to the days when we can do stuff like this together.
Thanks for reading.
j
JAG says
Surprisingly simple yet good looking piece of wall art there! I think it's the color scheme that makes it look as good as it does to be honest.
ninny says
Thanks gal.... I got it.... Will send u a pic once i m done
ninny says
Love the idea.... and wanna do it for my kitchen wall but failed to find the frames at micheals they had one with the big trims... but I guess thin tirms gives more nicer look than thick( saw thick trimmed version ) frames like you use....but no luck at Micheals..if you can give measurements
Steam Retro Steampunk says
Its really creative! Such a simple thing but it looks really nice! Thanks for sharing
Cheryl says
I'm making a set of these and my stirrers are warping a bit when I try to glue them on the board. Any suggestions for keeping them flat?
Make and Do Girl says
Hey Cheryl,
Mine warped a bit too and I thought it added to the "worn in" style I was going for. But is your paint or glue really wet? Extra moisture might contribute to more warping. If they're warped even before you glue them on, you could press them in a really thick book for a few days before you glue them down.
Happy crafting!
j
dinka says
This was such a great idea! We just bought our first house and I'm finding new and inexpensive ways to decorate. My first attempt at this was with popsticle sticks from Michael's- it was late and I didn't have the energy to make a coffee stop. It came out well but I'll definitely use coffee stirrers next time- popsticle sticks are rounded at the ends- duh! Made fitting them neatly into the frame a little tough.
We have very high ceilings and huge walls to cover so I'm toying with the idea of using a huge frame and getting real wood (from the Home Depot scraps bin after they've made some cuts) to enlarge this- what do you think?!
Make and Do Girl says
Dinka,
Congrats on the new house! I love the idea of larger versions of these. In fact, my sister in-law used this tutorial to make some wall art out of paint stir sticks and it turned out really beautiful. She just sawed off the little indented "handle" part of the stick so that they looked like giant coffee stirrers. I might post more about the idea soon. I'd love to see pics if you do make a larger version!
Happy crafting.
j
ToTylkoJa says
Great project! Very creative yet simple. I love it!:))
Nicole @ Liberty Belles says
thanks for being the "pinspiration" for my Pinterest Challenge 🙂
Janina says
These are ideas are cool, I wish I came up with them.
tata roldan says
Do you what mekes me like this tutorial when I saw it "stumblin upon"?...the picture of the lady outdoors actually painting the issue!!!! I thought, well, finally an older woman had the courage to write a blog...and then I read the it was your mother!!! jajajajajaja
congratulations! nice pictures, nice work...nice mommy!
Make and Do Girl says
Thanks Tata! I am pretty lucky to have one cool, crafty mom!
Jillian says
I tried looking for the wooden frame at michaels with no luck. Also looked at Joann's, have any other ideas of where I can find a frame! I love this art project!