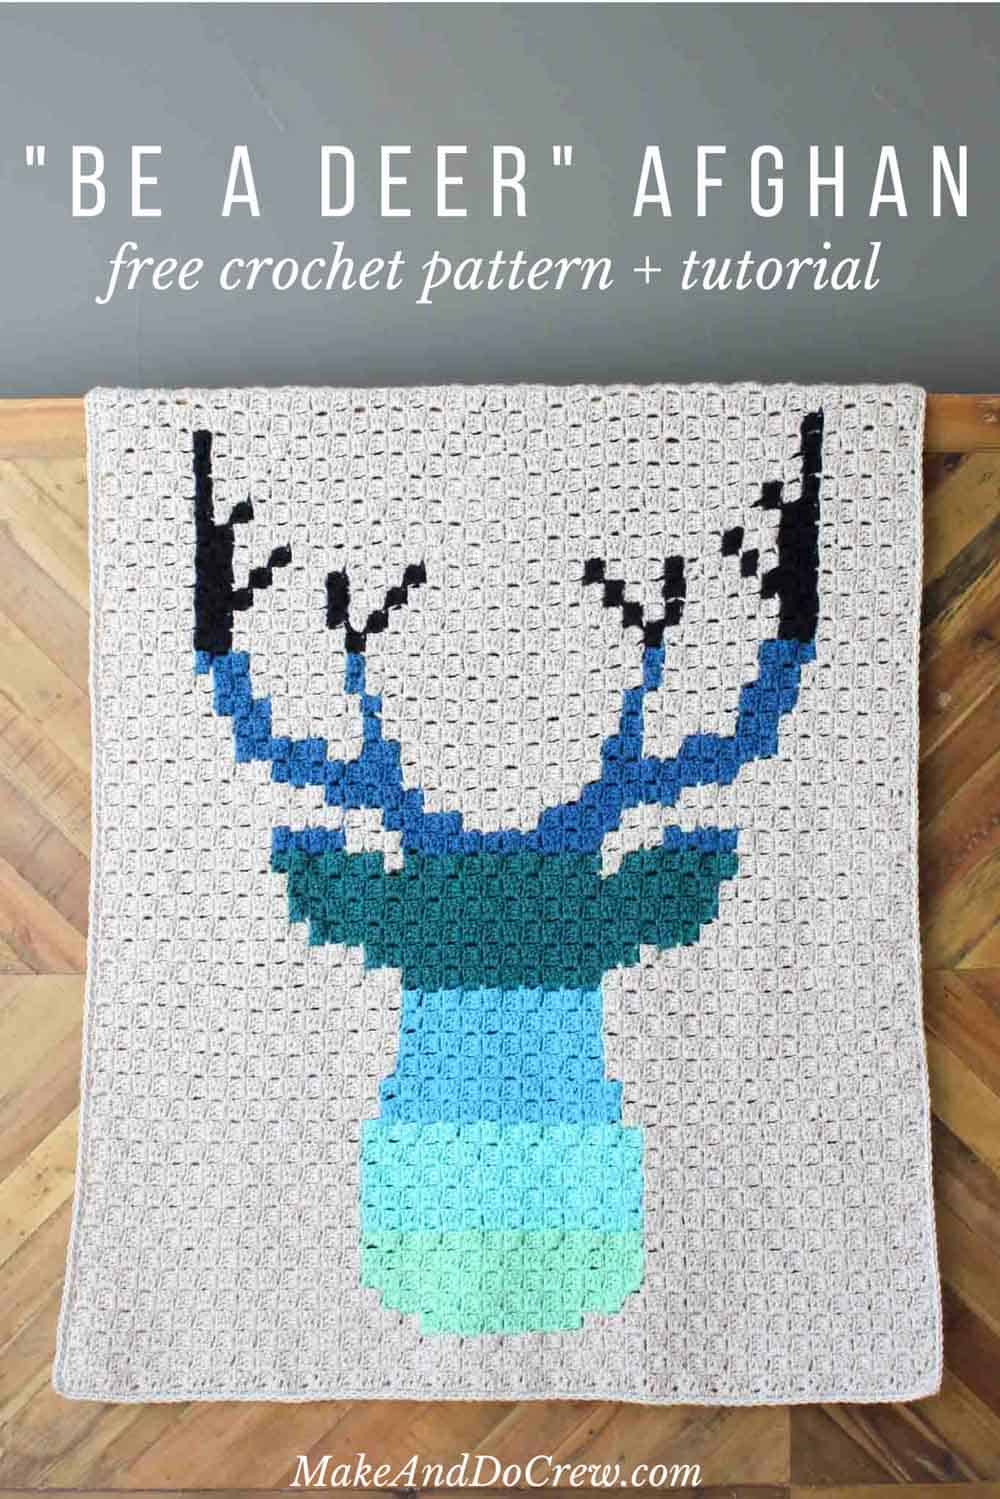
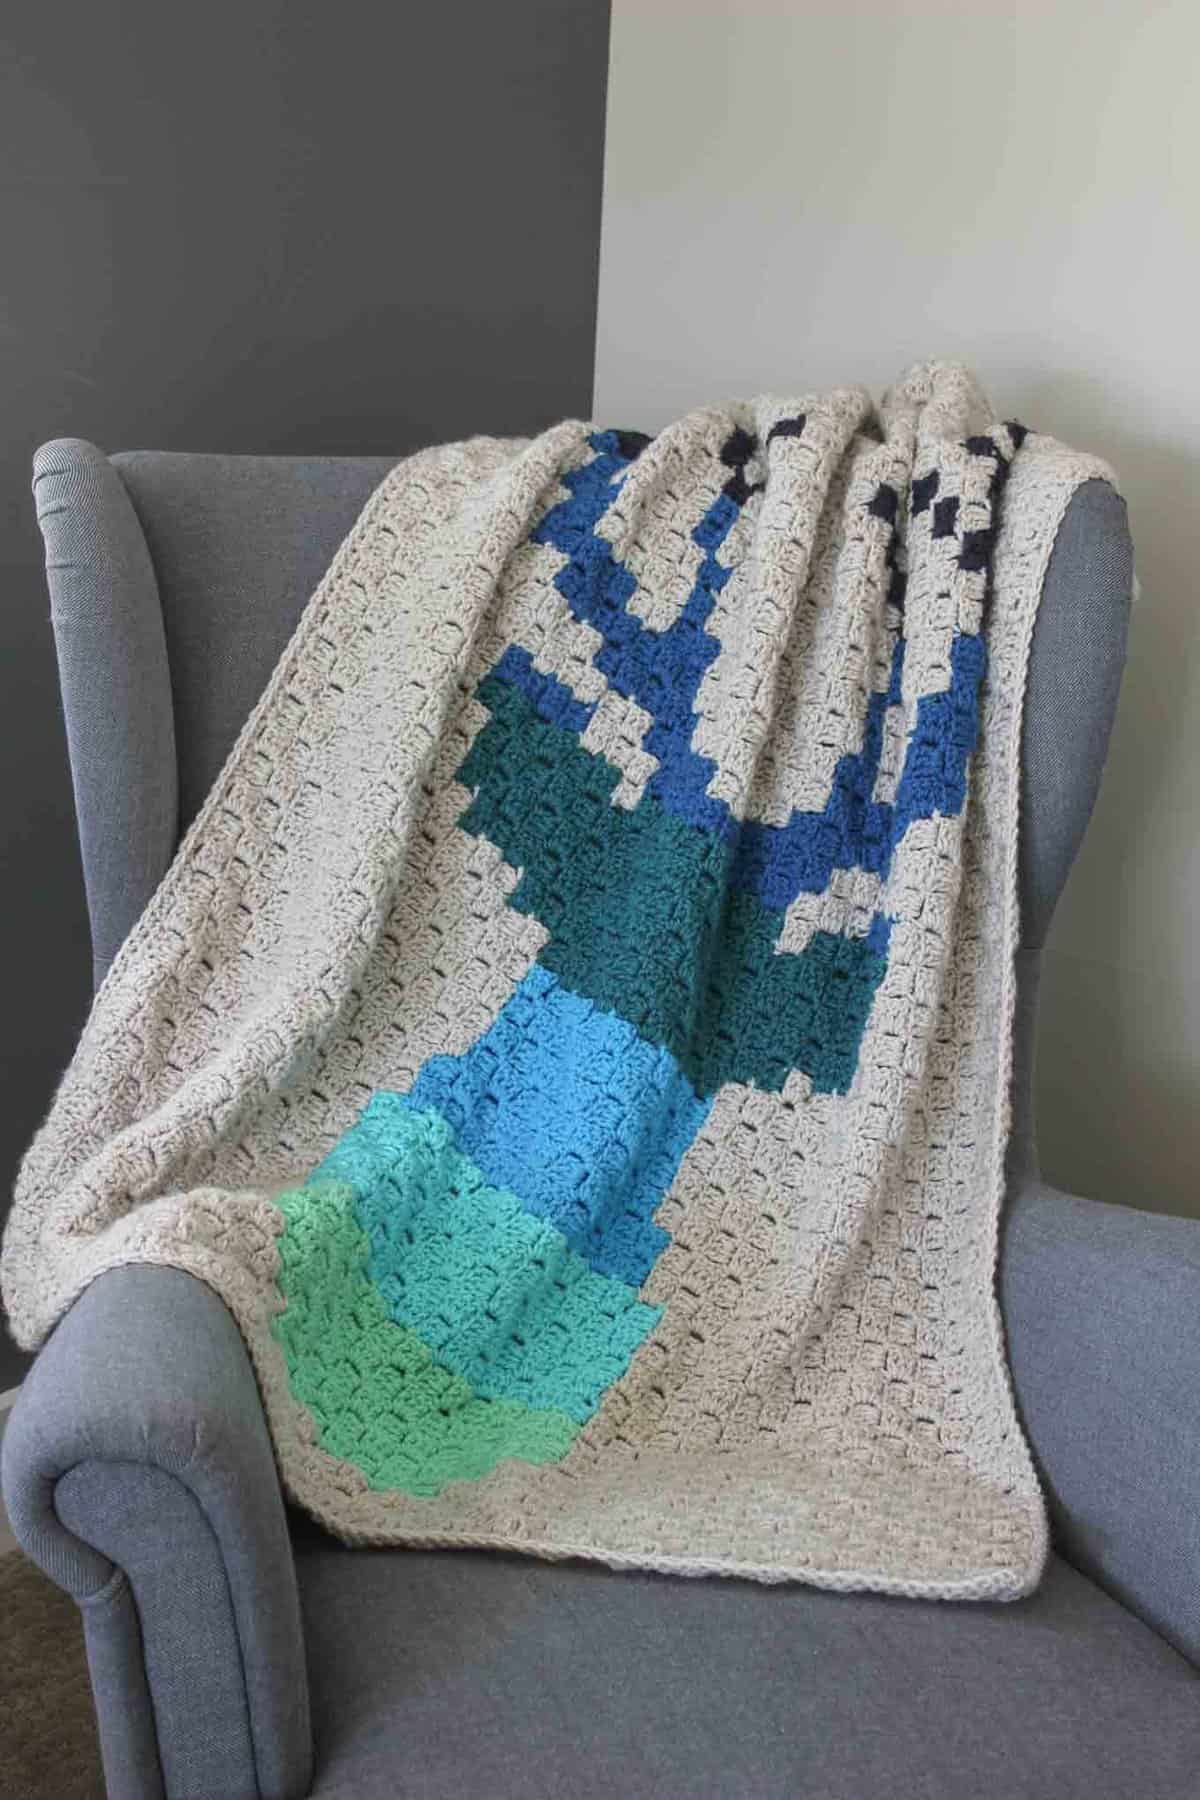
Hello ombre! This corner to corner crochet deer afghan will be a hit with your favorite baby, hipster or hunter! The free c2c downloadable graph pattern is below or you can purchase the ad-free PDF with written row-by-row instructions here.
UPDATE: I put together a corner to corner crochet video tutorial with lots of tips for beginners which you can find here. This photo tutorial on how to read a c2c graph and this tutorial on how to change colors and keep your yarn under control might be helpful as well! You can find all my free c2c crochet patterns here.
This little deer has been frolicking around in my brain since I learned how to do corner to corner crochet (c2c) last year. I figured an iconic deer silhouette blanket is one of the few corner to corner crochet designs that's equally at home in a baby nursery, dorm room or man cave. I mean, how many of your crochet projects can you say that about!?
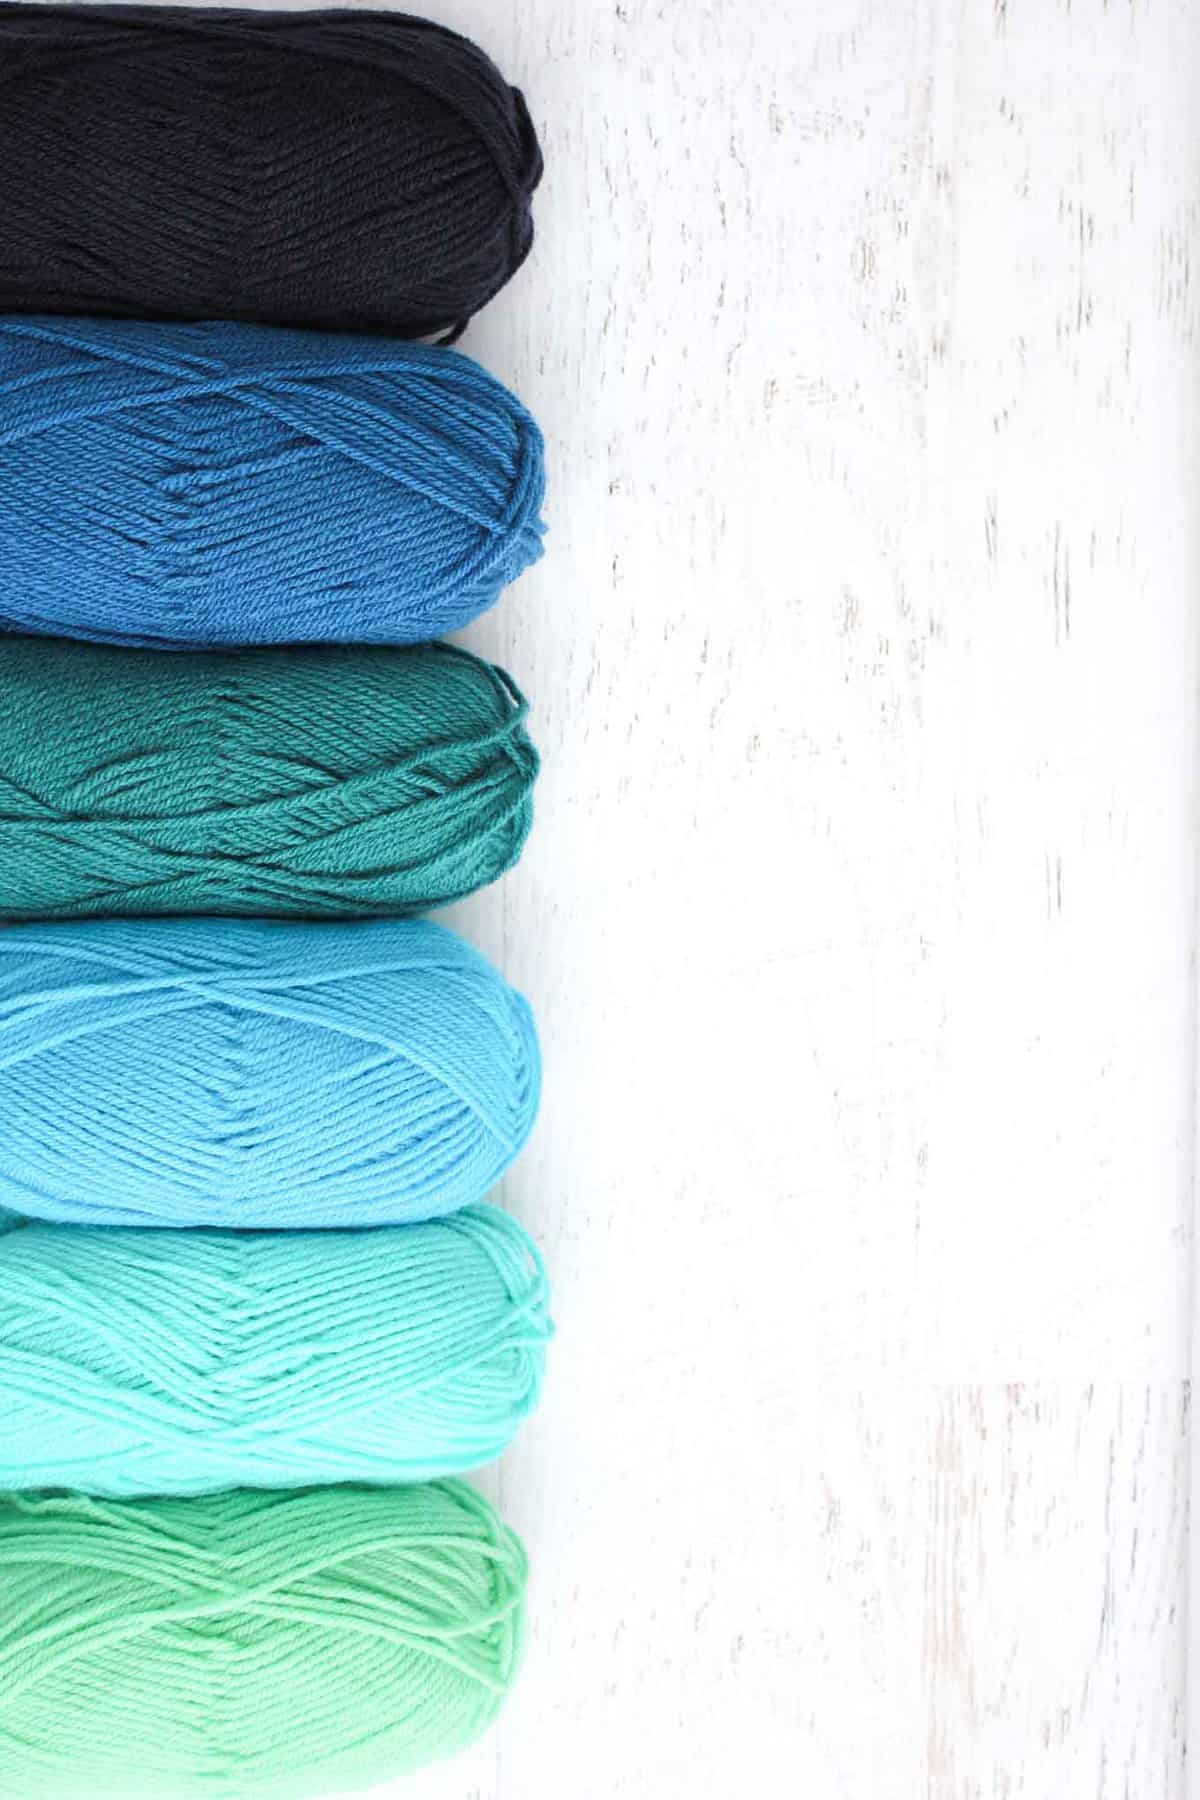
I had so much fun choosing the colors for this ombre afghan. I don't often gravitate toward blue, but there are so many gorgeous blues in Vanna's Choice yarn that I just decided to order myself a giant blue yarn cloud.
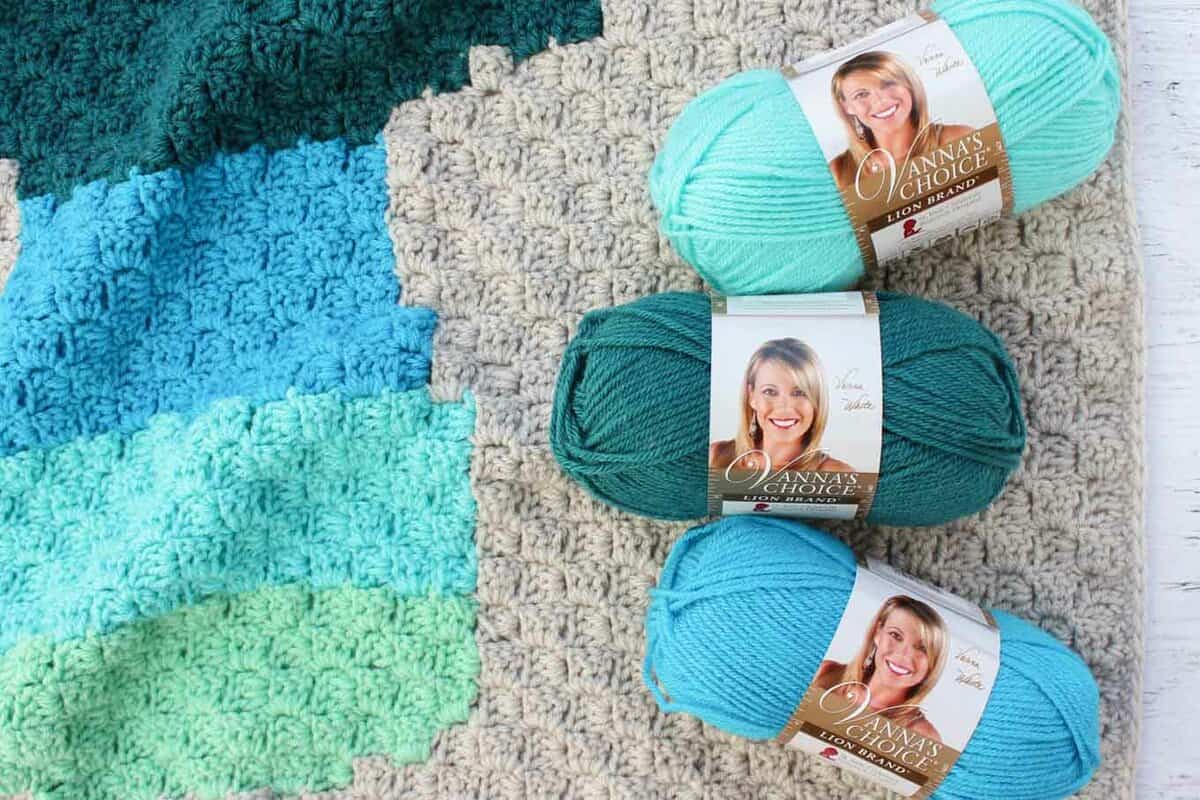
If this palette doesn't suit you or your decor though, there are a bundle of beautiful pinks/reds as well as shades of green in Vanna's Choice that I think would create a fantastic ombre effect as well.
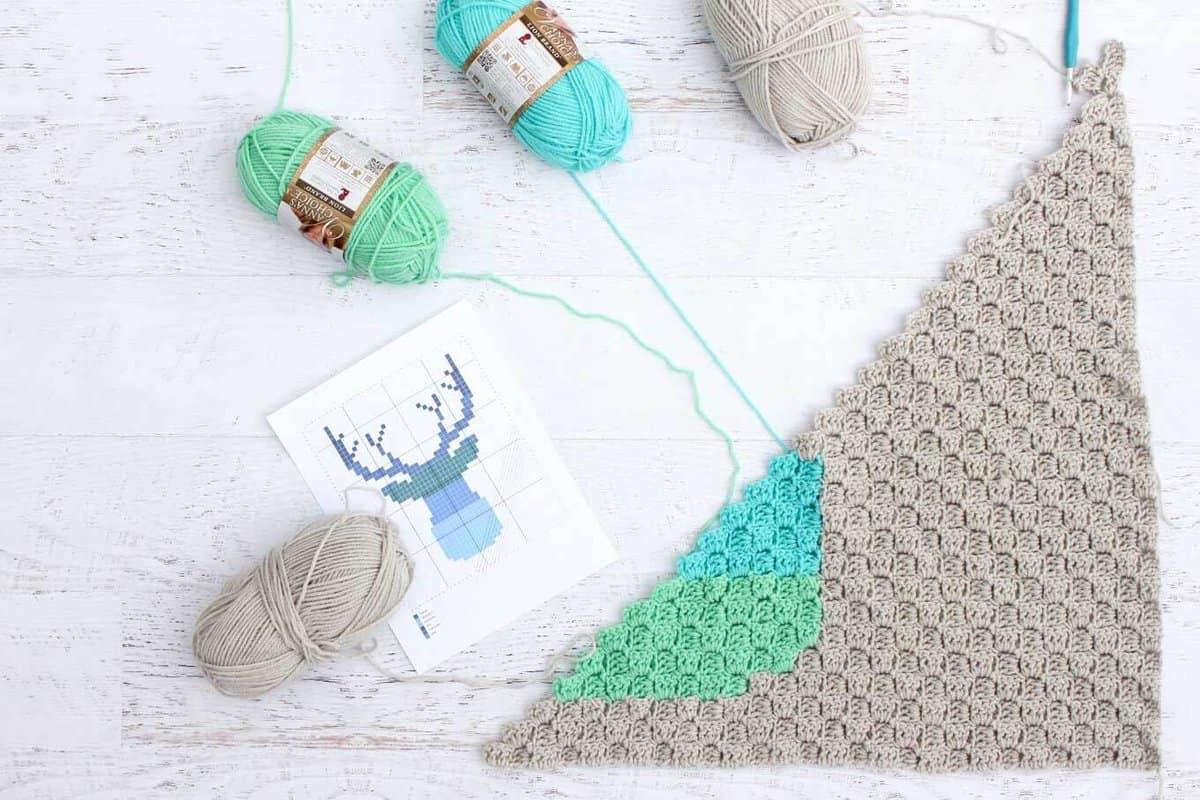
If you've never worked corner to corner crochet before, do not fear! This week, I shared a step-by-step tutorial on how to c2c for beginners that will get you started. You'll also want to check out my tutorial on how to change colors in c2c crochet to learn how to "paint" your beautiful ombre deer out of yarn! And this beginner corner to corner crochet video tutorial is a must watch to get the hang of working the corner to corner stitch.
And if you've worked c2c, but never to create a graphgan before, this c2c deer is pretty good one to start with. (You can see my first one here. It was a wee bit ambitious!) The large sections of color mean that the color changes are more approachable and you'll get plenty of practice before you reach the antlers, which are a little more detailed.
If crocheting a blanket with a picture in it feels intimidating, try this beginner corner-to-corner blanket pattern to practice the basics. Then come back and try this pattern!
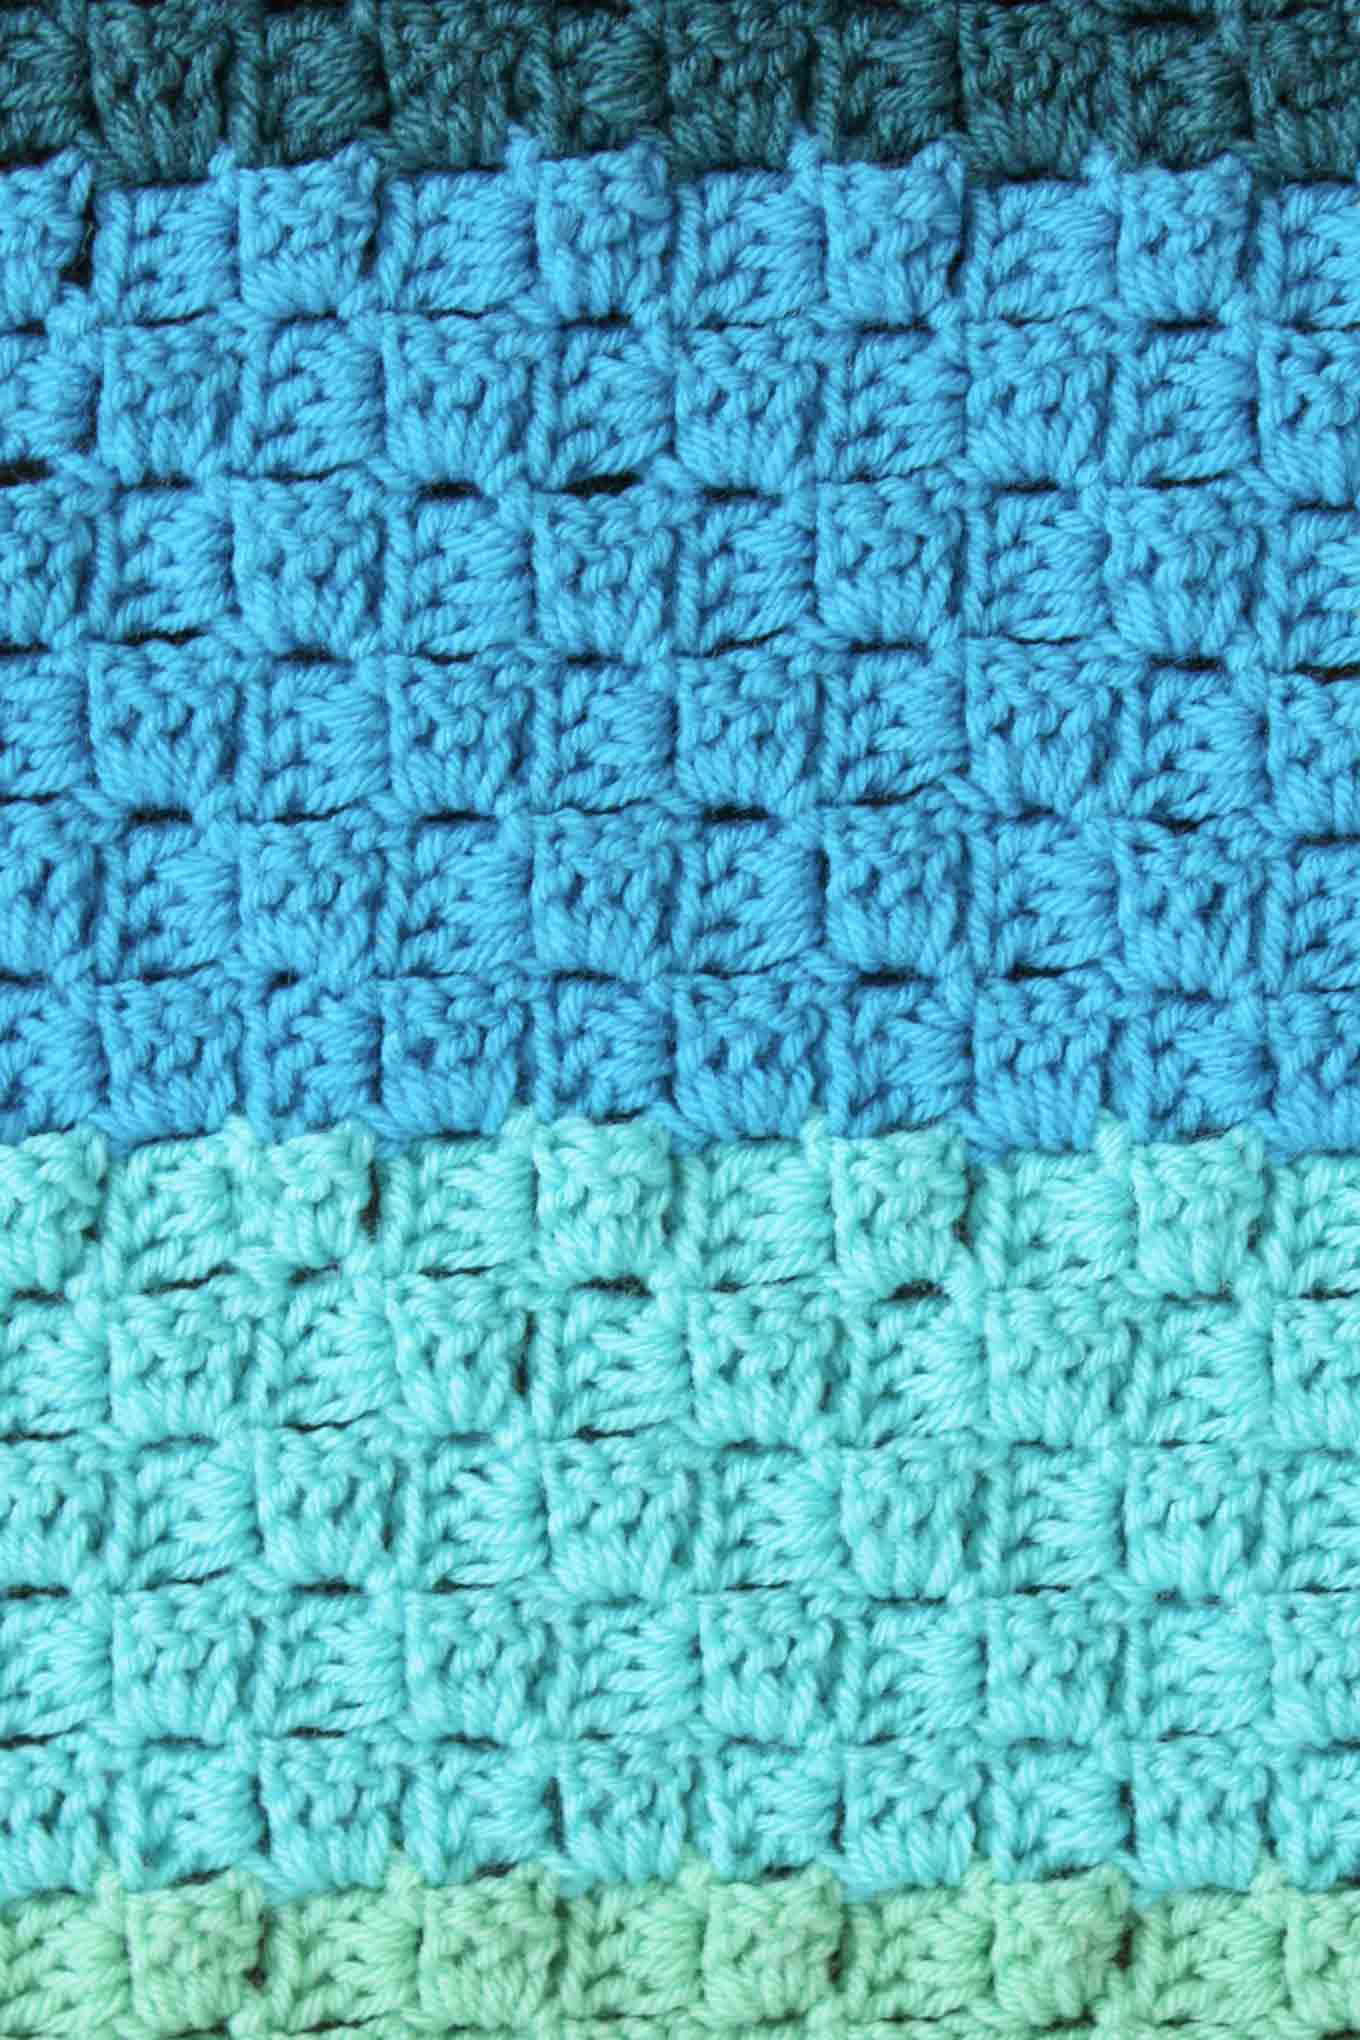
But, I wanted to offer instructions for those crocheters who work best from a written pattern instead of a graph. So in the printable ad-free PDF, you'll get the graph, the row-by-row instructions as well as a complete printable tutorial on c2c crochet in case you're unfamiliar with the technique. (You can purchase the PDF here!)
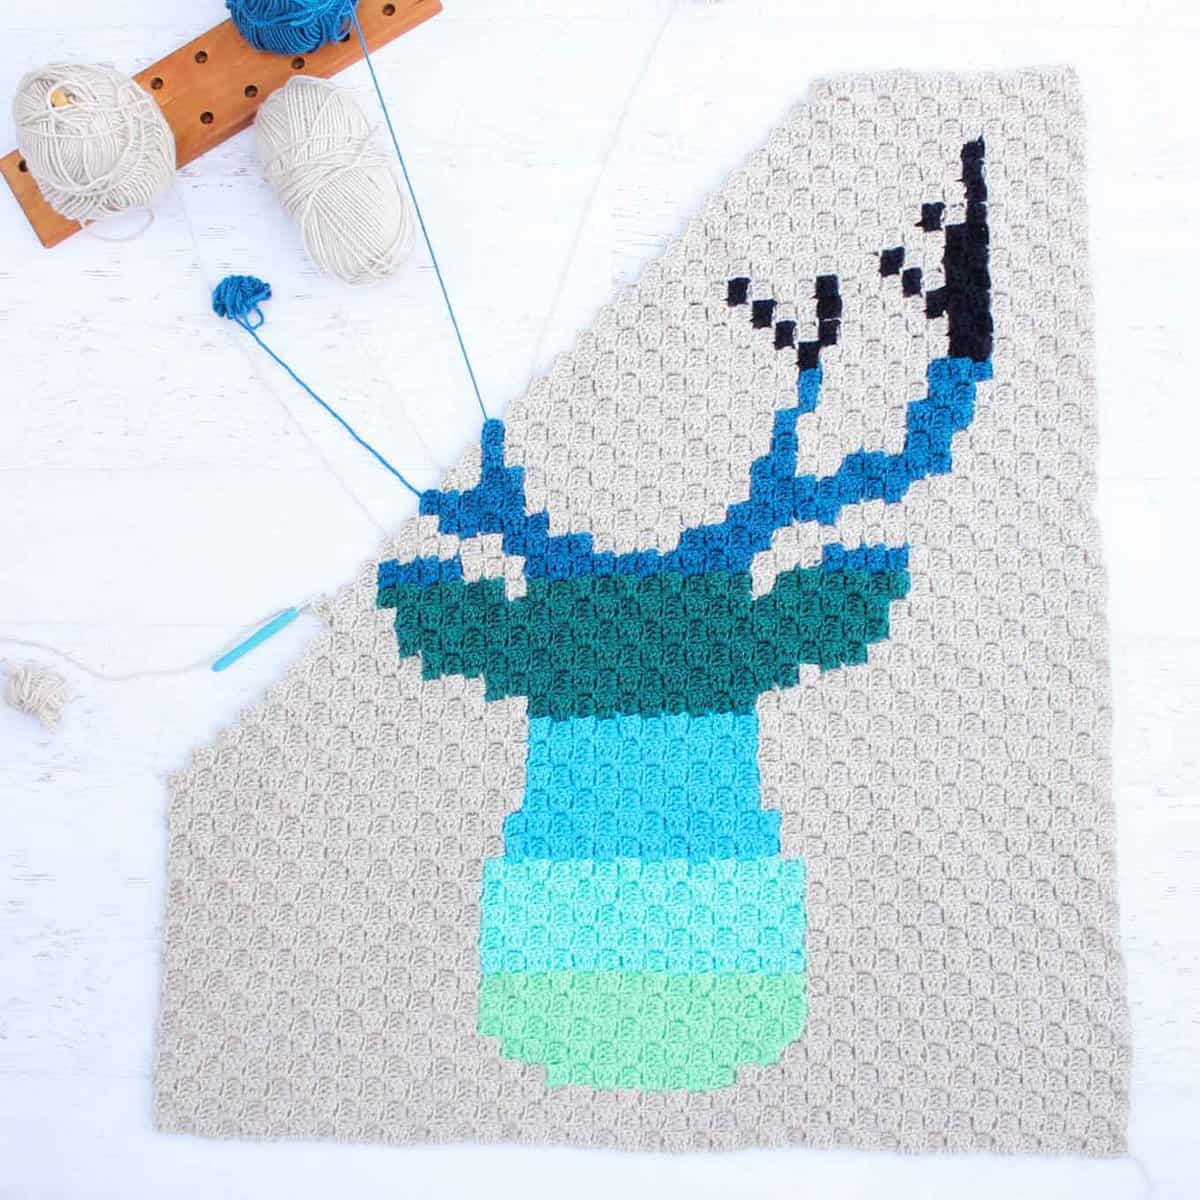
Thanks to Lion Brand Yarn for sponsoring this post and enabling more free patterns on Make and Do Crew!
Please do not publish or share this pattern as your own. You may make items to sell with this pattern. In exchange, please link back to this post. Do NOT use my photos as your own sales photos. You can read my policies here. Now let’s make something awesome!
Related: 33+ Crochet Blanket Border Ideas
Wanna save this pattern?
More Free Christmas Crochet Patterns
From tree ornaments to c2c crochet patterns to adorable elf hats with ears, we've got you covered with many more crochet patterns for Christmas. We also have loads of quick gifts to crochet and gift ideas for crocheters to add to your own list (hint!)
See more free Christmas crochet patterns →
"BE A DEER" CORNER TO CORNER CROCHET DEER AFGHAN PATTERN
Download the baby blanket size free graph pattern here.
(Updated on 5.3.17 to adjust right ear of deer.)
Sizes:
Baby blanket: 38.5” x 42.5”
Larger Throw: 44” x 55” (available in the PDF)
Supplies:
• Lion Brand Vanna’s Choice Yarn (100 g/170 yards)
(6) Linen (13 for larger throw)
(1) Pistachio
(1) Aquamarine
(1) Aqua
(1) Peacock
(1) Sapphire
(1) Navy
• Size H [5.0 mm] crochet hook
• Tapestry needle
• Scissors
• corner to corner crochet deer graph
• row-by-row written pattern (optional)
Gauge:
4.5 tiles = 4”
Abbreviations (US Terms)
sc – single crochet
dc – double crochet
sk – skip
ch – chain
sl st – slip stich
RS – right side
corner-to-corner stitch (c2c) – explained in more detail in this post on How To Corner to Corner Crochet
Overall Pattern Notes:
• The free baby blanket size graph is a free download. Enjoy! If you'd like the written row by row instructions or the graph and written instructions for the throw-sized afghan, you can find them in the ad-free printable PDF available for $3.99 here.
• To work this corner to corner graph, begin with the pixel (tile) in the lower right corner. This will correspond to Row 1 in the written pattern.
• Each pixel in the graph corresponds with one tile in your afghan. A tile = 3 ch (the tch) + 3 dc
• It can be extremely helpful to cross off each row in the graph and/or written pattern as you work it.
• For additional C2C instruction, check out my post on How to Corner to Corner Crochet and How to Change Colors in C2C.
Adding a Border
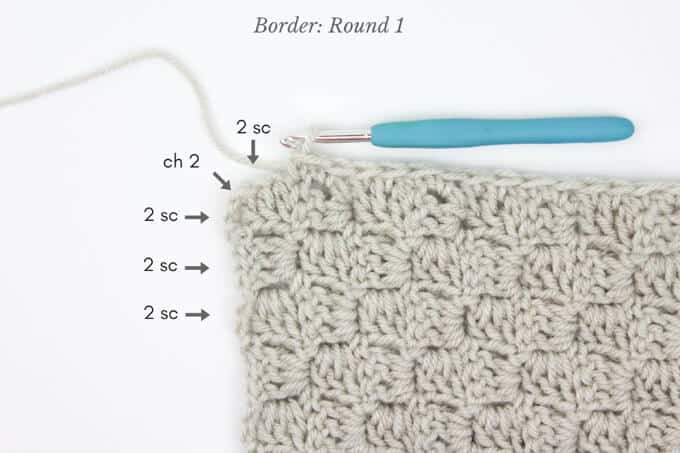
Once final tile is completed, rotate afghan so RS is facing. Work border stitches loosely enough that they don’t cause the afghan to pucker. Increase your hook size if necessary.
Round 1: Ch 1, work 2 sc into each tile around afghan placing [2 sc, 2 ch, 2 sc] in each corner tile, sl st to first sc of round to join.
Round 2: Ch 1, sc in each sc working [sc, ch 1, sc] in each ch-2 corner space, sl st to first sc of round to join. Fasten off.
Finishing
Weave in ends and give your spiffy new work of art to your favorite hipster, huggable baby or hunter (or even better, keep it for yourself!)


Toni callewaert says
Oh my goodness I just figured it out! So ignore my last comment! Lol but another copy of the larger chart would be awesome please!
Jess @ Make and Do Crew says
Hey Eli,
I'm sorry I didn't respond sooner. I've been sick for the last week! I actually just updated the printable pattern with a slight change around Row 51. If you haven't already figured it out, I'd go back to your LoveCrochet.com library and download the newest version of the pattern. If you have any trouble at all, just email me and I'll make sure you get it. Jess (at) makeanddocrew (dot) com
Jess
Daniele says
How do we email you? I do not see your email address. I purchased this pattern and have questions regarsimg the written pattern. Please contact me. I also have tried in past to leave a comment here on another pattern of yours and never received any reply. I am a bit disappointed in the written pattern on this especially since I paid for it. Hope to hear from you soon.
Thanks,
Daniele
Eli says
Hi again 🙂 Carrying on from my last comment - I pulled out the rows up until row 50. I re-read the instructions that say up until row 50 there will be the same number of tiles as the row number. So I'm confused when I get to row 51, it says to increase. If I increase, I'm adding an extra tile, which brings the title count to 51 (not 50 total tiles) as the pattern states. Am I missing something? I'm going crazy trying to find where I'm going wrong.
I'm looking through the comments and found your reply -
"The reason the inc is at the beginning of Row 51 is because you’re still building up the right side of the afghan. Then, stop one tile shy of where you usually do at the end of the row, thereby creating an edge on the left side of the afghan. This should result in 50 tiles. Once you’ve completed the top right corner of the afghan, then each row will begin with a decrease."
Does this mean when I increase at the start of row 51 and get to the end, I don't do anything at the very last tile, and turn my work and continue on with row 52 and decrease? If I do this, it still doesn’t look right.
Thanks for your help.
Eli says
Thank for for going to the trouble of getting back to me. I'll give those things a try! Thank you
Monica says
I have spent a lot of time working on this pattern, I made a mistake early on and had to rip out many colors and start again. I am now on row 67 of the smaller free pattern and the antlers look like absolute shit. I mean no disrespect to the designer or the pattern, it is simply the nature of C2C crochet. Because each side is worked differently, each side will look different, and the mismatch looks terrible. This is meant to be a word of caution for other perfectionists such as myself who cannot stand asymmetrical designs. This blanket will now unfortunately be banished to the bottom of my yarn stash never to be completed. It’s a shame really, the picture looked beautiful but I do urge you to ZOOM IN. There are in fact massive imperfections.
Jess @ Make and Do Crew says
I'm sorry to hear that, Monica. I try to photograph every project to accurately represent the finished end result you can expect. There is an inherent difference in how C2C looks depending on if you're working a RS or WS row, but that charm is exactly why I prefer handmade over a machine-made afghan from a box store.
I hope you're able to find other patterns here that work for you!
Jess