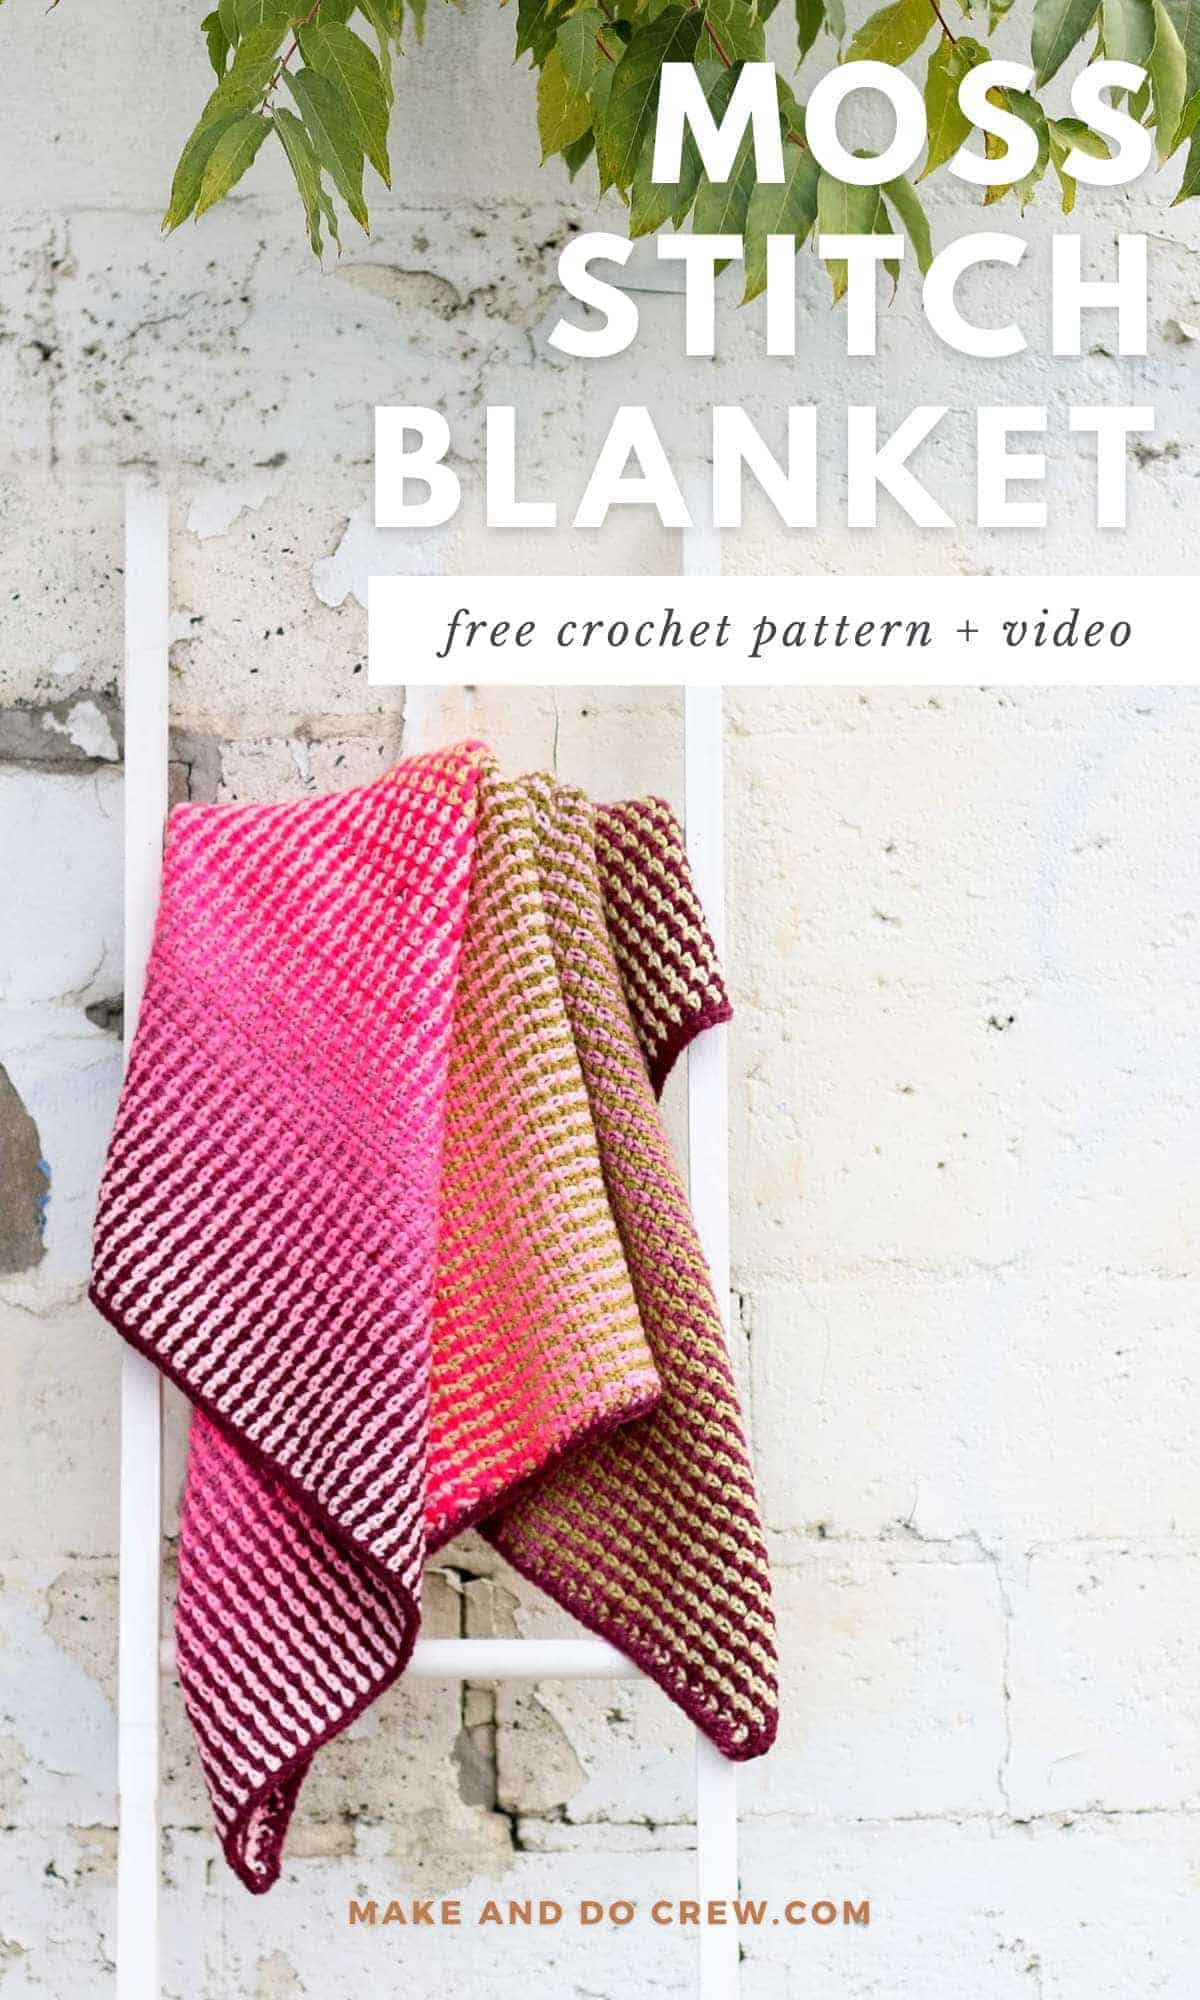
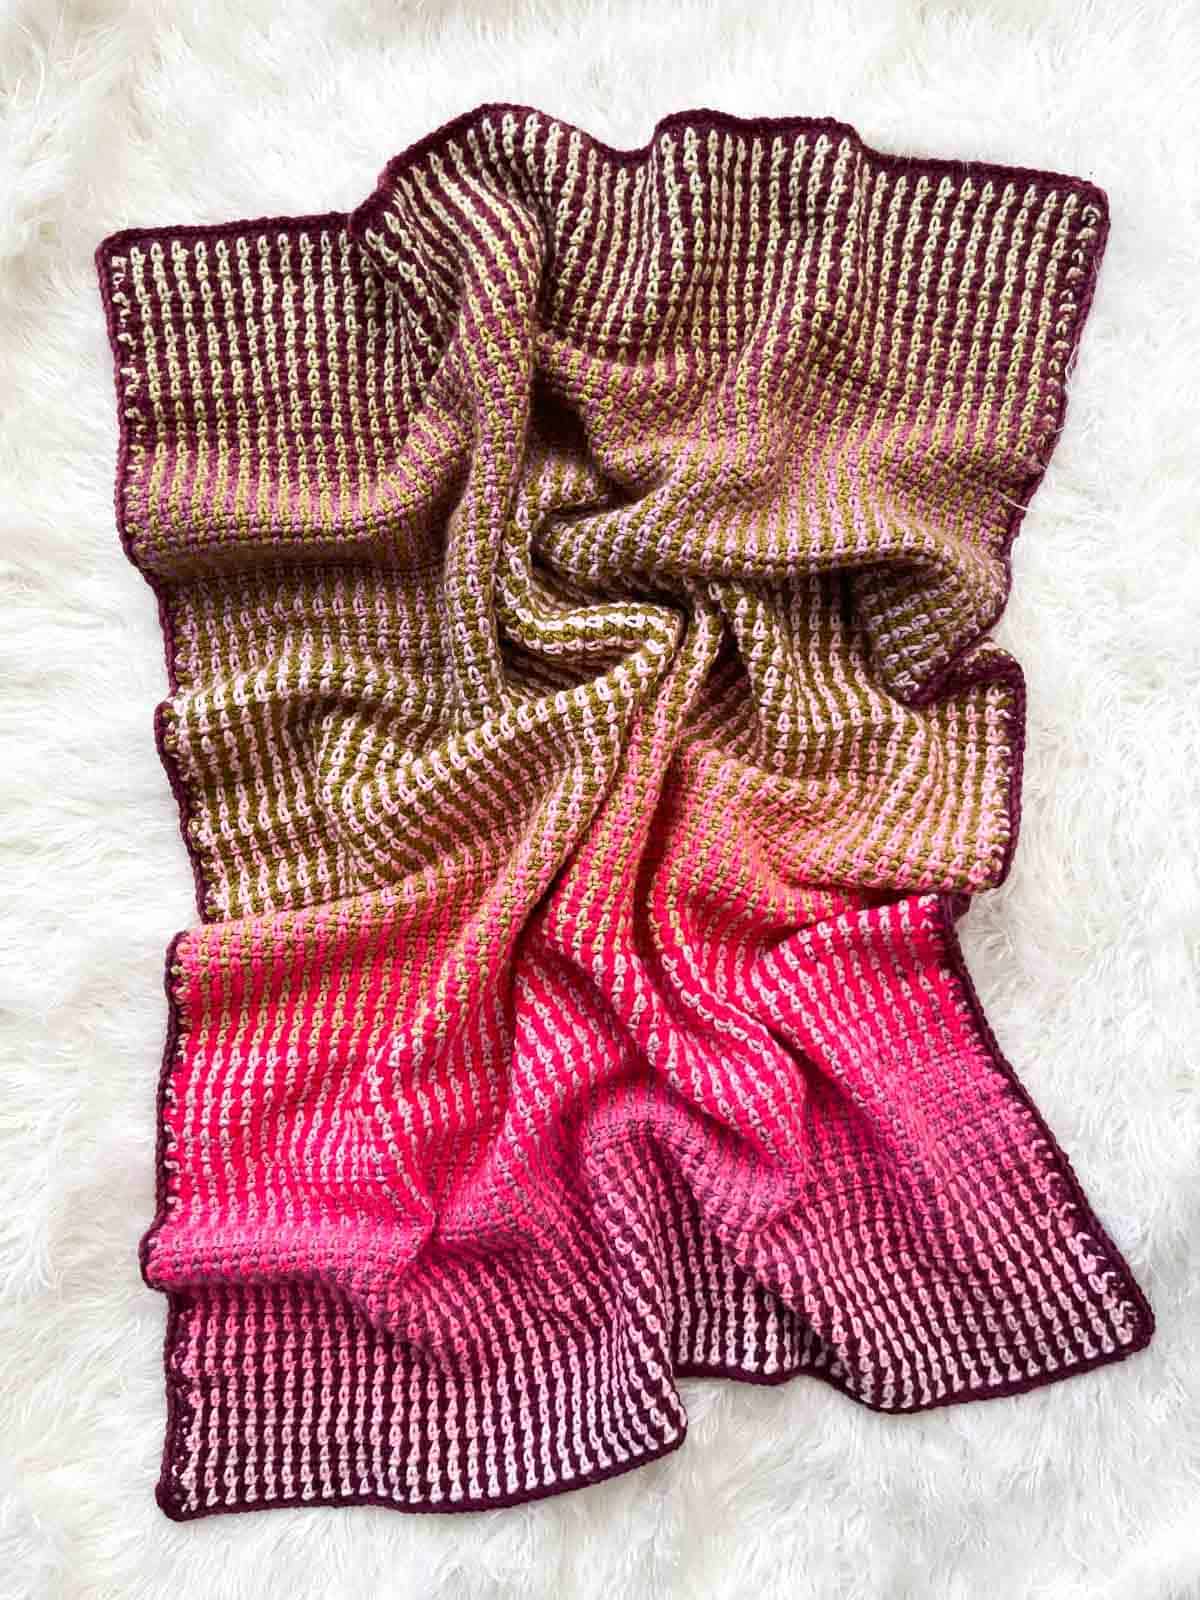
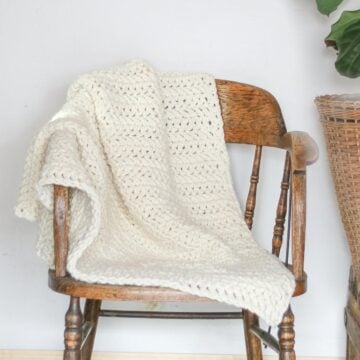
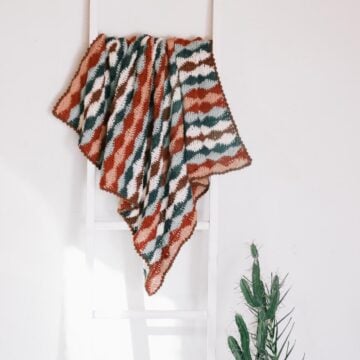
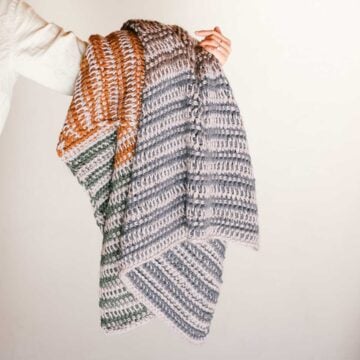
Wrap yourself in color with this mesmerizing crochet moss stitch blanket! Thanks to self-striping yarn, this pattern creates a rich, gradient effect without color changes or extra ends to weave in. It’s the ultimate “mindless yet magical” project.
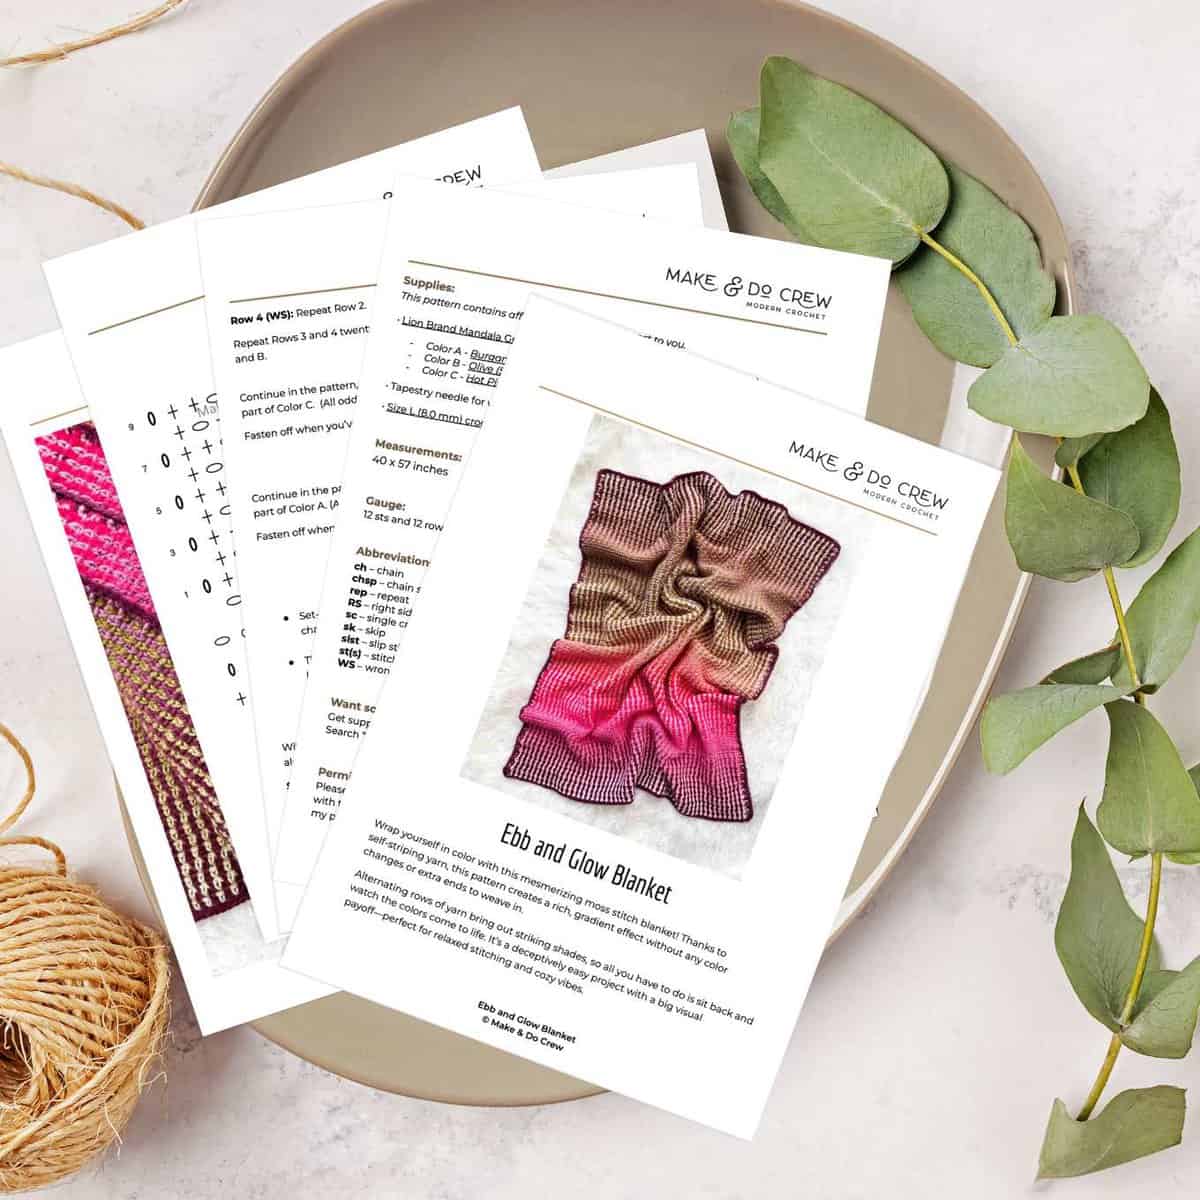
Get the free Ebb & Glow Blanket pattern below or purchase the ad-free, printable PDF .
This moss stitch afghan pattern is part of a collaboration with Lion Brand Yarns. This post contains affiliate links.
Jump to:
The Problem With Moss Stitch Blankets
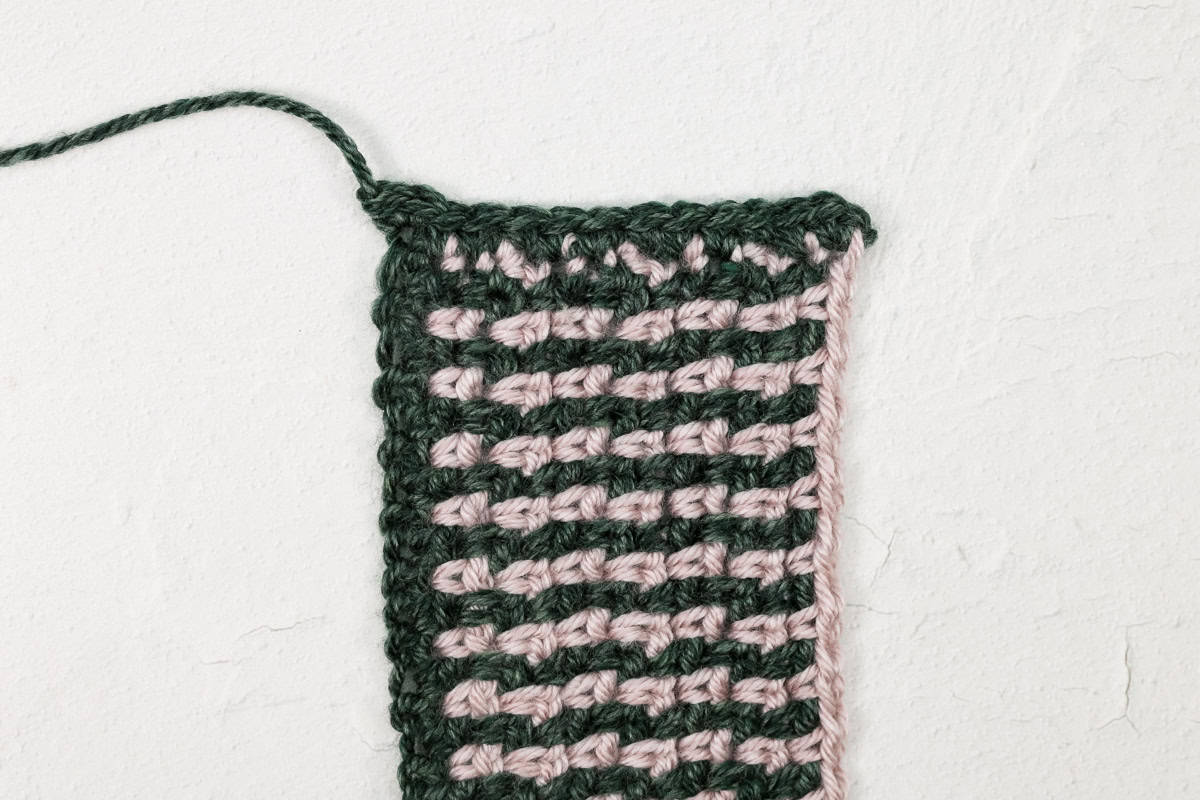
Traditional moss stitch blankets often involve switching colors after every row. While this creates breathtaking results, it also leaves behind a mountain of ends to weave in, which is a major thumbs down in my book.
My mom and I decided to tackle this challenge by using self-striping yarn in a clever way. The result? A mesmerizing gradient effect that flows seamlessly from one hue to the next—all without fastening off your yarn after each row.
Few Ends, Maximum Wow Factor
Because the yarn stays attached and you crochet two consecutive rows in the same direction, you’ll only have a few ends to deal with when you’re done.
This makes it the perfect balance of beauty and practicality—especially for crocheters like me want to crochet a lot more than they want to weave in ends!
The Yarn
One of the most exciting parts of this pattern is selecting your yarn. Watching the colors intermingle as you work is pure magic.
We used Lion Brand Mandala Gradient yarn to achieve a dreamy ombré effect, which I highly recommend. This yarn is awesome because it goes from saturated color to lighter color in every ball. This makes it really easy to achieve a blended level of contrast in your blanket, regardless of the colors you choose.

All-in-One Crochet Kit
If you don't live near amazing yarn stores or if you just like to get fun packages in the mail, the all-in-one kit is a perfect way to make your Ebb & Glow Blanket. This bundle from Lion Brand includes all the Mandala Gradient you'll need, plus a bonus printable PDF of the pattern (delivered digitally).
Print this Pattern
Prefer to crochet on the couch? Need a portable, printable pattern? You'll love the premium PDF! The instantly downloadable, ad-free file is formatted for easy printing and includes the complete pattern, the photo tutorials and a stitch chart.
Ebb & Glow Video Tutorial
In the video below, I walk you through how to begin your blanket, crochet the moss stitch repeat and add the border.
Note: If you have an ad-blocker running, you'll need to disable it in order to view the video player.
If you prefer, you can watch the Ebb & Glow blanket video tutorial on Youtube.
Ebb & Glow Blanket - Free Pattern
Supplies + Materials
Order an all-in-one kit from Lion Brand here.
• Lion Brand Mandala Gradient (Weight 4/Medium - 295 yds, 5.29 oz, 150 g)
- Color A - Burgandy (558-214AN) – 2 skeins [(approx. 300 g)]
- Color B - Olive (558 - 208BN) - 2 skeins [(approx. 300 g)]
- Color C - Hot Pink (558 - 201DQ) - 2 skeins [(approx 300 g)]
Wanna save this pattern?
• Tapestry needle for weaving in ends
• Size L (8.0 mm) crochet hook or size needed to obtain gauge
Yarn Variations to Try
Don’t have access to Lion Brand Mandala Gradient yarn? Here are a couple of alternatives:
- Self-Striping Yarn: Choose a color changing yarn with clear stripes instead of gradients. The final result will have more distinct color bands but will still look stunning and be just as fun to make.
- Solid Colors: Use individual skeins of solid-color yarn and switch colors after several inches of crocheting. While this option requires a few more ends to weave in, it’s still much less work than traditional moss stitch blankets.
Finished Blanket Measurements
40 x 57 inches
Gauge
12 sts and 12 rows = approx 4”
Abbreviations + Glossary (US Terms)
ch – chain
chsp – chain space
rep – repeat
RS – right side
sc – single crochet
sk – skip
slst – slip stitch
st(s) – stitch(es)
WS – wrong side
Skill Level
This version of a moss stitch blanket is perfect for beginners! It uses basic stitches—just single crochet and chain stitches—making it approachable for anyone new to crocheting blankets.
Plus, the repetitive nature of the moss stitch makes this a relaxing project for experienced crocheters, too. It’s definitely the kind of blanket you can work on while watching TV or chatting with friends.
Print This Pattern: purchase the ad-free, printable PDF
✨Unlock this free subscriber-exclusive pattern ✨
Follow these steps to view the full free pattern below
Overall Pattern Notes
- If you’re new to reading crochet patterns, check out more info here.
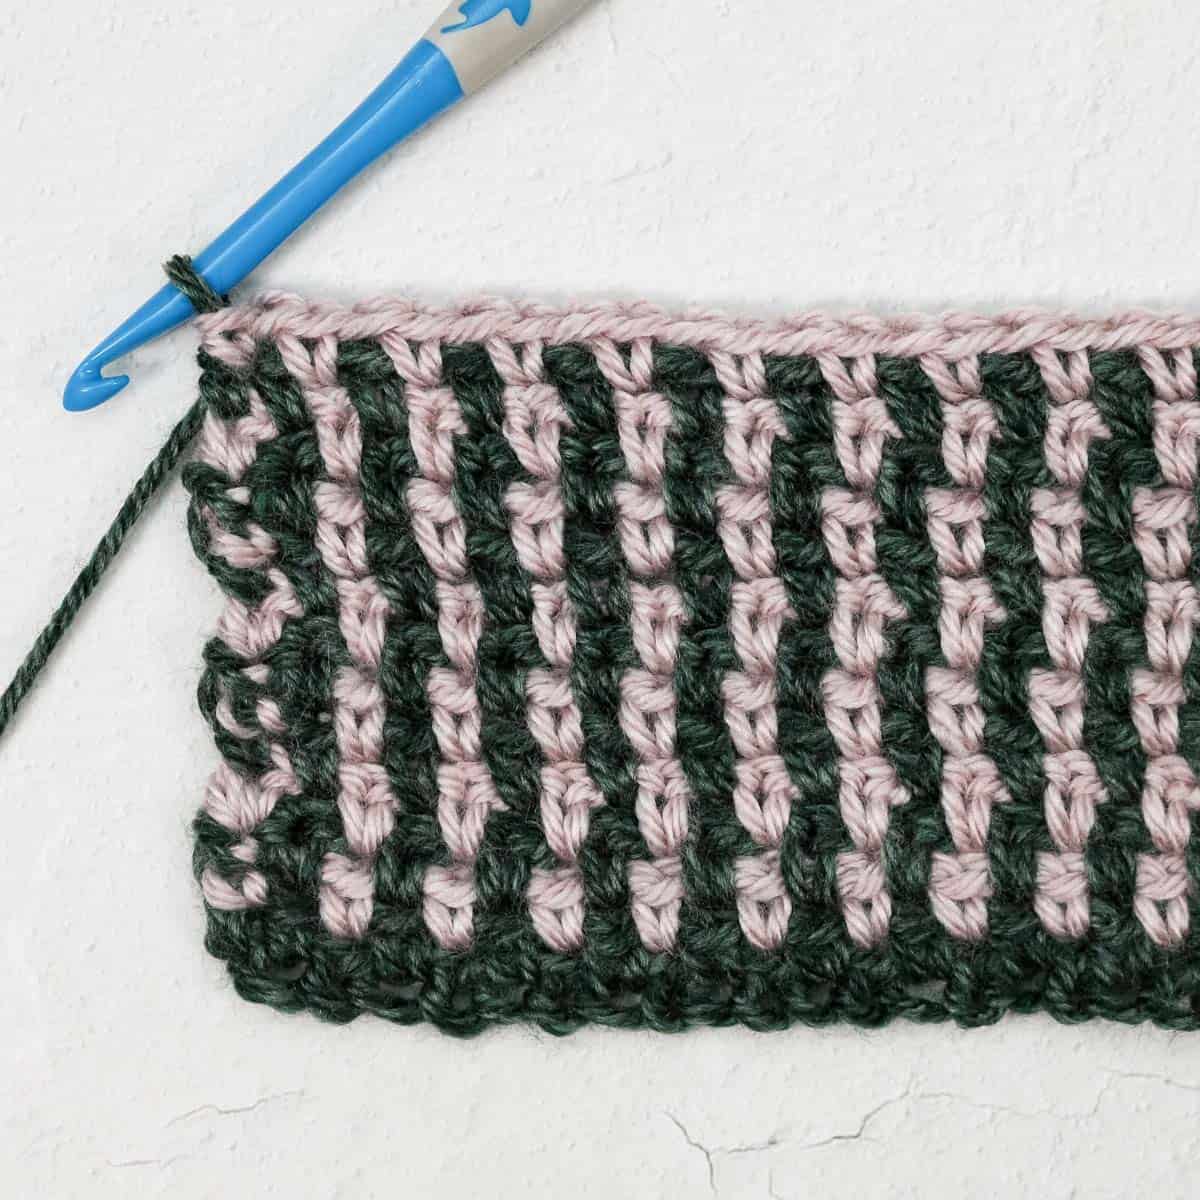
- In this project, you’ll have two balls of yarn attached at all times. You’ll work two rows in the same direction before turning your work. This will create the look of switching colors each row without having lots of ends to weave. (Hooray!)
- You’ll work one row of Color A and one row of Color B both in the same direction, with the right side of the project facing. Then you’ll turn your work and work one row of Color A and one row of Color B with the WS facing.
- The project continues in this two row repeat with the same two balls of yarn until section, at which point you’ll start a new section with two new balls.
- In the final border, you’ll crochet over the yarn “floats” where each color was dropped and picked up again along the edges of the blanket.
Guidance for Combining Colors
Each ball of Mandala Gradient has the lightest color yarn in the middle and the darkest color on the outside of the cake. You will start with the darkest color of Color A and the lightest color of Color B. This means you’ll from the inside of Color A and the outside of the Color B.
As each new section begins and new colors are attached, you’ll repeat this concept, pairing the light shade of one ball with the dark shade of the other ball.
- Section One:
Color A (begin with darkest) + Color B (begin with lightest)
- Section Two:
Color B (begin with darkest) + Color C (begin with lightest)
- Section Three:
Color C (begin with darkest) + Color A (begin with lightest)
Premium PDF
easier and faster with fewer mistakes.
- Complete pattern + photo tutorials
- Instant download
- Formatted for easy printing
!! Gauge Check !!
While checking your gauge isn’t mandatory on a project like this, it does help ensure your blanket turns out the size you expect.
You can check your gauge with any two of the balls of yarn. Once your gauge is confirmed, tear out the gauge swatch, so you have the yarn available for your blanket project.
With first ball of yarn:
Foundation Row: Ch 34.
Row 1 (RS): Sc in second ch from hook, sc in next ch,* ch 1, sk 1 ch, sc in next ch, rep from * to last ch, sc in last ch; pull up a long loop in the last st or use a stitch marker to hold the loop as you will use it to close the last stitch of the next row; DO NOT TURN. (17 sc, 14 ch1sps)
With RS still facing, attach second ball of yarn in the first stitch of Row 1. You will now be working in the chain spaces of the previous row.
Row 2 (RS): Ch 1, sc in first sc, *ch 1, sk next sc, sc in next ch1sp, rep from * to last two sts, ch 1, sk next sc, sc in last st (use the held loop from Row 1 to close the last sc); TURN. (16 sc, 15 ch1sps)
After you have turned your work you will proceed with Row 3 using the first ball of yarn.
Row 3 (WS): Ch 1, sc in first sc, sc in next ch1sp, *ch 1, sk next sc, sc in next ch1sp, rep from* to last st, sc in last sc, pull up a long loop in last st or use a stitch marker to hold the loop; DO NOT TURN.
You will now pick up the second ball of yarn and work Row 4.
Row 4 (WS): Repeat Row 2.
Repeat Rows 3 and 4, alternating colors as above eight more times to create a total of 20 rows.
Measure center four inches of swatch vertically and horizontally. Compare to pattern gauge listed above.
- If there are too many stitches in 4” horizontally, increase your hook size and re-swatch.
- If there aren’t enough stitches in 4” horizontally, decrease your hook size and re-swatch.
- If swatch is measuring too small vertically, make a deliberate effort to pull loops up a bit higher before completing each half double crochet.
- If swatch is measuring too large vertically, make an effort to work the loops of each half double crochet a little tighter.
- This video is incredibly helpful if you’re having trouble achieving the correct vertical gauge:
Blanket
Section One:
All odd rows will be Color A and all even rows will be Color B.
With Color A:
Foundation Row: Ch 122.
Row 1 (RS): Sc in second ch from hook, sc in next ch,* ch 1, sk 1 ch, sc in next ch, rep from * to last ch, sc in last ch; pull up a long loop in the last st or use a stitch marker to hold the loop as you will use it to close the last stitch of the next row; DO NOT TURN. (61 dc, 58 ch1sps)
Attach Color B in the first stitch of Row 1.
Row 2 (RS): Ch 1, sc in first sc, *ch 1, sk next sc, sc in next ch1sp, rep from * to last two sts, ch 1, sk next sc, sc in last st (use the held loop from Row 1 to close the last sc); TURN. (60 dc, 59 ch1sps)
After you have turned your work you will proceed with Row 3 in Color A.
Row 3 (WS): Ch 1, sc in first sc, sc in next ch1sp, *ch 1, sk next sc, sc in next ch1sp, rep from* to last st, sc in last sc, pull up a long loop in last st or use a stitch marker to hold the loop; DO NOT TURN.
You will now pick up Color B and work Row 4.
Row 4 (WS): Repeat Row 2.
Repeat Rows 3 and 4 twenty-six more times for a total of 56 rows. Fasten off Color A and B.
Section Two:
Continue in the pattern, beginning with the darkest part of Color B and the lightest part of Color C. (All odd rows will be Color C and all even rows will be Color B.)
Fasten off when you’ve completed 56 rows of Colors B and C.
Section Three:
Continue in the pattern, beginning with the darkest part of Color C and the lightest part of Color A. (All odd rows will be Color C and all even rows will be Color A.)
Fasten off when you’ve completed 56 rows of Colors C and A.
Our Latest Crochet Inspiration:
Here are a few more free crochet patterns and tutorials that are hot off the presses.


Border
- Set-up rows are worked along the long sides of the blanket to cover the color change floats before a border is added around the entire blanket.
- The number of stitches in the set-up row is not important. The blanket should lie flat and avoid puckering (too few stitches) or getting wavy (too many stitches). The instructions below skip every fourth row end on the blanket sides, but you can experiment with your stitch frequency if you’re not happy with how the row is laying.
With RS of blanket facing, attach dark part of Color A in any corner. You’ll be working along the long side of the blanket edge.
Set-Up Row (RS): Ch 1, 2 sc in corner, *sc in first row end of blanket, sc in next 2 row ends of blanket, skip next row end; repeat from * to next corner, 2 sc in corner, slst to first st on short edge of blanket. Fasten off.
Using the same yarn, repeat Set-Up Row on the opposite side of blanket. Make sure the same side of the blanket is facing up as you crochet the second set-up row. At the end of the second side, do not fasten off. Turn to work the final border in opposite direction around entire blanket.
Border Round (WS): Ch 1, slst in first sc and in each sc around the all four sides of blanket, ch 1 as you go over each corner, slst to first sc to join. Fasten off.
Finishing
Weave in remaining ends: There shouldn't be many! Learn how here.
Blocking: Once all ends are woven in, you may do a light steam blocking using either a steamer or iron with steam setting. Do not touch steamer or iron directly to yarn. Detailed info here.
Enjoy the ebb and glow of life wrapped up in your new radiant blanket!
More Free Crochet Patterns
Add a few of our favorite free crochet patterns to your project queue!

More Blanket Free Patterns
We've got lots more easy blankets to crochet. Which one do you want to try next?
- 3 Day Fast Crochet Ripple Blanket Pattern + Video
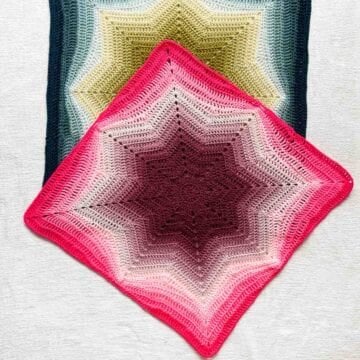
- Supernova Crochet Square Star Blanket Pattern + Video
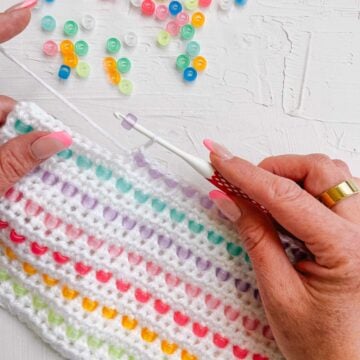
- How to Add Beads to Crochet to Make a Weighted Blanket
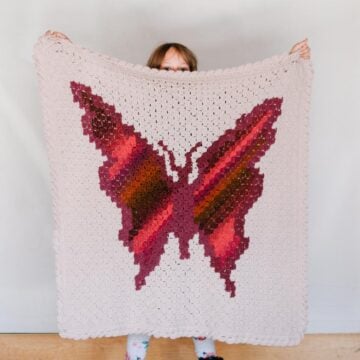
- C2C Crochet Butterfly Blanket | Whimsical Free Pattern
- How To Design a Temperature Blanket + 25 Free Patterns
- Easy Waves Crochet Blanket Pattern | Modern + Meditative
That was so fun! Now what?
Invitation to our Facebook group
Come discuss crocheting colorful blankets and lots of other projects and techniques in our Make & Do Crew Facebook group. Here thousands of helpful crocheters answer each other's questions and share their stitches. Join us!
Leave a Reply