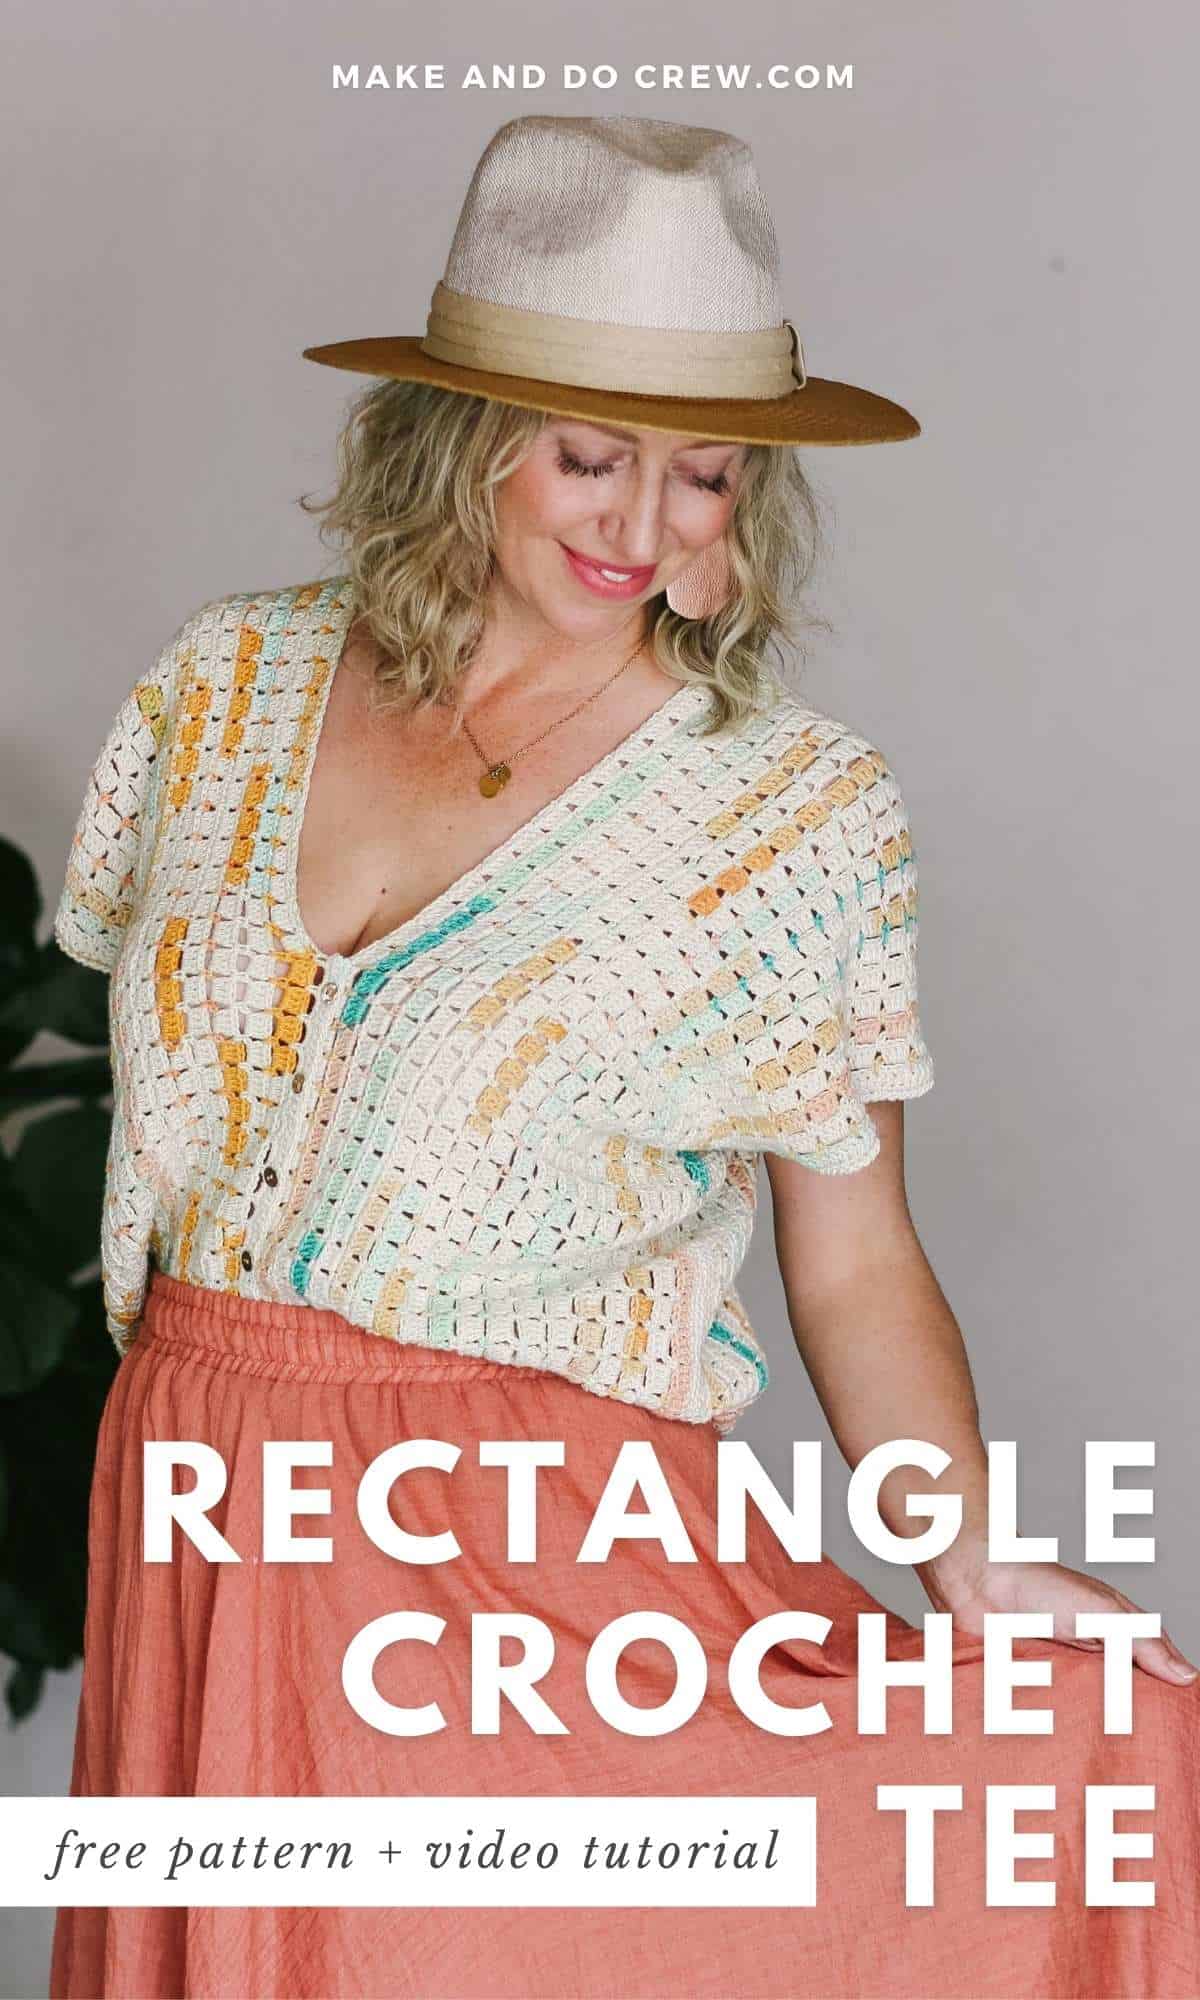
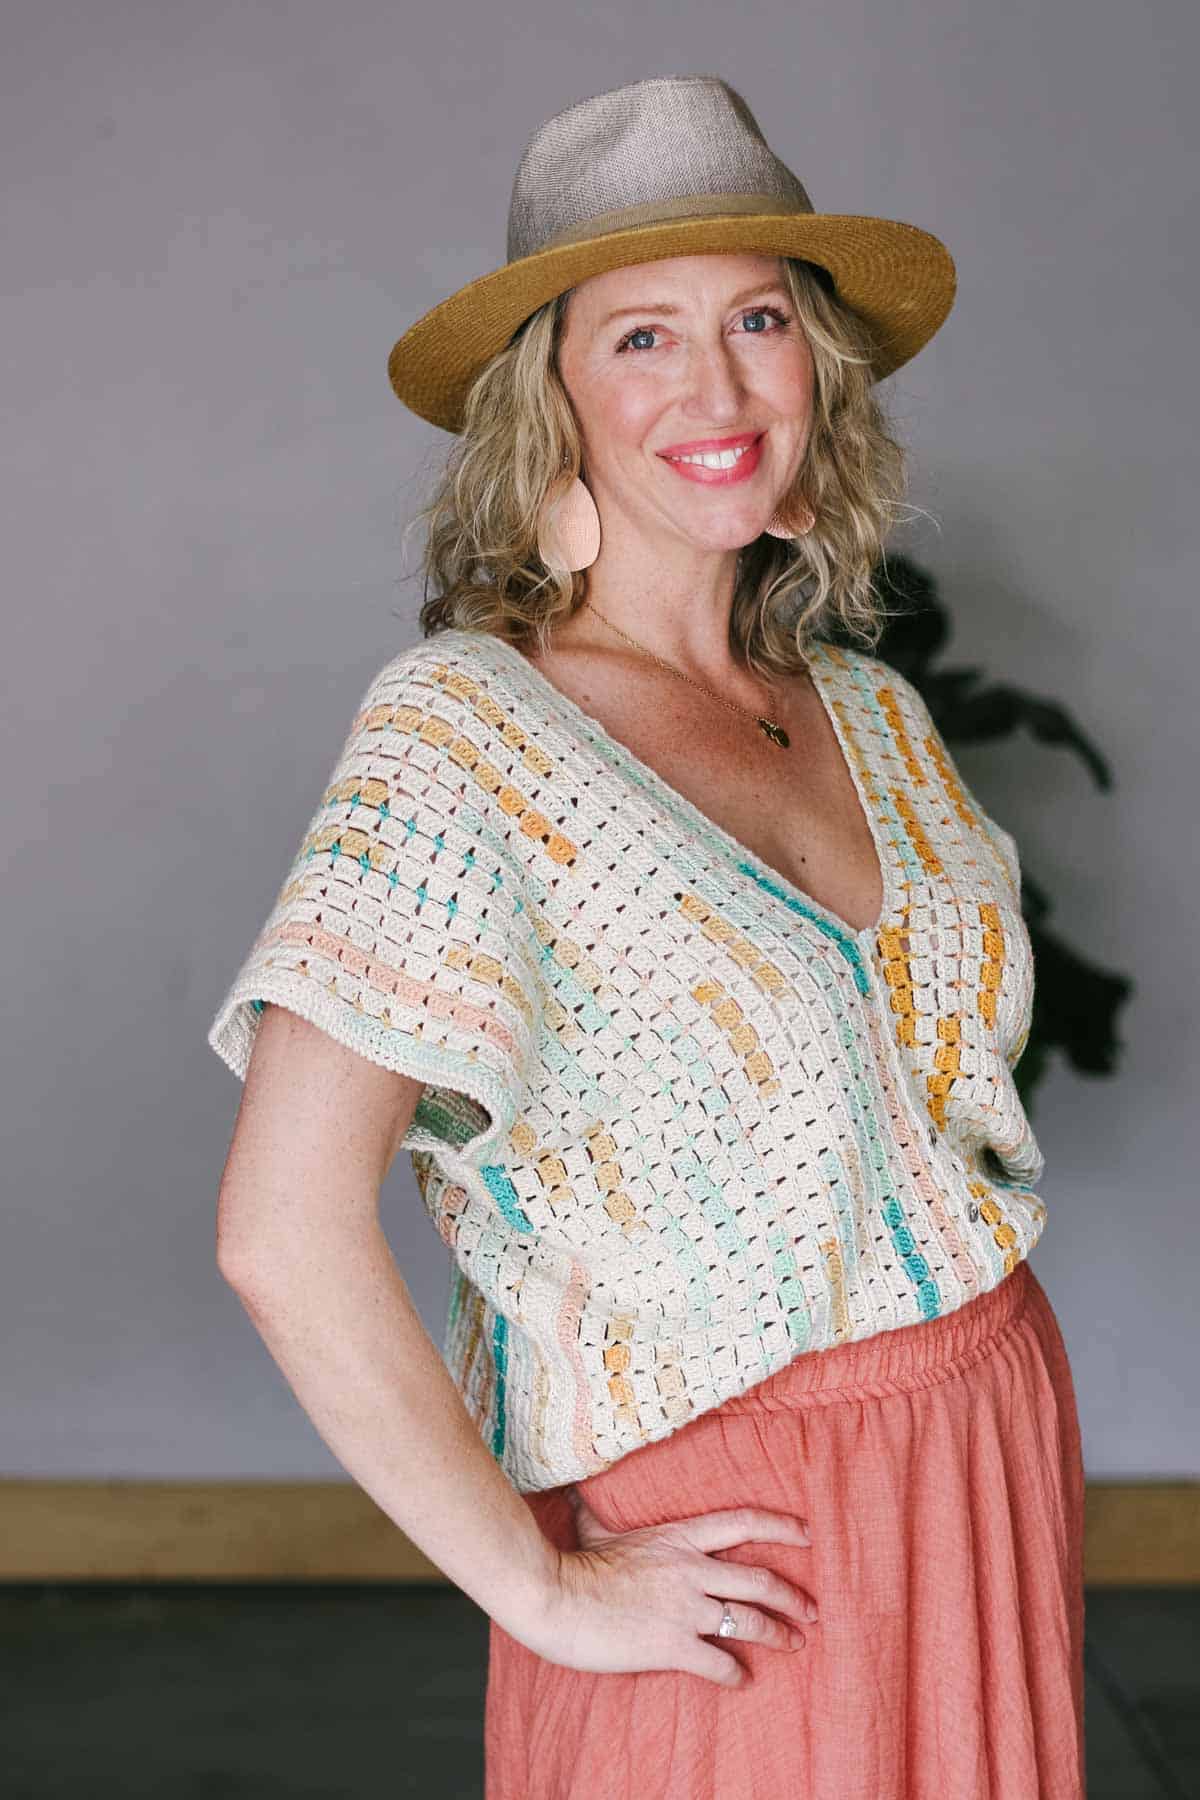
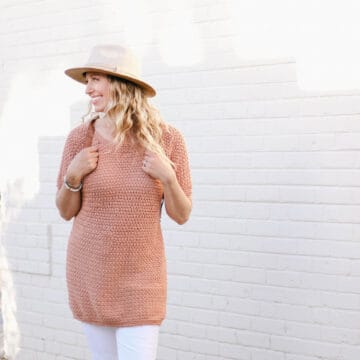
If you can crochet a rectangle, you can make this breezy summer tee! Our detailed video tutorial walks you through each simple step.
The free Tidepool Rectangle Tee pattern is below in nine sizes, or purchase the ad-free, printable PDF here.
This simple top pattern is part of a collaboration with Lion Brand Yarns. This post contains affiliate links.
Jump to:
An Easy Crochet Tee for Beginners
Are you ready for the ultimate in easy crochet tops?
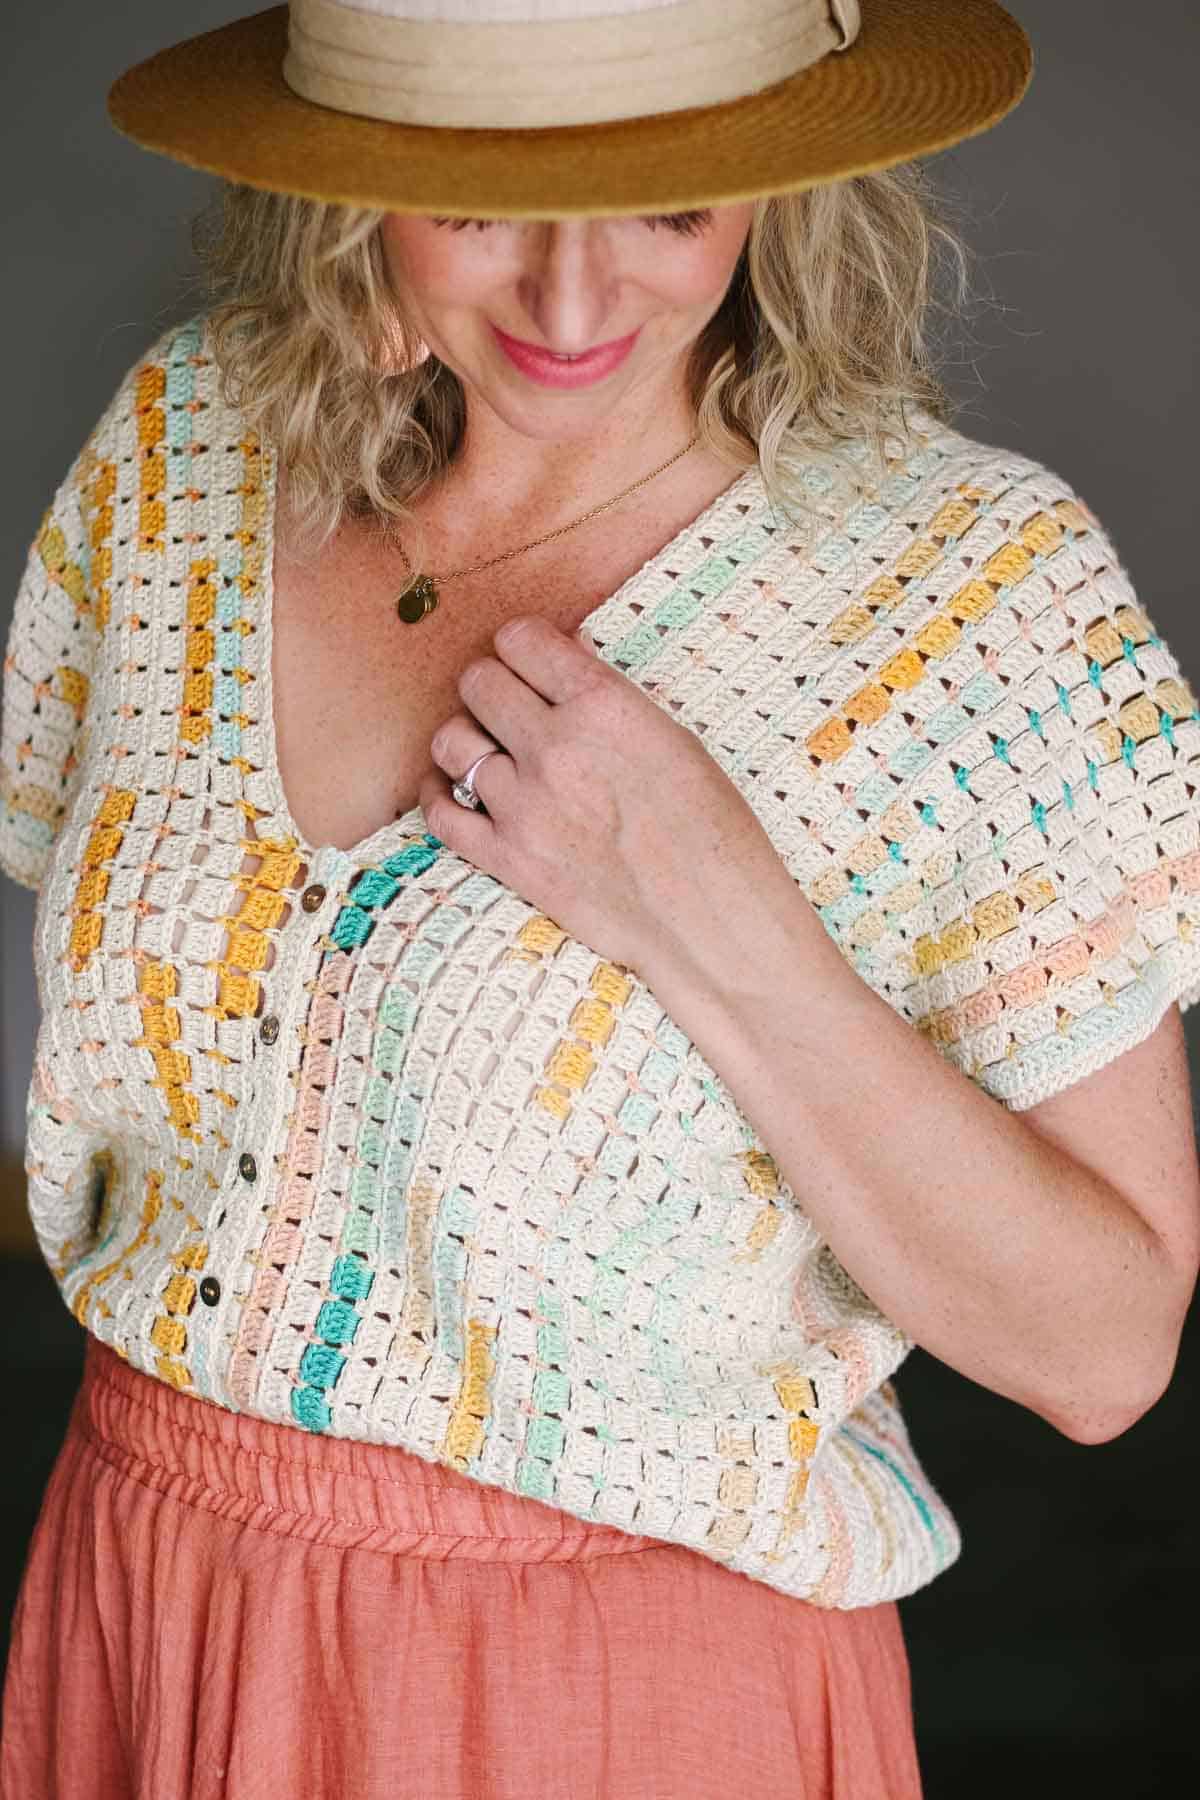
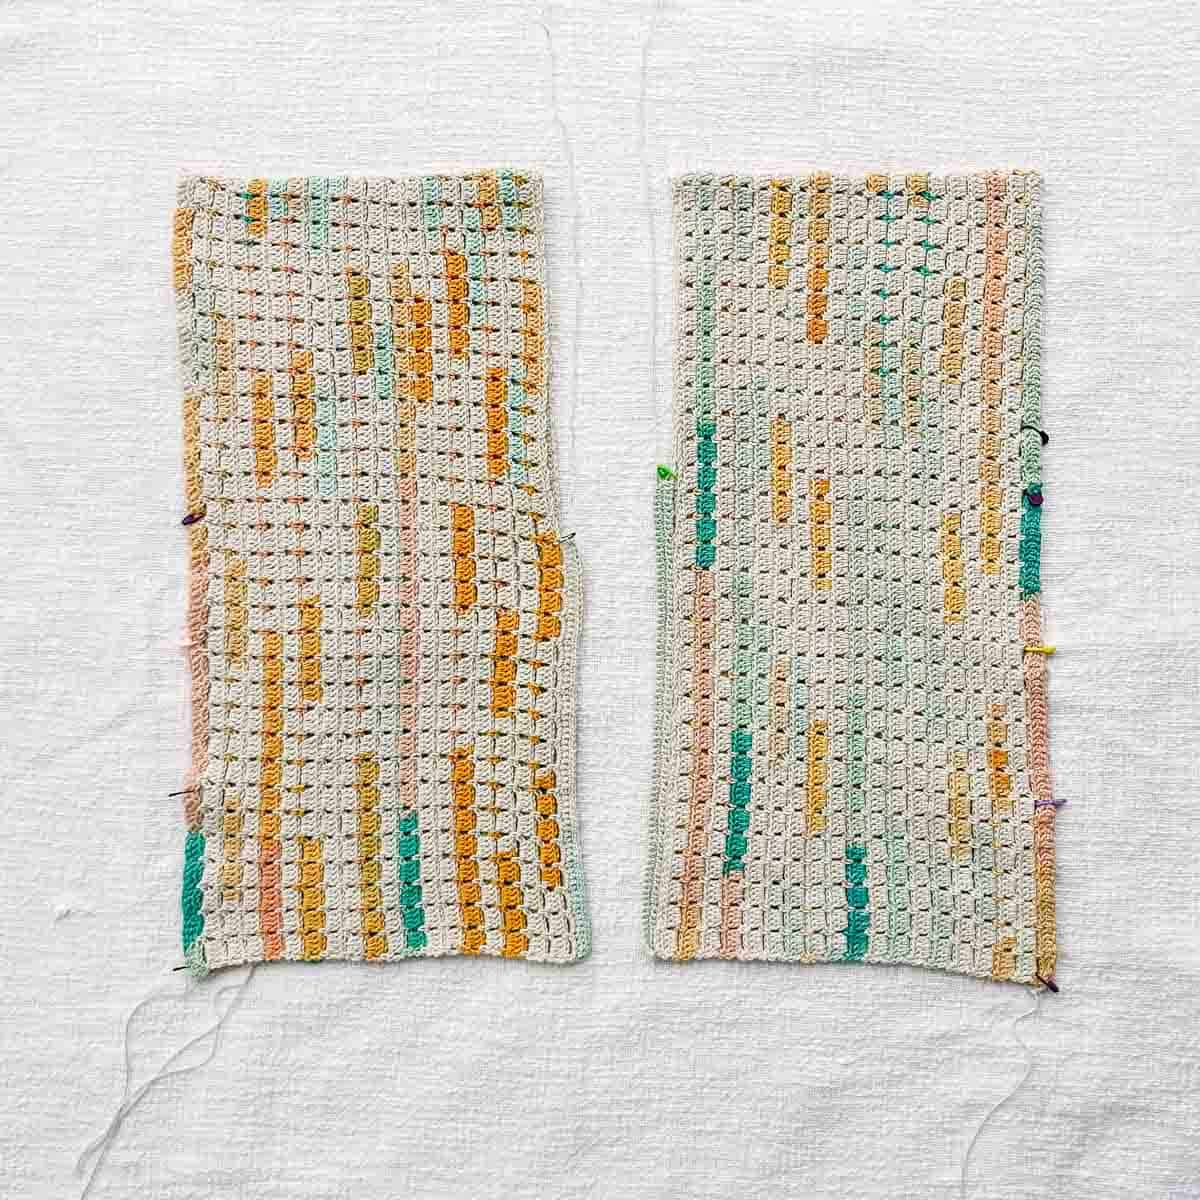
Worked in two main pieces, you’ll find this tee a meditative and satisfying project to make by the pool or campfire. Follow the pattern as written or lean on the detailed instructions for customizing the length and fit to suit your style.
You can try this one on before seaming, so you're much more likely to end up with a fit you're happy with.
Keep reading for more yarn and inspiration details or jump down to the free pattern.
Skill Level
If you love the idea of crocheting sweaters, but haven't taken the leap, this pattern is a perfect baby step.
The advanced beginner skills you’ll practice include double crochet, meeting the pattern gauge, and basic seaming. And each step is covered in the video tutorials below!
All-in-One Crochet Kit
If you don't live near amazing yarn stores or if you just like to get fun packages in the mail, the all-in-one kit is a perfect way to make this easy rectangle tee. This bundle from Lion Brand includes all the 24/7 Cotton DK yarn you'll need, plus a bonus printable PDF of the pattern (delivered digitally).
Print this Pattern
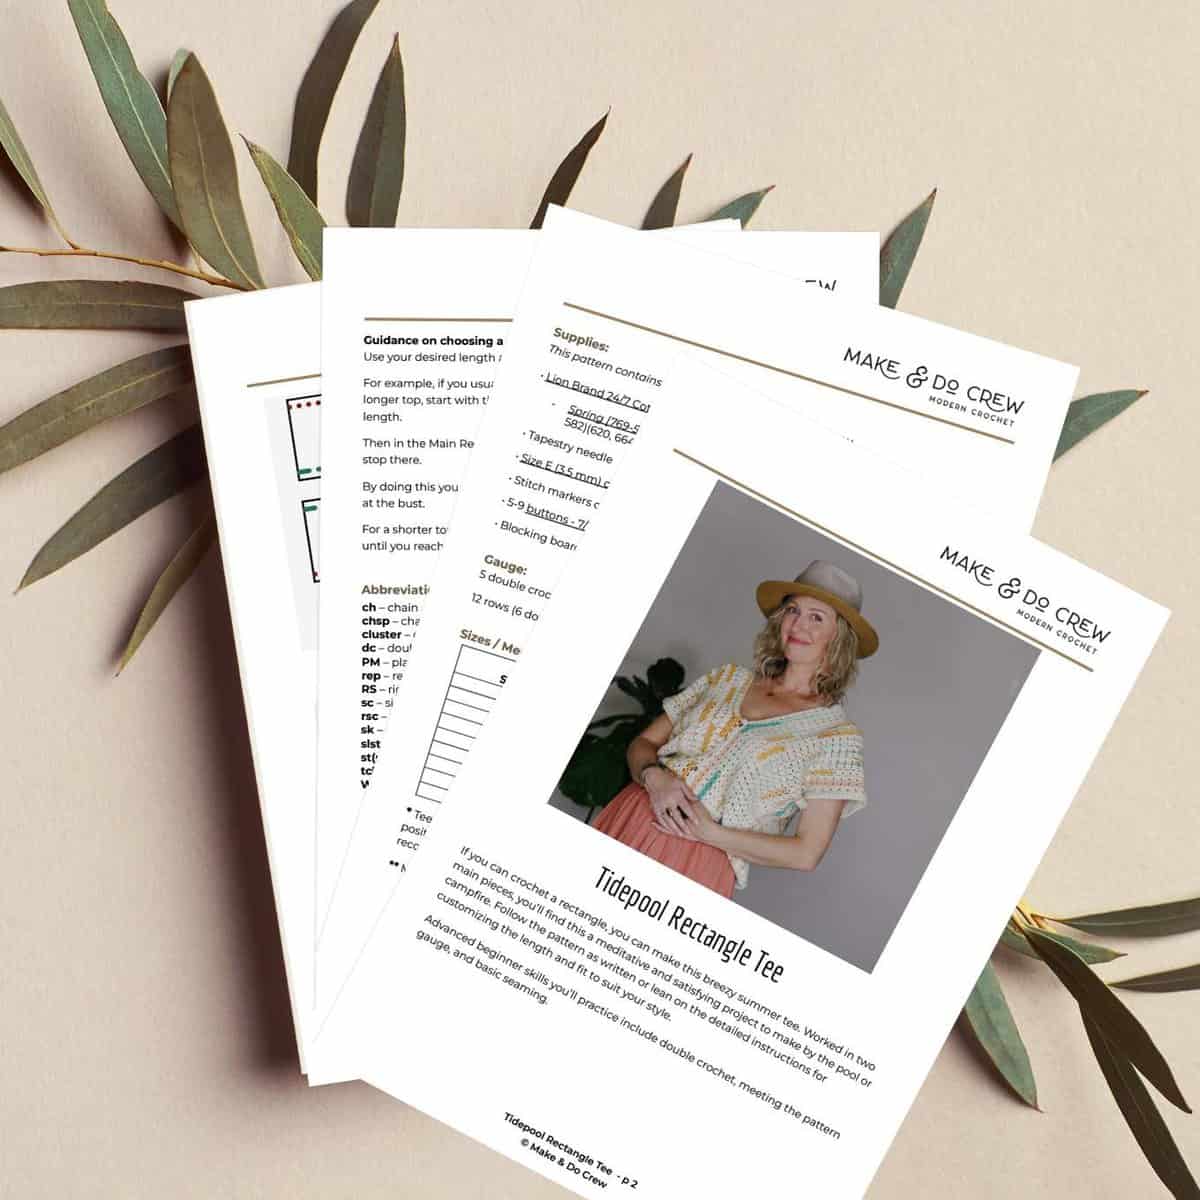
Prefer to crochet on the couch? Need a portable, printable pattern to work on poolside? You'll love the premium PDF!
The instantly downloadable, ad-free file is formatted for easy printing and includes the complete pattern, additional photo tutorials, diagrams, and a stitch chart.
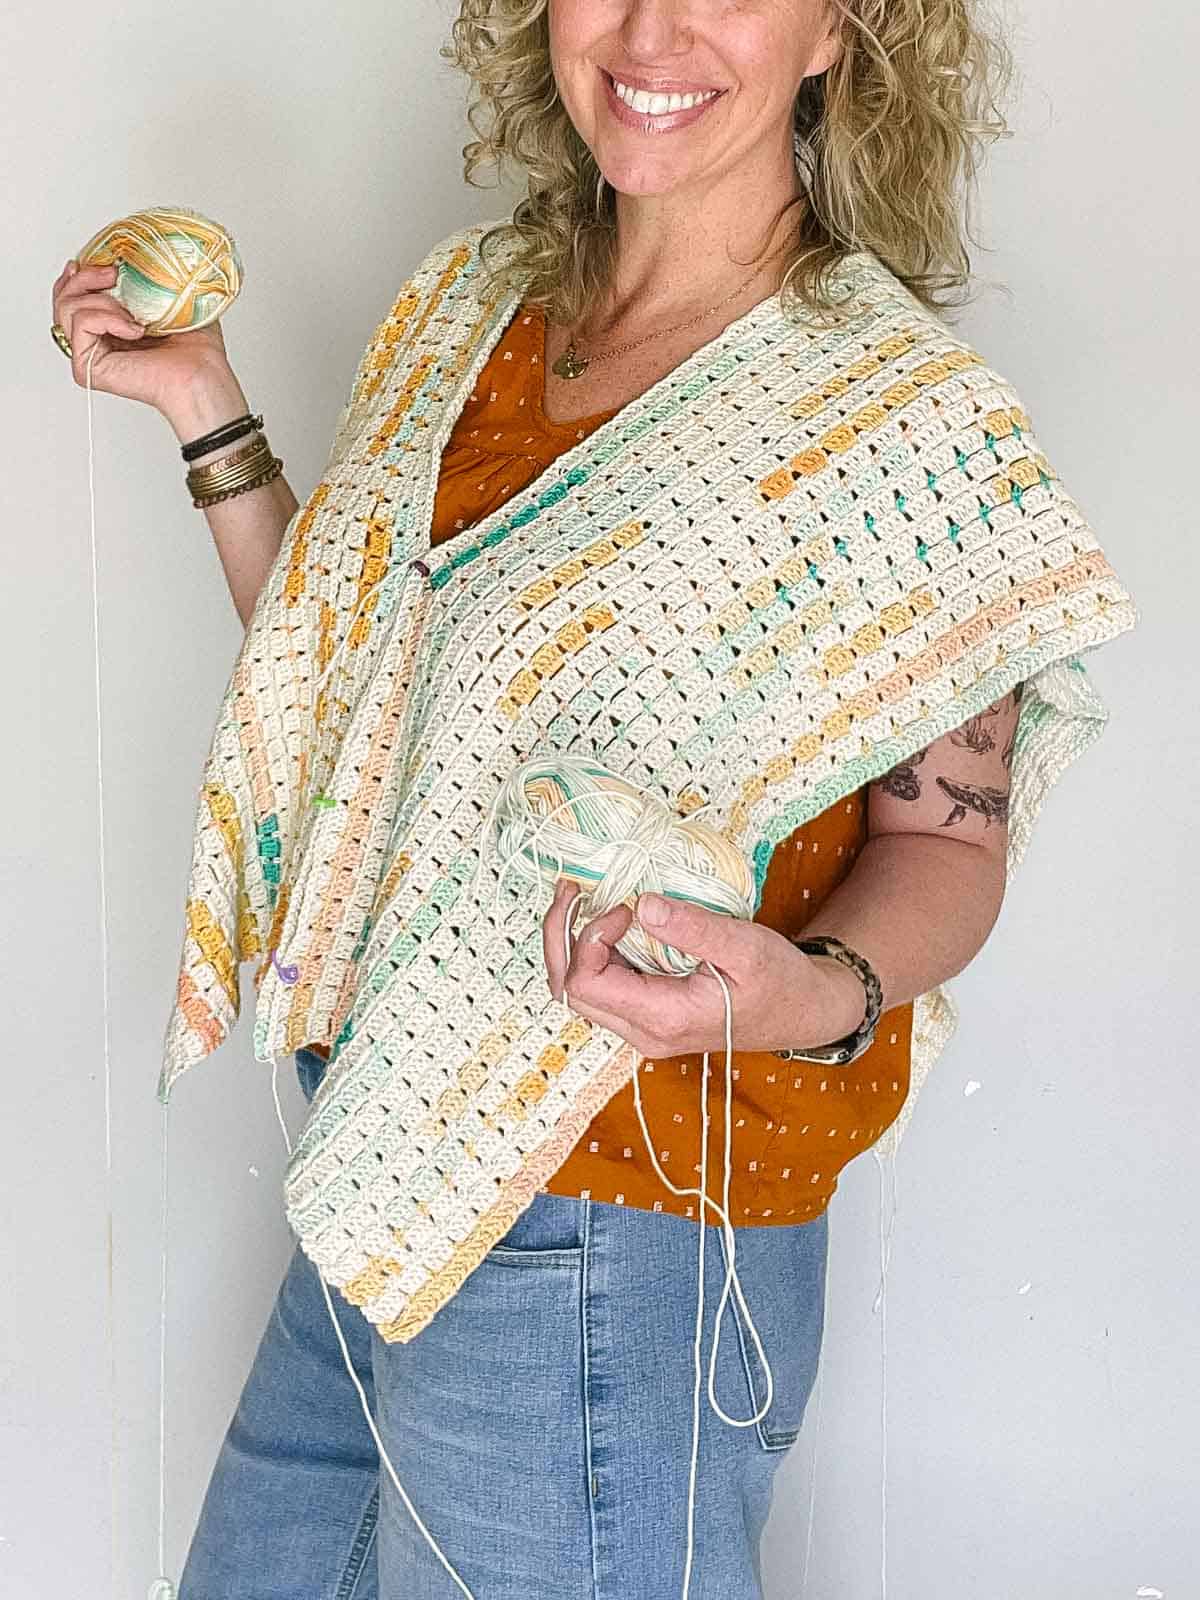
Step-By-Step Video Tutorials
Follow along with the detailed video tutorials below to crochet your Tidepool Rectangle Tee along with me!
Tip: You must disable any ad blockers you have running to view the videos below.
Part 1
In the first half of this tutorial, we learn how to crochet a gauge swatch using the main stitch pattern. Then, we make our two main rectangles using our newly practiced stitchin' skills.
At the end, we talk about how to pin your rectangles together to try on your tee and evaluate the fit.
Part 2
In the second half of this tutorial, we add a button flap and a small back panel in preparation for joining our rectangles. Next, we learn how to seam them together using a simple variation on the mattress stitch.
Lastly, we add cute non-functional buttons and celebrate finishing a new summer wardrobe staple!
Tidepool Rectangle Tee - Free Pattern
Supplies + Materials
Order an all-in-one kit from Lion Brand.
• Lion Brand 24/7 Cotton DK (#3/DK - 219 yds, 3.5 oz, 100 g)
-Spring [769-503Q] – 4 (5, 5, 6, 6)(7, 7, 7, 8) skeins [approx. 349 (406, 478, 514, 582)(620, 664, 700, 774 g]
• Tapestry needle
• Size E (3.5 mm) crochet hook or size needed to obtain gauge
• Stitch markers or safety pins
• 5-9 buttons - 7/16th inch (11 mm)
• Blocking board, steamer or iron, and T-pins
Gauge
5 double crochet clusters = 4”
12 rows (6 double crochet rows + 6 chain space rows) = 4”
Sizes / Measurements
| Size | Fits Actual Bust* | Tee Length** | Chest Width** |
|---|---|---|---|
| XS | 30" | 19.5" | 17.5" |
| S | 34" | 20" | 20" |
| M | 38" | 21" | 22.5" |
| L | 42" | 21.5" | 24" |
| 1X | 46" | 22" | 26.5" |
| 2X | 50" | 22" | 28" |
| 3X | 54" | 22.5" | 29.5" |
| 4X | 58" | 23" | 31" |
| 5X | 62" | 23.5" | 33.5" |
** Measurements are taken when tee is laying flat.
Guidance on choosing a size and modifying fit:
Use your desired length as a guide for choosing a size.
For example, if you usually make a size S to fit your bust measurement but want a longer top, start with the instructions for the size that corresponds with your desired length.
Then in the Main Rectangle instructions, see how many rows the size S needs, and stop there.
By doing this you will get the longer length but the top will still fit you appropriately at the bust.
For a shorter top, choose a smaller size to start with, then continue working rows until you reach the row count for your usual bust size.
Abbreviations + Glossary (US Terms)
ch – chain
chsp – chain space
cluster – group of four double crochet stitches
dc – double crochet
PM – place marker
rep – repeat
RS – right side
sc – single crochet
rsc – reverse single crochet (aka crab stitch)
sk – skip
slst – slip stitch
st(s) – stitch(es)
tch – turning chain
WS – wrong side
Permissions + Copyright:
Please do not publish or share this pattern as your own. You may make items to sell with this pattern. In exchange, please link back to this post. Do NOT use our photos as your own sales photos.
Overall Pattern Notes
The buttons are there to add a splash of style and are non-functional. The tee should easily fit over your head without working buttons.
Print This Pattern: purchase the ad-free, printable PDF
!! Gauge Check !!
Please don’t skip this step or you will risk your tee not fitting as expected. Part 1 of the video tutorial above walks you through each step of this.
To check gauge:
Foundation Row: Ch 38.
Row 1 (RS): Dc in 4th ch from hook (3 sk ch count as dc), dc in next 3 ch, *ch 1, sk next ch, dc in next 4 ch, rep from * across, dc in last ch; turn. (7 clusters + 2 dc)
Row 2 (RS): Row 2 (WS): Ch 1, sc in first dc, *ch 4, sc in next ch1sp, rep from * across, placing last sc in tch; turn.
Row 3 (RS): Ch 3, 4 dc in next ch4sp*, ch 1, rep from * across, ending last repeat at **, dc in sc; turn.
Repeat Rows 2 and 3 until you have 16 rows.
How To Measure and Adjust Hook Size
Measure center four inches of swatch vertically and horizontally (5 clusters and 12 rows). Compare to pattern gauge listed above.
- If there are too many stitches in 4” horizontally, increase your hook size and re-swatch.
- If there aren’t enough stitches in 4” horizontally, decrease your hook size and re-swatch.
- If swatch is measuring too small vertically, make a deliberate effort to pull loops up a bit higher before completing each double crochet.
- If swatch is measuring too large vertically, make an effort to work the loops of each double crochet a little tighter.
- This video is incredibly helpful if you’re having trouble achieving the correct vertical gauge:
Want some company while you crochet?
Get support (and camaraderie!) in the Make & Do Crew community. Join for free here.
Premium PDF
easier and faster with fewer mistakes.
- Complete pattern, photo tutorials, and stitch chart
- Instant download
- Formatted for easy printing
Main Rectangle
Notes:
- Work Row 1 slightly tighter than usual so it will match subsequent rows. If it helps you achieve a tighter tension, use a hook size down for this row only. Then, return to the hook size your gauge swatch is based on for Row 2 and beyond.
- Chain 3 at beginning of row counts as one double crochet.
Make 2.
Wanna save this pattern?
Leaving a 36” tail for seaming later, tie a slip knot on your hook.
Foundation: Ch 238 (243, 253, 258, 263)(268, 273, 278, 283).
Tip: Place a stitch marker every 50 chains to make counting easier.
✨Unlock this free subscriber-exclusive pattern ✨
Follow these steps to view the full free pattern below
⚠ If the rectangle height is shorter than expected, work additional repeats of Rows 2-3, ending with a Row 2.
⚠ If the rectangle height is taller than expected, proceed to the next section and evaluate the fit before tearing out rows.
Blocking and Fit Check
Blocking: Once your two rectangles are complete, it’s helpful to steam block them to smooth out any differences in tension and make sure both are measuring the same size. Learn more about blocking here.
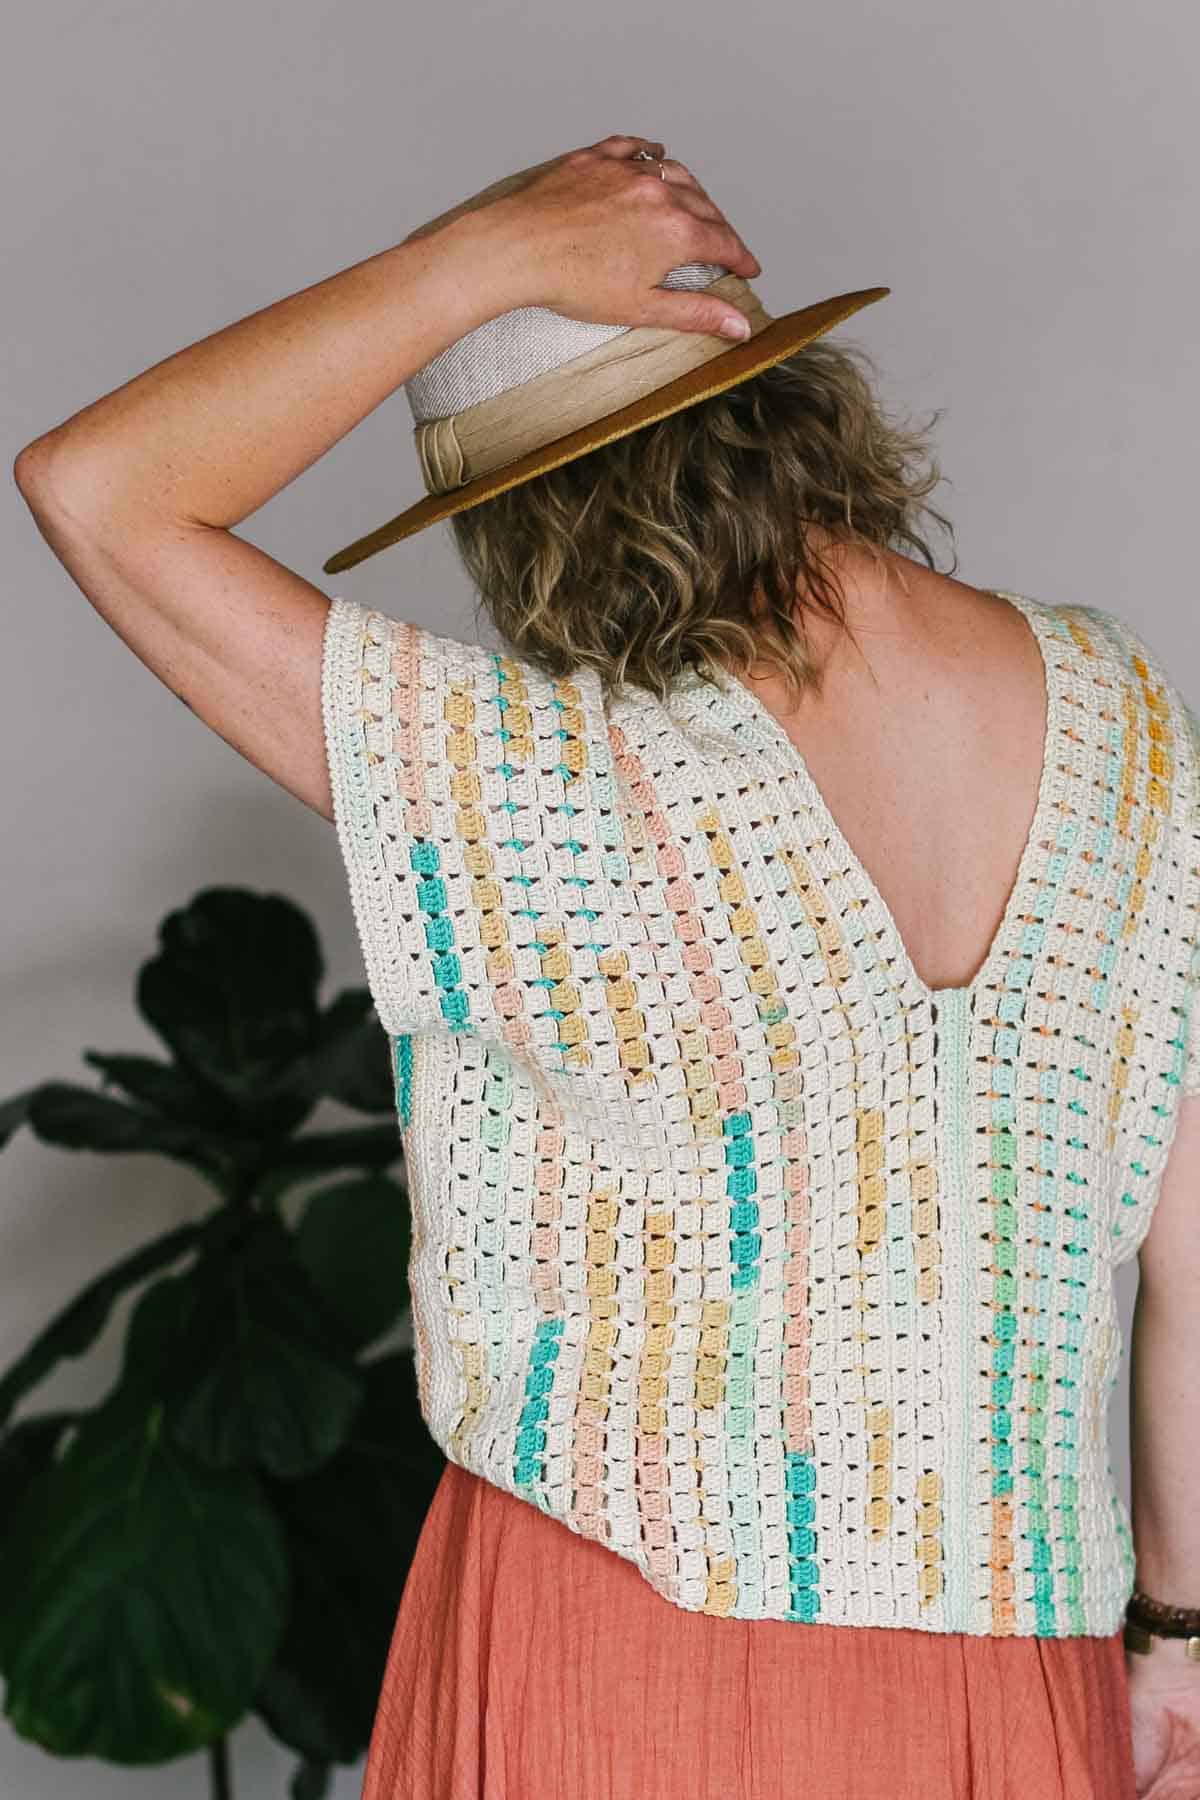
Evaluate the Fit: Now it’s time to pin the rectangles together and evaluate the fit. Check out the diagrams at the end of the pattern for visual guidance.
1. Lay both rectangles with the right side facing up. Position the final rows so they’re touching.
2. Using stitch markers, pin the final rows together working from the edge of the rectangles inward. Leave roughly an 18-20” opening unpinned for the neckline.
3. Fold the rectangles in half and pin the foundation chain to itself on both sides of the tee, leaving an opening for your arms. (The exact size of the armhole doesn’t matter at this point.)
4. Try your tee on and double-check the fit. First, consider which side you’d like to be the front and which will be the back. I like to pin a name tag to each to stay oriented.
Evaluate where you’d like the neckline to fall in the front and back and adjust the placement of the stitch markers. (Each marker should be in a single crochet.) Make sure the opening is large enough to fit your head through.
🧶 If the tee is fitting tighter or looser than desired, this is the time to add or remove rows from your rectangles. Be sure to end with a Row 2.
5. Leave the marker indicating the front neckline on the right rectangle (as worn) in the appropriate single crochet stitch. Leave the marker indicating the back neckline on the left rectangle (as worn) in the appropriate single crochet stitch. Remove all other markers.
Our Latest Crochet Inspiration:
Here are a few more free crochet patterns and tutorials that are hot off the presses.


Rectangle Edging
We will now add an edging to each rectangle working along a portion of the last row. In the front of the tee, this will form our faux button hold flap. In the back, we’ll seam this edging to join the rectangles.
Faux Button Flap (FRONT)
This is added to the right rectangle (as worn).
Right-handed: Use attached yarn.
Left-handed: Fasten off attached yarn and reattach in marked stitch.
Row 1 (RS): Ch 1, *sk next sc, 4 sc in next ch4sp; repeat from * across to first marker at front of neckline, sc in marked st; turn. (Stitch count varies based on preference.)
Row 2 (WS): Ch 1, sc in each sc from previous row; turn.
Row 3 (RS): Repeat Row 3.
Fasten off, leaving a 36” tail for seaming.
Edging (BACK)
This is added to the left rectangle (as worn).
Right-handed: Use attached yarn.
Left-handed: Fasten off attached yarn and reattach in marked stitch.
Follow Rows 1-3 of Front. The stitch count might vary from the front depending on the placement of your markers.
Fasten off, leaving a 36” tail for seaming.
Seaming Back
With RS of fabric facing up, position rectangles next to each other with the button flap and back edging facing each other.
Use stitch markers to pin Right rectangle to Back Edging. It’s important to line up the clusters on both the R and L rectangles so that the visual “grid” of the stitches looks intentional.
Using one of the leftover yarn tails and a tapestry needle, seam the back edging to the Right Rectangle using the zig zag mattress stitch.
Seaming Front
With RS of fabric facing up, position rectangles next to each other with the button flap overlapping the corresponding edge of the Left rectangle.
This means the button flap essentially covers the first row of clusters on the opposite rectangle. (See diagram at end of pattern PDF for more guidance.) Again, check that the clusters are lined up visually.
Using one of the leftover yarn tails and a tapestry needle, seam the button flap to the Left Rectangle using a basting stitch. For better durability in the washing machine, use a stitch to tack down the short sizes of the button flap at the top and bottom of the seam.
Obsessed with finding the best free crochet patterns?
Check out these collections of handpicked patterns to find your next project.

Joining Sides of Tee
Preparation:
We are going to work a setup row along the foundation chain of each rectangle to get them ready for seaming.
Right-handed: With RS of fabric facing, attach yarn at right corner of the foundation chain on one of the rectangles.
Left-handed: With RS of fabric facing, attach yarn at left corner of the foundation chain on one of the rectangles.
Set-Up Row (RS): Ch 1, sc in the bottom loops of each ch across. An exact stitch count doesn’t matter here. What’s more important is that your row lays flat and your tension is even.
Fasten off leaving a 36” tail for seaming.
Repeat on second rectangle.
Pinning Armholes:
RS facing out, use stitch markers to pin the set-up row to itself, leaving an opening for the armhole. Try on your tee to determine your desired opening size. I suggest between 7-11” depending on size and personal preference.
Seaming Sides:
Using the leftover yarn tail and a tapestry needle, seam the sides using the zig zag mattress stitch.
Repeat on opposite side of tee.
Sleeve Edging
Now, we’ll add a reverse single crochet (crab stitch) border around each sleeve. While this stitch can feel weird at first, you are indeed supposed to work in the opposite direction as you typically do with single crochet. It’s okay that the stitches will twist, this is intentional.
Right-Handed: With the RS facing, this edging will be worked counterclockwise.
Left-Handed: With the RS facing, this edging will be worked clockwise.
Attach yarn in armhole seam.
Round 1 (RS): Ch 1, rsc in each sc around armhole, join with slst to first rsc. Fasten off and weave in ends.
Repeat with second sleeve.
Finishing
Additional Blocking: Do a quick steam blocking of any seams that aren’t laying as smoothly as you’d like.
Weaving in Ends: Tackle this with your favorite podcast playing – you shouldn’t have too many! Learn more about what to do with yarn tails here.
Attaching Buttons: The number of buttons you’ll need depends on the length of your button flap. I suggest one button per 1.75-2”.
With a sewing needle and thread that matches your yarn, sew each button to the flap.
Toss on your tee, grab a lemonade and pay a visit to the nearest tidepool!
More Free Patterns for Summer
Don't let your hook hibernate just because it's warm outside! Here are our favorite projects to make and enjoy during the warmer months.
- Marika Swancho | A Lacy Crochet Sweater Poncho
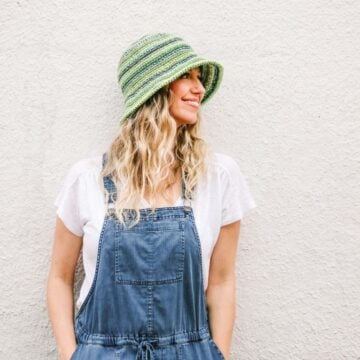
- Easy Crochet Bucket Hat Free Pattern | Kids + Adult Sizes
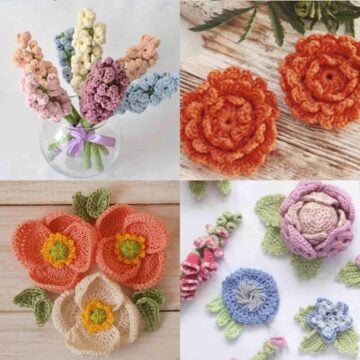
- How to Make Crochet Flowers for Beginners + 33 Easy Patterns
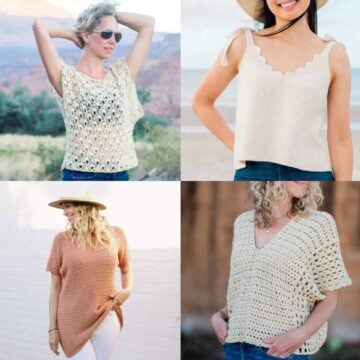
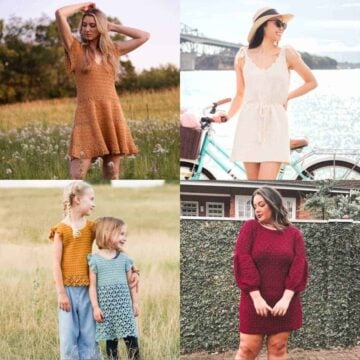
- 30 Best Crochet Top Patterns - Tanks, Tunics + Cropped Shirts
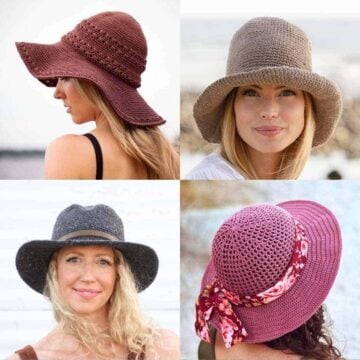
- 23 Free Crochet Sun Hat Patterns for Summer
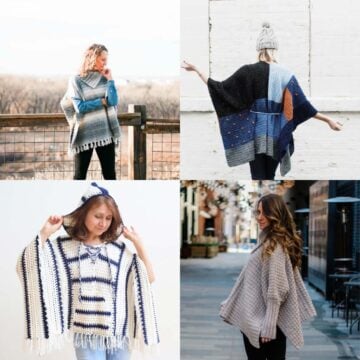
- 30 Easy and Free Crochet Poncho Patterns for All Seasons

That was so fun! Now what?
Invitation to our Facebook group
Come discuss your favorite easy crochet projects and lots of tips and techniques in our Make & Do Crew Facebook group. Here thousands of helpful crocheters answer each other's questions and share their stitches. Join us!
Leave a Reply