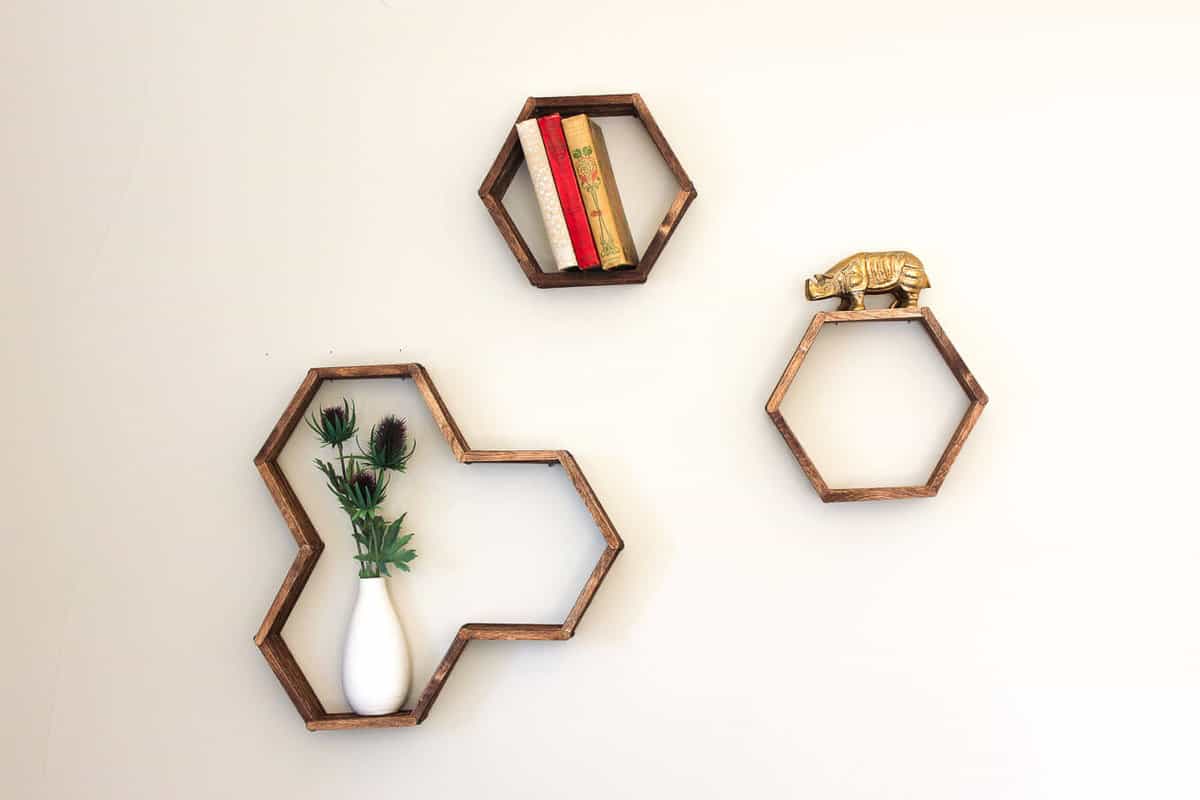
 My favorite craft projects are those that take something mundane, utilitarian or used up and transform it into something beautiful. Well, my friends, it doesn’t get much more ordinary than popsicle sticks. I’m guessing most of us haven’t given them much thought since about third grade. But that is going to change today with these DIY honeycomb shelves. (PS. This project is an extension of my super easy popsicle stick hexagon shelf!)
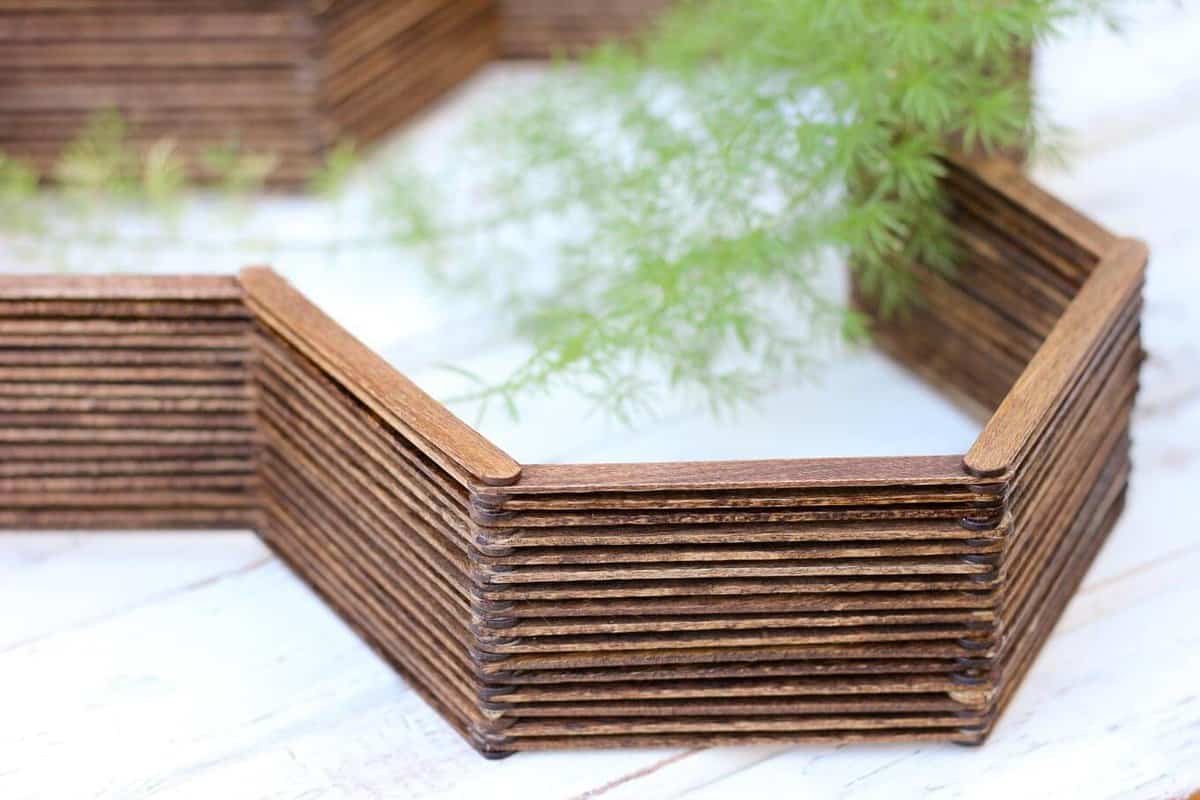 There are just certain DIY projects that make me overflow with joy. This is one of them. It’s super affordable–like less than $10 for the entire set of honeycomb shelves. It’s very doable, even for those who don’t sleep with their glue gun next to them at night. And most of all, it just looks freaking awesome and oh so mid-century-modern-Mad-Men-ish up on the wall.
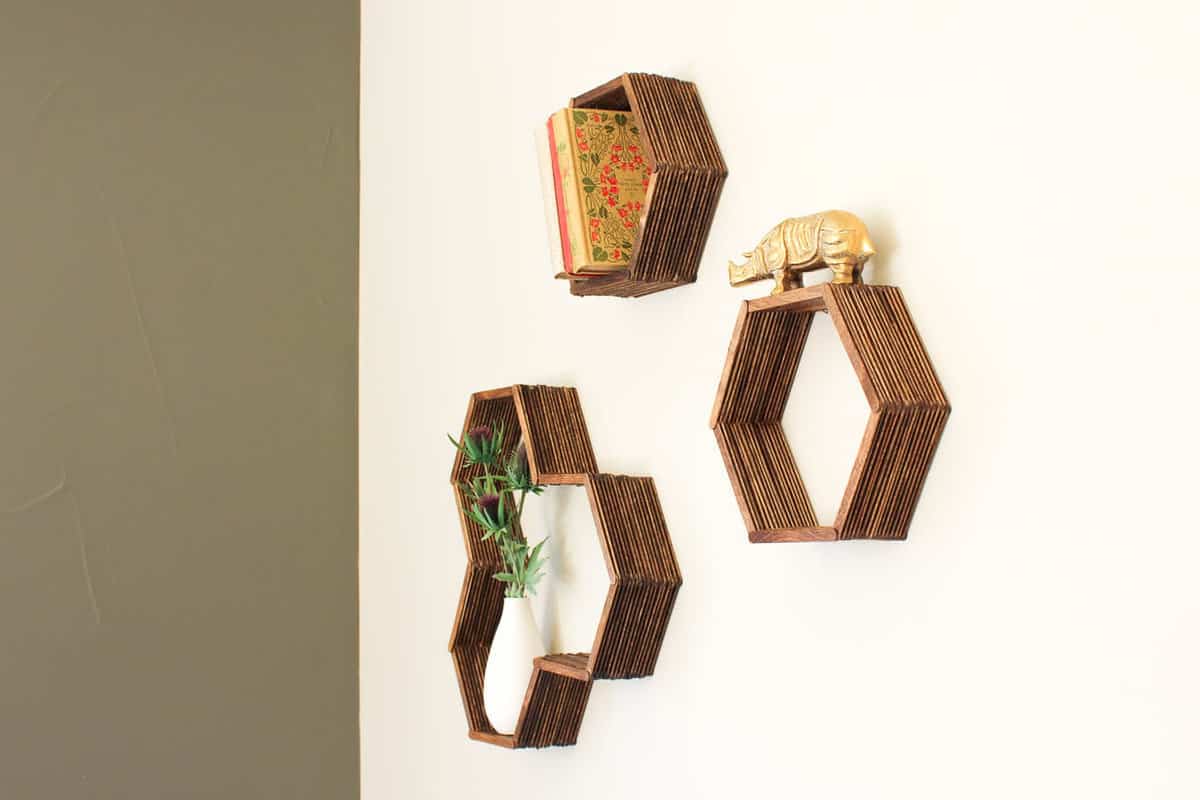 Don’t you want an entire wall of these?! Perhaps I’ll make our bedroom into one big wooden honeycomb beehive!
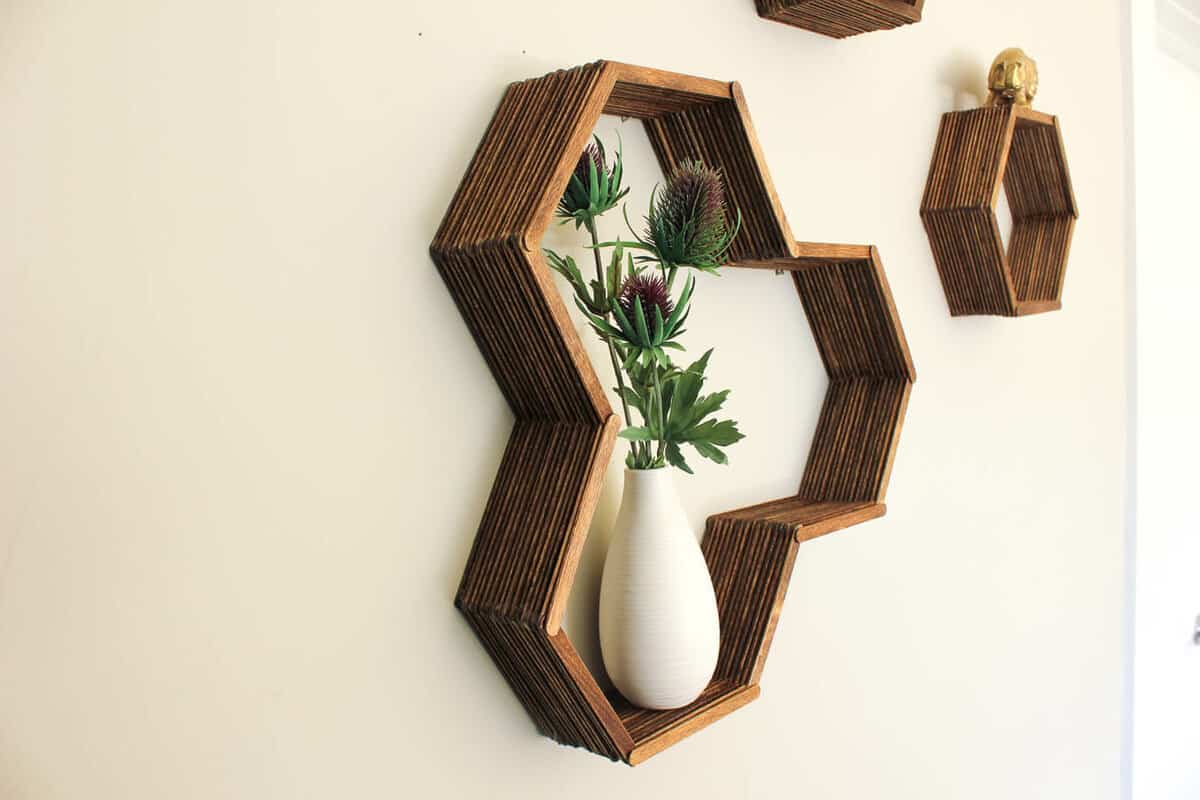
Last week, I explained how to make single hexagon shelves. I love how these add dimension and warmth to the wall. Plus, I can change out what is in the them throughout the year. The three part hexagon shelf is simply an extension of this same idea. To me, the combination of the larger shelf and the two smaller ones looks like a perfect little family on the wall.
Like with the single hexagon shelf, I found that having a template for this larger one also made it easier to get the angles right with very little effort. These larger honeycomb shelves actually benefit from a template even more because there are more angles to manage.
 So I put together a simple template to build the honeycomb shelves on top of and added it to the Make & Do Crew Subscriber’s Vault. Simply subscribe in the pink and green box at the bottom of the post and you’ll get instant access to it (as well as the hexagon shelf template and all our other freebies.)
Honeycomb Shelf Supplies
• popsicle sticks (I used about 200 for the larger honeycomb shelf and about 100 per each hexagon shelf. Hint: buy 1000 from Amazon for $8 like I did so you can honeycomb your whole house!)
• tacky glue • honeycomb shelf template (Optional, but helpful. Enter your email at the bottom of the post for instant access.)
• wood stain (I used Minwax English Chestnut)
• paintbrush
• 2 picture hangers (Optional–I didn’t use them.)
Instructions
1. If you’re using the template, print it, trim it and tape it together.
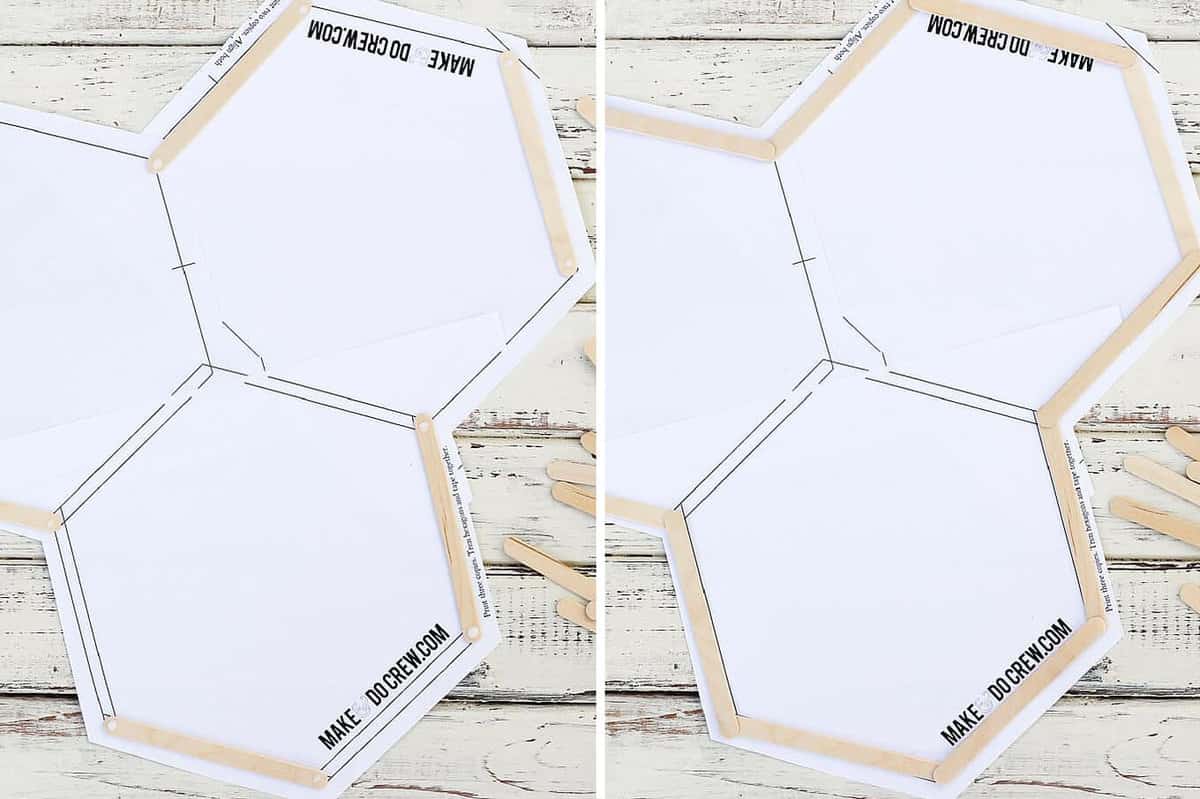 2. Position popsicle sticks as pictured, alternating every other hexagon side. I find it fastest to add a drop of glue to both ends of 3-4 sticks at a time and then lay them in their appropriate position.
3. Add glue to more sticks and use them to make a second layer on top of the first, alternating every other hexagon side.
4. Continue like this until your honeycomb shelf is desired depth. I went about 16 popsicle sticks deep per side.
Wanna save this pattern?
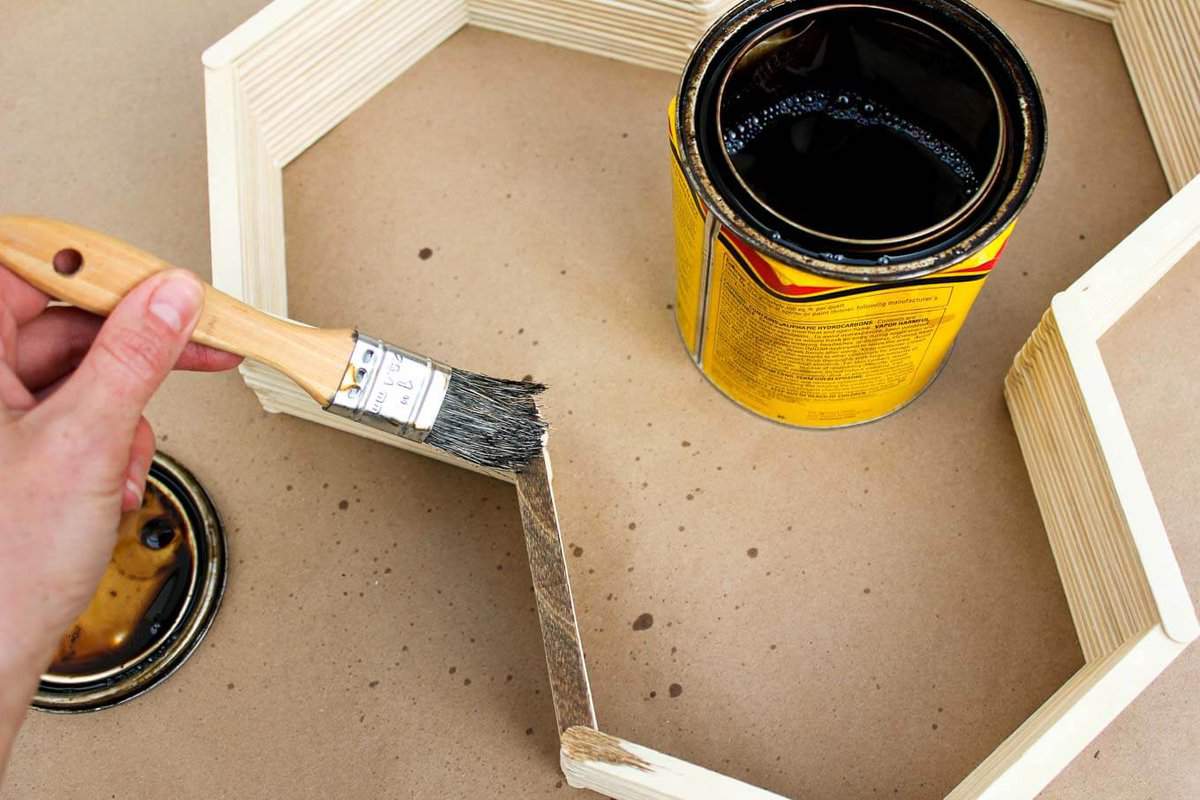
5. After the glue is dry, use a paintbrush to apply wood stain. Make sure to get stain in between each stick. Let the stain dry.
 6. If you’d like, glue a picture hanger on the top side of the top hexagon and the top side of the adjacent, side hexagon. I opted to simply hang two nails in the wall for the upper hex side to rest on and one nail as a counterbalance for the adjacent hex.
7. To make a set of friends for your new honeycomb shelf, check out my tutorial for DIY hexagon shelves.
8. Fill your new DIY shelves with your favorite miniature possessions. Less is more.
9. Sit back, admire and let your third grade self revel in the lowly popsicle stick’s full potential finally actualized.
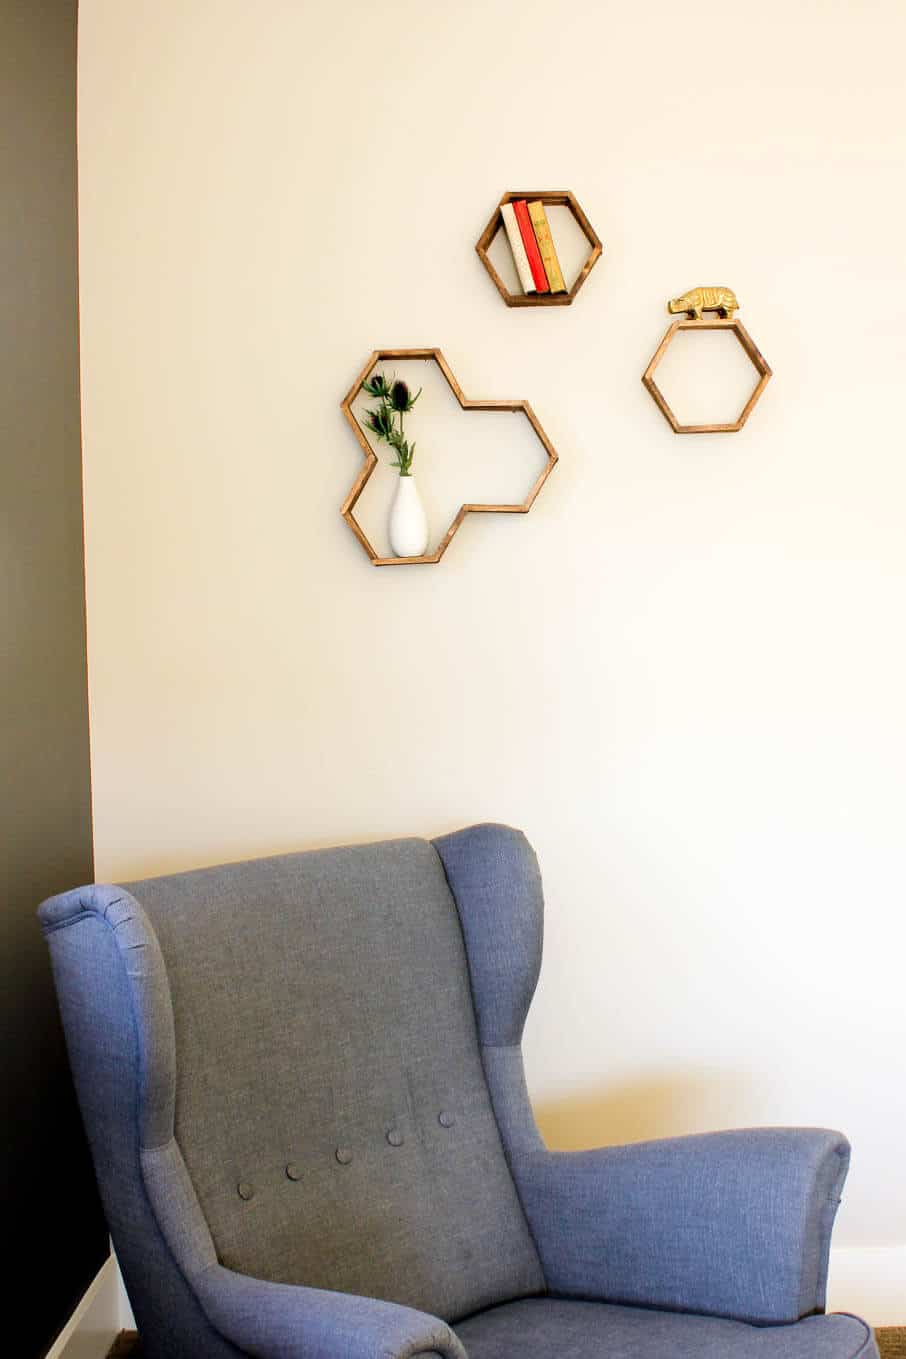
If these honeycomb shelves get you in the mood to deck out your walls even further, check out these DIY wall art ideas:
Coffee Stirrer Wall Art
Easy Button Wall Art
Inspirational Art (With Quotes!)
Or if you just simply love hexagons like I do, you have to check out my knit Beekeeper’s Quilt–the craziest project I’ve ever made (and somehow actually FINISHED!! :))
And if you have 700 popsicle sticks left over because you ordered the 1000 pack from Amazon, like I did, here are a few other popsicle stick wall art:
Geometric Heart DIY Wall Art
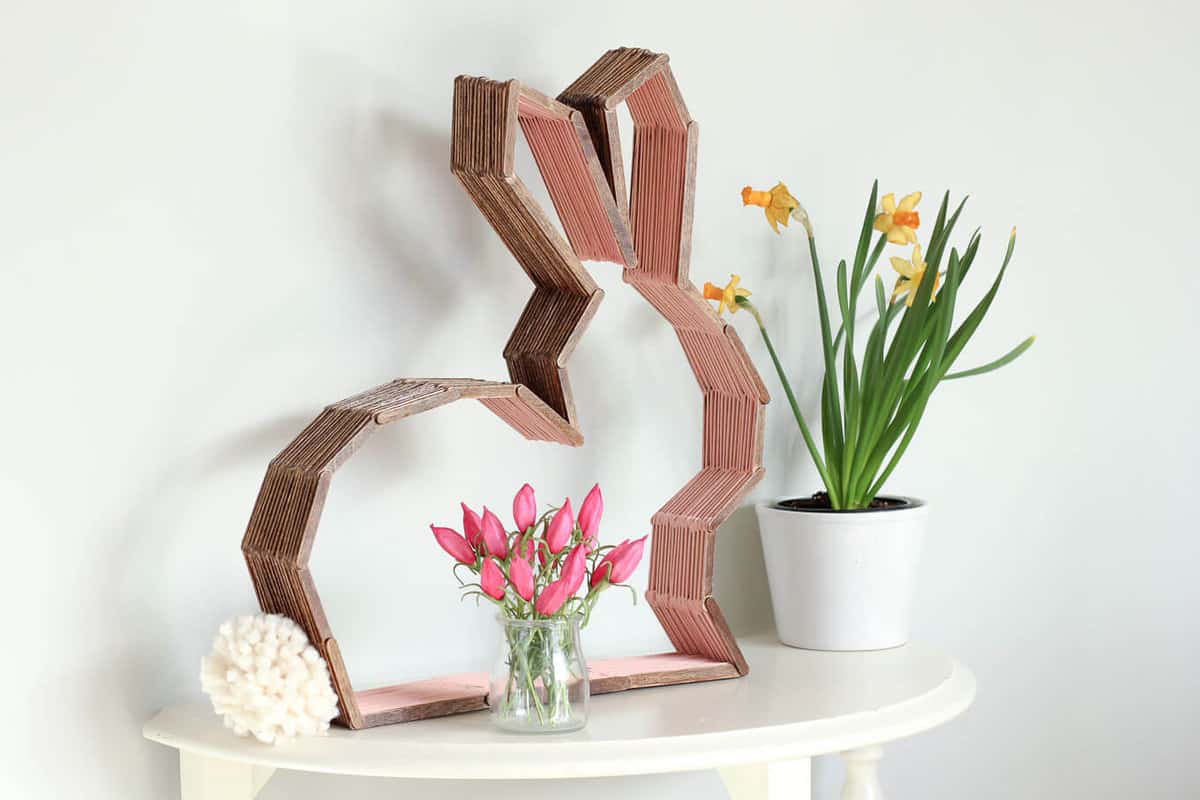
Modern Bunny Shelf (perfect for Easter or a nursery!)
Easy Hexagon Shelf
DIY Popsicle Stick Valentines (that double as art!)

Snazzy blog photos can make it look like some people are doing it all (effortlessly!) while others of us (me!) are barely holding it together. So whenever I can, I like to introduce a little reality check in the form of a very un-Pinterest-worthy detail from my perfectly imperfect real life. My hope is that it’s a helpful reminder all of us that NO ONE is nailing it all the time.
You know that moment when you’re decorating and, finally, you have everything just so?
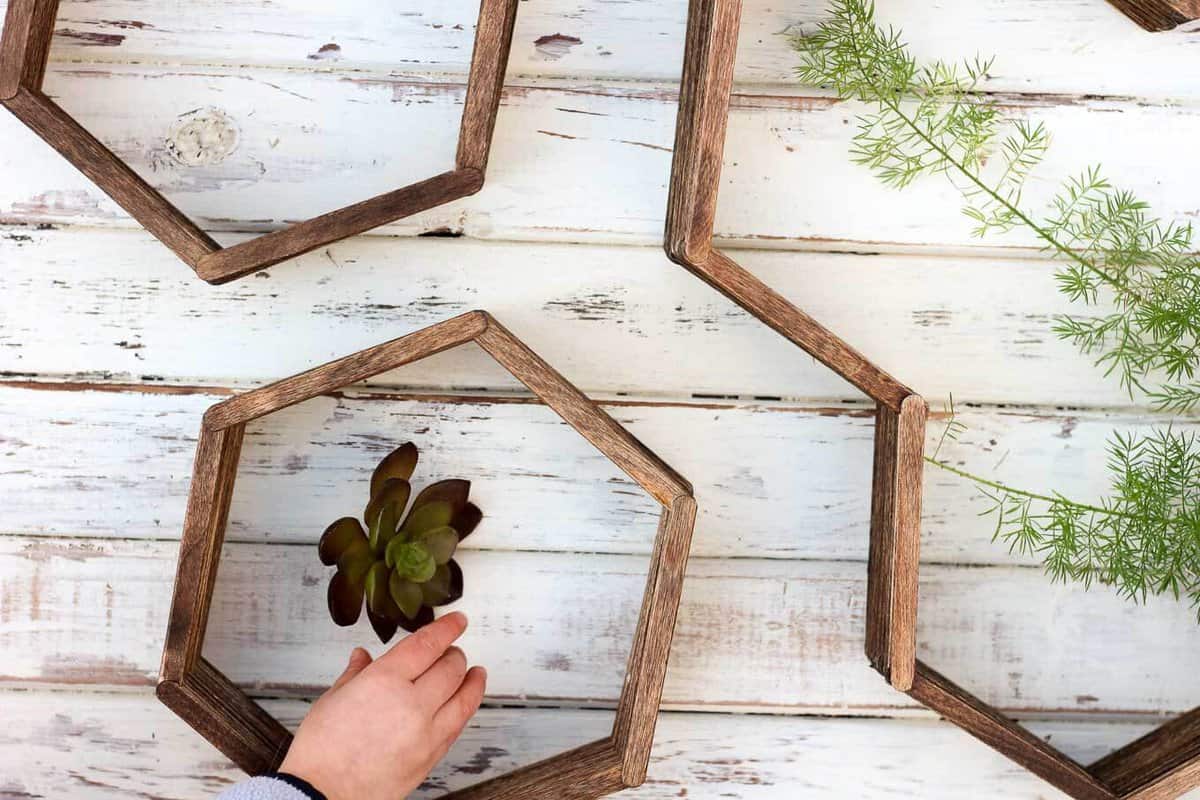
And then a little hand reaches in…
As a mom of two small children, I am never alone. Not when I cook. Not when I sleep. Not when I pee. And most certainly, not when I photograph honeycomb shelves.
I find the constantness of motherhood to be one of the hardest parts. But on the hard days when I just want to run away to Target and pee next to strangers instead of my family, I remind myself that being a mom also means that I always have a very eager, hands-on photography assistant at the ready.

celine says
Bonjour je souhaiterais recevoir le gabarit de l’étagère en nid d’abeille SVP!
Debbie says
Really into octagonal right now and trying to visualize a gallery wall that includes pics, art, quotes…and now your cool little popsicle shelves. Any advise or inspiration would be great. Thanks for this great idea!
Pooja says
Hi Dear,
i have made this but i am not able to hang it on my wall how i will hang this on wall can you please suggest me.
Thanks
Pooja
Morgan says
I love that you offer the templates, but what size where your sticks? I can’t seem to line up any of them with my sticks that are 4 1/2in x 3/8 in. I’m making the single & honeycomb shelve.
Jess @ Make and Do Crew says
Hey Morgan,
That’s the size I used too, so you’re on the right track! 🙂 The outer edge of each stick should basically line up with the border of the template.
Hope that helps!
Jess
Alex says
I would like the template !
Jess @ Make and Do Crew says
Hey Alex,
If you subscribe in the box above, you’ll receive an email with download instructions!
🙂 Jess
Nicole says
Hi! I loved your honeycomb and have already ordered popsicle sticks!
However, I’ve printed the template and it looks a bit small. The hexagon template shows a hexagon of approximately 20 cm. Is this right?
Thanks again!
Jess @ Make and Do Crew says
Hmm. Perhaps that’s about right. Each of the sides are about 4.5″ long (around 11 cm) so I guess the shelf might be about 20 cm tall? Does that makes sense?
toosweetloni says
The projects look nice, but this website is really inconsistent. I can’t not even get access to the templates after multiple times of trying.
Jess @ Make and Do Crew says
I’m sorry to hear that. If you’d like to tell me where you’re running into trouble, I’m happy to troubleshoot with you. Please email me at jess (at) makeanddocrew (dot) com.
Jess
Tracy says
Hi! I badly wanna do this but I can’t seem to access the templates of both honeycomb designs. But I already did subscribe but I still can’t get the template. Can you please help me and send me the template? Thanks. Xx T
Jess @ Make and Do Crew says
Hey Tracy!
I’m sorry you’re having trouble! When you subscribed, you should have immediatly gotten an email with the link to the Vault and the password for it. Did you receive that? If not, check your spam or promotions folder. If you can’t find that email, perhaps try subscribing again. Let me know if that doesn’t work for you and I’d be happy to help you further. I don’t want anything to stand in the way of your shelf making! 🙂
Jess
Marsha says
How do I download the template. I’ve tried using the link sent to my email but it keeps directing me to another page. I love this design, would love to make it.
Jess @ Make and Do Crew says
Hey Marsha,
The link in your email sends you to the Subscriber’s Vault. Just enter the password that I sent you in that same email and you’ll get access to the Vault where the template is located. (There’s a bunch of other exclusive patterns and templates in there as well.) Let me know if you have any trouble!
Happy crafting!
Jess
Brenda says
Thank you for this 🙂 exactly what I was looking for!
Jess @ Make and Do Crew says
Awesome, Brenda. I hope you enjoy making them!
jess
Lauren says
Can you stain the popsicle sticks first and then glue them? I’m afraid the stainer will get drippy and/or seems difficult to stain in between each one. I think i would like to stain them first but will the glue stick?
Jess @ Make and Do Crew says
Hey Lauren,
You could definitely stain the sticks first, it will be just a little more time consuming than if you do it once they’re all glued together. (Particularly because you might want to let one side dry before staining the other.) If you’re worried about drips, maybe just try a very small amount of stain to begin with. The whole process is very forgiving once the sticks are glued together because you can’t really see well in between the sticks. Most “mistakes” will just be hidden anyhow 🙂
Happy shelf making!
Jess
Eve says
About how long does it take for the glue to dry before you can start staining?
Jess @ Make and Do Crew says
Hey Eve,
It depends on what type of glue you use. I’ve noticed that tacky glue dries a little quicker than something like regular Elmer’s glue. I’d say that you could safely stain your hex shelf about 45 minutes after you finish the last row. You’ll notice as you’re building it that the bottom layers will be basically dry before you reach the top.
Please let me know if you have any other questions! Happy hexagon-ing!
Jess