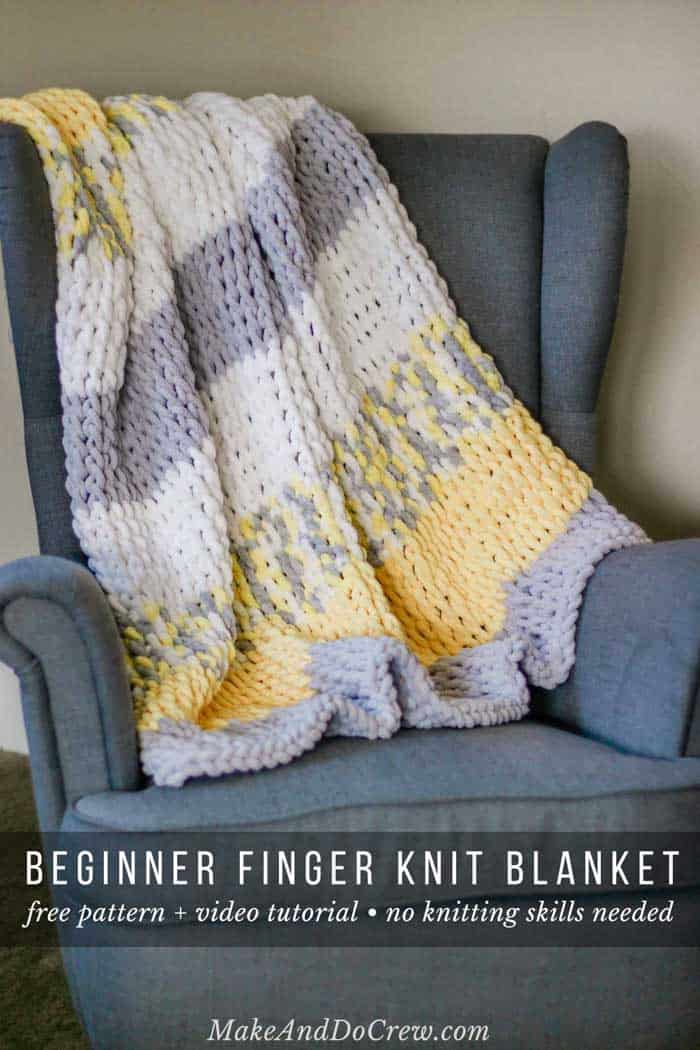
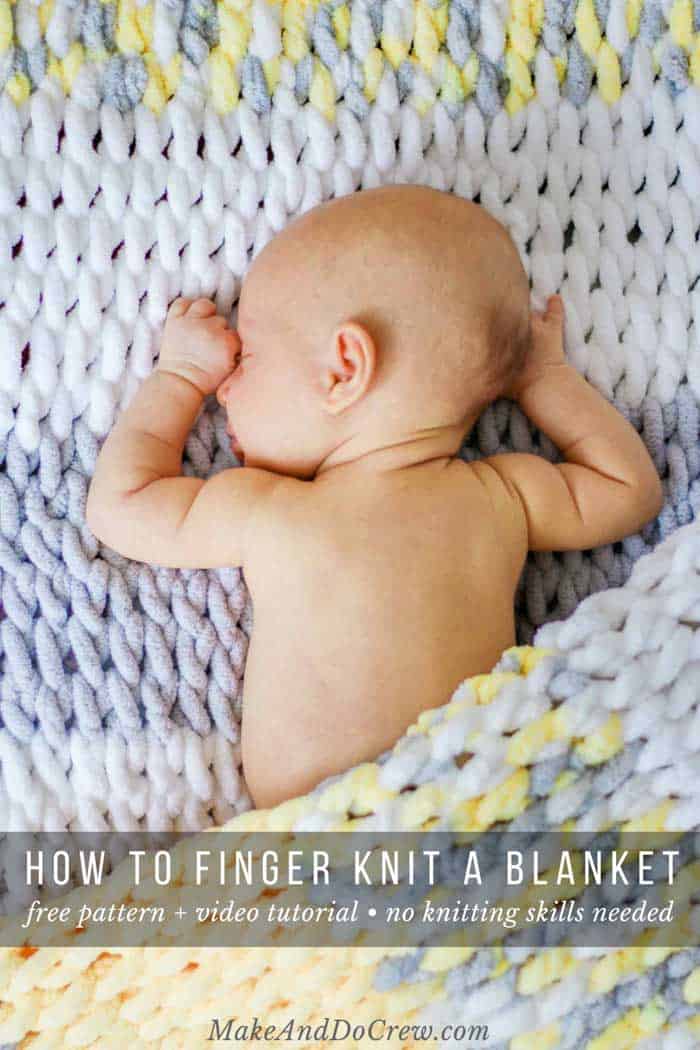
Made with loop yarn and a very simple technique, this finger knitting blanket is a breeze to “knit,” even for absolute beginners. Get the free pattern and video tutorial below or purchase the ad-free, printable PDF here.
This free beginner finger knitting blanket pattern is part of a collaboration with Lion Brand yarn. This post contains affiliate links.
Warm up your fingers because no hooks, needles or knitting skills are required to whip up this soft, cozy finger knitting blanket!
A Totally New Way to “Knit”
If you spend any time at all on this site, I’m guessing you have a thing for crochet. (Me too!) But even if you’ve never knit a stitch in your life, you can use your own two hands to make a quick, modern knitted throw or baby blanket.
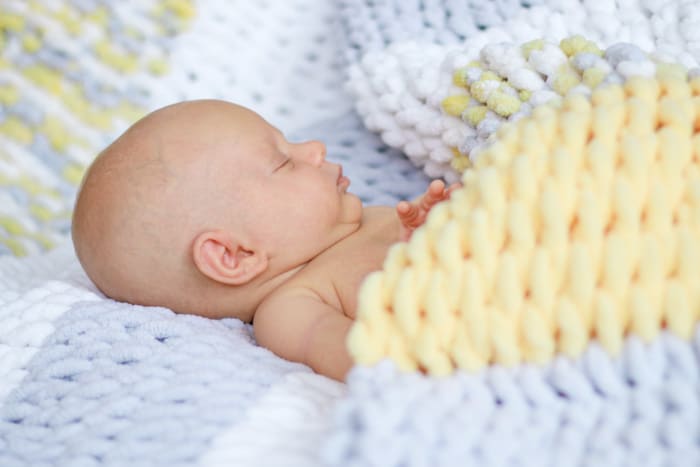
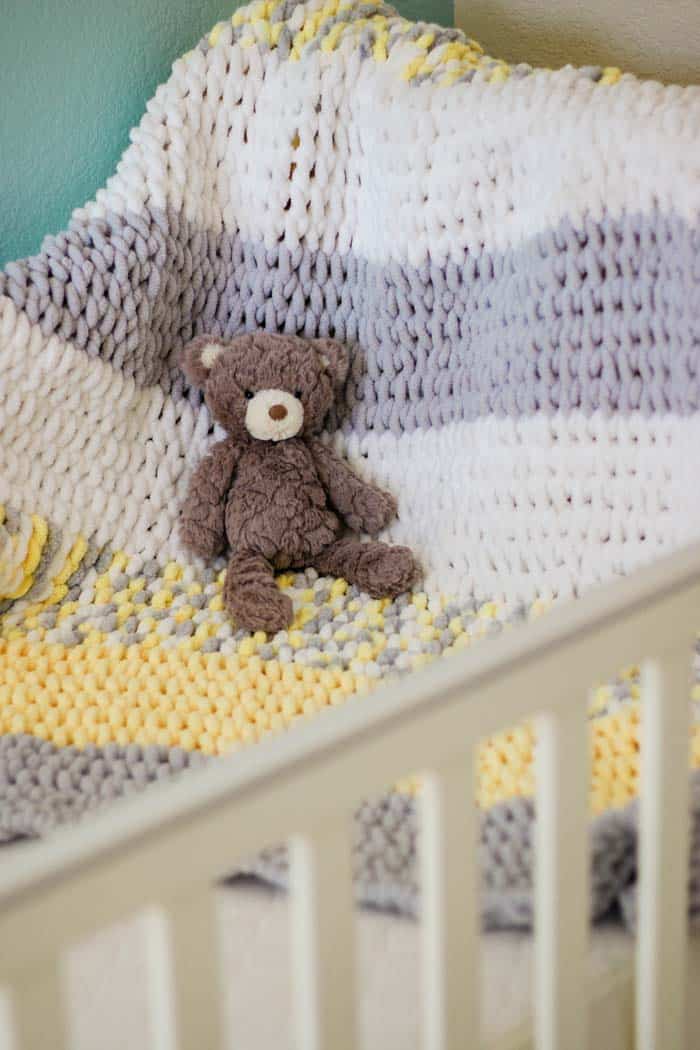
As you can see in the photos, this pattern makes a generously sized baby blanket or couch throw, but I’ve included instructions below on modifying the basic finger knitted blanket pattern to any size you wish.
The yarn does all the work in this finger knitting blanket pattern, so let’s learn a little more about it!
A Loopy Yarn Made For Finger Knitting
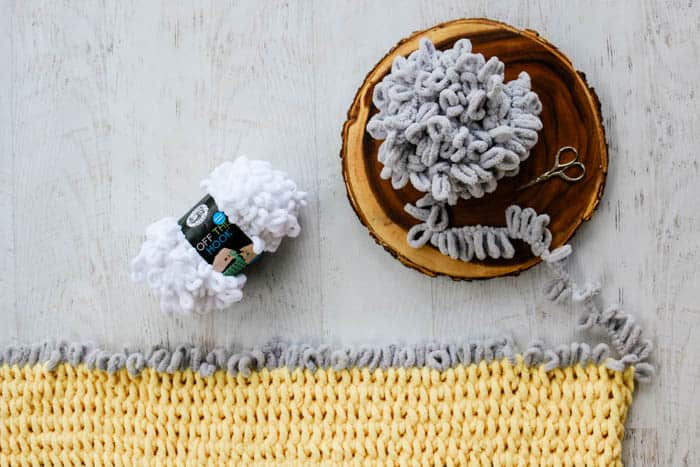
If you’ve never seen anything like this new Off the Hook yarn from Lion Brand, you’re not alone! When a sample of Off the Hook magically arrived in my mailbox from Lion Brand, I stopped everything I was doing and sat down to figure out how to make a swatch myself. My kids and I played with it for at least an hour.
Off the Hook is a super soft chenille yarn that comes with pre-made loops. Even a complete beginner can thread these loops together to literally knit an entire project with your fingers. There are colors perfect for baby projects and modern home decor. See them all here!
UPDATE: Lion Brand has turned the Beginner Finger Knit Blanket into a knit kit! You’ll receive all the yarn you need to make your own, plus a printed copy of the pattern. Grab your kit here!
For Hands of All Ages
One of my favorite things about working with Off the Hook yarn is how meditative it feels to weave the loops together. As someone who tends to be a bit ansy and benefits from having something to fidget with, I absolutely love the calm that working with this yarn brings.
I taught my 5-year-old to finger knit using Off the Hook and it’s so cool to see how it stretches her fine motor skills. I think this yarn is such a wonderful hobby option for everyone from children to older folks who want a simple way to occupy their hands and minds.
And you can make useful, beautiful projects in the process! What’s not to like about that?
Related: 33+ Crochet Blanket Border Ideas
Finger Knitting Video Tutorial
Since I wanted this finger knitting blanket pattern to be approachable for complete beginners, I’ve created a video tutorial that walks you through each skill you’ll need to complete your own project. Watch the video tutorial below and then scroll down for the free pattern!
Twisted Rope Finger Knitting Blanket
Free Pattern Using Loop Yarn
Purchase the ad-free, printable PDF here.
Save this pattern to your Ravelry here.
Pin it for later here.
Explanation:
Warm up your fingers because no hooks, needles or knitting skills are required to whip up this soft, cozy throw! Made with Lion Brand Off The Hook yarn and a very simple finger knitting stitch, this blanket is a breeze to “knit,” even for absolute beginners.
As written, the pattern creates a generously sized baby blanket or modern throw. Once you learn from the included video tutorial through, you might feel inspired to design your own simple blanket pattern.
Instructions to modify the blanket size are included below.
Supplies:
This pattern contains affiliate links at no extra cost to you.
• Lion Brand Off the Hook (Weight: 7/Jumbo – 3.5 oz)
– Color A: Dreamy (#516-150) – 3 skeins
– Color B: King’s Crown (#516-157) – 2 skeins
– Color C: Lemon Drop (#516-203) – 2 skeins
– Color D: Sugarcane (#526-100) – 2 skeins
• Tapestry needle
• Stitch marker or safety pin
Measurements:
41” x 50.5”
Gauge:
6 sts x 4 rows = 4”
Wanna save this pattern?
The loops in the yarn take care of keeping the gauge even, so no need to worry!
Abbreviations and Glossary (US Terms):
working yarn – yarn that is connected to project but hasn’t been knit yet
Important Tips For Finger Knitting with Off the Hook Yarn:
• Untwist loops so they lay flat before intentionally twisting and knitting them.
• At the end of each row, flip blanket over and check that no loops were skipped in the working yarn. (See video tutorial for further explanation.)
• Unlike regular knitting, you won’t turn your project back and forth as you work. Instead, keep the front of the project facing you and work from right to left and then back from left to right and so on.
• Loops of working yarn are always pulled through stitches of project from back to front.
How to Modify Project Size:
In my experience, the balls of Off the Hook yarn average around 405-425 loops of yarn each. Therefore, if you’d like to alter the size of the blanket, but still make the most of your yarn, consider this fact when deciding how many loops wide your project will be.
For an extremely wide example: You wouldn’t want to create a beginning row with 210 loops, as you wouldn’t quite have enough yarn to work a second row and a lot of yarn would be wasted. Instead, if you made the initial row 200 loops, you’d likely have enough yarn to complete a second row (200 x 2 = 400). Similarly you could do 8 rows of 50 loops each, for example, or 10 rows of 40 loops each.
BLANKET
Notes:
• Instructions are same for right and left handed crafters.
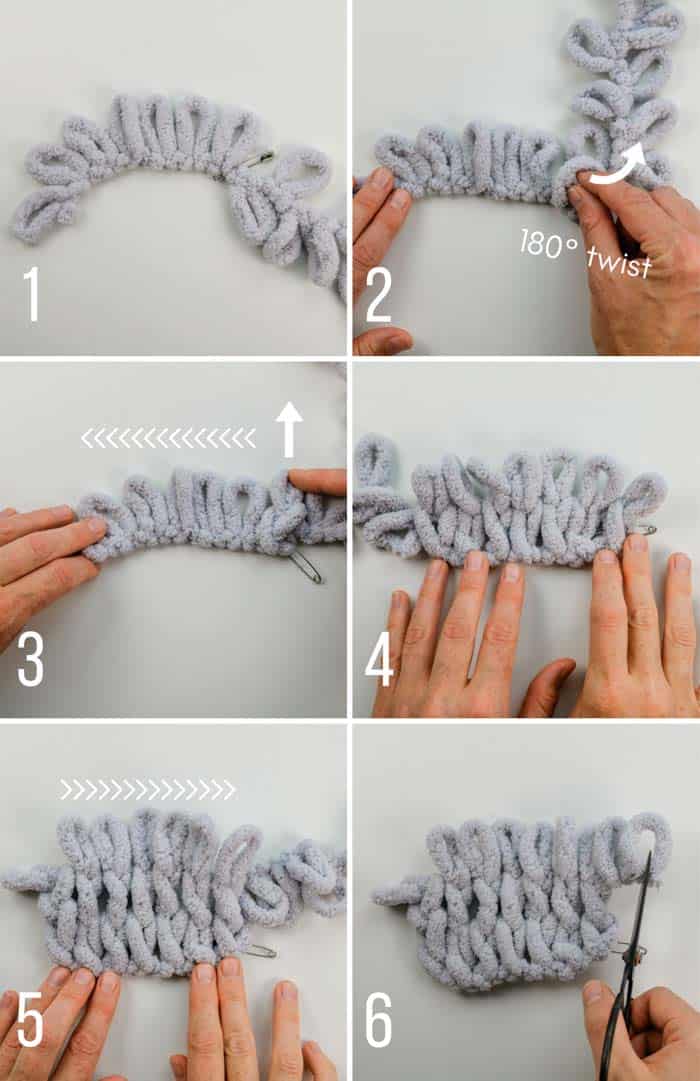
• See video tutorial or finger knitting with loop yarn photo tutorial for helpful visual explanations.
Using Color A:
Count 65 loops from end of yarn. Place stitch marker or safety pin right after 65th loop.
Orient first loop of yarn to left and safety pin to right.
Row 1 (left to right): Making sure 65th loop is not already twisted, give it a deliberate twist 180 degrees to left. Grab first loop of working yarn (66th loop) and pull it through twisted 65th loop.
Proceeding left, give 64th loop a deliberate 180 degree twist to left. Grab next loop of working yarn (67th loop) and pull it through twisted 64th loop.
Continue like this to end of row twisting each loop of bottom row before threading corresponding loop of working yarn through.
At end of row, do not turn. Row should contain 65 stitches.
Row 2 (right to left): Making sure first loop in previously worked row is not already twisted, give it a deliberate twist 180 degrees to left. Grab first loop of working yarn and pull it through twisted loop.
Continue like this to end of row twisting each loop of bottom row before threading corresponding loop of working yarn through. At end of row, do not turn.
Row 3 (left to right): Making sure first loop in previously worked row is not already twisted, give it a deliberate twist 180 degrees to left. Grab first loop of working yarn and pull it through twisted loop.
✨Unlock this free subscriber-exclusive pattern ✨
Follow these steps to view the full free pattern below
BINDING OFF
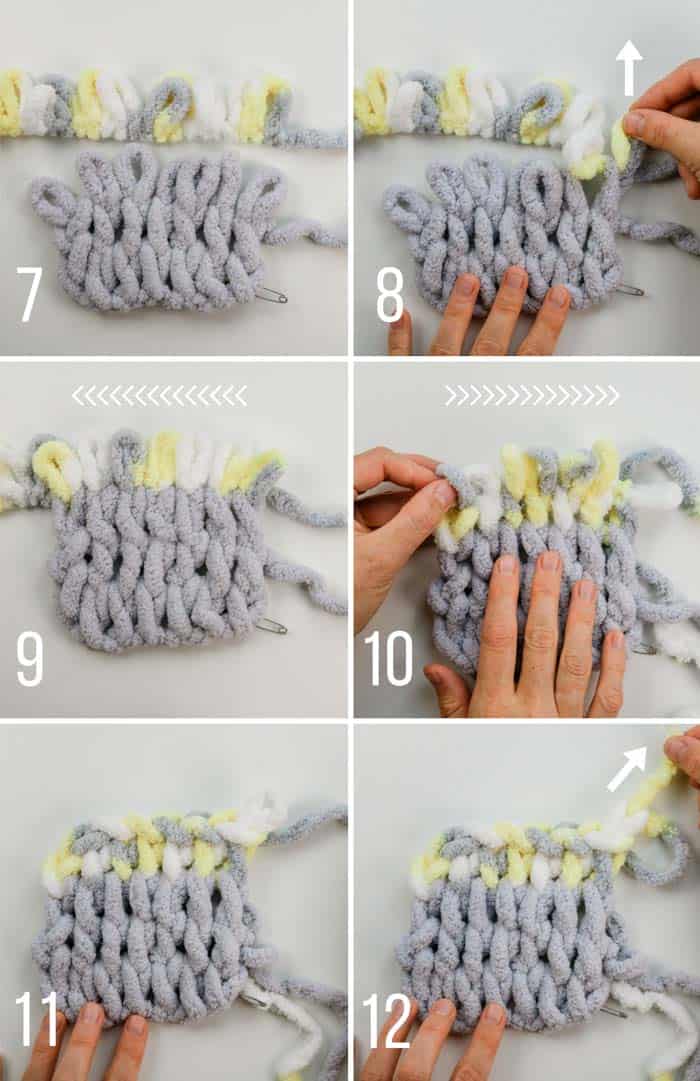
See steps 10-12 in the photos above. Cut working yarn leaving two unworked loops attached to project. Snip both loops at bottom to create a yarn tail to weave in later.
Beginning on opposite side from yarn tail, pull 2nd loop through 1st loop. Pull 3rd loop through 2nd loop. Pull 4th loop through 3rd loop. Proceed like this to end of row. Pull yarn tail through last loop to fasten off.
FINISHING
To weave in ends, thread tapestry needle with yarn tail. Pass needle through thickest parts of nearby stitches, which is likely on back of project. Pass back and forth 3 times to secure tail completely. Cut yarn. Repeat with additional yarn tails.
Wrap up in your soft, fluffy new blanket and give your fingers a nap!
I love to see your finished projects! Use #MakeAndDoCrew and tag me Instagram (@MakeAndDoCrew) to show off your stitches and have a chance to be featured.
More Free Beginner Patterns
Now that you’ve got your fingers warmed up, you might enjoy our free finger crochet market bag pattern and video tutorial. The free patterns linked below are also great for beginner crocheters and they all include step-by-step video tutorials.
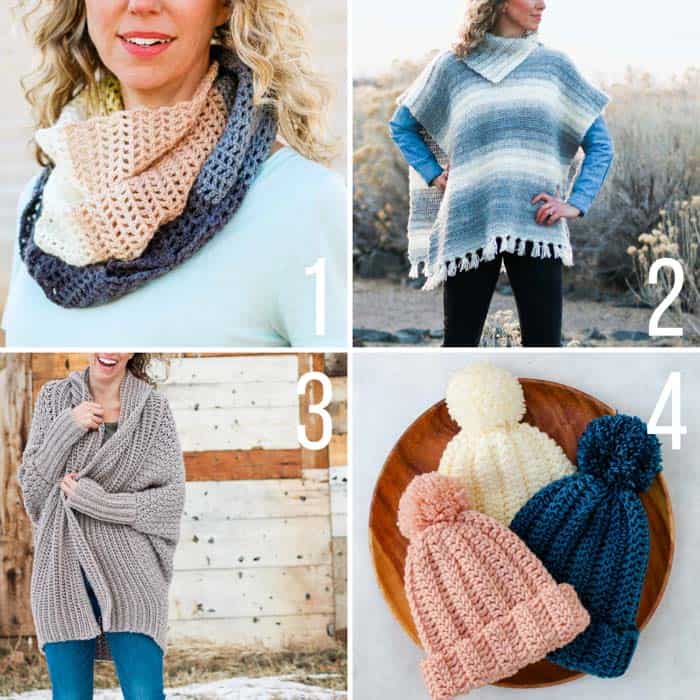
1. Dawn Till Dusk Triangle Scarf – free one skein crochet pattern + video tutorial
2. Braided Poncho – easy free crochet poncho pattern + video tutorial
3. Habitat Cardigan – surprisingly simple free crochet sweater pattern + video tutorial
4. 1 Hour Hat – perfect free crochet beanie pattern for beginners (sizes preschool-adult) + video tutorial

Jess @ Make and Do Crew says
Hey Valerie,
Are you using an ad-blocker? Usually that makes the video player disappear. Try disabling it if so and it should be there for you. Otherwise, you can find it on my Youtube channel too. 🙂
Happy finger knitting!
Jess
Janell King says
I may be missing it but I cannot find where we can order the kit for the finger knitting baby blanket . Please let me know as I am very interested. Thank you
celine says
Merci beaucoup pour ce modèle de couverture tricoter avec les doigts, tout simplement Génial!
Au plaisir de vous suivre