This crochet butterfly blanket pattern uses self-striping yarn and the corner-to-corner technique to create a stunning effect.
Get the free c2c crochet graph pattern below or purchase the ad-free, printable PDF to get line-by-line instructions.
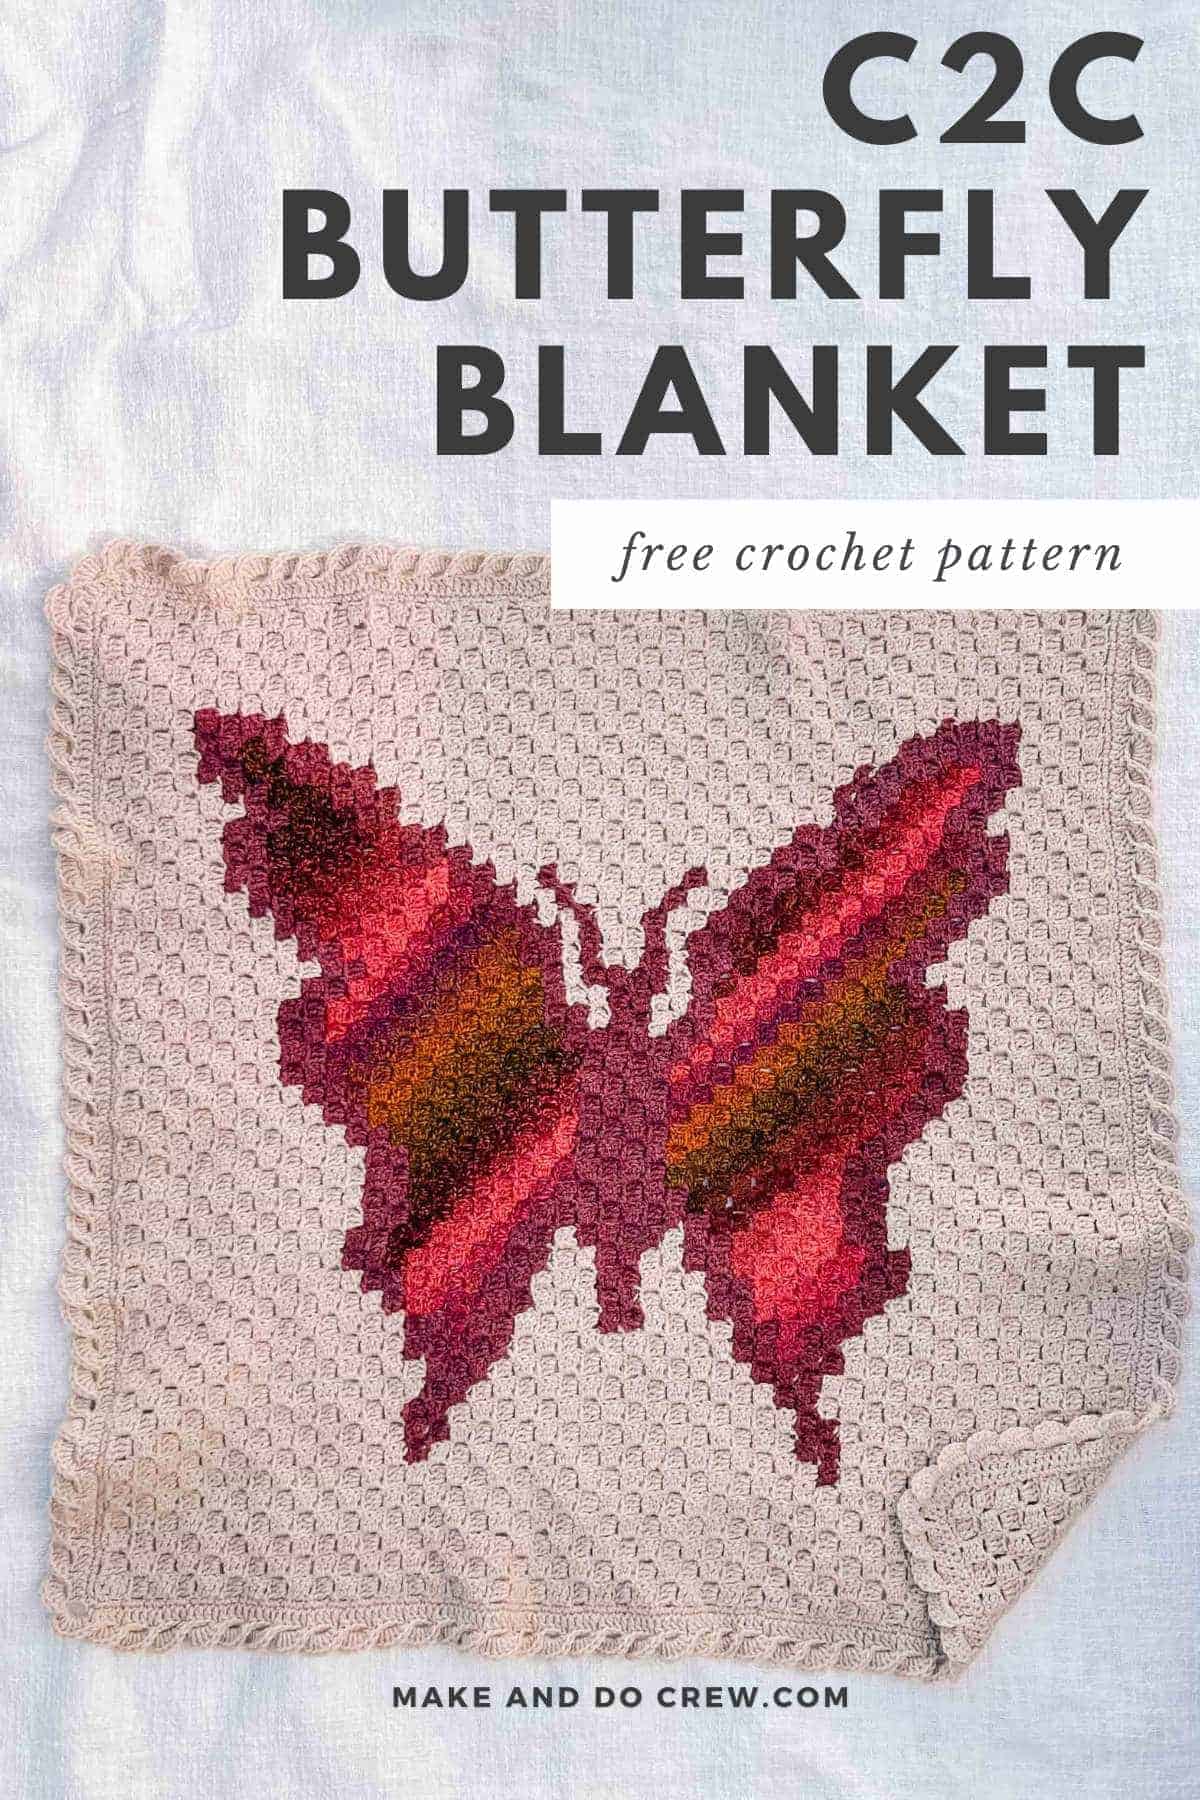
This C2C crochet butterfly pattern is part of a collaboration with Lion Brand Yarns. This post contains affiliate links.
Jump to:
C2C Crochet Butterfly Blanket Pattern
Drift away into meditative corner-to-corner stitches as you crochet your own butterfly blanket! Lion Brand's self-striping Ferris Wheel yarn takes care of many of the color changes and guarantees that no two butterflies turn out exactly the same.
Skills You'll Practice
In this crochet blanket pattern, you’ll have a chance to practice double crochet, changing colors in c2c crochet, weaving in ends, and adding a gorgeous shell stitch border.

All-in-One Crochet Kit
The all-in-one kit is a perfect way to make your butterfly blanket. This bundle from Lion Brand includes all the Ferris Wheel yarn you'll need, plus a bonus printable PDF of the pattern with the graph and written instructions (delivered digitally).
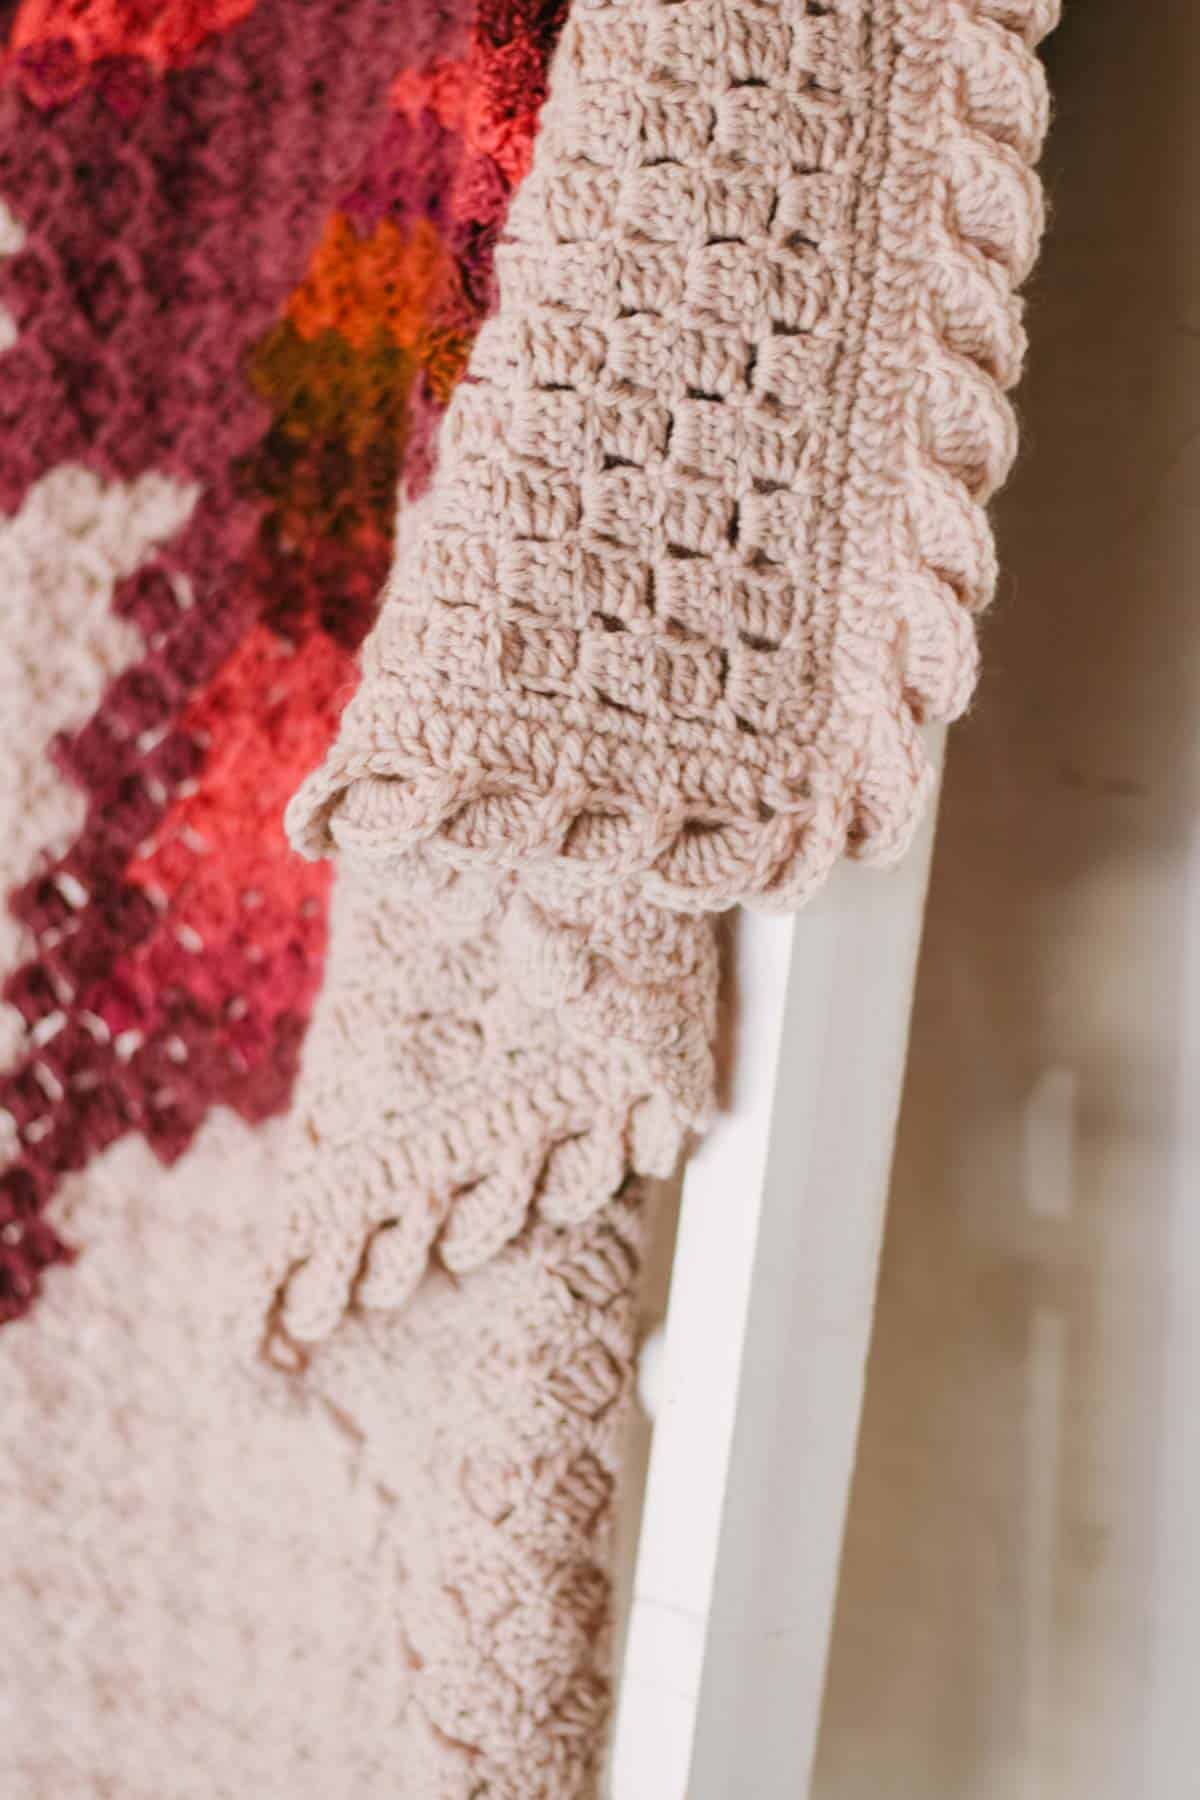
Print this Pattern
While you can make this blanket by following the free graph pattern, the printable PDF offers an easier and more accurate experience because it includes line-by-line written instructions to complement the graph pattern. And if you're a visual learner, you'll love the option of following allow with the line-by-line color block instructions instead.
Line-by-line written or color block instructions are incredibly helpful because they:
- Reduce the likelihood of mistakes that need to be torn out.
- Allow you to crochet much faster than if counting squares in a graph.
- Make it easier to set down your work and know right where to pick the pattern back up.
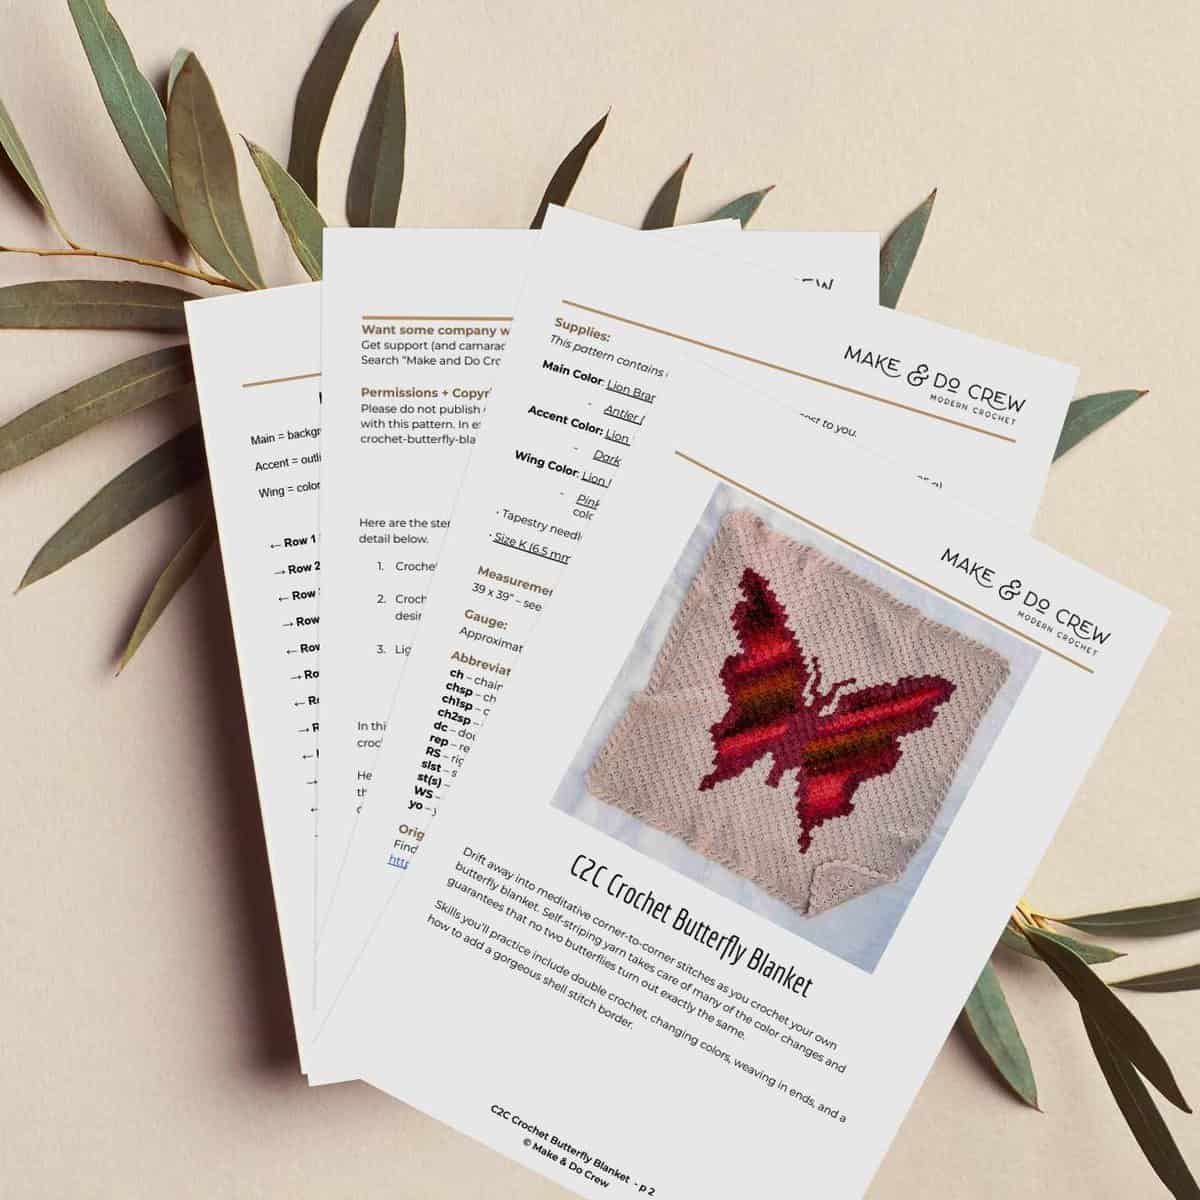
C2C Crochet Butterfly Graphgan Pattern
Supplies + Materials
Order an all-in-one kit from Lion Brand here.
Main Color: Lion Brand Wool Ease (Weight: 4/Medium- 197 yds, 3.5 oz, 85 g)
- Antler (620-021A) – 6 skeins [(approx. 490 g)]
Accent Color: Lion Brand Wool-Ease (Weight: 4/Medium - 197 yds, 3.5 oz, 85 g)
- Dark Rose Heather (620-139) – 2 skeins (appprox 145 g)
Wing Color: Lion Brand Ferris Wheel (Weight 4/Medium –270 yds, 3.0 oz, 85g)
- Pink Marmalade (217-611K) – 2 skeins (approx 80 g, with extra to control colors)
• Tapestry needle
• Size K (6.5 mm) crochet hook or size needed to obtain gauge
• Blocking board, T-pins and steamer or iron
• The free butterfly blanket graph pattern, ideally printed out
Afghan Size
The finished butterfly blanket measures 39 x 39”. See the Borders section below for notes on increasing size by a few inches
Gauge
Approximately 5 tiles = 4” vertically and horizontally
Instead of working a separate gauge swatch, you can begin the blanket and measure the gauge about 12 rows in to make sure you’re on track.
While meeting the pattern gauge is not essential, it will ensure finished blanket turns out expected size and uses as much yarn as listed in the Supplies section above.
Abbreviations + Glossary (US Terms)
ch – chain
chsp – chain space
ch1sp – chain 1 space
ch2sp – chain 2 space
dc – double crochet
rep – repeat
RS – right side
slst – slip stitch
st(s) – stitch(es)
WS – wrong side
yo – yarn over
Project Overview
Here are the steps to crochet this butterfly blanket. Each of these is outlined in more detail below.
- Crochet the main blanket by following the C2C butterfly graph pattern. Optional: Use the written line-by-line instructions in the printable PDF alongside the chart to help go faster and avoid mistakes.
- Crochet border Rounds 1-3. Instructions are given to increase the blanket size if desired.
- Lightly steam block blanket and weave in the remaining ends.
Pattern Tips
Here are a few of my recommendations to make crocheting your butterfly blanket more successful.
- To achieve a similar look to the butterfly wings pictured, start each wing with the same color within the yarn cake. Two balls of Ferris Wheel yarn will allow plenty of extra yarn so you can control the color striping if desired.
- It can be very helpful to wind smaller balls of accent and background yarns before attaching a new color. This allows you to keep the color attached when it will be used in the next row and avoid carrying contrasting colors underneath as you work.
- Each pixel in the graph corresponds with one tile in your afghan. A tile = 3 ch (the turning chain, which counts as a double crochet) + 3 dc
Free pattern
Great free option.
- C2C butterfly pattern graph only.
- Printable.
- Cross off each graph row as you crochet.
Premium PDF
Easier, faster with fewer mistakes.
- Includes line-by-line written instructions for each graph row.
- Saves time and mistakes.
- Graph pattern included as well.
How to C2C Crochet
In this pattern, we’re using the corner-to-corner crochet technique with double crochet stitches.
If the c2c crochet method is new to you, we've got you covered with all the step-by-step instructions you need to make this pattern.
- Photo and Video Tutorial: How to C2C Crochet for Beginners
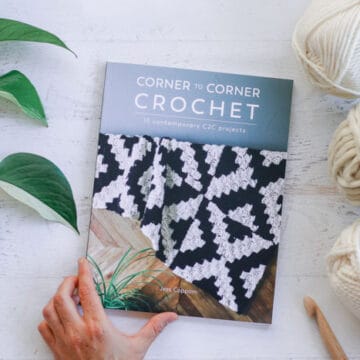
- My Book: Corner To Corner Crochet: 15 Contemporary C2C Projects
Check out our beginner guide to crocheting blankets for lots of general tips and tricks you might not know.
C2C Double Crochet Stitch - Increasing
Here's a reminder of how to work the first half of a C2C graph pattern, before reaching the mid-point. See the tutorials linked above for more detailed instructions.
Row 1:
Step 1: Ch 6.
Step 2: Dc into the fourth ch from the hook.
Step 3: Dc into the next 2 chs; turn. (1 tile made)
Row 2:
Step 4: Ch 6.
Step 5: Dc into the fourth ch from the hook and the next 2 chs. (1 tile made)
Step 6: Sk the next 3 dc, then slst into the space created by the ch-3 at end of tile.
Wanna save this pattern?
Step 7: Ch 3 quite tightly.
Step 8: Dc 3 into the same space; turn. (1 tile made, 2 total tiles in row)
Row 3 and beyond:
Repeat Steps 4-8 to begin each row. As rows increase in number of tiles, repeat steps 6-8 in each remaining tile of row.
C2C Double Crochet Stitch - Decreasing
Once the corner of the blanket is reached, you’ll begin decreasing in the first tile of each row. This eliminates one tile per row until only one tile remains. See the tutorials linked above for more detailed instructions.
Step 1: Ch 1, slst into next 3 dc. (1 tile decreased)
Step 2: Slst into the ch-3 turning chain.
Step 3: Ch 3 quite tightly.
Step 4: Dc 3 into ch-3 turning chain of previous row. (First tile of blanket made)
Repeat Steps 6-8 of the “C2C Double Crochet - Increasing” tutorial above in each remaining tile of row.
How to Crochet the Butterfly Afghan
Use double crochet C2C stitches to make the butterfly blanket. While you'll find it faster to work predominantly from the line-by-line written instructions in the premium PDF, I recommend double-checking your work against the graph pattern periodically to help catch any mistakes sooner rather than later.
The line-by-line written instructions assume you are beginning in the lower right corner of the graph. (Same for right and left-handed crocheters.)

Borders
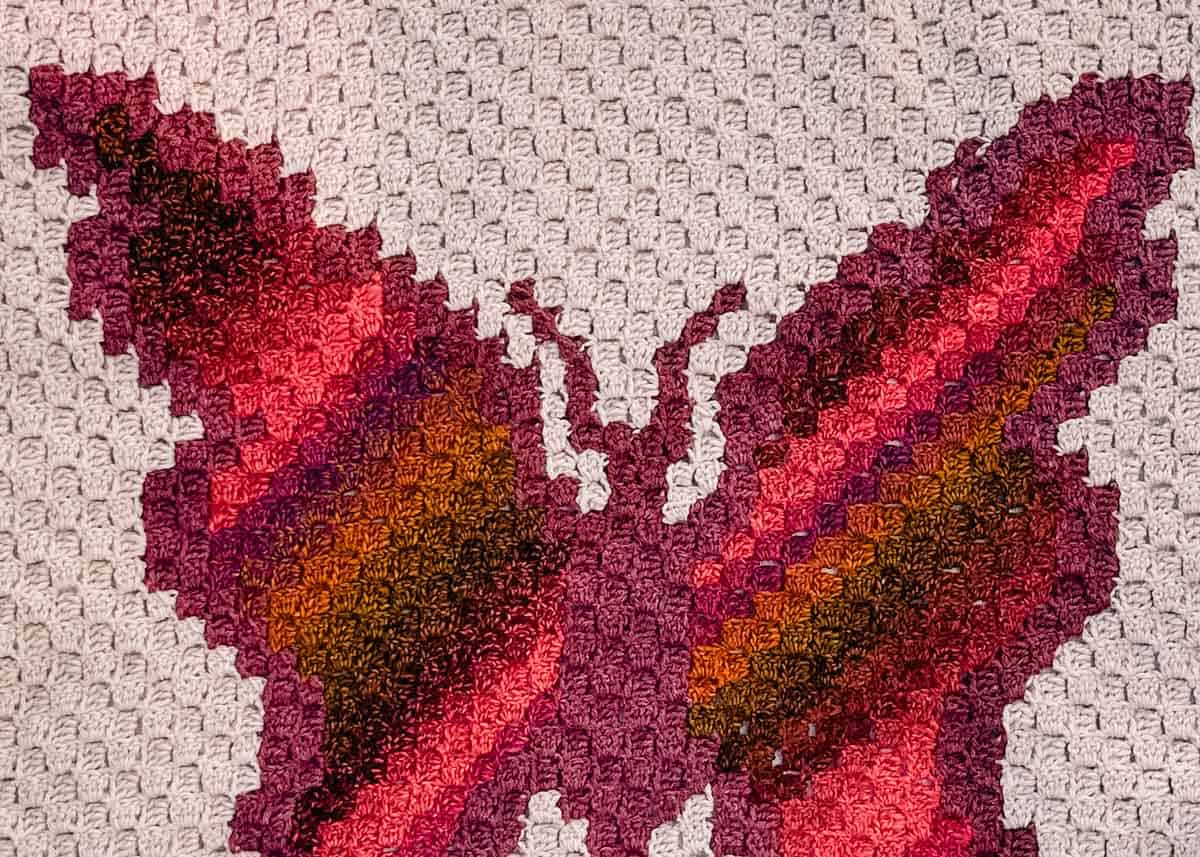
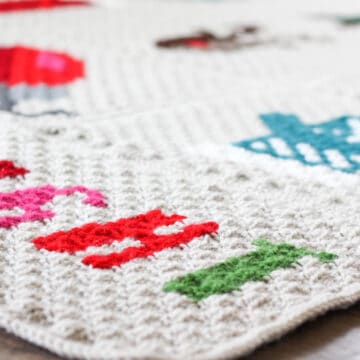
We added a whimsical shell stitch border to this project, but there are plenty of ways you can customize yours. My suggestion is to work Round 1 as a foundation for any border you choose. Check out this collection of crochet blanket border and trim ideas for lots of inspiration.
Here are some things to keep in mind as you work the border rounds:
- Borders are worked in the round with right side of the blanket facing throughout.
- To increase blanket size, follow optional instructions after Round 2.
- It is very helpful to watch Naztazia’s shell stitch video tutorial below before beginning Round 3.
Border Round 1 (RS):
Step 1: Ch 1, sc in same sp between two tiles.
Step 2: Ch 2, sk tile.
Step 3: Sc in next sp between tiles.
Rep Steps 2-3 to corner.
Corner: [sc, ch 1, sc] into corner point.
Rep Steps 2-3 around blanket, working corners as described above. At end of round: ch 2, slst to first ch of round.
Border Round 2 (RS):
The shell stitch border in round 3 requires a multiple of four stitches. If necessary, fudge the stitch placement in Round 2 to ensure each side has a stitch count divisible by four.
Step 1: Ch 1 (does not count as sc), 2 sc in first ch2sp.
Step 2: Ch 1, sc in next sc, ch 1, 2 sc in next ch2sp.
Rep Step 2 until corner.
Corner: 2 sc in corner ch1sp
Rep Step 2 around blanket working corners as described above. At end of round: Ch 1, slst to sc from beginning of round to join. (140 sts)
Optional Blanket Size Adjustment
If you’d like to make your butterfly baby blanket larger, add rounds of double crochet at this point. (Note: This will increase the amount of main color yarn required.)
Here’s How To Do the Extra Double Crochet Rounds:
Double crochet in each stitch around blanket, placing four double crochet stitches in each corner.
This means you’ll work two stitches in both corner single crochet stitches, for a total of four double crochet per corner. Repeat rounds of double crochet like this without turning at the end of the round until desired size is reached.
Shell Stitch Border Round 3 (RS):
Step 1: Ch 3 (counts as 1 dc), 1 dc in each of next 3 sts, ch 4, slst to top of ch 3, ch 1 (does not count as st) 7 dc in ch 4 ring… (one shell made)
Step 2: 1 dc in each of the next 4 sts along blanket edge, ch 4, working in the back of previous shell, slst in between previous ch 4 ring and following dc, ch 1, seven dc in ch 4 ring…
Rep Step 2 until corner.
Step 3 (Corner): 1 dc in corner, ch 4, working in the back of previous shell, slst in between previous ch 4 ring and following dc, ch 1, seven dc in ch 4 ring (2 shells made)
Repeat Steps 2 and 3 along each side. Join with slst to first ch 3. Fasten off.
Weaving in Ends
If you haven’t been weaving in ends along the way, now’s the time! I like to choose a color and weave in all ends of that color before moving onto the next. (Makes it feel more like a game to me!)
When weaving in ends, you may choose to use an accent color yarn tail to whip stitch and visually connect two c2c tiles. This is most helpful in thin sections, such as the antennae.
Blocking
Giving your blanket a light steam block will help straighten out any diagonal bias and make the shell stitch border lay flat.
My preferred method is steam blocking with an iron or steamer. Do not touch the heat source to the yarn. Read more about types of blocking and tips for success here.
Fly into a cozy snuggle with your new butterfly blanket!
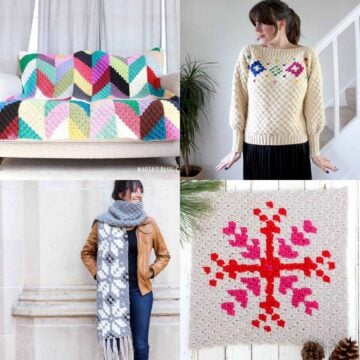
More C2C Free Patterns
Add a few of our favorite free crochet patterns to your project queue!
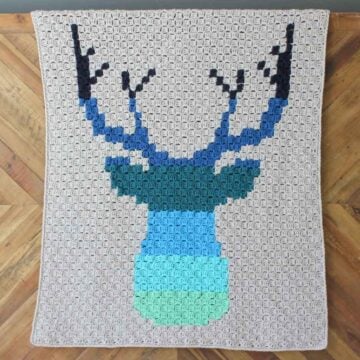
- Corner to Corner Crochet Deer Afghan - Free C2C Pattern
- Modern Corner To Corner Crochet Christmas Afghan - Free Pattern!
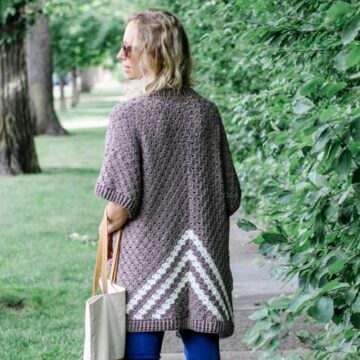
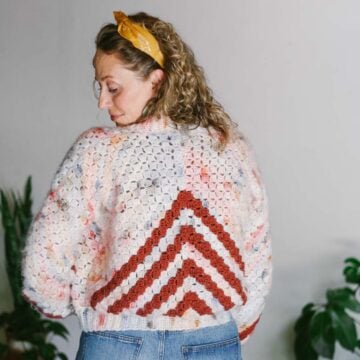
- Easy C2C Crochet Sweater Made from Rectangles - Free Pattern
- My Book: Corner-To-Corner Crochet
- Nordic Crochet Super Scarf Free Pattern
- Alpaca (or Llama!) C2C Crochet Blanket - Free Pattern
- Corner to Corner Crochet Christmas Tree -- Free Pattern
- Snowflake Pattern - Free c2c Crochet Graph
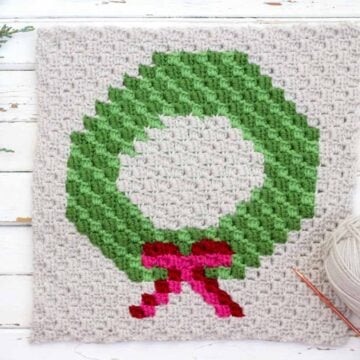
- Wreath Corner-To-Corner Christmas Crochet Pattern
That was so fun! Now what?
Invitation to our Facebook group
Come discuss crocheting butterfly blankets and lots of other projects and techniques in our Make & Do Crew Facebook group. Here thousands of helpful crocheters answer each other's questions and share their stitches. Join us!

Leave a Reply