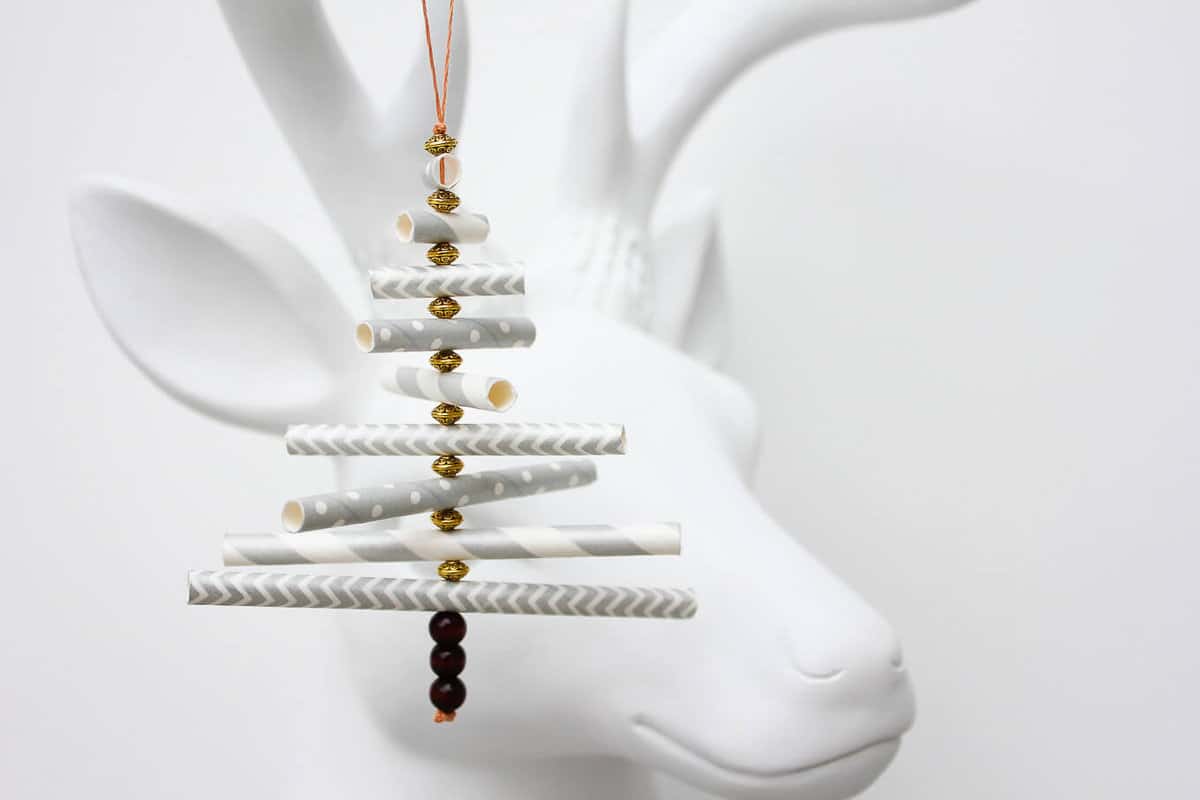
This DIY Christmas ornament tutorial is easy to make it batches, making it a perfect gift topper or present for your 100 closest friends.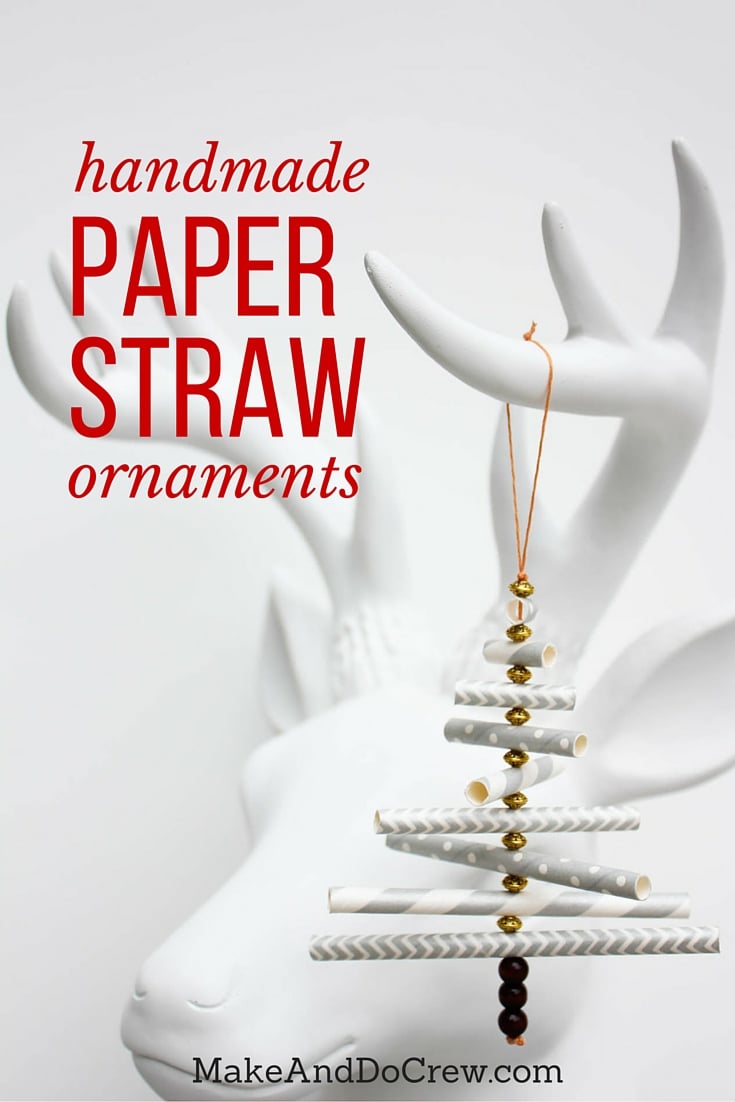
Paper straws are really having their moment in the sun these days. No Pinterest-worthy wedding, baby shower, kids' birthday party or PTA meeting is complete without a sweet little mason jar of paper straws next to an equally charming vintage beverage dispenser filled with a signature cocktail involving hibiscus or elderberry. Paper straws truly are charming little things.
There's just one problem.
They are horrible at their one intended purpose of being a straw-like. They get soggy. They get squishy. They basically disintegrate if you forget about your drink for too long. And those of us (I'm not naming names. JESS.) have a nearly impossible time using them without getting squirming a little because of all the issues listed above.
That's why these straws have been in our cabinet for two years. Yup. I use straws of the plastic variety on the daily to sip soda water while my cabana boys fan me with banana leaves, but I'm not willing to bust out these paper straws for anything.
Except crafting. Crafting some DIY Christmas ornaments to be exact!
This is the type of tutorial that truly anyone can do. If you are old enough to wield a needle and young enough to have the eyesight to thread it, you can be the proud owner of a handmade Christmas tree ornament.
These paper straw ornaments come together really quickly, so they could make a great gift topper for those plates of homemade cookies you're passing out to all your neighbors.
(Come on, it's only the end of November. We can still make idealist holiday goals that in no universe will ever be achieved.) Or maybe you will drop off homemade cookies to all your neighbors. In which case, swinga bya my place please!
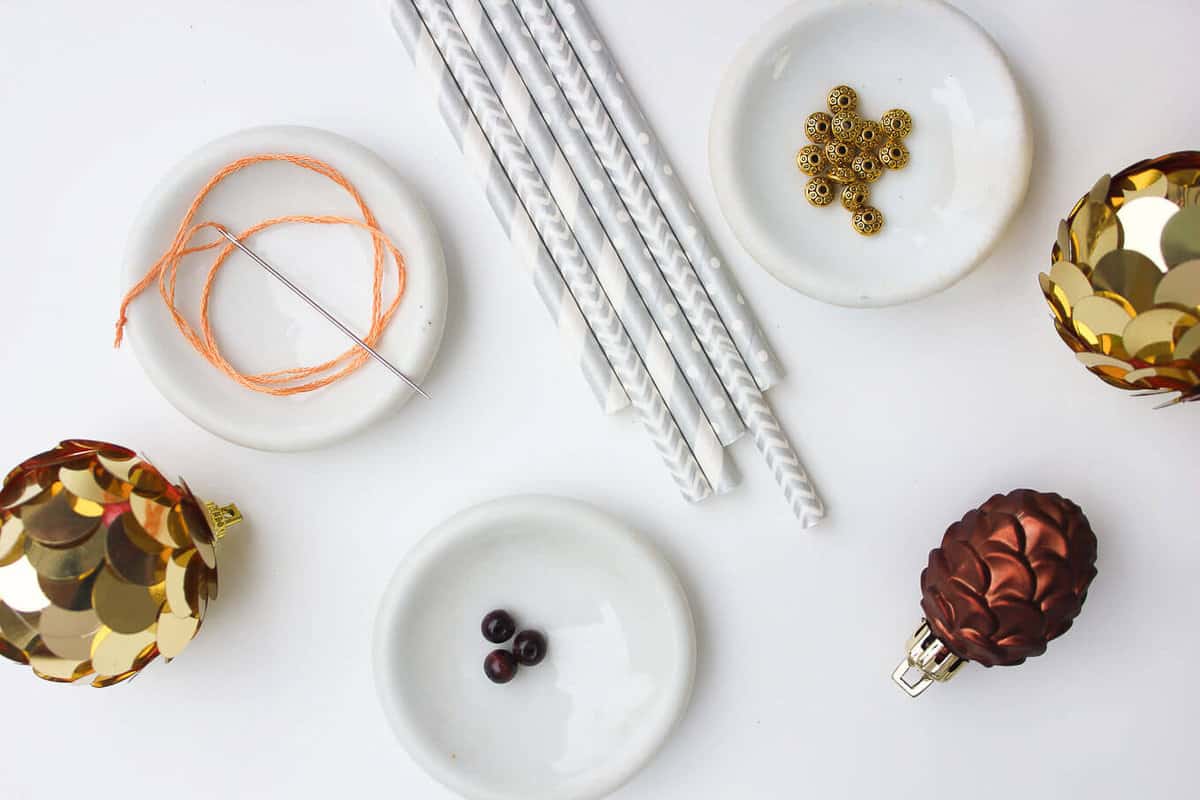
Supplies:
paper straws (one package makes several ornaments)
scissors
needle
embroidery thread
small beads
chopstick or a thin paintbrush to smooth out the straw edges
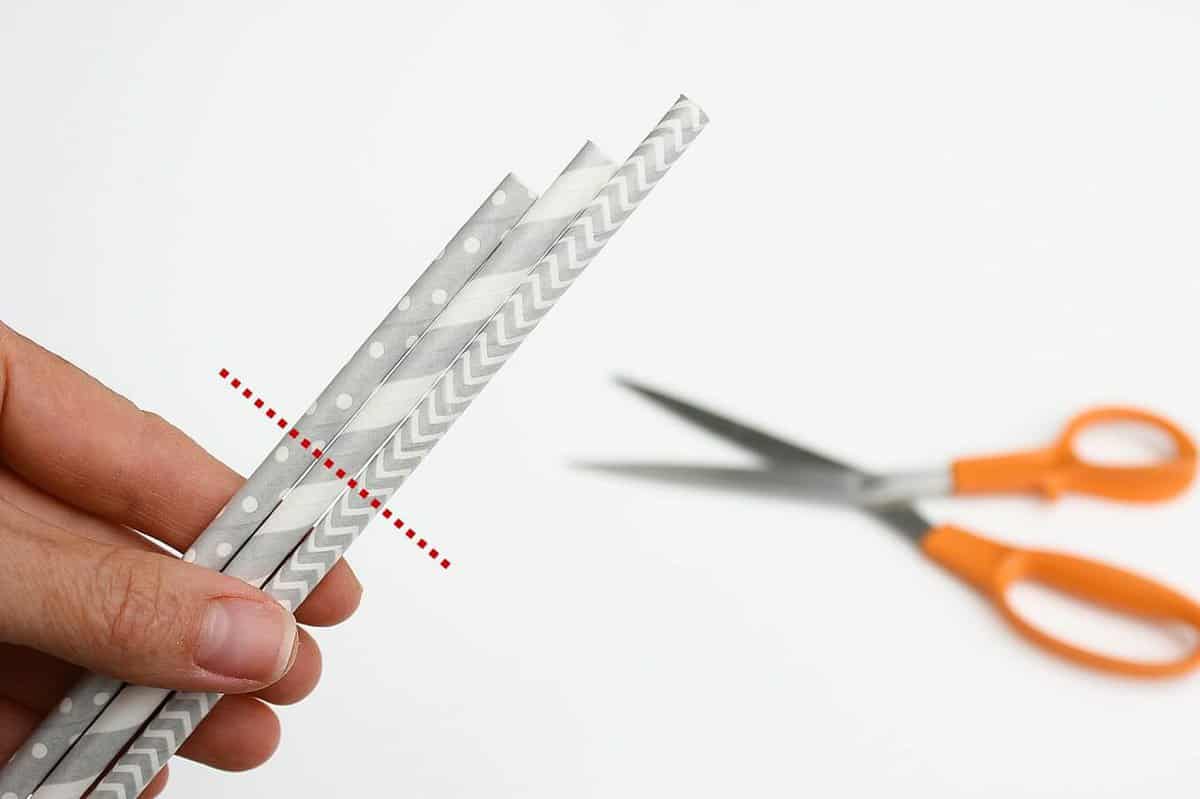
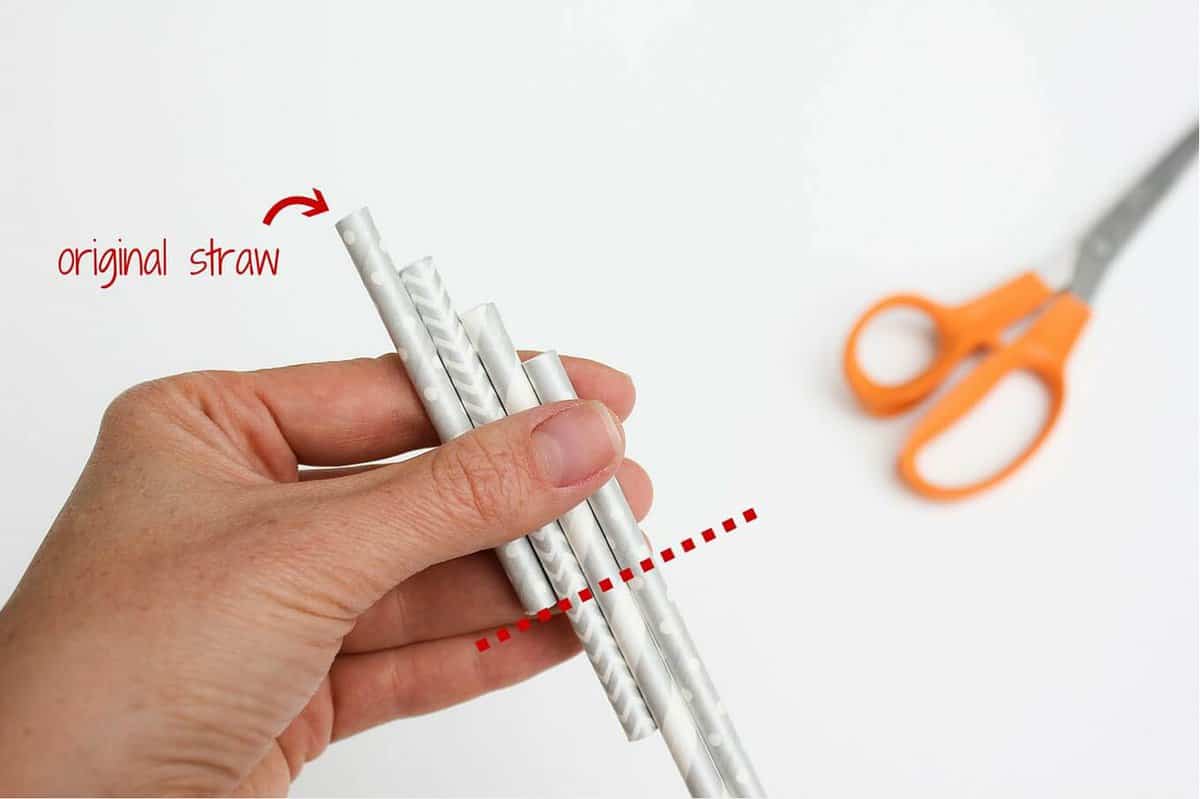
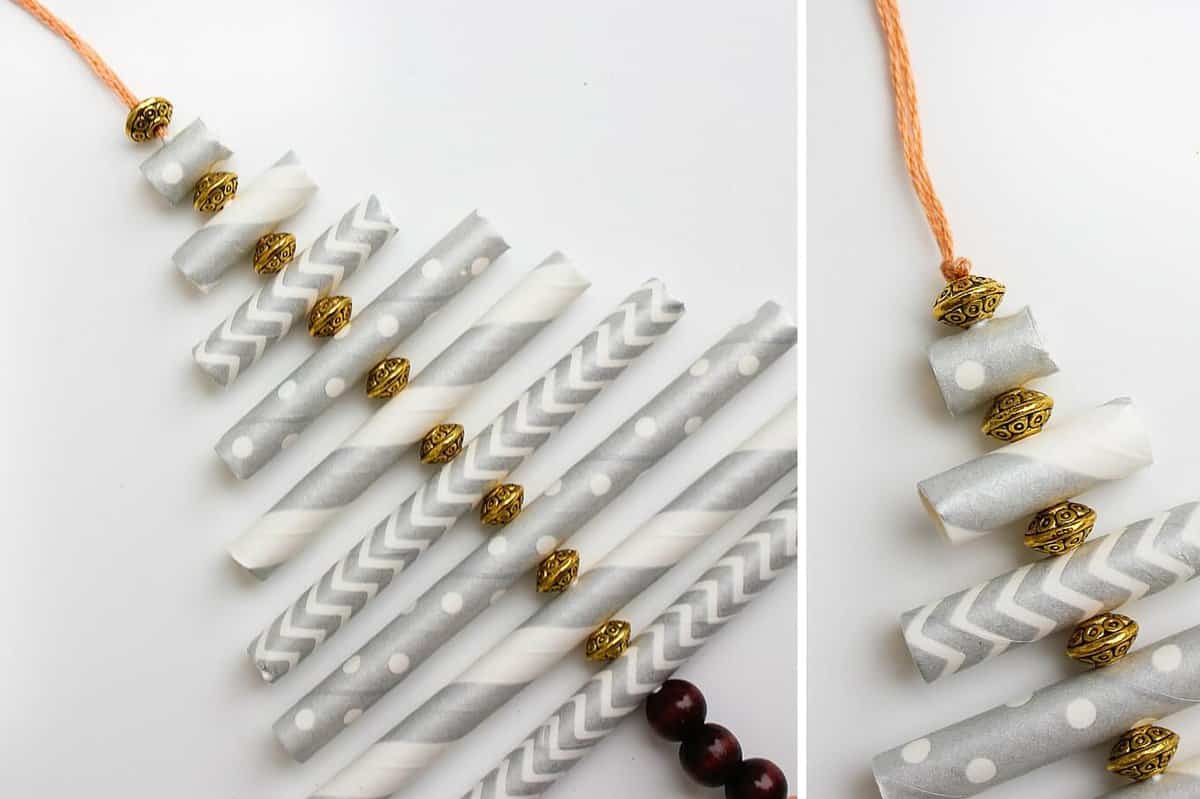
1. To cut the straws, first decide how long you want the bottom, longest straw to be. (The one pictured is about 4".) Stager the next two straws on top of the first, leaving about .5" difference between each straw. Gently cut the straws.
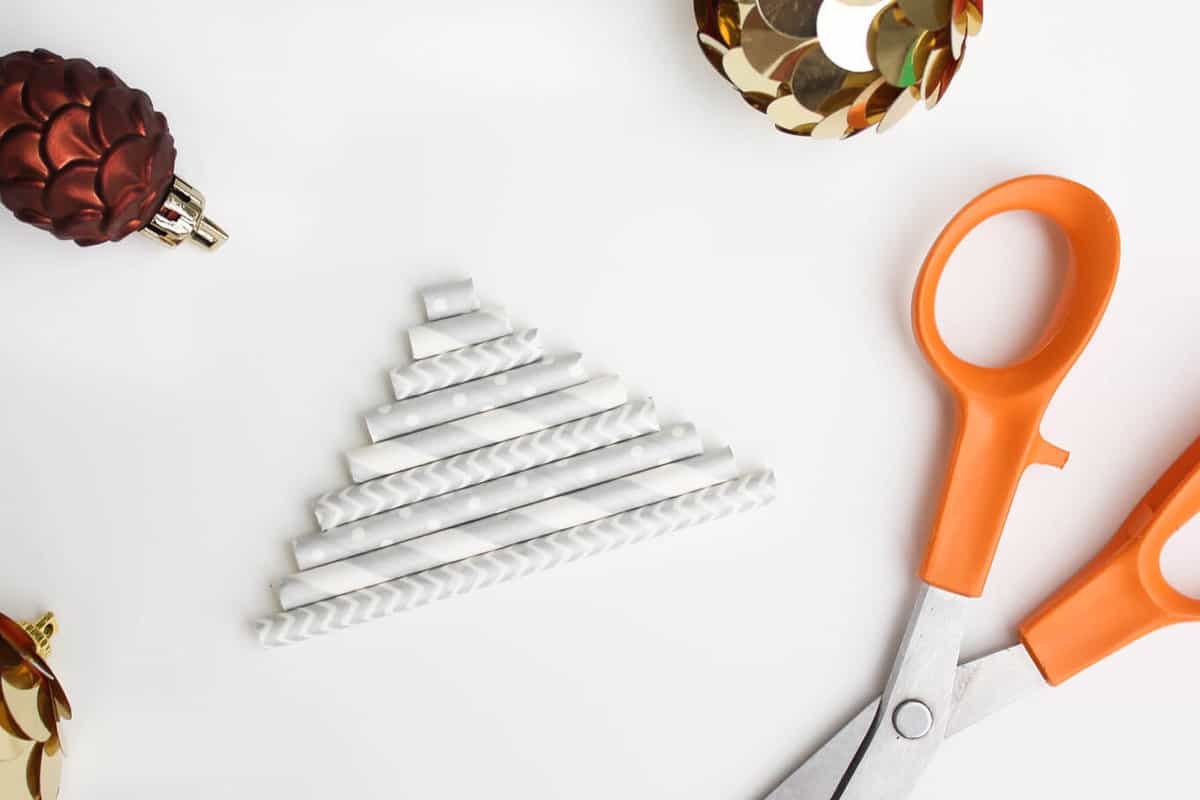
2. Use the shortest resulting straw as your measuring straw for the next batch you'll cut. (The polka-dot one, in this case.) Repeat step one using the original, measure-r straw to determine how long the straws above it should be. Continue this way until you have a straw piece that's as narrow as you'd like the top of your tree to be.
Wanna save this pattern?
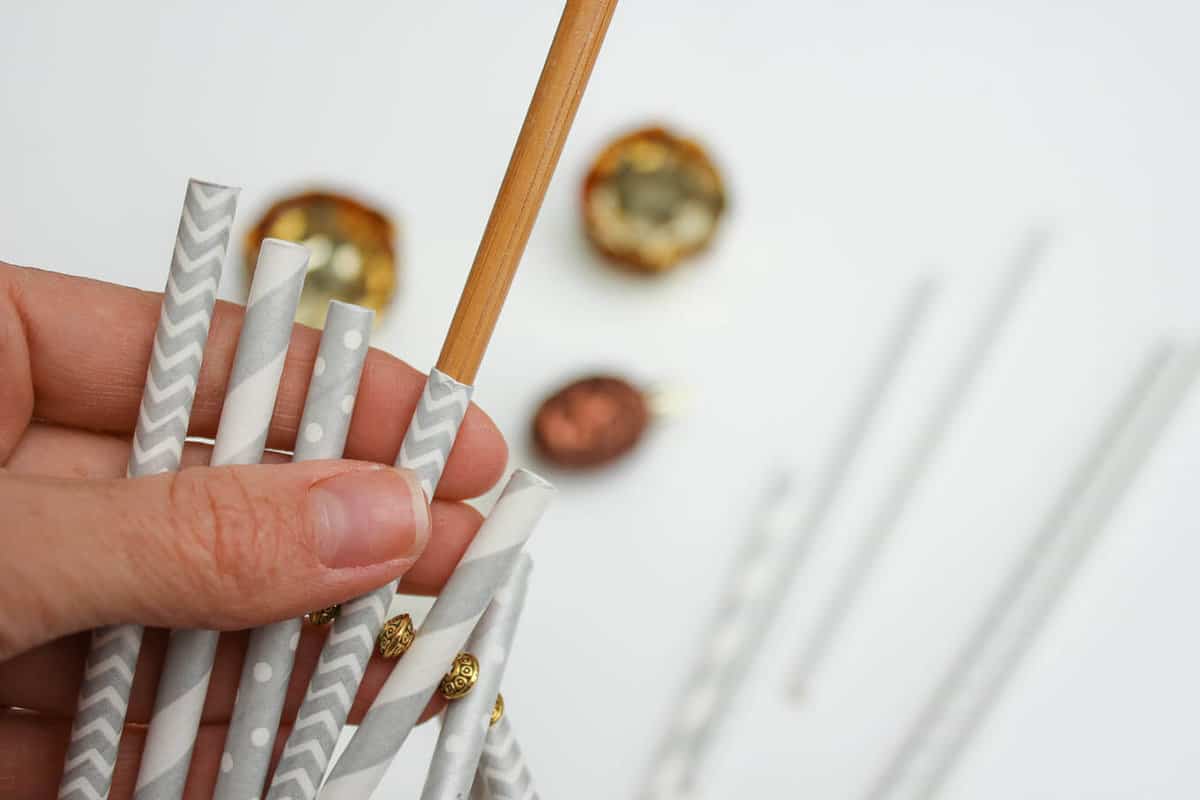
3. Use a chop stick to smooth out any straw edges that got a little crushed during the cutting process. (I did this after the ornament was assembled, but I wish I would have done it first.)
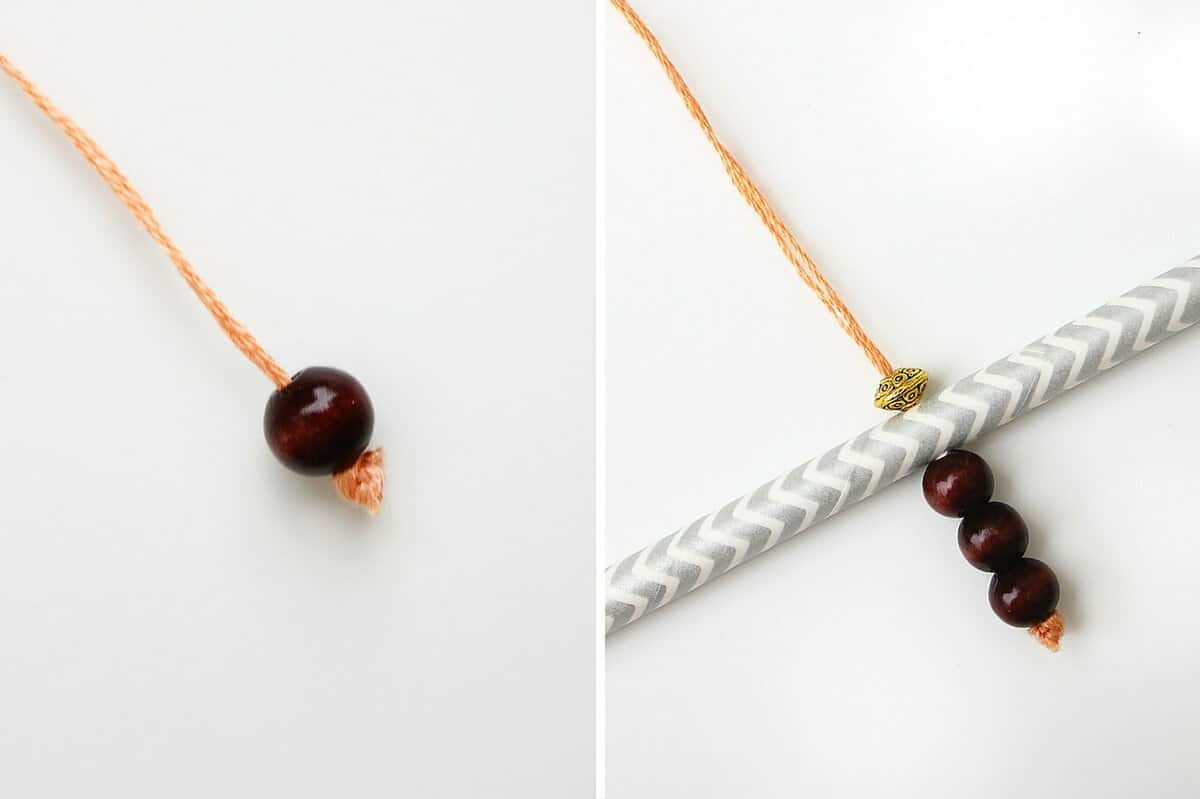
4. Thread your needle. Bring both ends of thread together and tie a knot.
5. Thread the bead or beads that will be the tree's "trunk."
6. Thread the longest straw. I just eyeballed the middle of the straw to know where to poke. If it looks off-center once it's threaded on, simply poke a new hole or trim the straw a bit.
7. Thread a small bead.
8. Continue like this until all your straws have been added.
9. Cut the needle off the thread at the very base of the needle (leaving as much thread as possible). Knot the thread next to the top bead. You may need a few knots to keep the bead from creeping upward.
10. Decide how much thread you'd like for the hanging loop. Tie a knot in the appropriate spot and trim off any leftover thread.
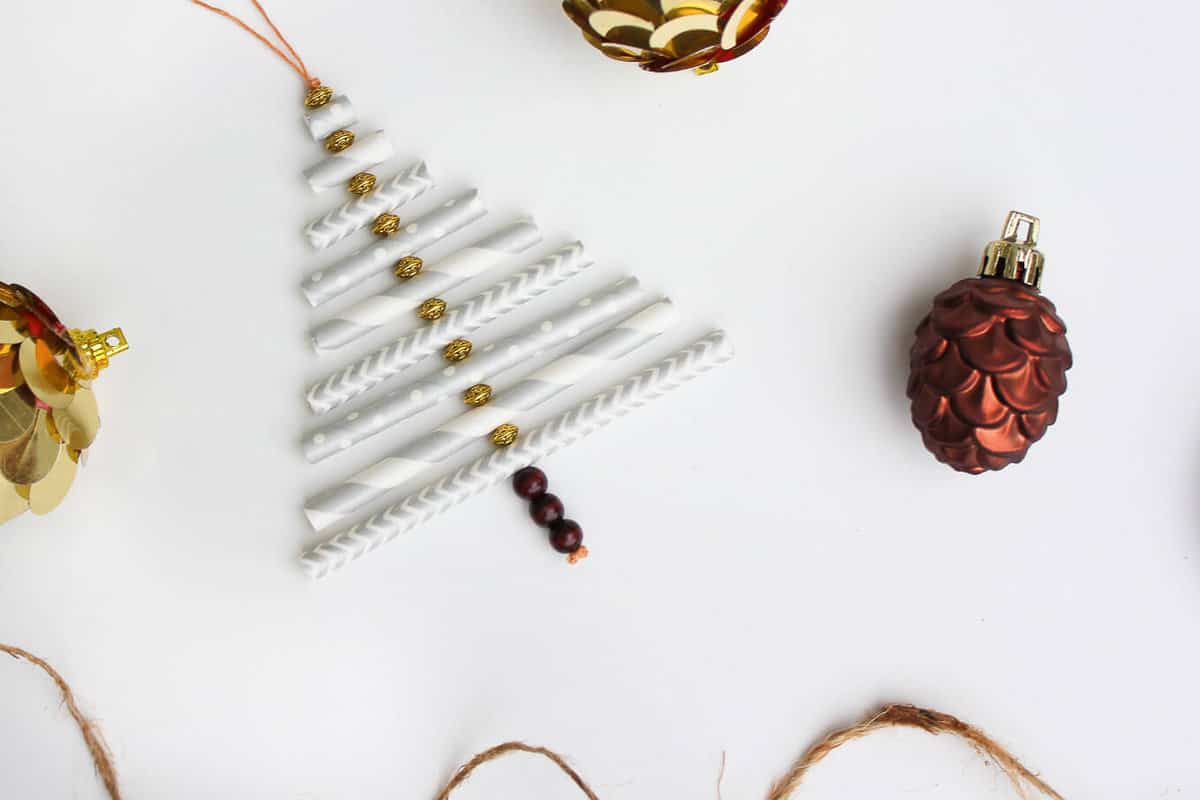
And just like that, you've just DIYed yourself a DIY Christmas ornament in no time flat! (See that? Did you get it? I made a rhyme there.)
Happy crafting, friends!



Heather @ Viral Upcycle says
Jess love how easy these are too! I really love that you buy things like this with crafts in mind. Typical of me, I'll hold out until I know that I can use them for something other than their intended purpose.
Jess @ Make and Do Crew says
Yes, Heather, that type of buying would just be considered hoarding if I didn't eventually make something with the "supplies" I've picked up along the way! That thought alone keeps me motivate to continue creating 🙂 You have so many beautiful ideas on your site! If "upcycling" wasn't in the title, I wouldn't have even guessed a lot of them used to be someone's "trash."
Happy making!
j
Laurie says
Love your straw tree ornament! Pinning and making one for myself 🙂 Thank you for sharing at Brag About It!
~Laurie
Jess @ Make and Do Crew says
Thanks so much, Laurie. You can make them almost faster than you can pin them--the sign of a good Christmas craft, in my opinion 😉
Happy crafting!
j
Jess @ Make and Do Crew says
Yes! Always gotta have a little bling 🙂