
Man, I have a thing for advent calendars. My mom used to buy those cardboard ones from the grocery store that came with one piece of chocolate for each day. Every night after dinner, I'd look forward to tasting that Christmasy countdown goodness inside. (As an adult, I'm sure I'd just eat all 25 days in one sitting on the couch while watching "Orange Is the New Black." So I just buy chocolate bars in bulk at Costco, put them in my "advent pantry" and call it a day.)
But for my girls, well, it's a different story. I wanted them to grow up with the same romantic fascination of what each day of December might bring. I'm all for the little happy surprises advent calendars can add to a day. The thing is, we have like a zillion food allergies around here, so buying a conventional advent calendar while I'm also picking up a bag of rice at the store is just not in the cards for us.
Plus, that would just be way too easy.
I wanted our kids to have a special handmade advent calendar that they could look forward to dragging out of the crawl space each year. And it'd be even better, I figured, if the whole family could contribute to the making of it.
So when I saw this Pottery Barn advent calendar, I said, "Heck yes! We're going to make that!" Well, first I said, "$159?! Are you out of your rustic, reclaimed wood mind!?" But after that, I decided we would make one. (For far, far, far less money.)

This is a great holiday project for the whole family to tackle because there are different tasks that are age appropriate for everyone from a two-year-old to, well...Santa (who I assume is very, very old). The whole DIY advent calendar affair is quite easy, but it does have a few steps, so I'd suggest starting before 10pm on November 30th.
Wanna save this pattern?
These instructions assume you're making an advent calendar the same size as ours, although you can totally change the dimensions if you'd like. (But then you're on your own with the math!)
Supplies:
25 mini buckets (I've seen these at Michael's and Dollar Tree. We got ours on Amazon.)
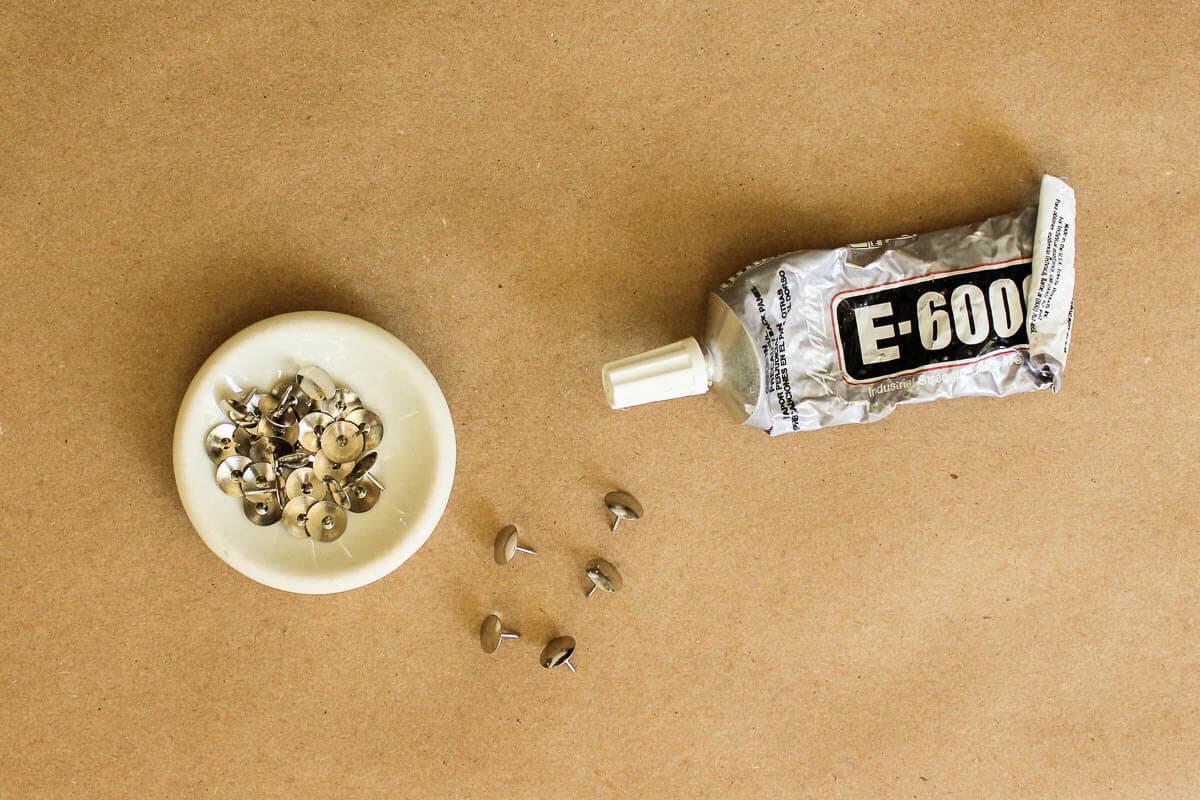
25 metal thumb tacks
vinegar
black acrylic paint
paintbrush
E-6000 glue (or other super strong glue)
measuring tape + pencil
drill
screws
baker's twine
small paper tags (Ours are Martha Stewart brand from Michael's)
black pen / number stamps and a stamp pad
picture hanging hooks and wire
wood stain for the trim (We used Minwax English Chestnut)
wood filler (optional)
saw*
plywood* (28.5"x24.5" piece)
trim* (10' total--cut into (2) 25" pieces and (2) 29" pieces)
miter box (Optional. We didn't have one. I'll explain our completely ghetto hack below.)
*If you don't have access to a saw, don't despair! The Home Depot Christmas elves will cut the wood for your for about 50 cents a cut. If you go that route, I suggest skipping the mitered corners on the trim and instead just doing rectangular corners.
- Start by painting the board that all the buckets will hang on. This is a step that is great to involve the kiddos in. Mo, aged 24 months at the time, loved having such a huge canvas to paint.
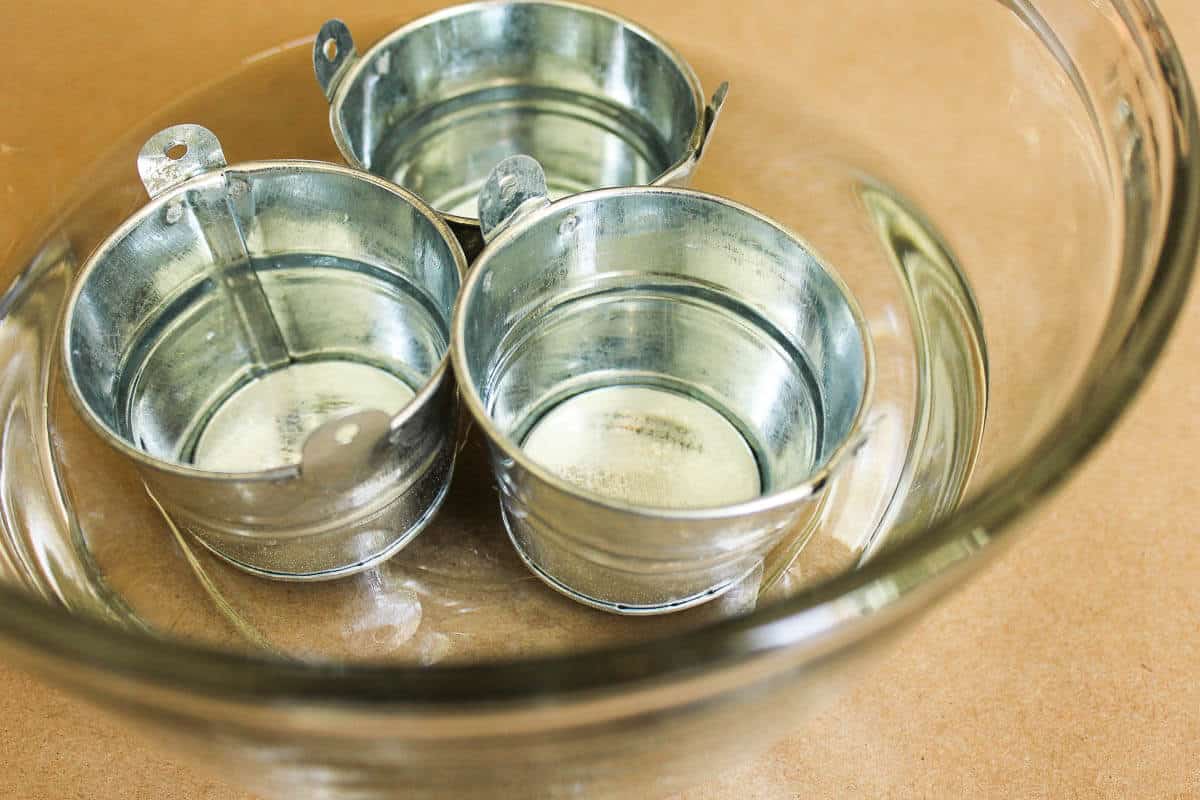
- While the paint is drying, remove the handles from your mini buckets. Something I like about the Pottery Barn advent calendar is that the buckets looked kind of weathered, but ours arrived from Amazon looking way too shiny for my taste. Soaking galvanized steel in vinegar helps to create that rusty, hope-you-had-your-tetanas-shot patina Pottery Barn is known for. Ours hung out in vinegar overnight and then I let a few soak even longer so that they didn't all look uniform.

- In the meantime, cut your trim pieces so that each has a mitered corner. We didn't have a mitre box and I haven't owned a protractor since 1995, so I came up with semi-effective way to improvise. I folded a piece of paper so that it had a 45 degree angle and then used it to trace a 45 degree angle onto my trim pieces. Not ideal. It definitely added a bit of
sloppinessrustic charm to the trim, although I don't think it's super noticeable. - Stain your trim. Mike just rubbed the stain on with an old cloth until we got the desired saturation. (You can also wait to stain the trim until you attach it to the board in the next step. You'll just need to tape of the board so that you don't get stain on it.)
- When the trim is dry, it's time to attach it to your painted board. We screwed ours in from the back so that there was no sign of them on the from of the trim. (Just make sure you use a screw that is short enough that it won't poke through the front!)
- If your mitered corners are looking a little ragged like ours were, squish some wood filler in the cracks and tell yourself it's all part of the DIY allure. Touch up the wood filler with a little stain if necessary.
- Now it's time to map out where your buckets will go. We did more than a little bit of math to figure out the bucket placement in ours so that they all appeared evenly spaced from each other and the trim. If you're using our dimensions, map yours out like this.

- Drill a very small hole (slightly smaller than the thickness of your thumb tack stud) where each bucket will hang.
- Place a small bit of glue on the drilled hole and press the thumbtack into it. (We had a heck of a time finding a way to attach the buckets to the board because it's a hard space to get a drill or hammer into and the board is too dense to push a thumbtack in on its own. If you come up with something easier, please let us know in the comments!)
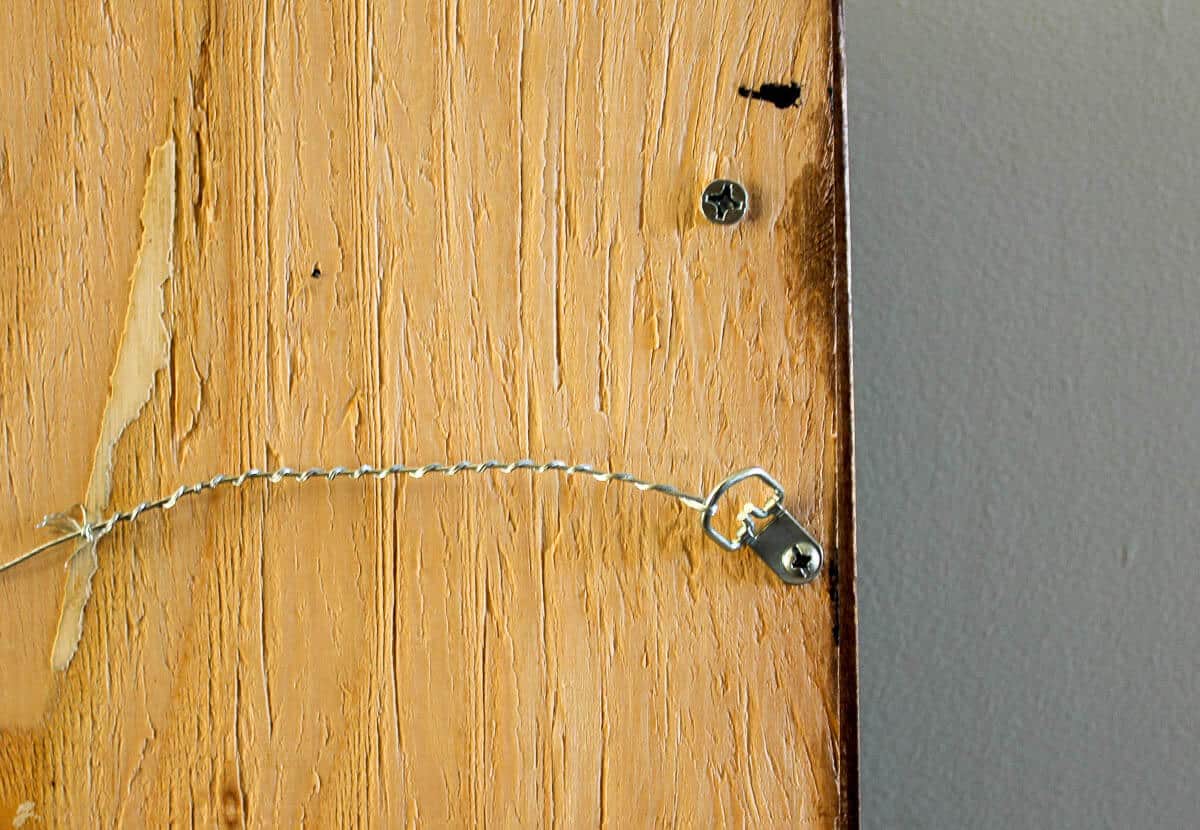
- Drill two small holes in the back of the board and attach your picture hanging hooks and wire. Be sure to put them low enough on the board that the wire won't stretch and be visible once your calendar is hanging up.

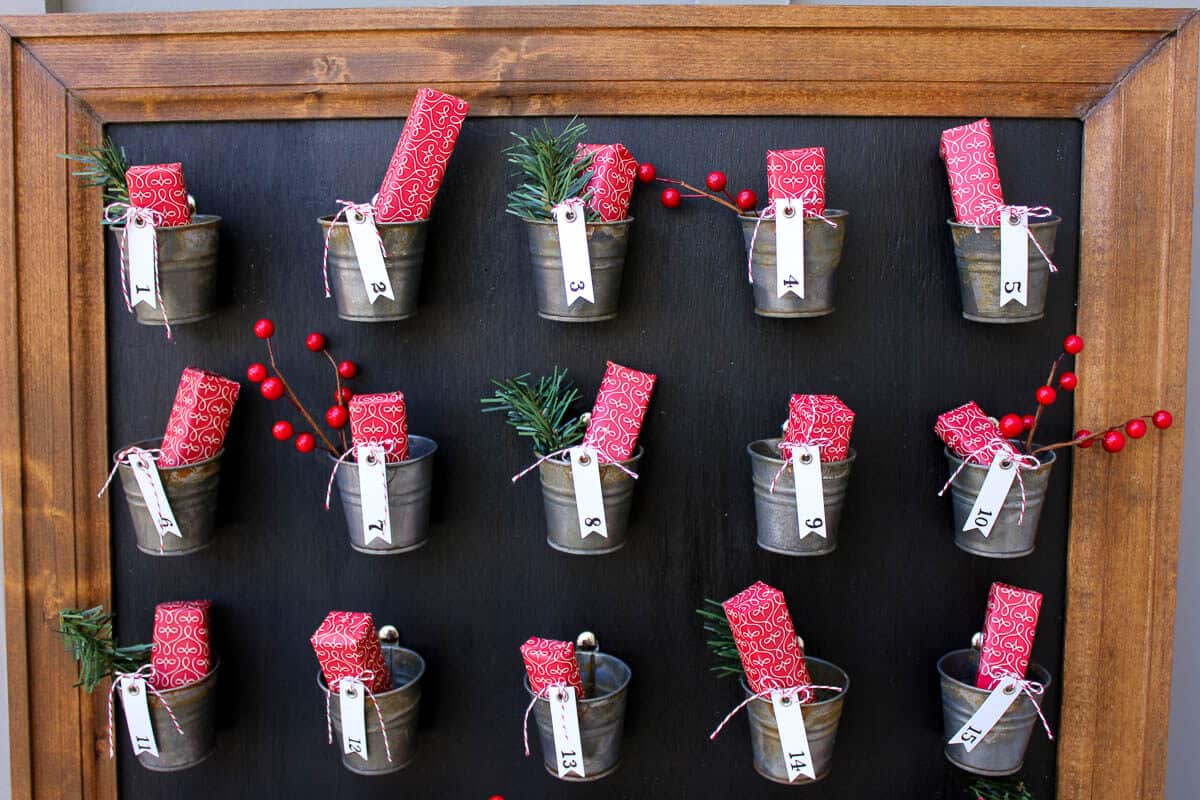
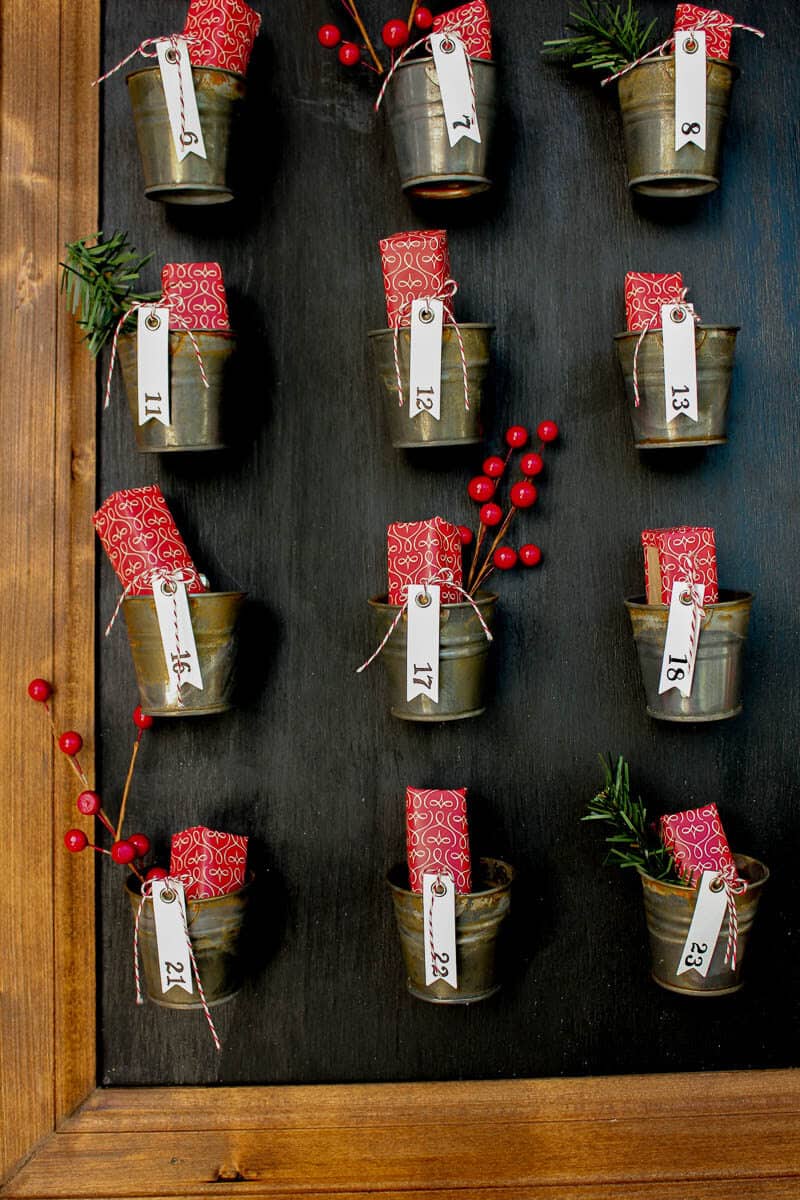
- Take a quick break to admire your progress. Lookin pretty good, huh? Okay.I would have ideally used some small stamp numbers for the tags (and I swear I have some somewhere!), but since I couldn't find any, I decided to hand-letter a tag for each day. I just found a font that had nice numbers (Goudy Bookletter 1911) and did my best to copy how they looked. Tie the tags onto buckets and you've got a super awesome DIY advent calendar that's ready to be stocked!
Hit up the Target dollar bins, the dollar store and the bulk candy section at Whole Foods to find little goodies to put inside and let the Christmas countdown begin!And if you need more inspiration, check out my list of 24 Advent Calendar Gift Ideas to fill these buckets up!


Drew says
I love pottery barn but I can't make myself pay for it. I would love to have some knockoffs like these.
Jess @ Make and Do Crew says
I agree, Drew! Plus I love the pride that comes with knowing I made something myself.
🙂
Laurie says
This is fabulous! It will be one of our features at next week's party! Sure hope you will join us! Party starts next Monday at Midnight! Have a lovely Thanksgiving!
~Laurie
Jess @ Make and Do Crew says
Thanks so much, Laurie! I have wondered what time your party starts, so thanks for telling me. There are always so many awesome projects linked there when I "stop by." Happy Thanksgiving!
Chloe | Boxwood Avenue says
I almost jumped up and down with excitement over your project! Last year, I cut the PB version out of their catalogue, and have been meaning to make it ever since (my little cut out is tattered and torn now lol). This is a great tutorial, thanks for sharing!!!
Jess @ Make and Do Crew says
Oh, Cloe! That makes me so happy. The same thing happened to me and I decided I just had to have it. (Without spending $160!) Id love to see how it turns out.
Marie at The Interior Frugalista says
Love a good knock off and this one is fabulous! Great tutorial too - thank you.
Jess @ Make and Do Crew says
I love a good knock off too! It's my way of "sticking it to the man," I guess 🙂
Happy making and doing!
j