
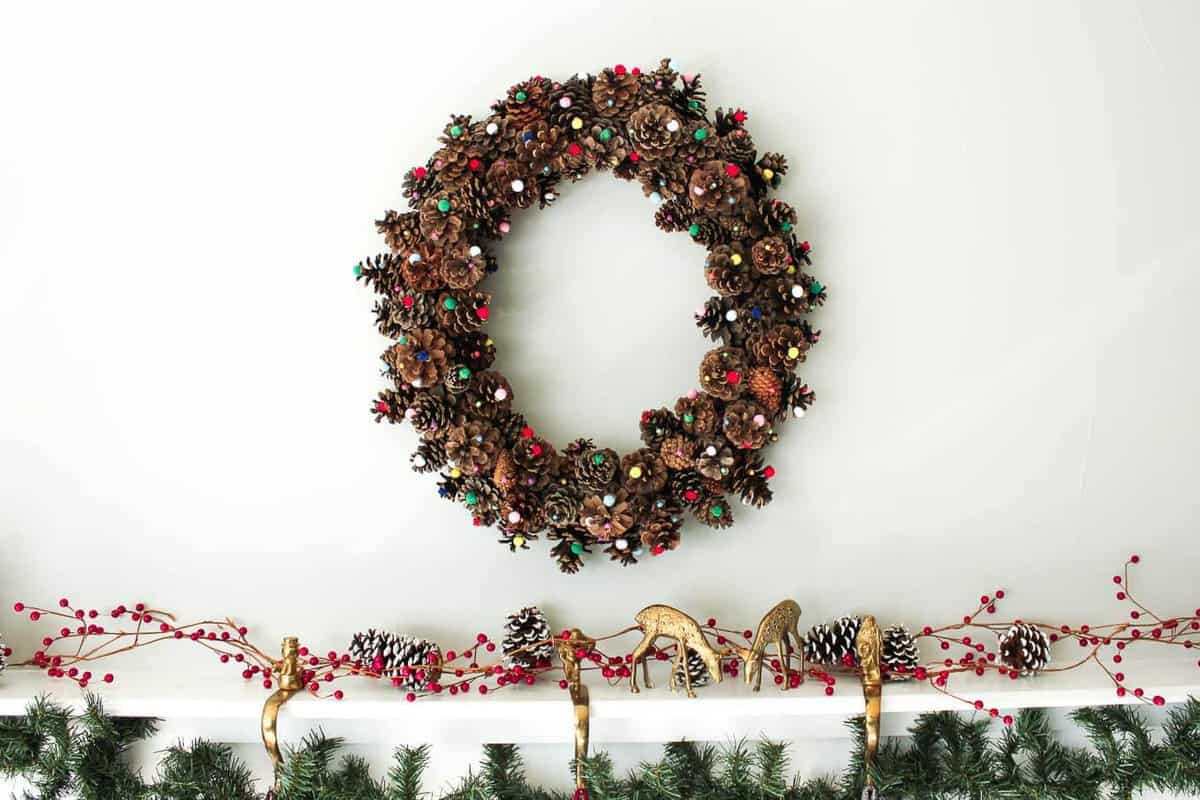
There are certain things around our house that just make my eyes smile. This new DIY pinecone wreath is one of them.
And I love how this wreath looks like it could come from a little hobbit’s Etsy shop. There’s something that feels very magical and woodsy about it. And I woodsy.
The pinecones supply a hefty dose of natural texture and serve as a backdrop for the bright, animated pom poms.
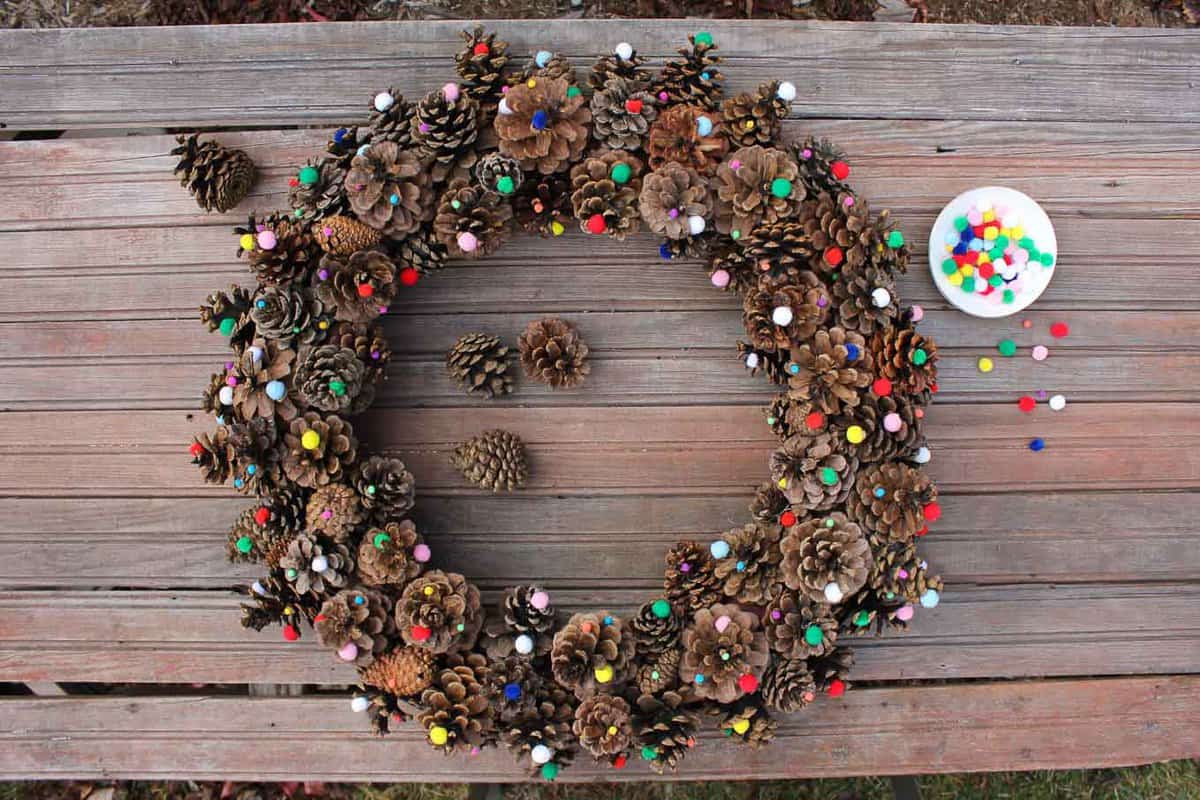
I could see this wreath working with our decor all winter long. It looks Christmassy, but not so much so that we’ll seem lazy if it’s still hanging up come Super Bowl Sunday. Which, let’s be honest, it most certainly will be.
A Couple Pre-Tutorial Tips
(In case you only read this far before darting off to get your supplies. Ive been there.)
- This wreath requires quite a few pinecones, but not nothing outrageous. Buy some pinecones or follow my tutorial for cleaning and de-bugging ones you forage for. If you decide to go the hunter-gatherer route, try to collect a variety of sizes of pinecones. You’ll want some small ones to fill in the gaps between the bigger ones.
- As you’ll see, I used a pool noodle duct taped into a circle for my wreath form. This is generally a great way to save a couple bucks on a wreath form. In this case though, because I made my wreath pretty big, I wish I would have used a legit wreath form. The pool noodle is a little too floppy to support the weight of Mother Earth’s bounty, plus about nine pounds of hot glue.
- Speaking of which, you’re gonna need quite a bit of hot glue to make this wreath. But, at least around here, it’s not the holidays if there’s not the smell of melting plastic wafting through the house.
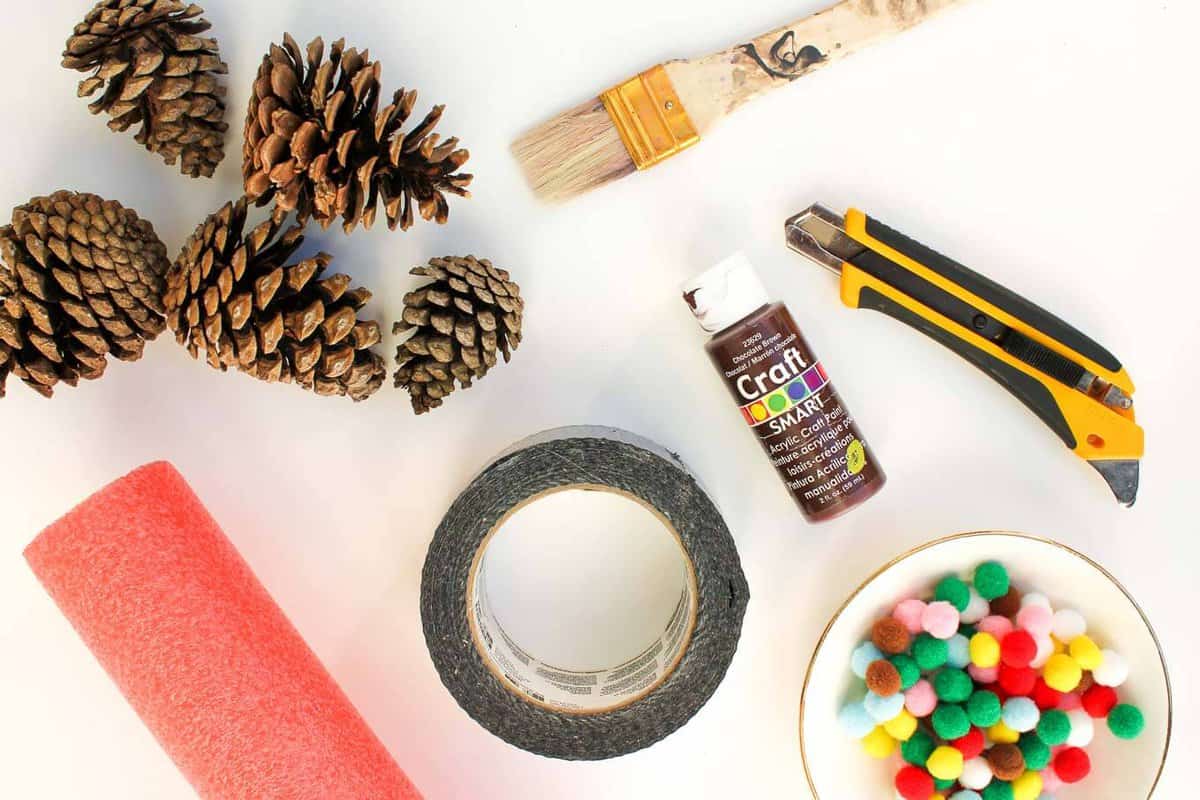
wreath form (or a pool noodle, an Exacto knife to cut it to desired size and duct tape)
brown acrylic paint
paintbrush
pinecones
scrap of ribbon to hang the wreath
hot glue and glue gun
small pom poms (I also used some super tiny ones for variety)
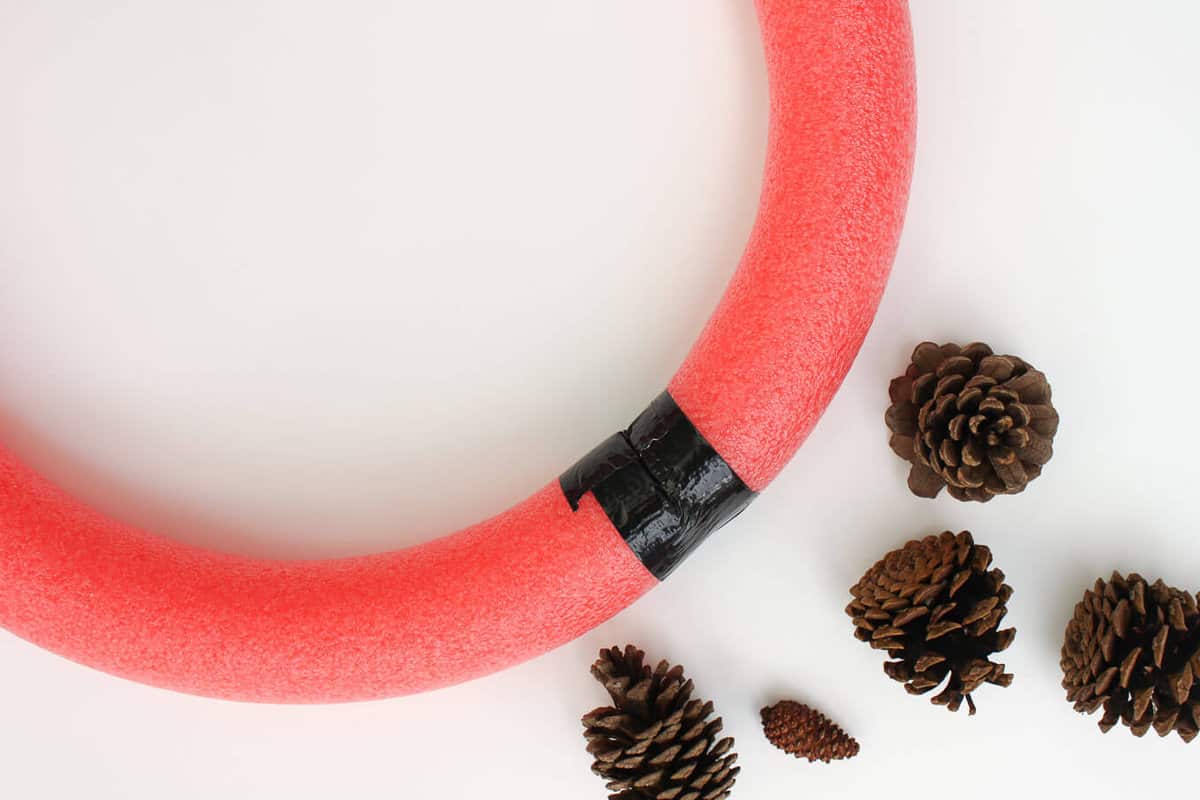
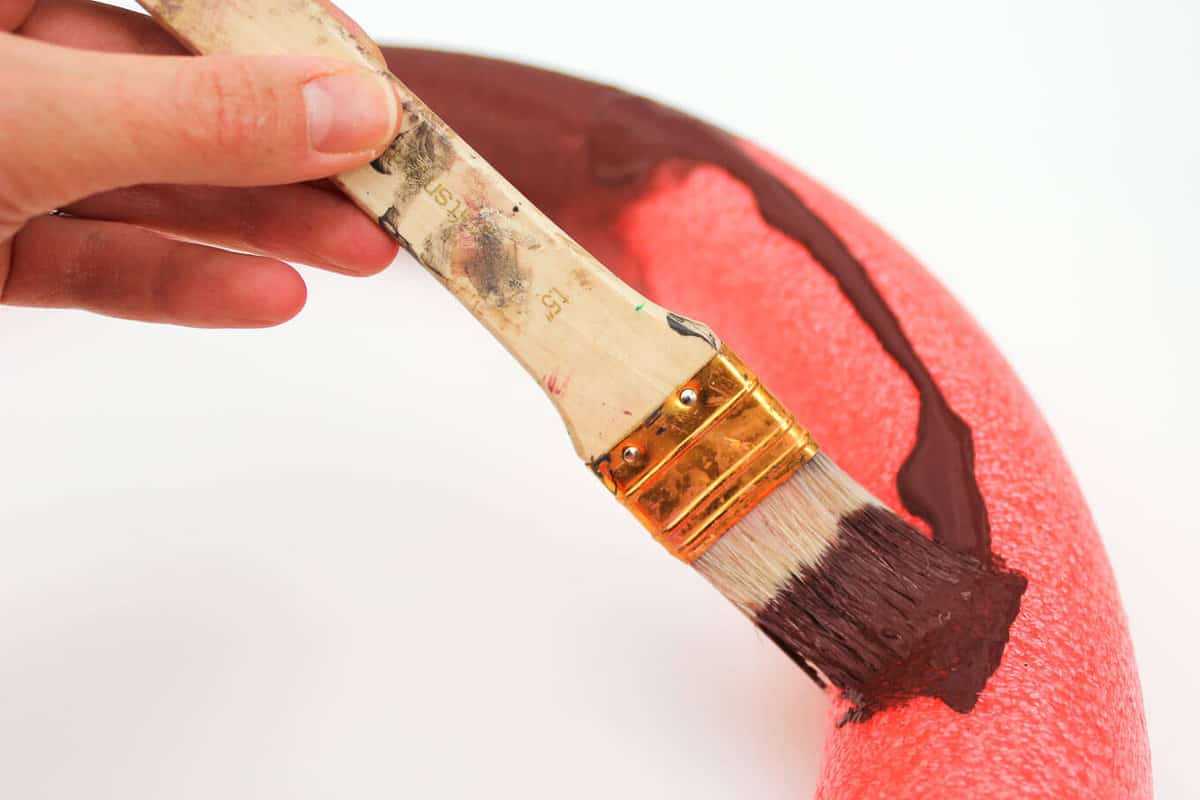
2. Paint your wreath form brown. You’re not going for Picasso here. It’s just to disguise the parts that peek out between pinecones.
3. Tie your ribbon in a loop around your wreath form to serve as a hanger. Glue it down in a couple spots. This is easier to do before the pinecones are added.
Wanna save this pattern?
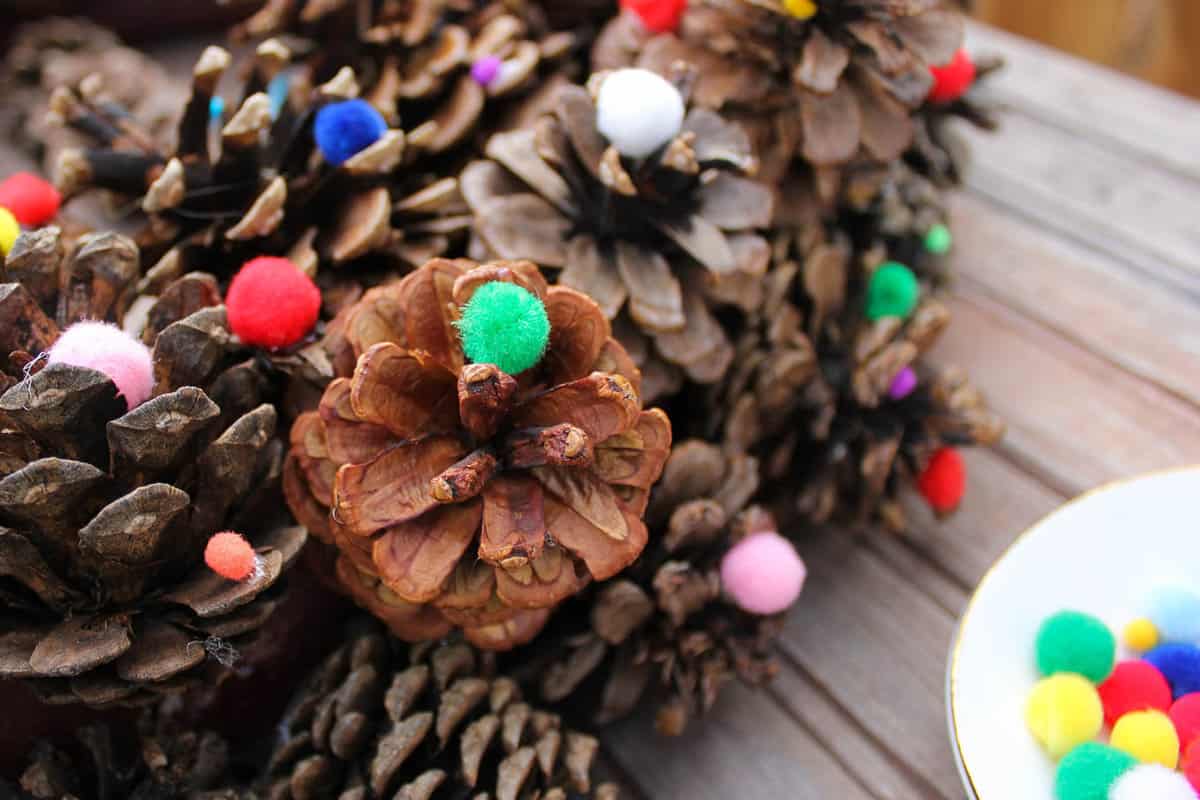
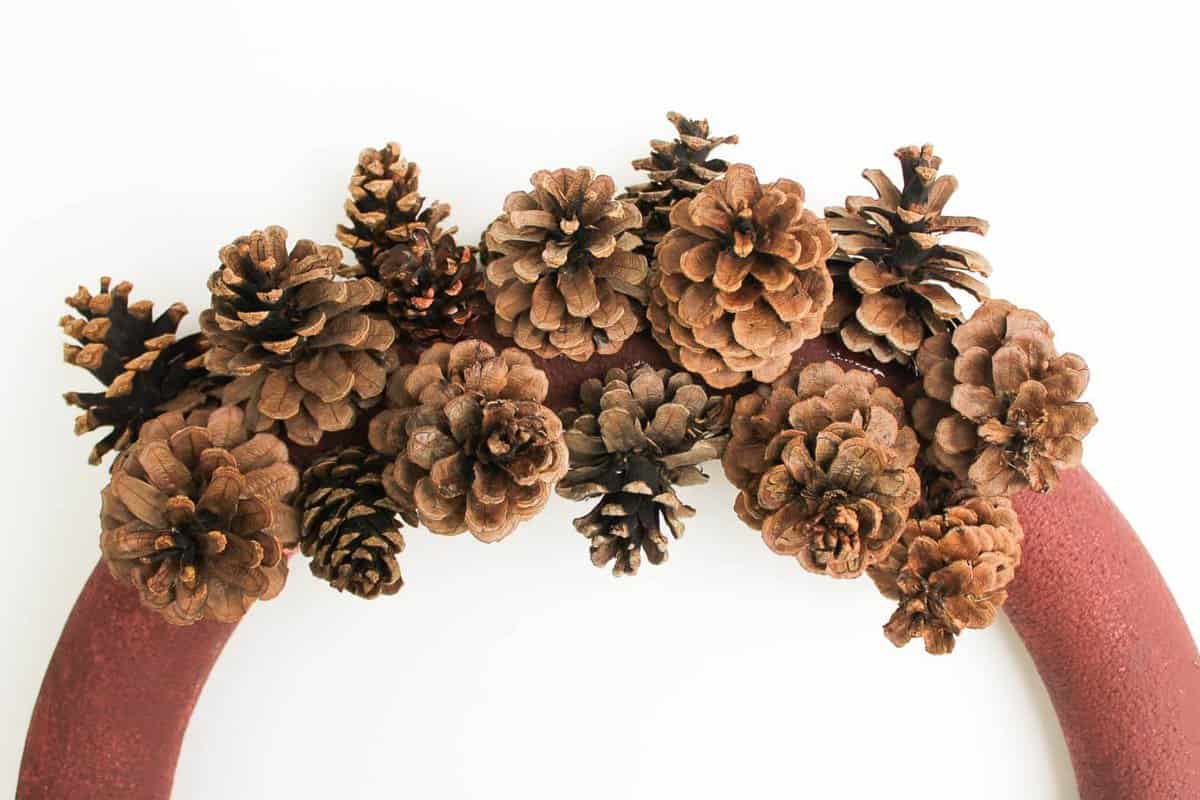
4. Load up that glue gun and go pinecone crazy. Start with larger pinecones and fill in smaller ones as needed. I chose to glue the bases of the pinecones so that the “petals” would be really visible perches for the pom poms.
5. Hot glue pom poms in your desired density around the wreath.
6. Hang that wreath up loud and proud and give your eyes something to smile at!

Snazzy blog photos can make it look like some people are doing it all (effortlessly!) while others of us (me!) are barely holding it together. So whenever I can, I like to introduce a little reality check in the form of a very un-Pinterest-worthy detail from my perfectly imperfect real life. My hope is that it’s a helpful reminder all of us that NO ONE is nailing it all the time.
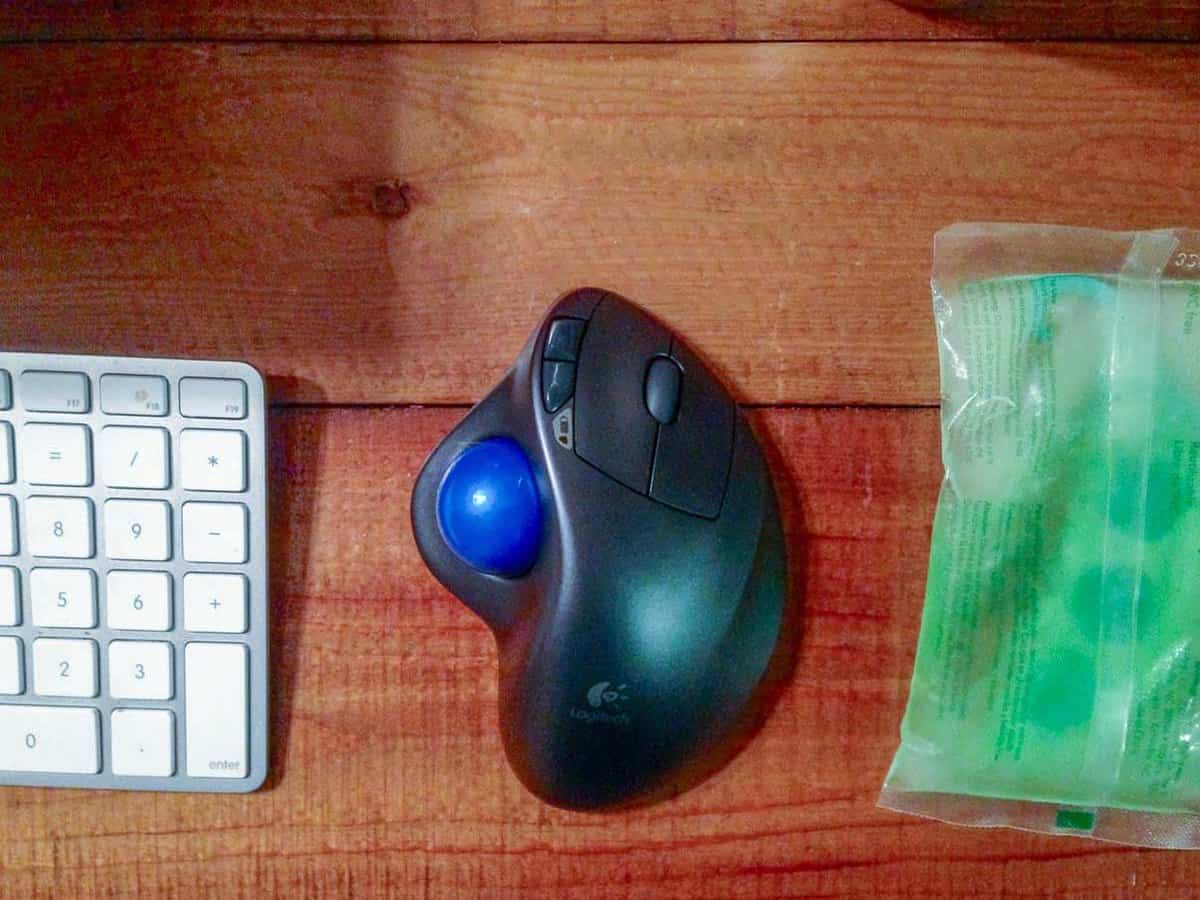
While working on this wreath (at about 11:30pm) a pinecone slipped and hot glue absolutely coated my pointer finger. A few expletives and an ice pack later, I wrote this post with the ice next to my mouse so that I could numb my finger before using the trackball. #craftinjuries



Suzanna @ One Hoolie Mama says
This is great! And I am totally guilty of burning myself every time I try to use the hot glue gun.
Jess @ Make and Do Crew says
Suzanna, I’m glad (or not glad??) to hear I’m not the only one. It really doesn’t matter how careful I am, it’s inevitable that I hurt myself with the glue gun.
Thanks for reading. Happy crafting!
j
Beth says
I really love this wreath. It’s so cute.