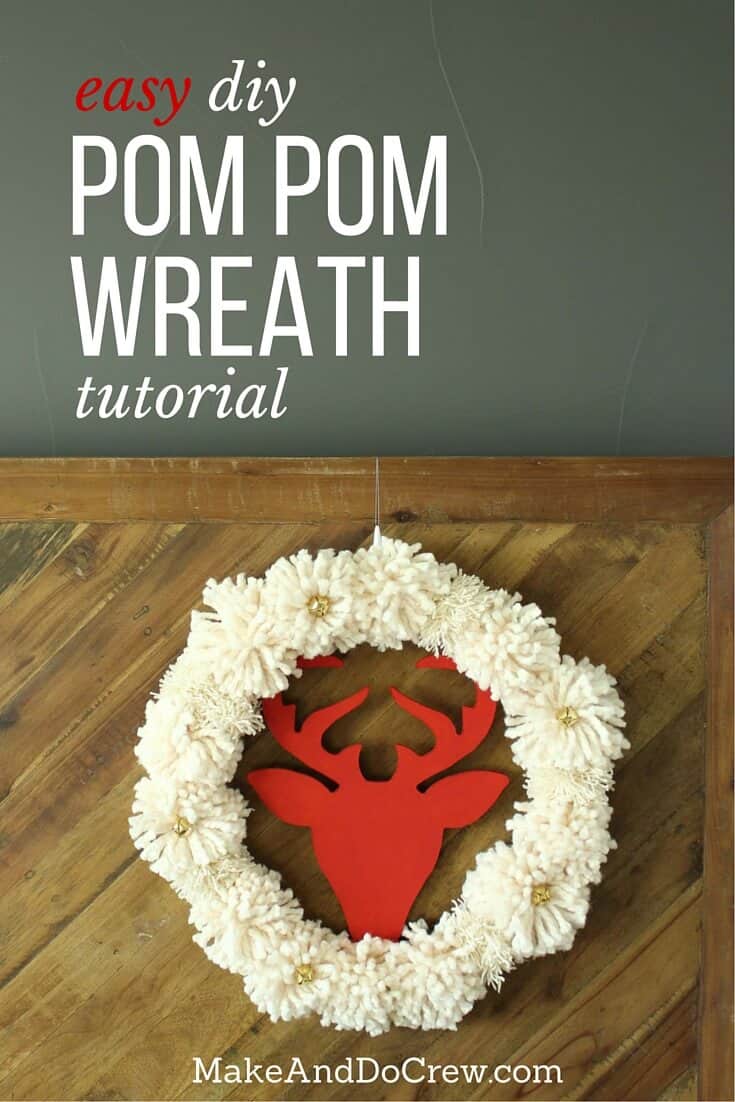
Jingle bells, jingle bells, jingle all the way. Oh what fun it is to make a DIY Christmas wreath in a day. Er, an hour.
Oh boy. I think bad rhymes are my thing. Well, bad rhymes and DIY wreaths are my thing.
I've gotten so into making wreaths. You know that kindergarden teacher who has a themed pair of earrings for each holiday? Pumpkins for Halloween. Blinking bulbs for Christmas. Little star spangled banners for Flag Day.
Well, I think I'm her. But with wreaths. And wreaths require a lot more storage space than earrings.
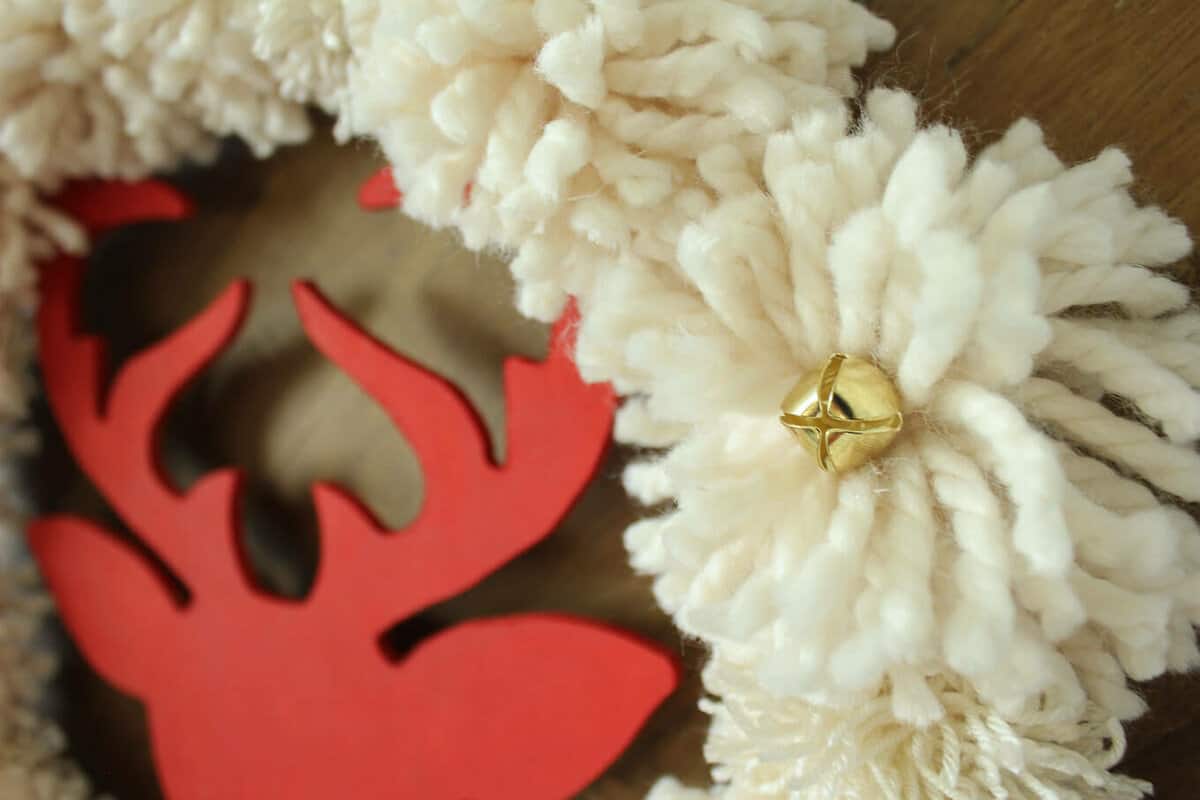
thing wreath form at Michael's, I bought it not even knowing what it was. It looked woodsy and I like woodsy. So I threw some money at the cashier at hauled it home, having no idea what it would become.
After looking at it for a while, I decided it was either sort of a Patagonia version of a peace sign or something to make a wreath on. Most likely, the later. Since then, I've had about 1607 DIY Christmas wreath ideas spinning through my head.
When I came across this pom pom wreath from Pottery Barn (for OUUUCH...$129), I knew just what my Patagonia peace sign could become.
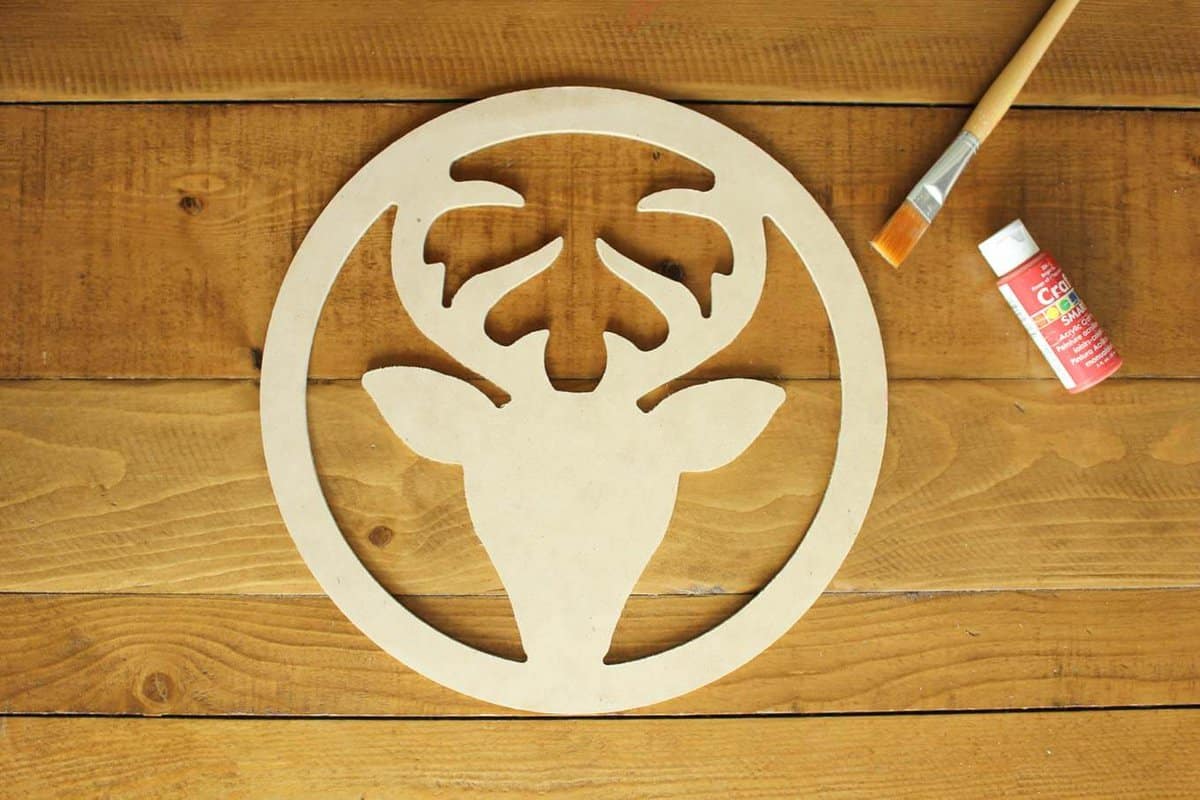
DIY Christmas Wreath (with Pom Poms!) Supplies
wooden wreath form from Michael's (Really, you only need this specific one for the reindeer element. You could use a cardboard circle sans reindeer in a pinch.)
red paint and paintbrush
yarn (I used two kinds to add more texture: Lion Brand Wool-Ease Thick & Quick and some acrylic worsted weight yarn from my stash. Any worsted weight yarn will do.)
gold jingle bells
Wanna save this pattern?
hot glue gun and glue sticks
small pieces of cardboard for pom pom forms
short piece of ribbon to use as a hanger
scissors
Steps:
1. Paint your wreath form. I used two coats.
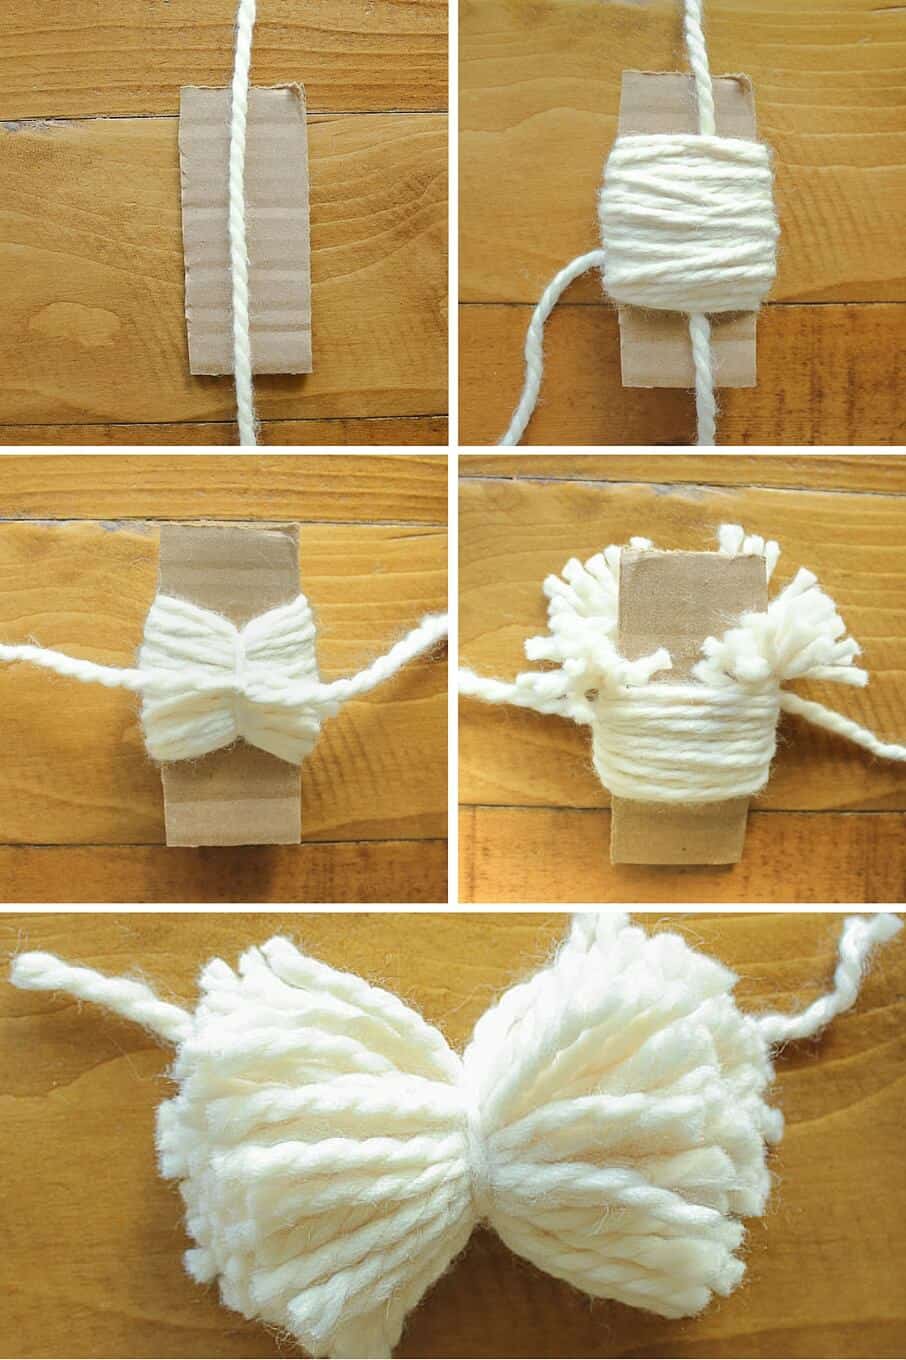
2. How to make pom poms: Begin with a piece of cardboard that is 1.5-2" wide. (The width of the cardboard determines the final size of your pom pom.) Cut a 10-ish" piece of yarn and place it parallel to the cardboard. Wrap the strand of yarn and the cardboard with a hefty dose of yarn. The more times you wrap around, the thicker your pom pom will be. Tie the 10" piece of yarn tightly around the yarn you wrapped around the cardboard. Flip the cardboard over and cut every piece of wrapped yarn down the middle. I like to tie the original "belt" 10" piece of yarn around the pom pom once more to secure the small pieces of yarn a little tighter.
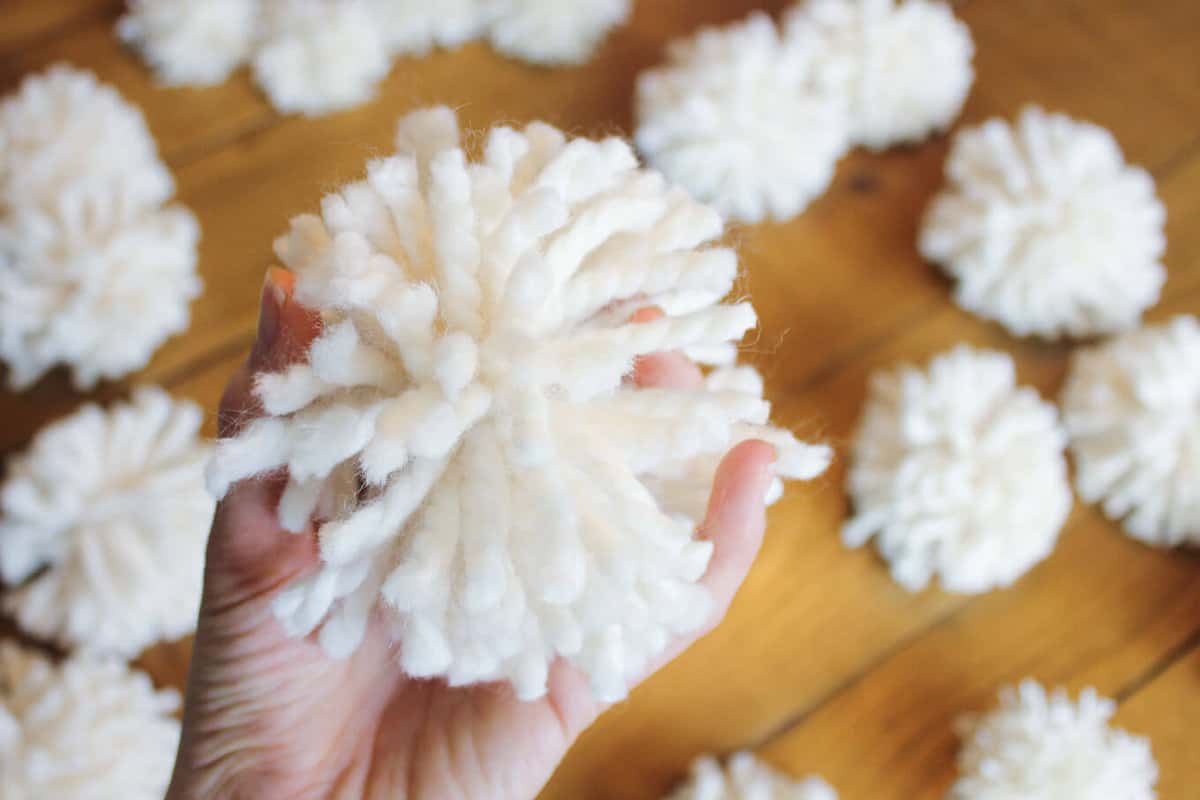
I made 13 pom poms from the thicker yarn. Then I trimmed my cardboard to be a bit thinner and made 6 pom poms from the lighter weight yarn. Play around with how many you need of each to get a good density around your wreath.
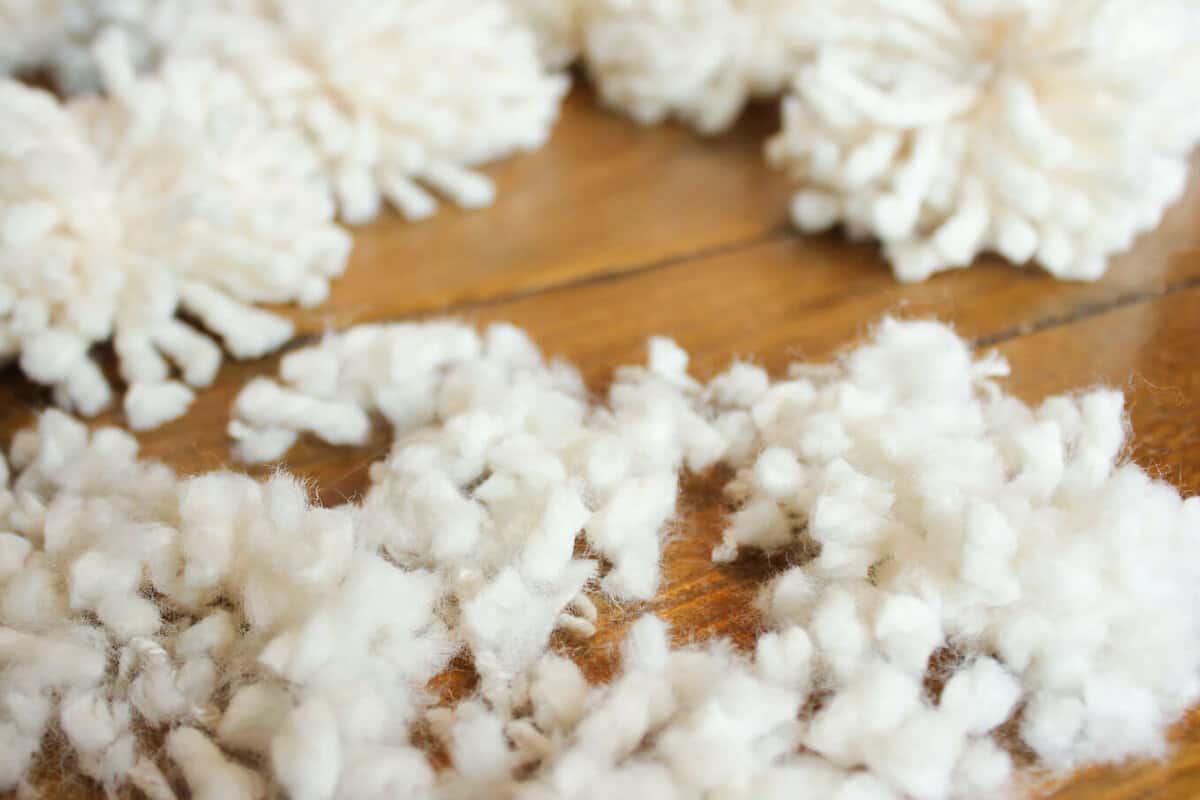
4. Trim all your pom poms so that they look like well-groomed poodles.
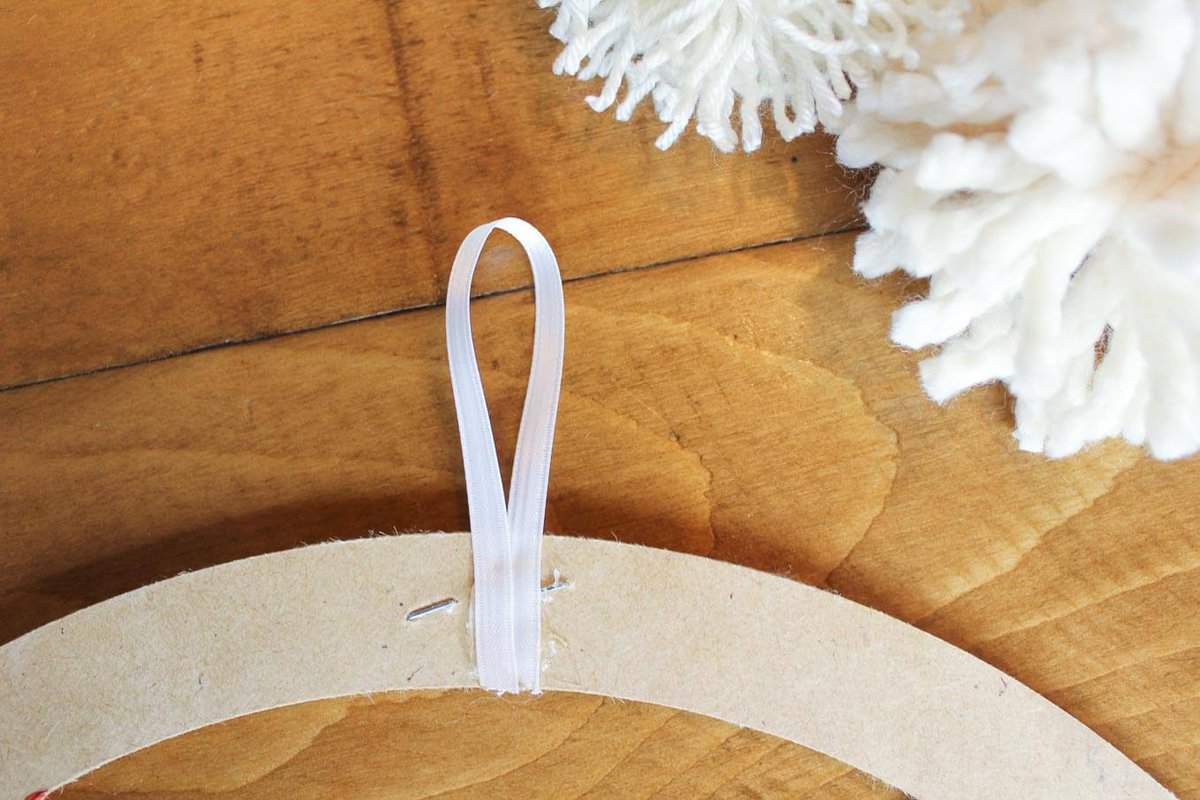
5. On the back of the wreath form, glue a short loop of ribbon that will function as a hanger once your masterpiece is finished. (The staples in the photo are just from where the tag was attached. They don't serve a purpose.)
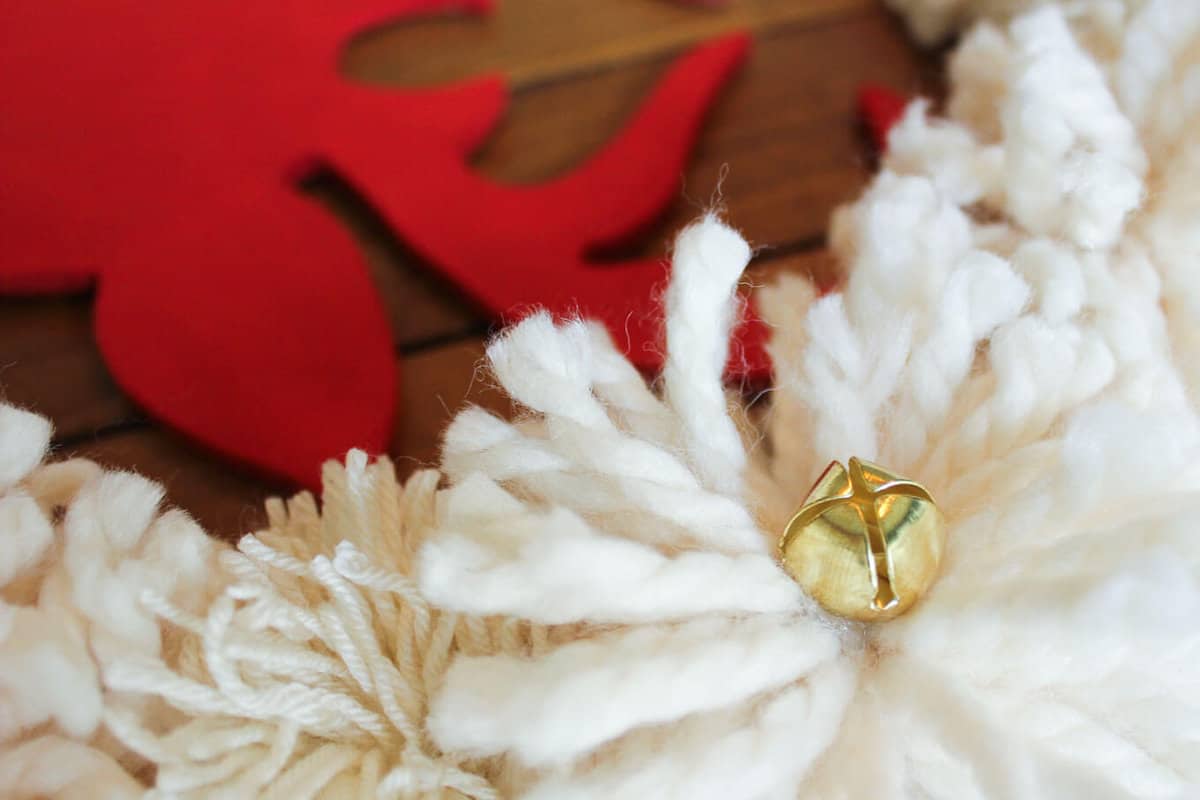
7. Glue jingle bells onto your pom poms until all is merry and bright.
Now, there are 24 days left until Christmas. Which means, there's still time to make a DIY Christmas wreath for every door in the house. (Because your coat closet should never be left of the holiday decorating festivities! 🙂 )
RELATED: Kick off January with a temperature blanket pattern






Leave a Reply