This packable crochet sun hat pattern might be the most stylish, functional project to hit your hook this summer. Scroll down for the complete free pattern or purchase the ad-free, printable PDF here.
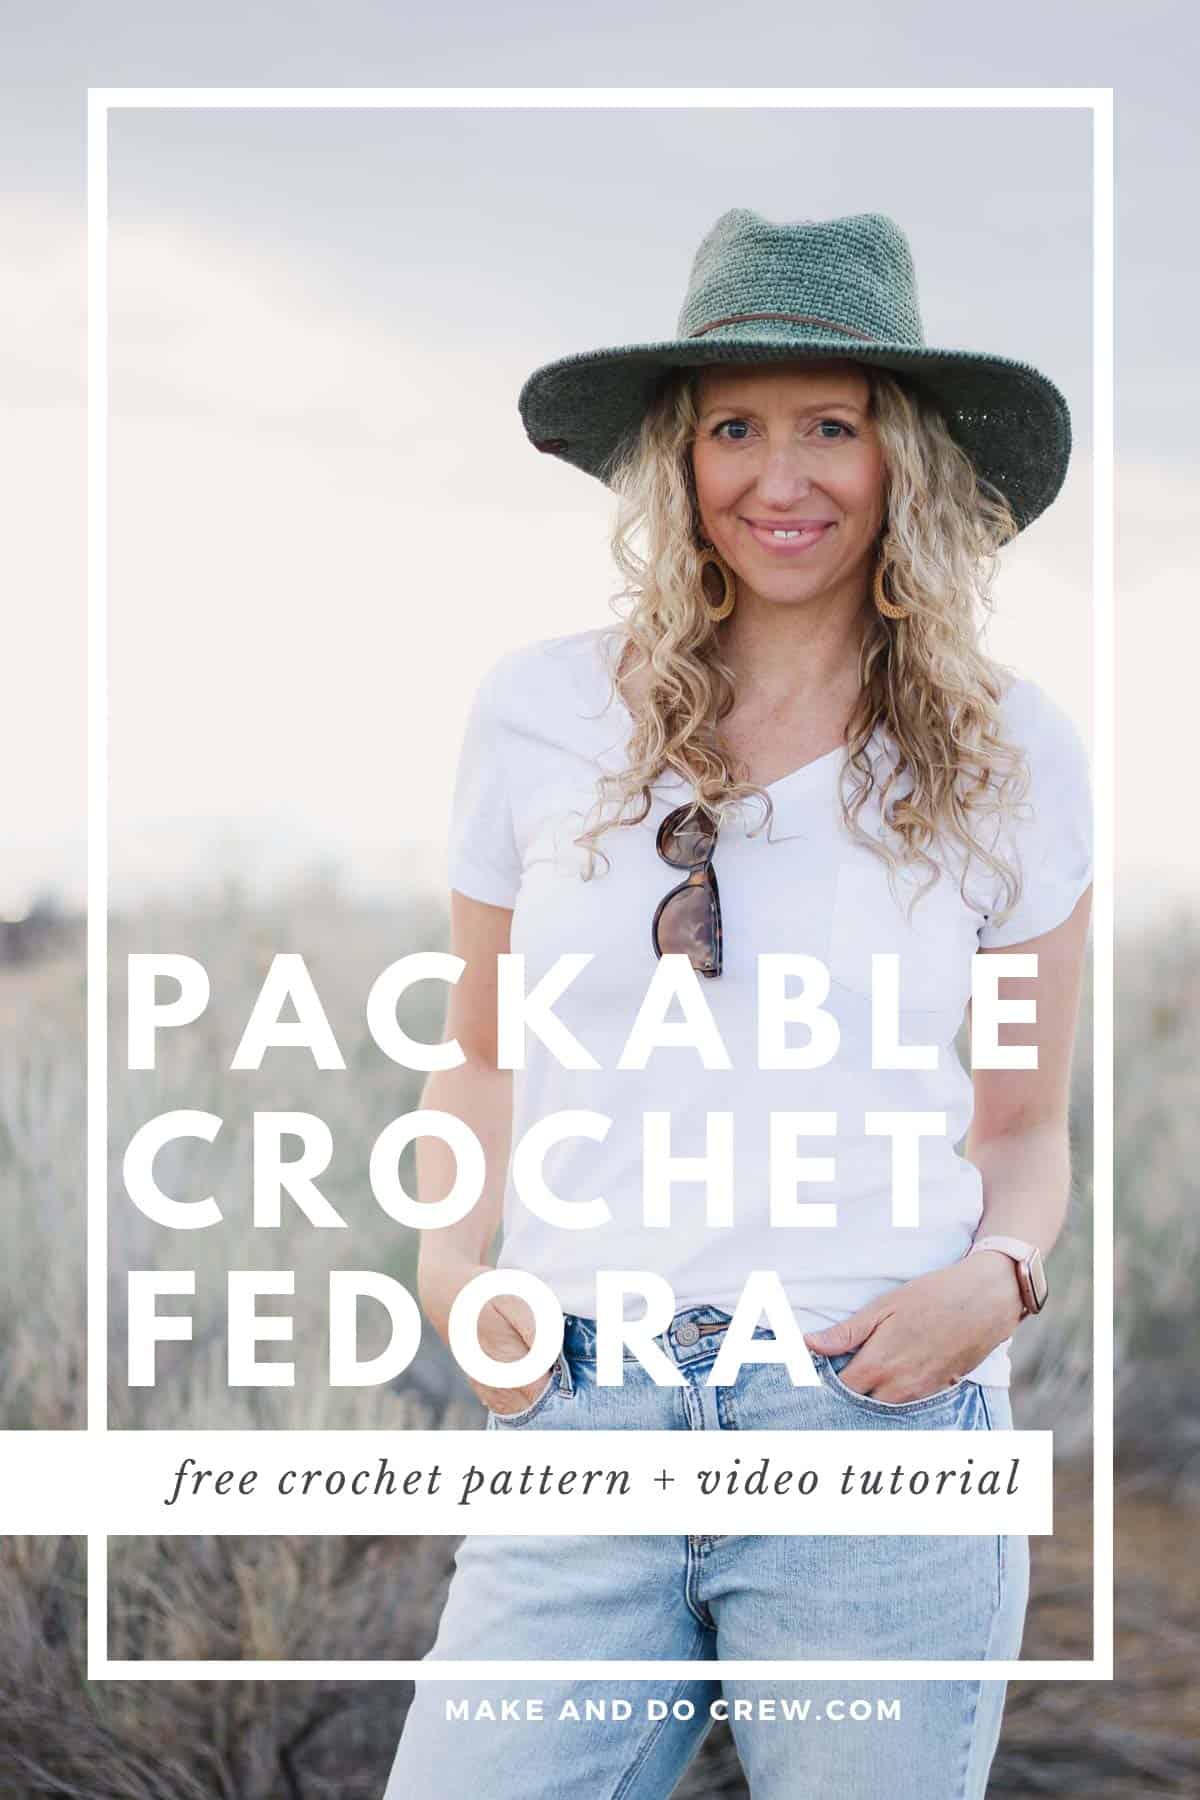
This free women’s crochet sun hat pattern is part of a collaboration with Lion Brand Yarns. This post contains affiliate links.
Whether you’re globe trotting or walking your dog, you’ll feel like a goddess of DIY wearing your handmade fedora-style crochet sun hat. There is something so cool about making something with your own two hands that solves a real problem in your life. So today we’re tackling summer SPF and bad hair days!
Read on for all the pattern inspiration, yarn details and easy trick for stiffening your hat brim or scroll down for the free crochet sun hat pattern. You can find the Cleo Fedora Mini with sizes baby-tween here! And watch a step-by-step video tutorial here!
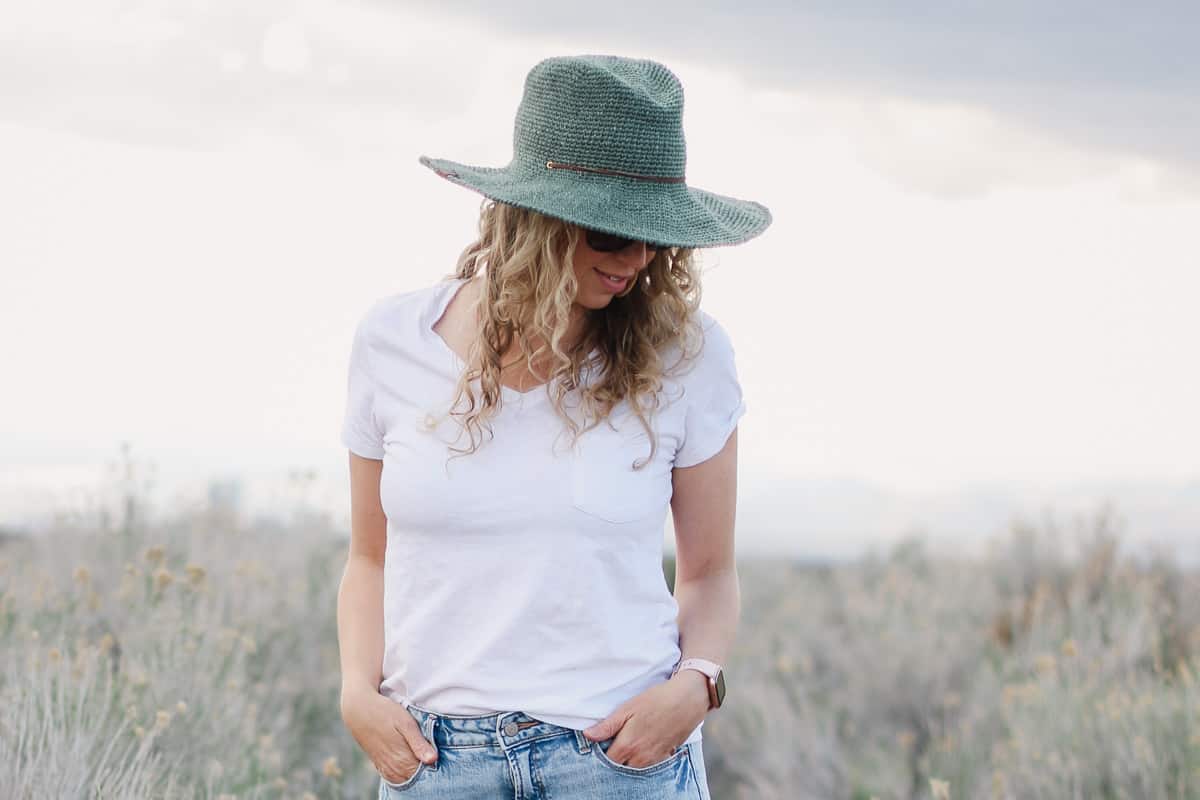
Related Video: How to Stiffen the Brim of Any Crochet Hat
See The “Packability” for Yourself!
I put together this quick video to show you truly how flexibly, comfortable and sturdy the Cleo Fedora is, even with the wire rope added to the brim. Watch and you’ll be convinced too!
Related: 30+ Free Crochet Top Patterns for Warm Weather
Once Again, Single Crochet Is the Hero
I think single crochet sometimes gets a bad rap as being boring. You can’t deny though that when it comes to making items you want to be a little stiff and moldable like baskets or this crochet sun hat, single crochet comes through like no other.
Using entirely single crochet stitches for this sunhat also means that the pattern is very smooth and easy to work on the go. The top of the hat requires a bit of counting, but after that you’re pretty much just cruising along working an extra single crochet every time you hit a marker.
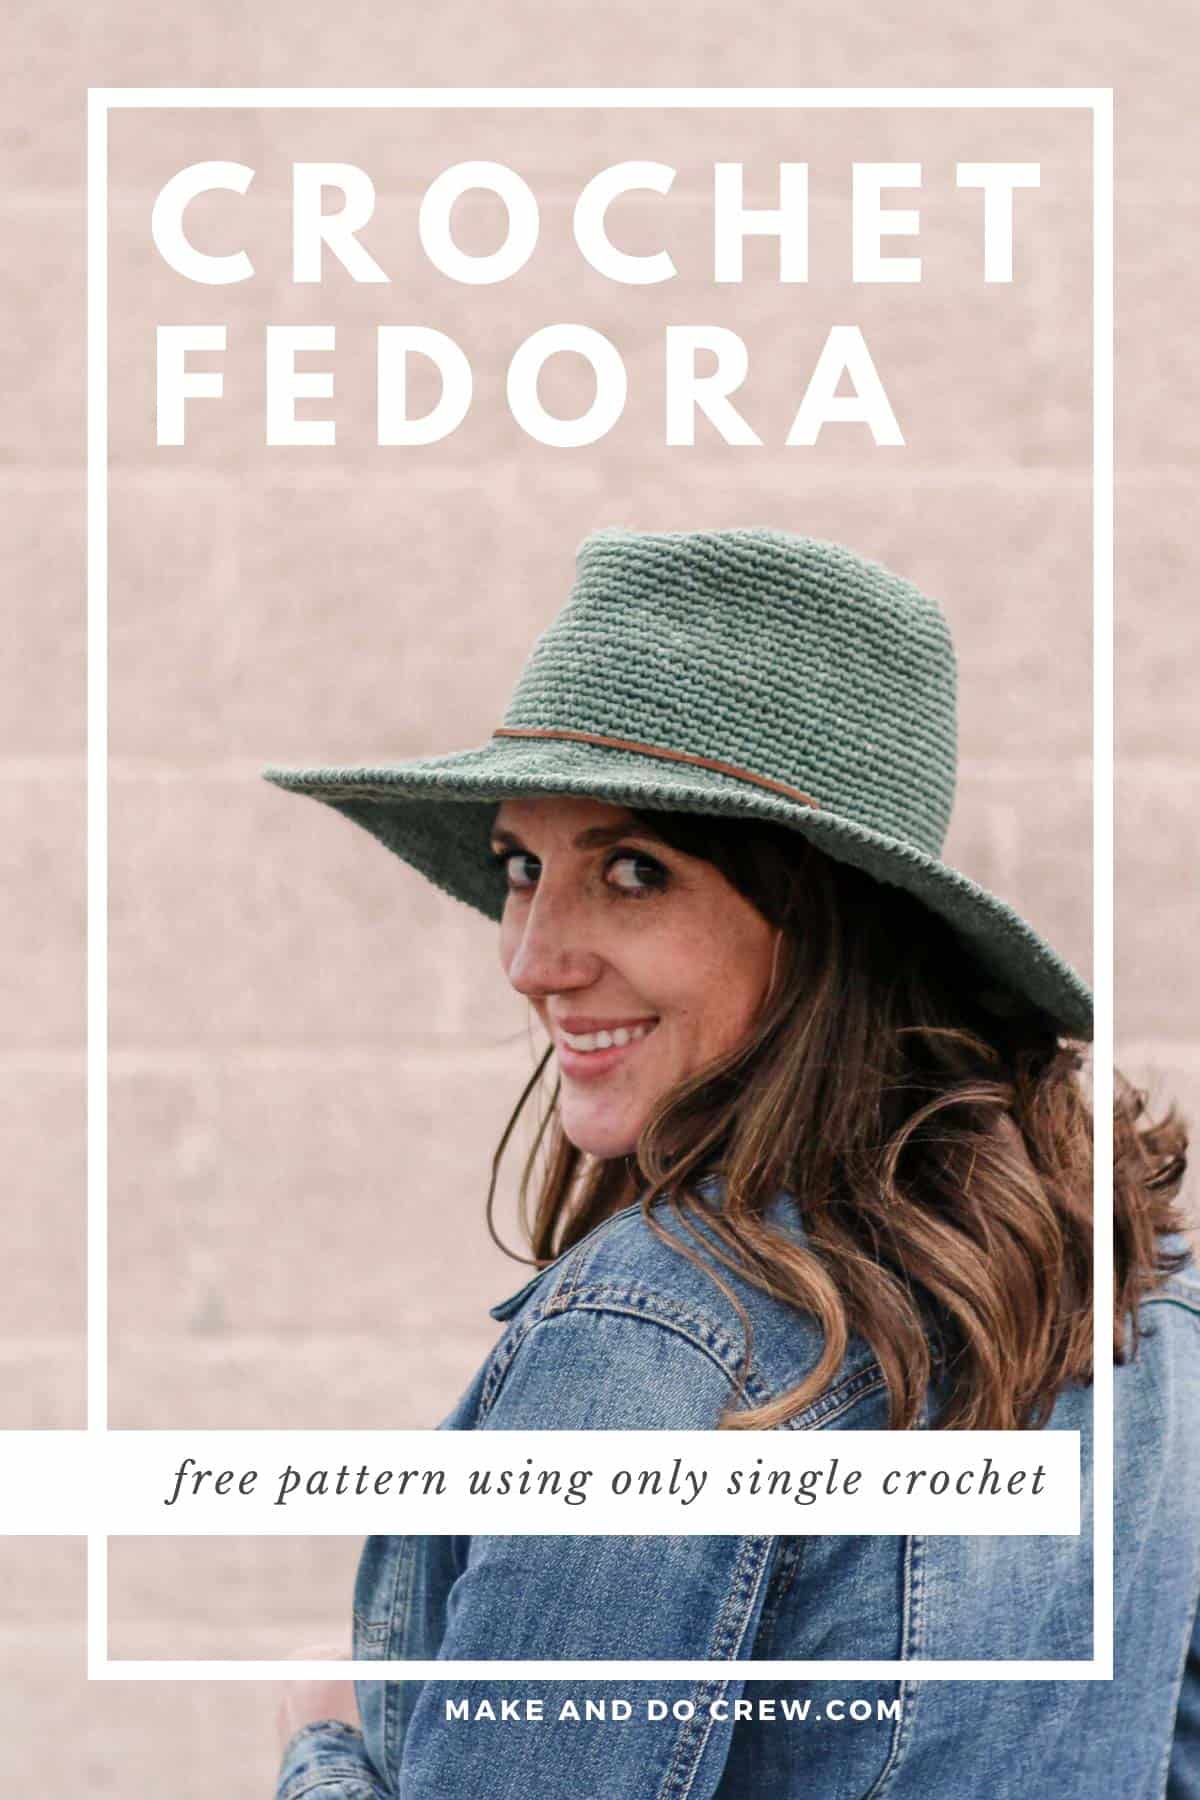
Legit Shade for Blazing Sun
I’m one of those pigment-challenged people that needs my eyes shaded if I’m even sitting near a window. Ha. So sunglasses and sun hats are pretty much a must six months out of the year here in Colorado. I’ve worn this hat out several times since finishing it and it is truly the most comfortable sun hat I own. My kids are loving theirs so much too.
For this crochet sun hat pattern, I knew I wanted to design a hat that could feel stylish, comfortable AND very functional. I’m happy to report the Cleo Fedora is all three. And in a big way.
Thanks the the single crochet stitches and reverse single crochet border on the brim, the hat brim is quite moldable from the get go. Knowing that many of my favorite store bought sun hats (like this one or this one) have a fairly stiff brim though, I wanted to figure out a way to ensure this crochet fedora wouldn’t be flopping in my face while my kids were belly flopping in the pool.
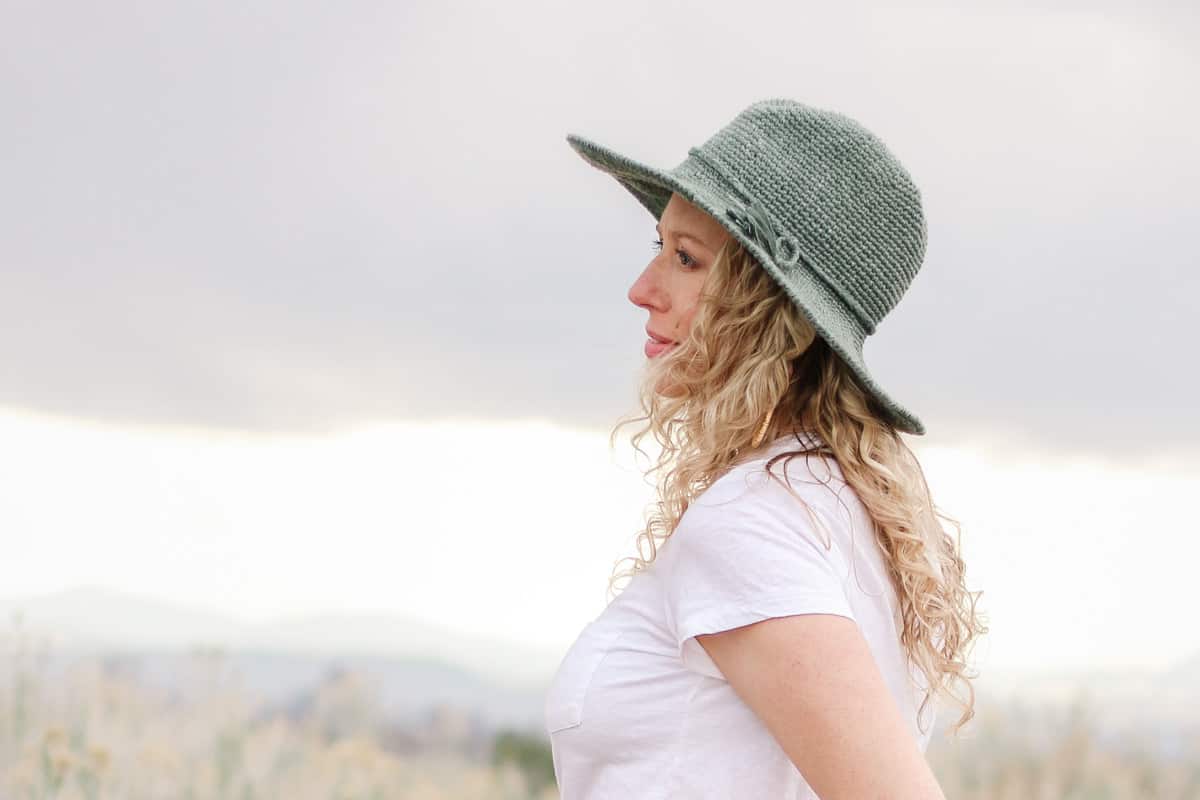
Related: The Cleo Fedora Mini in sizes baby – tween
One pre-quarantine trip to Home Depot later and I had found what turned out to be the perfect brim-stiffening supply–galvanized wire rope.
Please don’t get intimidated if you’ve never heard of it before. It’s readily available to buy by the foot at any hardware store and it’s CHEAP. Like 26 cents a foot cheap! If you can’t get to a store or know you want to make several hats, you can also buy it online. (Links: Home Depot, Amazon, Lowes) You’ll want about 6 feet of the galvanized wire rope that is 1/16″ wide.
You can find step by step instructions for adding this optional wire to your crochet sun hat in the free pattern below. Or check out this video tutorial I put together that walks you through the process of stiffening the brim of any crochet hat. This step is very easy and really levels up your crochet sun hat!
Related: 27+ Free Crochet Beanie Patterns
Learn By Video
If you’d like me to walk you through the pattern step-by-step, watch the video tutorial that covers exactly how to crochet the Cleo Fedora. Alternatively, the detailed photo tutorial below has got you if you just need a quick overview.
And if you’d like to take a peek at the Cleo in all it’s moldable, packable, stiff-brimmed glory, check out this brief pattern overview video above.
A Raffia Crochet Sun Hat Without the Raffia
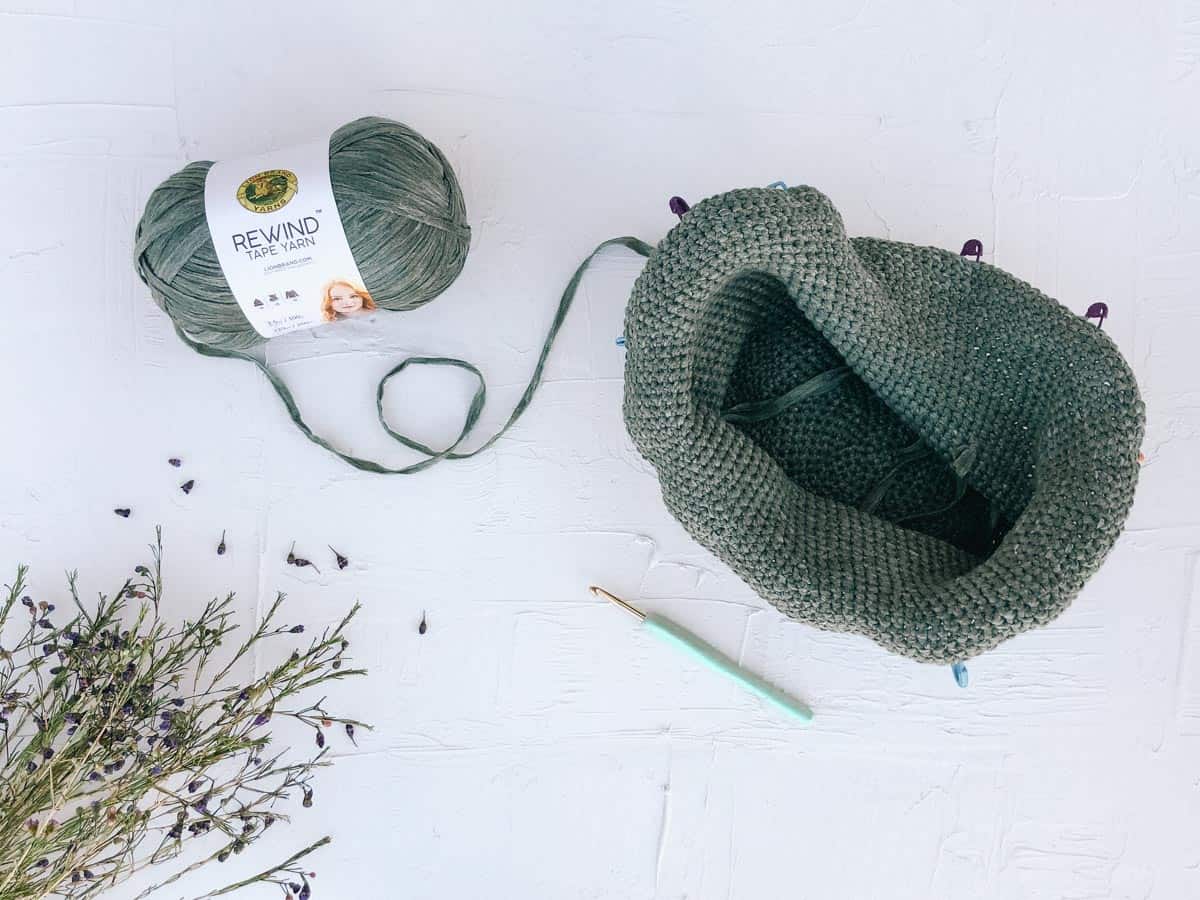
The story of this fedora-style crochet sun hat would be incomplete without mentioning the yarn. This yarn–I LOVE IT!
It’s called Lion Brand Rewind yarn and it’s what Kimberly used in her Miller Market Tote Bag pattern. Rewind tape yarn is a completely unique combination of softness, moldablity and durability and I can’t think of a better yarn for a crochet sun hat.
Using this yarn allows your crochet sun hat to be stuffed in your beach bag or suitcase and pop back as good as new when you’re ready to wear it. Even my favorite raffia or straw sun hats require a little more delicate handling than that. You can see the flexibility in action in the video below.
Rewind comes in some fantastic stone-washed colors (see them all here!) and I highly recommend sourcing this yarn to make your Cleo Fedora. (Links: LionBrand.com, Amazon or Herrschners.com.)
If you can’t get your hands on Rewind though, a cotton yarn can be a good substitute as long as you can achieve the pattern gauge listed. A lot of crocheters have had luck with Lion Brand Re-Up yarn as an alternative to Rewind.
I love to see your finished projects! Use #MakeAndDoCrew and #CleoFedora and tag me Instagram (@MakeAndDoCrew) to show off your stitches and have a chance to be featured.
Related: 30+ Beautiful Free Crochet Dress Patterns
click to pin this pattern for later ⇨
Cleo Fedora
Free Crochet Sun Hat Pattern
Explanation:
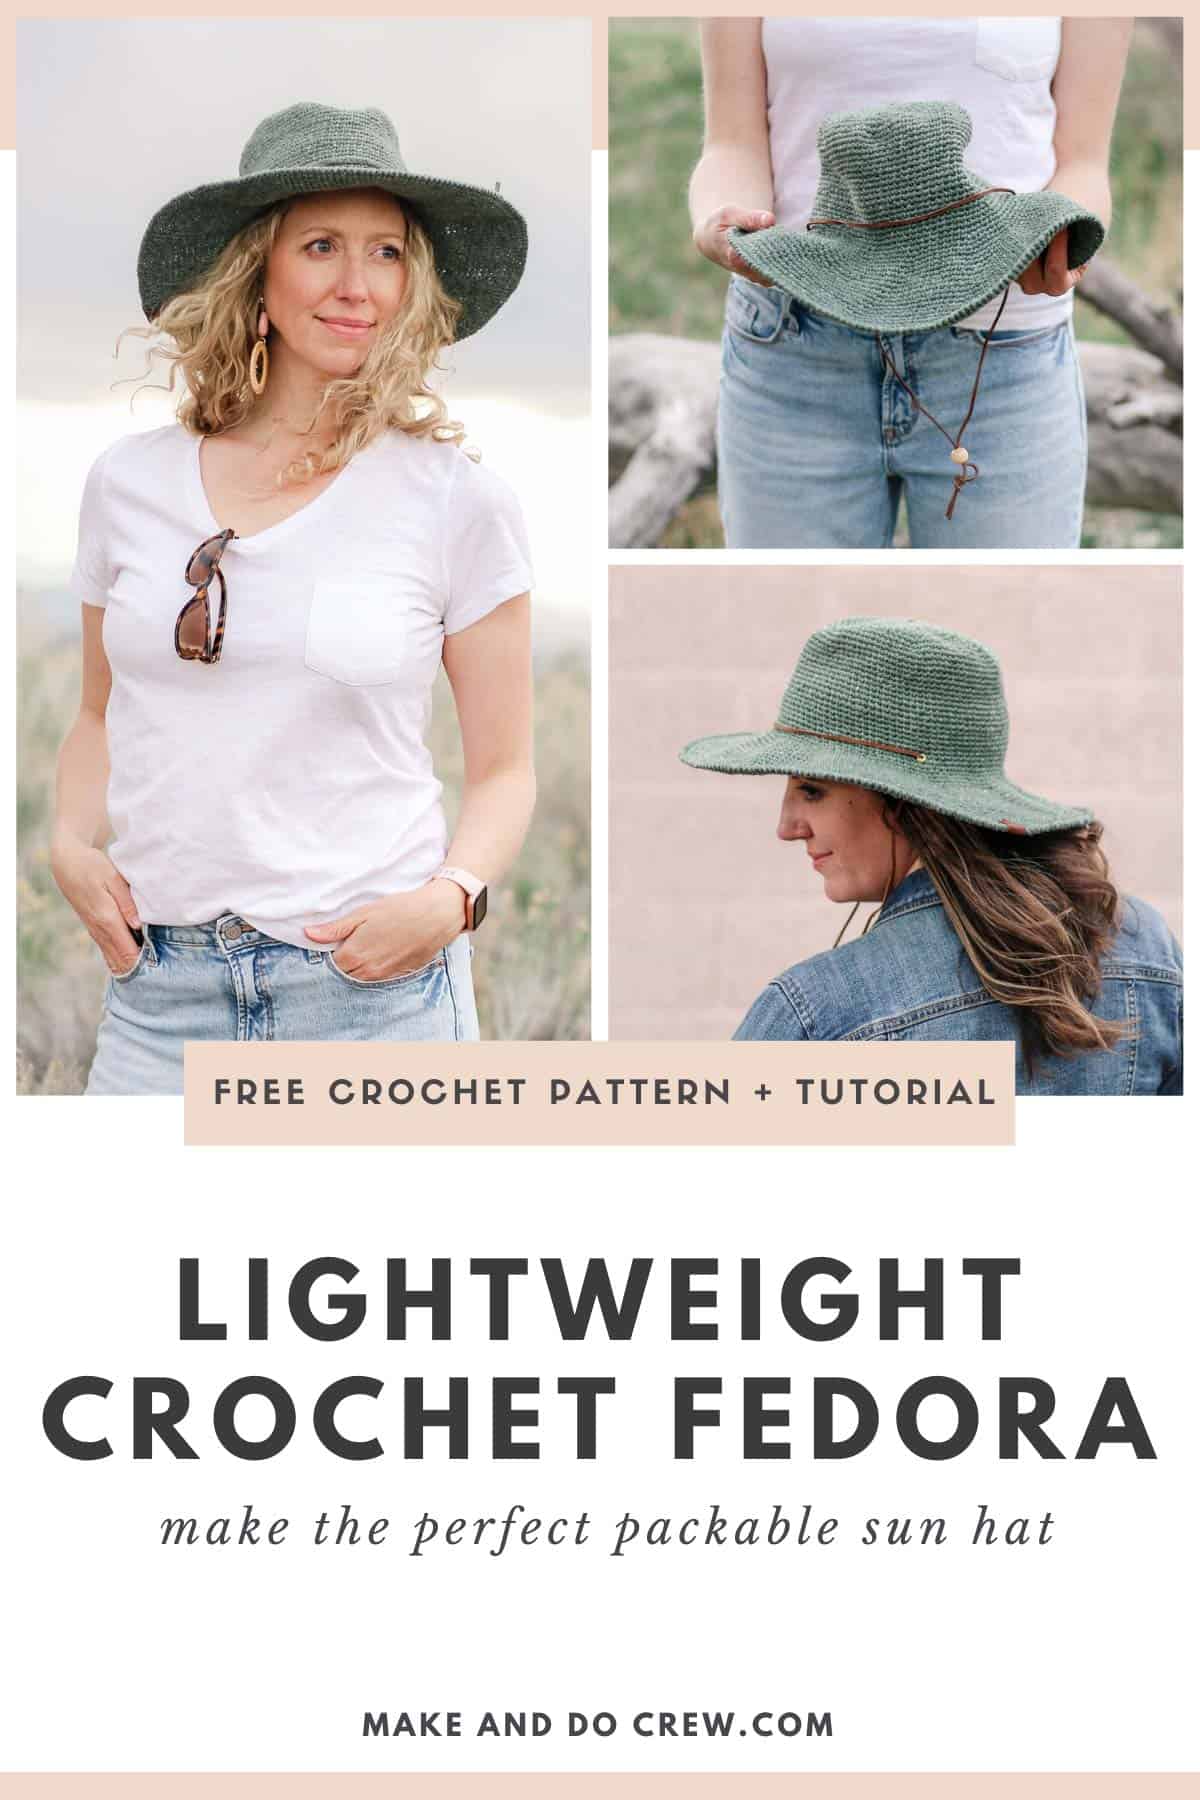
Move over beanies, the Cleo Fedora is about to be the most functional, stylish crochet project your head has ever seen. Whether you’re globe trotting or walking your dog, you’ll feel like a goddess of DIY wearing your completely handmade fedora.
Rewind Yarn ensures this packable sun hat is moldable, comfy and surprisingly lightweight. Skills required include single crochet and working in the round.
Supplies:
Purchase a kit with yarn + pattern here.
• A: Lion Brand Rewind (Weight: 5/Bulky – 219 yds, 3.5 oz)
– Olive You (523-174) – 2 skeins [approx 165 g]
• Tapestry needle
• Size I (5.5 mm) crochet hook or size needed to obtain gauge
• Stitch markers or safety pins
Optional Additional Supplies:
• 6’ galvanized wire rope, 1/16th” thick (sold by the foot inexpensively at hardware stores. Links: Home Depot, Amazon, Lowes)
• Wire cutters
• 3/16” grommet kit
• 40” leather lace
• Wooden bead that both ends of leather lace can fit through snugly
• Small piece of scrap leather for tag
Sizes:
Women’s Small – fits 21-22” heads
Women’s Large – fits 22.5-23.5” heads (also appropriate for most men’s heads)
Get the free children’s version here with sizes baby – tween
Gauge:
9 sc x 9 rounds = 2”
Wanna save this pattern?
Gauge is difficult to swatch since pattern works in the round, so instructions are given for measuring gauge a few inches into the pattern.
Abbreviations and Glossary (US Terms):
ch – chain
PM – place marker
rep – repeat
RS – right side
rsc – reverse single crochet
sc – single crochet
slst – slip stitch
st(s) – stitch(es)
WS – wrong side
Want some company while you crochet?
Get support (and camaraderie!) in the Make & Do Crochet Crew Facebook Group here.
Permissions + Copyright:
Please do not publish or share this pattern as your own. You may make items to sell with this pattern. In exchange, please link back this post. Do NOT use my photos as your own sales photos.
Overall Pattern Notes:
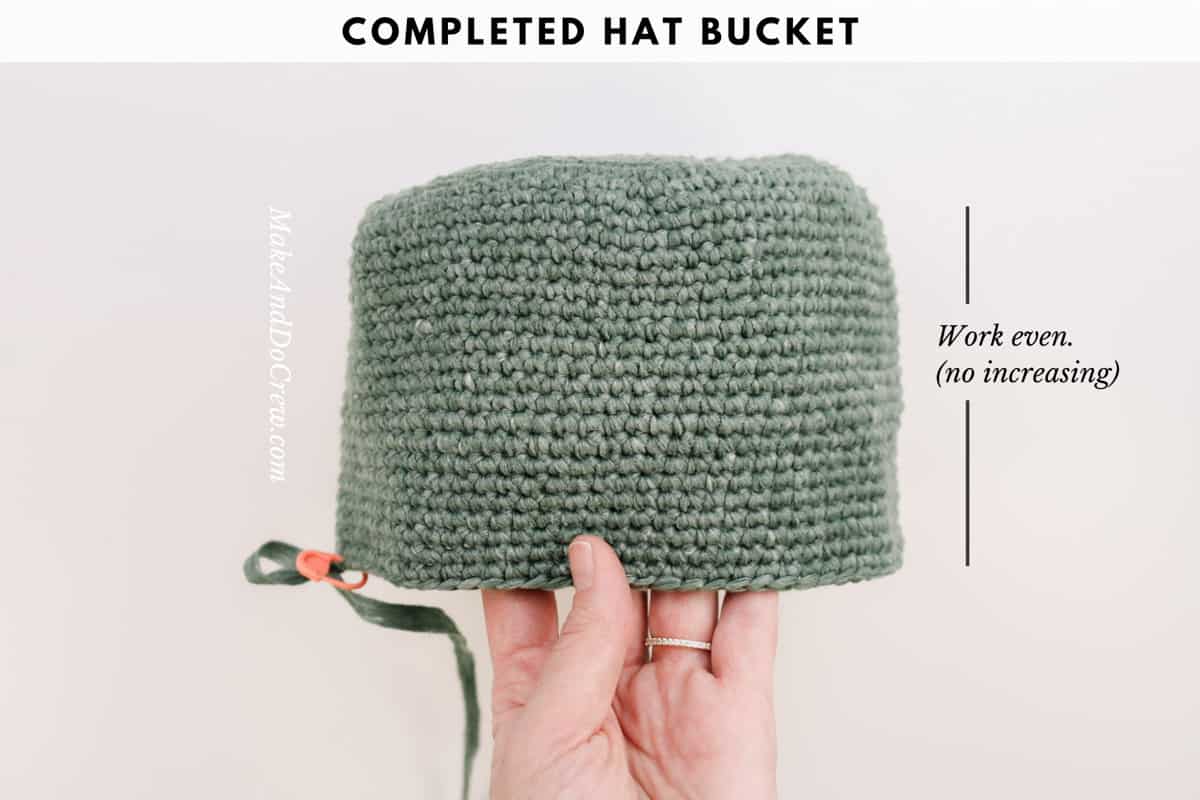
• Pattern is worked in the round with the RS facing throughout. Rounds are spirals and therefore are not joined at the end of each.
• Stitches are intended to be worked tightly. If in doubt, use a smaller hook to achieve tighter tension. Circle is measured several rounds in to ensure gauge.
• Place marker in first stitch of round and move as each round is worked. This is critical in keeping track of the beginning/end of each round.
• Similarly, markers are used beginning in Round 6 to keep track of where increases are placed. Move markers up as each round is worked. Use a different color marker for the first st of round and the increases to differentiate.
• Follow along with the step-by-step video tutorial here.
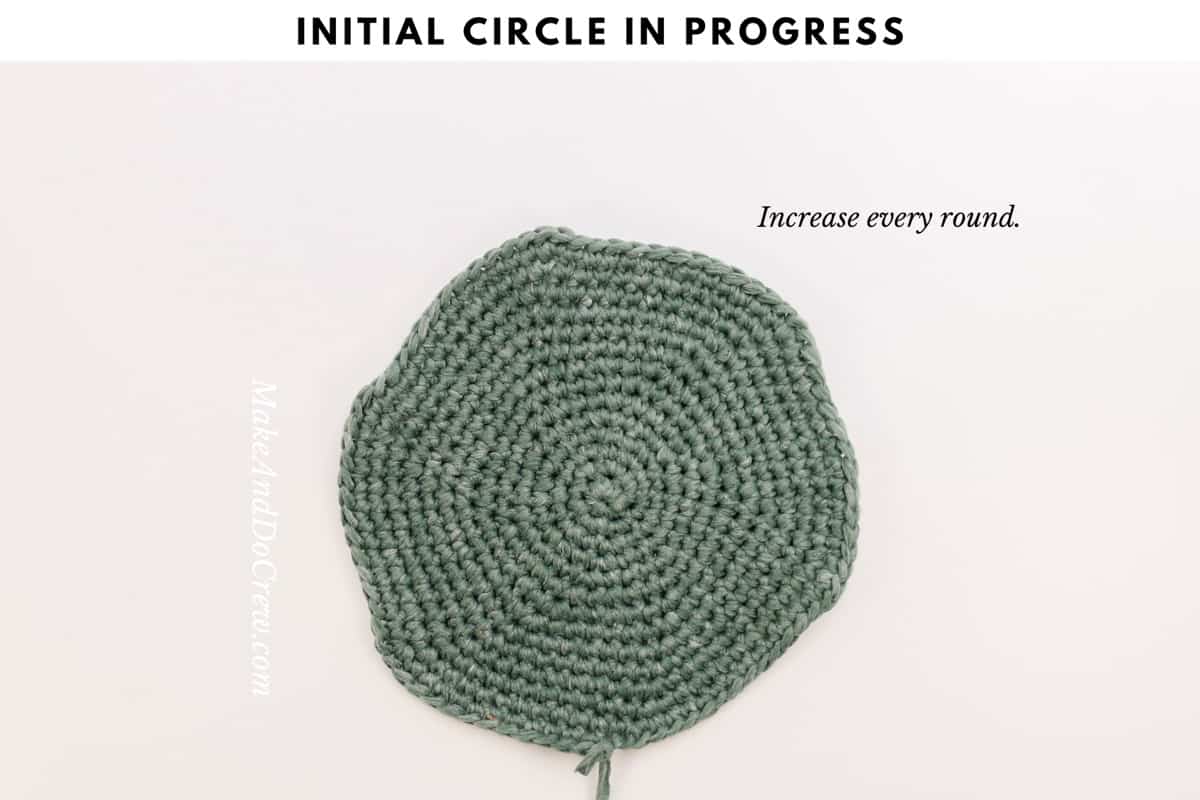
HAT TOP
Preferred Foundation Round: Create a magic loop, ch 1 and work 6 sc within. (6)
Alternative Foundation Round: Ch 4, sl st to join into a loop. Ch 1, work 6 sc within loop. (6)
Continuing in spiral:
Round 2: 2 sc in first st (PM in first sc made), 2 sc in each st. (12)
Move marker to first st of each round from here forward.
Round 3: [2 sc in next st, sc in next st] 6 times. (18)
Round 4: [2 sc in next st, sc in next 2 sts] 6 times. (24)
Round 5: [2 sc in next st, sc in next 3 sts] 6 times. (30)
Round 6: [2 sc in next st (PM in first sc made), sc in next 4 sts] 6 times. (36) Piece should now have 6 marked stitches. These indicate the stitches to increase in moving forward.
Round 7: [2 sc in marked st, sc in each st to next marker] 6 times. (42)
! Gauge Check !
Take the time to measure your circle now so that your hat fits later! Your circle should be just over 3” across. If it’s much larger than 3”, remake either with a smaller hook or working your stitches more tightly. If it’s smaller than 3”, remake either with a larger hook or working your stitches more loosely.
SMALL: Rep Round 7 seven more times. Piece should increase by 6 sts per round. Round 14 should contain 84 sts. Circle should measure 6.2” across.
LARGE: Rep Round 7 eight more times. Piece should increase by 6 sts per round. Round 15 should contain 90 sts. Circle should measure 6.7” across.
✨Unlock this free subscriber-exclusive pattern ✨
Follow these steps to view the full free pattern below
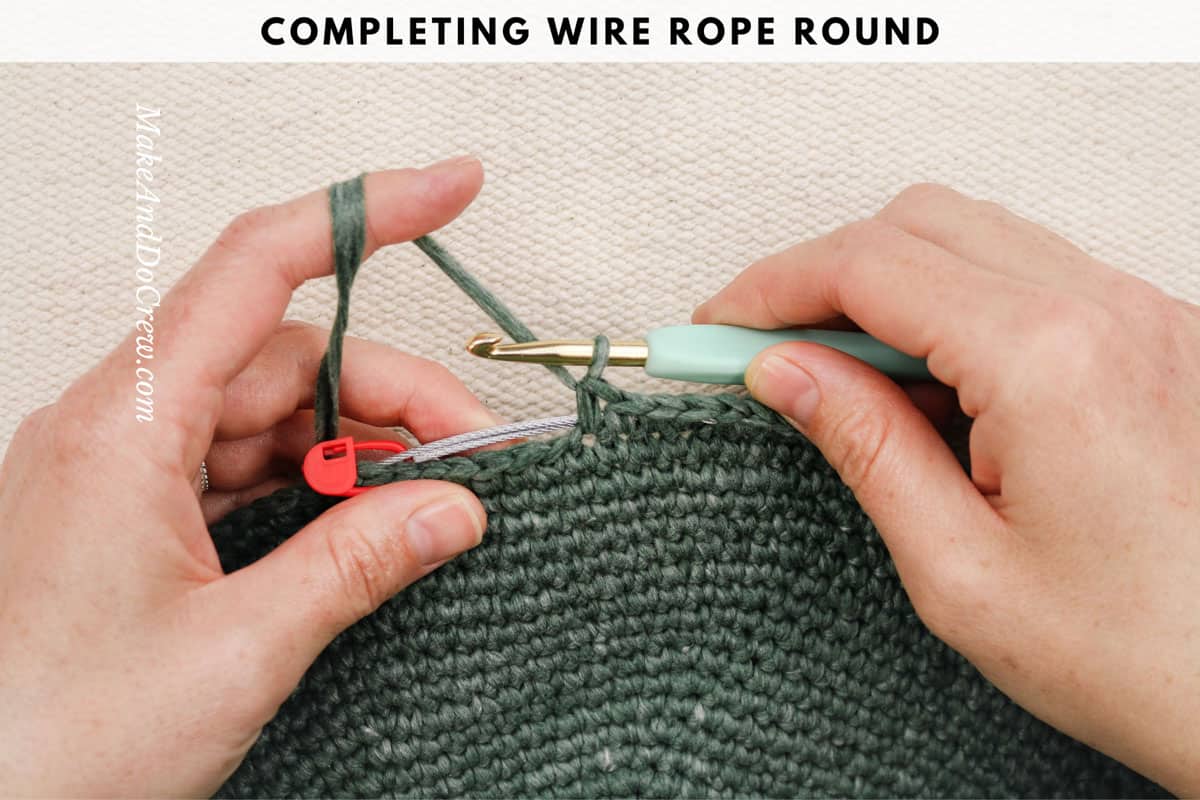
If adding optional brim support, follow Round 18. If not adding brim support rep Round 2 once more and move on to Finishing Round.
Watch a video tutorial on this step here.
Round 18: Hold galvanized wire rope along Round 17. Crochet over it as you sc in each st. Pause when 3” of round remains unworked. Rub brim flat and try on hat to make sure density of stitches around rope is to your liking. (Spreading out stitches more around rope will result in a more wavy look.) Using wire cutters, snip rope so it overlaps itself by 2”. Complete round by sc in each st, working over both ends of rope as you go. Move on to finishing round.
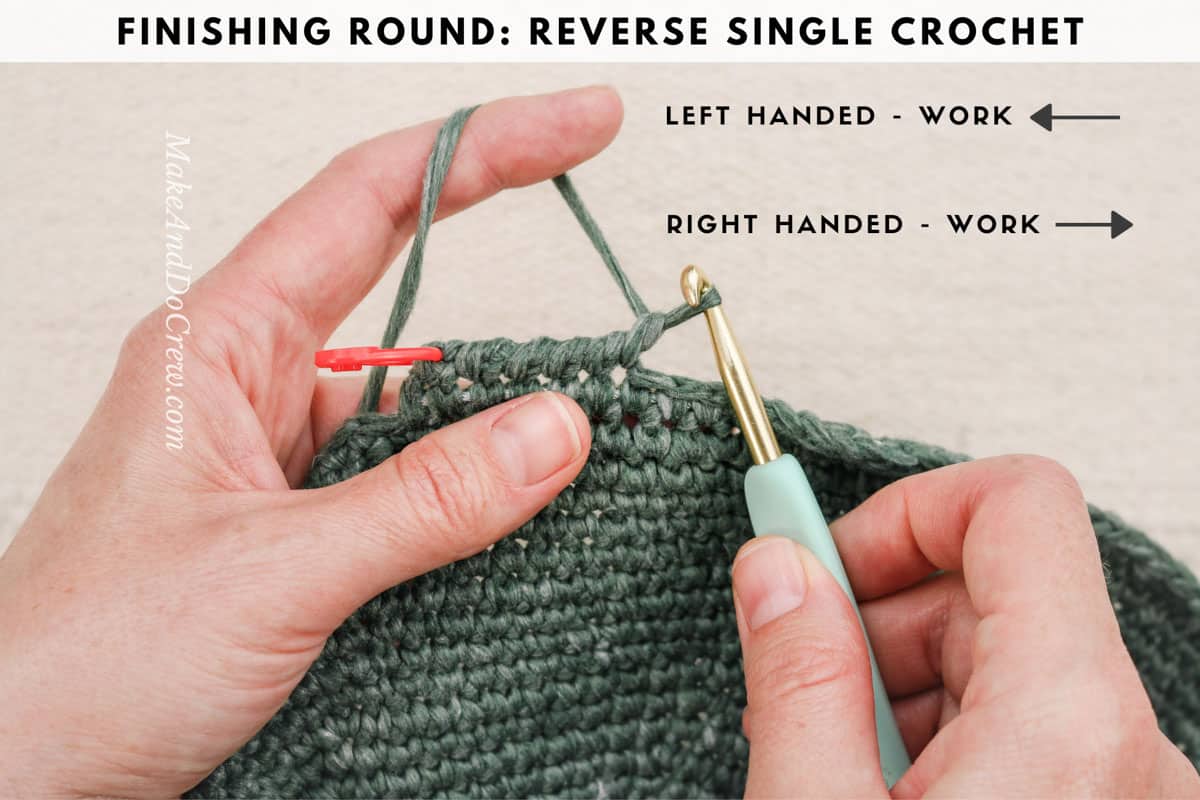
Finishing Round: (This round is worked with RS facing still, but in opposite direction as all other rounds. View video tutorial linked above for extra help.) Ch 1, rsc in each st; sl st to first st of round to join.
Fasten off and weave in ends.
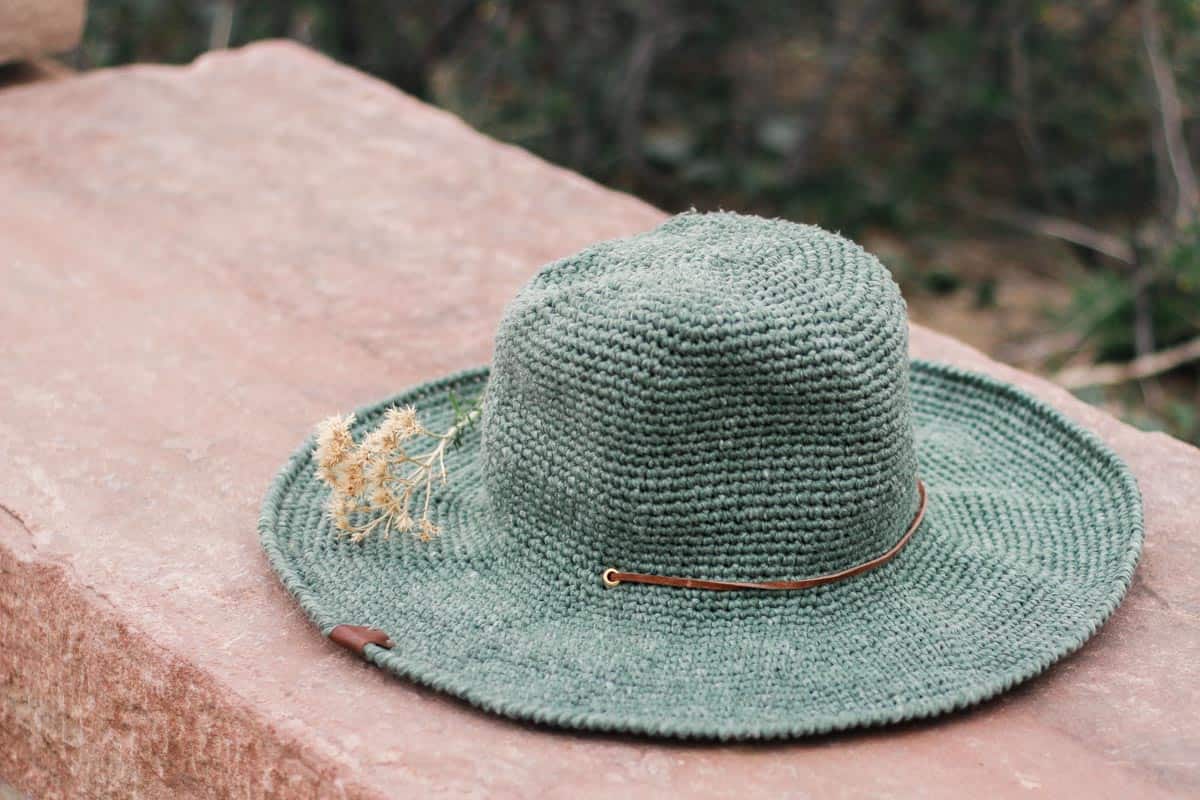
Final Touches
Option 1: Braided Accent
Cut six 45” strands of yarn. Tie in a knot, leaving a small tassel. Braid yarn until piece measures about 28”. Tie another knot and trim to create a second tassel. Tie braid in a square knot around bucket of hat. Secure in place with a tapestry needle and a few stitches if desired.
Option 2: Leather Chin Strap and Grommets
To add a fun professional detail, attach two metal grommets in approximately Round 21 of Hat Bucket. Space them equidistant across hat. This kit from Amazon includes 3/16” grommets and the tools to attach them.
Thread leather lace through grommets. Add a wooden bead onto laces and knot at the bottom.
A Little More Optional Bling
To further dress up your hat, attach a small scrap leather tag to edge of hat brim. Placing it where final round was joined can be a nice way to disguise any inconsistencies.
Styling Suggestion
To create the classic fedora shaping, simply lift the hat off your head a bit and use both hands to mold the top front into a V-shape. This magical yarn holds its shape incredibly well!
Hit the trail, beach or playground knowing that your style and SPF are both on point!
I love to see your finished projects! Use #MakeAndDoCrew and #CleoFedora and tag me Instagram (@MakeAndDoCrew) to show off your stitches and have a chance to be featured.
More Free Crochet Patterns You’ll Love
We’ve got lots more free crochet patterns and video tutorials where this came from. Check out our blanket patterns, patterns to make for babies, easy sweaters, Tunisian crochet patterns or corner-to-corner crochet patterns.
And you can always find all our free crochet patterns here!




Val says
Hi! Love your hat! I have a question about crown size…the diameter before increases is 6.2”…but all the guides I have seen have adult female at 7” at least, I think 6” is usually stated for child. Is this yarn quite stretchy? It’s the first time I am using it! I had to use a 4.5mm to get the 3” gauge, so now I am worried I missed something (wouldn’t be the first time!) as this seems like such a small crown. I hate to keep going and then have to frog it! Lol! Hoping for a little reassurance I guess…
Thanks so much for your time, effort, and talent!
Val
Teri says
Just finished my fedora. I am thinking my brim has too many rows and it is very heavy. It doesn’t stand out as yours does. I made the small. Could you tell me how many inches is your brim? Approximately. Before I start pulling out rows…..I love the hat I just think the brim that I made is too big
Jess @ Make and Do Crew says
If you have an ad-blocker running, you’ll need to turn that off in order to see the video. 🙂
rene soto says
Hi there what size is your hat that you are wearing?? Also any chance of doing a video tutorial for the hat? A few of us in the group are having issues. It’s so lovely!
Jacki says
I made my Fedora using the galvanized wire rope and overlapping the ends by 2 to 3 inches. The problem that I am having is that the ends of the wire keeps sticking out between the stitches and I have to stretch the brim and re feed them back through the stitches of row 17. I am afraid that over time the edge of the wire will cut my yarn. How do you prevent this from happening and keep the wire securely in place???
Jess @ Make and Do Crew says
I’d try taping the ends to the overall circle with electrical tape. 🙂
I wear my hat often and have had no issues of the wires poking me or cutting the yarn so I hope that’s the case for you too!
Jess
Kendra P says
Can you easily adjust for sizes? I have a big head and can’t wear a lot of these cute hats in stores 🙁 I would love this!
Olga says
I made this hat, tore it apart 2 times before I actually got the sizing right. I dont believe i am a loose crocheter, but i had to go down two hooks i think. I really cant remember now. But it was easy to do and instructions perfect as always. I bought the natural and the black yarn. Have yet to make the black one.
Laura says
NOT ARTHRITIC FINGERS FRIENDLY!! Just to let anyone know who intends to make this pattern, you have to really pull your stitches tight. I have very mild arthritis in my hands and only 8 rounds in building the crown, I have had to stop for a good break. So…just a cautionary note. It’s cute as the Dickens, but it’s not going to go nearly as quickly as I had expected. BUT…I will press on at least some each day.
Sara says
Does this pattern work with other types of yarn or just the tape yarn?
Jess @ Make and Do Crew says
You can use a cotton yarn as well. People are having good results with Lion Brand Re-Up. Just be sure to check your gauge with whatever yarn you sub so that the finished hat fits. 🙂
Jess
Judy says
I made this hat and love it! Please make a hat pattern for a sun hat that is open in the back for a ponytail. Love the yarn too!!
Donna c says
On my second one. Score! Great pattern
Taryn MacDonald says
Hi there! I absolutely love this pattern and just had to try it. In starting the top circle of the hat my attempt always ends up way too big. I am using size 5 yarn and even tried a second time with a 5mm, size 8 hook. I am keeping my stitches tight, but still the circle ends up way bigger than yours did. Do you have any ideas on what I might be doing wrong? Thank you!
Jess @ Make and Do Crew says
Just continue to decrease your hook size–it’s totally acceptable! 🙂
Honestly, gauge is super personal and changing your hook size doesn’t mean anything is wrong. The stitches are intended to be worked quite tightly, so using a smaller hook will likely help you do that.
Happy crocheting!