This free crochet bunny hat pattern with floppy ears makes a darling Easter accessory, baby shower gift, or winter cap.
Find the free pattern below in sizes newborn, infant, baby, toddler, and child. Or purchase the ad-free, printable PDF here.
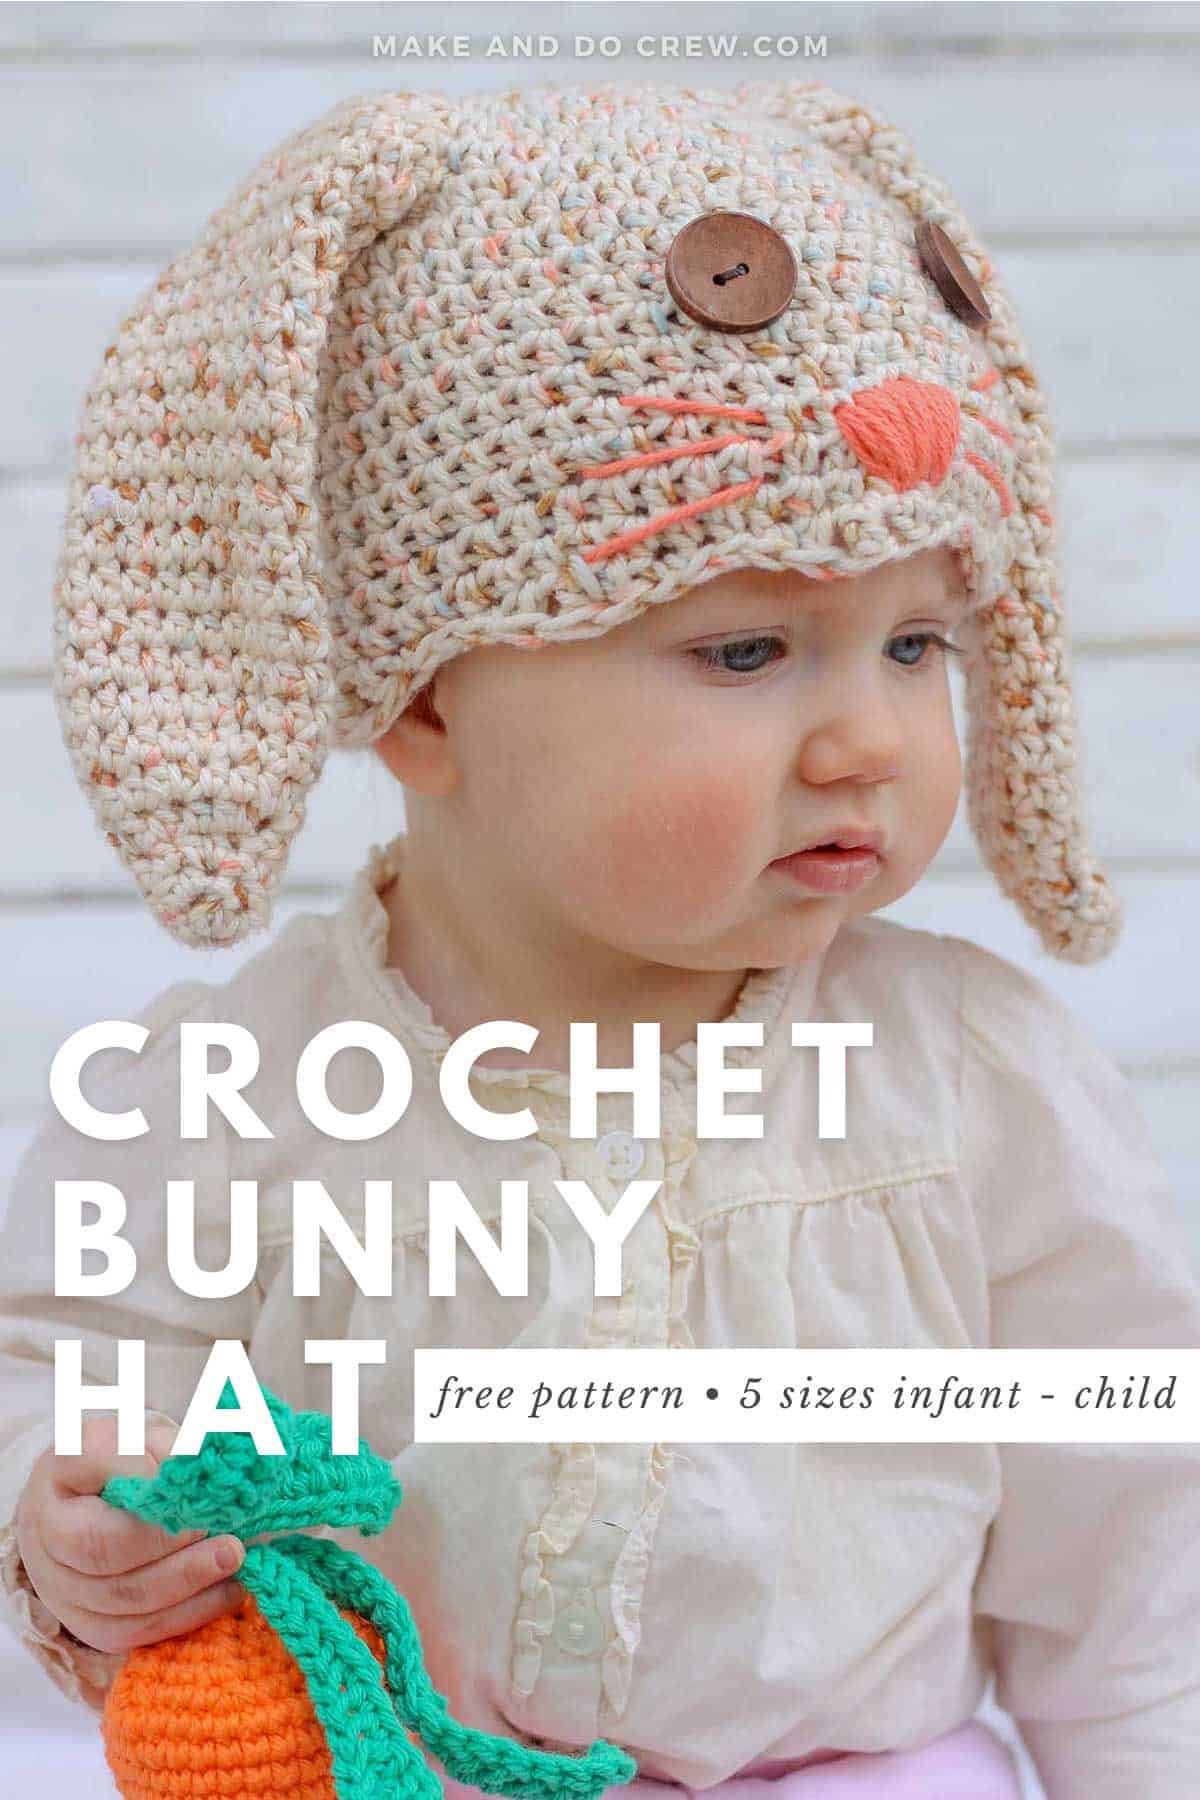
This crochet bunny hat free pattern is part of a collaboration with Lion Brand Yarns. This post contains affiliate links.
Easy Crochet Bunny Hat Pattern
You'll find this foppy-earred bunny hat to be a quick and easy project that's fun to whip up for your favorite kiddo. Read on for all the yarn and inspiration details, or scroll down for the complete free pattern.
A Perfect Easter Pattern
If you’re looking for a sweet, handmade, non-candy Easter gift or you just know a baby that would look adorable as a little bunny rabbit (I mean, really, who wouldn’t?), this easy crochet bunny hat pattern is perfect for you.
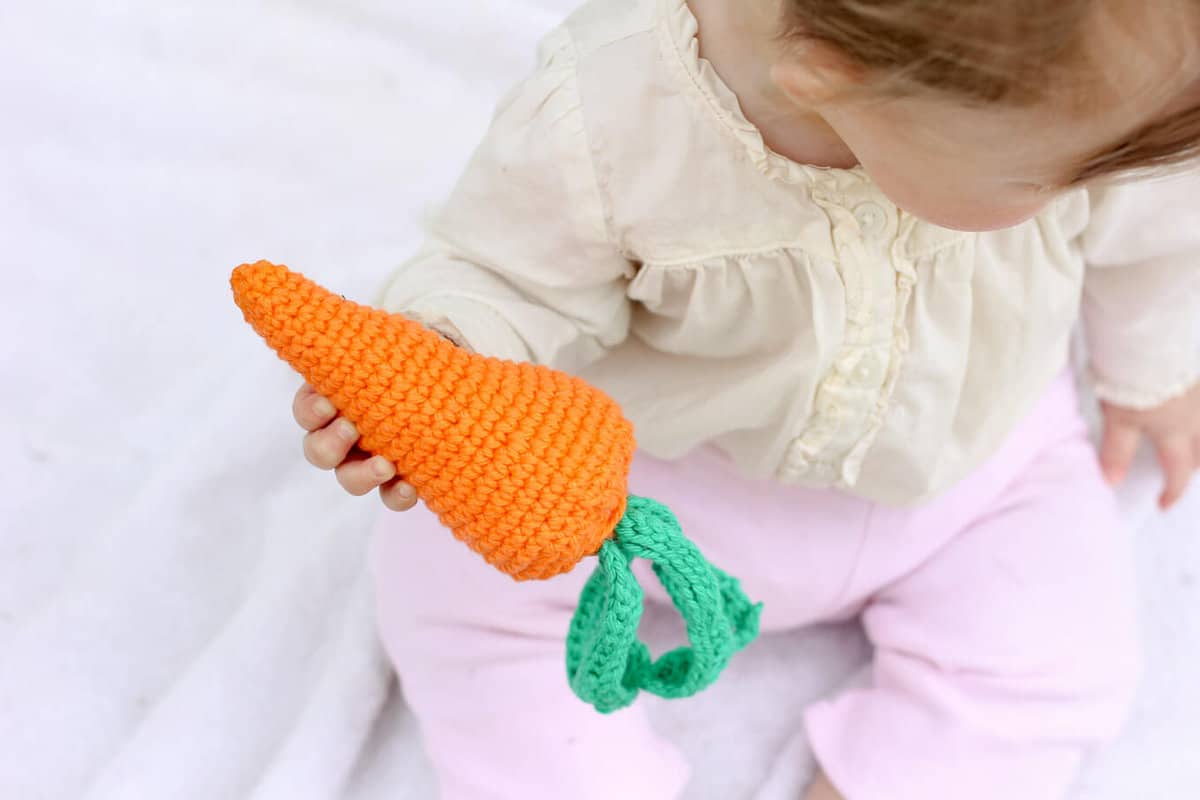
(Add the free carrot rattle pattern and you'll have one "hoppy" bunny!)
Brief Video Overview
If you'd like to see this crochet bunny beanie in action on my sweet nephew and see a quick overview of how this pattern comes together, click play on the video below!
Skills Needed to Crochet A Bunny Hat
This kids' crochet hat is quite quick to whip up. The only stitch used on the main body of the hat and ears is half double crochet. The scalloped edging uses a slip stitch, single crochet, double crochet, and a treble crochet.
If you’re a beginner crocheter, this project is a great way to learn a few new stitches. But if that sounds overwhelming, you can just leave off the scalloped edge and add one more row of half-double crochets instead.
Related: 27+ Best Crochet Hat Patterns for Winter
Personalize The Face (Or Not!)
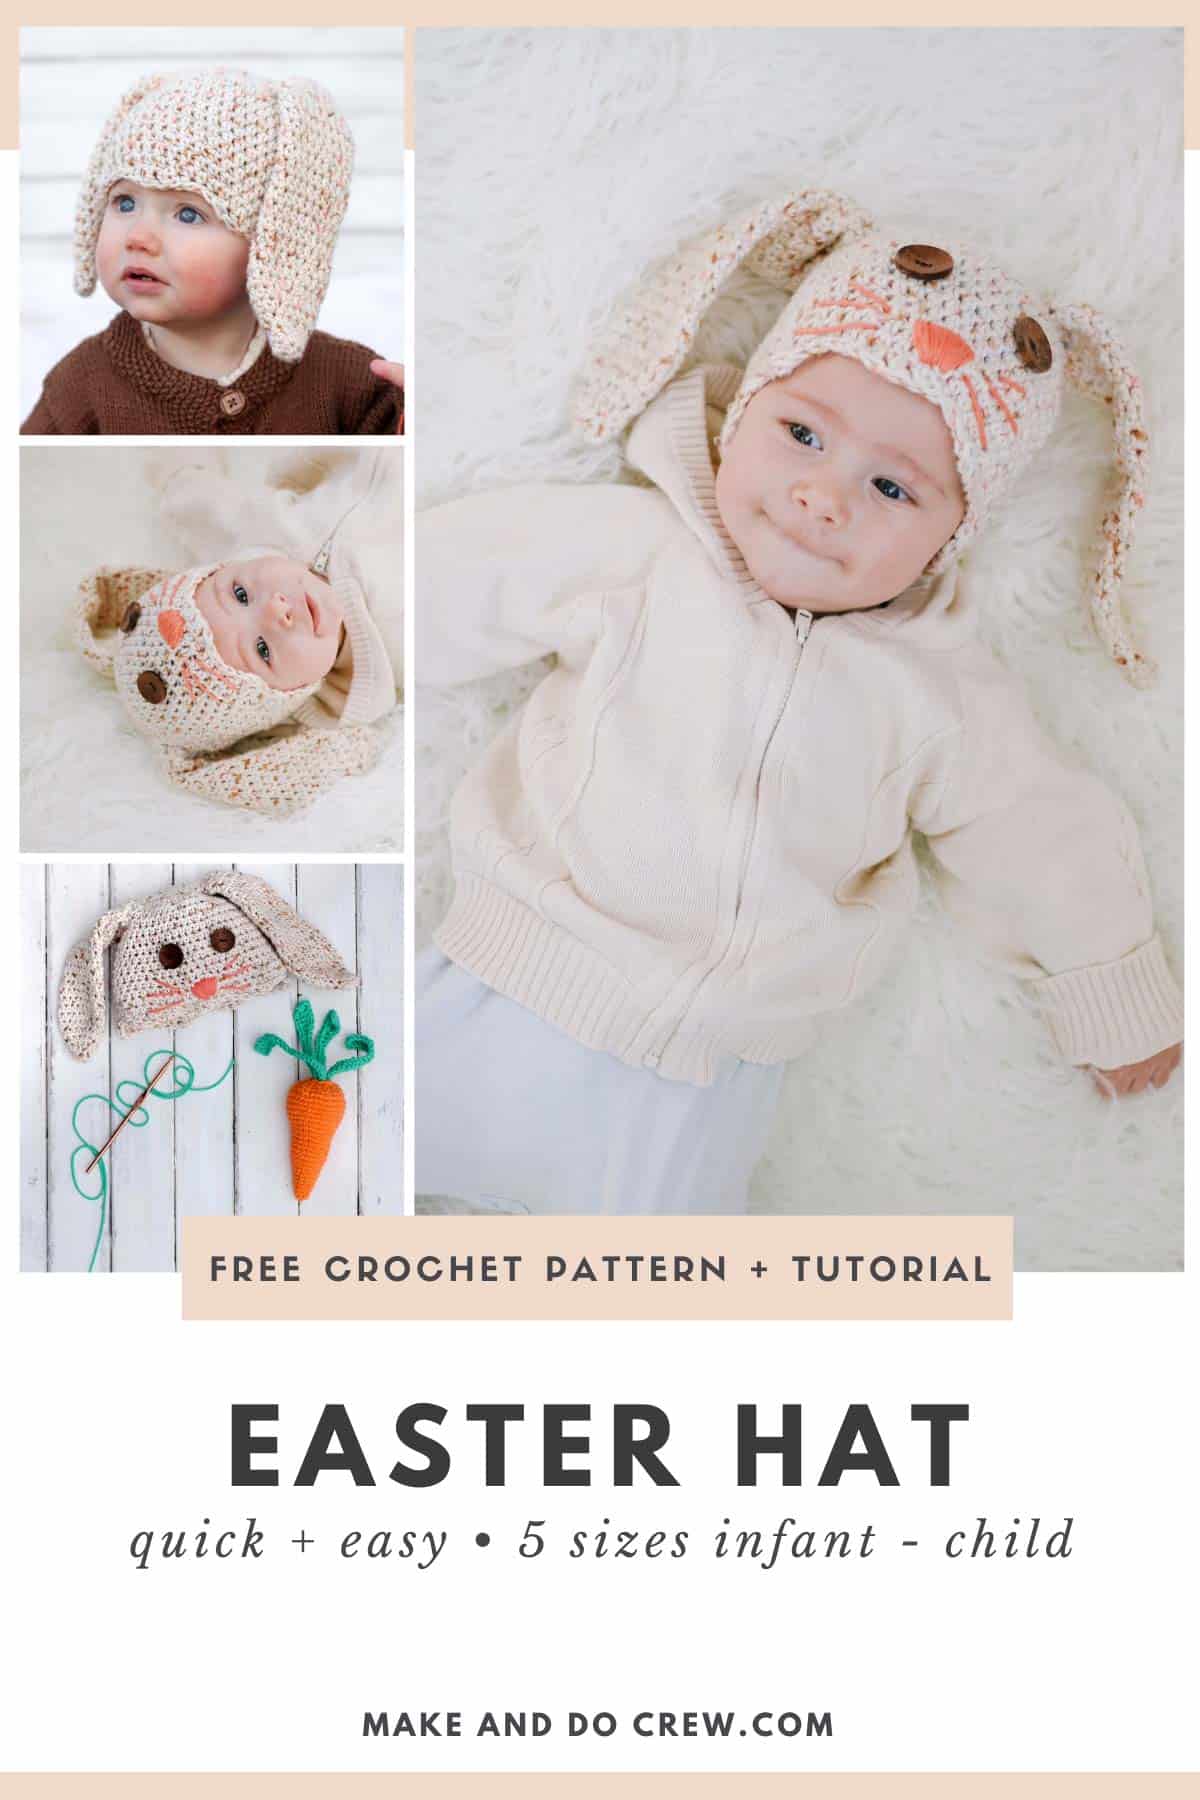
After making versions of this hat with an embroidered face and no face, but extra floppy ears, I really love both options. And I always like projects that allow my indecisiveness to drag out as long as possible.
You can crochet this hat, add the ears, and then decide if you'd like to add a face or not. How's that for flexibility?
Related: Pair your rabbit hat with a cozy baby blanket!
Pin it! click to pin this pattern for later ⇨
Yarn as Fluffy as a Little Bunny
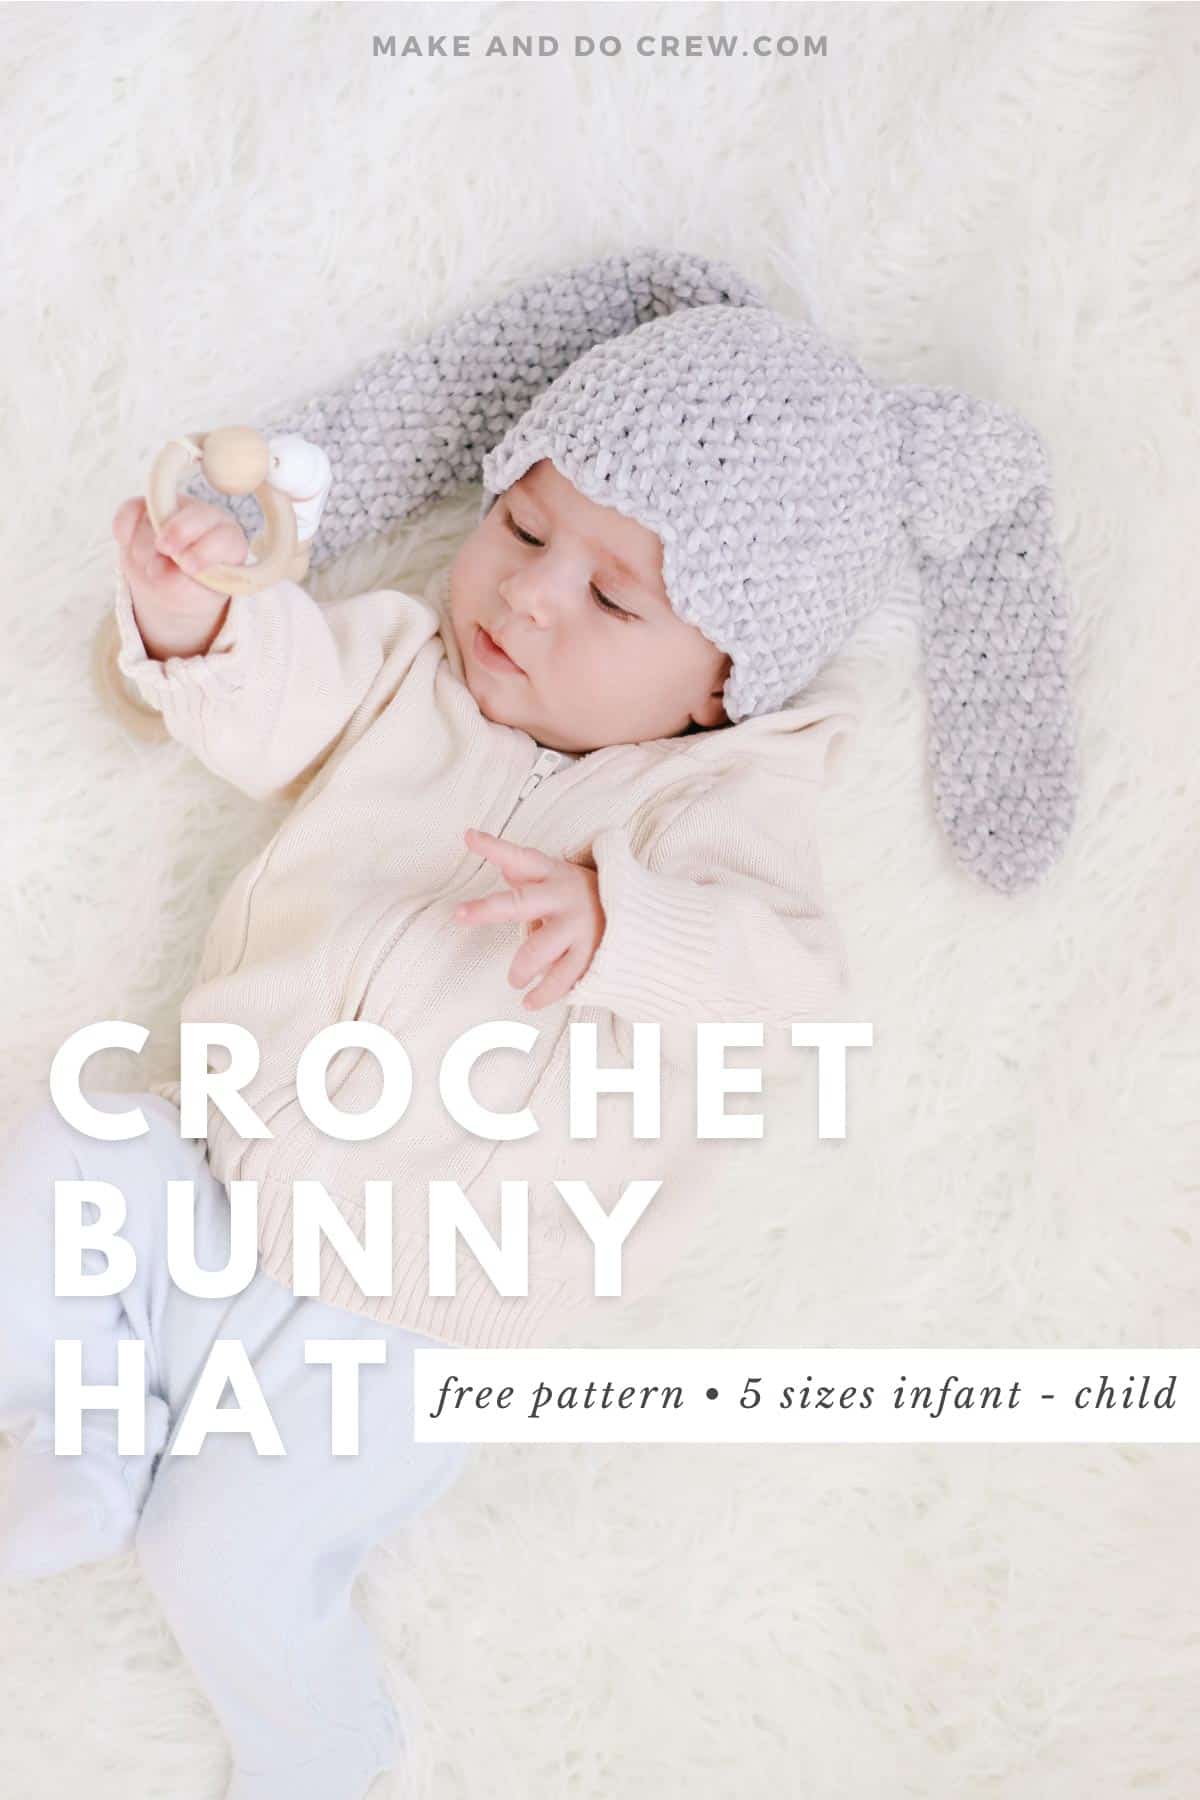
This baby bunny hat crochet pattern works well in any worsted weight yarn, but for an extra fluffy, super soft hat, Lion Brand Ve-luxe is where it's at. This velour-style yarn is incredibly plush and really fills in the stitches nicely with extra fluffy softness.
When I popped this hat on my sweet nephew's head, I knew it was absolutely comfy and easy for him to wear. No one wants to spend time on a handmade hat that won't get worn because it's scratchy and uncomfortable!
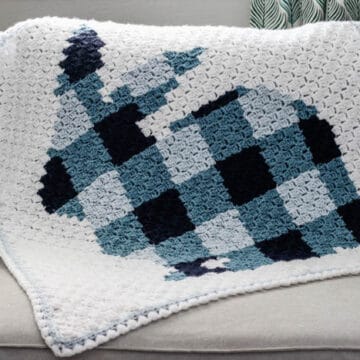
(For another snuggle-worthy Easter gift for babies, try our c2c plaid bunny blanket.)
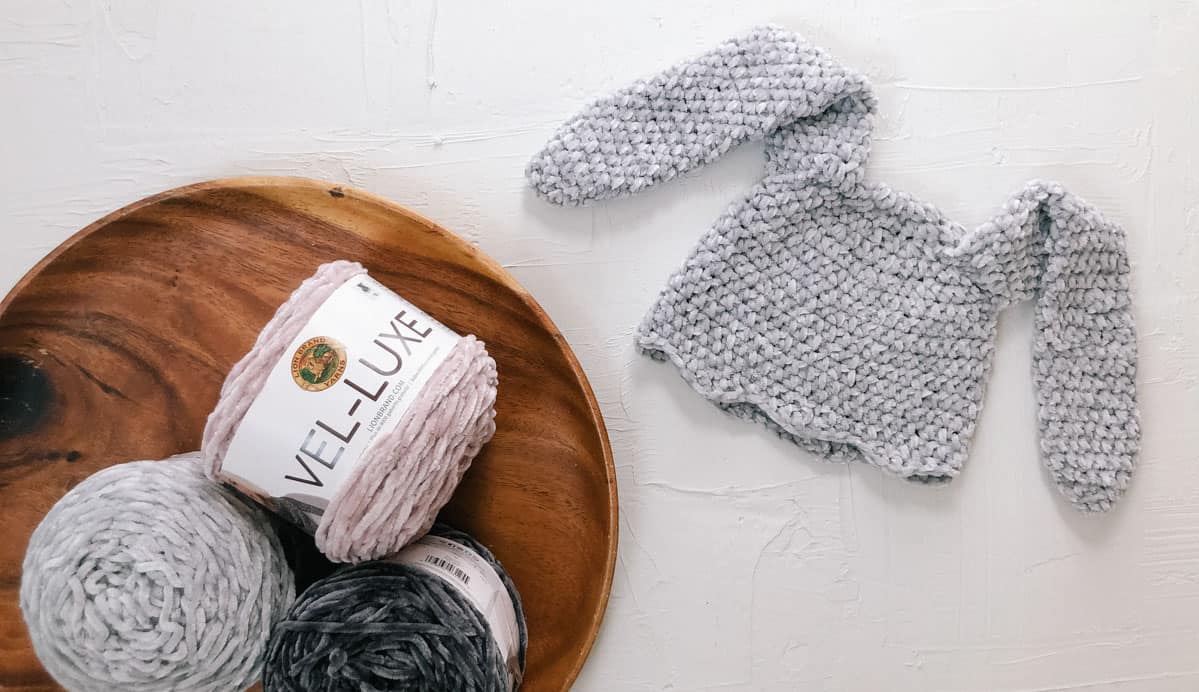
There are a variety of colors of Ve-luxe that would work well for this bunny hat pattern. We used Silver, but I think Dusty Pink and Charcoal would work beautifully too.
Related: 35+ Easy Chunky Crochet Hat Patterns
Floppy Eared Crochet Bunny Hat Free Pattern + Tutorial
Purchase the ad-free, printable PDF in our shop, on Etsy or on LoveCrafts.
Pin it for later here.
Supplies:
• Lion Brand Ve-luxe (Weight: 4/Medium - 246 yds, 5.3 oz)
- Pictured: Silver (#536 - 149) - approx 65, 75, 90, 110g
- Also pictured in hat with face: I Love This Yarn - color: Spunky Print
• Tapestry needle
• Size H (5.0 mm) crochet hook or size needed to obtain gauge
• Tapestry needle
Optional:
• (2) 1” wooden buttons for eyes
• Small amount of accent color yarn for nose and whiskers
• Sewing needle and thread (to attach button eyes)
| Sizes: | Fits actual head size: |
| 0-3 months | 12-13” |
| 3-6 months | 13-15” |
| 6-12 months | 15-16” |
| Toddler/Preschooler | 16-17” |
| Child | 17-19” |
Gauge:
6.5 hdc x 5.5 rows = 2”
Abbreviations and Glossary (US Terms):
ch - chain
dc - double crochet
hdc - half double crochet
PM - place marker
sc - single crochet
slst - slip stitch
tr - treble crochet
Helpful Resources + Tutorials:
If you're new to learning how to crochet, check out these beginner guides that will level-up your skills.
- Crochet Supplies - what to buy and what you can skip
- How to Read Crochet Patterns - tackle your next project with confidence
- How to Check Your Crochet Gauge - skipping this step is a common beginner mistake
- How to Weave in Your Ends - make this necessary evil less painful with these tips
- Blocking Your Crochet - why it matters and how to do it
How to Print This Pattern:
If you'd like to couch crochet and prefer a printed version of this pattern, I offer an inexpensive ad-free PDF for purchase. It includes all the photo tutorials you see here, the written pattern in large type and it's specifically formatted for easy printing.
You can grab it in our shop, or on Etsy or LoveCrafts.
How to Crochet a Bunny Hat:
Overall Pattern Notes:
- Hat is worked in the round from the top down with the right side facing out throughout. Ears are worked in a spiral with the right side facing out throughout.
- Each Hat round is joined with a slip stitch to the first hdc of round. Each Ear round is not joined with a slip stitch, but instead just continued in a spiral.
- The chain 1 at the beginning of each round does not count as a stitch.
0-3 Months Hat:
Round 1: Magic ring, chain 1 and make 8 hdc in ring, join to first hdc. (8 hdc total)
Round 2: Ch 1, 2 hdc in each stitch around, join. (16 hdc total)
Round 3: Ch 1, (2 hdc in first stitch, hdc in next stitch) repeat around, join. (24 hdc total)
Round 4: Ch 1, (2 hdc in first stitch, hdc in next 2 stitches) repeat around, join. (32 hdc total)
Round 5: Ch 1, (2 hdc in first stitch, hdc in next 3 stitches) repeat around, join. (40 hdc total)
Rounds 6-12: Ch 1, hdc around, join. (40 hdc total)
Round 13: (scalloped edging) Sc, dc, tr, dc, sc, slst, [slst, sc, dc, tr, dc, sc, slst] repeat 4 times, slst, sc, dc, tr, dc, sc. Fasten off. (40 stitches total
3-6 Months Hat:
Round 1: Magic ring, chain 1 and make 8 hdc in ring, join to first hdc. (8 hdc total)
Round 2: 2 hdc in each stitch around, join. (16 hdc total)
Round 3: (2 hdc in first stitch, hdc in next stitch) repeat around, join. (24 hdc total)
Round 4: (2 hdc in first stitch, hdc in next 2 stitches) repeat around, join. (32 hdc total)
Round 5: (2 hdc in first stitch, hdc in next 3 stitches) repeat around, join. (40 hdc total)
Round 6: (2 hdc in first stitch, hdc in next 4 stitches) repeat around, join. (48 hdc total)
Rounds 7-15: hdc around, join. (48 hdc total)
Round 16: (scalloped edging) [Slst, sc, dc, tr, dc, sc, slst] repeat 7 times. Fasten off.
6-12 Months Hat:
Round 1: Magic ring, chain 1 and make 8 hdc in ring, join to first hdc. (8 hdc total)
Wanna save this pattern?
Round 2: 2 hdc in each stitch around, join. (16 hdc total)
Round 3: (2 hdc in first stitch, hdc in next stitch) repeat around, join. (24 hdc total)
Round 4: (2 hdc in first stitch, hdc in next 2 stitches) repeat around, join. (32 hdc total)
Round 5: (2 hdc in first stitch, hdc in next 3 stitches) repeat around, join. (40 hdc total)
Round 6: (2 hdc in first stitch, hdc in next 4 stitches) repeat around, join. (48 hdc total)
Round 7: (2 hdc in first stitch, hdc in next 11 stitches) repeat around, join. (52 hdc total)
Rounds 8-16: hdc around, join. (52 hdc total)
Round 17: (scalloped edging) Slst, slst [slst, sc, dc, tr, dc, sc, slst] repeat 7 times, slst (52 stitches total). Fasten off
Toddler/Preschooler Hat:
Round 1: Magic ring, chain 1 and make 8 hdc in ring, join to first hdc. (8 hdc total)
Round 2: 2 hdc in each stitch around, join. (16 hdc total)
Round 3: (2 hdc in first stitch, hdc in next stitch) repeat around, join. (24 hdc total)
Round 4: (2 hdc in first stitch, hdc in next 2 stitches) repeat around, join. (32 hdc total)
Round 5: (2 hdc in first stitch, hdc in next 3 stitches) repeat around, join. (40 hdc total)
Round 6: (2 hdc in first stitch, hdc in next 4 stitches) repeat around, join. (48 hdc total)
Round 7: (2 hdc in first stitch, hdc in next 5 stitches) repeat around, join. (56 hdc total)
Rounds 8-18: hdc around, join. (56 hdc total)
Round 19: (scalloped edging) [Slst, sc, dc, tr, dc, sc, slst] repeat 8 times (56 stitches total). Fasten off.
Child Size Hat:
Round 1: Magic ring, chain 1 and make 8 hdc in ring, join to first hdc. (8 hdc total)
Round 2: 2 hdc in each stitch around, join. (16 hdc total)
Round 3: (2 hdc in first stitch, hdc in next stitch) repeat around, join. (24 hdc total)
Round 4: (2 hdc in first stitch, hdc in next 2 stitches) repeat around, join. (32 hdc total)
Round 5: (2 hdc in first stitch, hdc in next 3 stitches) repeat around, join. (40 hdc total)
Round 6: (2 hdc in first stitch, hdc in next 4 stitches) repeat around, join. (48 hdc total)
Round 7: (2 hdc in first stitch, hdc in next 5 stitches) repeat around, join. (56 hdc total)
Round 8: (2 hdc in first stitch, hdc in next 6 stitches) repeat around, join. (64 hdc total)
Rounds 9-21: hdc around, join. (64 hdc total)
Round 22: (scalloped edging) Slst, [slst, sc, dc, tr, dc, sc, slst] repeat 8 times (64 stitches total). Fasten off.
Newborn + 3-6 Months Easter Bunny Ears:
Make 2.
Round 1: Magic ring, ch 1 and make 6 hdc in ring, join to first hdc. PM in last st of round and move up with each round. (6 hdc total)
Round 2: [2 hdc in first stitch, hdc, hdc] repeat around. (8 hdc total)
Round 3: [2 hdc in first stitch, hdc, hdc, hdc] repeat around. (10 hdc total)
Round 4: [2 hdc in first stitch, hdc, hdc, hdc, hdc] repeat around. (12 hdc total)
Round 5: [2 hdc in first stitch, hdc, hdc,] repeat around. (16 hdc total)
Round 6: Hdc in each stitch.
Rep Round 6 until ear measures 11” or desired length.
Fasten off leaving a 20” tail for seaming.
6-12 Months + Toddler/Preschooler Ears:
Make 2.
Round 1: Magic ring, ch 1 and make 6 hdc in ring, join to first hdc. PM in last st of round and move up with each round. (6 hdc total)
Round 2: [2 hdc in first stitch, hdc, hdc] repeat around. (8 hdc total)
Round 3: [2 hdc in first stitch, hdc, hdc, hdc] repeat around. (10 hdc total)
Round 4: [2 hdc in first stitch, hdc, hdc, hdc, hdc] repeat around. (12 hdc total)
Round 5: [2 hdc in first stitch, hdc, hdc,] repeat around. (16 hdc total)
Round 6: [2 hdc in first stitch, hdc, hdc, hdc] repeat around. (20 hdc total)
Round 7: Hdc in each stitch.
Rep Round 7 until ear measures 12” or desired length.
Fasten off leaving a 20” tail for seaming.
Child Size Ears:
Make 2.
Round 1: Magic ring, ch 1 and make 6 hdc in ring, join to first hdc. PM in last st of round and move up with each round. (6 hdc total)
Round 2: [2 hdc in first stitch, hdc, hdc] repeat around. (8 hdc total)
Round 3: [2 hdc in first stitch, hdc, hdc, hdc] repeat around. (10 hdc total)
Round 4: [2 hdc in first stitch, hdc, hdc, hdc, hdc] repeat around. (12 hdc total)
Round 5: [2 hdc in first stitch, hdc, hdc,] repeat around. (16 hdc total)
Round 6: [2 hdc in first stitch, hdc, hdc, hdc] repeat around. (20 hdc total)
Round 7: [2 hdc in first stitch, hdc, hdc, hdc, hdc] repeat around. (24 hdc total)
Round 8: Hdc in each stitch.
Rep Round 8 until ear measures 14” or desired length.
Fasten off leaving a 20” tail for seaming.
Finishing Your Bunny Crochet Hat - All Sizes:
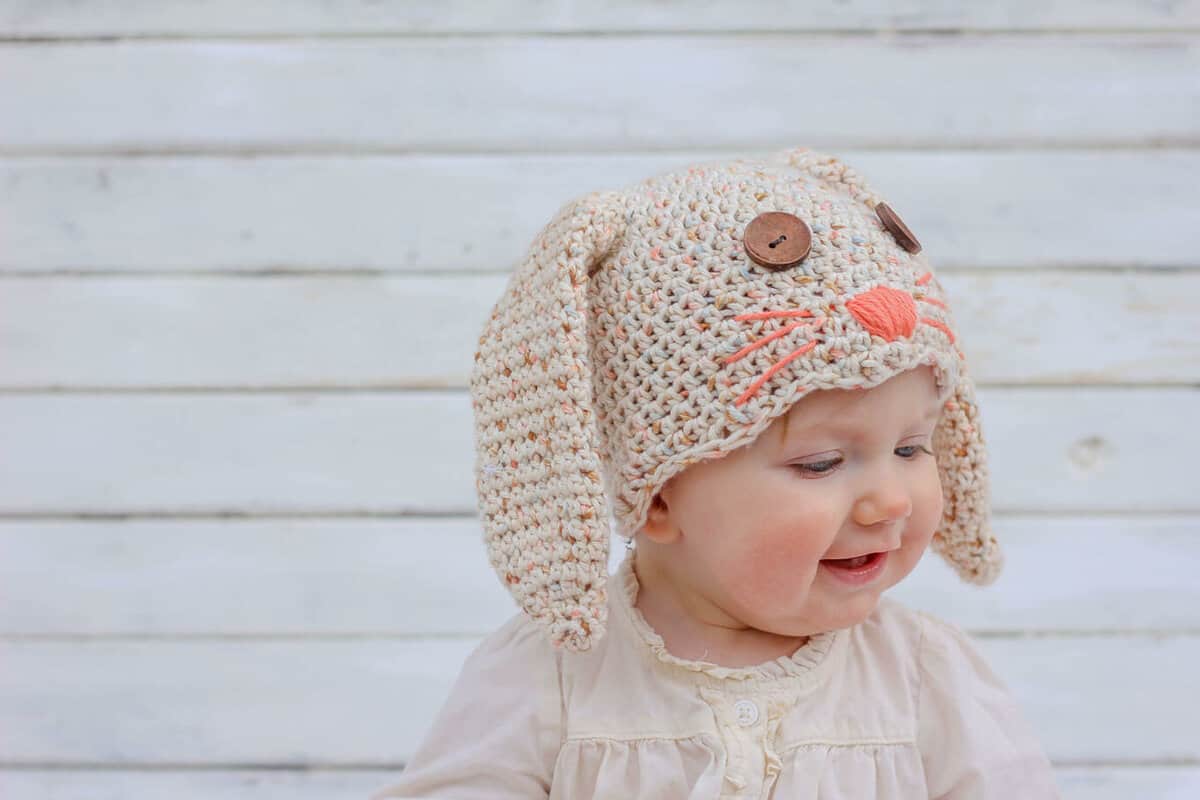
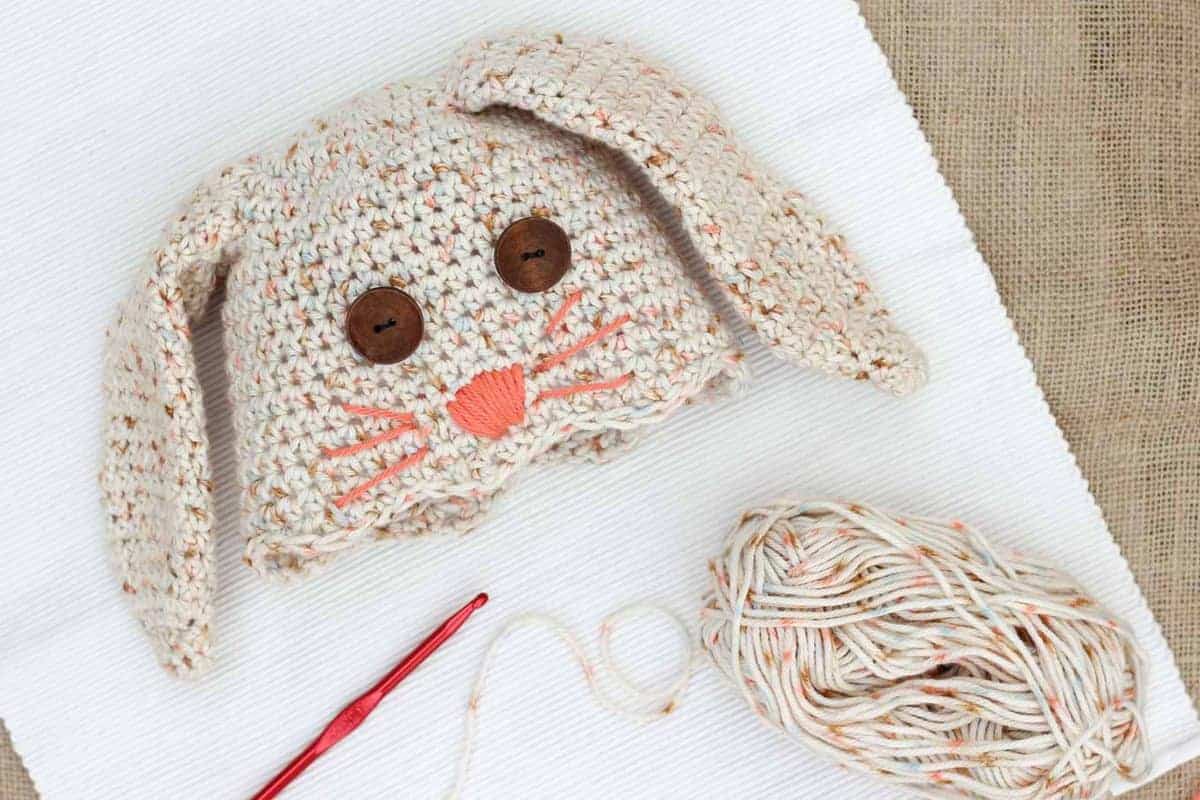
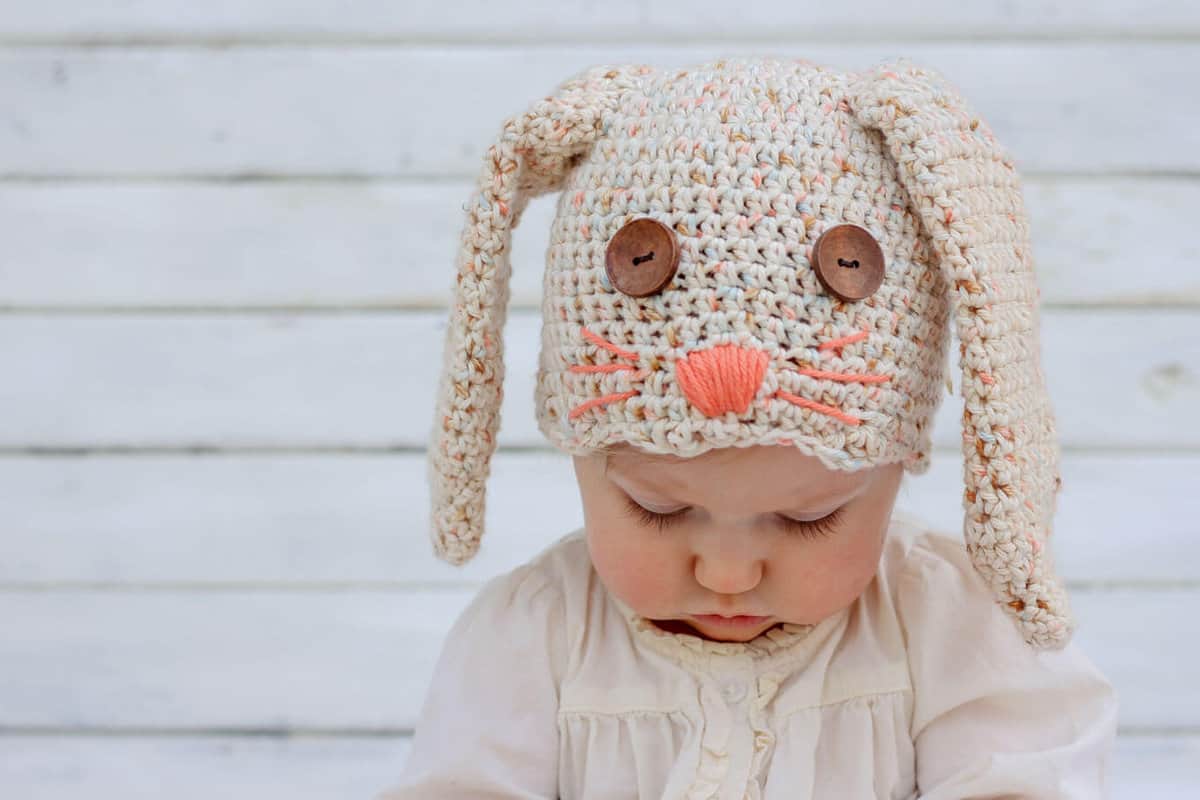
With tapestry needle and leftover yarn tail, whip stitch each ear to hat. Reference photos for placement. (In the samples pictured, the ears are tilted a bit and placed about four rows down from the top of the hat. Both ears are slightly more to the front of the hat than the back.)
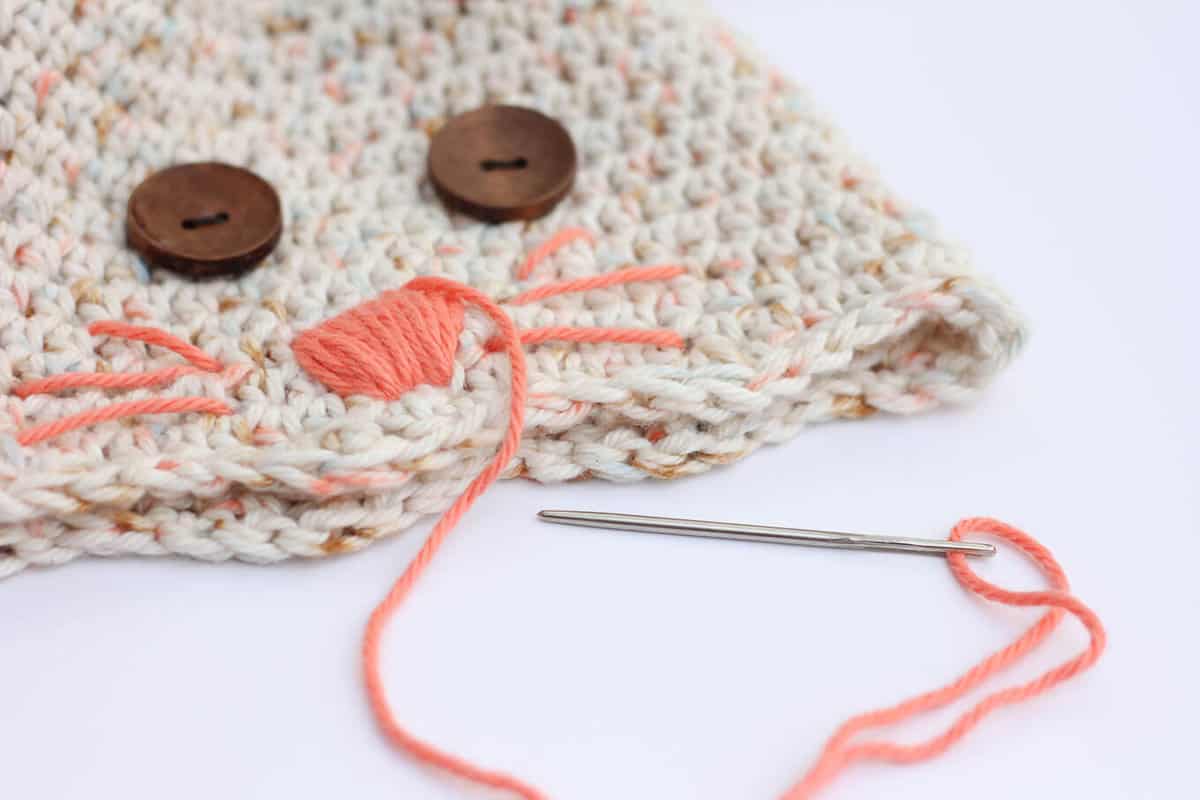
Optional: Use sewing needle and thread to attach buttons as eyes. With accent color, embroider a simple nose and whiskers as pictured.
Give your finished cap to your favorite hoppy kiddo!
Now that you're feeling like a DIY rockstar, peruse my archives to find your next Easter project or free crochet pattern--especially the yummy free pattern for the carrot rattle!
More Crochet Hat Patterns for Kids
Can't get enough cute caps for your kiddo? Try these reader favorites for a new look each season.
That was so fun! Now what?
Invitation to our Facebook group
Come discuss crocheting bunny hats and lots of other projects and techniques in our Make & Do Crew Facebook group. Here thousands of helpful crocheters answer each other's questions and share their stitches.

Carolyn says
I was hoping to see the tutorial but it is playing everything but. How do I get the tutorial? I am hoping it addressess attaching the ears. The hat came out great and is absolutely adorable.
julia jennings says
Wish there was a video. I’m not fluent but can crochet, just need a bit more direction.
Alice says
Super cute hat! Additional instructions on assembly would be helpful. When you say angle the ears, which way? Also, do you flatten the ears to attach to hat or open them up a bit? Thanks for posting, Can't wait to see the smiling face inside the hat when I send it to my granddaughter.
Bett says
Jess @ Make and Do Crew, what a cute pattern!
May I point one thing out? I have rescued a number of bunnies that have been abandoned after Easter (please, no bunnies as Easter gifts or gifts of any kind; read http://www.rabbit.org for all the info you need before adopting a bunny) and one thing I know: bunnies don't have shiny pink noses like puppies or kittens - their noses are totally covered in fur and all you see are two cute little nostrils. <3
So to make the face realistic, all you need is a subtle indication, not the pink nose. Just look at a picture of a bunny and you'll see : )
Not throwing shade, this is something most people don't even realize!
Bett says
PS Thanks for the cute pattern! I forgot to say that : )
Candice Hoback says
Hi Jess, I do not know which is cuter------the bunny or the baby. I will vote for the baby. Precious!
accent pillow case baby canvas housewarming gift says
This looks so cute, I'm going to try to make it as a child's birthday gift.