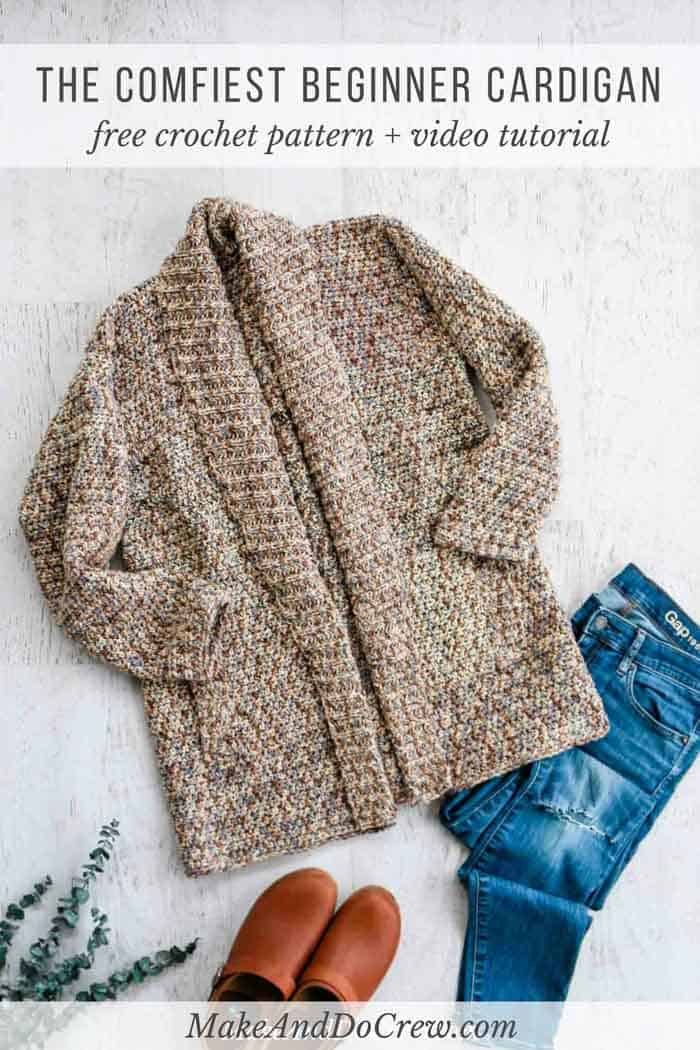
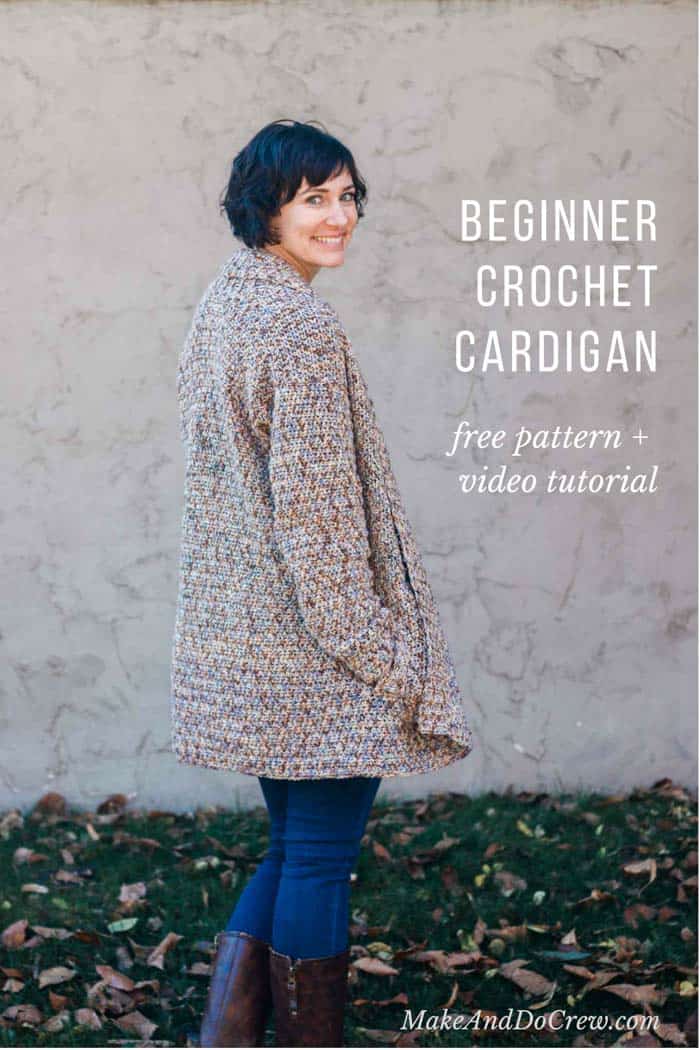
Learn how to make a crochet long sleeve cardigan in Part 2 of this free pattern and video tutorial. Follow along with how to crochet the collar and pockets and join your sweater together in the free pattern below or purchase the complete ad-free, printable PDF with schematic here. Find Part 1 of the free pattern and video tutorial here.
This How To Crochet a Long Sleeve Cardigan Video Tutorial is part of a collaboration with Lion Brand Yarn. This post contains affiliate links.
In Part 1 of this easy crochet cardigan video tutorial and free pattern, we learned how to crochet the main body of the sweater in one large piece, divide for the fronts and back and crochet the long sleeves. If you need to catch up on any of those details, check out Part 1 of the Up North Cardigan video tutorial and pattern.
A Shawl Collar + Pockets To Complete this Long Sleeve Crochet Cardigan
Today we’re going to learn how to crochet the simple ribbed shawl collar, which we’ll work as one long piece and then attach to our sweaters during the finishing section. This collar uses basic increasing and decreasing to create the rolled look, all of which is covered in the video tutorial below.
Next we’ll use skills we’ve already mastered to crochet pockets for our sweaters (a must in my book!)
If you love crochet cardigans with pockets as much as I do, you’ll love these other free crochet patterns from Make & Do Crew.
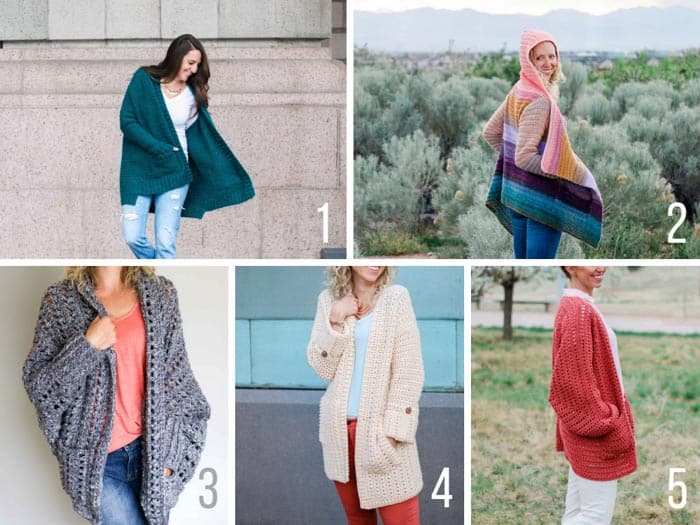
1. Staycation Cardigan / 2. Remix Cardigan / 3. Dwell Sweater / 4. Alchemy Cardigan / 5. Day Date Cardigan
How to Join Crochet Sweater Pieces
Once you’ve put all the hard work into crocheting all the parts of your super comfy, oversized cardigan, it doesn’t do you much good as random pieces of yarn fabric does it?
While seaming a crochet sweater together can feel a little intimidating, we’re going to use one simple seaming technique for almost all of the joins in this pattern. This easy seaming stitch will create an invisible join and since your cardigan fronts and back were worked in one large piece, we’ve completely eliminated the side seams that usually exist in a crochet or knit sweater.
I cover the crochet seaming technique and everything else you need to know to finish your Up North Cardigan in the video tutorial below! Scroll down a bit further for Part 2 of the free written pattern.
Up North Cardigan Video Tutorial – Part 2
Up North Beginner Crochet Cardigan
Free Pattern
Purchase the ad-free, printable PDF with schematic here.
Save this pattern to your Ravelry here.
Pin it for later here.
Supplies:
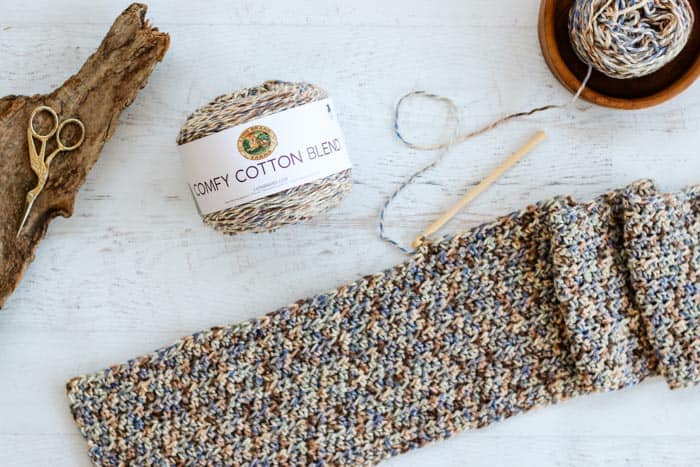
• Lion Brand Comfy Cotton Blend (Weight: 3/light – 392 yds, 7 oz)
– Driftwood (#756-710) – 5 (5, 6, 7, 7, 8) skeins
[(approx. 880 (980, 1095, 1220, 1315, 1430) g)]
• Tapestry needle
• Size K (6.5 mm) crochet hook
• Stitch markers or safety pins
• T-pins and iron or steamer for blocking
Sizes:
Small – fits 28-32” bust
Medium – fits 32-36” bust
Large – fits 36-40” bust
1X – fits 40-44” bust
2X – fits 44-48” bust
3X – fits 48-52” bust
Sample pictured on a 5’5” model with a 32” bust.
For additional measurement details for each finished size, see schematic in ad-free, printable PDF.
Gauge:
13 hdc x 10 rows = 4”
Abbreviations and Glossary (US Terms):
ch – chain
dec – decrease
hdc – half double crochet
hdc2tog – half double crochet two together
hdcflo – half double crochet through the front loop only
hdcflo2tog– half double crochet two together through the front loop only
inc – increase
PM – place marker
RS – right side
sk – skip
sl st – slip stitch
st(s) – stitch(es)
WS – wrong side
Overall Pattern Notes:
• To minimize seaming, cardigan back and fronts are worked in one piece. Similarly, sleeves are worked in the round and added to main sweater piece. Collar and pockets are worked separately and added last.
• Chain 2 at beginning of row never counts as a half double crochet.
• Pattern is written for smallest size, with larger sizes following in parentheses. S (M, L, 1X, 2X, 3X) It can be helpful to circle all notes for your size before beginning.
• Before proceeding with the pattern below, complete all of Part 1 of the free pattern and video tutorial.
COLLAR
Notes:
• Collar is worked separately and joined during finishing.
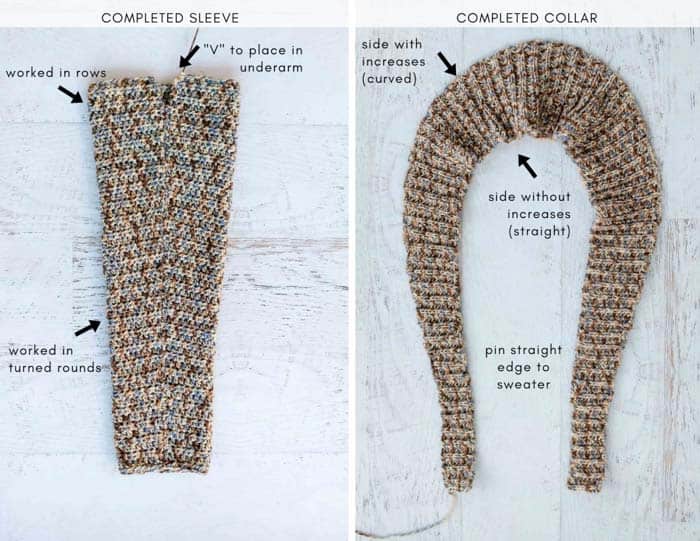
• Increases always take place on same side of collar. It can be helpful to place a marker on this side of work to easily differentiate it as you crochet.
• See photo above in Sleeve section for completed collar.
Working Even:
Foundation Row: Ch 9 (11, 11, 13, 13, 13).
Row 1 (RS): Sk 2 ch, hdc in each ch to end; turn. [7 (9, 9, 11, 11, 11)]
Rows 2-10: Ch 2, hdcflo in each hdc; turn. [7 (9, 9, 11, 11, 11)]
Increasing:
Row 11 (RS inc): Ch 2, 2 hdcflo in first hdc, hdcflo in each hdc; turn. [8 (10, 10, 12, 12, 12)]
Rows 12-14: Ch 2, hdcflo in each hdc; turn. [8 (10, 10, 12, 12, 12)]
Repeat Rows 11-14 an additional 13 (14, 14, 15, 15, 16) times, then Row 11 once more. Collar should have 22 (25, 25, 28, 28, 29) sts.
Wanna save this pattern?
Working Even:
Repeat Row 2 an additional 7 (5, 9, 7, 11, 7) times.
Decreasing:
Row 1 (RS dec): Ch 2, hdcflo2tog, hdcflo in each hdc; turn. [21 (24, 24, 27, 27, 28)]
Rows 2-4: Ch 2, hdcflo in each hdc; turn. [21 (24, 24, 27, 27, 28)]
Repeat Rows 1-4 an additional 14 (15, 15, 16, 16, 17) times. Collar should have [7 (9, 9, 11, 11, 11)] sts.
Working Even:
Repeat Row 2 an additional 7 times.
Fasten off leaving a 35” tail.
POCKETS
Notes:
• Pocket ribbing and main pocket are worked separately and then joined in Seaming.
• Pockets are worked identically for all sizes.
Ribbing:
Make 2.
Foundation Row: Ch 9.
Row 1 (RS): Sk 2 ch, hdc in each ch to end; turn. (7)
Rows 2-16: Ch 2, hdcflo in each hdc; turn. (7)
Main Pocket:
Make 2.
Foundation Row: Ch 19.
Row 1 (RS): Sk 2 ch, hdc in each ch to end; turn. (17)
Rows 2-16: Ch 2, hdc in each hdc; turn. (17)
FINISHING
Notes:
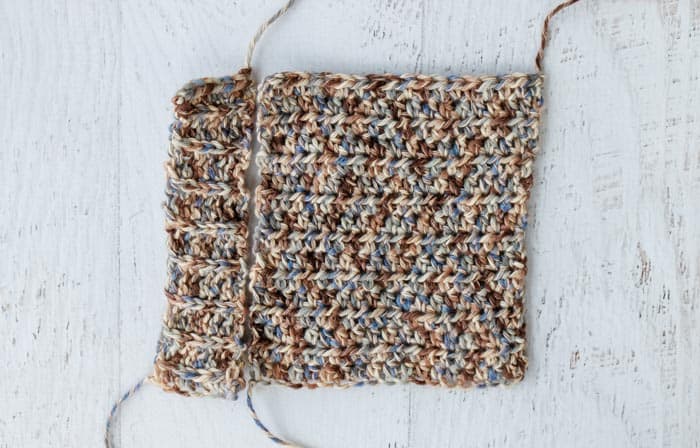
• For all seaming, use tapestry needle and existing yarn tails when possible. See photo below for recommended seaming technique for shoulder, sleeves and collar.
Blocking:
IMPORTANT: Do not actually touch iron to yarn as any acrylic component in yarn will melt.
If using a yarn with a natural fiber component like Lion Brand Comfy Cotton Blend, it can be helpful to block sweater pieces before joining. Use T-pins to pin sweater pieces down following measurements in schematic. Lightly steam by shooting steam from hot iron onto sweater pieces.
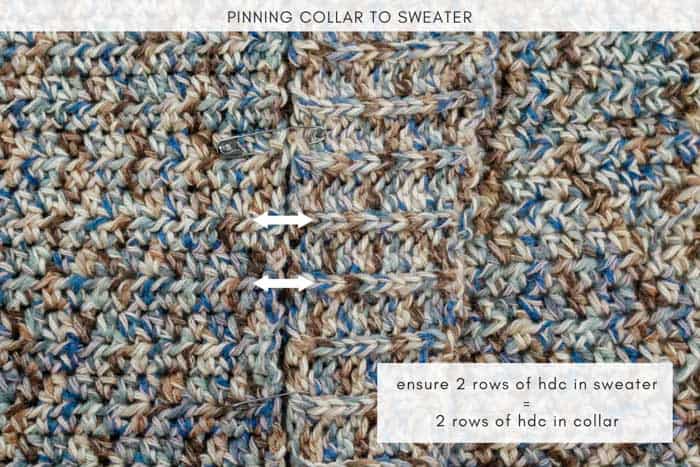
Take specific care to block collar rows to mimic the spacing of rows in main sweater piece. This will ensure collar lies flat on finished sweater.
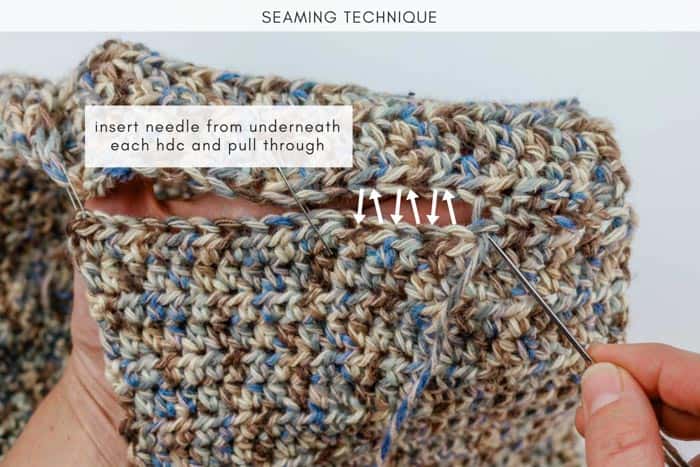
Seaming Shoulders:
With WS of main sweater piece facing out, pin both shoulder seams. Begin seaming from outer shoulder edge and work toward neck.
Joining Sleeves in Place:
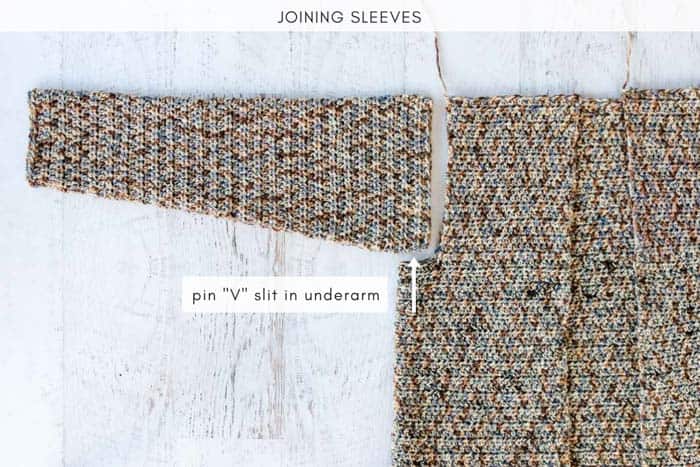
With WS of main sweater piece facing out and WS of sleeves facing out, pin both sleeves in place. “V” shape at top of sleeve should be pinned to underarm inset. (See photo below.) Seam each sleeve in place.
Joining Collar:
With WS of main sweater piece facing out and WS of collar facing out, pin collar in place around sweater fronts and neck. Take care to line up rows of hdc in main sweater piece with rows of hdc in collar. (See photo below.) Begin seaming from bottom of one side of collar and work toward neck, around back of neck and back down second front piece.
Attaching Pockets:
With WS of pocket and pocket ribbing facing, pin together. Note that pocket rows should run perpendicularly to ribbing. (See photo above.) Using seaming technique in photo above, join ribbing to pocket.
Pin each pocket to main sweater. Note that in medium-sized sample pictured, pockets are attached beginning in 14th row from bottom of sweater. Whip stitch around three pocket sides.
I love to see your finished projects! Use #MakeAndDoCrew and tag me Instagram (@MakeAndDoCrew) to show off your stitches and have a chance to be featured.
More Free Crochet Long Sleeve Cardigan Patterns
Now that you’ve completed the Up North long sleeved sweater pattern, keep your arms cozy with these other free long sleeve crochet cardigan patterns from Make & Do Crew. Many of these sweaters are very beginner friendly and include video tutorials as well!
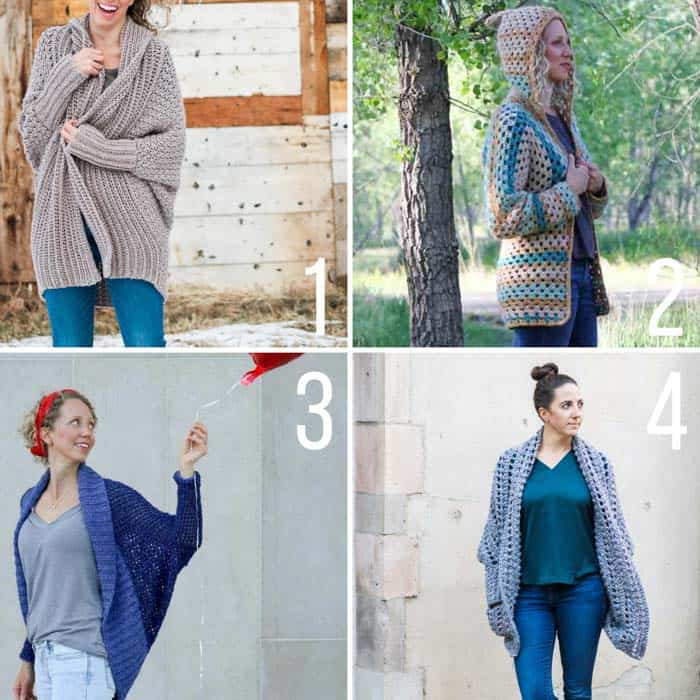
1. Habitat Cardigan / 2. Campfire Cardigan / 3. Stonewash Shrug / 4. Dwell Sweater

Dawn says
I love this pattern but I hate that the sleeves have to be sewed on I never have any luck , I have a few unfinished cardigan/sweaters that have been left unfinished because I couldn’t get the arms sewn on correctly after numerous attempts, so I do all of the work and then The sleeves never work out for me … I wish there were more patterns out there that work the sleeves right into the sweater . Just too many pieces to be sewn on for me , I also like when the collar is crocheted right into the sweater and not having it as a separate piece .
Dawn says
I really love your patterns but they always have too many pieces to sew together , one thing i hate doing is sewing things together i crochet all my pieces and they look great then when i attach all the pieces my project never looks like your finished project I just wish i can find a simple pattern that crochets the sleeves to the project and crochet the collar and edging right onto the garment i found a few but they are never long enough i did your alchemy cardigan all my pieces looked great but when i started sewing it together it was confusing and too many pieces i just couldn’t get it to look right so it sits unfinished
Julie swift says
How big should the back measure for large size be for doing front pieces?
Jess @ Make and Do Crew says
Hey Julie,
It should be about 20″ tall.
Happy crocheting!
Jess