Follow this easy round crochet bag pattern to make a sturdy, stylish circle tote. You'll love this minimalist, raffia-style bag pattern with step-by-step tutorial.
The free circular bag pattern is below, or purchase the ad-free, printable PDF here.
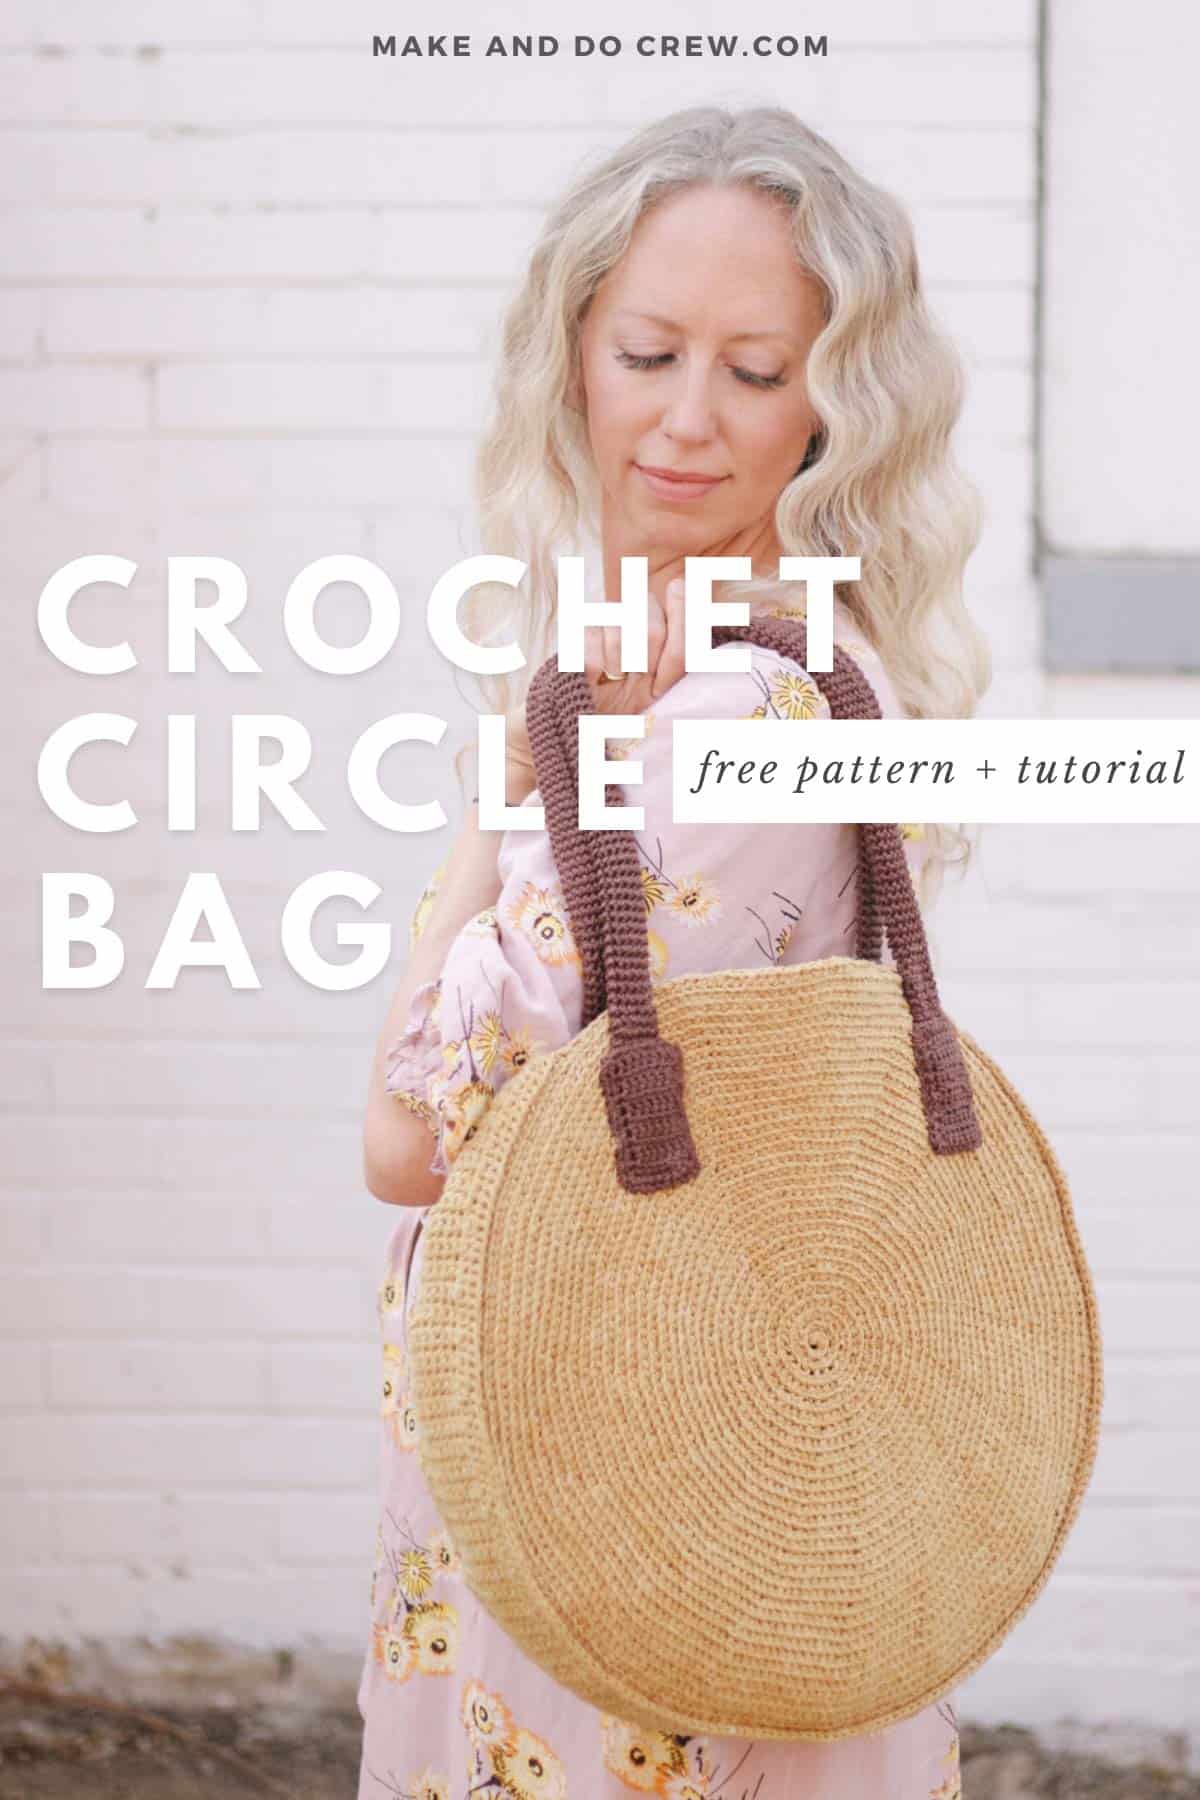
This round purse pattern is part of a collaboration with Lion Brand Yarns. This post contains affiliate links.
Jump to:
Large Round Crochet Bag Pattern
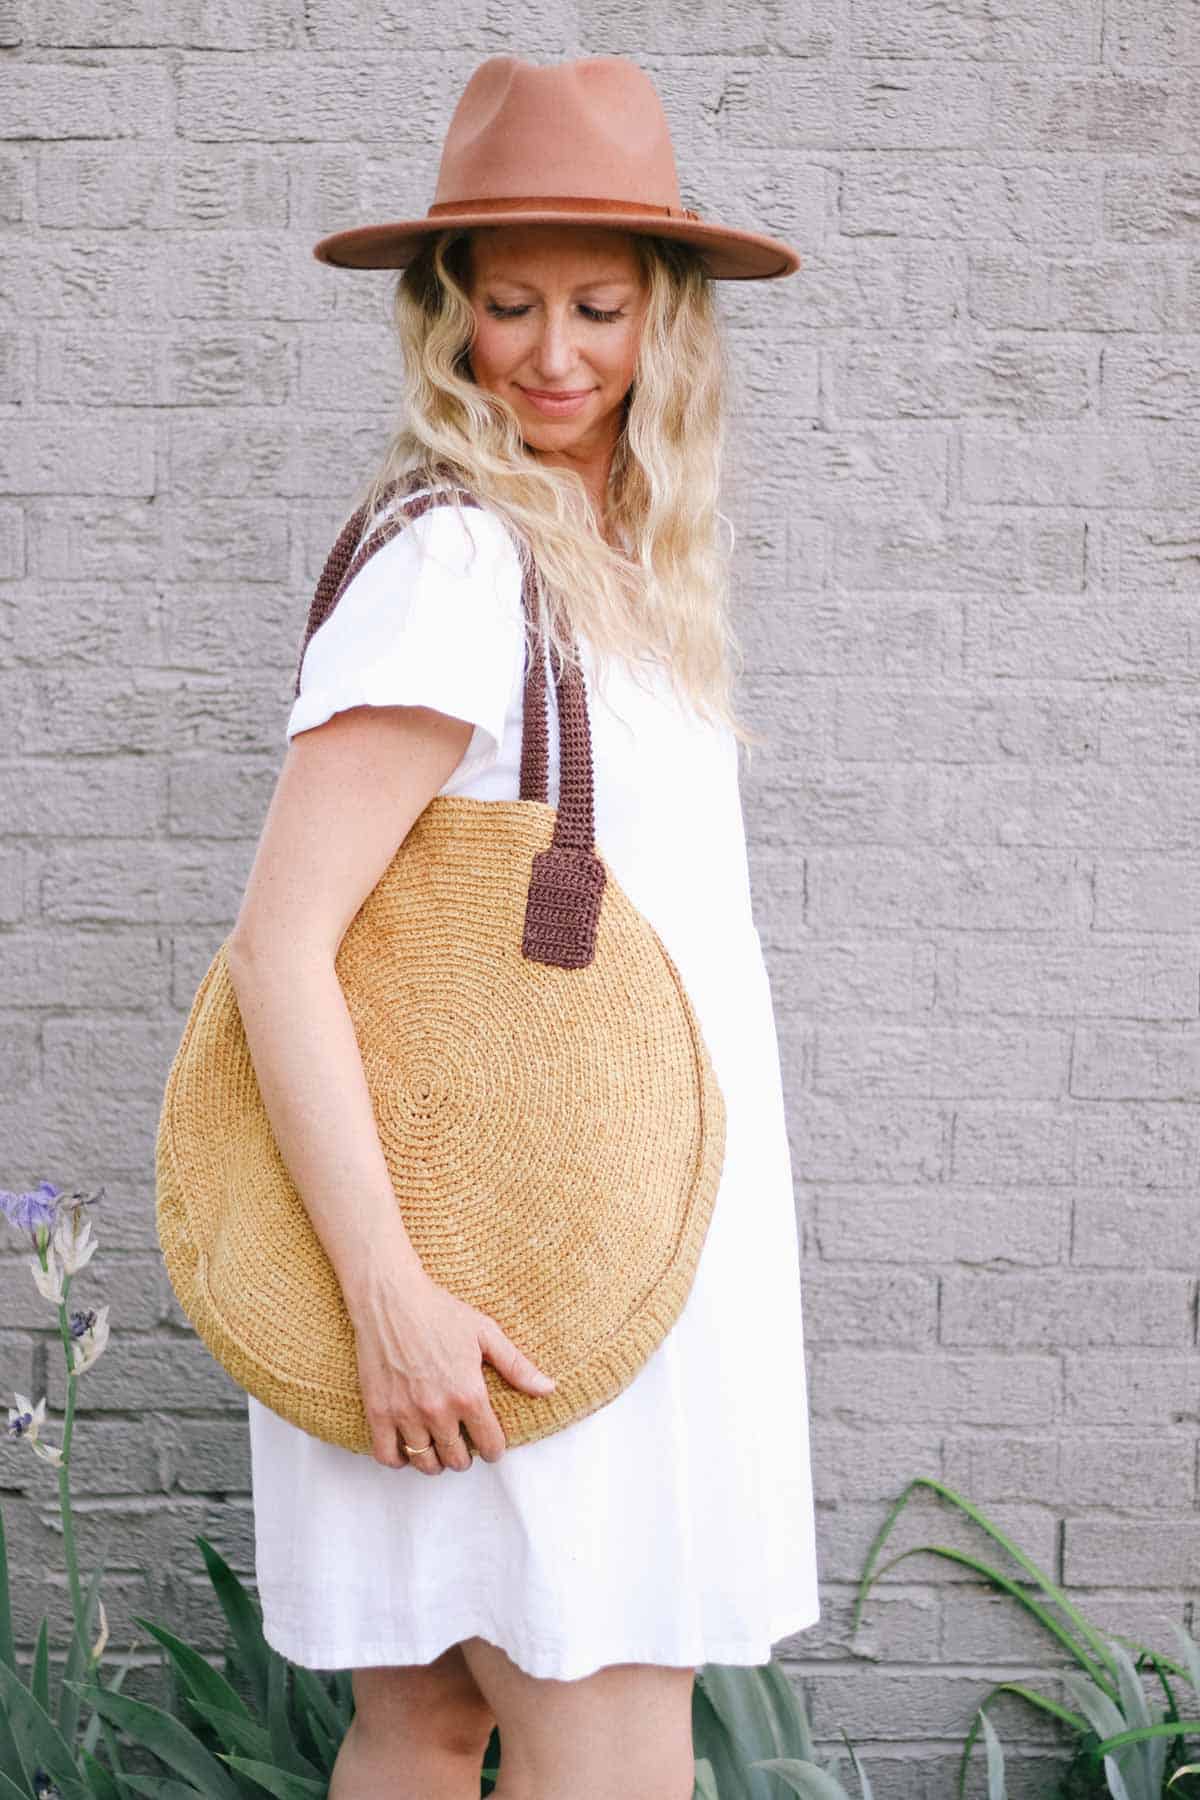
Stylish, sturdy and handmade? It’s true! This approachable crochet purse pattern combines easy stitches to create a durable and functional circle bag.
Load it up for the farmer's market or a day at the beach–it’ll hold it’s shape while you’re on the go. With an interior phone pocket and optional non-stretch straps, you may just be inspired to crochet a bag in every color.
Why you'll love this circular bag!
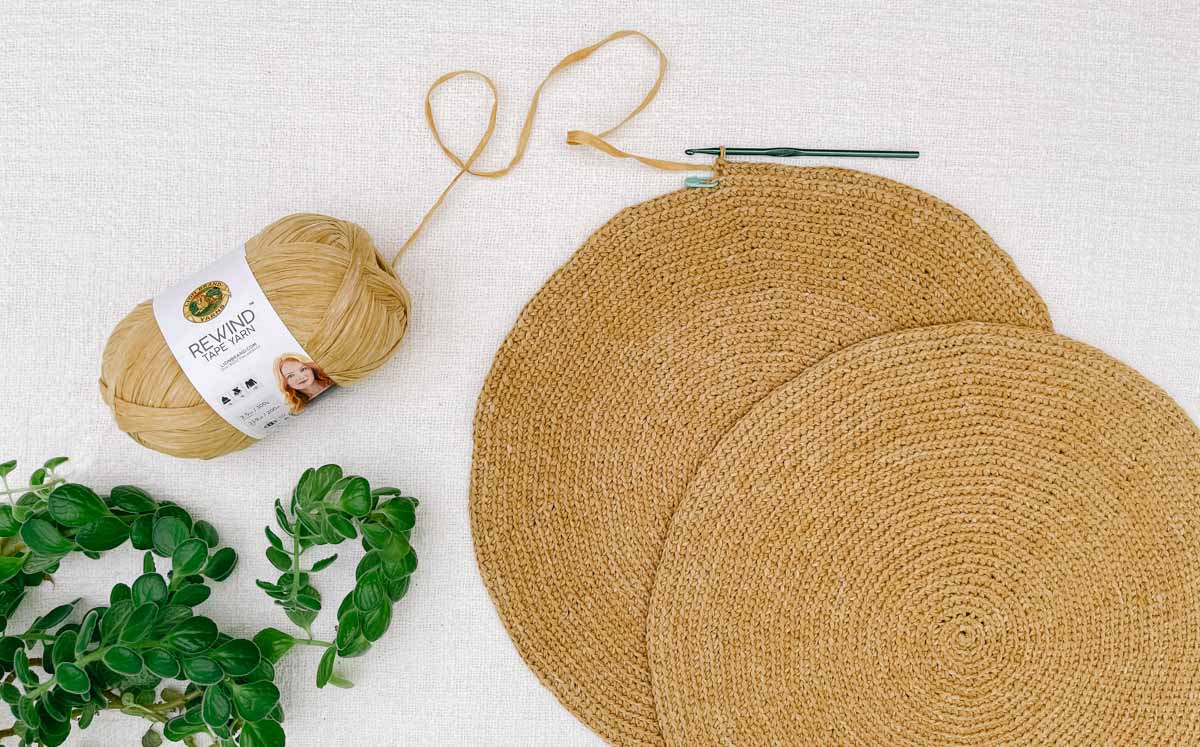
Yarn for a Sturdy Bag
This pattern can be made with any flat "tape" style yarn, including Lion Brand Rewind or a type of raffia. Substituting two strands of worsted-weight cotton or jute will also work.
The handles are made with 24/7 Cotton, which is a non-stretchy, mercerized yarn that works well for tight single crochet stitches.
All-in-One Crochet Bag Kit
If you don't live near amazing yarn stores or if you just like to get fun packages in the mail, the all-in-one kit is a perfect way to make your Avenue Circle Bag. This bundle from Lion Brand includes all the Rewind and 24/7 yarn you'll need, plus a bonus printable PDF of the pattern (delivered digitally).
Print this Pattern
Prefer to crochet by the pool? Need a portable, printable pattern? You'll love the premium PDF! The instantly downloadable, ad-free file is formatted for easy printing and includes the complete pattern and alll the photo tutorials..
More Free Crochet Patterns
Can't get enough accessories? Add a few of our favorite free crochet patterns to your project queue!
The Avenue Circle Bag - Free Pattern
Supplies + Materials
Order an all-in-one kit from Lion Brand here.
• Main Color (MC): Lion Brand Rewind (Weight: 5/Bulky - 219 yds, 3.5 oz/100 g)
Citronella (#523-159) – 3 skeins (approx. 280 g)
• Contrast Color (CC): Lion Brand 24/7 Cotton (Weight: 4/Medium - 186 yds, 3.5 oz/100 g)
Coffee Beans (#761-125) - 1 full skein** (100 g)
• Size G (4.0 mm) crochet hook for handles
• Size F (4.0 mm) crochet hook or size needed to obtain main circle gauge
• 14 stitch markers or safety pins
• Optional: 2 yards nylon webbing (⅞” wide) for strengthening straps
**Note: As written, straps and tabs use entire 100g of CC. If longer straps are desired, a second ball will be needed.
Bag Measurements
Finished Bag: Approximately 17” across
Straps hang: Approx. 9.5”
Skill Level
This round crochet purse pattern is appropriate for confident beginners. Skills you'll practice in this easy pattern include single crochet, working in the round, and making tight stitches for the straps.
Pattern Gauge
Meeting the gauge precisely is less important in this pattern, although working stitches significantly looser will make a less sturdy bag and use more yarn.
Circle: 15 rounds = 4” radius
The stitches are hard to measure due to the curve of the circle. Follow gauge measuring instructions within the pattern for best results.
Straps: 21 rounds = 4”
Abbreviations + Glossary (US Terms)
ch – chain
PM – place marker
rep – repeat
RS – right side
Sc – single crochet
Scblo – single crochet back loop only
Scflo – single crochet front loop only
sl st – slip stitch
sp – space
st(s) – stitch(es)
tch – turning chain
WS – wrong side
Permissions + Copyright:
Please do not publish or share this pattern as your own. You may make items to sell with this pattern. In exchange, please link back this post. Do NOT use our photos as your own sales photos.
Overall Pattern Notes
- Pattern is worked in a spiral with right side facing throughout. Do not turn at the end of the round.
- To keep track of the beginning of a round, place a marker in the first stitch and move it up as each round progresses. Move st marker up each round.
Print This Pattern: purchase the ad-free, printable PDF
Body of Bag - First and Second Circles
Make 2 identical circles.
With larger hook and MC:
Preferred Foundation Round: Create a magic ring (aka magic circle), ch 1 and work 6 sc within. (6)
Alternative Foundation Round: Ch 4, sl st to first ch to join into a loop. Ch 1, work 6 sc within loop. (6)
Continuing in spiral:
Round 2: 2 scblo in each st. (12)
✨Unlock this free subscriber-exclusive pattern ✨
Follow these steps to view the full free pattern below
Round 12: [2 sc in next st (PM in first sc made), sc in next 4 sts] 12 times. (72) Circle should now have 12 marked stitches.
Round 13: Sc in each st. (72)
Round 14: [2 sc in marked st, sc in each st to next marker] 12 times. (84)
Premium PDF
easier and faster with fewer mistakes.
- Complete pattern + photo tutorials
- Instant download
- Formatted for easy printing
Quick Gauge Check:
When Round 14 is complete, pattern radius (center to outer edge) should measure approx. 3.75”.
Continuing in Circle Pattern:
Rep Rounds 13 and 14 nine more times. Round 32 should contain 192 sts. Radius of circle should measure approx. 8.5” although a slightly larger or smaller measurement will not impact the success of pattern.
Slip stitch into next stitch and fasten off. Remove all markers.
Want some company while you crochet?
Get support (and camaraderie!) in the Make & Do Crew community. Join for free here.
Round Bag Gusset
The gusset is the side of the bag that connects the two identical circles, leaving the top of the bag open.
Make 1.
With larger hook and MC:
Foundation Row: Ch 4.
Row 1 (RS): Sc in second ch from the hook and in each ch to end of row; turn. (3 sc)
Row 2 (WS): Ch 1, sc in first st and in each st to end of row; turn. (3 sc)
Row 3 (RS inc): Ch 1, sc in first st, 3 sc in next st, sc in last st; turn. (5 sc)
Rows 4-8: Ch 1, Ch 1, sc in each st to end of row; turn. (5 sc)
Row 9 (RS inc): Ch 1, sc in each of next 2 sts, 3 sc in next st, sc in each of last 2 sts; turn. (7 sc)
Rows 10-16: Ch 1, sc in each st to end of row; turn. (7 sc)
Row 17 (RS inc): Ch 1, sc in each of next 3 sts, 3 sc in next st, sc in each of last 3 sts; turn. (9 sc)
Rows 18-26: Ch 1, sc in each st to end of row; turn. (9 sc)
Wanna save this pattern?
Row 27 (RS inc): Ch 1, sc in first 4 sts, 3 sc in next st, sc in last 4 sts; turn. (11 sc)
Rows 28-128: Ch 1, sc in each st to end of row; turn. (11 sc)
Row 129 (RS dec): ch 1, sc in each of next 4 sts, sc3tog, sc in each of last 4 sts; turn. (9sc)
Rows 130-138: Ch 1, sc in each st to end of row; turn. (9 sc)
Row 139 (RS dec): Ch 1, sc in first 3 st, sc3tog, sc in last 3 sts; turn. (7 sc)
Rows 140-146: Ch 1, sc in each st to end of row; turn. (7sc)
Row 147 (RS dec): Ch 1, sc in each of next 2 sts, sc3tog, sc in last 2 sts; turn. (5 sc)
Rows 148-152: Ch 1, sc in each st to end of row; turn. (5 sc)
Row 153 (RS dec): Ch 1, sc in first st, sc3tog, sc in last st; turn. (3 sc)
Row 154 (WS): Ch 1, sc in each st to end of row. (3 sc)
Do not fasten off.
Our Latest Crochet Inspiration:
Here are a few more free crochet patterns and tutorials that are hot off the presses.
Gusset Border
With attached yarn, border is worked around entire gusset.
Row 1 (RS):
Gusset Top: Sc in each of 3 sts across top of gusset, ch 1… (3)
Gusset Side: Sc in each raw row edge to end of gusset, ch 1… (154)
Gusset Top #2: Sc in each of 3 sts across opposite top of gusset, ch 1… (3)
Gusset Side #2: Sc in each raw row edge along second side of gusset, ch 1, join with slst to first sc. (154)
Fasten off. The right side of the gusset border now represents the right side of the gusset overall.
Joining Gusset and Main Circles
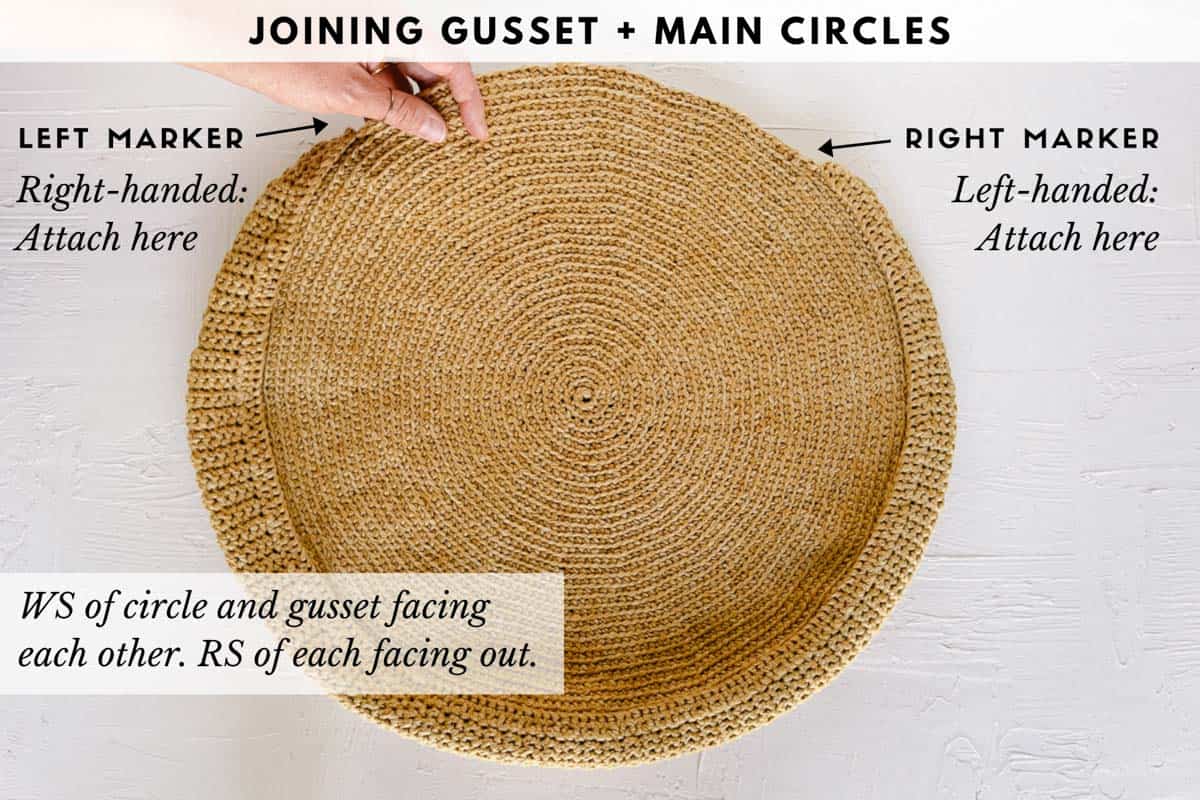
Place marker in any stitch on first circle. Skip 38 stitches and place marker in 39th stitch. (38 sts between markers will form the bag opening.) If desired, pin gusset to circle with stitch markers. Position bag and gusset so WS are facing each other.
Right-handed: Attach yarn in left marked stitch and work counterclockwise.
Left-handed: Attach yarn in right marked stitch and work clockwise. (See photo at end of pattern.)
Row 1 (RS): Ch 1, working through corresponding stitches on both gusset and circle, sc in each st of gusset. Fasten off.
Repeat process on opposite side of gusset with second circle.
Purse Handles
The bag handles consist of two parts: the straps themselves and tabs to cover the place where the straps attach to the bag.
Pro Tip: Try adding leather or faux leather straps to create a cute bag with extra texture.
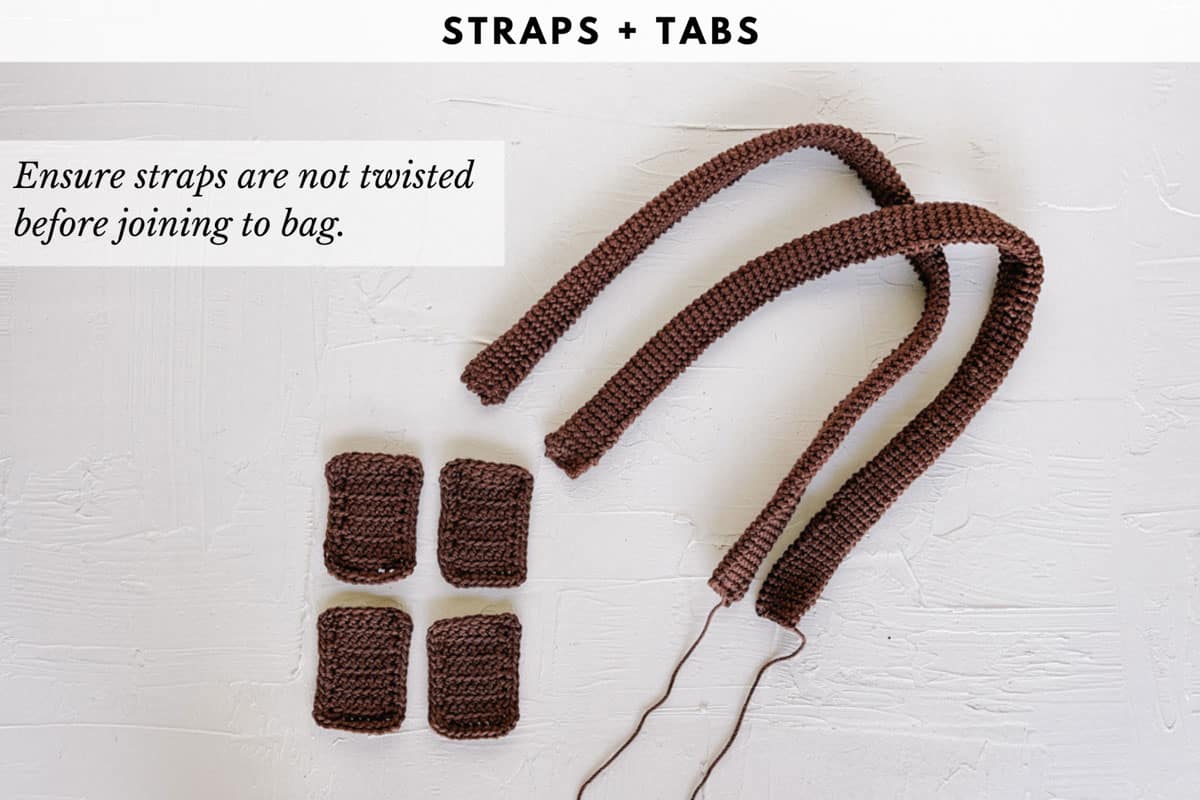
Strap Tabs
Make 4.
Note: First and last st of row are worked through both loops of st, middle 6 sts are worked through front loop only (flo).
With smaller hook and CC:
Foundation Row: Ch 9.
Row 1 (RS): Skip first chain, sc in second ch from hook and in each ch to end of row; turn. (8 sc)
Row 2 (WS): Ch 1, sc in first st, scflo in each st to last st, sc in last st; turn. (8 sts)
Repeat Row 2 eight more times. Rectangle should contain 10 rows.
Border Round: With RS facing, ch 1, sc in each st to last st, 3 sc in last st…
Working down side of tab…
Sc in each raw row edge of side to last row, 3 sc in last row…
Sc in each ch of foundation to last st, 3 sc in last ch…
Sc in each raw row edge of side to last row, 2 sc in same sp as first sc, join with sl st to first sc. Fasten off leaving a 24” tail to sew tab to bag.
Obsessed with finding the best free crochet patterns?
Check out these collections of handpicked patterns to find your next project.
You must use the category name, not a URL, in the category field.Round Bag Straps
Make 2.
Straps are worked in spiral rounds.
With smaller hook and CC:
Foundation Round: Ch 12, join with sl st to first ch.
Round 1: Sc in each ch to end of round. (12 sc)
Round 2: Sc in each st to end of round.
Repeat Round 2 until strap measures 24”. Adjust length for shorter or longer straps. Fasten off leaving a 24” tail to use for seaming.
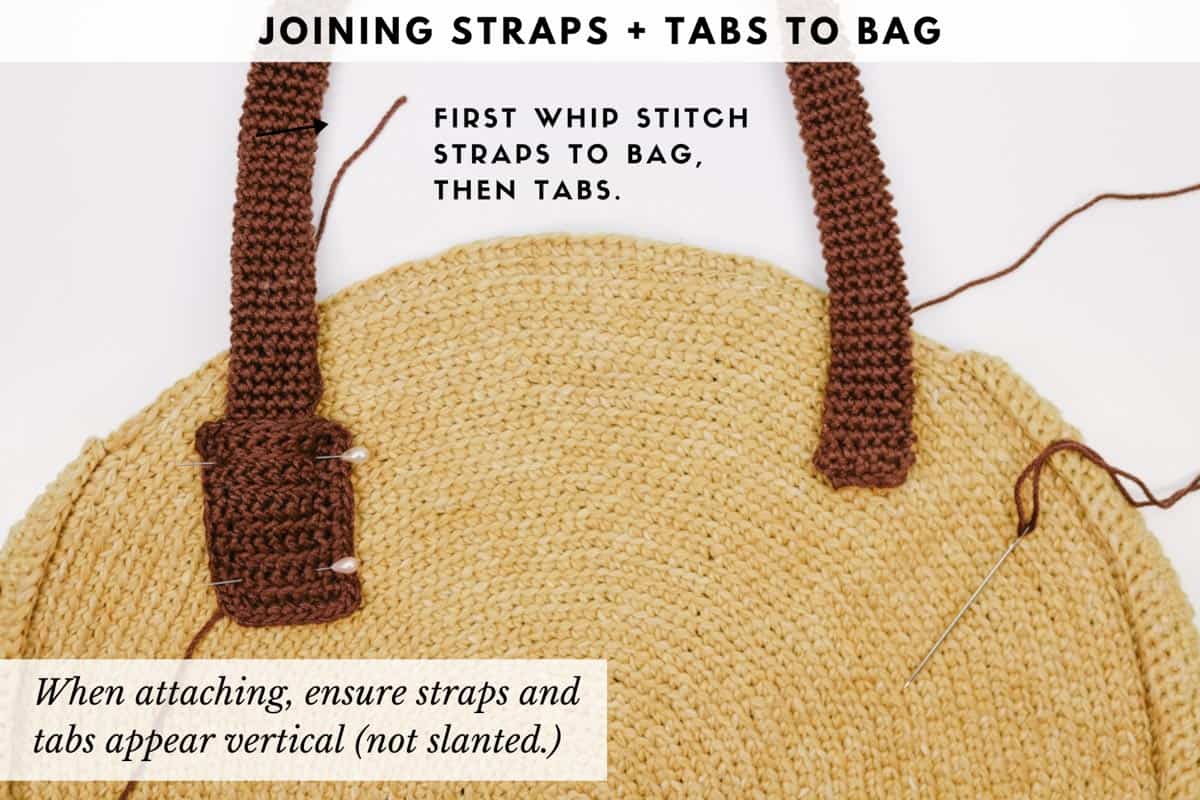
Attaching Straps + Tabs
Pin each strap to one circle as pictured. Where straps join circle, take care to ensure straps appear fully vertical (not slanted to one side or the other).
Using a tapestry needle and existing yarn tails where possible, whip stitch each strap to circle. The closer and more frequent your whip stitches are, the more secure the attachment will be.
Pin each tab in place on top of a strap end. Again, ensure tabs appear vertical and not slanted.
Pro Tip: For extremely sturdy handles, thread a 24” piece of nylon webbing through each strap before attaching to bag. This can be purchased by the yard at any fabric store and will prevent handles from stretching at all.
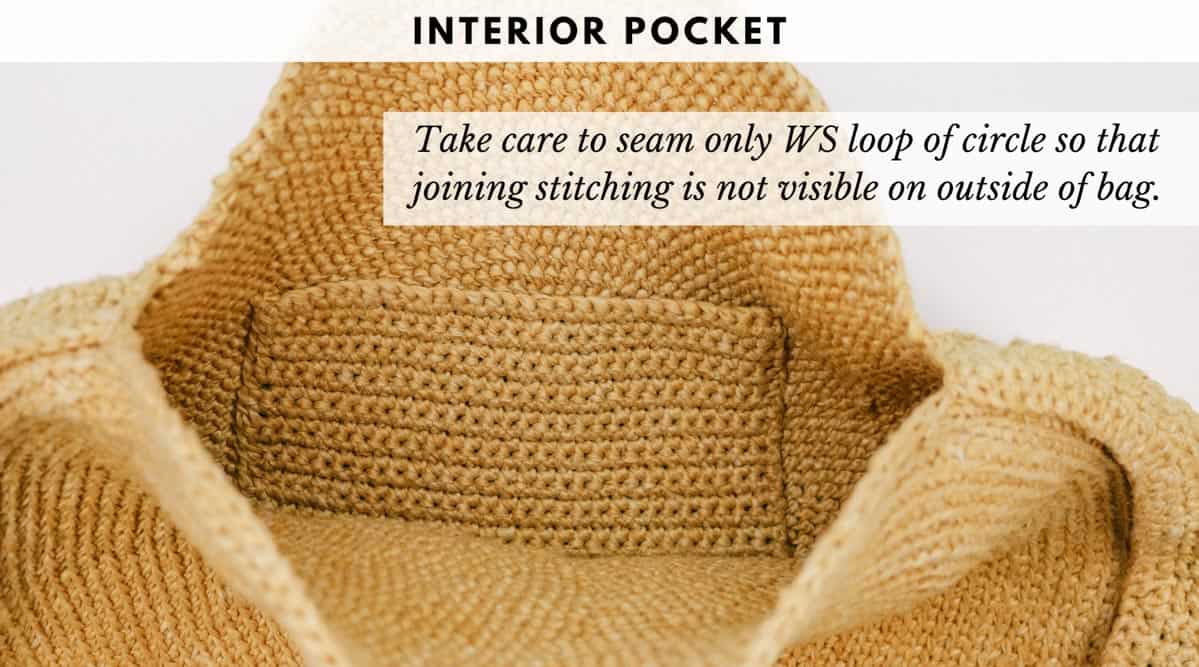
Interior Pocket
With larger hook and MC:
Foundation Row: Ch 30.
Row 1 (RS): Sc in second ch from hook and in each ch to end of row; turn. (29 sc)
Row 2 (WS): Ch 1, sc in each st to end of row; turn. (29 sc)
Repeat Row 2 twenty eight more times for a total of 30 rows. Fasten off leaving a 36” tail for joining.
Using leftover yarn tail, pin pocket to WS of one circle in desired location. Use a tapestry needle and whip stitch to join pocket to what will become the inside of bag. BTake care to seam only WS loop of circle so that joining stitching is not visible on outside of bag.
Load your new circle bag up with a your beach day essentials and head out to enjoy an adventure!
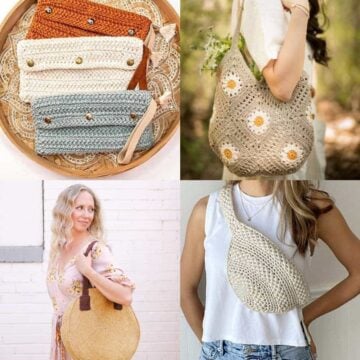
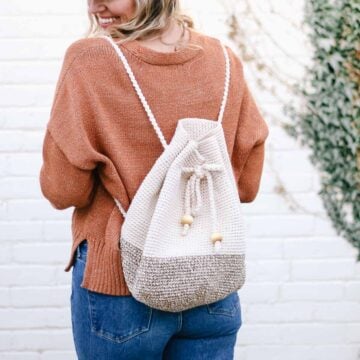
More Free Bag Patterns
From totes to purses to boho bags, we've got more crochet handbag patterns for you to add to your project queue!
That was so fun! Now what?
Invitation to our Facebook group
Come discuss your favorite round crochet bag patterns and lots of other projects and techniques in our Make & Do Crew Facebook group. Here thousands of helpful crocheters answer each other's questions and share their stitches. Join us!




Leave a Reply