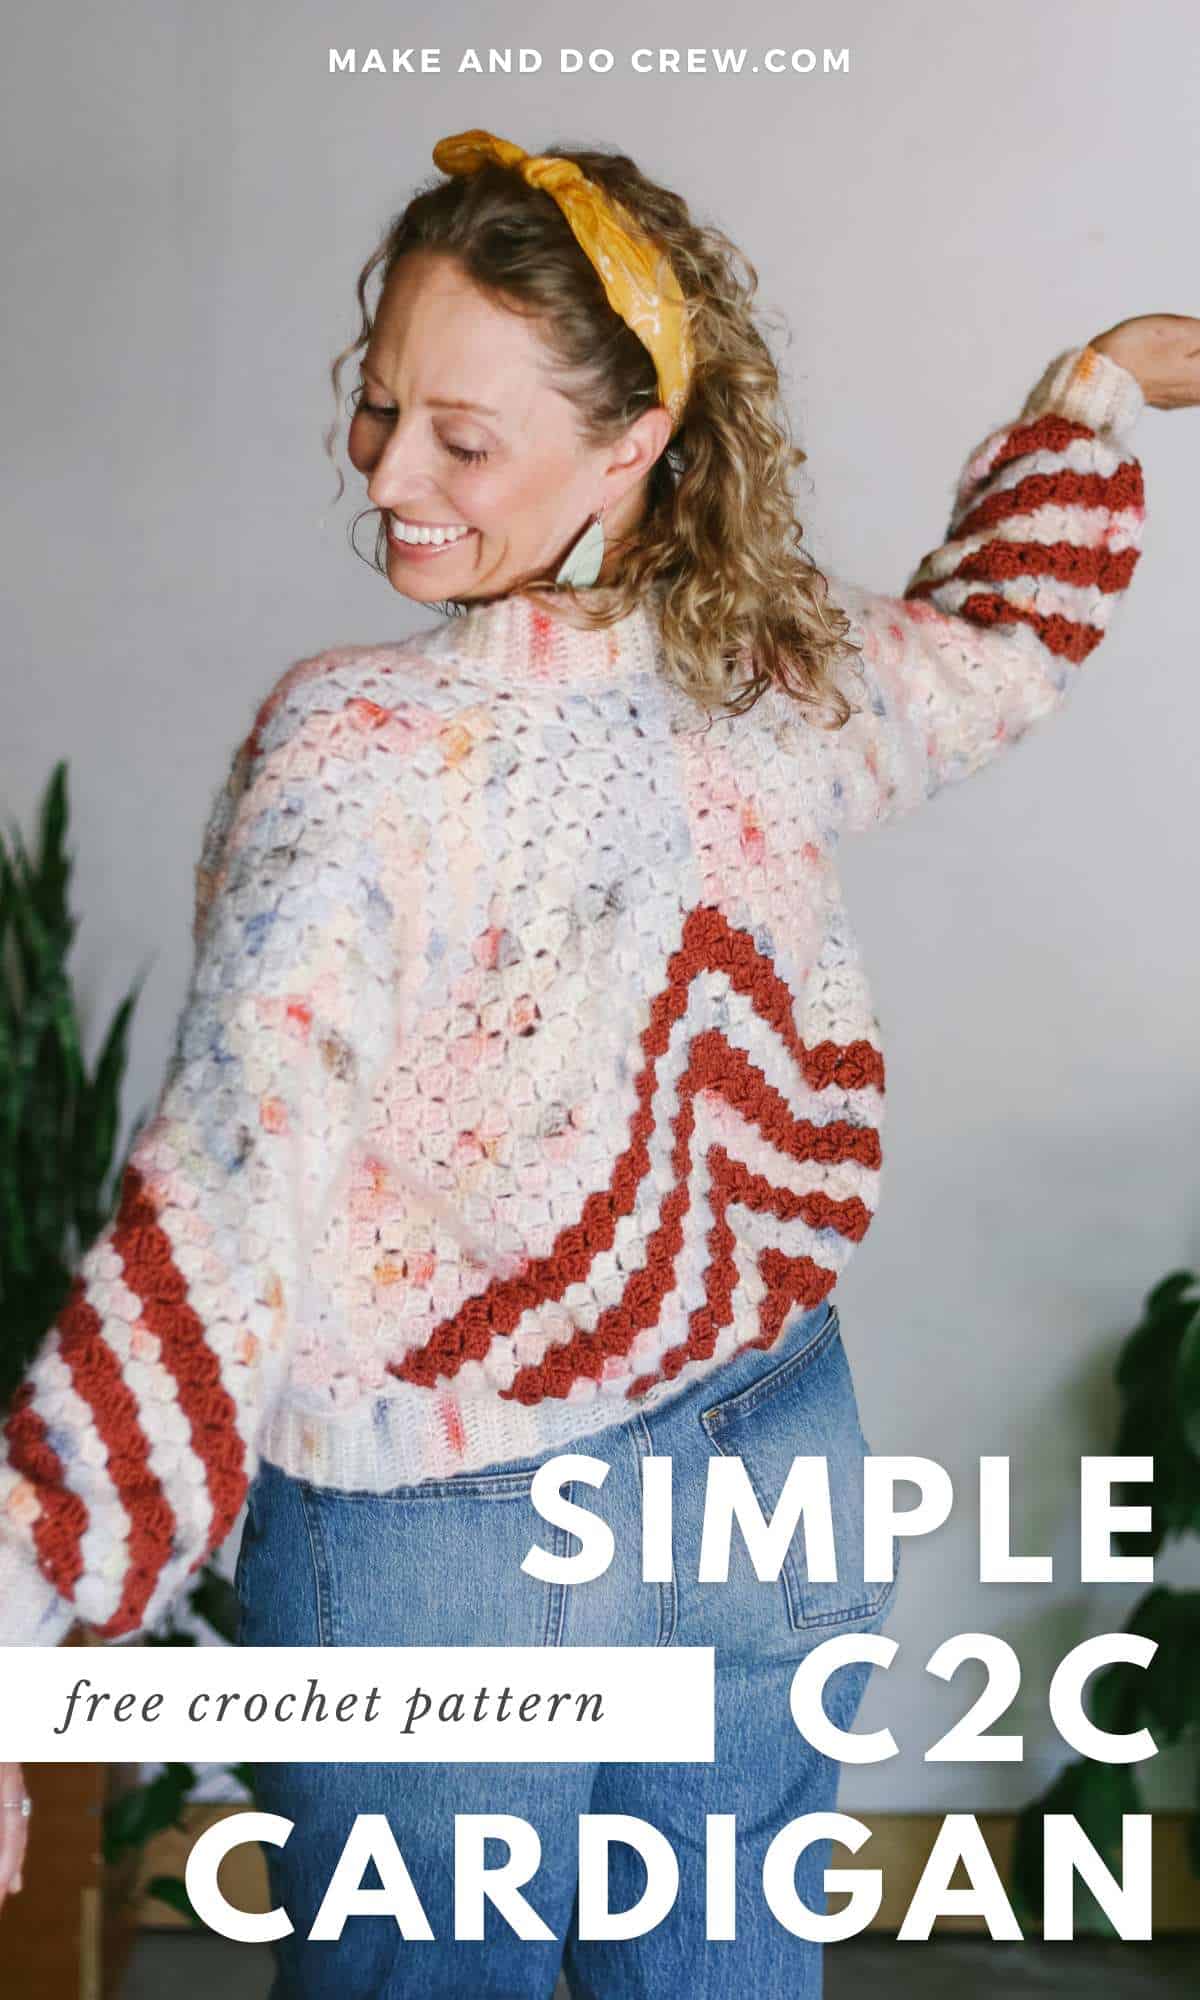
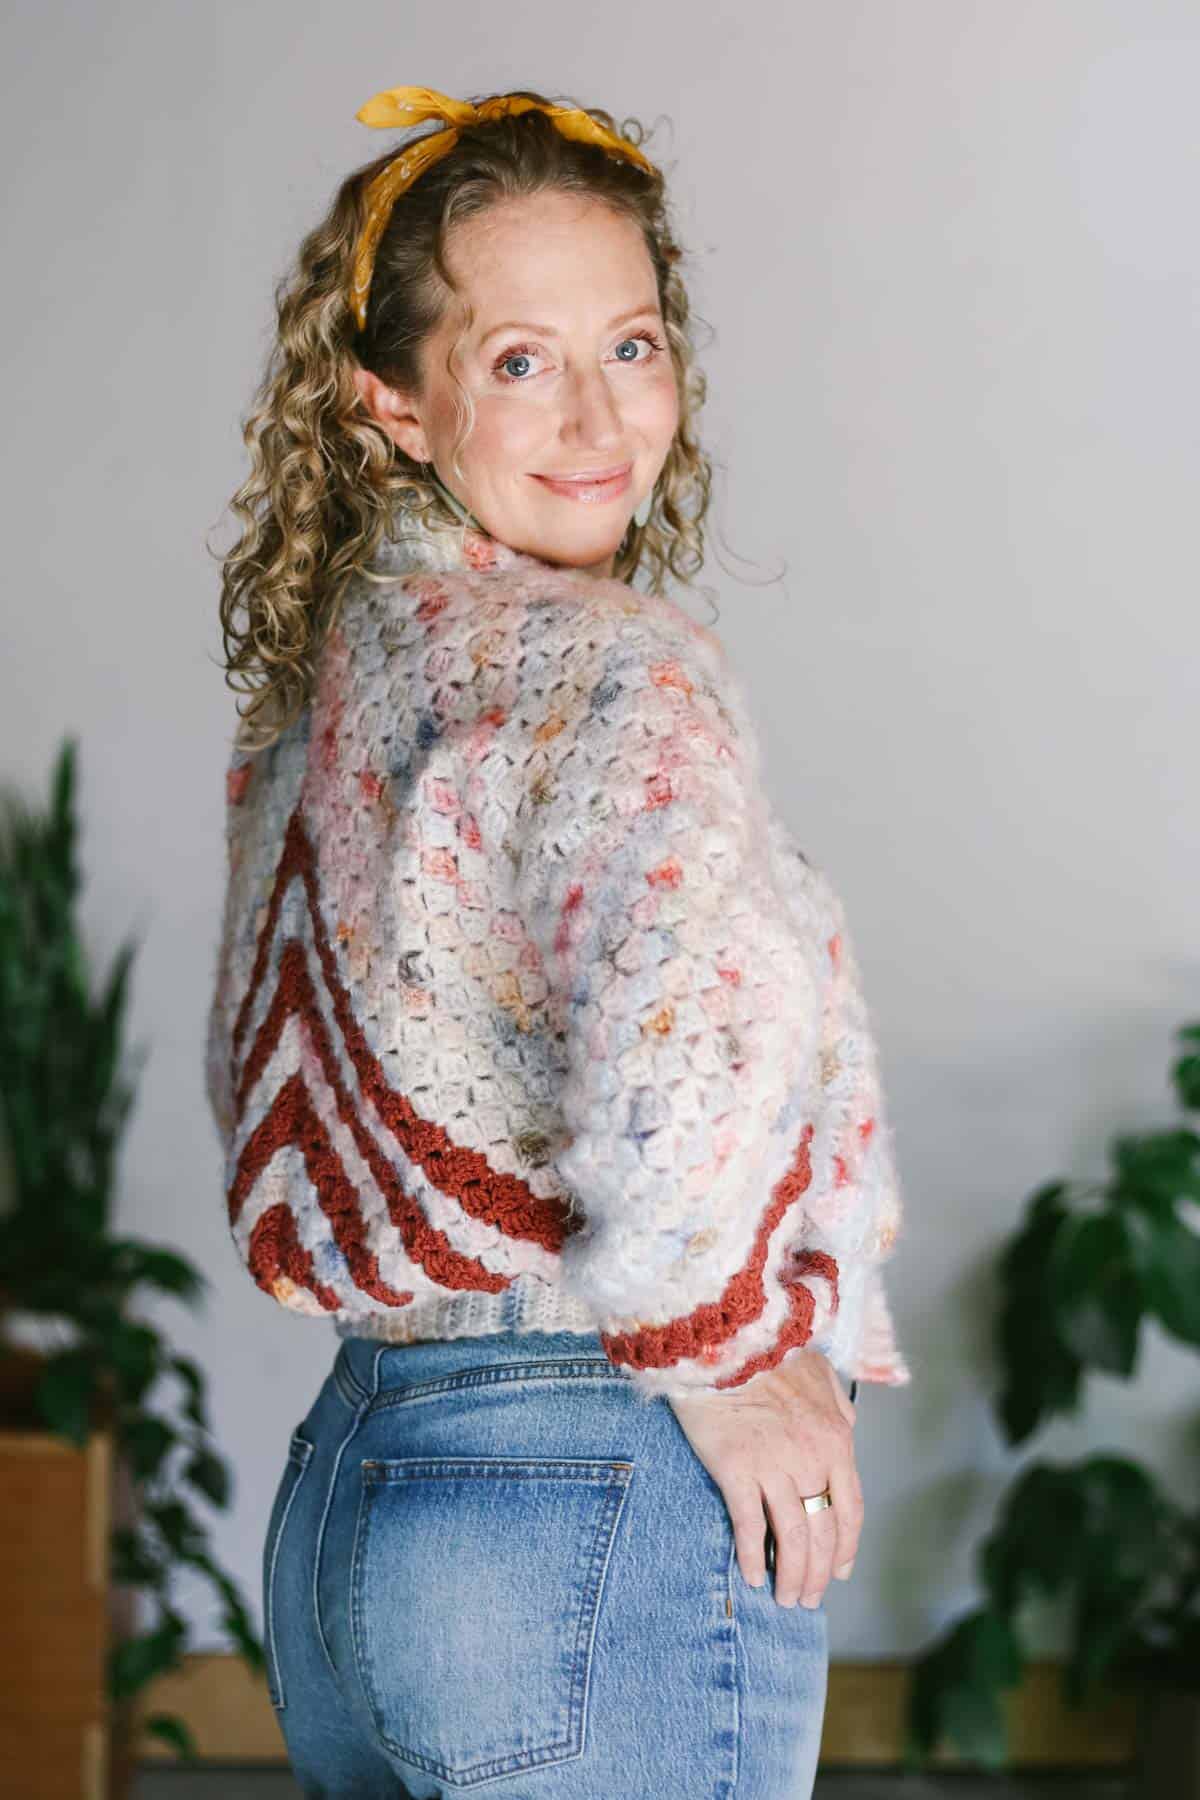
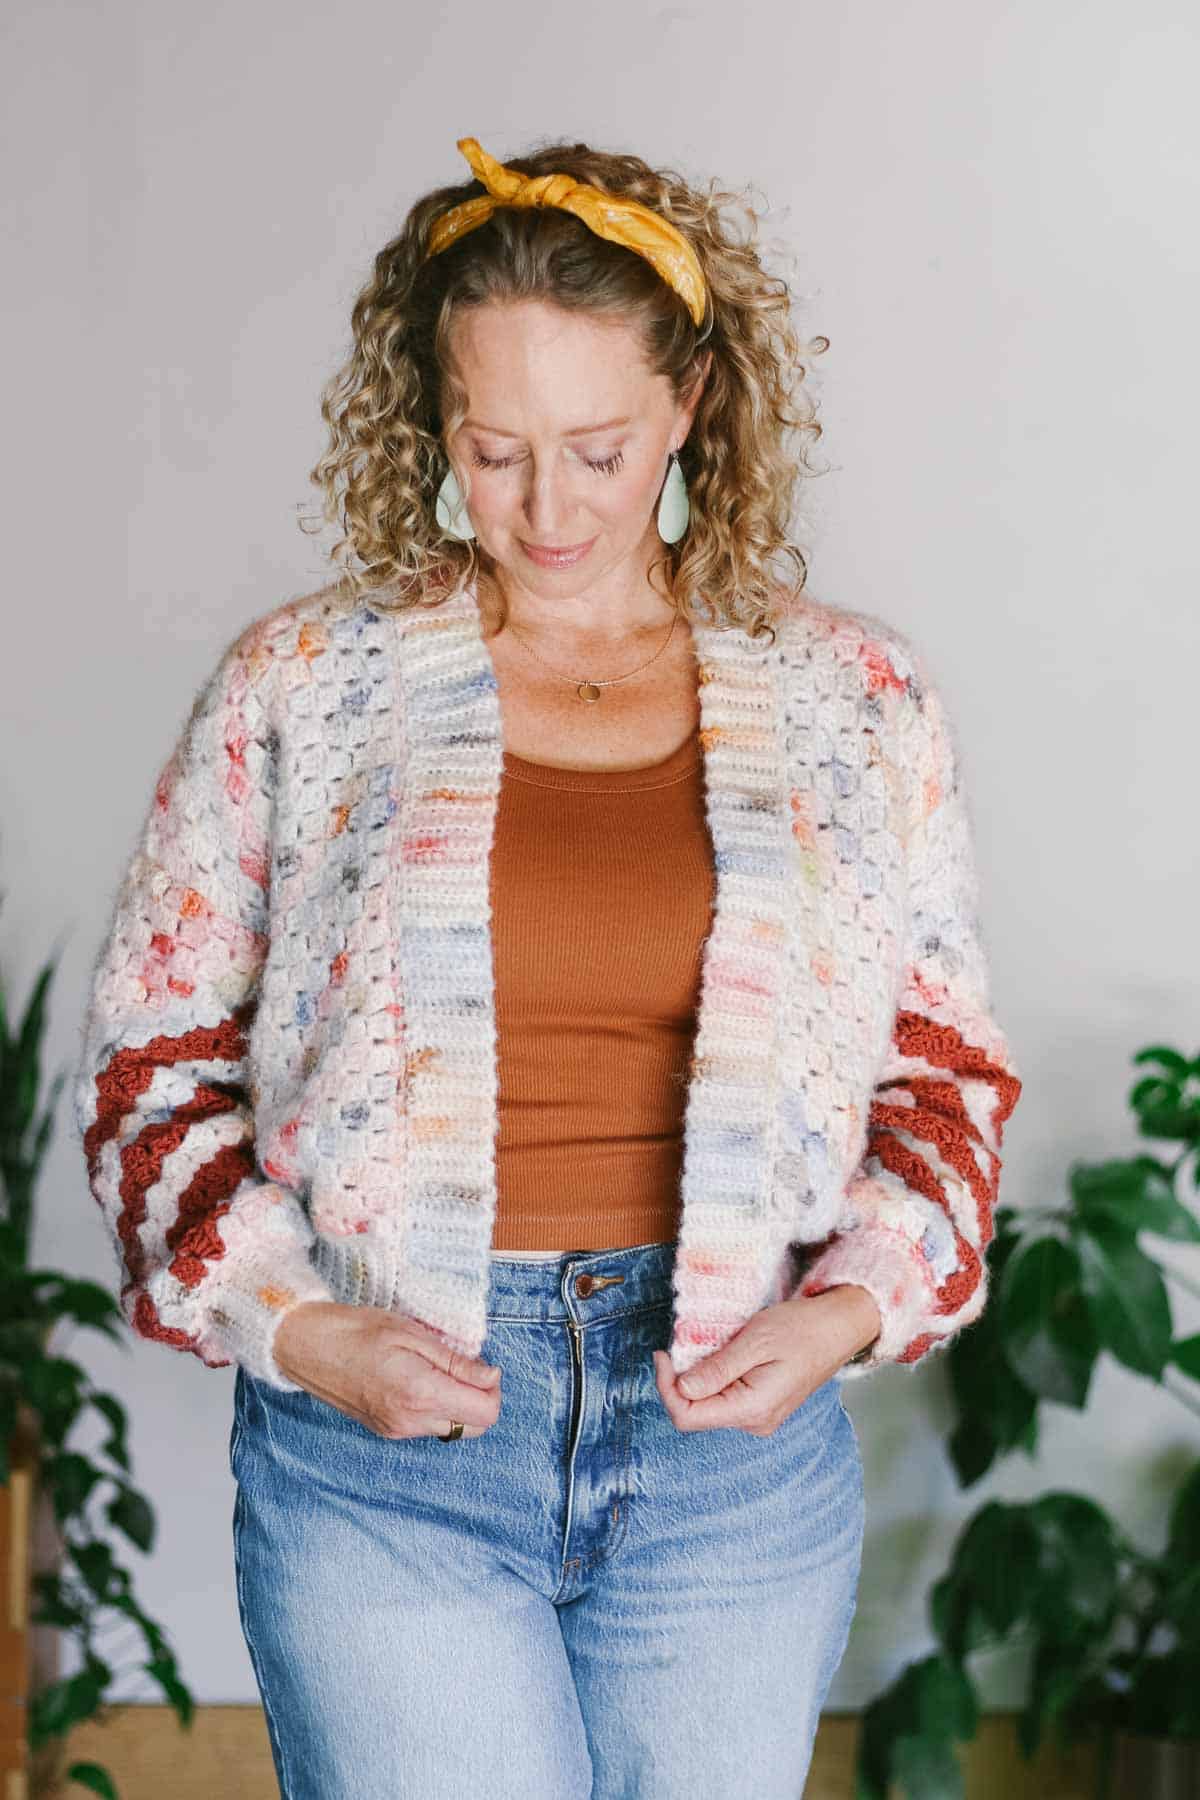
This c2c crochet cardigan pattern is made entirely from simple rectangles, which makes it ideal for garment beginners. (Even if you've never done corner to corner crochet before!)
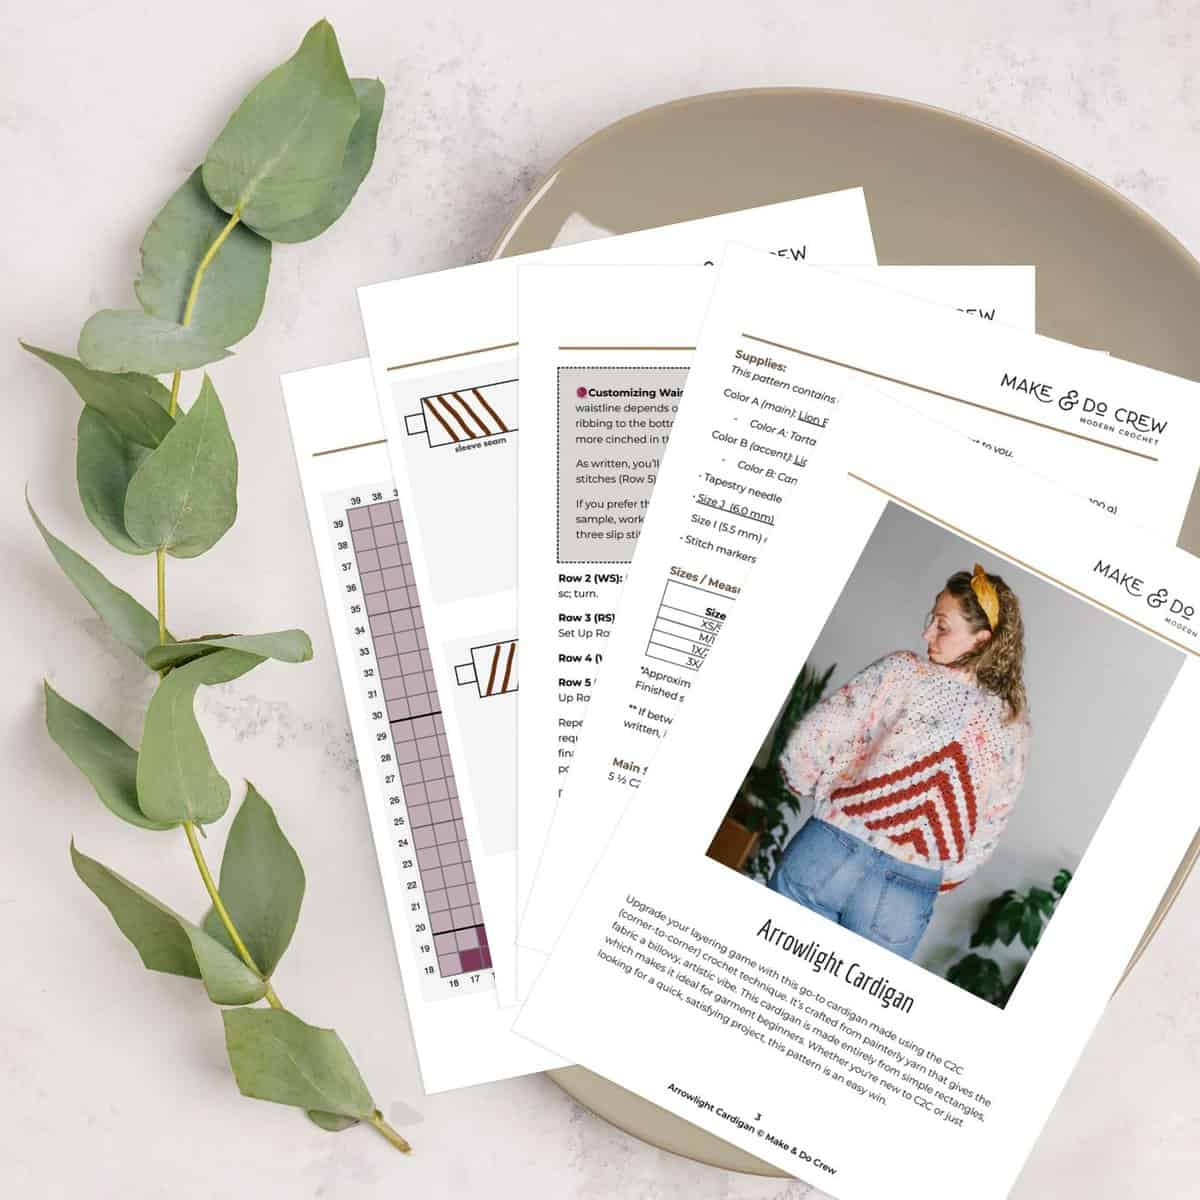
The free Arrowlight Cardigan pattern is below or purchase the ad-free, printable PDF.
This corner-to-corner crochet cardigan is part of a collaboration with Lion Brand Yarns. This post contains affiliate links.
Jump to:
Corner To Corner Crochet Cardigans are Easy!
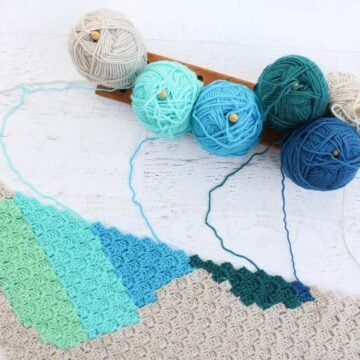
C2C crochet cardigans are easier than you think! Using painterly yarn like Scarfie Lite gives the sweater a billowy, artistic vibe, but a typical worsted weight yarn can work well too.
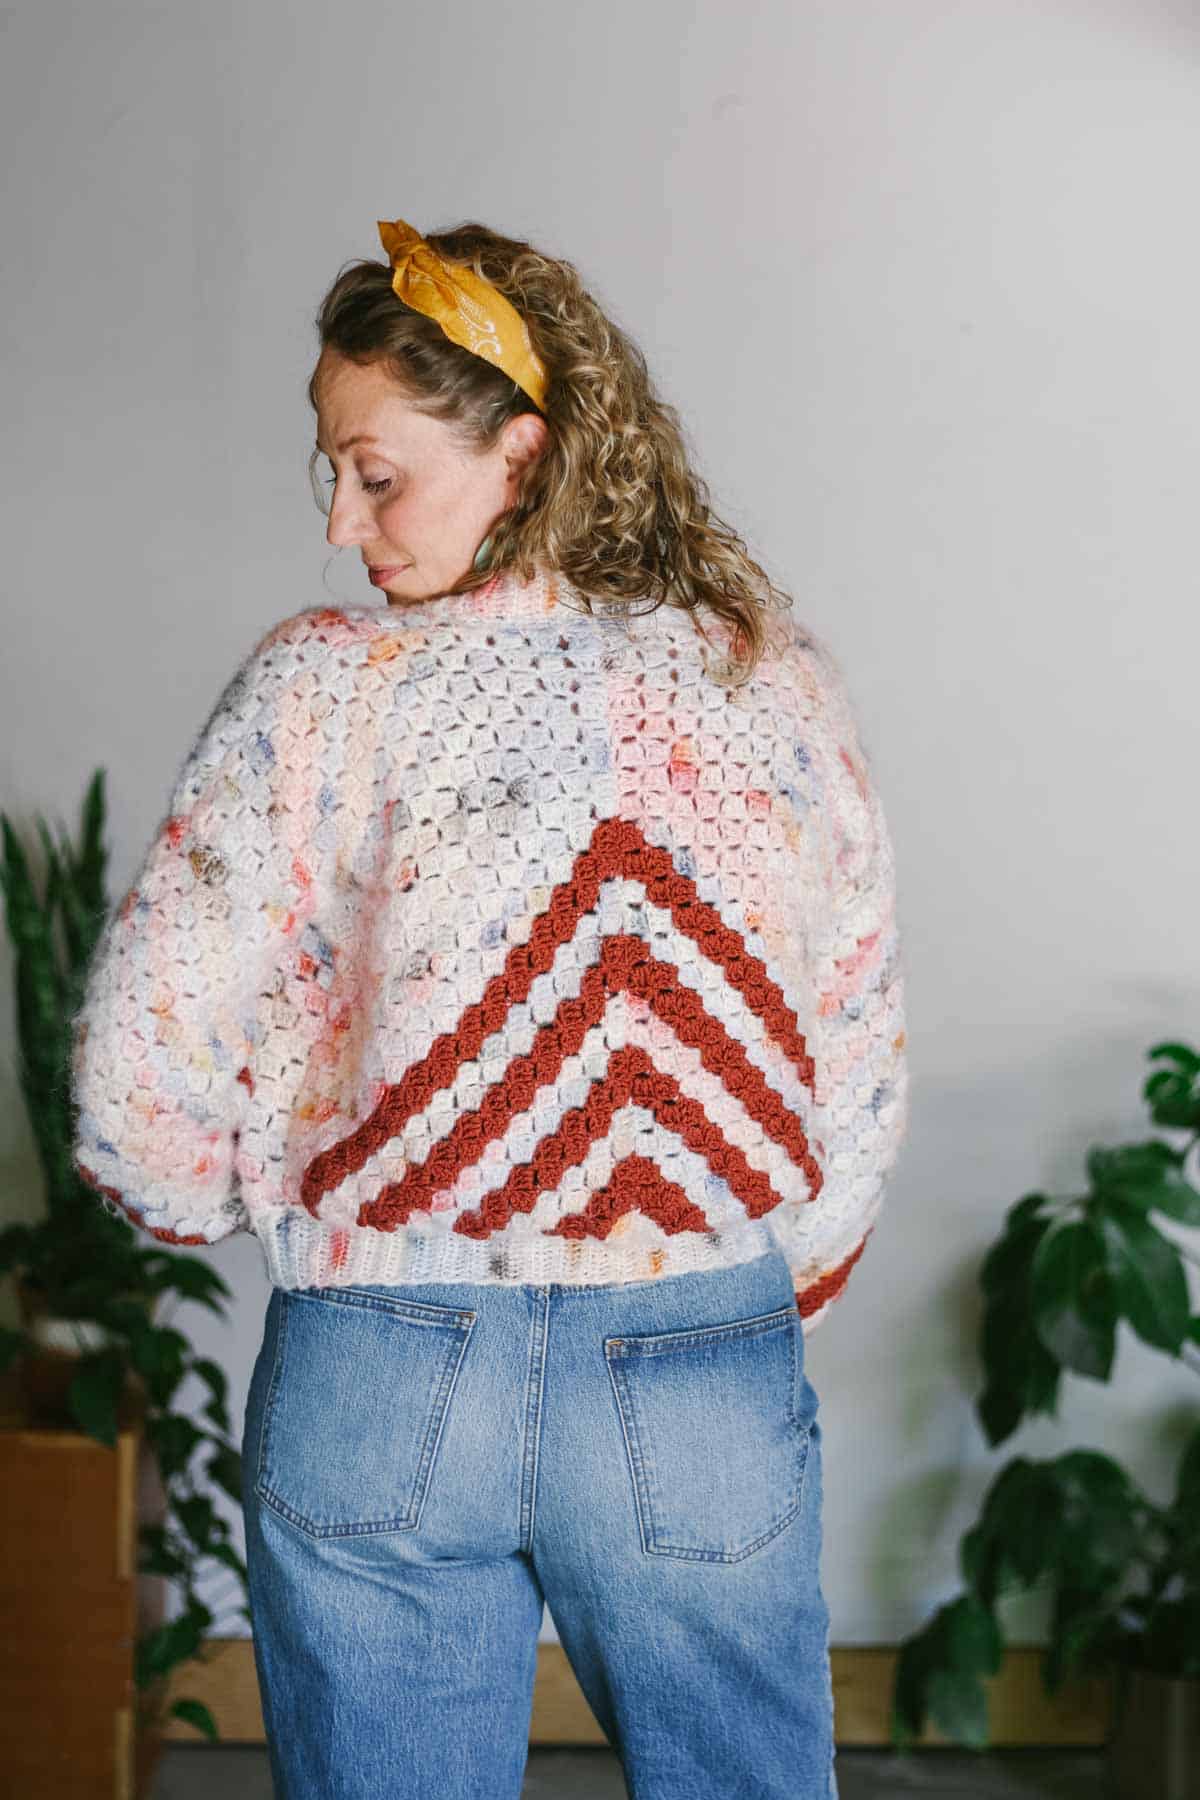
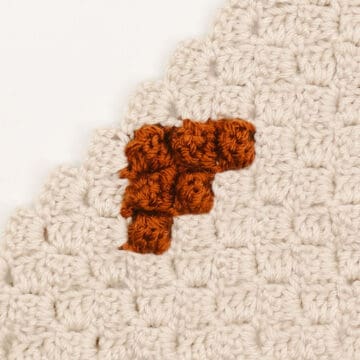
We work all of the stripes along the natural diagonal of c2c crochet so there's no mid-row color changes like you often find in graphgans.
Sweater Construction
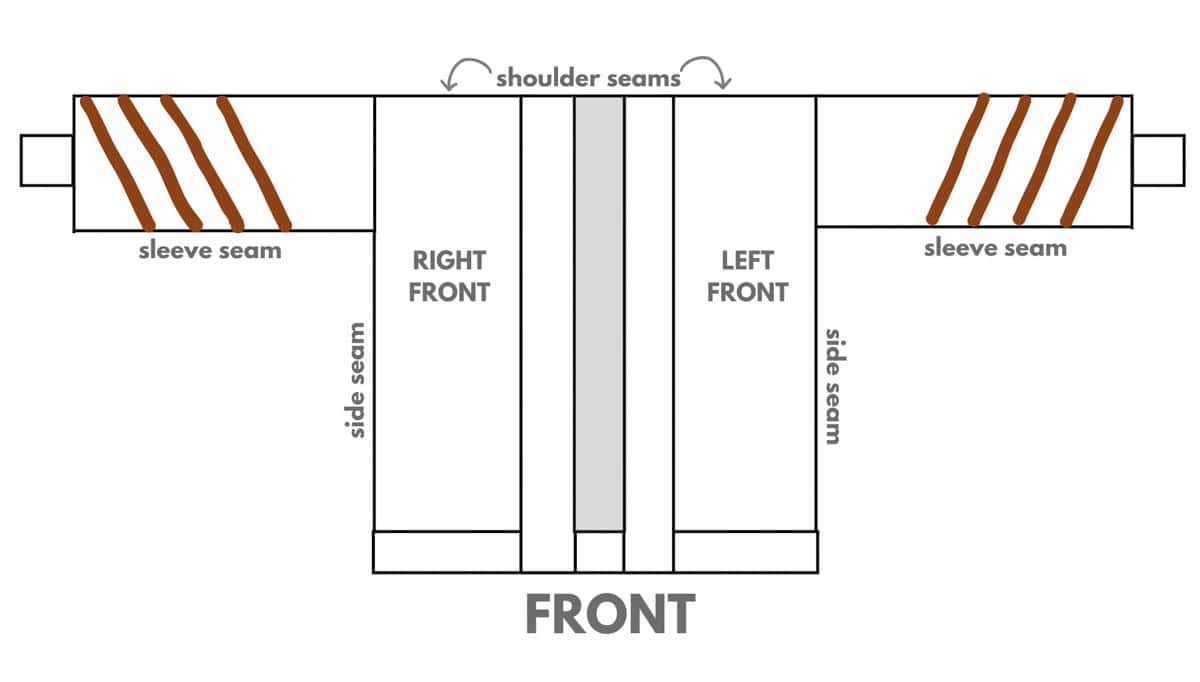
Can you believe six C2C crochet rectangles come together to make this graphic cardigan?
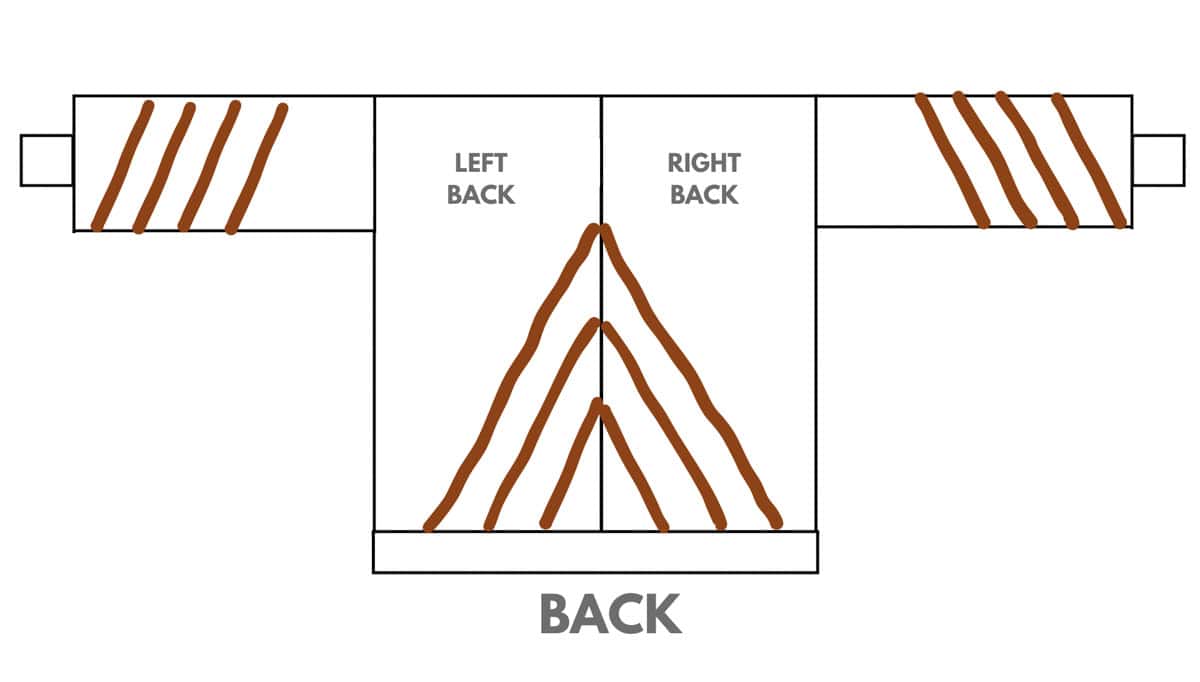
You'll begin by making all the rectangles by following along with the free graph patterns that pertain to your garment size. Then you'll position them as pictured in the diagram below to seam them together.
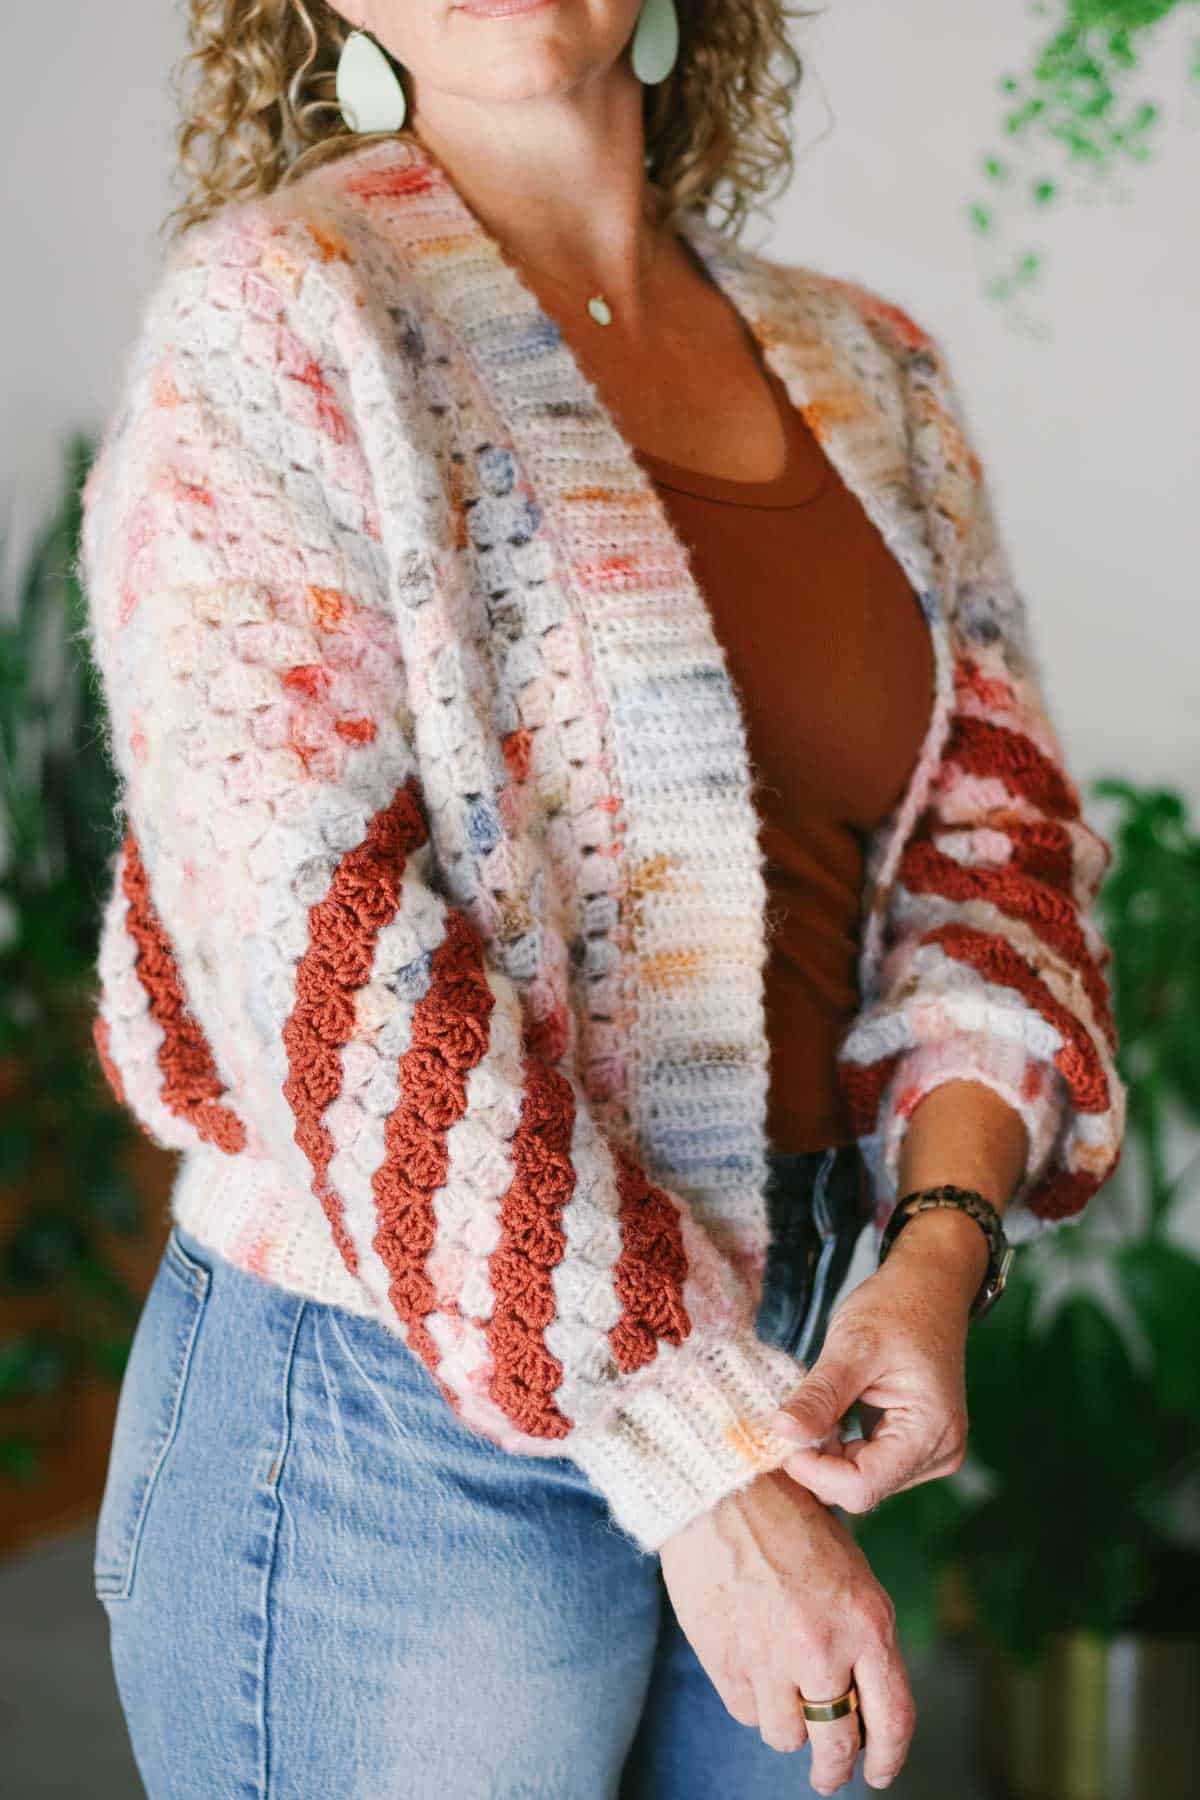
Once the seaming is complete, you'll use single crochet stitches to add ribbing to the cardigan collar, bottom and sleeve cuffs.
Print this Pattern
For a relaxing, ad-free crochet experience, you'll love the premium PDF! The instantly downloadable, ad-free file is formatted for easy printing and includes the complete written instructions, graph patterns, and links to relevant tutorials.
All-in-One Crochet Kit
If you don't live near amazing yarn stores or if you just like to get fun packages in the mail, the all-in-one kit is a perfect way to make your Arrowlight Cardigan.
This bundle from Lion Brand includes all the Scarfie Lite and Color Theory yarn you'll need, plus a bonus printable PDF of the pattern (delivered digitally).

Arrowlight C2C Cardigan - Free Pattern
Supplies + Materials
Order an all-in-one kit from Lion Brand here.
• Color A (main): Lion Brand Scarfie Lite (Weight 4/ Medium - 349 yds, 3.5 oz, 100 g)

Don't spend hours for a "meh" result!
Tired of crocheting garments that don't fit? Learn our C.R.A.F.T. Framework to make sweaters that fit and feel amazing!
- Color A: Tartan (827 - 601AF) – 4 (4, 5, 6) skeins [(approx. 370 (440, 530, 600) g)]
• Color B (accent): Lion Brand Color Theory (Weight 4/Medium - 246 yds, 3.5 oz, 100g)
- Color B: Canyon (619 - 132AG) – 1 (2, 2, 2, 2) [(approx. 100 (140, 170, 190 g)]
• Tapestry needle
• Size J (6.0 mm) crochet hook or size needed to obtain gauge
• Size I (5.5 mm) crochet hook or size needed to obtain gauge
Wanna save this pattern?
• Stitch markers or safety pins
Measurements
Here are the approximate sweater measurements when laying flat.
| Size | Fits Actual Bust** | Sweater Length* | Chest Width* |
|---|---|---|---|
| XS/S | 28-34” | 25” | 20.5” |
| M/L | 35-41” | 26” | 25” |
| 1X/2X | 42-48” | 27” | 29” |
| 3X/4X | 49-55” | 27” | 33.5” |
** If between two sizes, size up or down based on how you’d like your sweater to fit. As written, it’s fairly fitted. For a more oversized look, size up.
Gauge
5 ½ C2C tiles = 4” (measured vertically or horizontally)
Abbreviations + Glossary (US Terms)
c2c – corner to corner
ch – chain
chsp – chain space
dc – double crochet
PM – place marker
rep – repeat
RS – right side
sc – single crochet
scblo – single crochet through the back loop only
sk – skip
slst – slip stitch
slstblo – slip stitch through the back loop only
st(s) – stitch(es)
tch – turning chain
tile - one c2c box in a graph (6 total chains + 3 double crochet)
WS – wrong side
yo – yarn over
Corner-to-Corner Crochet Tutorials
Help with learning corner-to-corner-crochet basics can be found here:
- VIDEO TUTORIAL: How to Increase and Decrease to Create a Rectangle
- PHOTO TUTORIAL: How to Change Colors in C2C:
- ALL THE BASICS: A helpful introduction to the c2c crochet technique
Skill Level
This is a beginner level corner to corner cardigan pattern. You should have some experience with double crochet and changing colors before attempting this project.
Premium PDF
easier and faster with fewer mistakes.
- Complete written pattern + graphs
- Instant download
- Formatted for easy printing
✨Unlock this free subscriber-exclusive pattern ✨
Follow these steps to view the full free pattern below
Overall Pattern Notes
- Download the free c2c crochet Arrowlight Cardigan graph patterns here. You'll want to follow along with these as you work.
- All c2c graphs are worked using a double crochet stitch.
- Pattern is written for smallest size with larger sizes following in parenthesis. XS/S (M/L, 1X/2X, 3X/4X). When only one number is given, it applies to all sizes.
- As in any c2c rectangle or square, all rows in pattern begin with either increasing or decreasing. This pattern refers to “increasing” as adding one tile per row. The first half of any square or rectangle involves increasing at the beginning of each row.
- Once you have finished longest row in graph, each row will begin by “decreasing.” A decrease row eliminates one tile from each row, thereby creating a flat edge on the side of the decrease.
!! Gauge !!
Please don’t skip this step or you will risk your cardigan not fitting as expected.
To check gauge, with color A and larger hook:
Make a c2c crochet square with 12 tiles on each side. Measure six middle tiles in each direction and average the result to check gauge. Compare to pattern gauge listed above.
- If there aren’t enough tiles in 4”, decrease your hook size and re-swatch.
- If there are too many tiles in 4”, increase your hook size and re-swatch.
Print The Entire Pattern: purchase the ad-free, printable PDF
Main Sweater Pieces
With larger hook, follow graph patterns (download here) for your size to crochet:
- One (1) Left Back Panel
- One (1) Right Back Panel
- Two (2) Front Panels
- Two (2) Sleeve Panels
When completing each panel, fasten off leaving a 24” yarn tail to use for seaming.
Here’s the approximate measurements of each panel when gauge is met:
| Size | Backs | Fronts | Sleeves |
|---|---|---|---|
| XS/S | 10 x 16.5” | 6.5 x 16.5” | 13 x 16” |
| M/L | 12.5 x 17.5” | 8.5 x 17.5” | 14.5 x 15” |
| 1X/2X | 14.5 x 18” | 11 x 18” | 18 x 14” |
| 3X/4X | 17 x 18” | 13 x 18” | 20 x 13” |
Assembling Sweater
All seaming is completed with RS of panels together and WS facing out. Use a tapestry needle and existing Color A yarn tails wherever possible. Seaming can be completed with the mattress stitch or preferred joining method.
Panels should be pinned together using stitch markers before joining. Take care to line up tiles on each piece when pinning to create the most invisible join. Consult diagram at end of pattern for guidance on orientation of each panel.
1. Seaming Back Panels
Align right and left side (as worn) back panels so the accent lines for an upward arrow. Using Color A, seam panels together along long edge (center back).
2. Seaming Shoulders:
Align right side (as worn) front and back pieces at shoulders. Seam along entire top of right front panel.
Repeat on left side.
3. Seaming Sides of Sweater:
Align right front and right back (as worn) at side seams. Pin together, leaving last 9 (10, 12.5, 14) tiles unseamed for the armhole. Seam from sweater bottom to stitch marker at armhole.
Repeat on left side seam of sweater.
4. Seaming Front and Back of Sleeve:
Fold sleeve rectangle in half as pictured at end of pattern. This will require folding R/L sleeves differently. Begin seaming at wrist (stripe end of rectangle). At end of seam, consider leaving yarn attached and needle threaded so you can easily continue onto armhole join.
Repeat for second sleeve, folding the opposite side of fabric in so that stripes are a reflection of first sleeve.
5. Seaming Sleeves to Armholes:
Align side seam of sweater to sleeve seam making sure that the most visible sleeve stripes are facing the front of sweater.
Crease sleeve in half and place a stitch marker in the top center stitch to align with shoulder seam.
Pin into place with stitch marker at side seam and shoulder seam. Pin the rest of the sleeve in place. J
oin using existing yarn tail from sleeve seam or a separate strand of yarn, if necessary.
Repeat with second sleeve.
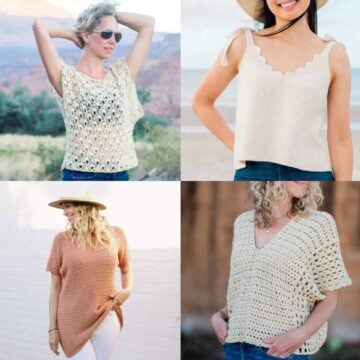
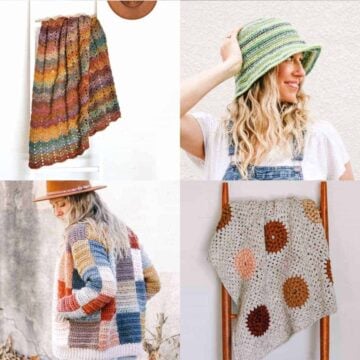
Our Latest Crochet Inspiration:
Here are a few more free crochet patterns and tutorials that are hot off the presses.


Bottom Ribbing
- Ribbing is worked in rows perpendicular to bottom edge and attached using a join-as-you-go method. Check out this tutorial on adding ribbing if this technique is new to you
- Each single crochet is worked through the back loop only (blo) of the stitch in the previous row. On even rows only (those heading away from sweater), the last stitch of the row is worked through both the back loop and the middle loop.
- Pay attention to the RS/WS designation of row as it will help clarify which side of sweater is facing in each row.
With smaller hook:
Right handed crocheters: Attach Color A at bottom front corner of right side as worn.
Left handed crocheters: Attach Color B at bottom front corner of left side as worn.
Foundation Row (WS): Ch 1, sc in same sp, *ch 2, skip 1 tile, sc in sp between next two tiles, repeat from * working one sc between tiles and in each seam across bottom sweater edge, sc in last corner st; turn.
Ribbing Set Up Row (RS): Ch 1, sc in corner st, *2 sc in next ch2p, skip sc, rep from * until last sc, sc in last corner st. Keep yarn attached to begin working ribbing.
Foundation Row: Ch 12.
Row 1 (RS): Sc in second ch from hook, sc in each ch to end of row, slst in next 3 unworked sts of Ribbing Set Up Row; turn. (11 sts)
| 🧶Customizing Waistline: The degree to which the ribbing hugs the waistline depends on the number of slip stitches worked when attaching ribbing to the bottom edge of the sweater. The more slip stitches used, the more cinched in the ribbing will be. As written, you’ll alternate using two slip stitches (Row 3) with three slip stitches (Row 5). If you prefer the bottom ribbing to be looser than what’s pictured in the sample, work two slip stitches to join ribbing at end of Row 5 instead of the three slip stitches prescribed. |
Row 2 (WS): (Do not ch 1) scblo in first st and each st to last sc, sc in both loops of last sc; turn.
Row 3 (RS): Ch 1, scblo in each st to end of row, slst in next 2 unworked sts of Ribbing Set Up Row; turn.
Row 4 (WS): Repeat Row 2.
Row 5 (RS): Scblo in each st to end of row, slst in next 3 unworked sts ofRibbing Set Up Row; turn.
Repeat Rows 2-5 along bottom edge of sweater, ending with WS row. This may require slip stitching a different number of stitches along Ribbing Set Up Row on the final repeat. It’s fine to improvise here to ensure you end with a WS row. This will position the yarn at the bottom of the sweater.
Do not fasten off.
Collar Ribbing
Collar Ribbing is created using the same technique as Bottom Ribbing. Please note these important differences: The use of the larger hook as well as alternating one slip stitch (Row 3) and two slip stitches (Row 5) throughout.
Right handed crocheters: Color A yarn should be positioned corner of at lower left (as worn) front edge.
Left handed crocheters: Color A yarn should be positioned corner of at lower right (as worn) front edge.
IMPORTANT: Switch to larger hook for all collar ribbing section.
Set up Row (WS): Ch 1, sc in corner st, sk 1 tile, *sk 1 tile, ch 2, sc in sp between next 2 tiles, rep from * around entire collar edge working 1 sc in between each set of tiles and in seams, sc in last corner st; turn.
Ribbing Set Up Row (RS): Ch 1, sc in first sc, *2 sc in next ch2 sp, rep from * along collar edge until 1 sc remains, sc in last corner st. Keep yarn attached.
Foundation Row: Ch 10.
Row 1 (RS): Sc in second ch from hook, sc in each ch to end of row, slst in next two unworked sts Ribbing Set Up Row; turn. (9 sts)
Row 2 (WS): Scbl in first st and in each st to last sc, sc through both loops of last s; turn.
Row 3 (RS): Ch 1, scblo in each st to end of row, slst in next unworked st of Ribbing Set Up Row; turn.
Row 4 (WS): Repeat Row 2.
Row 5 (RS): Ch 1, scblo in each st to end of row, slst in next unworked st of Ribbing Set Up Row; turn.
Repeat Rows 2-5 around collar. Ending with a RS/WS row does not matter. Fasten off.
Sleeve Ribbing
Again, Sleeve Ribbing is created using the established technique. To modify the length of the cuff ribbing, add or eliminate chains in the Foundation Row.
With smaller hook: Attach Color A in sleeve seam.
Set up Row (WS): Ch 1, sc in same sp, ch 2, * sc in sp between next two tiles, ch 2, rep from * until one tile remains, join with slst to first sc; turn.
Ribbing Set Up Row (RS): Ch 1, *2 sc in first ch2sp, and in each ch2sp around, join with slst to first sc. Keep yarn attached for ribbing.
Sizes 1X/2X and 3X/4X only - Extra Ribbing Set Up Row (RS): Do not turn, ch 1, sc2tog, sc in each sc to middle of round, sc2tog, sc in each sc to end of round, join with a slst to first sc.
Right-handed crocheters: Ribbing is worked in perpendicular rows clockwise around sleeve.
Left-handed crocheters: Ribbing is worked in perpendicular rows counter-clockwise around sleeve.
Foundation Row: Ch 12.
Row 1 (RS): Sc in second ch from hook, sc in each ch to end of row, slst in next 3 unworked sts of sleeve edge; turn. (11 sts)
Row 2 (WS): Scblo in first sc and each sc to last sc, sc through both loops of last sc; turn.
Row 3 (RS): Ch 1, scblo in each st to end of row, slst in next 3 unworked sts of sleeve edge; turn.
Repeat Rows 2-3 around sleeve edge ending with a Row 2. This may require a different number of slip stitches along Ribbing Set Up Row on the final repeat. It’s fine to improvise here to ensure you end with a Row 2. This will position the yarn at the end of the sleeve cuff. Do not fasten off.
Joining Cuff:
Turn sleeve inside out. Line up first and last rows of ribbing, with last row facing you. Slip stitch through each stitch to close cuff, working through the outer loop of last row and one loop of foundation chain for each stitch. Fasten off at end of seam.
Repeat instructions for second sleeve.
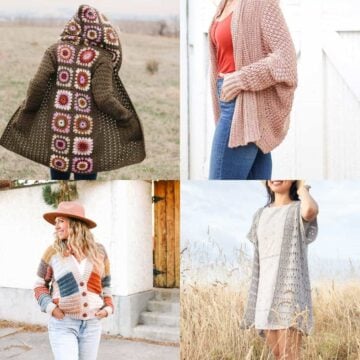
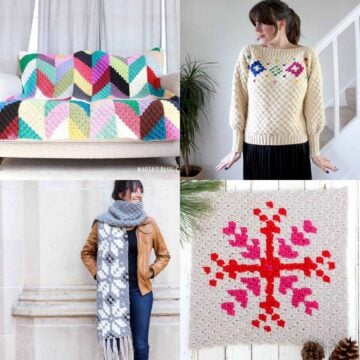
More Corner to Corner Crochet Free Patterns
Check out these free patterns if you love crocheting at an angle as much as we do!
- How To Corner to Corner Crochet for Beginners + C2C Patterns
- Easiest Beginner Corner to Corner Crochet Blanket Pattern
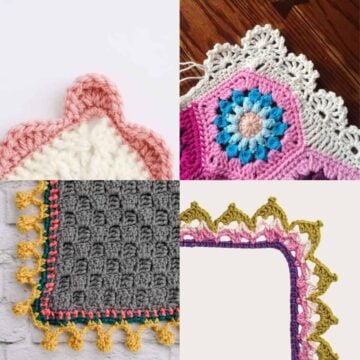
- 33 Crochet Borders and Edgings for Blankets - Free Patterns
- How to Crochet a Corner to Corner Popcorn Stitch
- How to Change Colors in Corner to Corner Crochet (C2C)
- How To Design Your Own C2C Crochet Graph Patterns
That was so fun! Now what?
Invitation to our Facebook group
Come discuss making c2c crochet sweaters and lots of other projects and techniques in our Make & Do Crew Facebook group. Here thousands of helpful crocheters answer each other's questions and share their stitches. Join us!

Leave a Reply