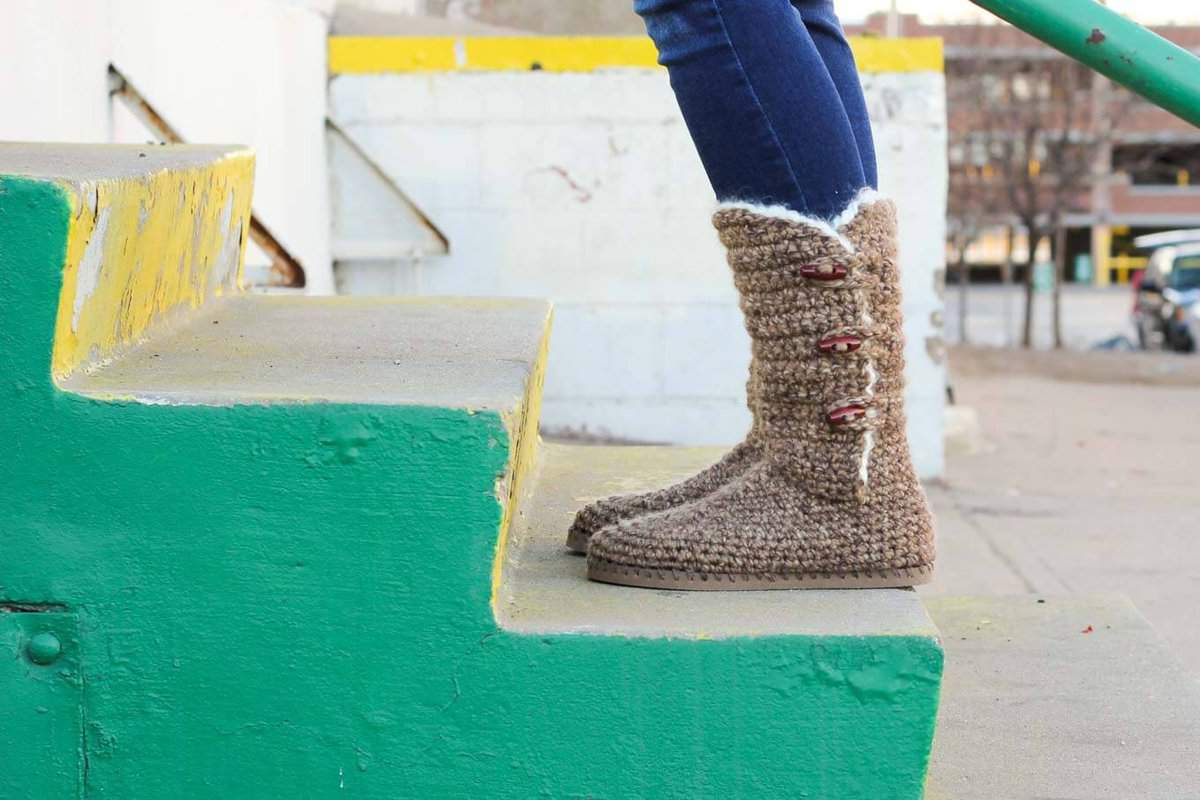
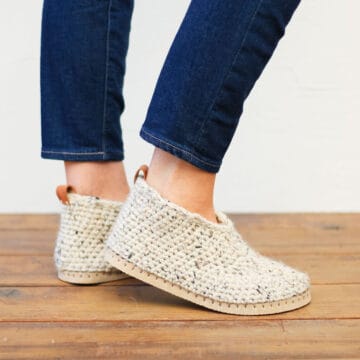
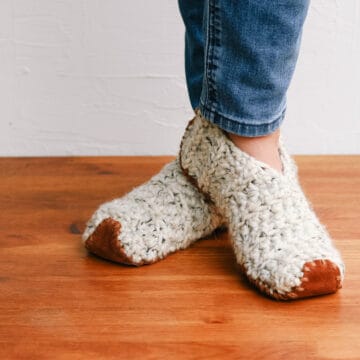
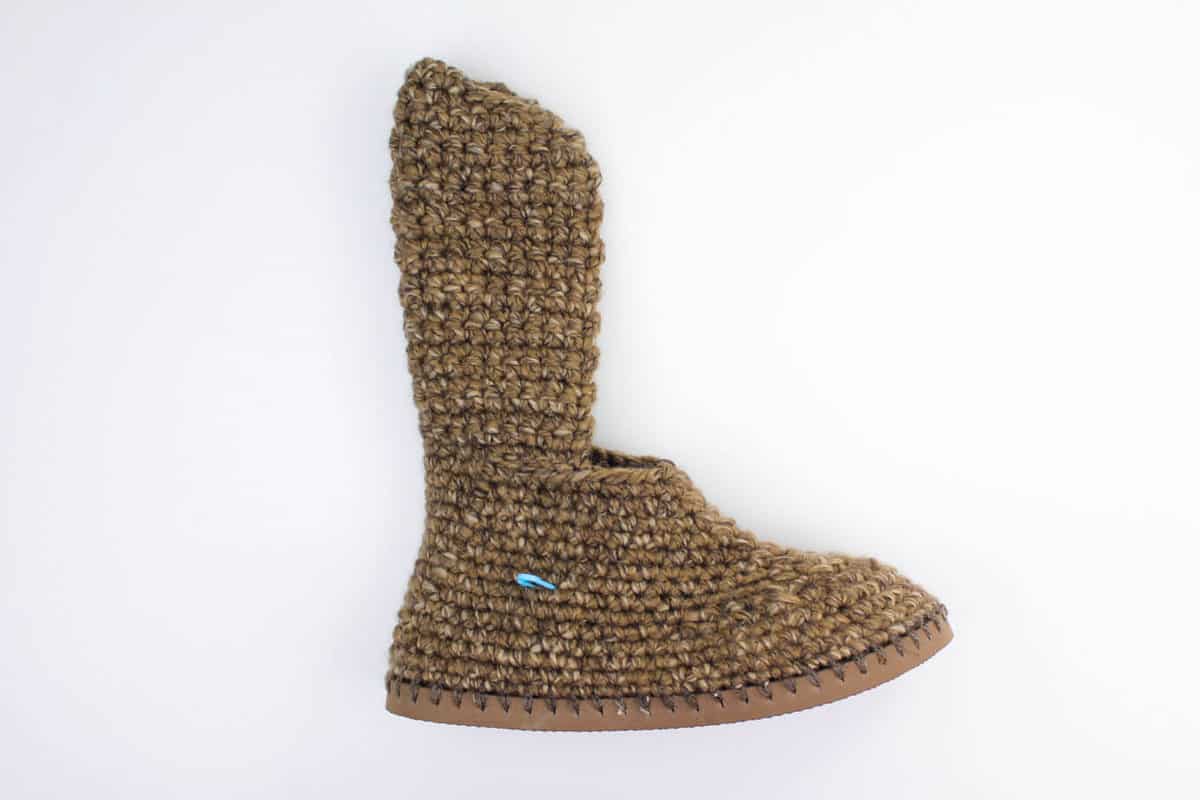
Learn how to make UGG-style crochet boots with flip flop soles in Part 1 of this free crochet pattern and video tutorial. This adult-sized pattern makes super cozy slippers or even outdoor crochet shoes. The free pattern is below or you can purchase the printable pattern PDF in its entirety here.
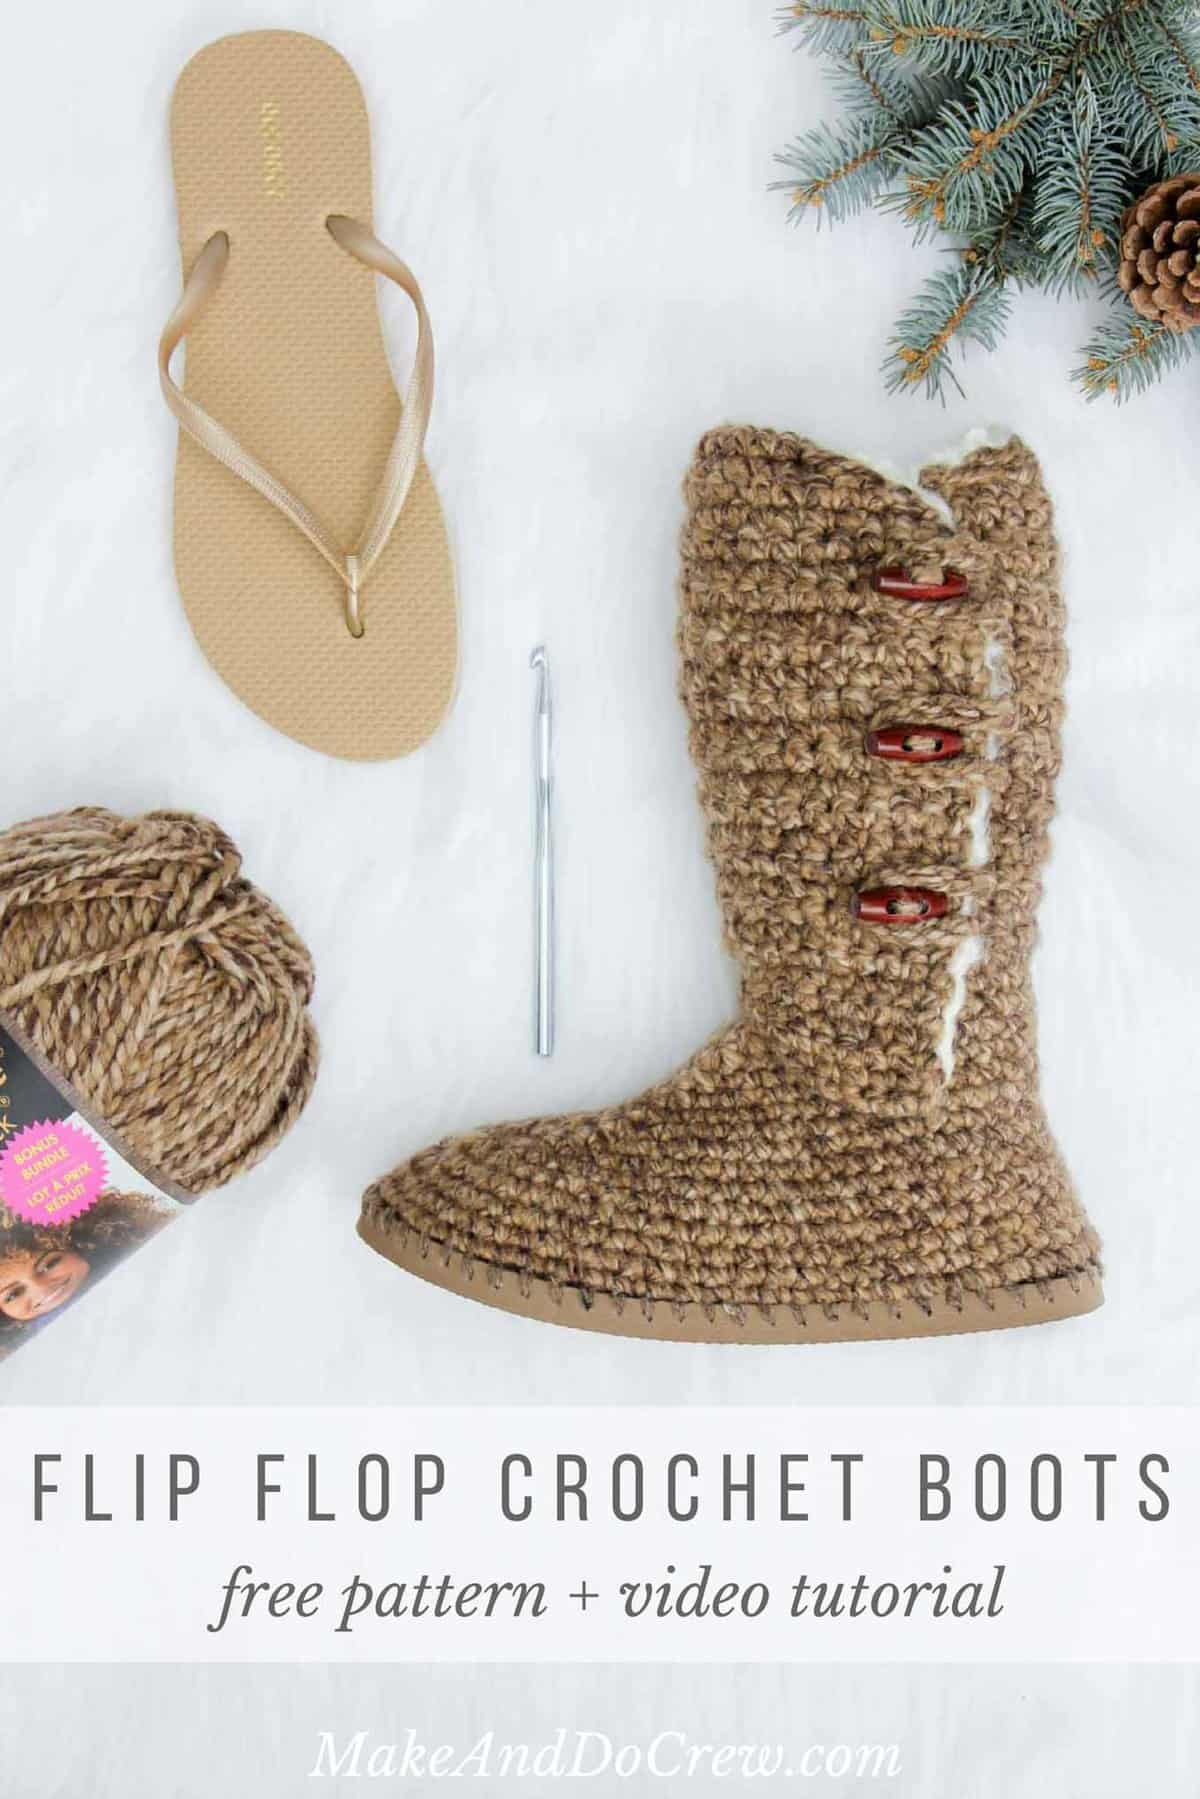 This crochet boots with flip flop soles pattern is a collaboration with my friends at Lion Brand Yarn. This post contains affiliate links.
Oh boy I have a treat for your toes today! If you've make my original "Cabin Boots" crochet pattern using flip flops, you know how comfy and cozy the flip-flop-yarn combo can be. I wear my Cabin boots around the house as slippers daily and they are truly a little haven for my feet.
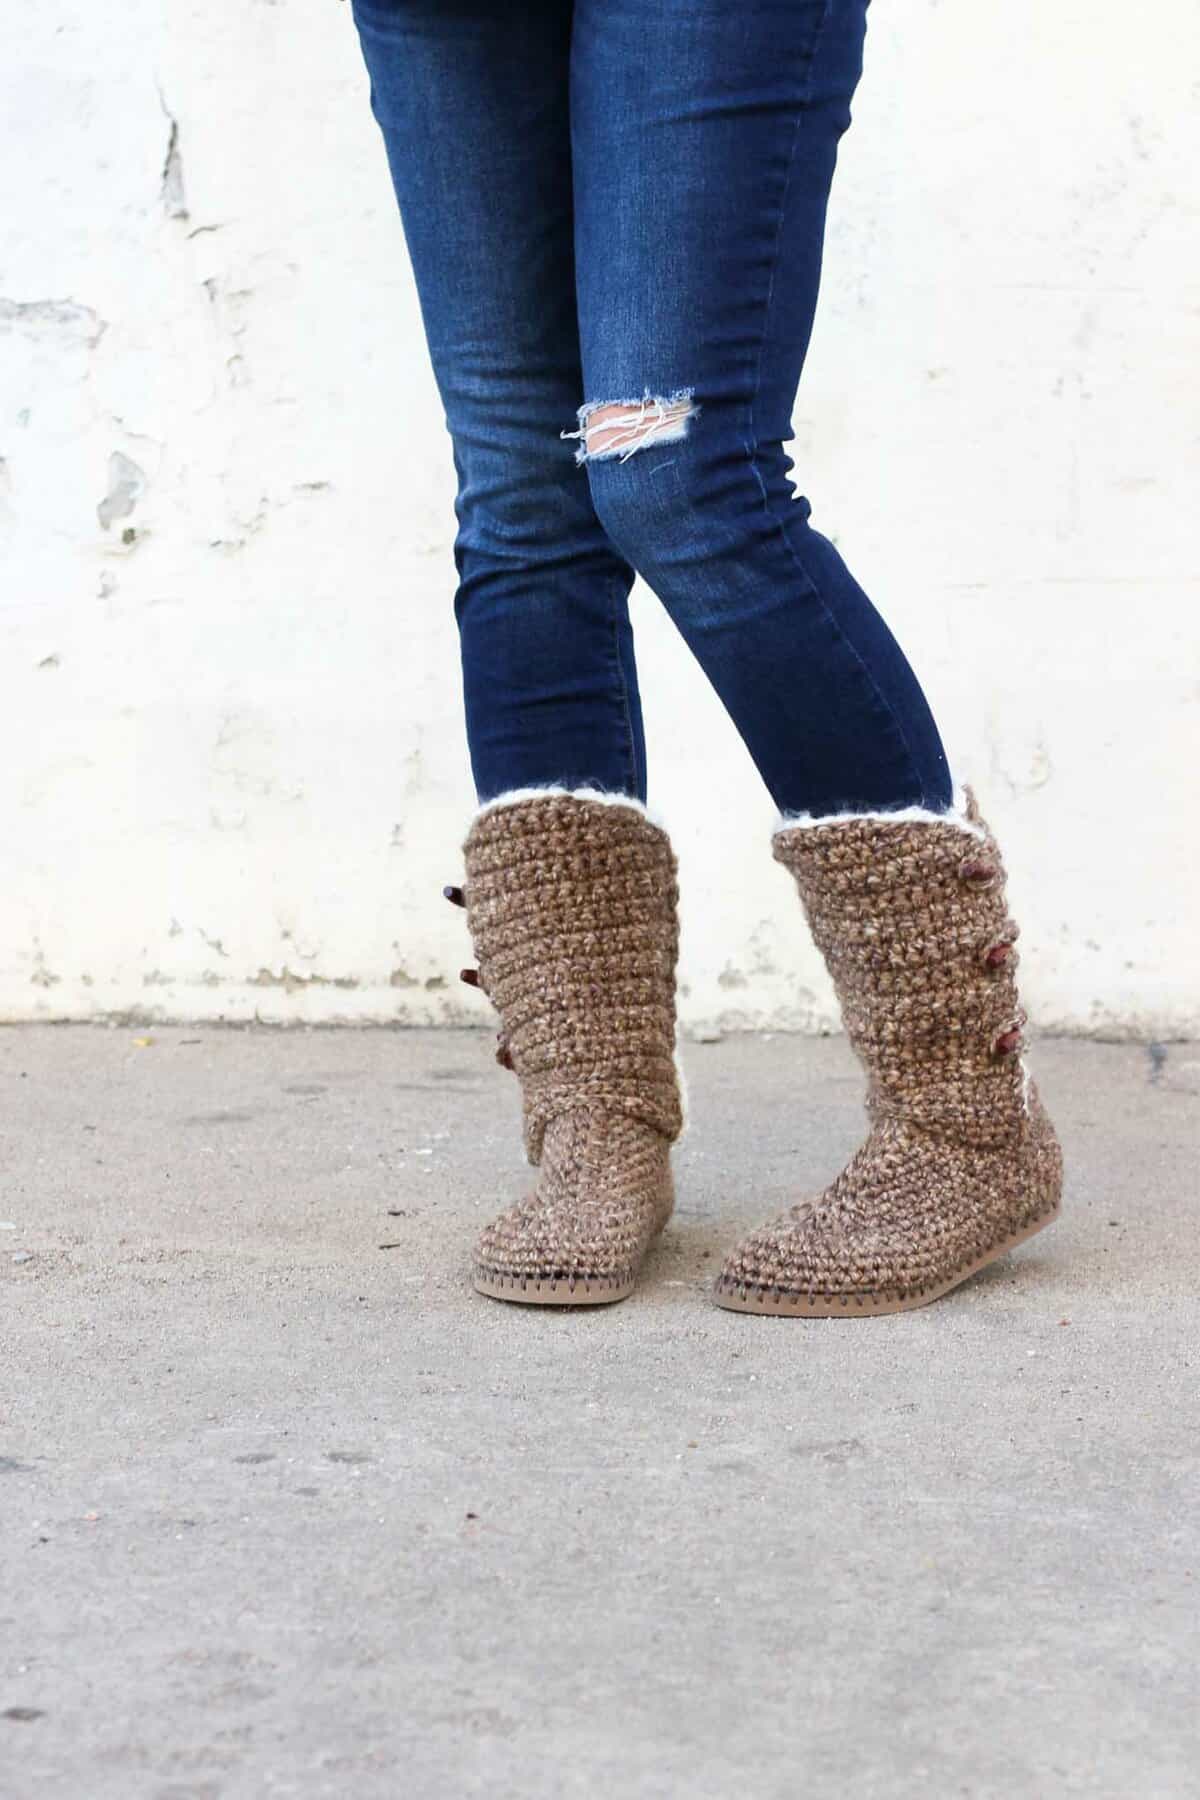
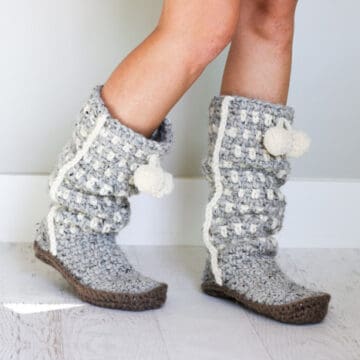
Five minutes with these Breckenridge Boots on your feet and you will be purring, "Yes, Jess, they just make sense, they just make sense."
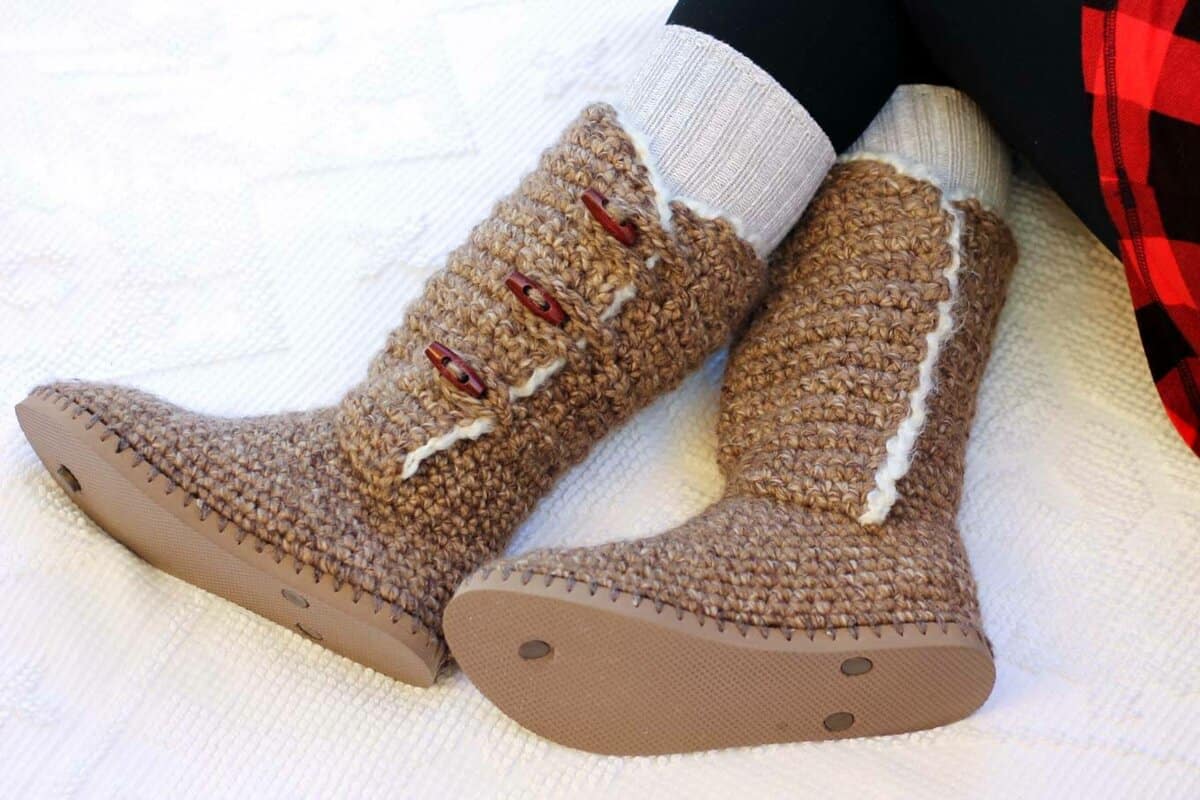
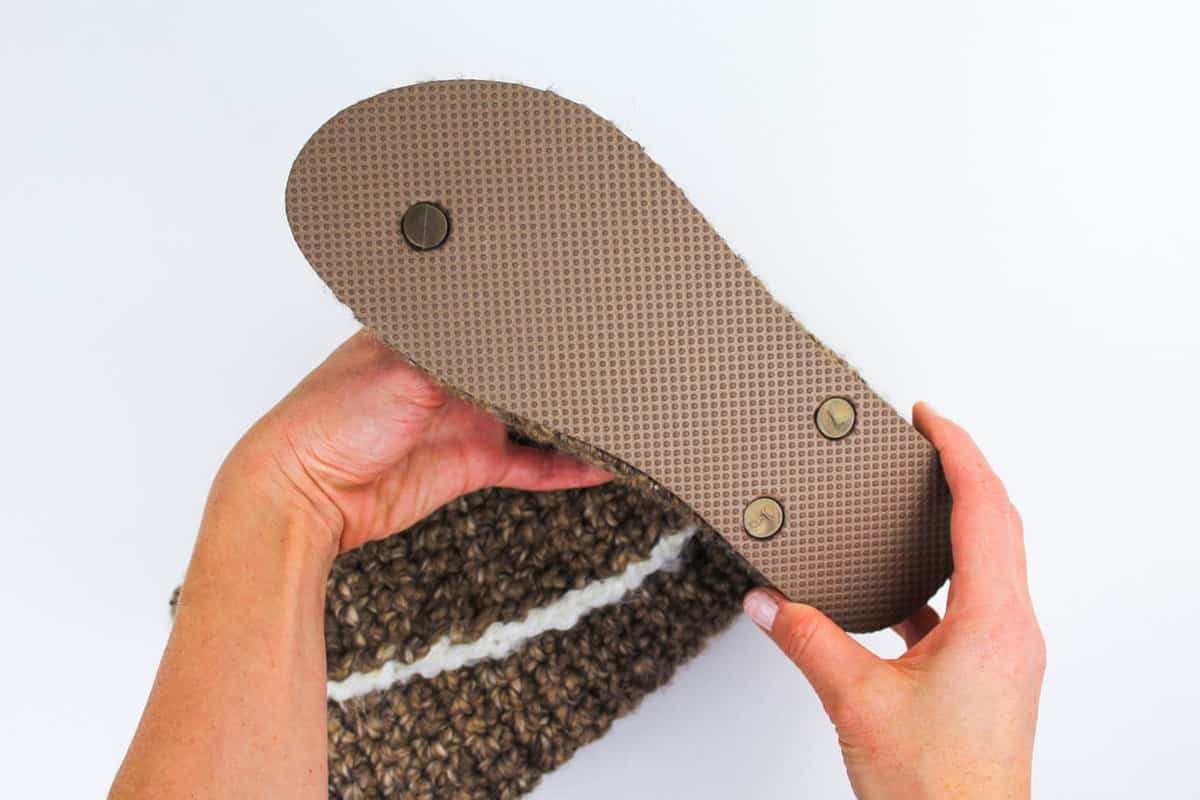
Find Your Next Crochet Pattern on Flip Flop Soles
Crocheting on flip flops can fast track your feet straight to comfort-ville. Flip flops offer functional, non-slip soles for your crochet slippers. They also allow you to crochet shoes customized for your particular feet.
See more free crochet flip flops patterns →
I'm excited for this iteration of crochet boots with flip flop soles because I think the way these are constructed will be the easiest for everyone to get consistent results and tweak them to fit your particular feet.
If you struggled with getting the your Cabin Boots to be snug enough for your liking, I believe you might like the fit of these boots even more.
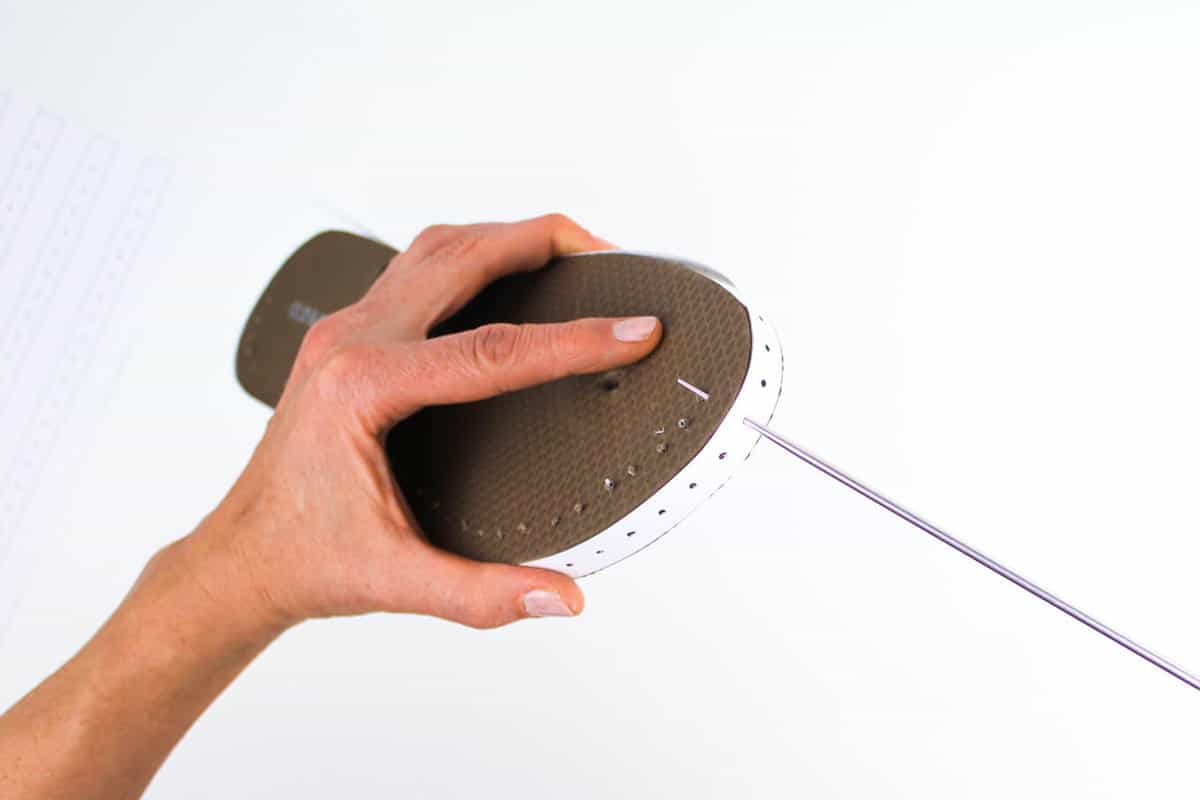
Since the gauge of the pattern is based on how the holes are spaced on your flip flops, the printable guide is extremely helpful in ensuring your boots start off "on the right foot" (pun intended!) The printable guide makes poking the holes in your flip flops a snap!
I hope this ensures that you can work each section of the boot (and easily view the 60 full minutes of step-by-step video tutorials!) along the way. Parts 2 and 3 are linked below. Go buy some flip flops today! 🙂
(And if you just can't wait to have the full pattern in one place, the printable PDF includes all three parts of the pattern in their entirety right this very second.)
Part 1: Supplies, poking the holes, crocheting the boot base (below!)
Part 2: Crocheting the back and front of the ankle shaft
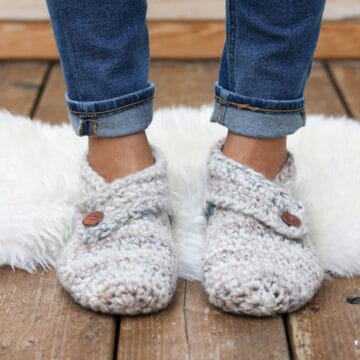
Part 3: Adding the "sheepskin" trim and buttons
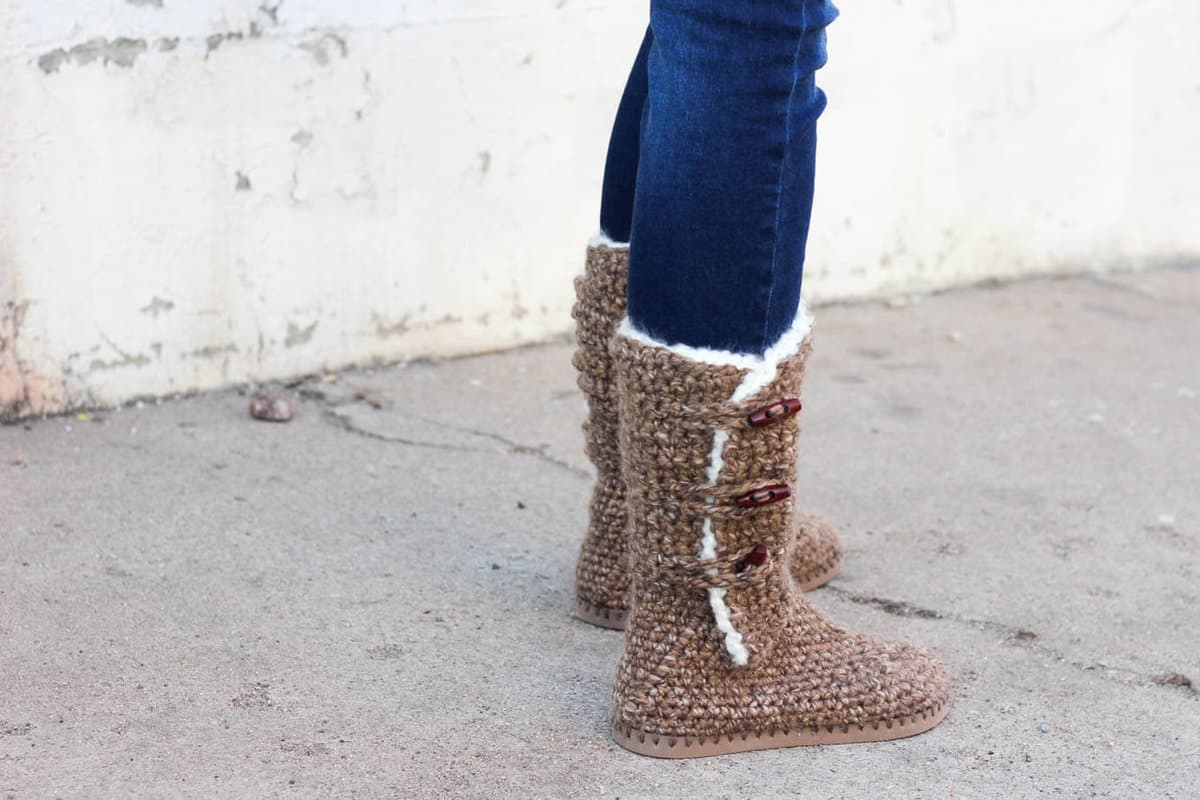
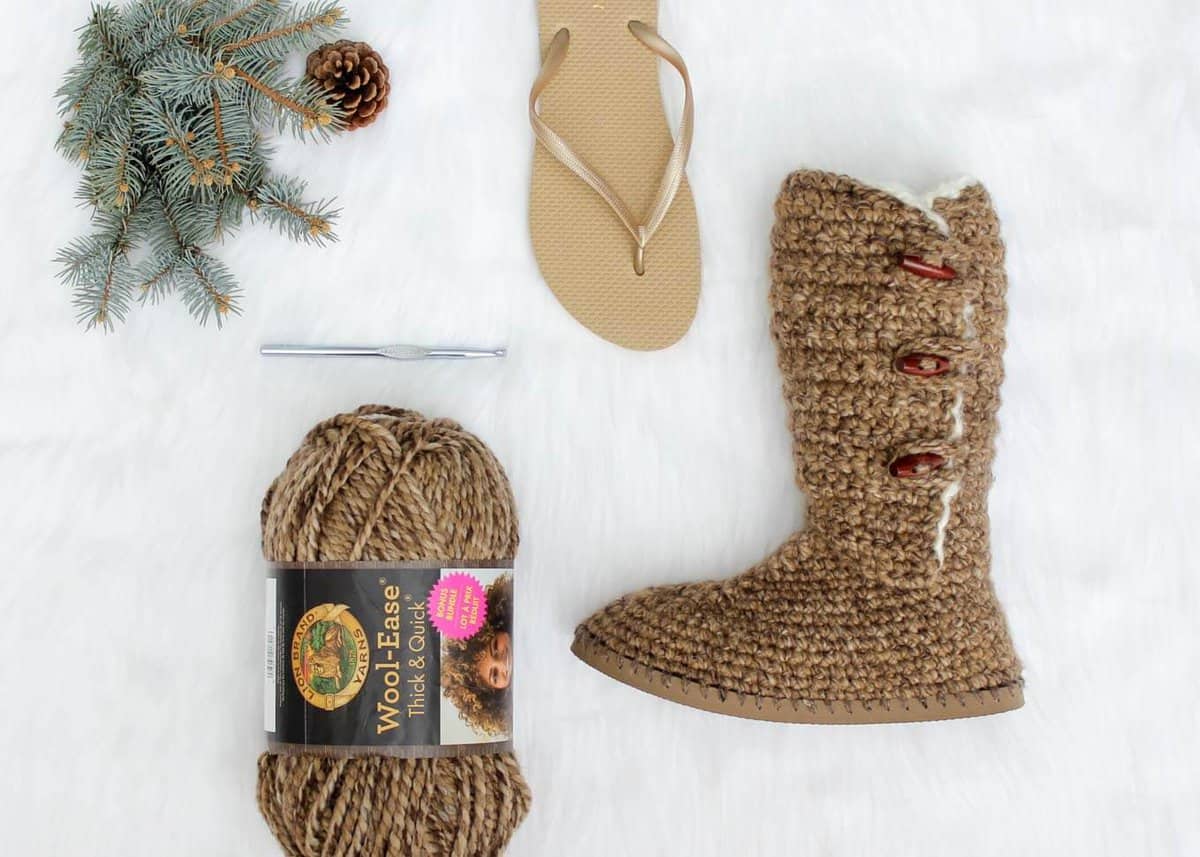
UPDATE: Lion Brand has created a kit that includes all the yarn you need to make these boots as well as a copy of the printable pattern with the hole guide. You can even order flip flops along with your yarn! Check out the Breckenridge Boots kit here.
In exchange, please link back to this post and credit me as the designer. You can view all my policies here. Do NOT use my photos as your own sales photos. Now go make something awesome!
Thanks to Lion Brand Yarn for sponsoring this post and enabling more free patterns on Make & Do Crew. All opinions and ideas are my own.
Breckenridge Crochet Boots with Flip Flop Soles - Free Pattern
Part 1
Wanna save this pattern?
Sizes (see Overall Pattern Notes):
Small – women’s shoe size 5-6 (flip flop length approx. 9.5)"
Medium – women’s shoe size 7-8 (flip flop length approx. 10)"
Large – women’s shoe size 9-10 (flip flop length approx. 10.5)"
Supplies:
So you can spend more time making boots and less time shopping, this pattern contains affiliate links at no extra cost to you.
• Lion Brand Wool Ease Thick and Quick Bonus Bundle – 2 skeins (300-350 yards total) – color: Toffee (MC)
• Small amount Lion Brand Vanna’s Choice worsted weight yarn in color to match flip flops (approx.15 yards) (SC) – color pictured: Barley
• Lion Brand Homespun Thick and Quick (approx. 40 yards) (CC) – color pictured: Dove (Pearl would look great too.)
• Tapestry needle
• Size B [2.25 mm] crochet hook or size needed to fit through flip flop holes
• Size H [5.0 mm] crochet hook
• Size K [6.5 mm] crochet hook
• 1-2 printed copies of the “ruler” on p. 12 of the printable pattern or a measuring tape
• 1 pair of flip flops (One size smaller than you wear normally. See pattern notes.)
• Sharp tool to poke holes (I use this clay tool. You can also try a skewer, thin drill bit or tapestry needle.)
• 1.25" (34 mm) wood toggle buttons
• Stitch markers
• Sharp scissors
• Strong glue such as E6000 (optional)
Gauge:
• Boot Base: 5.5 sc = 2”, 7 rows = 2”
• Boot Shaft: 4.5 sc = 2”, just under 7 rows = 2”
Abbreviations and Glossary:
sc – single crochet
sk – skip
sl st – slip stich
ch – chain
WS – wrong side
RS – right side
MC – main color
SC – sole color
CC - contrasting color
Sc2tog (single crochet 2 together)– [Insert hook into next st and pull up a loop] two times, yarn over and pull through all 3 loops on hook.
Overall Pattern Notes:
• Transforming flip flops into slippers isn’t an exact science! Unlike other crochet patterns, these slippers have some variables. Keep an open mind and don’t be afraid to customize the boots to your liking. Using the hole-poking guide in the printable pattern is really helpful in achieving the gauge.
• You’ll likely want to size down when buying your flip flops. Look for a flop flop that offers about .25" of sole around your foot (more like the fit of a normal shoe). In the pattern sizing, the shoe sizes mentioned describe the shoe size you normally wear and not the sized-down size of your flip flops.
• Find $1 flip flops on Amazon or at Walmart. Dollar Tree’s $1 flip flops tend to be a bit too flimsy, but can work if you are careful. Old Navy has a great selection of colors.
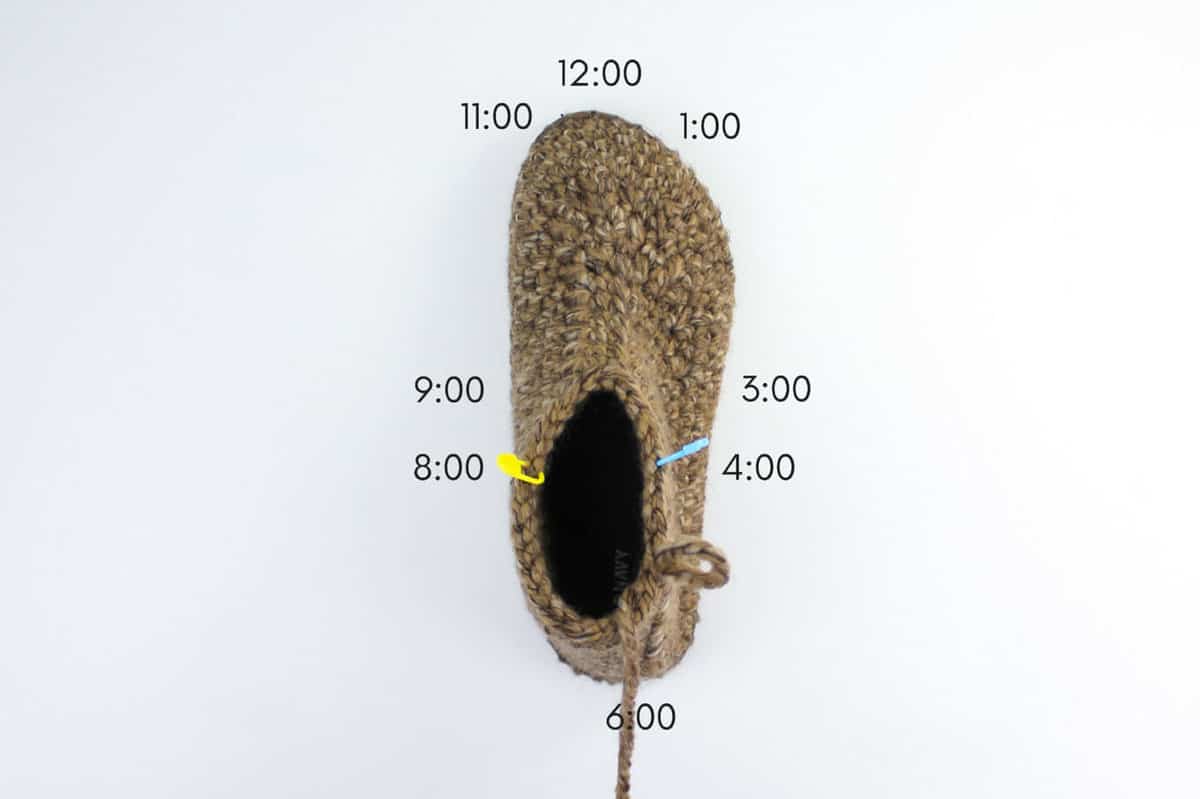
• Pattern explains locations on the flip flop as if it’s a clock where the top of the toe is 12:00 and the heel is 6:00. (See photo below.)
• Pattern describes size small instructions with size medium and large in parentheses.
• Left and right boots are identical with the exception of Finishing. Clarifying notes are included within pattern for left-handed crocheters.
Boot Foot Base
Notes:
• The foot of the boot is crocheted tightly, similar to amigurumi. Make a deliberate effort to keep your stitches tighter than normal. Check your gauge if you’re unsure.|
• This section is worked in the round. To join each round, sl st into the first sc of the round. Work first sc of next round in the same sc you joined in. At the end of each round, be careful not to sc in sl st from previous round.
To begin:
Trim straps off flip flops. If you’d like to wear your boots outside, trim the mid-foot straps at an extreme angle so you can keep them in place without feeling them inside the boot. (See photo below.) Save the rubber plug from the strap between your toes.
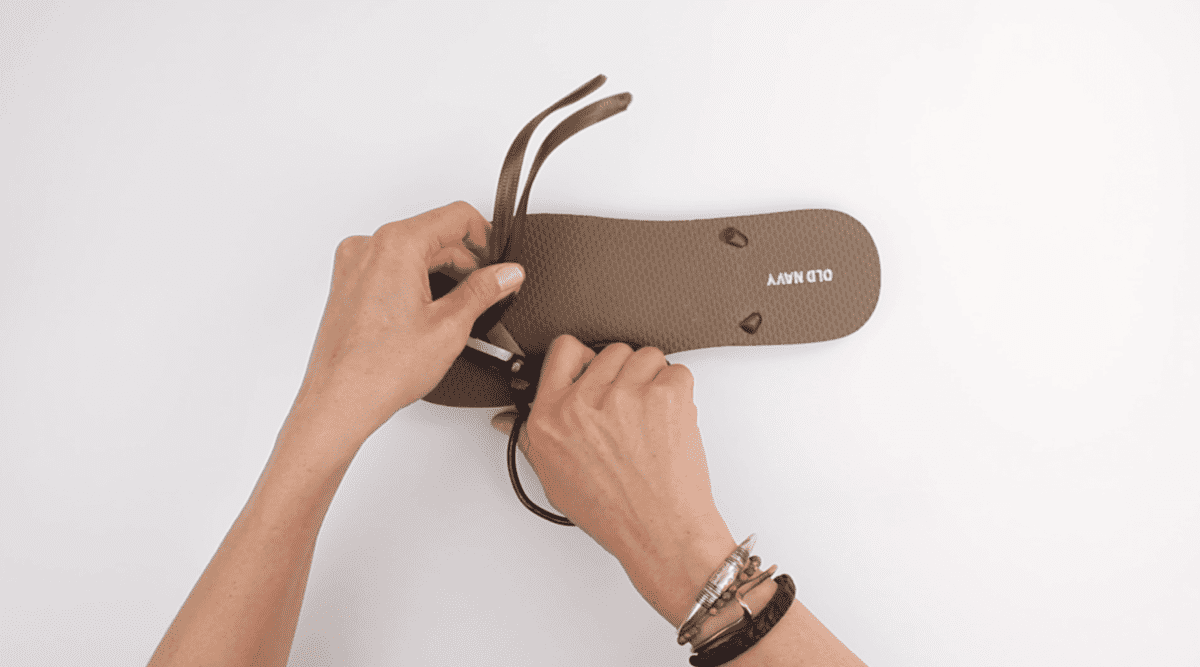
You want the hole to go at an angle from the middle of the way down the sole to about .25” into the top of the sole.
Ensure your holes are far enough from the edge so that the yarn won’t rip through the rubber when you create your first row of crochet. Reference the video tutorial above for help.
All sizes:
Round 1: Using size B hook and SC, sc in each hole around sole, join with a sl st to first sc. Fasten off.
Using largest hook and MC, make a slip knot on hook. Insert hook at the 6:00 position of Round 1, yarn over and pull loop through slip knot to join yarn to the middle of the heel. Knot SC and MC tails together. Crochet over yarn tails as you work Round 2.
Round 2: Ch 1, sc in each sc around, sl st to join.
Rounds 3-5: Ch 1, sc in each sc, sl st to join.
✨Unlock this free subscriber-exclusive pattern ✨
Follow these steps to view the full free pattern below
Please let me know if you have any questions about Part 1 in the comments below.
Stay tuned tomorrow for Part 2 of the Breckenridge crochet boots with flip flop soles pattern and video tutorial where we'll learn how to work the front and the back of the ankle shaft! UPDATE: Find Part 2 here!
That was so fun! Now what?
Invitation to our Facebook group
Come discuss crocheting ugg boots with flip flops patterns and lots of other crochet projects and techniques in our Make & Do Crew Facebook group. Here thousands of helpful crocheters answer each others questions and share their stitches. Come join us here.
More Free Crochet Patterns Using Flip Flop Soles
- FAQS: How to Crochet on Flip Flops - and will they fall apart?
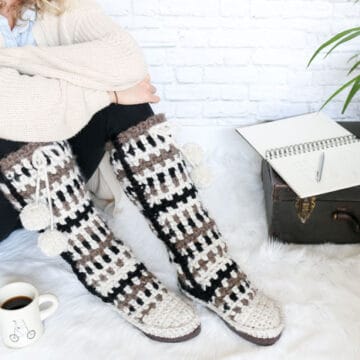
- Crochet Boots With Flip Flops Soles
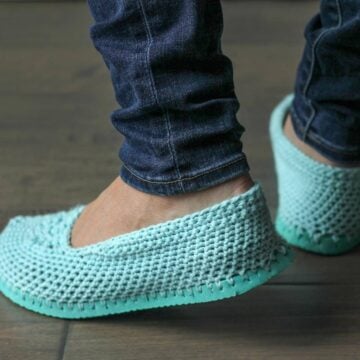
- Lightweight Crochet Slippers with Flip Flop Soles
- Chukka Crochet Slipper Boots with Flip Flop Soles
- Crochet Moccasins Shoes
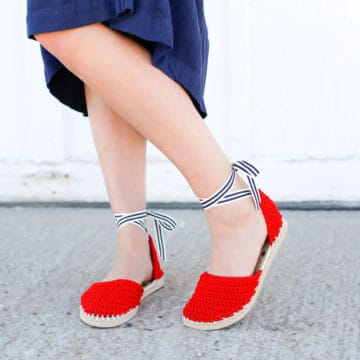
- Crochet Summer Slippers with Flip Flop Soles
- Crochet Espadrilles Pattern
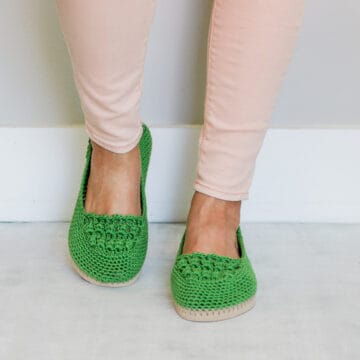
- Crochet Slip On Shoes Pattern

 The music in this video, Marathon Man by
Mary E Bross says
Jess,
Just wanted to let you know how much I loved making your crochet boots. Thank you so much for the time and effort that you put into the project. Your instructions and video are wonderful and I had so much fun making them for my daughter. It is so wonderful of you to put so much into your creations and then share them with everyone. Thanks again for your creativity. I love to knit and crochet and wish I had your creativity. Can't wait to make my next pair.
Jess says
Hi Mary, thank you so much for the sweet message! I'm glad that the instructions and video were helpful for you, and am so happy to hear how much you love the projects. Those crochet boots sure are comfy, huh?! Thank you for dropping by to share your experience with us!