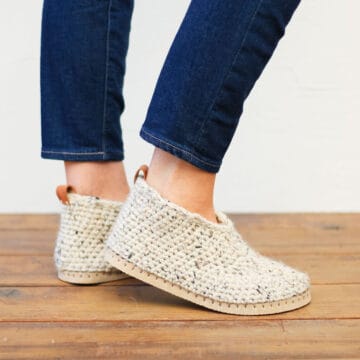
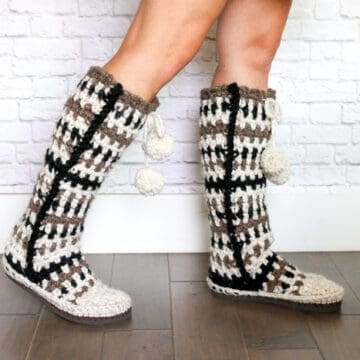
This crochet mukluks free pattern is the perfect treat for your feet this season! Find Part 2 of the pattern below or you can purchase the complete ad-free, printable PDF with hole-poking ruler here.
This free crochet mukluks pattern is part of a collaboration with my friends at Lion Brand yarn. This post contains affiliate links.
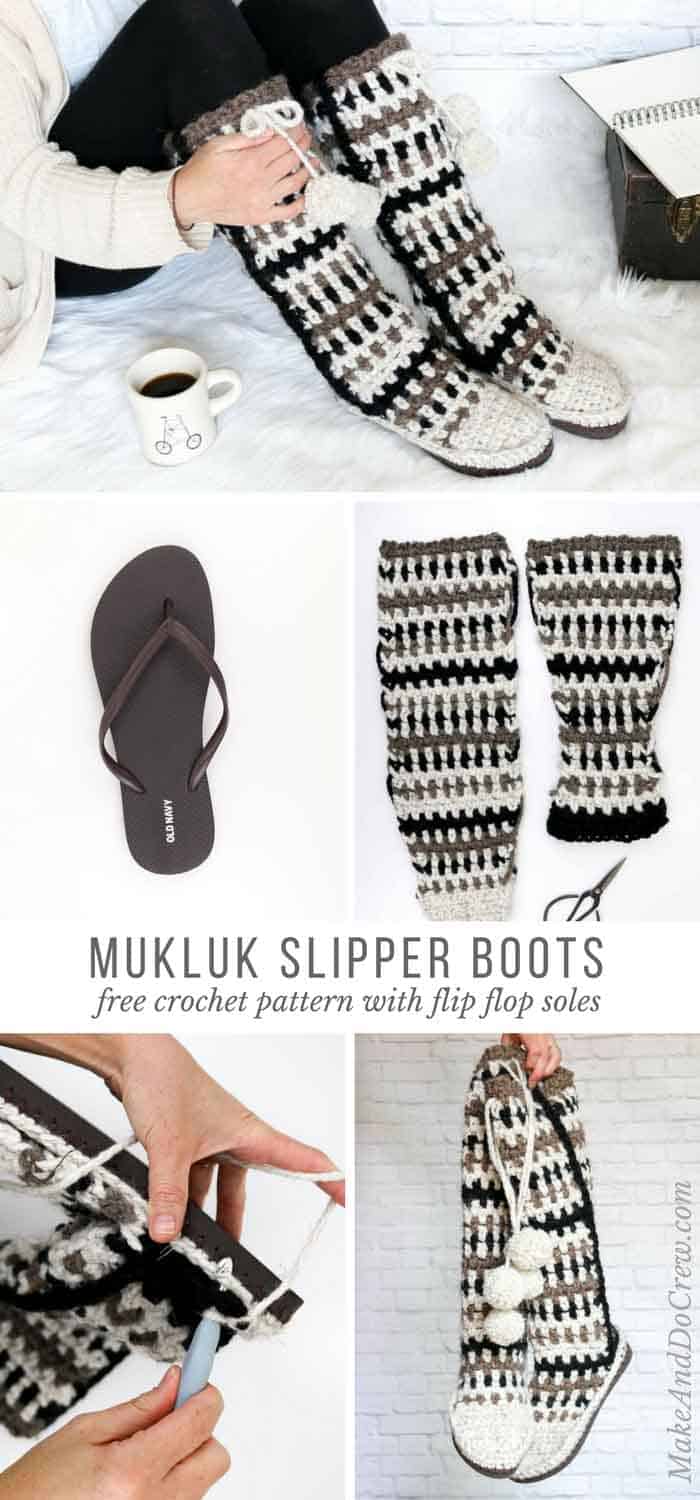
In Part 1 of the free Taos Slipper Boots pattern, we worked created the foundation rounds on the flip flop sole and worked the front of the mukluks. Today, we'll be crocheting the back of the mukluks, seaming the two pieces together and joining them to the flip flop base.
Like I said in Part 1, these crochet mukluks are a great project for people who have never made a pair of crochet shoes before because most of the crocheting is done separate from the flip flops, just like you're making a regular pair of slippers. (You can find all my free flip flop crochet patterns here if you'd like and read a list of FAQs all about making them here.)

In fact, if you don't want to use flip flops for your soles, you can crochet a simple sole and work the foundation rounds into it as if it was a flip flop.
In either case, I think you'll find these to be a quick, cozy and super satisfying project!
Find Your Next Crochet Pattern on Flip Flop Soles
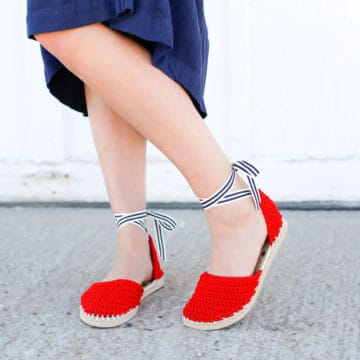
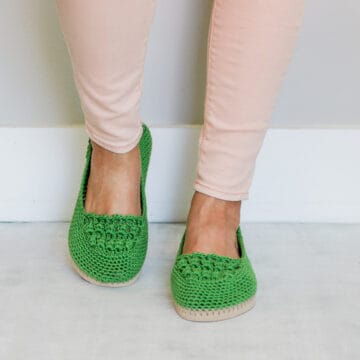
Crocheting on flip flops can fast track your feet straight to comfort-ville. Flip flops offer functional, non-slip soles for your crochet slippers. They also allow you to crochet shoes customized for your particular feet.
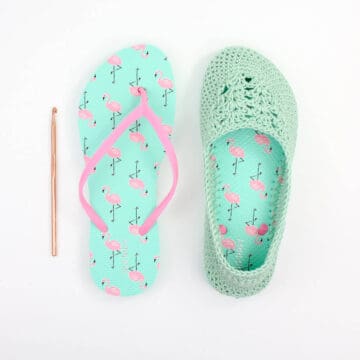
See more free crochet flip flops patterns →
Please do not publish or share this pattern as your own. You may make items to sell with this pattern. In exchange, please link back to this post and do not use my photos as your own sales photos. Now go make something awesome!
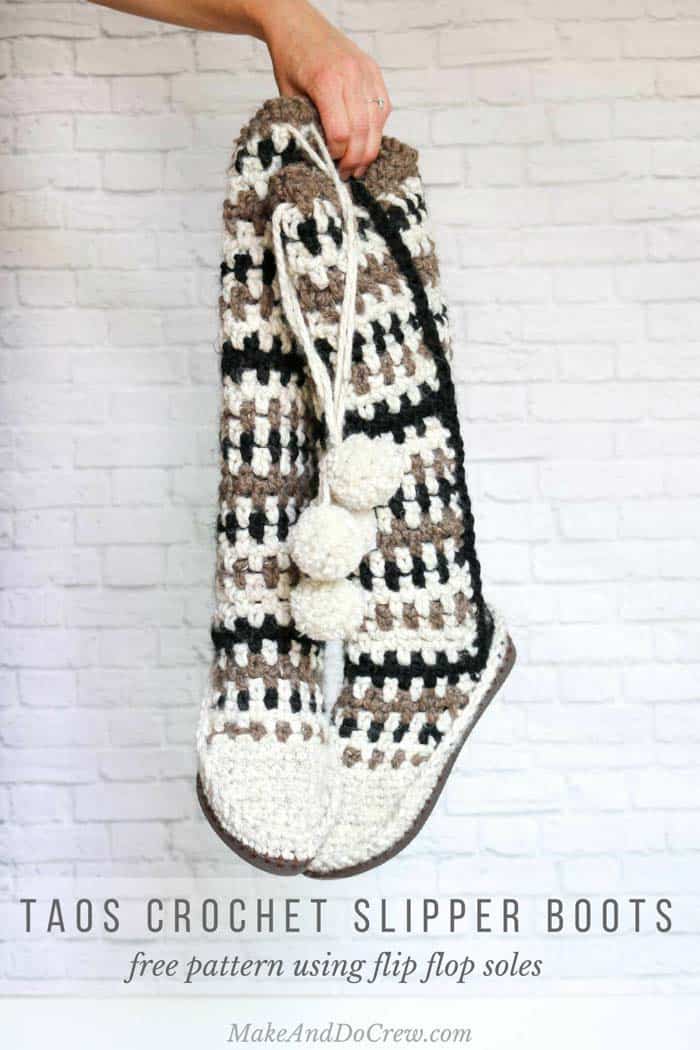
Taos Crochet Mukluks
Free Slipper Pattern - Part 2
Purchase the ad-free, printable PDF with hole poking ruler guide for $2.75 here.
Add this pattern to your Ravelry favorites here.
Pin it for later here.
Find Part 1 of the Taos Crochet Mukluks here.
Supplies:
So you can spend more time making mukluks and less time shopping, this pattern contains affiliate links at no extra cost to you.
• Lion Brand Wool-Ease Thick & Quick (Weight: 6/super bulky - 106 yds, 6 oz)
- Color A: Wheat (402) - 2 skeins
- Color B: Barley (124)– 1 skein
- Color C: Black (153)– 1 skein
• Lion Brand Vanna’s Choice in color to match flip flop soles – 30 yds
- Color D: Chocolate (126) pictured in sample
• Tapestry needle
• Size B (2.25 mm) crochet hook
• Size K (6.5 mm) crochet hook
• Size L (8 mm) crochet hook
• Size N (10 mm) crochet hook
• 1-2 printed copies of the “ruler” in the printable PDF (optional)
• 1 pair of flip flops (See pattern notes on selecting the shoe size.)
• Sharp tool to poke holes (I use this clay tool. You can also try a skewer, thin drill bit or awl.)
• Sharp scissors
• Stitch markers
• Strong glue such as E6000 to glue strap plugs to sole (optional)
• Pom pom maker or a small piece of cardboard
Abbreviations (US Terms):
ch – chain
sc – single crochet
dc - double crochet
sk – skip
ch1sp – space created by three chains
sl st - slip stitch
st(s) – stitch(es)
RS – right side
WS – wrong side
Sizing:
Pattern can be used to make a women’s shoe size 5-10. Notes are included throughout on customizing specific sizing.
Gauge:
Toe: 5 sc x 6 rows = 2”
Upper Ankle: 5 pairs of [sc, ch 1] x 8 rows = 4”
Find Part 1 of the Taos Crochet Mukluks here.
Back of Boot
Make 2.
Foundation: With size N hook and Color C, ch 14.
Row 1 (RS): Sc in second ch from hook and each sc across; turn. (13)
Row 2 (WS): With Color C, ch 1, 1 sc in first sc, *ch 1, sk 1 sc, 1 sc in next sc; rep from * to end; turn. (13)
Row 3 (RS): With Color A, ch 1, 1 sc in first sc, 1 sc in next ch1sp, *ch 1, 1 sc in next ch1sp; rep from * to last sc, sc in last sc; turn. (13)
Rows 4 (WS): With Color A, ch 1, 1 sc in first sc, *ch 1, 1 sc in next ch1sp; rep from * to last 2 sc, ch 1, sk 1 sc, sc in last sc; turn. (13)
Row 5 (RS): With Color A, sc2tog over first sc and ch1sp, *ch 1, sc in next ch1sp; rep from * until last ch1sp, ch 1, sc2tog over last ch1sp and last sc; turn. (11)
Row 6 (WS): With Color B, repeat Row 3. (11)
Row 7 (RS): With Color A, repeat Row 4. (11)
Row 8 (WS): With Color A, repeat Row 3. (11)
Row 9 (RS): With Color C, repeat Row 4. (11)
Row 10 (WS): With Color A, repeat Row 3. (11)
Row 11 (RS): With Color B, repeat Row 4. (11)
Row 12 (WS): With Color B, repeat Row 3. (11)
Row 13 (RS): With Color A, repeat Row 4. (11)
Row 14 (WS): With Color C, repeat Row 3. (11)
Row 15 (RS): With Color A, ch 1, 2 sc in first sc, *ch 1, 1 sc in next ch1sp; rep from * to last 2 sc, ch 1, sk 1 sc, 2 sc in last sc; turn. (13)
Row 16 (WS): With Color B, ch 1, sc in first sc, *ch 1, 1 sc in next ch1sp; rep from * to last 2 sc, ch 1, sk 1 sc, sc in last sc; turn. (13)
Row 17 (RS): With Color A, repeat Row 3. (13)
Row 18 (WS): With Color A, repeat Row 4. (13)
Row 19 (RS): With Color C, repeat Row 3. (13)
Row 20 (WS): With Color C, repeat Row 15. (15)
Row 21 (RS): With Color A, repeat Row 16. (15)
Row 22 (WS): With Color A, repeat Row 3. (15)
Row 23 (RS): With Color B, repeat Row 15. (17)
Row 24 (WS): With Color A, repeat Row 16. (17)
Row 25 (RS): With Color C, repeat Row 3. (17)
Wanna save this pattern?
Row 26 (WS): With Color A, repeat Row 4. (17)
Row 27 (RS): With Color A, repeat Row 3. (17)
Row 28 (WS): With Color B, repeat Row 4. (17)
Row 29 (RS): With Color B, repeat Row 3. (17)
Row 30 (WS): With Color A, repeat Row 15. ( st count will be 19 onwards)
Row 31 (RS): With Color A, repeat Row 16.
Row 32 (RS): With Color C, repeat Row 3.
Row 33 (WS): With Color A, repeat Row 4.
Row 34 (RS): With Color B, repeat Row 3.
Row 35 (WS): With Color B, repeat Row 4.
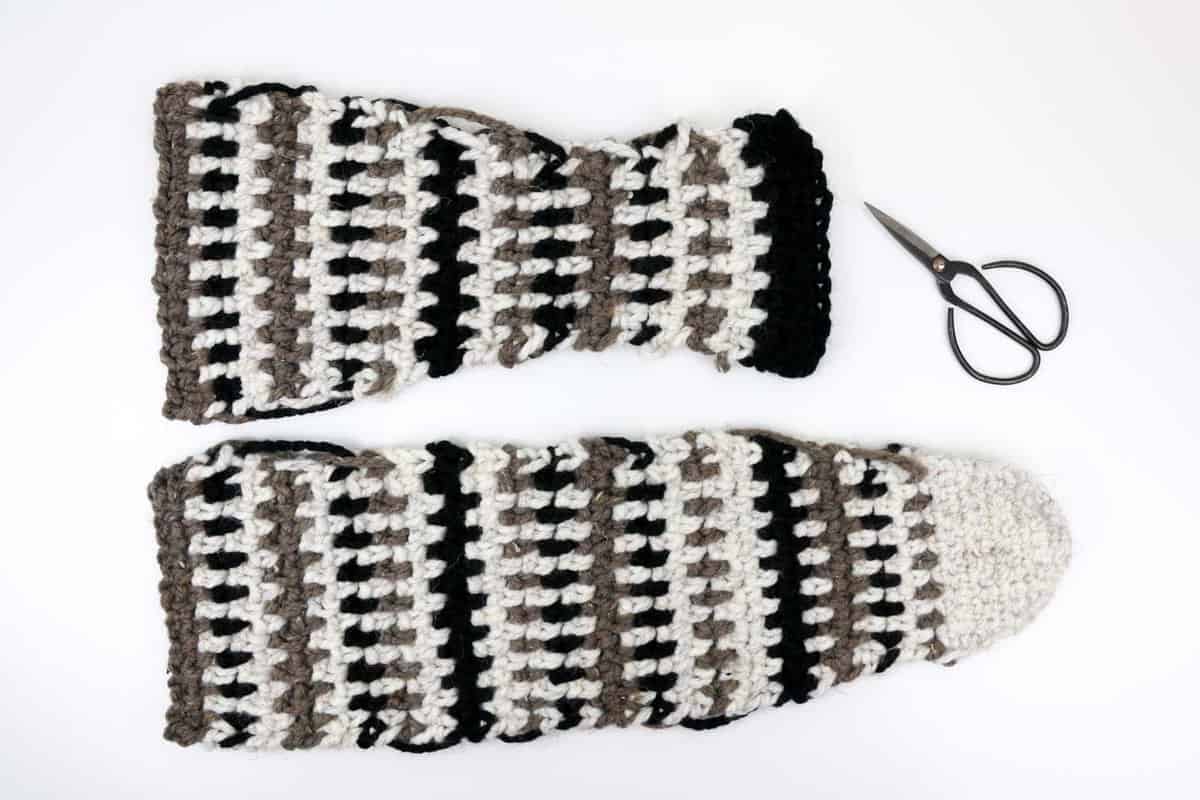
Joining Top & Back of Boot
Notes:
• Weave in any ends before seaming the boot pieces together.
• The boot pieces are seamed together with single crochet. You’ll want the “front” of the single crochet stitches showing on the front of the boots on both seams. This means you’ll work one seam from the ankle up to the top of the boot and then the second side you’ll seam in the opposite direction. (Just keep the toe of the boot facing you and you’ll be good.)
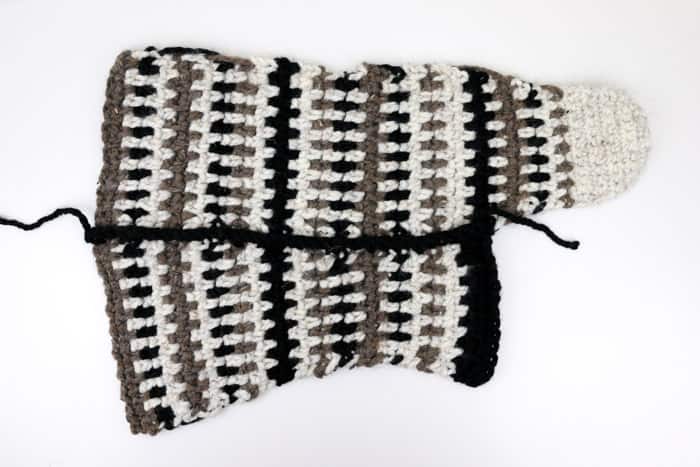
With right sides facing out, use stitch markers to pin the “top” of the boot to the “back” of the boot. Take care to align each stripe.
Attach Color C to the point where the back and top pieces meet. Use size L hook.
Seam Row: Ch 1, sc along edge, working at the frequency that gives you the smoothest looking seam.
Fasten off. Repeat in opposite direction on second side.
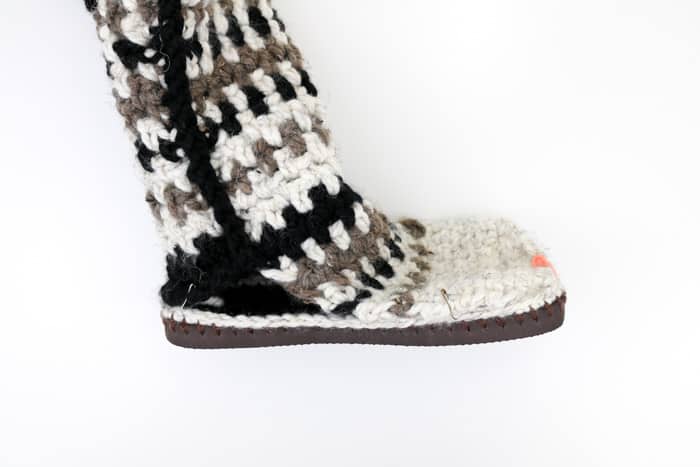

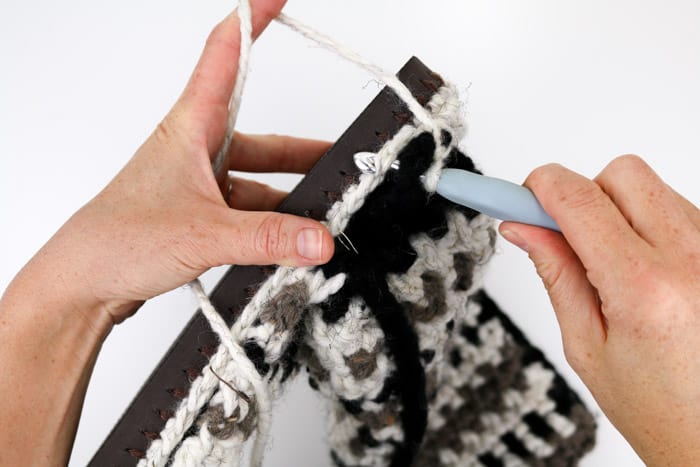
Joining Boot to Flip Flop Base
Notes:
• This section can make or break the look of your boots. If you’re not happy with your first attempt, just rip it out and try again!
• Right-handed crocheters, work around the sole counter clockwise. Left-handed crocheters, work around the sole clockwise.
Use stitch markers to pin the boot onto the flip flop base. I find it easiest to pin the toe and the heel sections first and then accommodate whatever is left in the middle. If you do find that there’s a little extra fabric, try to absorb the excess in the middle of the boot where the top/back seams meet.
Attach Color A at 6:00 position. Use size L hook.
Seam Round: Ch 1, sc around sole working into the main boot pieces and Round 1 of the boot base, sl st to join.
Fasten off. Weave in any remaining ends.
Optional: If you plan to wear your new slippers out in the elements, glue the flip flop toe plug back into place in the toe using a glue like E6000.
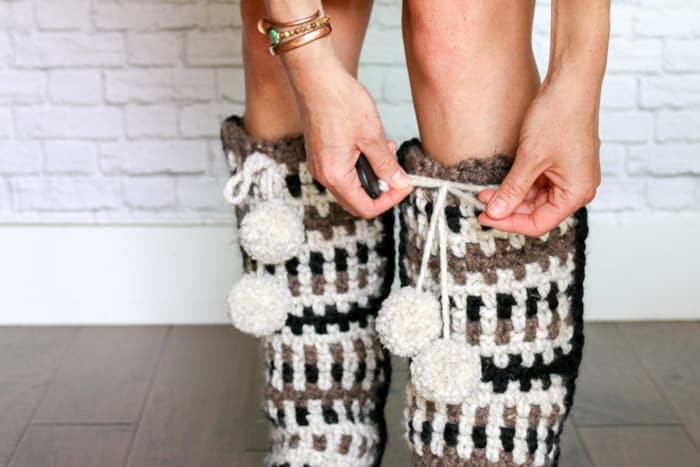
Adding Pom Pom Ties
Use either a pom pom maker or a piece of cardboard to create four pom poms in Color A.
Cut two 24” strands of Color A to create the laces.
Thread one lace through the ch1sps where Color A and Color B meet at the top of the boots.
Thread a tapestry needle onto the lace. Insert tapestry needle into middle of one pom pom. Remove needle and tie several knots in the lace right below where you want the pom pom placed. Pull knot so that it’s absorbed into the pom pom and cut excess strand of yarn. Repeat with a second pom pom on the other side of the of the lace.
Repeat for second boot.
Proudly pull on your new crochet mukluks--you’re now ready for an ice fishing trip, an artic storm, or just a cozy night spent crocheting by the fireplace!
TIP: When pulling you slippers on, gather the top of the boot in your hand and then insert your foot, like you would when putting on tall socks. This will prevent your beautiful new boots from stretching out.
That was so fun! Now what?
Invitation to our Facebook group
Come discuss crocheting how to make Mukluk boots patterns and lots of other crochet projects and techniques in our Make & Do Crew Facebook group. Here thousands of helpful crocheters answer each others questions and share their stitches. Come join us here.
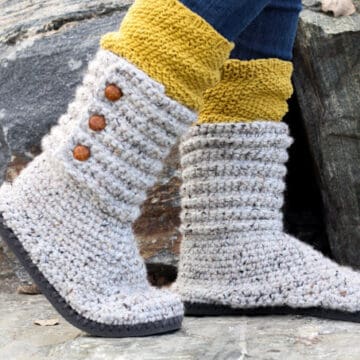
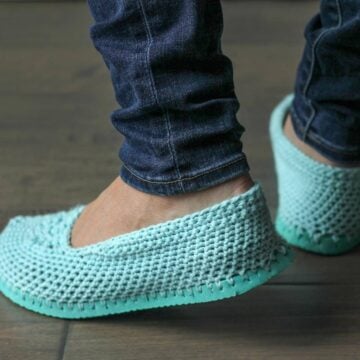
More Free Crochet Patterns Using Flip Flop Soles
- FAQS: How to Crochet on Flip Flops - and will they fall apart?
- Crochet Boots With Flip Flops Soles
- Lightweight Crochet Slippers with Flip Flop Soles
- Free Crochet Ugg Boot Pattern
- Boho Crochet Sandals Pattern
- Crochet Beach Shoes Pattern
- Crochet Festival Boots Pattern
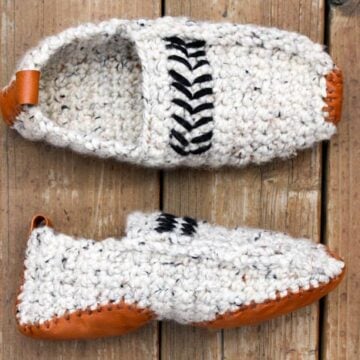
- Crochet Boat Shoes Slippers (for kids)
Now that you're on a roll with crochet flip flop patterns, you might enjoy these other free patterns from Make & Do Crew:
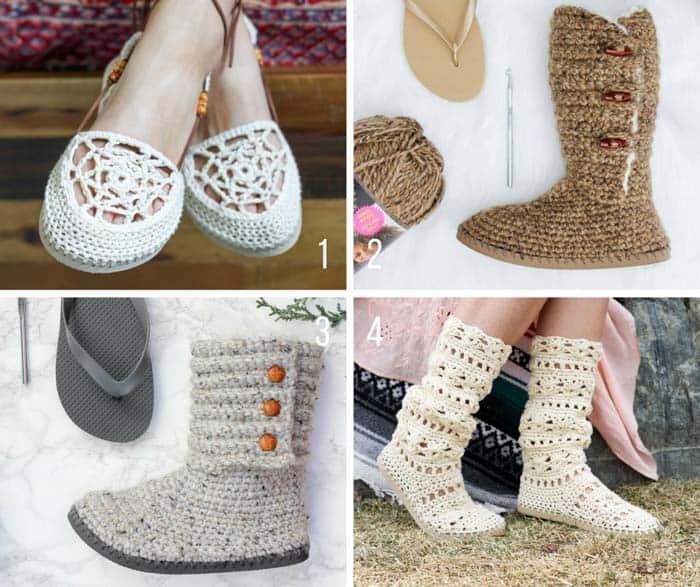
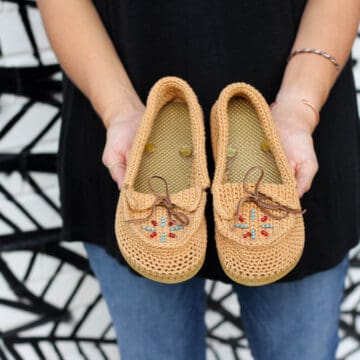
1. Dream Catcher Crochet Sandals with Flip Flop Soles
2. Breckenridge Crochet Boots with flip flop soles
Phyllis Reyna says
Hi Jess, I wanted to make the Sierra easy crochet slippers but it doesn't have the instructions for the
crochet sole. Or I missed it. How do I do that part. I may can figure it out but I want to make sure it fits
with the leg parts. I hope you can get back with me on this. I love the patterns you have here. Thank you
Em says
I tried to purchase the pattern thru this site so I'd have it ad-free and get the printable ruler, but it kept freezing with the little circling arrow going in continuous circles after linking to Paypal. So, I went to the Lovecrochet site and purchased another of your flip flop patterns (also getting the ruler) without any trouble. Just an fyi...
Jess @ Make and Do Crew says
Hmm. That's weird. Thanks for letting me know. I'll look into it. The rulers aren't always transferable between patterns, so if you're trying to make the Taos slippers specifically, send me an email and I'll make sure you get the ruler. 🙂
Jess (at) makeanddocrew (dot) com
Jess
Tina Doiron says
Can you make these with only 1 Colorado or 2?
Jess @ Make and Do Crew says
I assume that maybe there was an autocorrect issue here? 🙂 Did you mean 1-2 colors? If that's your question, you def could just work the third color rows in one of the first 2 colors. 🙂
Cynthia says
Love the pattern but would like to know how it would work on a wedge style flip flop.
Jane says
These are beautiful!! If you don't mind me asking, how much did the yarn cost? I am going to put the materials on my Christmas list, and I want to make sure I can save up to buy more.
Thanks!!
-J
Jess @ Make and Do Crew says
Great idea, Jane! The yarn is generally about $7.99-9.99 a ball. Right now, I know that Michaels has this yarn on sale for $4.70-ish a ball though! If you watch for sales near black Friday, you should be able to find a great deal on it. Keep and eye on Michael's, Joann's and LionBrand.com. 🙂
Jess