Once you've finished Part 1 of your crochet flip flop sandals, it's time to add some finishing touches including edging and ankles straps. Purchase the complete ad-free PDF with printable hole-poking ruler here.
 This free crochet flip flop sandals pattern is part of a collaboration with my friends at Lion Brand Yarn. This post contains affiliate links.
Earlier this week, I shared the first portion of the Dream Catcher pattern to make your own crochet flip flop sandals. This pattern is really pretty fun to watch come together because there just isn't a ton of crocheting to do.
So if you haven't yet, grab your hook, your yarn and the nearest pair of flip flops and head over to Part 1 of the free pattern.
Before you know it, you'll be cruising the streets in cute shoes you made YOURSELF. I can't tell you how awesome and self-sufficient that feels--I just want you to experience it for yourself! (You can see all my free crochet patterns using flip flops right here. Make yourself a year-round crochet shoe wardrobe!)
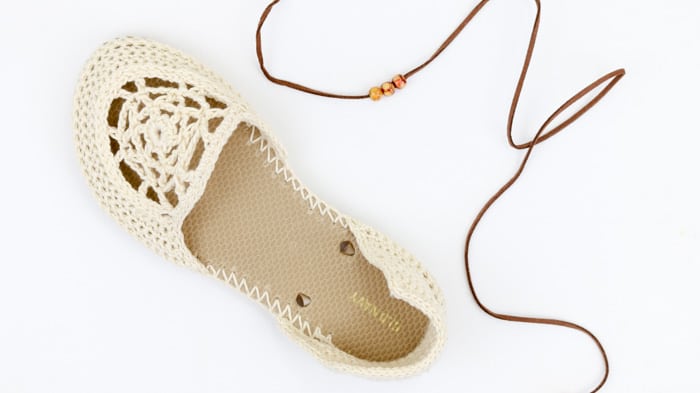

In Part 2 of the pattern, we're going to attach the toe circle to the rest of the toe, clean up the edgings with some simple borders and add your choice of laces--suede or yarn-tastic. Your crochet flip flop sandals are this close to being done--let's finish 'em up!
Find Your Next Crochet Pattern on Flip Flop Soles
Crocheting on flip flops can fast track your feet straight to comfort-ville. Flip flops offer functional, non-slip soles for your crochet slippers. They also allow you to crochet shoes customized for your particular feet.
See more free crochet flip flops patterns →
Please do not publish or share this pattern as your own. You may make items to sell with this pattern. In exchange, please link back to this post. Do NOT use my photos as your own sales photos. You can read my policies here.
Dream Catcher Crochet Flip Flop Sandals
Free Pattern - Part 2
Purchase the complete ad-free PDF with printable hole-poking ruler here.
Add this pattern to your Ravelry Favorites here.
Pin it for later here.
View Part 1 of the pattern here.
Supplies:
So you can spend more time making shoes and less time shopping, this pattern contains affiliate links at no extra cost to you.
• Lion Brand 24/7 Cotton – (186 yds/3.5 oz, yarn weight medium/4)
• MC: 1 ball Ecru
• Tapestry needle
• Size B [2.25 mm] crochet hook or size needed to fit through flip flop holes
• Size G [4.0 mm] crochet hook
• 1-2 printed copies of the “ruler” at end of printable pattern + tape (optional)
• 1 pair of flip flops (See pattern notes on selecting the shoe size in Part 1.)
• Sharp tool to poke holes (I use this clay tool. You can also try a skewer, thin drill bit or awl.)
• Sharp scissors
• Stitch markers
• Strong glue such as E6000 to glue strap plugs to sole (optional)
• 115” faux suede laces (optional. I’ve found real suede can discolor light colored yarn.)
• 12 wooden beads with hole large enough to accommodate laces (optional)
Joining Toe Circle
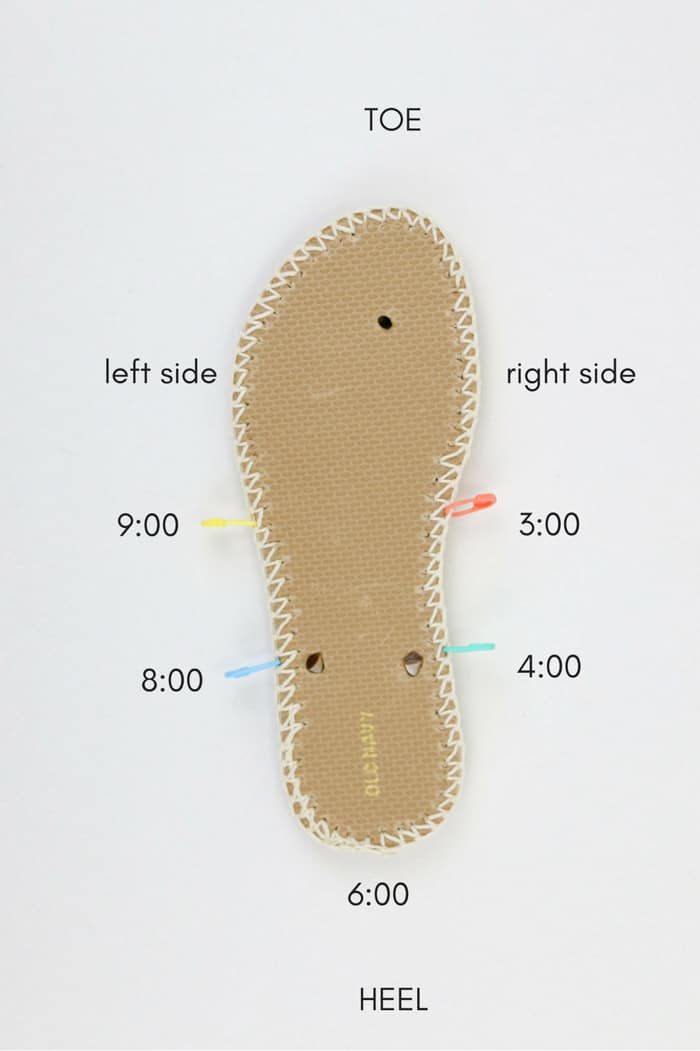
Using stitch markers, pin circle to toe edge as pictured below. Orient so that one ch4sp in the circle is at the center of the top of your foot. (Consequently, one ch4sp will be in the center of the toe section as well.)
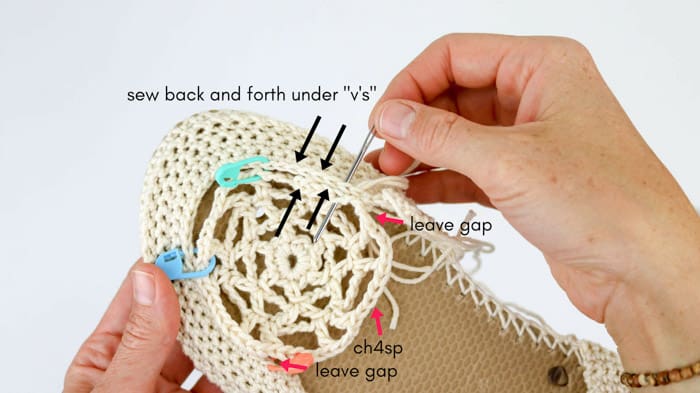
Leaving about ⅓ of an inch un-sewn at the beginning and end of the toe section, sew the edges of the circle and the toe together by going back and forth underneath the “v” shapes at the top of each edge. Sew one “v” from the toe section to one “v” of the circle. The small gaps will become the holes you thread the laces through.
Toe Edging
Using larger hook and one strand of MC, make a slip knot on hook. Insert hook at the 9:00 marked st of Foundation Round (3:00 marked st for left-handed crocheters) and slip stitch to attach yarn to the Foundation Round stitch where toe section begins. With WS facing, work Row 1 up side of toe section, over the exposed portion of the circle and back down the opposite side of toe section. Work over the tail of yarn as you go.
Notes: Left-handed crocheters, reverse mentions of left and right.
Row 1 (WS): Ch 1, work sc stitches evenly along side edge of toe section, work roughly 2 sc in each ch3sp and 3 sc in each ch4sp along top edge of circle, work sc stitches evenly along side edge of toe section, sl st into first empty sc on left side of sole; turn.
This should result in two small gaps between where the circle meets the toe section on either side, which will be where laces are threaded through. See the photo below.
Wanna save this pattern?
Row 2 (RS): Ch 1, sk first sl st, sl st in each sc to end of row, sl st into first empty sc on right side of sole.
Fasten off.
Heel Edging
Using larger hook and one strand of MC, make a slip knot on hook. Insert hook at the 8:00 marked st of Foundation Round (4:00 marked st for left-handed crocheters) and slip stitch to attach yarn to the Foundation Round stitch where heel section begins. With WS facing, crochet Row 1 over edge of existing heel section. Work over the tail of yarn as you go.
Notes: Left-handed crocheters, reverse mentions of left and right.
Row 1 (WS): Ch 1, work sc stitches evenly along side edge of heel section, at corner ch 3, work sc stitches in each sc along top edge of heel section, at corner ch 3, work sc stitches evenly along side edge of heel section, sl st into first empty sc on right side of sole; turn.
The extra chains should result in two small holes at the upper corners of the heel section, which will be where laces are threaded through. See photos directly above and below.
Row 2 (RS): Ch 1, sk first sl st, sl st in each sc and ch to end of row, sl st into first empty sc on left side of sole.
Fasten off. Remove markers.
Ankle Straps
There are two options for adding ankle straps. Choose whichever suits your style, or swap them out when you get bored!
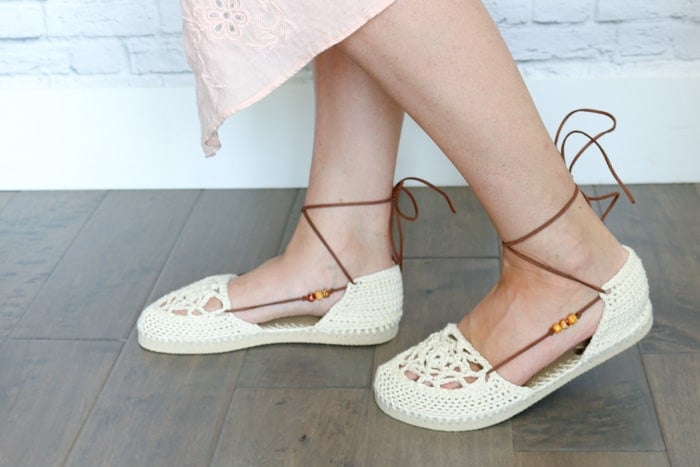
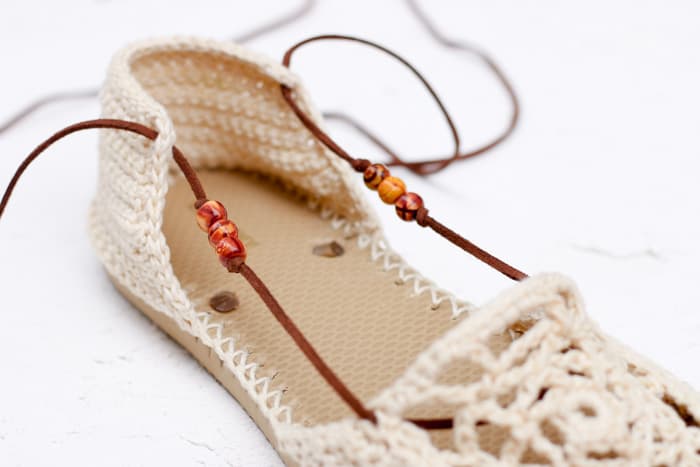
Leather Straps: Cut two 57” pieces of suede or faux suede laces. Thread laces as pictured in photo above, tying knots and adding beads as you desire.
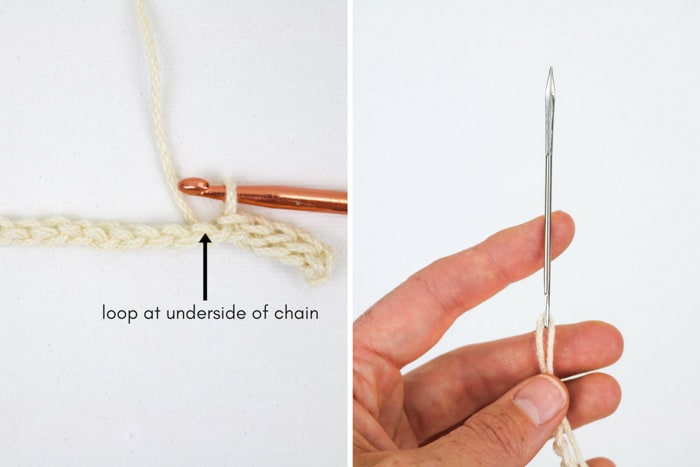
Crocheted Straps: Using larger hook and MC, make a 68” chain. Skip the first chain, sl st into the bottom “bump” of each chain to the end of the row. See photo below.
Finishing
Weave in any remaining ends with a tapestry needle. For shoe projects like this, I find it much easier to use a sharp tapestry needle like the one pictured above. If you know what this specific type of tapestry needle is called, please leave a comment below! Thank you!
Optional: If you plan to wear your new shoes out in the elements, glue the flip flop toe plug back into place in the toe using a glue like E6000.
Put on your new flip flop crochet sandals and head out to catch some dreams!
That was so fun! Now what?
Invitation to our Facebook group
Come discuss crocheting Dream catcher shoe patterns and lots of other crochet projects and techniques in our Make & Do Crew Facebook group. Here thousands of helpful crocheters answer each others questions and share their stitches. Come join us here.
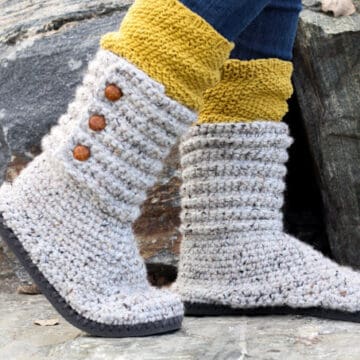
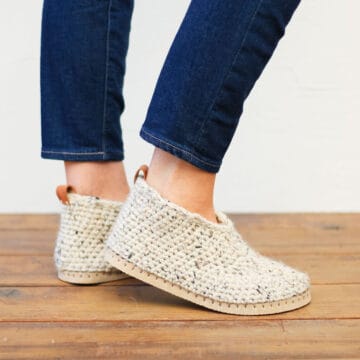
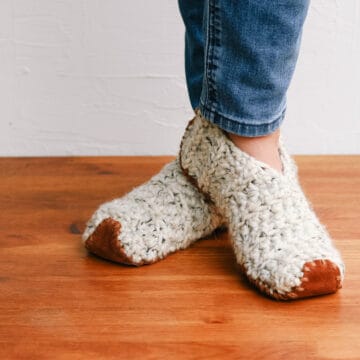
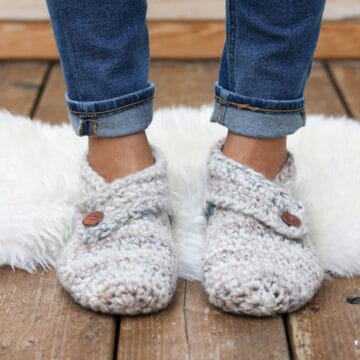
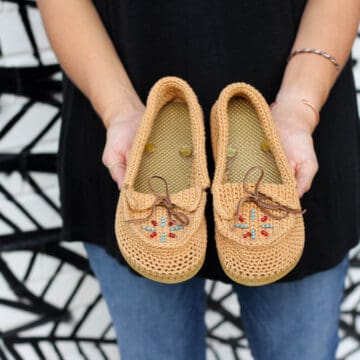
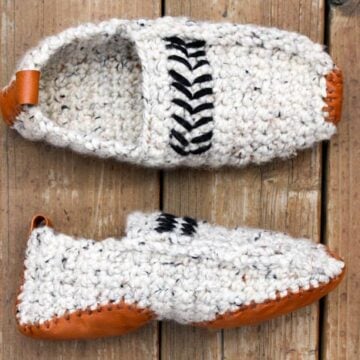
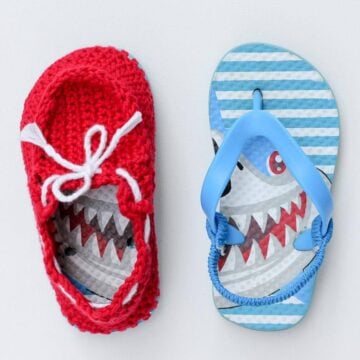
More Free Crochet Patterns Using Flip Flop Soles
- FAQS: How to Crochet on Flip Flops - and will they fall apart?
- Crochet Boots With Flip Flops Soles
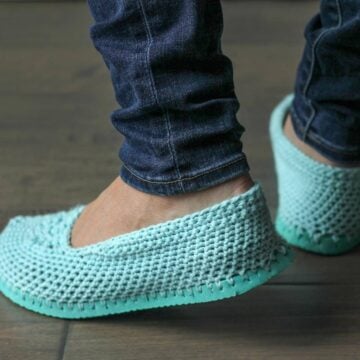
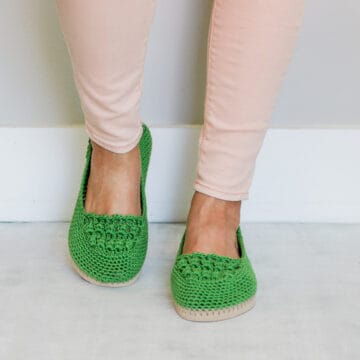
- Lightweight Crochet Slippers with Flip Flop Soles
- Free Crochet Ugg Boot Pattern
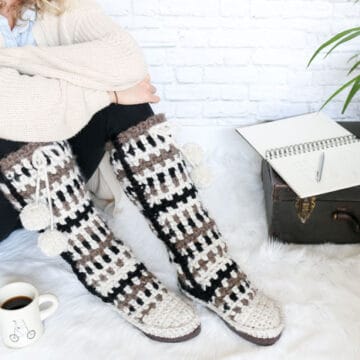
- Crochet Mukluk Slipper Pattern
- Crochet Slipper Boots Pattern
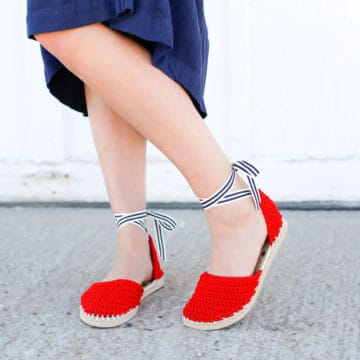
- Boho Crochet Sandals Pattern
- Crochet Beach Shoes Pattern
Now that you've finished your crochet flip flops sandals, here are more free boho crochet patterns to keep you busy:
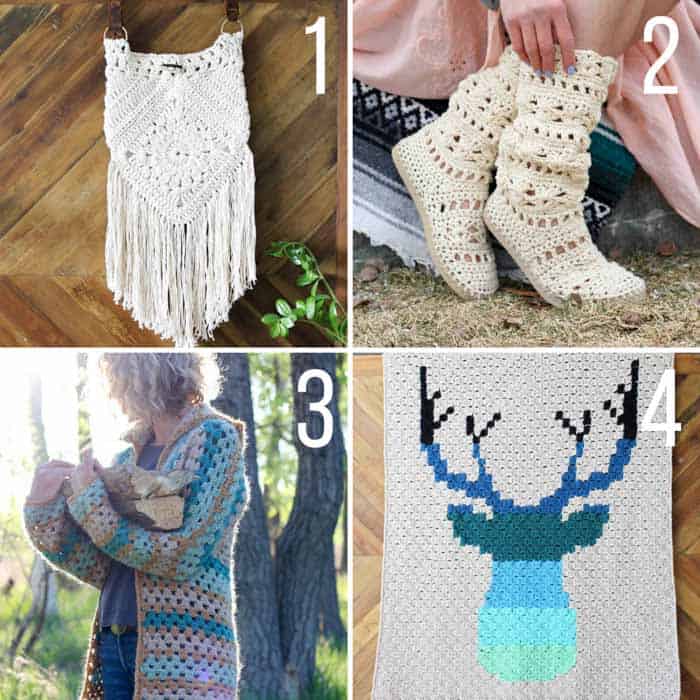
1. Urban Nomad Boho Bag
2. Coachella Boots with Flip Flop Soles
3. Campfire Cardigan
4. Be a Deer C2C Afghan




Kirsty says
Help, really struggling with the dream catcher circle- any tips please.
J. Atterbury says
This looks nice but I wonder if you can make this dream catcher design with a enclosed design---not open on the sides like your original summer slippers?
Michael wilkins says
I used to use the sack needles while working at a wool processing warehouse, I have a few left ln different Size's I now use them for upholstery and leatherwork, but will see ifI have a suitable one for making the sandals etc.
Barbara says
Hi, Jess,
My name is Barbara Smith and I saw that you were looking for what the name of the needle you were using in sewing your shoes made with flip flop soles is called. It is a SACK NEEDLE used in hand sewing grain sacks made with burlap and such. It is also used in leather and upholstery sewing and other heavy fabrics.. I hope this helps.
Barb
Jess @ Make and Do Crew says
Oh my gosh. Barbara! Thank you so much for this little piece of information! I'm so happy to know this answer!
Jess
Sophia says
Thank you so much for all of the amazing patterns! I made the 9:00 and 3:00 measurements too high up, so I had to skip a round on the circle. I also made a really, really long strap and laced it differently.
Thanks again!!
~Sophia
Sebesa Stohldrier says
Ooh now I have to make these too! And I'm still back on making granny hexagons. Now that is early fall, even though the weather doesn't think so, I wonder if you have a sneaker or sneaker bootie rattling around in that creative brain of yours. 🙂
Sebesa