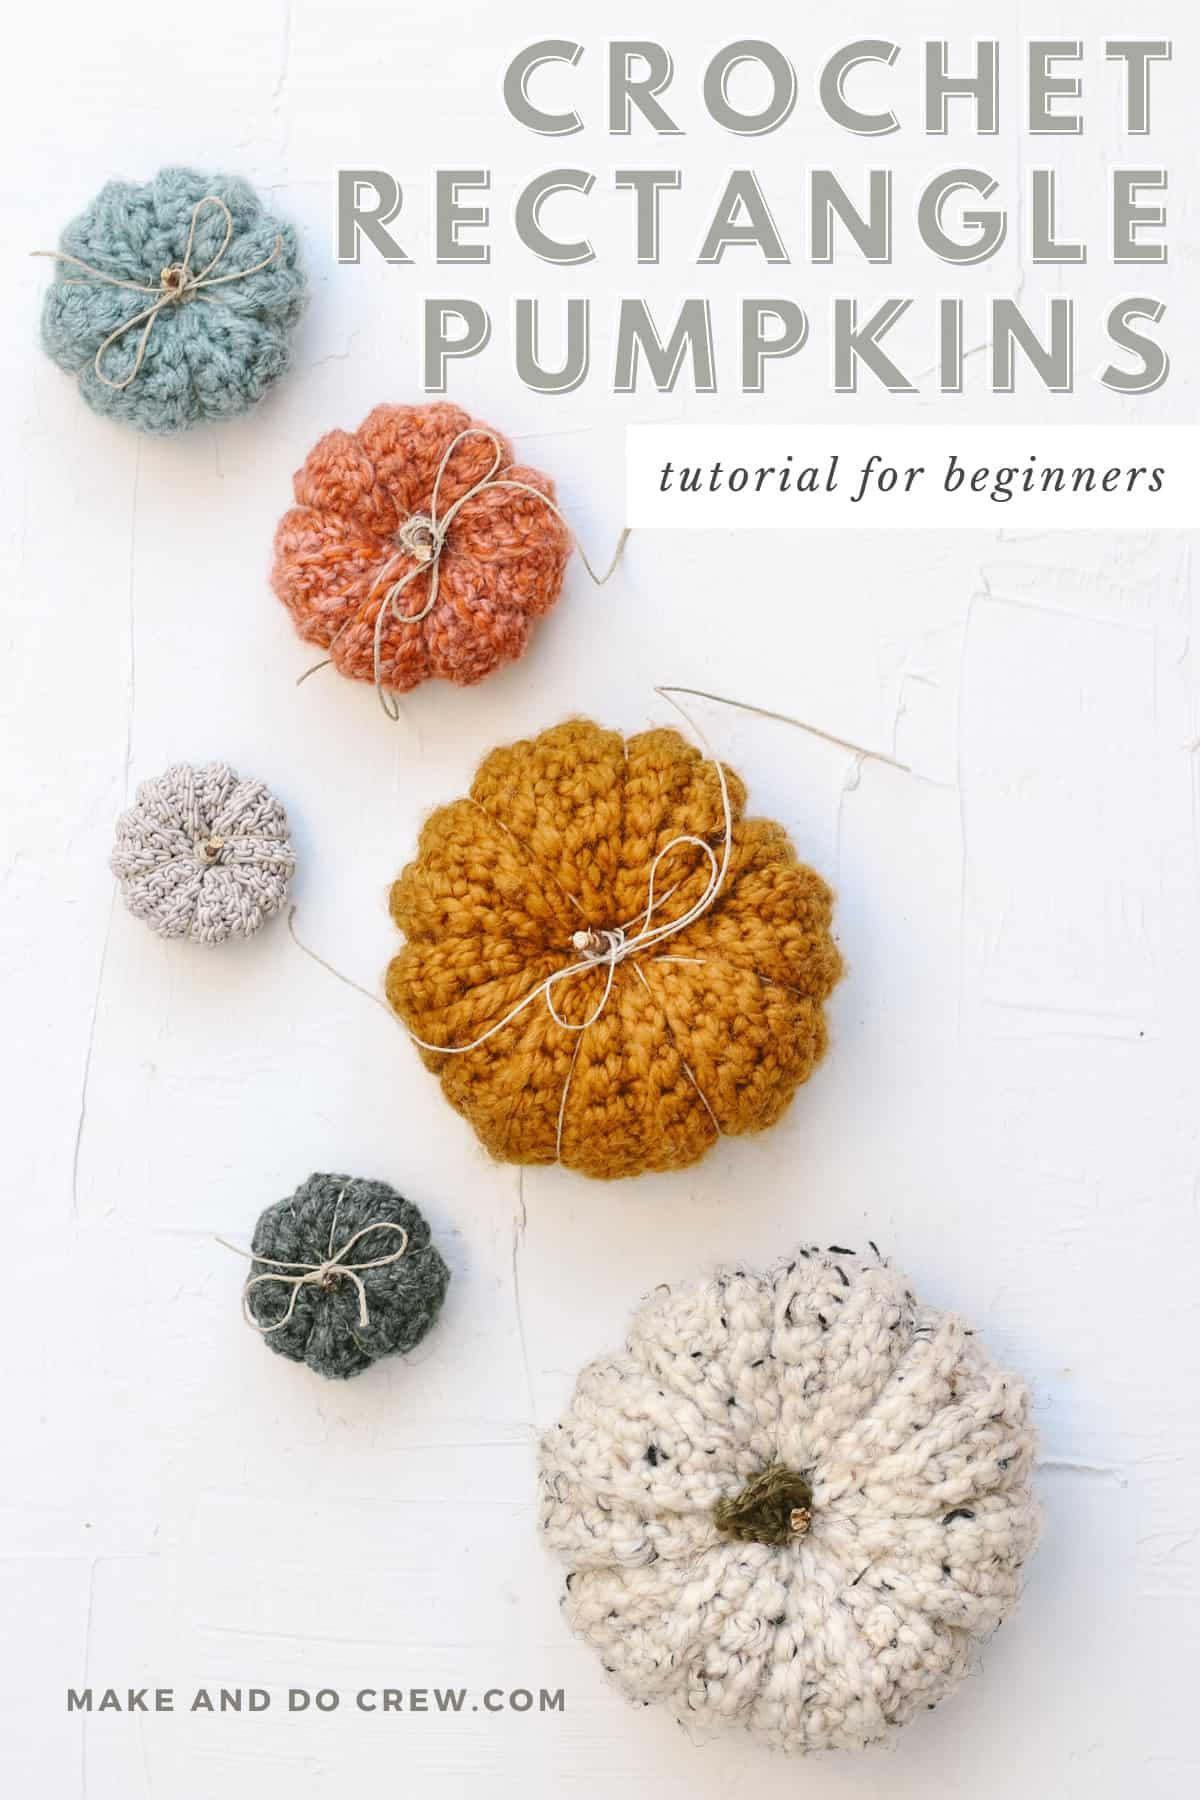
Learn how to crochet a pumpkin of any size using any weight yarn. This free crochet pumpkin pattern is as easy as crocheting a flat rectangle. Get the free pattern and video tutorial below or purchase the printable PDF here.
This free crochet pumpkin pattern is part of a collaboration with Lion Brand Yarns. This post contains affiliate links.
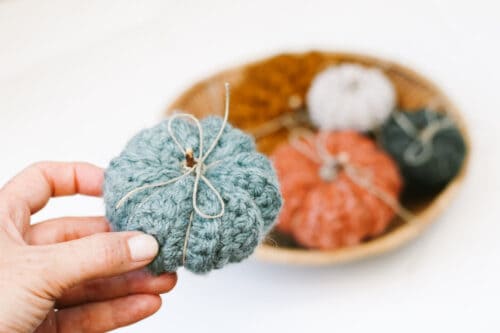
Knit and crochet pumpkins are a popular fall decor item in stores, but making your own is even more special. And in this case of this free crochet pumpkin pattern, it couldn't be easier!
If you know the single crochet stitch and can make a flat rectangle, you already know how to crochet a pumpkin! Make a bunch for your fall mantle decor or even to sell at holiday markets and craft fairs.
Totally new to crochet? TL Yarncrafts has a great beginner tutorial on how to single crochet.
Jump to:
- Free crochet pumpkin pattern
- Video tutorial
- Customizing your pumpkins
- How to decorate with crochet pumpkins
- Yarn + substitutions
- Additional materials
- Pumpkin crochet pattern printable PDF
- Step-by-step photo tutorial
- Abbreviations
- More Free Crochet Patterns for Fall
- Frequently asked questions
- How to Crochet a Pumpkin For Beginners
Why you'll love these pumpkins!
Free crochet pumpkin pattern
Instead of working in the round like some more difficult crochet pumpkin patterns, these pumpkins are made entirely from a flat crochet rectangle. This make them super easy and beginner-friendly.
You don't need to now how to crochet a magic circle, find the beginning of your round or count your stitches. Hooray!
If you're a more experienced crocheter, you'll be able to crochet an entire pumpkin in 15-25 minutes.
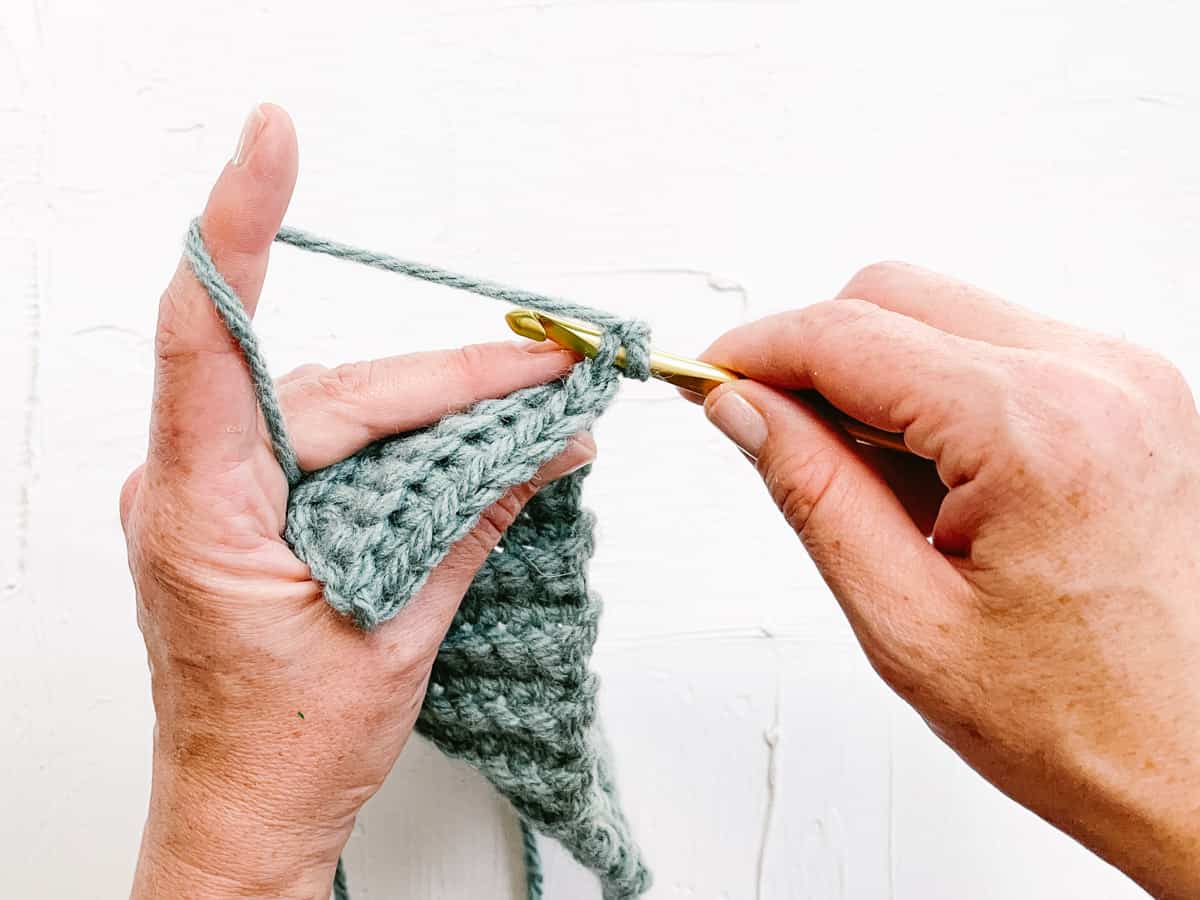
First you'll crochet a rectangle using single crochet stitches worked through the back loop.
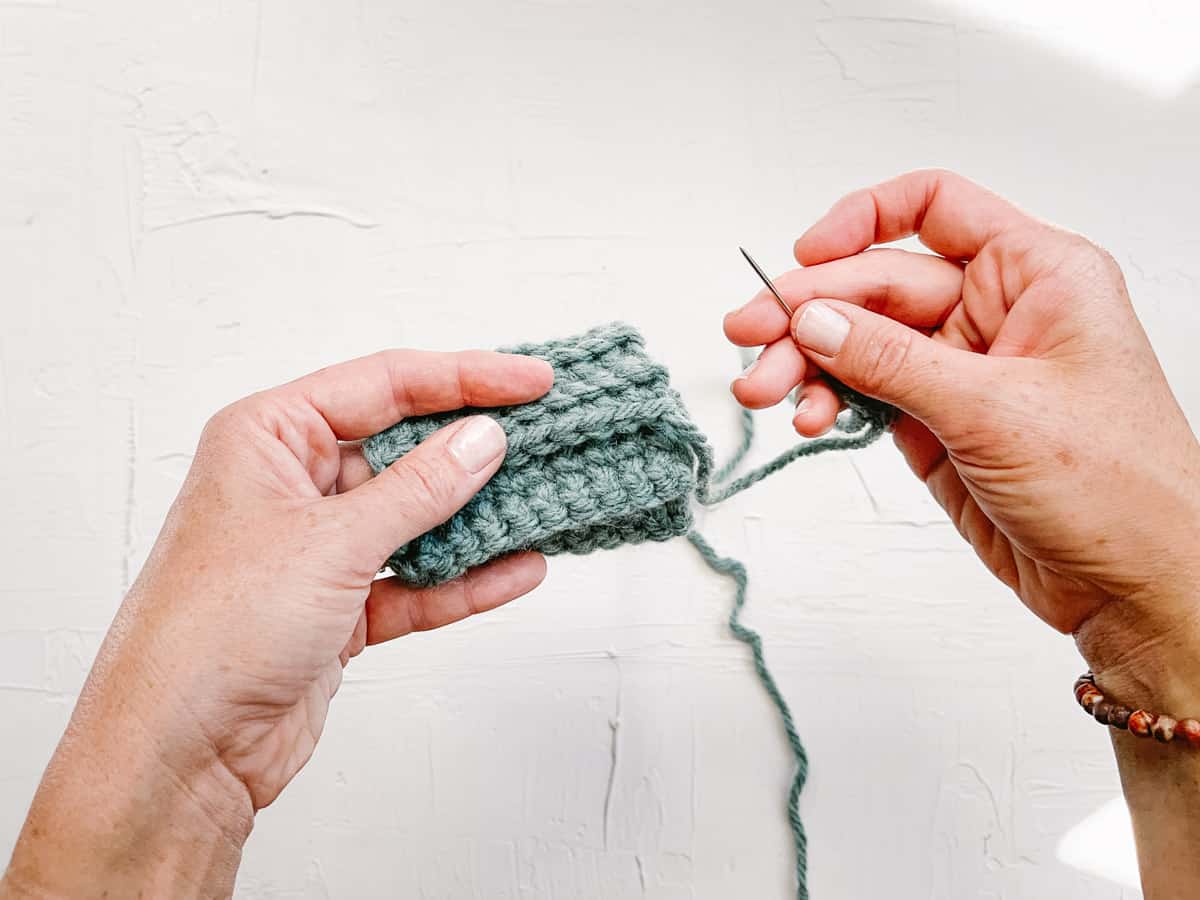
Next you'll seam the rectangle into a "tube."
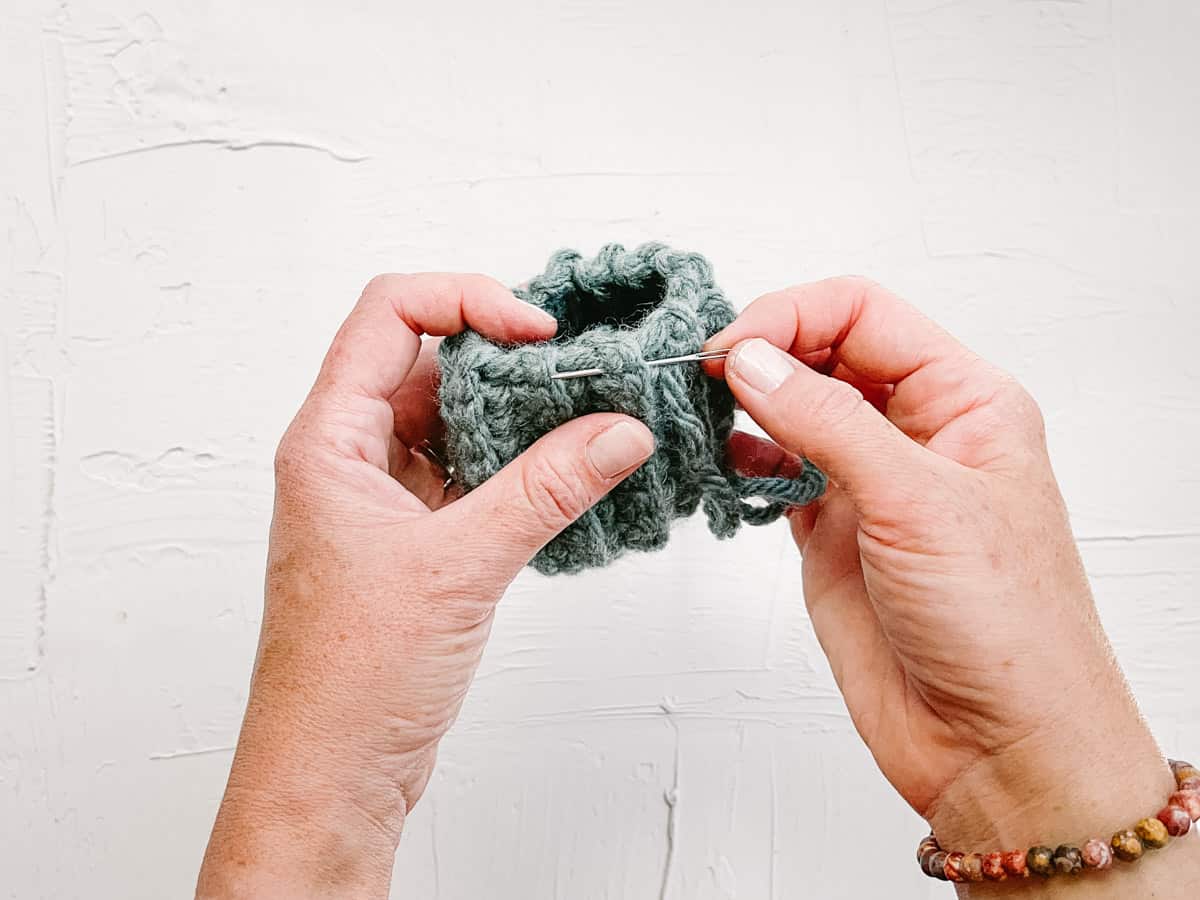
Then you'll cinch the bottom of the tube together, add stuffing and cinch the top in order to create a pumpkin shape.
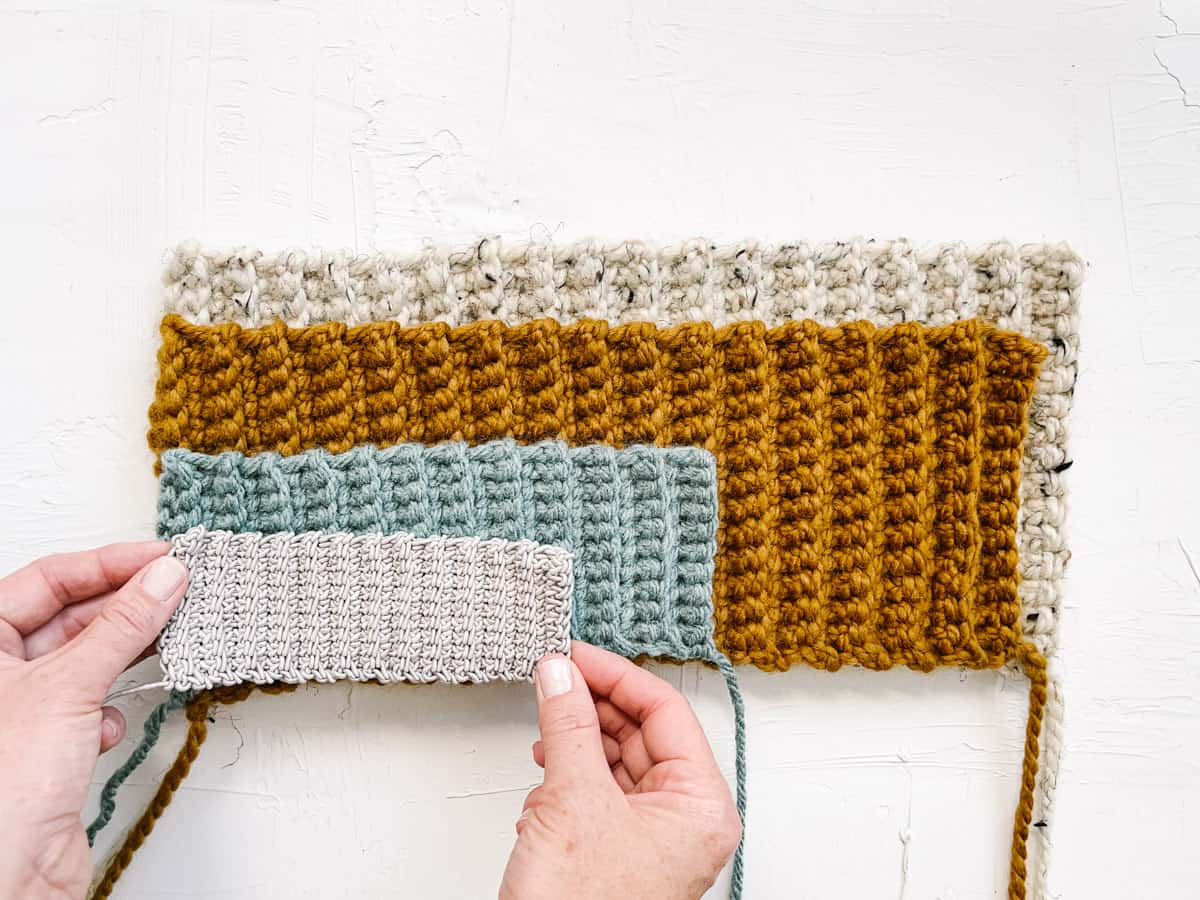
Crocheting a larger or smaller pumpkin is as simple as modifying the size of your crochet rectangle.
PUMPKIN SIZING TIP: When deciding the size of your crochet rectangle, you'll want the longer edge to measure approximately 2.5 times the length of the shorter (chain) edge.
For example, if the width of your rectangle rows is measuring 5", you'll want to crochet until the rectangle length is about 12.5" (5 x 2.5). Check out the tutorial below for more details.
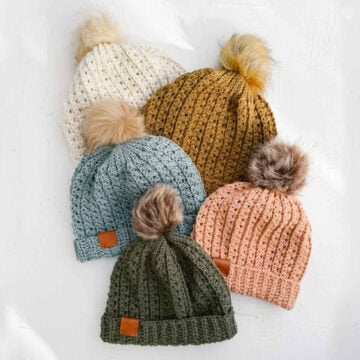
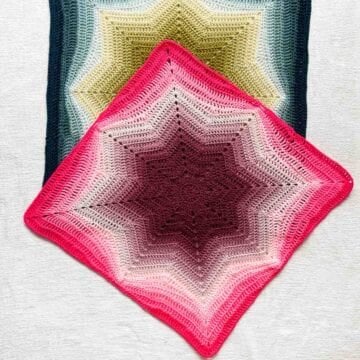
More patterns made from rectangles
Do you like to keep things nice and simple with your crochet projects? You'll love these other free patterns that are constructed from flat crochet rectangles.
Video tutorial
If you're still learning how to read crochet patterns, follow along with the step-by-step instructions in this video tutorial to crochet your pumpkins instead.
(If you have an ad-blocker running, you'll need to disable it to view the video tutorial.)
Customizing your pumpkins
There are endless ways to personalize your amigurumi pumpkins. Here are a few places to start. Once you're familiar with the pattern, you'll probably have even more ideas.
How to decorate with crochet pumpkins
Here are some ways to use your crochet pumpkins:
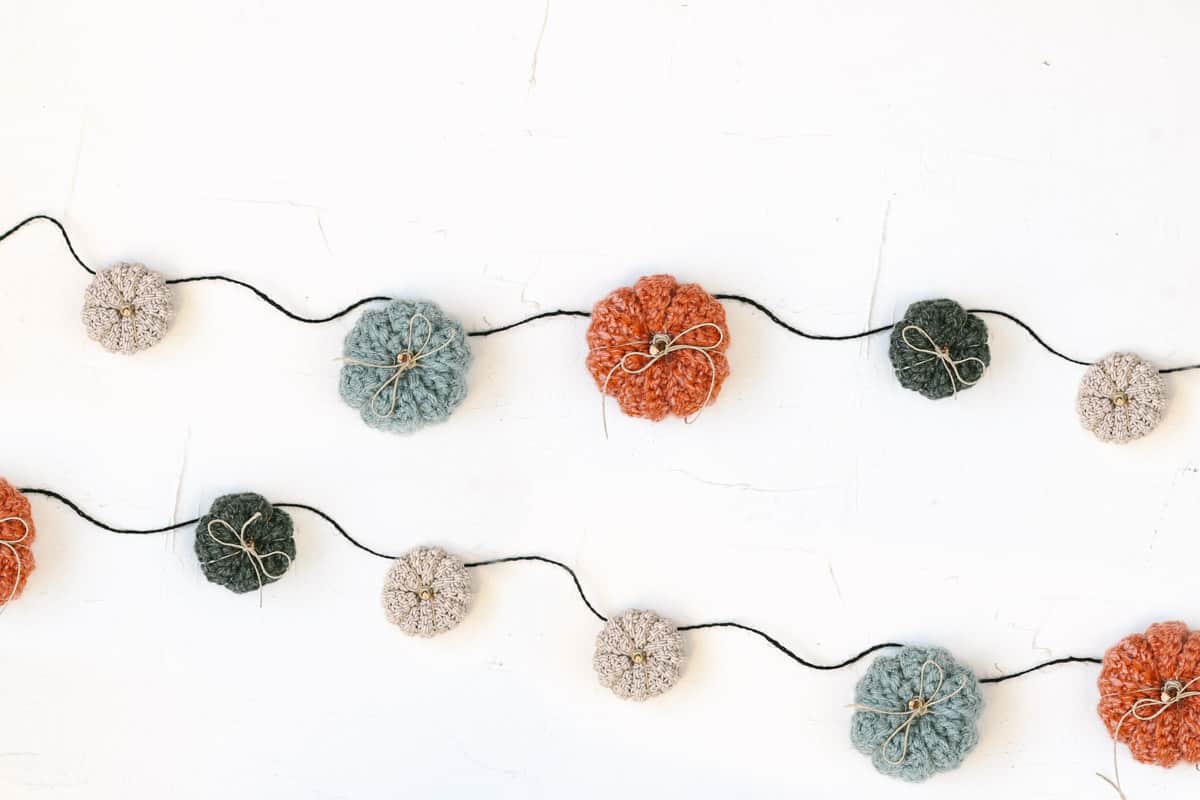
Pumpkin garland: Crochet several mini pumpkins and string them together on a strand of twine for an autumn garland idea.
Little pumpkin baby shower decoration: If you're looking for DIY decorations for a pumpkin-themed baby shower, these little guys will be your best friend.
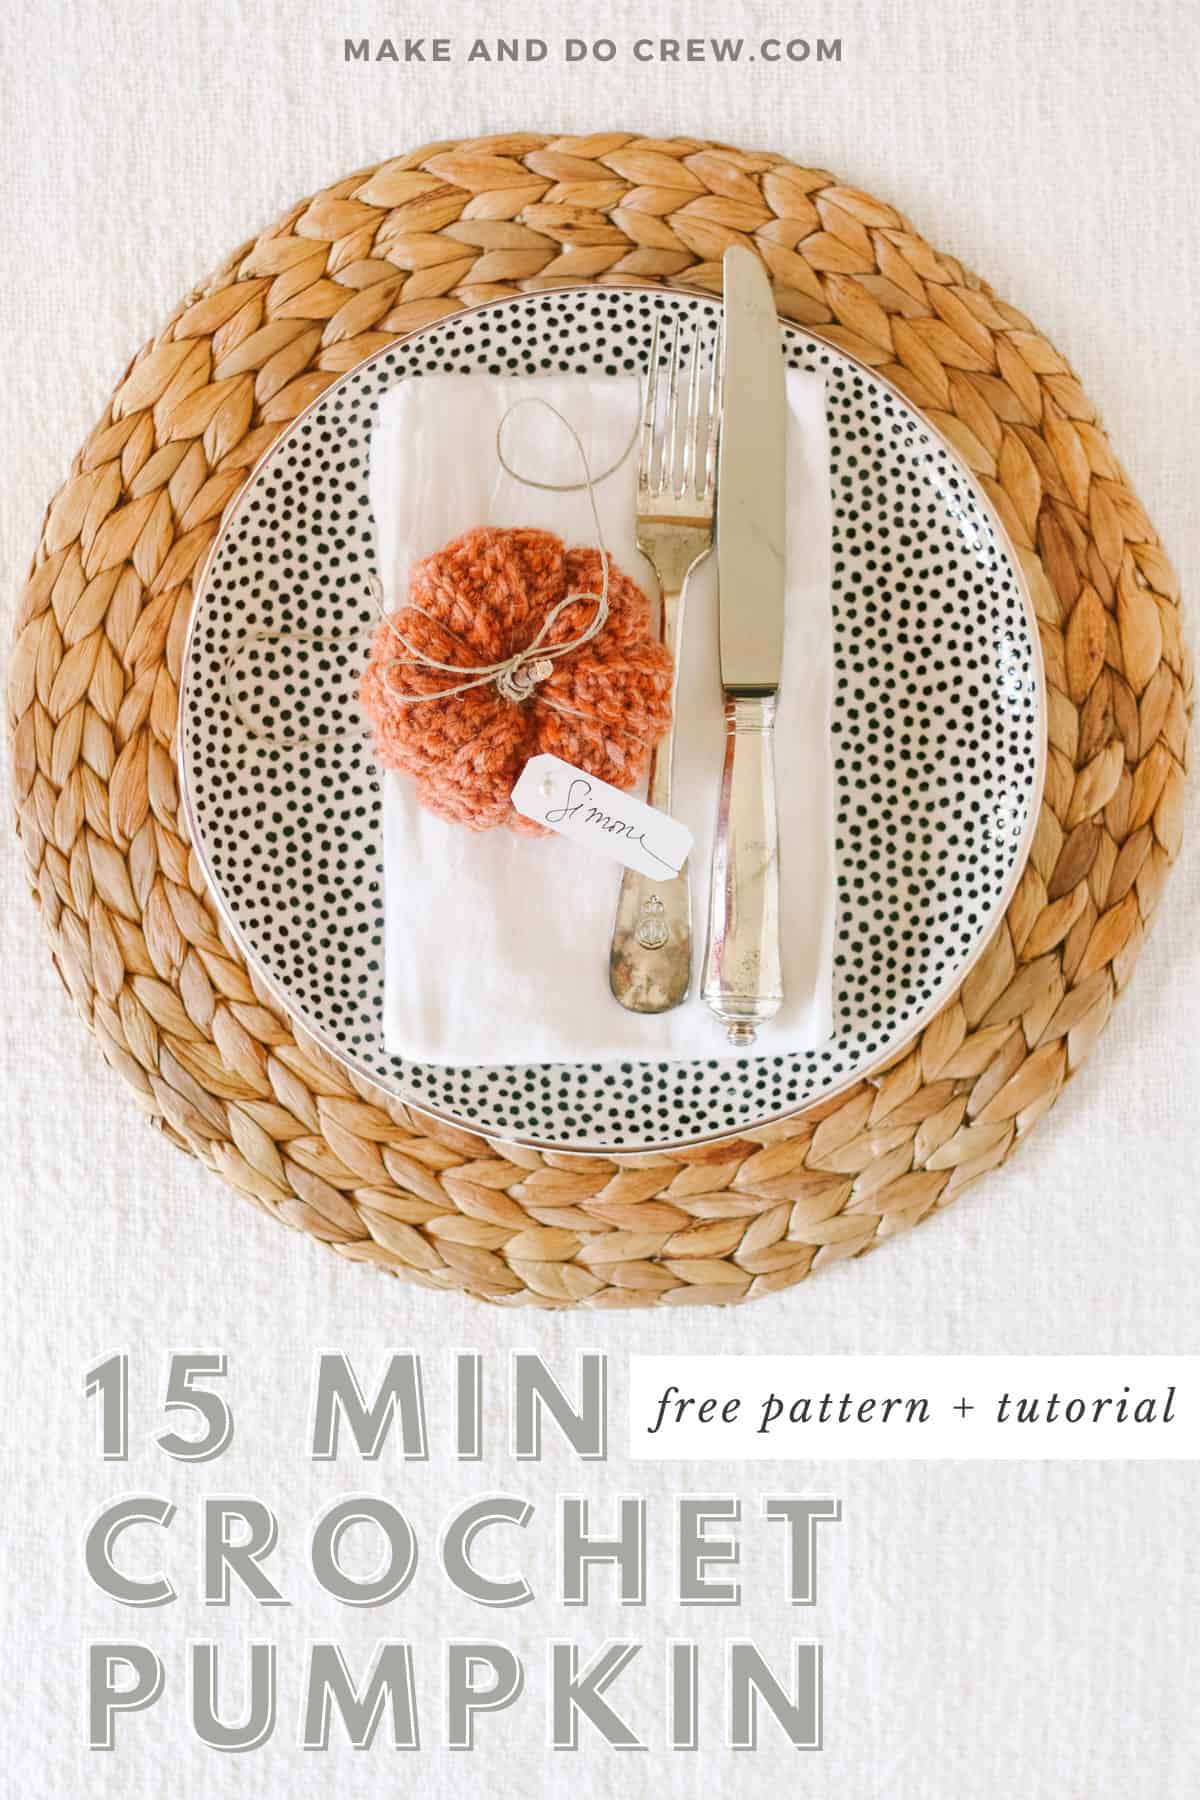
Thanksgiving or Halloween table decor: Pin a name tag to each pumpkin to add a rustic, handmade touch to your place settings.
Yarn + substitutions
One of the reasons these crochet pumpkins are an excellent stash buster is that you can use almost any yarn you have on hand.
- A thinner dk or sport weight yarn will create pumpkin with more delicate stitches.
- A chunky or super bulky weight yarn will make for a squishy ribbed pumpkin with lots of texture. Since you can modify the size of your pumpkins to be smaller or larger, you can even use a thick yarn for a small or medium pumpkin.
One suggestion for making chunky ribbed pumpkins quickly is to hold two strands of thinner yarn together. For example, two strands of worsted weight yarn held together will achieve about the same thickness as a chunky, category 5 yarn. Try combining two colors of yarn for a marled or tweed pumpkin.
RELATED: How to Shop Your Stash: The Best Patterns for Using the Yarn You Have

Additional materials
• Crochet hook one to two sizes smaller than listed on yarn label
• Scissors
• Fiber fill for stuffing pumpkins
Pumpkin crochet pattern printable PDF
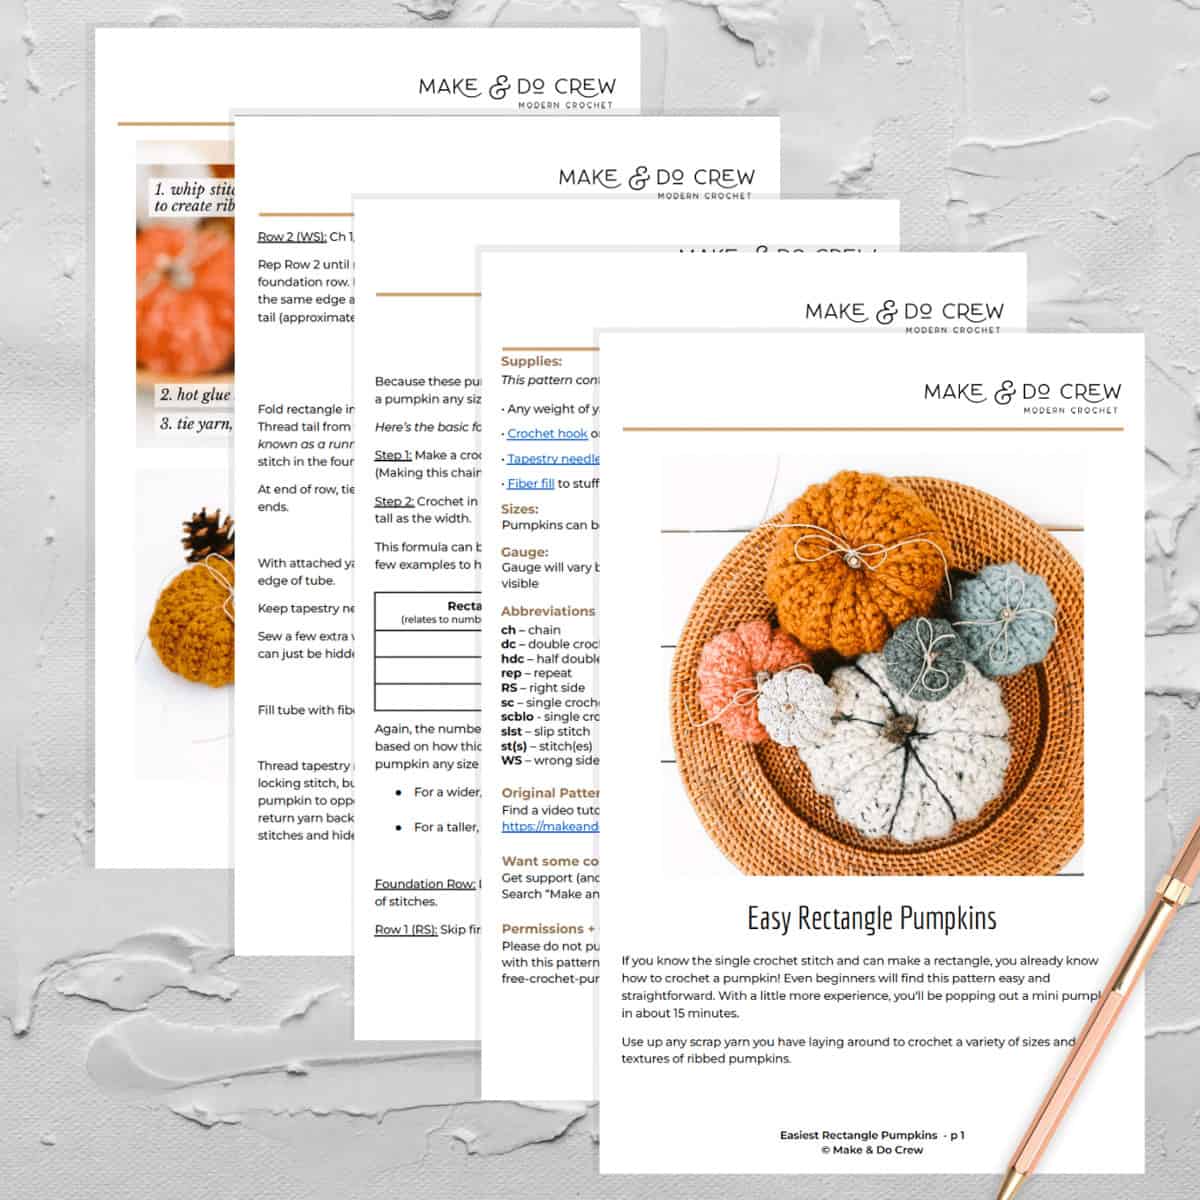
If you prefer a portable, easily printable pattern, you'll appreciate the premium PDF. The instantly downloadable, ad-free file is formatted for easy printing and includes the complete pattern and all the photo tutorials to crochet pumpkins to your heart's content.
Upgrade to the premium PDF
Formatted for easy printing.
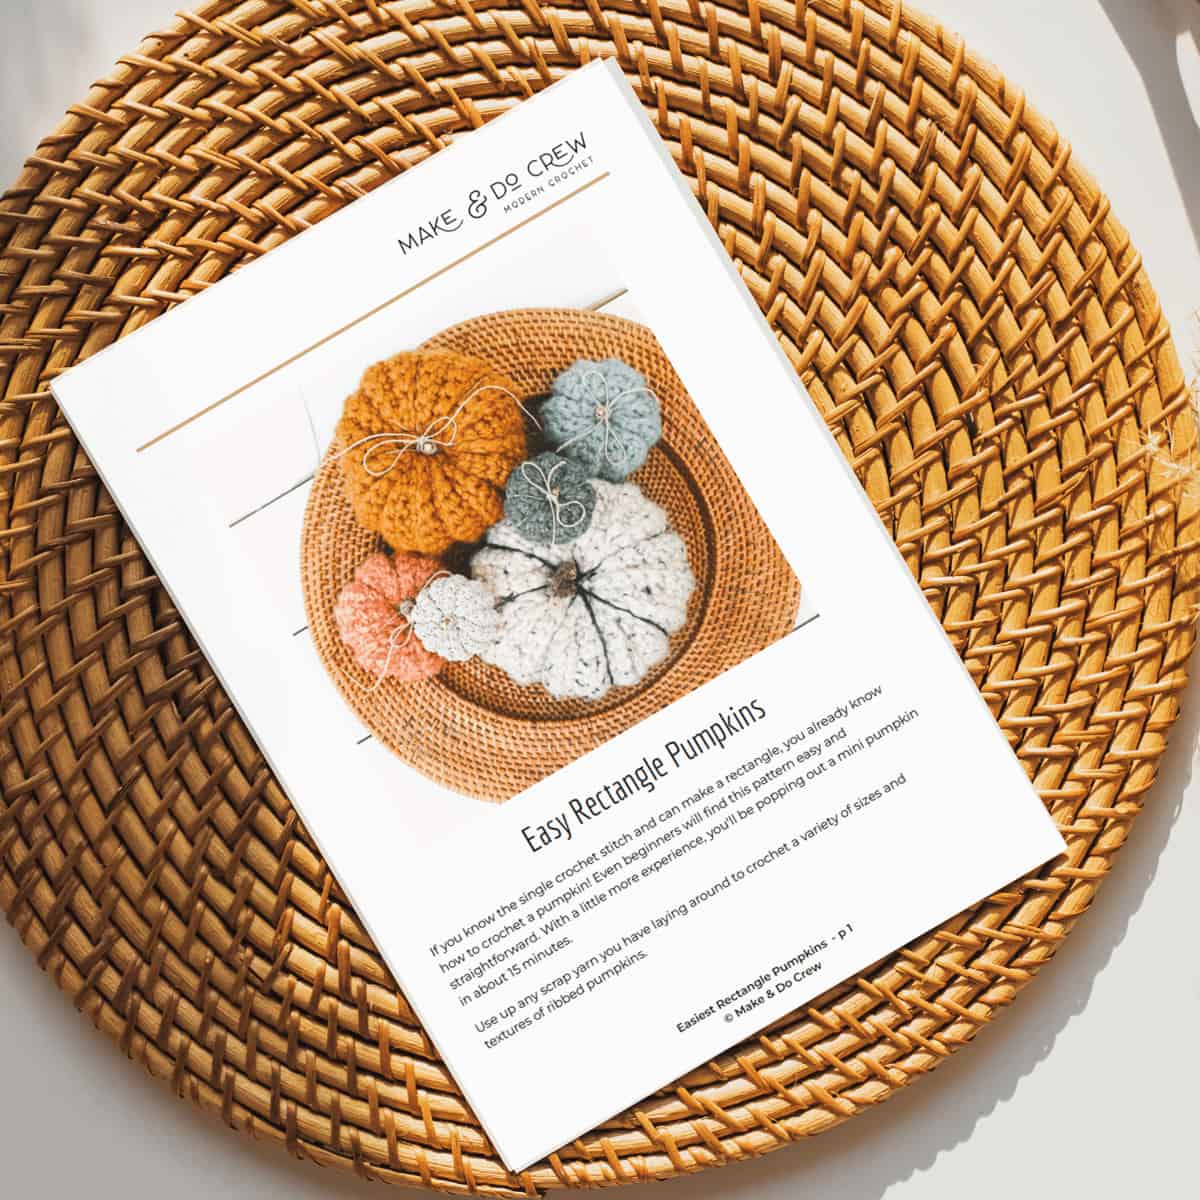
Purchase the ad-free PDF to receive an instantly-downloadable version of this pattern and tutorial.
Step-by-step photo tutorial
Measurements:
Customizable based on rectangle size.
Gauge:
Gauge doesn't matter when crocheting these pumpkins, although it's important to keep stitches tight so fiber fill doesn't show through holes in fabric.
Permissions + Copyright:
Please do not publish or share this pattern as your own. You may make items to sell with this pattern. In exchange, please link back this post. Do NOT use our photos as your own sales photos.
Abbreviations
US Terms:
ch – chain stitch
dc – double crochet stitch
hdc – half double crochet stitch
rep – repeat
sc – single crochet stitch
scblo - single crochet through the back loop only
slst – slip stitch
st(s) – stitch(es)
Special Stitches:
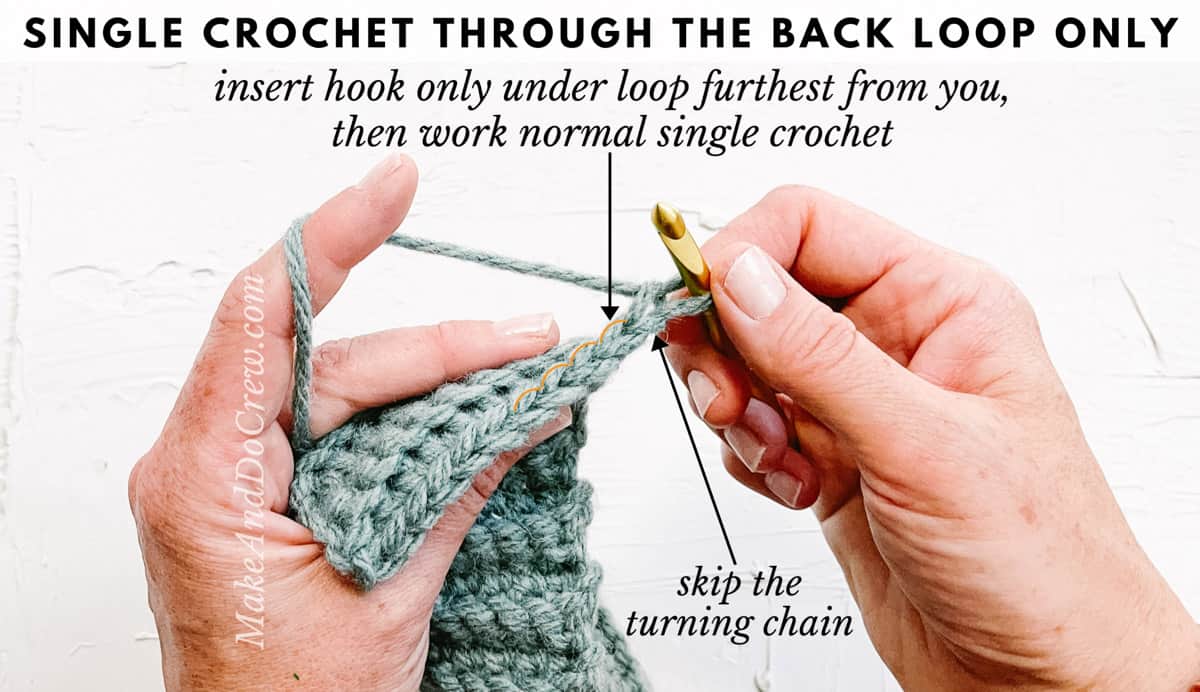
Single crochet through the back loop only: insert hook under loop furthest away from you only. Complete typical single crochet.
(Note: Because you'll turn your work at the end of each row, the loop furthest away from you will alternate from row to row.)
Wanna save this pattern?
Print the premium pattern!
Main Rectangle
Choosing a pumpkin size:
Because these pumpkins are made from a crochet rectangle, you can easily crochet a pumpkin any size you wish.
Here’s a summary of how to crochet a pumpkin:
Step 1: Make a crochet chain slightly longer than you’d like the rectangle width to be. (Making this chain longer or shorter will result in a taller or shorter pumpkin.)
Step 2: Crochet in back and forth in rows until your rectangle height is 2.5 times as tall as the width. This formula can be used for any length of chain and any thickness of yarn. Here are a few examples to help the math make sense:
| Rectangle Width (relates to number of stitches across row) | Rectangle Height (relates to how many rows tall your rectangle is) |
| 2” | 5” (which is 2 x 2.5) |
| 4” | 10 (which is 4 x 2.5) |
| 6” | 15 (which is 6 x 2.5) |

Again, the number of chains in the foundation and the number of total rows will vary based on how thick your yarn is. Follow this simple formula above to crochet a pumpkin any size you wish.
- For a wider, squattier pumpkin, aim for a length about 3 times the width.
- For a taller, slimmer pumpkin, aim for a length about 2-2.25 times the width.
Written rectangle instructions:
Foundation Row: Leaving an extra long tail at beginning of slip knot, ch any number of stitches.
Row 1 (RS): Skip first ch, sc in each ch to end of row; turn.
Row 2 (WS): Ch 1, sc through the back loop only of each st to end of row; turn.
Repeat Row 2 until rectangle height measures approximately 2.5 times the width of the foundation row. End with a right side row, meaning the working yarn should be on the same edge as the tail from the foundation chain.
Fasten off leaving an extra long tail (approximately 3x rectangle length).
✨Unlock this free subscriber-exclusive pattern ✨
Follow these steps to view the full free pattern below
Forming Pumpkin
1. Sewing rectangle into tube:
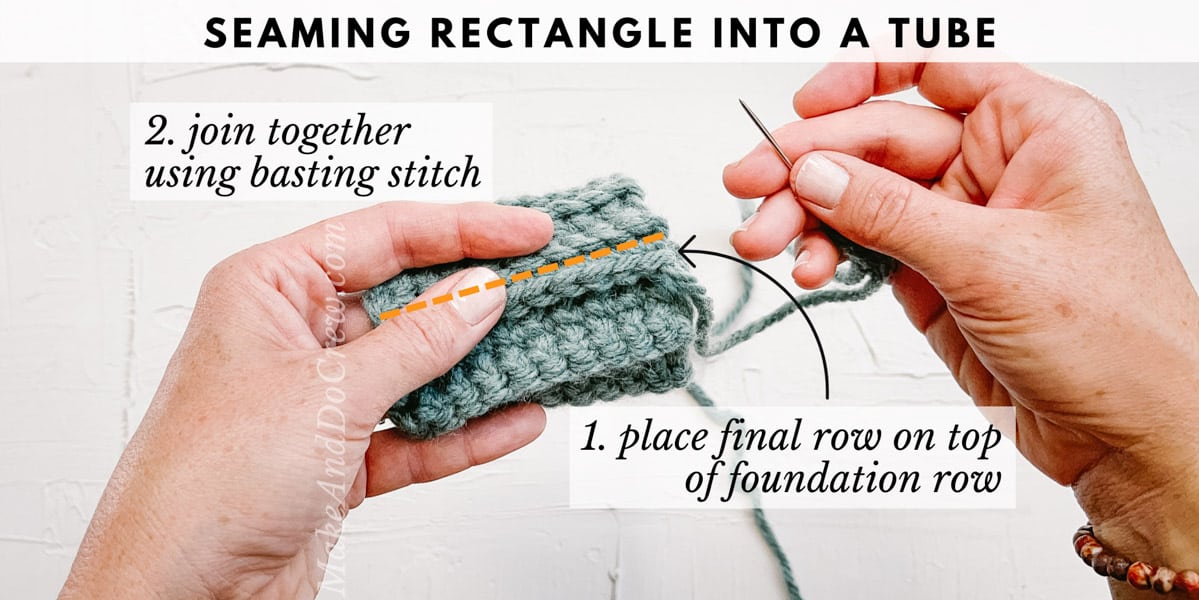
Fold rectangle into a tube by placing final row of rectangle over foundation row. Thread tail from fastening off onto a tapestry needle. Use a basting stitch (also known as a running stitch) to seam each stitch of the final row to the corresponding stitch in the foundation row.
At end of row, tie a locking stitch to secure yarn before moving onto closing pumpkin ends.
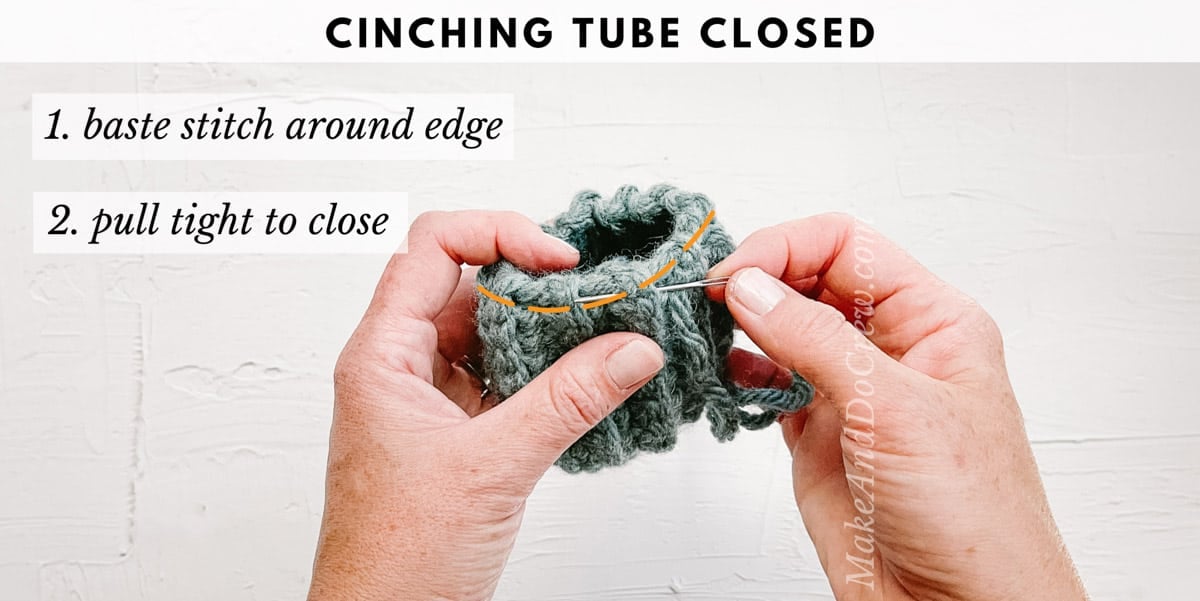
2. Sewing tube closed:
With attached yarn and tapestry needle, use a basting/running stitch to sew around edge of tube.
Keep tapestry needle attached and pull yarn to tighten tube until closed.
Sew a few extra whip stitches to disguise the small hole at the center. Fasten off. Tail can just be hidden inside pumpkin.
3. Stuffing pumpkin:
Fill tube with fiber fill until it’s packed pretty full.
4. Closing opposite side of tube:
Thread tapestry needle with remaining yarn tail. Repeat step 2 to close tube. Tie a locking stitch, but do not fasten off. Insert tapestry needle through center of pumpkin to opposite side of tube. Pull yarn tightly to “flatten” pumpkin a bit, then return yarn back through pumpkin one more time.
Tie off with several locking stitches and hide yarn tail inside pumpkin before fastening off.
Finishing
1. Creating sections:
This step is optional. Thread a long strand of yarn or jute on a tapestry needle. Insert needle through center of pumpkin and pull through until an 8-10” remains outside pumpkin.
Loop yarn around pumpkin and reinsert needle in center of pumpkin. Repeat this process 6-8 times to create even “slices” around pumpkin.
Finish by pulling yarn out top and tying in a knot to beginning tail.
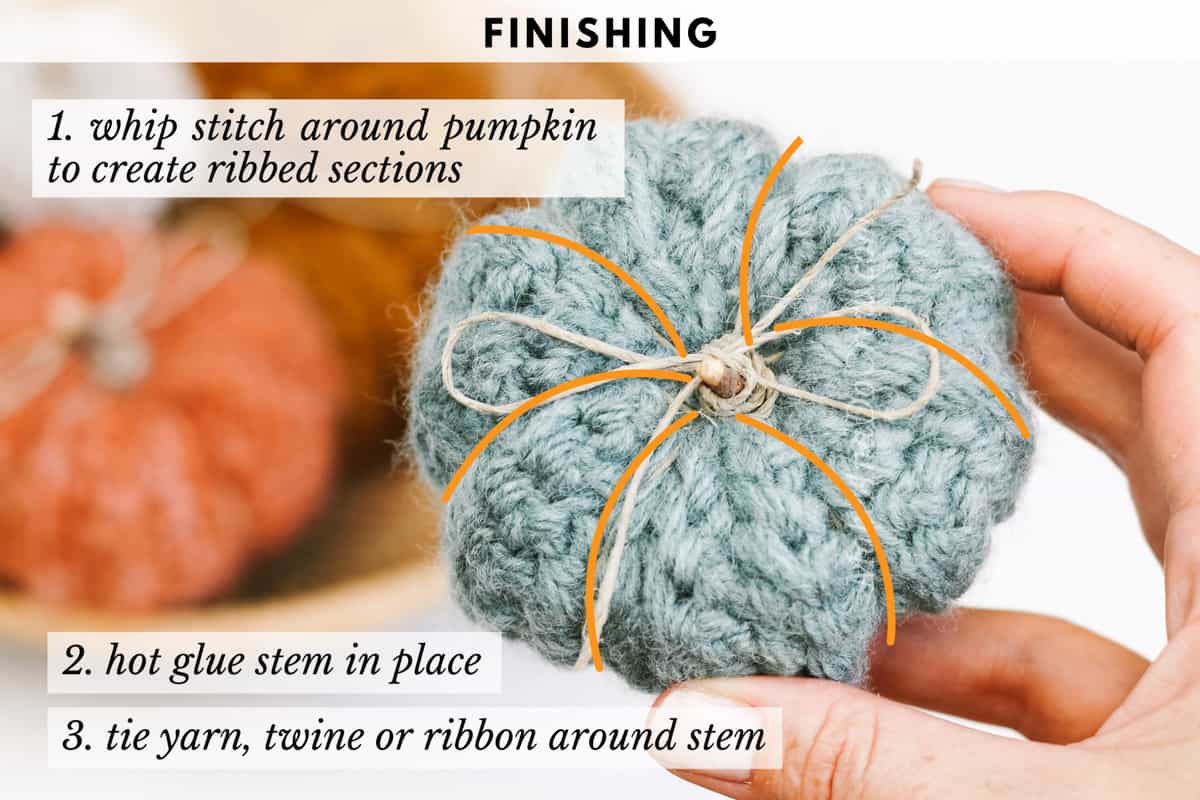
2. Pumpkin stem:
Cut a small twig or cinnamon stick to the desired length of your step.
Place a dollop of hot glue in center of pumpkin top and insert stem in glue. Carefully wrap yarn/jute around stem a few times and press down to disguise any hot glue. Tie in a bow if desired.
For a crocheted stem, follow this Roman cord tutorial.
3. How to crochet a pumpkin leaf:
Adding a pumpkin leaf is optional.
Step 1 - Foundation Row: Ch 6.
Step 2 - First Side of Leaf: Sk first ch, sc, hdc, dc, hdc, sc, slst into side of sc, slst in first ch to transition yarn to opposite side of foundation chain..
Step 3 - Second Side of Leaf: Continue by working into opposite side of foundation chain. Sc in first ch, hdc, dc, hdc, sc, slst to first sc of first side of leaf. Fasten off and weave in end.
Step 4 - Use tail from foundation chain and tapestry needle to attach leaf to pumpkin near the stem.
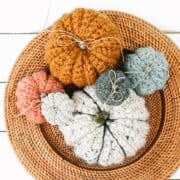
Bet you can’t stop at just one of these cute little pumpkins! Make a bunch of smaller and larger pumpkins until you have a whole pumpkin patch!
Want some company while you crochet?
Get support (and camaraderie!) in the Make & Do Crew community. Join for free here.
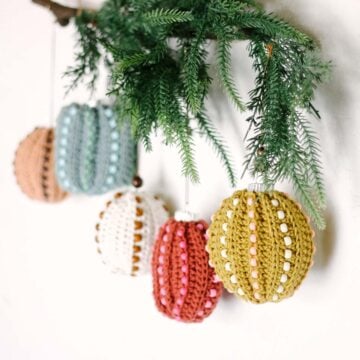
More Free Crochet Patterns for Fall
Here are a few crochet autumn patterns makers love and we think you will too!


Frequently asked questions
The easiest way for beginners to crochet a pumpkin is to make a flat rectangle. One the rectangle is complete, you'll seam the short ends together to create ta tube. Then you will use a tapestry needle and yarn to cinch the bottom of the tube together, stuff the pumpkin "bowl" with fiber-fill and again use a tapestry needle to cinch the top of the pumpkin together. Lastly, you can use a twig to add a wooden pumpkin stem and tie a piece of jute around it for a rustic touch.
Yes, because this pumpkin pattern is made entirely from a crochet rectangle, it's a perfect first crochet project. Don't give up if your stitch tension is inconsistent at first. Crochet a few practice pieces if necessary until you get the hang of crocheting an even rectangle to create your pumpkin.
Yes! Part of the beauty of this very easy crochet pumpkin pattern is that you can substitute any stitch you'd like to crochet your rectangle. As with all amigurumi, you want to choose a tighter, closed stitch so that the fiber fill doesn't show through gaps between the stitches. Herringbone double crochet, the basketweave stitch or Tunisian simple stitch (Tss) would all make great options.
Plaid crochet pumpkins are the perfect farmhouse style Halloween decoration. Meg Made with Love has a step-by-step tutorial that will show you how to crochet a black and white plaid pumpkin. 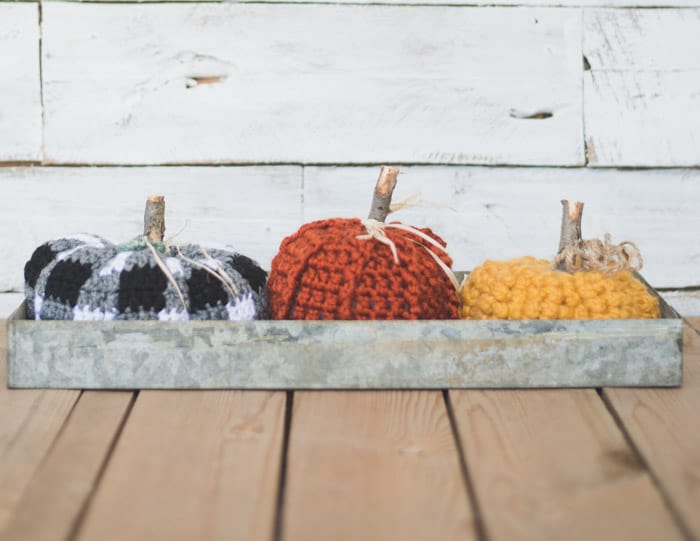
Meg Made With Love shared the following guest pattern with Make & Do Crew. (Pictured above as the yellow pumpkin.) If you'd prefer to crochet in the round, try this pattern.
*all stitches worked through the back loop only
Round 1: Make magic circle, ch 1, work 8 sc into circle, join to first st of round with sl st (8)
Round 2: ch 1, 2sc into every st around, join to first st of round with sl st (16)
Round 3: ch 1, sc around, join to first st of round with sl st (16)
Round 4: ch 1, [2sc, sc] around, join to first st of round with sl st (24)
Round 5: ch 1, sc around, join to first st of round with sl st (24)
Round 6: ch 1, [2sc, sc, sc] around, join to first st of round with sl st (32)
Rounds 7-10: ch 1, sc around, join to first st of round with sl st (32)
Round 11: ch 1, [sc2tog, sc, sc] around, join to first st of round with sl st(24)
Round 12: ch 1, sc around, join to first st of round with sl st (24)
Round 13: ch 1, [sc2tog, sc] around, join to first st of round with sl st (16)
Round 14: ch 1, sc around, join to first st of round with sl st (16) ***After this row is complete stuff your pumpkin with plenty of polyfill***
Round 15: ch 1, sc2tog around, join to first st of round with sl st (8)
Round 16: ch 1, sc2tog around, sl st across the opening hole to the opposite side of where hook is to close the pumpkin
Fasten off leaving a very long tail to finish the pumpkin. Follow the finishing instructions in the flat pumpkin tutorial above.
How to Crochet a Pumpkin For Beginners
Materials
Yarn
- Any weight of yarn can be used orange, tweed, anything you'd like!
Additional Materials
- Crochet hook one to two sizes smaller than what's listed on yarn label
- Tapestry needle
- Fiber fill to stuff pumpkins
Abbreviations + Glossary (US Terms)
- ch – chain
- dc – double crochet
- hdc – half double crochet
- rep – repeat
- RS – right side
- sc – single crochet
- scblo - single crochet through the back loop only
- slst – slip stitch
- st(s) – stitch(es)
- WS – wrong side
Abbreviations and Glossary (US Terms):
Want some company while you crochet?
Get support (and camaraderie!) in the Make & Do Crochet Crew Facebook Group. Search “Make and Do Crochet Crew” on Facebook.com.
Permissions + Copyright
Please do not publish or share this pattern as your own. You may make items to sell with this pattern. In exchange, please link back to this page. Do NOT use my photos as your own sales photos.
Overall Pattern Notes
Instructions
Choosing a pumpkin size:
- Because these pumpkins are made from a crochet rectangle, you can easily crochet a pumpkin any size you wish.
- Here’s the basic formula:
- Step 1: Make a crochet chain slightly longer than you’d like the rectangle width to be. (Making this chain longer or shorter will result in a taller or shorter pumpkin.)
- Step 2: Crochet in back and forth in rows until your rectangle height is 2.5 times as tall as the width.

- The number of chains in the foundation and the number of total rows will vary based on how thick your yarn is.
- * For a wider, squattier pumpkin, aim for a length about 3 times the width.
- * For a taller, slimmer pumpkin, aim for a length about 2-2.25 times the width.

Written rectangle instructions:
- Foundation Row: Leaving an extra long tail at beginning of slip knot, ch any number of stitches.
- Row 1 (RS): Skip first ch, sc in each ch to end of row; turn.
- Row 2 (WS): Ch 1, sc through the back loop only of each st to end of row; turn.
- Rep Row 2 until rectangle height measures approximately 2.5 times the width of the foundation row. End with a right side row, meaning the working yarn should be on the same edge as the tail from the foundation chain. Fasten off leaving an extra long tail (approximately 3x rectangle length).
Forming pumpkin:
- Joining rectangle into tube: Fold rectangle into a tube by placing final row of rectangle over foundation row. Thread tail from fastening off onto a tapestry needle. Use a basting stitch (also known as a running stitch) to seam each stitch of the final row to the corresponding stitch in the foundation row. At end of row, tie a locking stitch to secure yarn before moving onto closing pumpkin ends.
- Closing tube: With attached yarn and tapestry needle, use a basting/running stitch to sew around edge of tube. Keep tapestry needle attached and pull yarn to tighten tube until closed. Sew a few extra whip stitches to disguise any slight opening at center. Fasten off. Tail can just be hidden inside pumpkin.
- Stuffing pumpkin: Fill tube with fiber fill until it’s packed pretty full.
- Closing opposite side of tube: Thread tapestry needle with remaining yarn tail. Repeat step 2 to close tube. Tie a locking stitch, but do not fasten off. Insert tapestry needle through center of pumpkin to opposite side of tube. Pull yarn tightly to “flatten” pumpkin a bit, then return yarn back through pumpkin one more time. Tie off with several locking stitches and hide yarn tail inside pumpkin before fastening off.


Finishing:
- Creating sections: This step is optional. Thread a long strand of yarn or jute on a tapestry needle. Insert needle through center of pumpkin and pull through until an 8-10” remains outside pumpkin. Loop yarn around pumpkin and reinsert needle in center of pumpkin. Repeat this process 6-8 times to create even “slices” around pumpkin. Finish by pulling yarn out top and tying in a knot to beginning tail.

- Stem: Cut a small twig or cinnamon stick to the desired length of your step. Place a dollop of hot glue in center of pumpkin top and insert stem in glue. Carefully wrap yarn/jute around stem a few times and press down to disguise any hot glue. Tie in a bow if desired.
How to crochet a pumpkin leaf:
- This step is optional.
- Foundation Row: Ch 6.
- First Side of Leaf: Sk first ch, sc, hdc, dc, hdc, sc, slst into side of sc, slst in first ch to transition yarn to opposite side of foundation chain..
- Second Side of Leaf: Continue by working into opposite side of foundation chain. Sc in first ch, hdc, dc, hdc, sc, slst to first sc of first side of leaf. Fasten off and weave in end.
- Use tail from foundation chain and tapestry needle to attach leaf to pumpkin near the stem.

Sheryl says
How many yards does this take......i have some leftover LB Thick & Quick that would work great.
Thanks in advance!
Angeles Antolin Hoyos says
very nice !! I love it!
Jan says
great just fininshed rust one and plaid, Can;t wait to start yellow and jute one. They are going to sit on my desk at work. Thinking of making multi plaid ones in rainbow of colors. Thanks so much for the patterns! Will post picture if I fininsh on time.
Jess @ Make and Do Crew says
Sounds like an adorable little desk accent!
Ritu Gupta says
Just made this tonight. So quick and easy will be making about a dozen as Harvest gifts for all my GNO gals!! Thanks for sharing this great pattern.
Nadene says
How do you do the black and white plaid pumpkin?