Yesterday I told you all about my friend McCall’s snaptastic 365 photo project. I love it because every single day she delivers some new little inspiring tid bit of beauty. I’m amazed by the endless creativity she brings to the project.
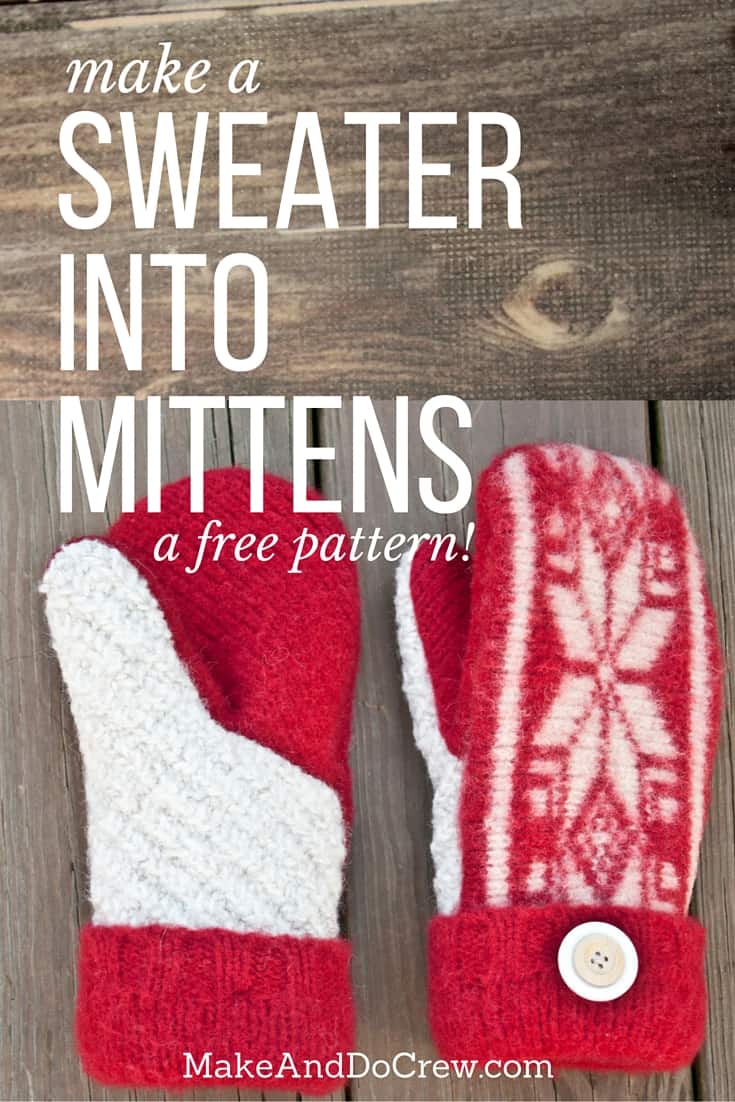
McCall’s mad skillz don’t stop with photography though, she’s also one of the craftiest chics I know. Check out the post about her rad holiday decorations here. Today she’s going to show us how to make pretty much the coolest felted sweater mittens EVER out of, you guessed it, old wool sweaters.
(And if you can’t get enough sweater recycling like me, make some DIY sweater legwarmer/boot toppers next!)
Take it away, Caller!
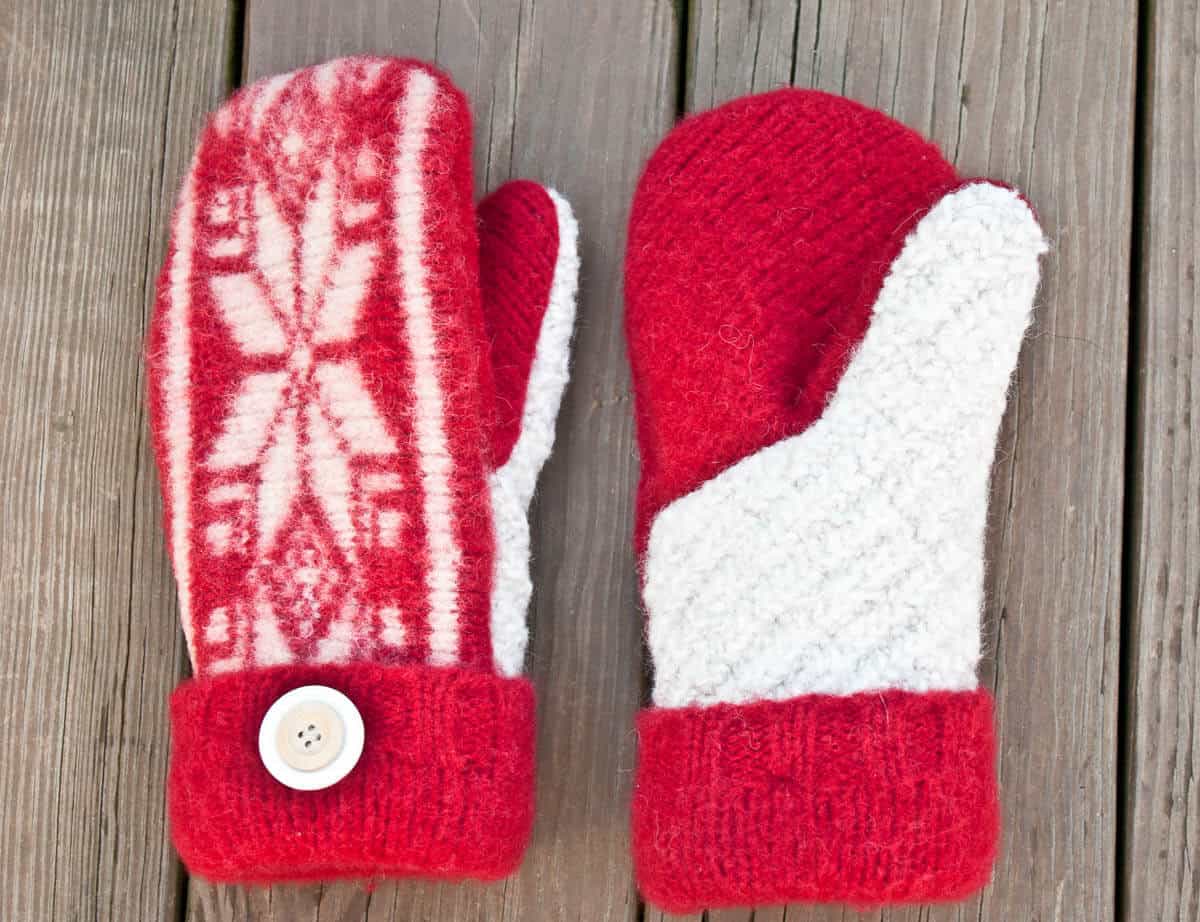
Hello M&DC fans! I am flattered to be guest-blogging on this fabulous site (Jess- thanks for letting me “drop by”!) This felted sweater mitten project was inspired during a closet clean out session I was having one afternoon and, as I usually do while being productive, I found a distraction – “Hey check out this old 100% wool sweater I found down here that I have not worn in like 3 years! Let’s shrink it!” The red snowflake pattern screamed mittens to me, so away I went, leaving my closet spilling out all over the place. These mittens are a breeze to whip up and if you have a stash of old sweaters, they’re also basically free! Happy Mitting!
Felted Sweater Mittens Supplies
-felted sweater mitten pattern (Simply enter your email in the box at the bottom of this tutorial to gain instant access to this mitten pattern, plus all our other past and future freebies!)
-a 100% wool sweater
-a t-shirt (or similar soft fabric for lining)
-sewing machine (or your ambitious hands!)
-pins
-1-2 yards of wool yarn and a large darning needle
Instructions
1. Clean out your closet and find one or more old wool sweaters and an old T-shirt (or something soft to use as lining).
2. Felt old wool sweater(s) by putting each in a separate pillowcase and washing them in the washing machine on HOT. (Yes, exactly what you’re usually trying not to do.) Felting isn’t an exact science, so check them frequently. Get more details about how to felt sweaters here.
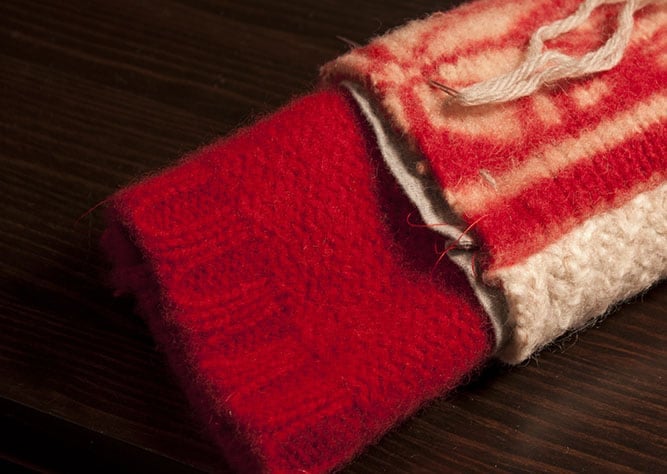
3. Cut 4.5 inches off both sweater sleeves for the cuffs. Set these aside for later.
Note: Your felted sleeves need to be about the same width as the mitten template, if your sleeves shrunk too much, you can use the bottom hem of the sweater by cutting a rectangle about 4.5 inches x 10 inches and sewing the short ends together to make a tube with a 10 inch circumference and 4.5 inch height.
4. Print out the felted sweater mitten pattern and cut it on the outermost line. (Later you’ll trim to the inside line and use the resulting pattern for the inside of the mitts.)
5. Pin template pieces to felted sweater(s) and cut out each piece, cutting 2 of the mitten backs.
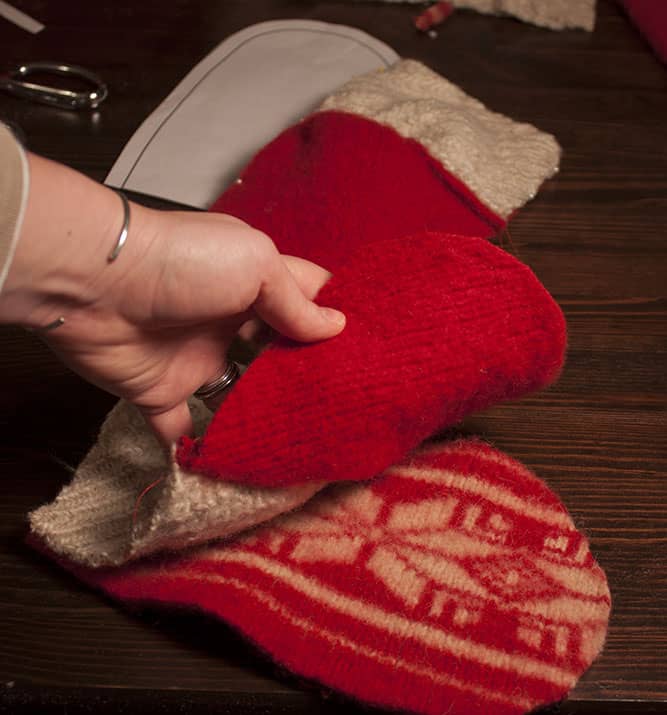
6. Starting with the two palm pieces for either the right or left mitten, line up the thumbs with the right sides together (wrong sides on the outside). Starting on straight edge, pin around the edge of the thumb and down the side.
7. In order to mark how far down the side to pin, it is helpful to match up the palm pieces with the top piece. Line up the base and the top curve of the mitten and pinch the outside edge of thumb together until all excess the height of the palm piece matches the height of the mitten back.
8. Sew from marked point, around the thumb to the other edge of mitten, with ¼ inch seam allowance.
Wanna save this pattern?
9. Match up palm piece with mitten back, right sides together.
10. Line up and pin the edges. (It can be helpful to pin the thumbs out of the way, too!) Sew the edges with ¼ inch seam allowance.
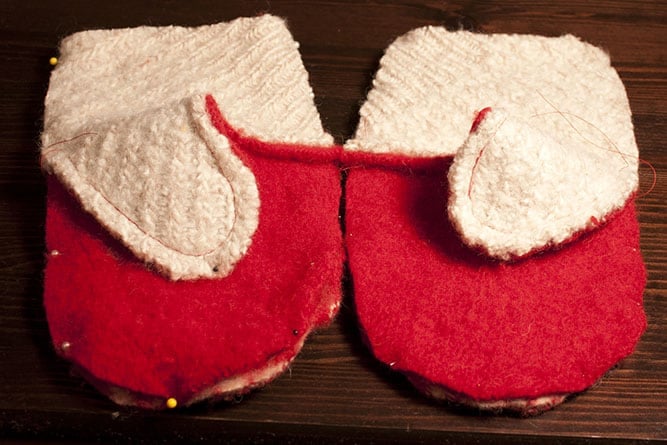
11. Repeat steps 6-10 for the opposite hand mitten. Turn mittens right-side out.

11. Trim off the outer ½ inch of the paper templates you used for the outside, leaving just the lining portion.
12. Cut each template piece out of the lining fabric.13. Follow steps 6-10 with the lining fabric.
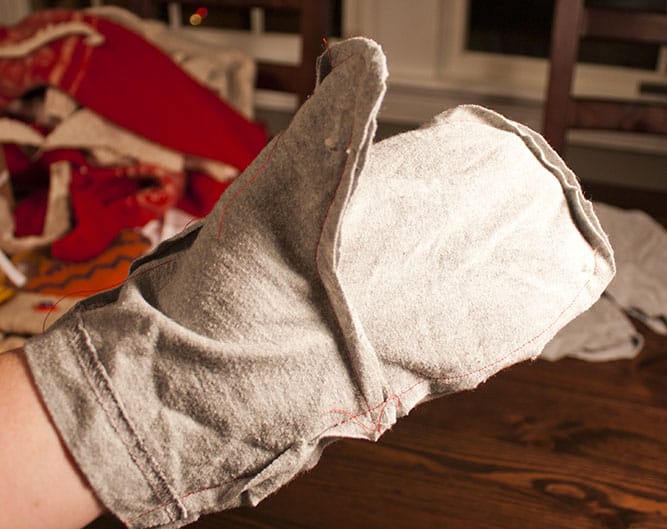
14. Put the lining on your hand (still right-side in) and slide the outside of the mitten over the lining. Wiggle your thumb and fingers to adjust the lining and tack into place.
15. Trim the mitten liner so it’s the same length as the outer mitten.16. Take the 4.5 inch long tube from the sleeve and turn it inside out. Slide the raw end (the end that you cut) about an inch into the mitten, inside both the lining and the sweater layer.
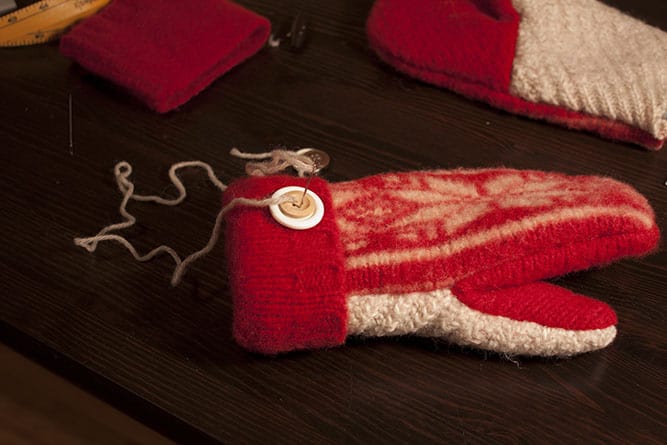
17. With a piece of yarn and darning needle, starting at one of the side seams, sew through all three layers, leaving a tail of yarn where you started. Sew around the mitten base two times, securely fastening the cuff to the inside of the mitten.
18. On the third time around, when you get to the inside of the wrist, flip the cuff up and around the outside of the mitten. Sew through all four layers in order to tack the cuff into place.
19. Continue to sew, only the inside three layers (not going all of the way through the outside cuff layer) until you get to the back of the wrist. Sew all of the way through all four layers, tacking the cuff in place and add a button or two if desired.
20. Continue to sew only the inside three layers around back to the seam where you left a tail of yarn. Tie off the yarn and trim short. Tuck tails into the cuff.
21. Sip hot chocolate and enjoy the winter!
And if you’re into adorable kids’ winter-wear, you might also like these free patterns:
Aspen Socialite Crochet Headband
Frosty the Snowman Hat
Just Like Mommy Knit Cowl
Santa’s Helper Crochet Elf Hat (With Ears!)
RELATED: Our Complete Guide to Temperature Blankets

lori says
So excited to find the pattern for Sweater Mittens : )
Jess @ Make and Do Crew says
I’m happy you found it too, Lori! Sometimes combing through the internet to find what you need is half the battle! 🙂 Let me know if you have any questions about your mitten project.
Happy mitten making!
jess
Debbie Haynes says
Love the mittens. Send pattern please.
Jess @ Make and Do Crew says
Hey Debbie!
If you’d like the mitten pattern, just enter your email address in that box you see at the bottom of the post. (Or the one on the right side of the screen toward the top.) Once you do that, you’ll receive an email to confirm it (check your spam folder) and once you’ve confirmed, you’ll get a password to download the pattern, plus any others that you’d like.
Hope that makes sense. Let me know if you need any further help!
j
Linda @ Sewing Shop says
Wow this is such a great idea to upcycle a sweater, the mittens came out really beautiful too! Thanks for sharing your pattern and tutorial!
Jess @ Make and Do Crew says
Hey Linda,
I’m so happy the pattern was helpful to you. You have so many cute patterns featured on your site, I’ll take it as a compliment that you chose spend some time making one of mine 🙂
Happy sewing!
j
Jenn says
Luv Luv these mitts! We have a category in our Fair called “something new, made from something old”. I will be sure to tag the credit to your website!
Amy says
Could you also email me the pattern for the mittens? Thanks!
Constance says
Love the pattern can not wait to try making them. Could you email me the instructions. I would appreciate it very much. Thank you in advance.
evie says
finally a pattern understandable with great directions thank you awesome
Make and Do Girl says
Hi Evie,
I love your name. Glad you found the pattern useful!
Happy crafting.
j
Corinne says
Will you please email me the template also. Beautiful. Thanks,
Elaine smith says
I notice you lay out the pattern pieces on the bias —- does it have to be this way?
Or can I lay them straight of grain ?
edward mcclung 3 says
thanks for the putting the pattern up. im using an US army wool blanket for the liner (dubbled up ) and a leather outside for a wind breaker while im rideing my bike this winter. its Georgia we really don’t have real cold weather clothes.
Jess @ Make and Do Crew says
That sounds awesome! I love the idea of using a wool blanket inside. Your mittens sound so cozy without being too cozy for GA 🙂
Jean Gardner says
I love this mitten pattern, could you please e-mail me the instructions and pattern? I would really appreciate it. I have 10 granddaughters that would love them.
Marge says
Would you please send me the directions for these fabulous mittens