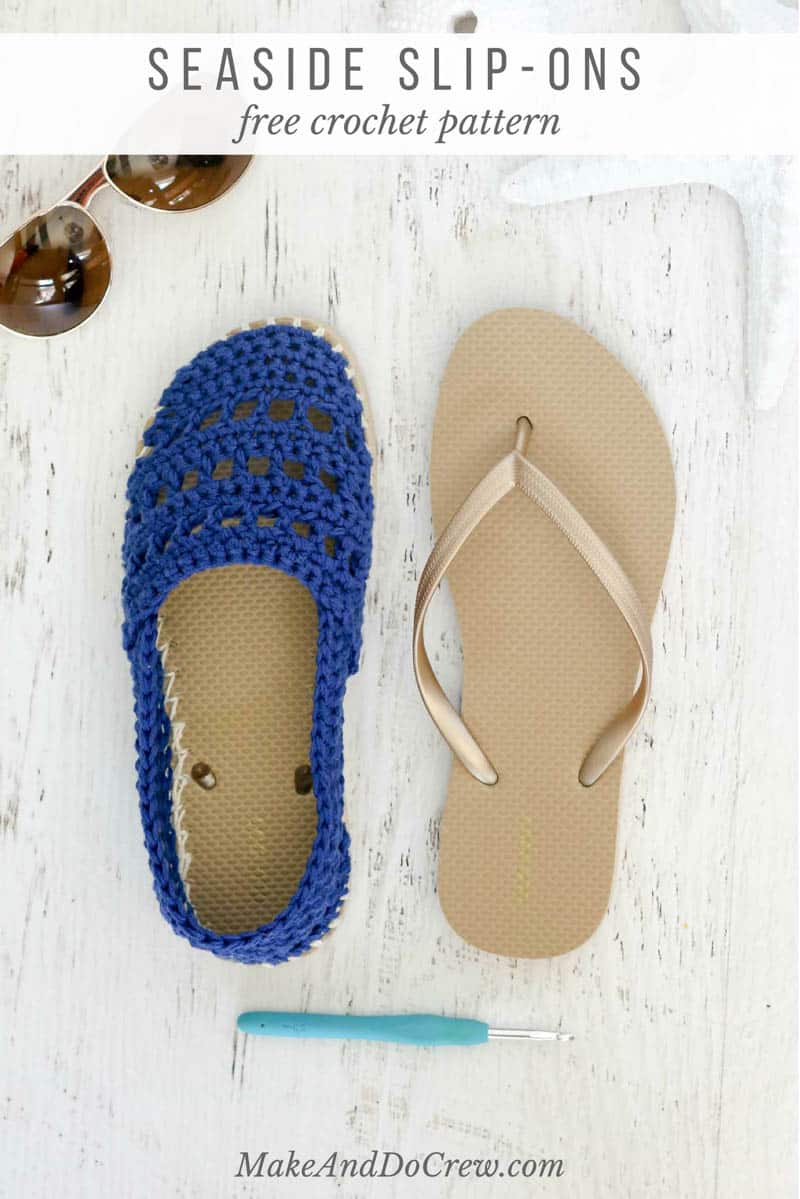
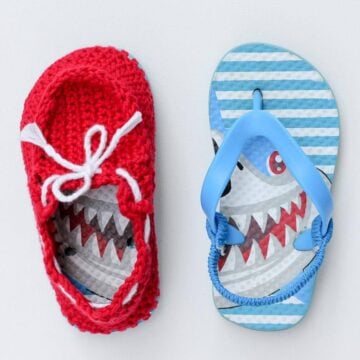
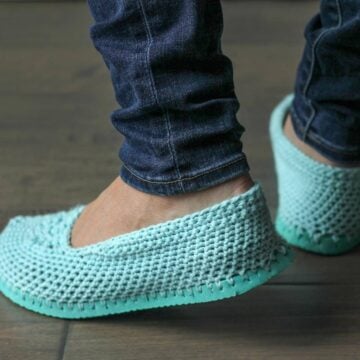
These Seaside crochet shoes with rubber bottoms come together easily with cotton yarn and a pair of flip flops. Wear them to cruise the boardwalk or when frolicking on your yacht! 😉 The free crochet pattern is below or you can purchase the ad-free, printable PDF with hole-poking ruler here.
This free crochet shoes with rubber bottoms pattern is part of an ongoing collaboration with my friends at Lion Brand. This post contains affiliate links.
I like to think of crochet as our super power. We can take a ball of yarn and turn it into something beautiful and useful that has no resemblance to its original skein form. Guys, we're pretty awesome.
(Don't know how to crochet yet? It's okay. I bet you're still awesome. And I have a video course that can teach you all the basics of crochet to make you even awesom-er.)
I feel like being able to make these Seaside crochet shoes with rubber bottoms totally ups the ante on our super powers. These are legit shoes. Like, they pretty much look like something you'd buy at your favorite shoe store. Okay, let's be honest, from your favorite shoe website.
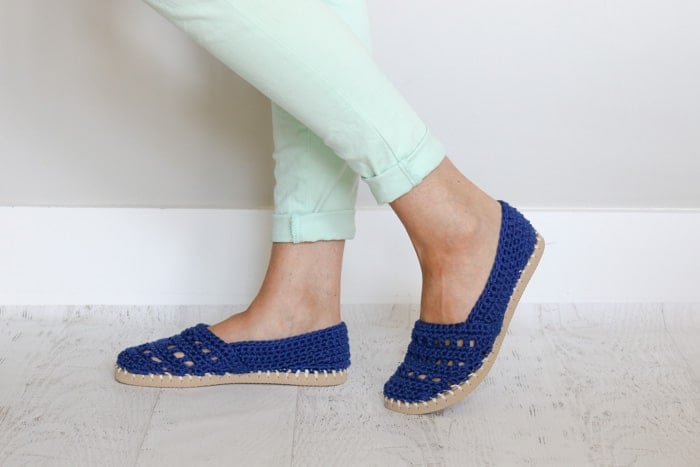
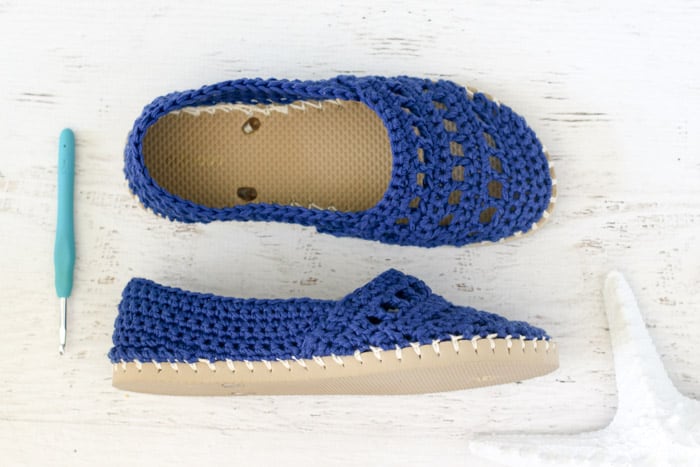
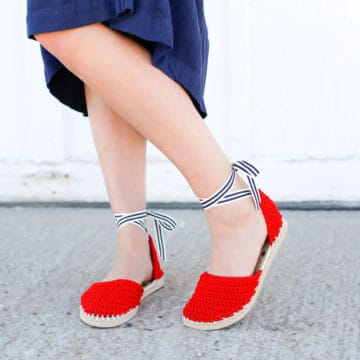
With only a pair of flip flops, some yarn and a few basic tools, you can make shoes that you're proud to wear. In public. The Seaside Slip-Ons are modern, summery and have some espadrilles flair thanks to the contrasting sole and "jute"-style stitching around the rubber soles. (If you're into the idea of crochet espadrilles sandals, here's a free pattern to make your own!)
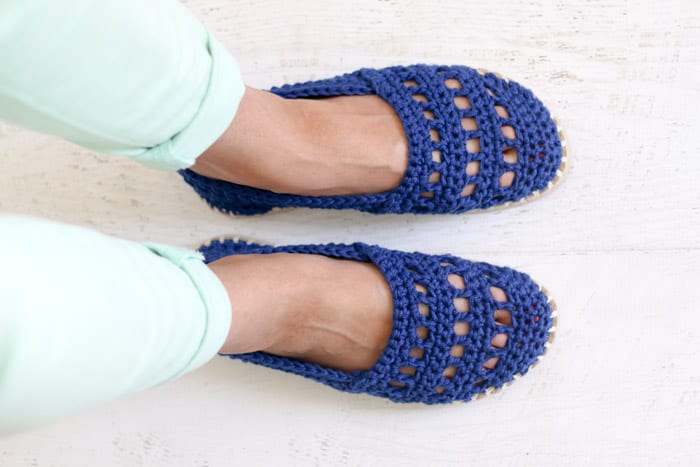
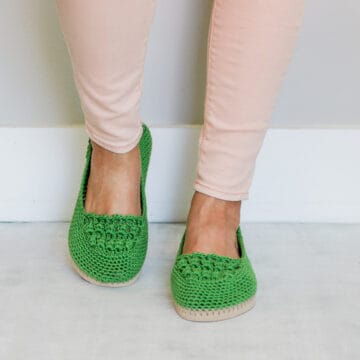
The yarn I suggest for the Seaside crochet shoes with rubber soles is Lion Brand 24/7 Cotton. This is one of my favorite yarns to crochet shoes because the fact that it's mercerized means that it holds its shape really well without much stretching over time. And the slight sheen of this yarn makes any project look pretty pro. You can see in action in several other free Make & Do Crew crochet patterns below. (Find all my free crochet patterns using flip flop here!)
Lion Brand has also put together a Seaside Slip-Ons kit which includes all the yarn needed to make these shoes as well as a copy of the printed pattern and hole-poking guide!
Find Your Next Crochet Pattern on Flip Flop Soles
Crocheting on flip flops can fast track your feet straight to comfort-ville. Flip flops offer functional, non-slip soles for your crochet slippers. They also allow you to crochet shoes customized for your particular feet.
See more free crochet flip flops patterns →
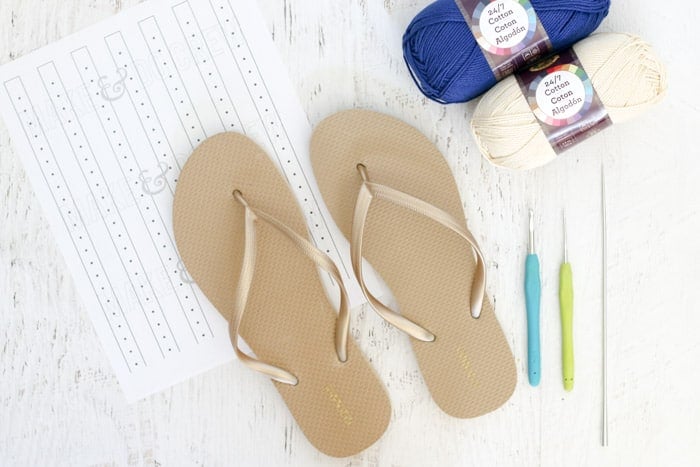
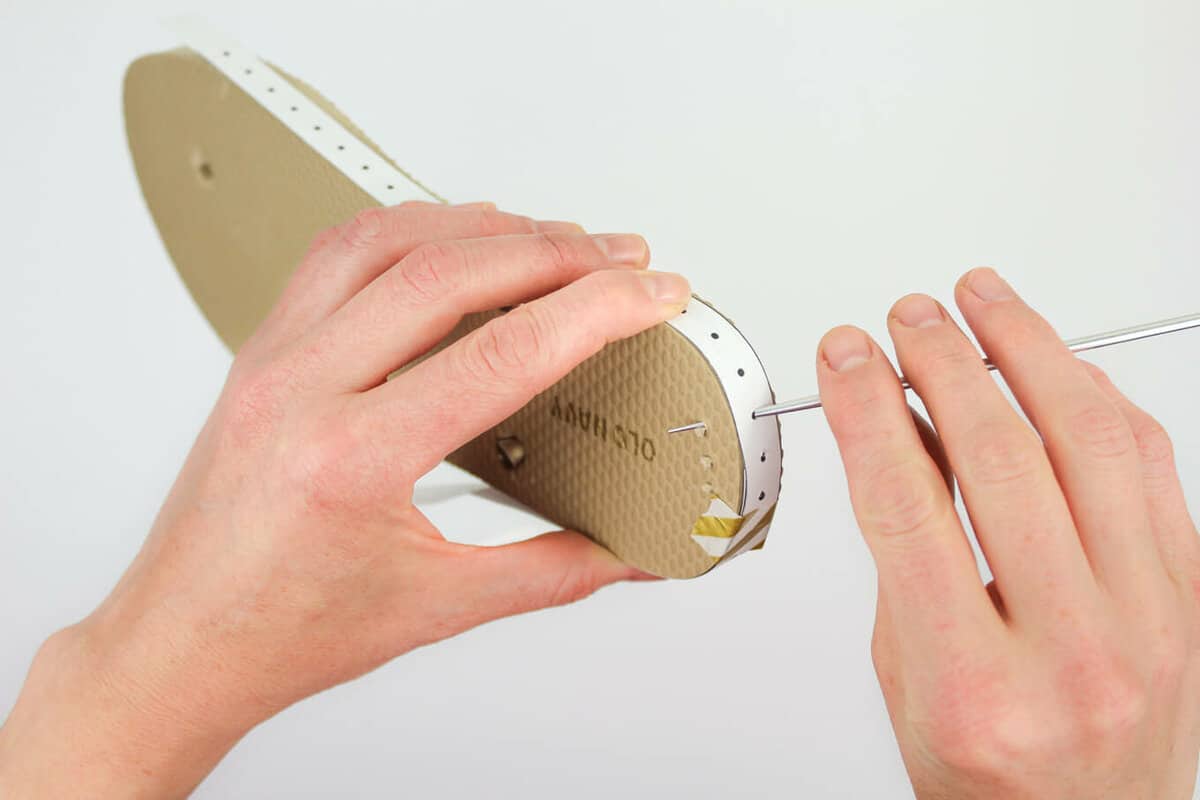
As a bonus in the PDF pattern, I've created a printable ruler to guide your hole poking which is really helpful in achieving the pattern gauge. Since the spacing of your the holes on your rubber sole is largely what dictates the gauge, having a guide for poking your holes takes a lot of the guesswork out of this project. You can purchase the printable, ad-free version of the Seaside Slip-Ons pattern here.
And if you've never crocheted shoes with rubber soles before, you might like to check out my Crocheting With Flip Flops FAQs page which probably answers a lot of questions you've got!
Please do not publish or share this pattern as your own. You may make items to sell with this pattern. In exchange, please link back to this post. Do NOT use my photos as your own sales photos. You can read my policies here. Now let’s make something awesome!
Seaside Slip-Ons Free Pattern
Women's Crochet Shoes with Rubber Bottoms
Purchase the ad-free, printable PDF with hole-poking ruler here.
Add this pattern to your Ravelry favorites here.
Pin this pattern for later here.
Supplies:
So you can spend more time making shoes and less time shopping, this pattern contains affiliate links at no extra cost to you.
Purchase a kit with all the yarn you'll need plus a copy of the printed pattern and hole-poking guide here.
• Lion Brand 24/7 Cotton – (186 yds/3.5 oz, yarn weight medium/4)
- MC: 1 ball Navy divided into two equal balls
- AC: 25 yds Ecru or color to match flip flop soles
• Tapestry needle
• Size B [2.25 mm] crochet hook or size needed to fit through flip flop holes
• Size H [5.0 mm] crochet hook
• 1-2 printed copies of the “ruler” at end of pattern PDF (optional) or a measuring tape
• 1 pair of flip flops (See pattern notes on selecting the shoe size.)
• Sharp tool to poke holes (I use this clay tool. You can also try a skewer, thin drill bit or awl.)
• Sharp scissors
• Stitch markers
• Strong glue such as E6000 to glue strap plugs to sole (optional)
Abbreviations (US Terms):
ch – chain
sc – single crochet
sc2tog – single crochet two together
dc - double crochet
sk - skip
sl st - slip stitch
st(s) – stitch(es)
MC – main color
AC – accent color
A Word on Sizing:
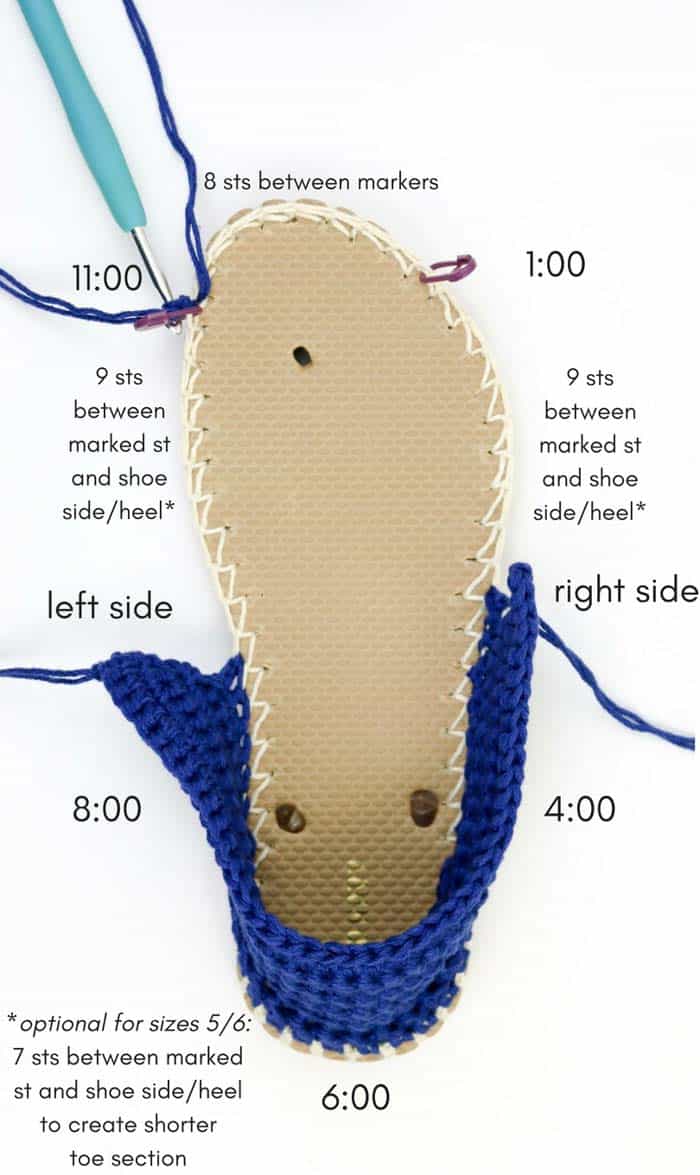
Pattern can be used to make women’s shoe sizes 5 and up. To make a size 5 or 6 shoe, you’ll need to decide if you’d like to repeat the toe pattern as pictured (with three rows of “windows” on the toe) or to eliminate one section of windows so that the shoe hits your foot in a similar place to the sample. If you’d like to eliminate one set of windows (Rows 12-14 in Toe section), you’ll need to place your markers with 24 stitches in between them when working the Sides/Heel section. (See photo below.)
Similarly, if you’re making a size 11 or 12, you might decide to add an additional repeat of Rows 12-14 to add extra length to the toe section. This may require a second ball of MC yarn.
Gauge:
7 sc = 2”
10.5 rows of sc = 2”
Notes:
• Transforming flip flops into slippers isn’t an exact science! Keep an open mind and don’t be afraid to customize the shoes to your liking. Check out this Flip Flop FAQs post for answers to commonly asked questions.
• You may want to size down when buying your flip flops. Look for a flop flop that offers about .25" of sole around your foot (more like the fit of a normal shoe). In the pattern sizing, the shoe sizes mentioned describe the shoe size you normally wear and not the sized-down size of your flip flops.
• The flip flops in the sample are from Old Navy--they have a great selection of colors. Find $1 flip flops on Amazon or at Walmart. Dollar Tree’s $1 flip flops tend to be a bit too flimsy, but can work if you are careful. And LionBrand.com now offers flip flops so you can get your yarn and soles in one place!
• Pattern explains locations on the flip flop as if it’s a clock where the top of the toe is 12:00 and the heel is 6:00. (See photo above.)
• Left and right shoes are identical.
• Be sure to poke the same number of holes in the second flip flop as in the first. (The printable ruler in the PDF makes this pretty straightforward if are using it, but it’s still a good idea to count and double check.)
• The shoes are crocheted tightly, similar to amigurumi. Make a deliberate effort to keep your stitches tighter than normal. Check your gauge if you’re unsure. The shoes will feel tight at first, but will loosen slightly with a day of wear. They should not stretch considerably after that (especially if you use Lion Brand 24/7 Cotton).
Poking the Holes
Trim straps off flip flops by cutting the mid-foot straps at an extreme angle so you can keep them in place without feeling them inside the shoe. (See photo below.) Tugging on the strap while cutting will help ensure you cut it as closely to the sole as possible. Save the rubber plug from the strap between your toes to glue in later.

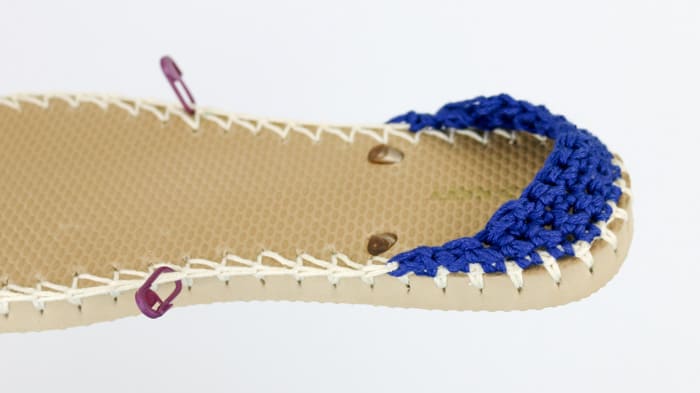
If you're using the printable ruler guide, trim it and tape an appropriate length around your flip flop. With your sharp instrument, poke holes in each dot on the ruler. (See photo above pattern.) Alternatively, use a measuring tape to poke holes just under .5" apart (about 7/16th of an inch).
Pierce the hole at an angle from about the middle of the way down the sole to approximately .25” into the top of the sole. Ensure your holes are far enough from the edge so that the yarn won’t rip through the rubber when you create your first row of crochet. Reference the lightweight slippers video tutorial for help.
Wanna save this pattern?
Accent Color Foundation
Using one strand of AC, tie slip knot around smaller hook. Insert size B hook at back of heel (6:00 position) from the top of the flip flop toward the bottom of the sole, grabbing the yarn and pulling through to the top of the flip flop and through the slip knot to attach the yarn to the flip flop.
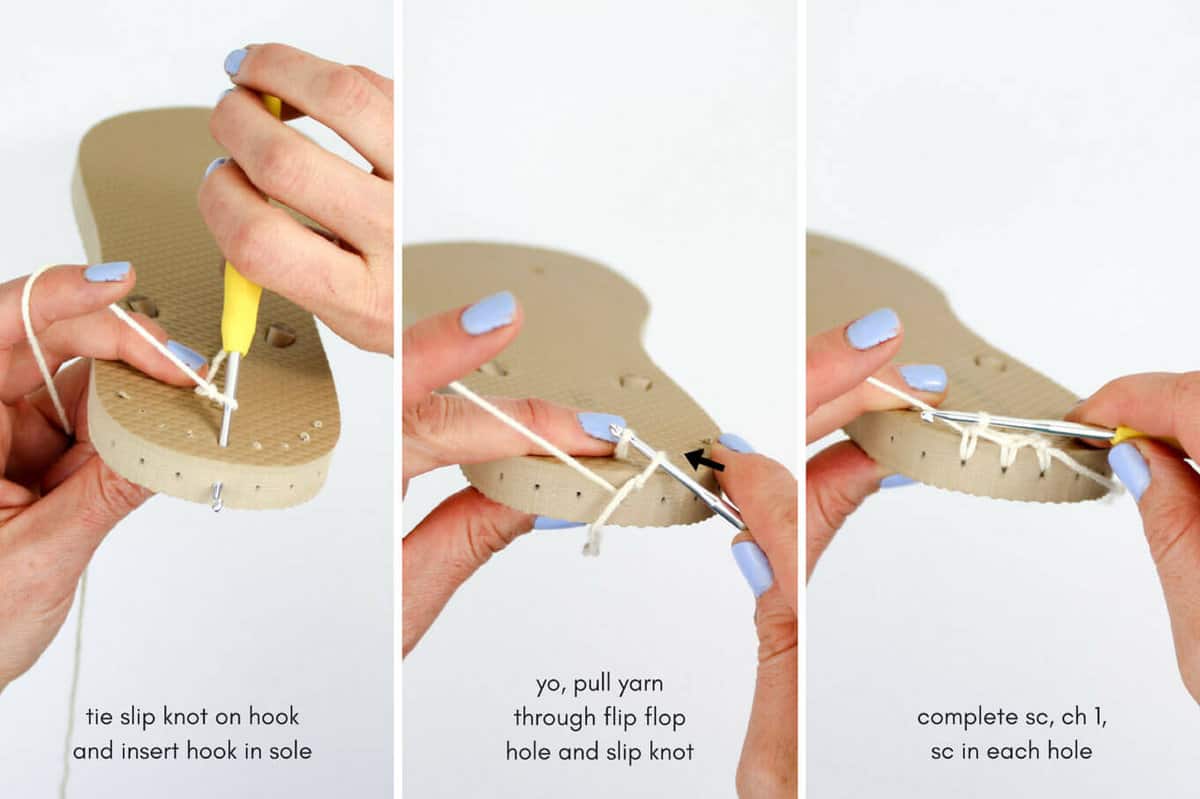
Foundation Round: Continuing with size B hook and single strand of AC, ch1, sc in each hole around sole, join with a sl st to first sc. Fasten off. You will work over yarn tails in the heel section of the pattern.
Heel Crescent
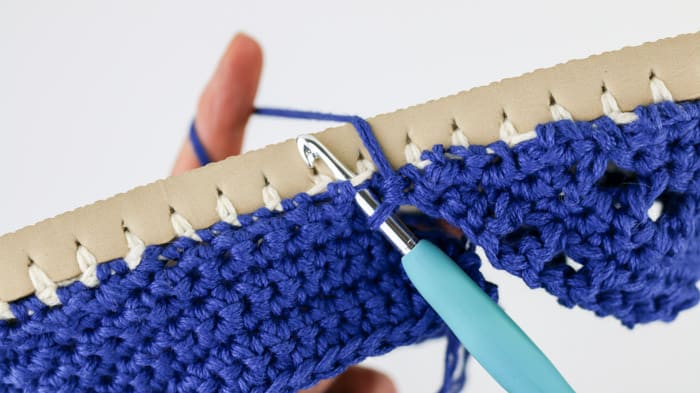
Place stitch markers at 4:00 and 8:00 positions. Using larger hook and two strands of MC, make a slip knot on hook. Insert hook at the 4:00 marked st of Foundation Round (8:00 marked st for left-handed crocheters). Begin Row 1 in next stitch between markers and work over the tails of yarn you just attached. See photo below for visual guidance.
Row 1 (RS): Ch 1, sc in each foundation round sc around heel until next marked st, sl st into marked st; turn.
Row 2 (WS): Ch 1, sk sl st, sl st in next sc, sc in each sc until 1 sc remains, sl st in last sc; turn.
Row 3 (RS): Rep Row 2.
✨Unlock this free subscriber-exclusive pattern ✨
Follow these steps to view the full free pattern below
Fasten off, leaving a 12” tail.
Toe
Notes:
• When you reach the sides that were created in the previous section, work new sts on the outside of the heel/sides section sts. (See photo below.)
Place stitch markers at 11:00 and 1:00 positions with 8 stitches in between and 9 unworked sts on either sides of the markers. Using larger hook and two strands of MC, make a slip knot on hook. Insert hook at the 11:00 marked st of Foundation Round (1:00 marked st for left-handed crocheters), yarn over and pull loop through slip knot to join yarn at toe. Begin Row 1 in next st between markers and work over the tail of yarn you just attached. (See diagram of positions at top of pattern.)
Row 1 (RS): Ch 1, sc in next 8 sc between markers; turn. (8)
Remove stitch markers.
Row 2 (WS): Ch 1, sc in next 8 sc, sc 2 on sole; turn. (10)
Row 3 (RS): Ch 1, sc2tog, sc in next 8 sc, sc 2 on sole; turn. (11)
Row 4 (WS): Ch 1, sc2tog, sc in next 9 sc, sc 2 on sole; turn. (12)
Row 5 (RS): Ch 1, sc2tog, sc in next 10 sc, sc 2 on sole; turn. (13)
Row 6 (WS): Ch 1, sc, [ch 1, sk 1 sc, dc in next sc] 6 times, sc 2 on sole; turn. (15)
Row 7 (RS): Ch 1, sc in next 2 sc, sc in each dc and ch-1 sp, sc 2 on sole; turn. (17)
Row 8 (WS): Ch 1, sc in next 17 sc, sc 2 on sole; turn. (19)
Row 9 (RS): Ch 1, sc in next 2 sc, [ch 1, sk 1 sc, dc in next sc] 7 times, ch 1, sk 1 sc, sc in next sc, sc 2 on sole; turn. (21)
Row 10 (WS): Ch 1, sc in next 4 sc, sc each dc and ch-1 sp, sc 2 on sole; turn. (23)
Row 11 (RS): Ch 1, sc in next 23 sc, sc 2 on sole; turn. (25)
Row 12 (WS): Ch 1, sc in next 3 sc, [ch 1, sk 1 sc, dc in next sc] 10 times, sc in next 2 sc, sc 2 on sole; turn. (27)
Row 13 (RS): Ch 1, sc2tog, sc in next 2 sc, sc each dc and ch-1 sp, sc 2 on sole; turn. (28)
Row 14 (WS): Ch 1, sc2tog, sc in next 26 sc, sc 1 on sole; turn. (28)
Fasten off, leaving 12” tail.
Finishing
With a tapestry needle, use remaining tails to sew the toe section onto the shoe sides. The basting stitch works well. Take care to pull the toe section over the shoe side so that it overlaps a bit. The front corner of each side section can have a tendency to curve downward because of the increases. Do your best to hide any curved stitches under the toe section so that the side sections appear straight. (See photos above pattern of shoes from the side.)
Optional: If you plan to wear your new shoes out in the elements, glue the flip flop plug back into place in the toe using a glue like E6000.
Put on your new Seaside kicks and frolic on your yacht, cruise the boardwalk or go get the mail in style!
Ready for another project? See all my free crochet patterns here!
That was so fun! Now what?
Invitation to our Facebook group
Come discuss crocheting shoe patterns and lots of other crochet projects and techniques in our Make & Do Crew Facebook group. Here thousands of helpful crocheters answer each others questions and share their stitches. Come join us here.
More Free Crochet Patterns Using Flip Flop Soles
- FAQS: How to Crochet on Flip Flops - and will they fall apart?
- Crochet Boots With Flip Flops Soles
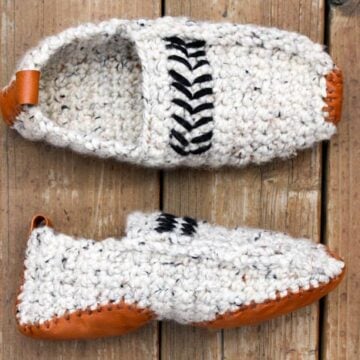
- Lightweight Crochet Slippers with Flip Flop Soles
- Free Crochet Ugg Boot Pattern
- Chukka Crochet Slipper Boots with Flip Flop Soles
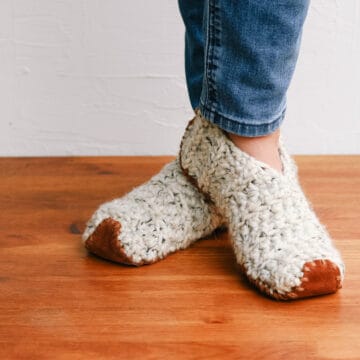
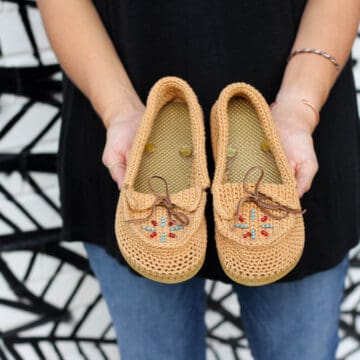
- Crochet Moccasins Shoes
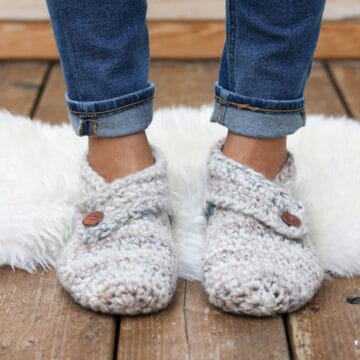
- Crochet Summer Slippers with Flip Flop Soles
- Crochet Espadrilles Pattern


Lori says
I can't get Bernat 24/7, at my local yarn store , will Bernat Handcrafter cotton be too thick?
Jess @ Make and Do Crew says
Hey Lori,
The 24/7 Cotton is actually made my Lion Brand. Is that what you're having trouble finding? I'm not familiar with Handcrafter, but I'm guessing it might be a bit thicker than the 24/7 cotton, which is sort of a DK/light worsted weight. You might be able to try using one strand of it instead of two held together. 🙂
Jess
Lucy says
Hi jess, firstly i'd like to say thank you, I love your designs. But I need a bit of help. On the toe section where it says 'sc 2 on the sole' does this mean 2xsc onto one foundation sc or sc onto 2 foundation sc? Either way, my toe section and side doesn't match up. I have 9sc along the foundation round between 9:30 and 11 markers but the pattern instructs 7 rows to join onto the sole. Therefore if I scx2 onto the each fsc I don't have enough rows and if I sc in 2fsc I run out?
Please help as I'm completely stuck.
Thank you, Lucy x
Jess @ Make and Do Crew says
Hey Lucy,
I'm so sorry, I don't think I'm understanding your question exactly. It could be that I'm super tired. The sc 2 on sole means to sc in two separate stitches. You'll then sc2tog over those two stitches when you work the next round.
Let me know if that doesn't clear things up and I'm happy to help further. 🙂
Jess
Lucy says
Thank you Jess, your reply does answer one part of my query but if I sc into 2 separate stitches on the sole I run out of stitches. The pattern explains to place the markers with 9 unworked stitches on either side "Place stitch markers at 11:00 and 1:00 positions with 8 stitches in between and 9 unworked sts on either sides of the markers." but there is 14rows on the toe. Do I have the markers in the wrong place?
Thank you, Lucy x
Laura says
Have you considered using hemp I-cord sewn or glued to the bottom of the foam shoe to add longevity and grip to the shoes? I've been slowly making I-cord that I can then sew on the bottom of hand-knit or crocheted shoes, which I was researching when I found your webpages through Ravelry. I've also considered creating double-layer flip-flop foam bottom shoes, which would then protect the base row of stiches from the wear and tear of walking.
Sharyn L Flanagan says
love all your shoe designs...
but question, why use a flip flop one size smaller than usual? My feet are X-wide, and I'm thinking that a smaller flip flop would not fit me well..
(one reason I like the idea of making the seaside slip ons is because it looks like it will stretch over my wide foot...)
thanks!
Jess @ Make and Do Crew says
Hey Sharyn,
Typically, a flip flop fits with more rubber around your feet than a normal shoe would. I've found that if you use your normal size, your crocheted shoes can be too loose. Generally though, you're looking for a flip flop that leaves about .25" of rubber around your toes, so if that means you use your normal size, feel free! 🙂
Jess
Lorraine says
The yarn you use is it thin yarn? I did one sandel and it look pretty thick. When you did the gauge is it with 2,yarn or 1 ?Because the pattern is done in double yarn.
Jess @ Make and Do Crew says
Hey Lorraine,
The gauge is as the pattern is worked and measured on the actual shoe, so it's two strands. Are you using 24/7 Cotton? It's called a worsted weight (category 4), but I really think it's more like a light worsted or a DK weight yarn. If you're substituting with something that is much thicker, you may want to only use one strand. If you'd like more info on what yarns are a good substitution weight-wise, you could check out YarnSub.com. 🙂
Happy crocheting!
Jess
Sharon Locking says
Hi Jess,
A video would be nice, I am having some trouble with the pattern to. When you go from the heal crescent to the middle section do you fasten off. cause you say to slip stitch and begin at the 2:30pm mark.?
Also the heel crescent should gradually get less on each end. Mine didn't look like the photo?
Thanks,
Sharon
Jess @ Make and Do Crew says
Hey Sharon,
Your questions have helped illuminate the need for clearer instructions around the heel section. Thanks for the feedback! I've added more notes on the fact that you are indeed fastening off after the crescent and then reattaching the yarn at the 2:30 position. The slip knot is simply my preferred way of attaching yarn to the sole. (I make a slip knot on my hook, insert it into the foundation round and then yo and pull the yarn through which attached the yarn to the sole. The remaining tail from the slip knot is what you'll use to sew the sections together.)
And yes, the heel crescent should taper to the sides. That is achieved with the slip stitches at the end of each row. Then when you begin the next row, you entirely skip over that slip stitch and sl st into the first sc. Since you're only working into the single crochets (and stopping before the sl sts) for each row, you're essentially decreasing the number of stitches you work for each row.
I hope those details help you a bit! I find that flip flop crocheting definitely uses some less common approaches to making shapes. I'm happy to answer more questions if they come up. 🙂
Jess