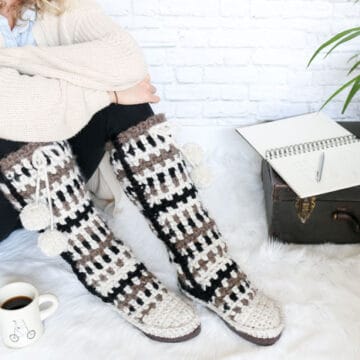
Keep your toes epically toasty in these mukluk style crochet slipper boots with flip flop soles. The mukluks are crocheted separately and then added to the flip flops, making this a perfect first crochet flip flop project.
Get Part 1 the free pattern below!
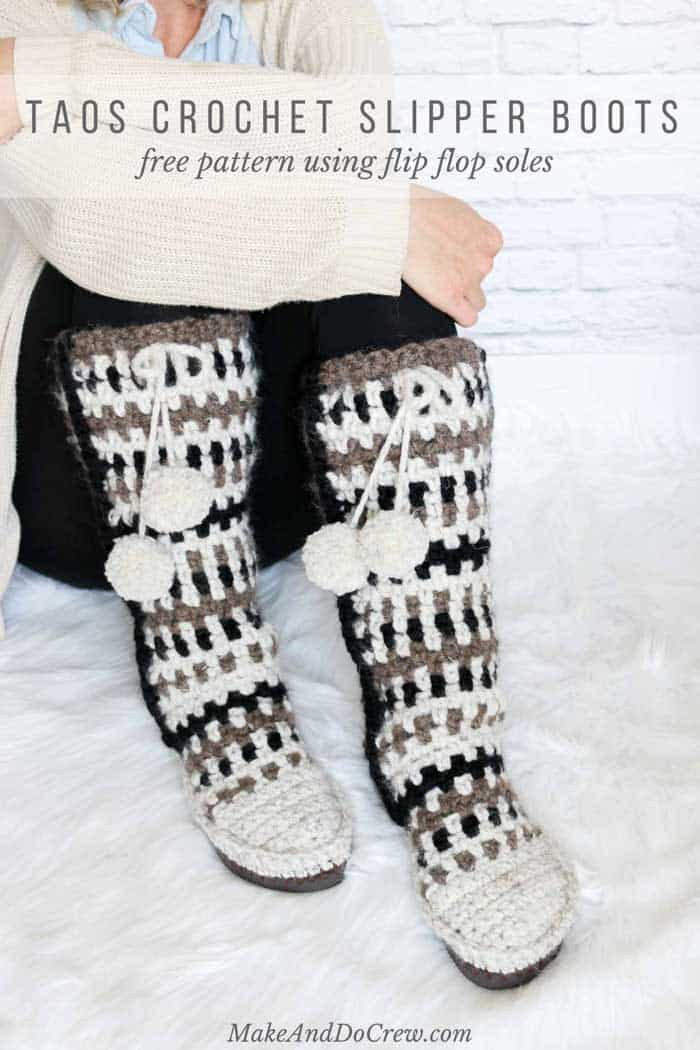
This free crochet slipper boots pattern is part of a collaboration with my friends at Lion Brand yarn. This post contains affiliate links.
If you just show up here periodically to see check out the latest free crochet patterns, you might get the impression that I'm like a 3D printer of crocheting. Idea comes in, crocheted item gets squirted out.
Well, I kind of hate to tell you, there is soooooo much more drama than that behind the scenes of Make & Do Crew. Periodically, I'm able to whip up a project that turns out almost better than I expected. But the vast majority of the time there is just...so...much...frogging.
In the case of these crochet slipper boots, I originally had the idea of using the base of my Breckenridge Boots with flip flop soles pattern and add a woven stitch ankle section. I spent all of last weekend pursuing this direction only to complete one boot and decide it was not what I was going for. As much as it pains me to wedge a weird, random boot pic into this blog post, I think it can be really helpful and interesting to see where an idea began and where it ended up. So, if you don't like mustard yellow and brown, quickly avert your eyes.
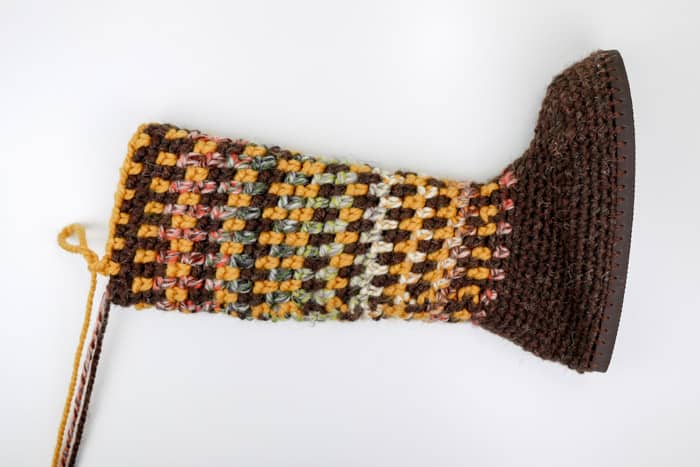
While I really love each of these colors of Wool-Ease Thick & Quick separately, when I paired all three with the woven stitch, this crochet sweater boot just felt a little like a crazy autumn acid trip ala 1973.
So I tore it all out and started over.
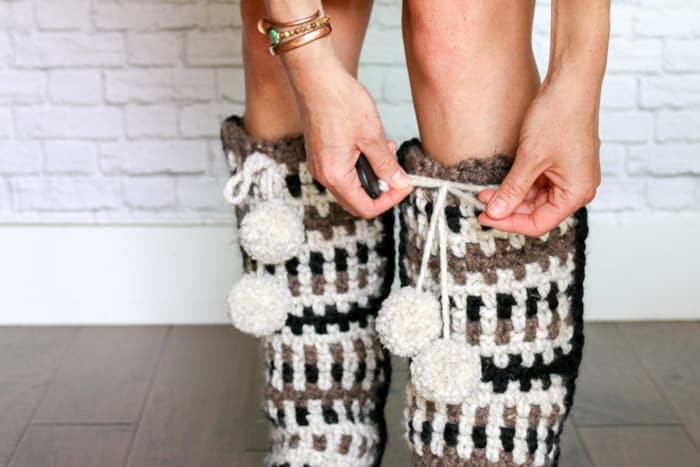
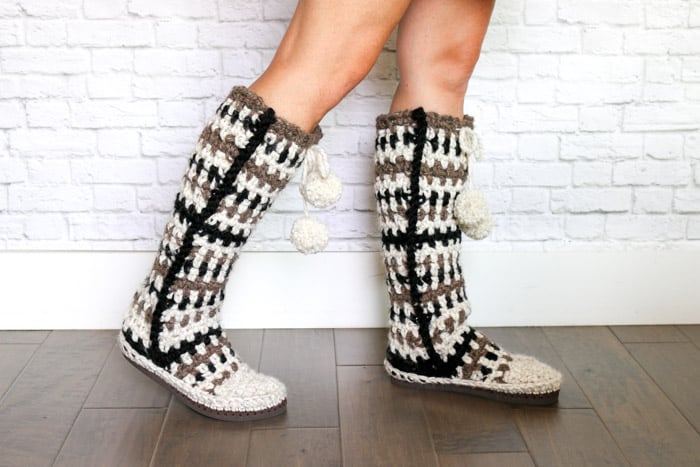
But this is one of those instances where I'm so happy that I didn't just settle for something that I knew didn't fit my vision. I like the final version about 10000% more than the first and trying to solve the problems the first version presented forced me to come up with some new techniques for crocheting on flip flops. (You can find all my free crochet patterns using flip flops here!)
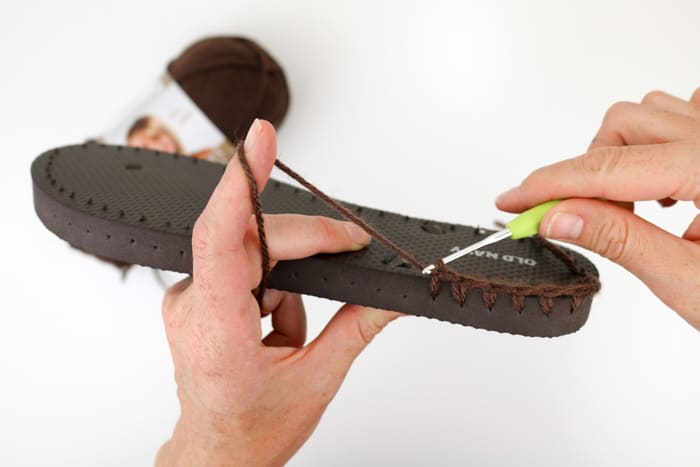
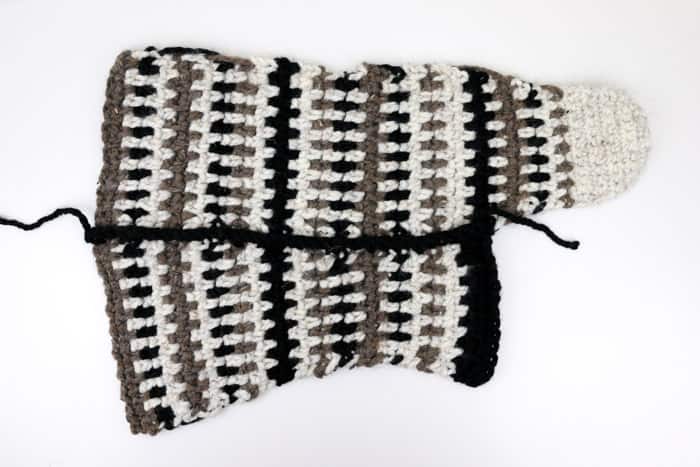
These crochet slipper boots are the first pattern I've created where most of the shoe is worked away from the flip flop and the rubber sole is just added at the end. It worked so well! And if you're totally new to flip flop crochet patterns, this is a great first one to try because you only have to work two rows on the flip flop.
If you want to bypass the flip flop together and make sweater boots that are even more like traditional mukluks, you can simply crochet a basic sole, add two rounds of single crochet on top of the sole and then attach the boot just as the pattern describes.
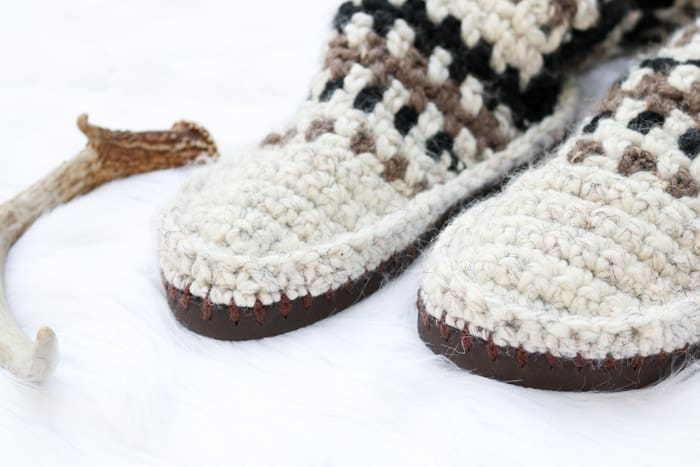
I really hope you enjoy these crochet slipper boots. They really feel like a little personal afghan for your feet! I'll be sharing Part 2 of this pattern tomorrow. (UPDATE: Here's Part 2!)
Find Your Next Crochet Pattern on Flip Flop Soles
Crocheting on flip flops can fast track your feet straight to comfort-ville. Flip flops offer functional, non-slip soles for your crochet slippers. They also allow you to crochet shoes customized for your particular feet.
See more free crochet flip flops patterns →
Please do not publish or share this pattern as your own. You may make items to sell with this pattern. In exchange, please link back to this post and do not use my photos as your own sales photos. Now go make something awesome!
Taos Crochet Slipper Boots
Free Pattern - Part 1
Add this pattern to your Ravelry favorites here.
Pin it for later here.
Find Part 2 of the pattern here.
Supplies:
So you can spend more time making shoes and less time shopping, this pattern contains affiliate links at no extra cost to you.
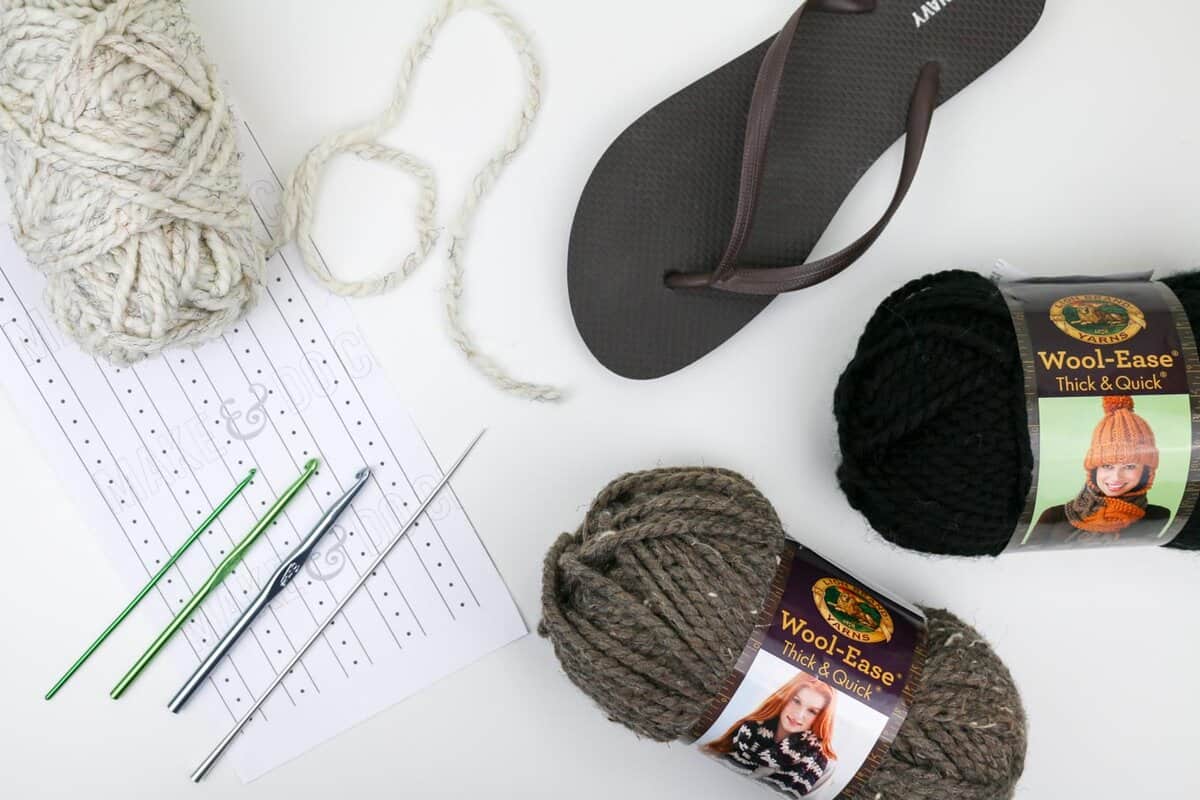
• Lion Brand Wool-Ease Thick & Quick (Weight: 6/super bulky - 106 yds, 6 oz)
- Color A: Wheat (402) - 2 skeins
- Color B: Barley (124)– 1 skein
- Color C: Black (153)– 1 skein
• Lion Brand Vanna’s Choice in color to match flip flop soles – 30 yds
- Color D: Chocolate (126) pictured in sample
• Tapestry needle
• Size B (2.25 mm) crochet hook
• Size K (6.5 mm) crochet hook
• Size L (8 mm) crochet hook
• Size N (10 mm) crochet hook
• 1-2 printed copies of the “ruler” in the printable PDF (optional)
• 1 pair of flip flops (See pattern notes on selecting the shoe size.)
• Sharp tool to poke holes (I use this clay tool. You can also try a skewer, thin drill bit or awl.)
• Sharp scissors
• Stitch markers
• Strong glue such as E6000 to glue strap plugs to sole (optional)
• Pom pom maker or a small piece of cardboard
Abbreviations (US Terms):
ch – chain
sc – single crochet
dc - double crochet
sk – skip
ch1sp – space created by three chains
sl st - slip stitch
st(s) – stitch(es)
RS – right side
WS – wrong side
Sizing:
Pattern can be used to make a women’s shoe size 5-10. Notes are included throughout on customizing specific sizing.
Gauge:
Toe: 5 sc x 6 rows = 2”
Upper Ankle: 5 pairs of [sc, ch 1] x 8 rows = 4”
Overall Notes:
• Transforming flip flops into slippers isn’t an exact science! Check out this Flip Flop FAQs post for answers to commonly asked questions.
• You may want to size down when buying your flip flops. Look for a flop flop that offers about .25" of sole around your foot (more like the fit of a normal shoe).
• The flip flops in the sample are from Old Navy--they have a great selection of colors. Find $1 flip flops on Amazon or at Walmart. Dollar Tree’s $1 flip flops tend to be a bit too flimsy, but can work if you are careful. And LionBrand.com now offers flip flops so you can get your yarn and soles in one place!
• Pattern explains locations on the flip flop as if it’s a clock where the top of the toe is 12:00 and the heel is 6:00.
• Left and right slippers are identical.
• Be sure to poke the same number of holes in the second flip flop as in the first. (The printable ruler in the pattern PDF makes this pretty straightforward, but it’s still a good idea to count and double check.)
Poking the Holes
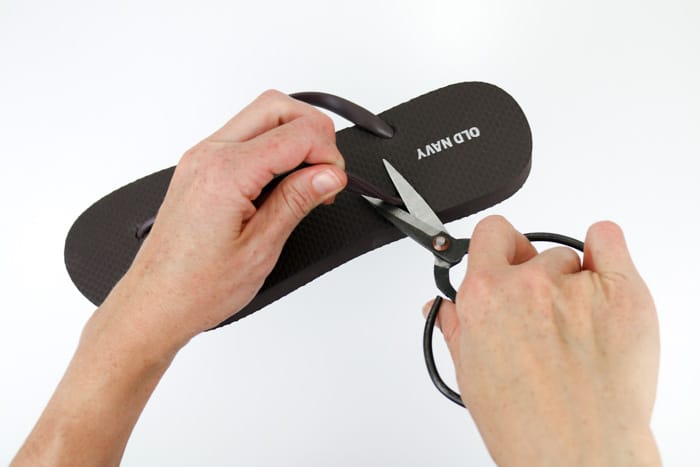
Trim straps off flip flops by cutting the mid-foot straps at an extreme angle so you can keep them in place without feeling them inside the shoe. (See photo below.) Tugging on the strap while cutting will help ensure you cut it as closely to the sole as possible. Save the rubber plug from the strap between your toes to glue in later.
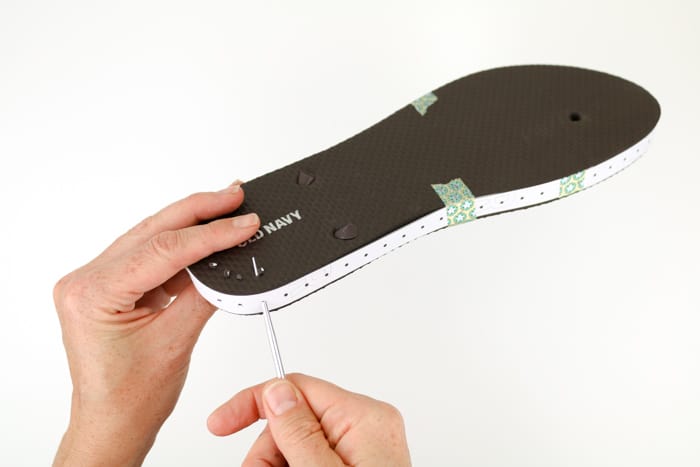
If using the printable ruler, trim ruler, tape pieces together and tape ruler around flip flop sole. With your sharp instrument, poke holes in each dot on the ruler. (See photo below.) Alternatively, poke holes every ⅜th of an inch around sole. Pierce the hole at an angle from about the middle of the way down the sole to approximately .25” into the top of the sole.
Ensure your holes are far enough from the edge so that the yarn won’t rip through the rubber when you create your first row of crochet. Reference this video tutorial for help if you need a visual example.
Foundation on Sole
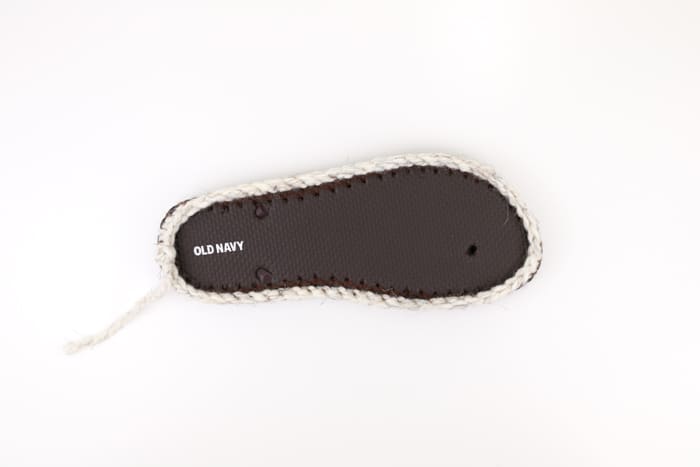
Using one strand of Color D, tie slip knot around smaller hook. Insert size B hook at back of heel (6:00 position) from the top of the flip flop toward the bottom of the sole, grabbing the yarn and pulling through to the top of the flip flop and through the slip knot to attach the yarn to the flip flop.
Foundation Round: Continuing with size B hook and color D, ch1, sc in each hole around sole, join with a sl st to first sc. Fasten off. You will work over yarn tails in the next section of the pattern.
Boot Base
Notes:
• IMPORTANT: The base of the boot is crocheted tightly, similar to amigurumi.
• Crochet over tails from the foundation row as you go.
Attach Color A at the 6:00 position. Switch to size K hook.
Round 1: Ch 1, sc in each sc of foundation round, sl st to first sc to join.
Fasten off.
Repeat foundation round and boot base for second flip flop.
Main Boot Pieces
Notes:
• When working the stripes in this pattern, you have two options. If you’re picking up a new color of yarn that’s already attached on the same side of the boot from a previous row, you can either choose to cut the yarn and reattach in the new row, or just gently stretch the yarn up to the new position. Because the yarn between rows can be hidden on the inside of the boot seam, it could save you time to work this way.
Wanna save this pattern?
The downside is that it requires a little more diligence to tuck these extra pieces into the seam as you’re joining the boot pieces together.
In either case, when your yarn needs to stretch across to the opposite side, you’ll want to cut it and reattach. (One workaround to this is just to keep both skeins of Color A yarn attached, one on each side, so you can pick up the strand that’s on the side you’re working.)
• To change colors between rows, complete the final yo of the last sc of the row with the new color. Pattern is written with the assumption that the last sc before a color change will be worked this way.
• The ch 1 at the beginning of each row never counts as a stitch.
• The first nine rows using the size K hook are intended to be worked tightly, similar to amigurumi.
Top of Boot
Make 2.
Foundation: With size K hook and Color A, ch 6.
Row 1 (RS): 2 sc in second ch, 1 sc in each of next 3 ch, 2 sc in last ch; turn. (7)
Row 2 (WS): Ch 1, 2 sc in first sc, sc in each sc across to last sc, 2 sc in last sc; turn. (9)
Row 3 (RS): Repeat Row 2. (11)
✨Unlock this free subscriber-exclusive pattern ✨
Follow these steps to view the full free pattern below
Row 19 (RS): With Color C, repeat Row 11.
Row 20 (WS): With Color A, repeat Row 12.
Row 21 (RS): With Color A, repeat Row 11.
Row 22 (WS): With Color A, repeat Row 12.
Row 23 (RS): With Color B, repeat Row 11.
Row 24 (WS): With Color A, repeat Row 12.
Row 25 (RS): With Color A, repeat Row 11.
Row 26 (WS): With Color C, repeat Row 12.
Row 27 (RS): With Color A, repeat Row 11.
Row 28 (WS): With Color B, repeat Row 12.
Row 29 (RS): With Color B, repeat Row 11.
Row 30 (WS): With Color A, repeat Row 12.
Row 31 (RS): With Color C, repeat Row 11.
Row 32 (WS): With Color A, repeat Row 12.
Row 33 (RS): With Color B, repeat Row 11.
Row 34 (WS): With Color A, repeat Row 12.
Row 35 (RS): With Color A, repeat Row 11.
Row 36 (WS): With Color C, repeat Row 12.
Row 37 (RS): With Color C, repeat Row 11.
Row 38 (WS): With Color A, repeat Row 12.
Row 39 (RS): With Color A, repeat Row 11.
Row 40 (WS): With Color B, repeat Row 12.
Row 41 (RS): With Color A, repeat Row 11.
Row 42 (WS): With Color C, repeat Row 12.
Row 43 (RS): With Color A, repeat Row 11.
Row 44 (WS): With Color A, repeat Row 12.
Row 45 (RS): With Color B, repeat Row 11.
Row 46 (WS): With Color B, repeat Row 12.
Row 47 (RS): With Color A, repeat Row 11.
Row 48 (WS): With Color A, repeat Row 12.
Row 49 (RS): With Color C, repeat Row 11.
Row 50 (WS): With Color A, repeat Row 12.
Row 51 (RS): With Color B, repeat Row 11.
Row 52 (WS): With Color B, repeat Row 12.
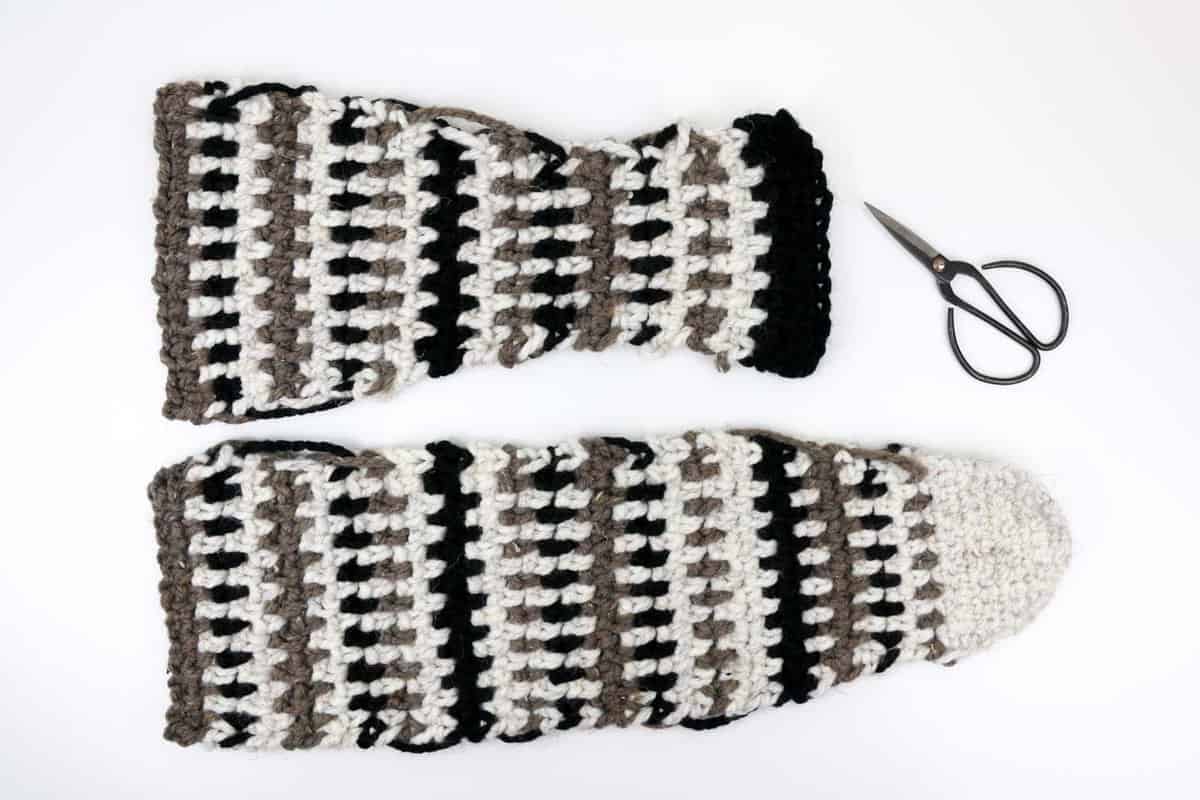
Okay, it's time to move on to Part 2 of the free Taos Crochet Sweater Boots pattern, which you can find right here!
That was so fun! Now what?
Invitation to our Facebook group
Come discuss crocheting slipper boots patterns and lots of other crochet projects and techniques in our Make & Do Crew Facebook group. Here thousands of helpful crocheters answer each others questions and share their stitches. Come join us here.
More Free Crochet Patterns Using Flip Flop Soles
- FAQS: How to Crochet on Flip Flops - and will they fall apart?
- Crochet Boots With Flip Flops Soles
- Lightweight Crochet Slippers with Flip Flop Soles
- Free Crochet Ugg Boot Pattern
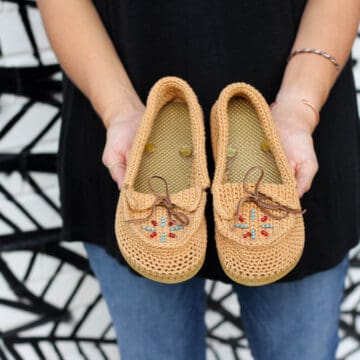
- Crochet Moccasins Shoes
- Crochet Summer Slippers with Flip Flop Soles
- Crochet Espadrilles Pattern
- Crochet Slip On Shoes Pattern
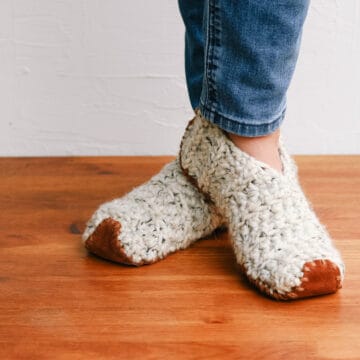
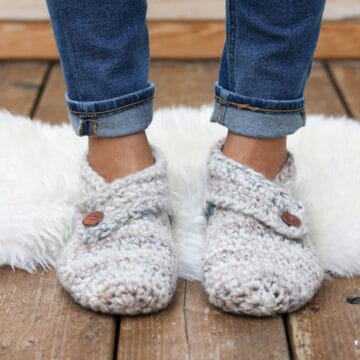
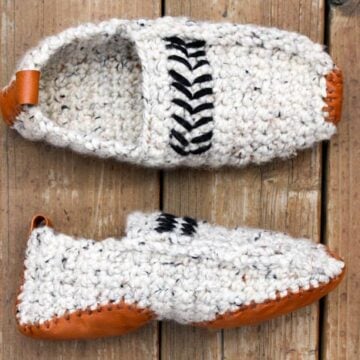
Here are some more free crochet slipper patterns from Make & Do Crew that use flip flops for soles:
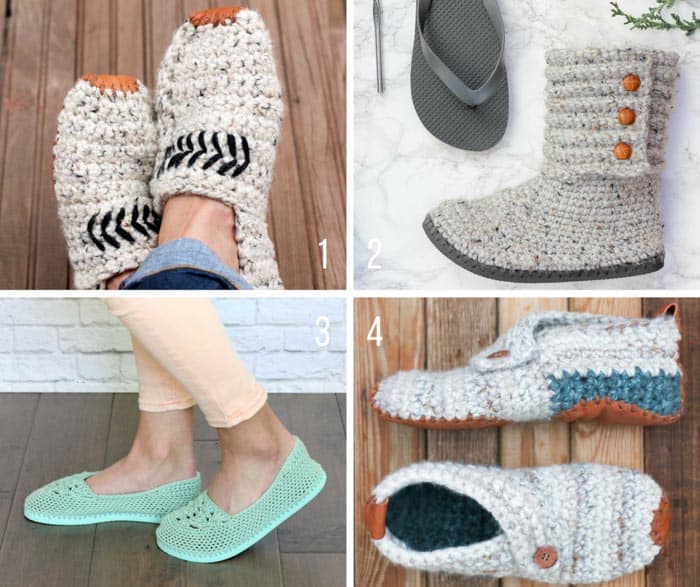
1. Saturday Slippers - Free unisex crochet slipper pattern
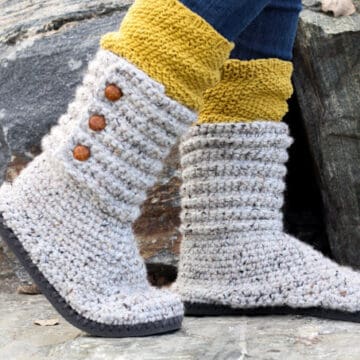
2. Cabin Boots with flip flop soles - free crochet pattern and video tutorial
3. Lightweight Slippers - free crochet pattern and video tutorial
4. Sunday Slippers - free women's crochet slippers pattern

Simone says
Thanks for sharing your beautiful patterns. And thanks also for sharing that "frogging" bit. It was reassuring. Frogging is my middle name :-0
Jess @ Make and Do Crew says
Ooooh yeah, I seriously frog all. the. time.
Kimmie says
Hi, I love these booties! Just made the Sierra for my daughter I put them on a rubber shoe sole with an insole.
She said the heel slipped, I was wondering if you could help me come up with something I could do to prevent that. I didn’t know if making a double heel part to make it stiffer would help, excited to hear from you and your ideas.
Thank you , Kimmie
Jess @ Make and Do Crew says
Hey Kimmie,
Can you explain a bit more about what you mean by "heel slipped"? I'm not sure I know exactly what you mean. I'm happy to help try to brainstorm if you can give me a few more details.
Thanks!
Jess
Kimmie says
Hi Jess, she said the heel needs to be tighter or thicker, Like its being walked down. Thank you
Virginia says
I would like to make these in a solid color. Do I still need six skeins of yarn?
Jess @ Make and Do Crew says
Hey Virginia,
As written, you'll need four skeins of yarn, but if you use only one color, you might be able to use only 3. I'm not exactly sure because I haven't tried it, but I think it's likely that you'll have enough yarn with 3. 🙂
Jess
Jess says
Your best yet! They are amazing!!! I am so glad you didn't settle on the first try.