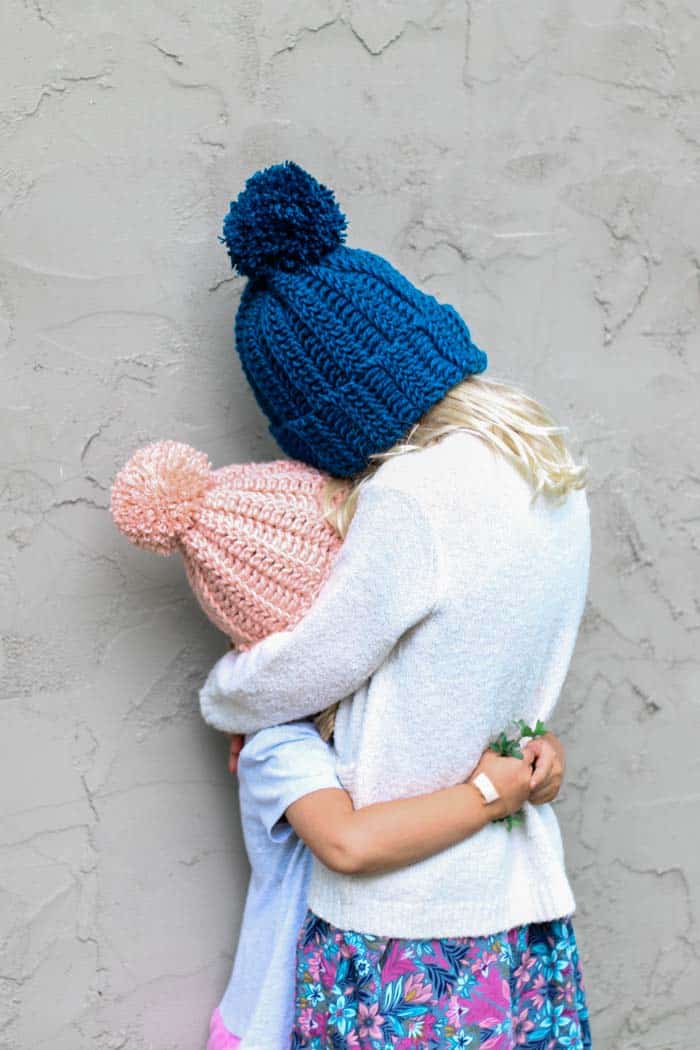
This slightly slouchy easy child's crochet hat pattern works up in about an hour. It's a perfect beginner crochet hat for kids because it's made from a simple rectangle.
Get the free pattern below in sizes preschool (toddler), child, and even adult, or purchase the ad-free, printable PDF.
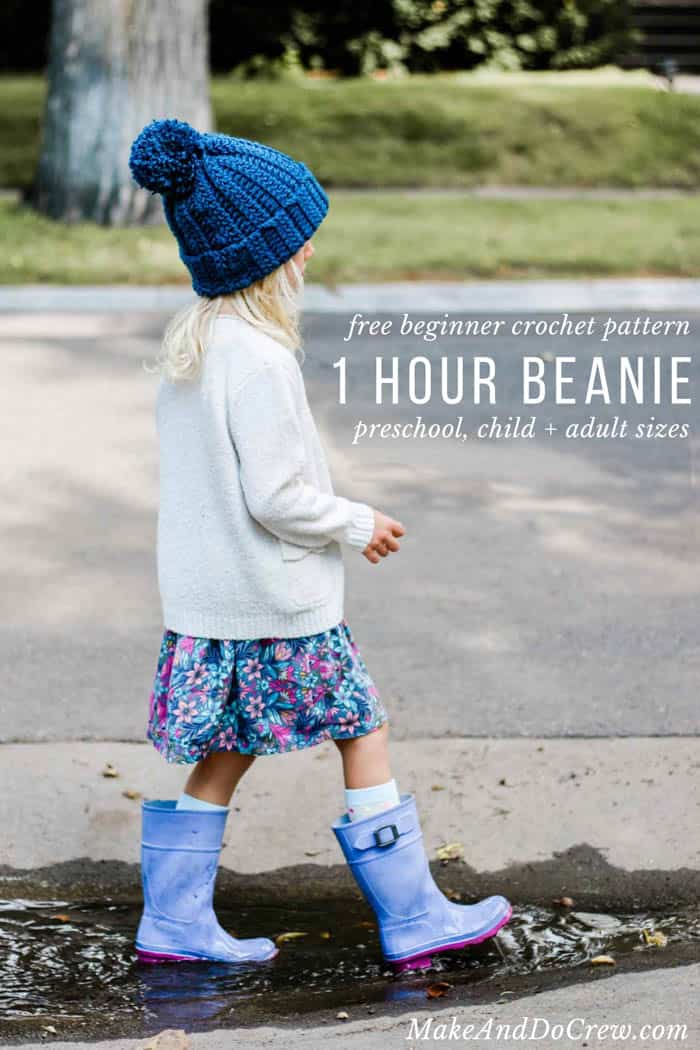
This easy child's crochet hat pattern is part of a collaboration Lion Brand Yarn. This post contains affiliate links.
Jump to:
- Kids Crochet Hat Pattern With Toddler Sizes
- Skills You'll Practice
- Recommended Yarn For Making a Kids Beanie
- Pattern Preview Video
- 1 Hour Child's Beanie - Free Crochet Toddler Hat Pattern
- Frequently Asked Questions
- More Free Modern Crochet Patterns for Babies and Kids
- That was so fun! Now what?
- Invitation to our Facebook group
- How to Crochet a Toddler Hat
Kids Crochet Hat Pattern With Toddler Sizes
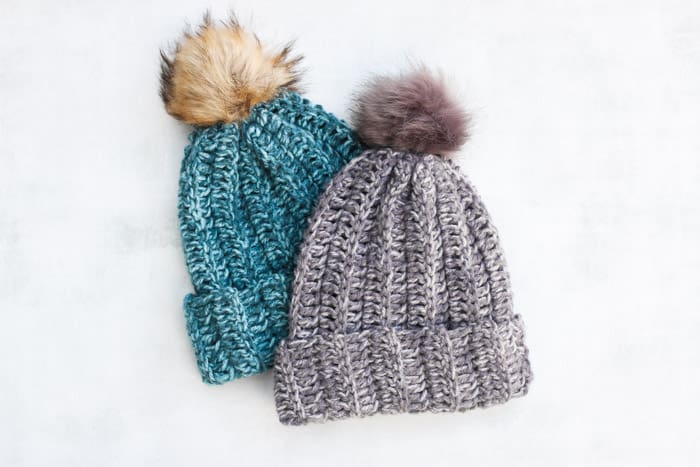
This extremely easy child's crochet hat will be ready for whatever you need it, whether it’s Christmas crunch time or there’s snow in the forecast for the first time in years.
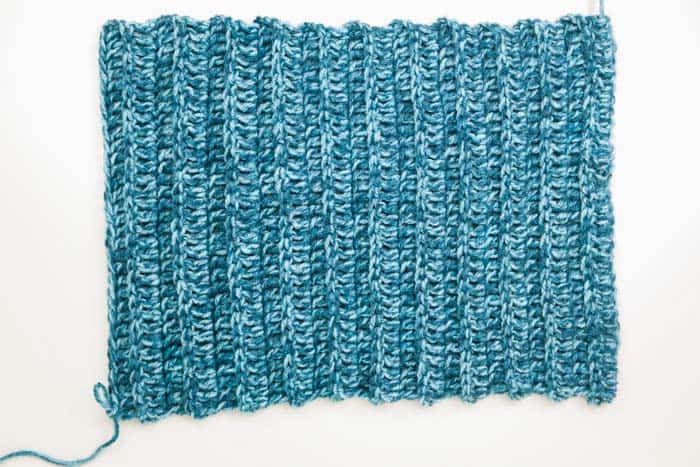
It’s worked flat in a rectangle and then seamed to form a beanie, making this a super speedy, mindless project to whip up in. Finish the toddler size hat in about an hour. The child and adult beanies take just a few minutes longer.
Skills You'll Practice
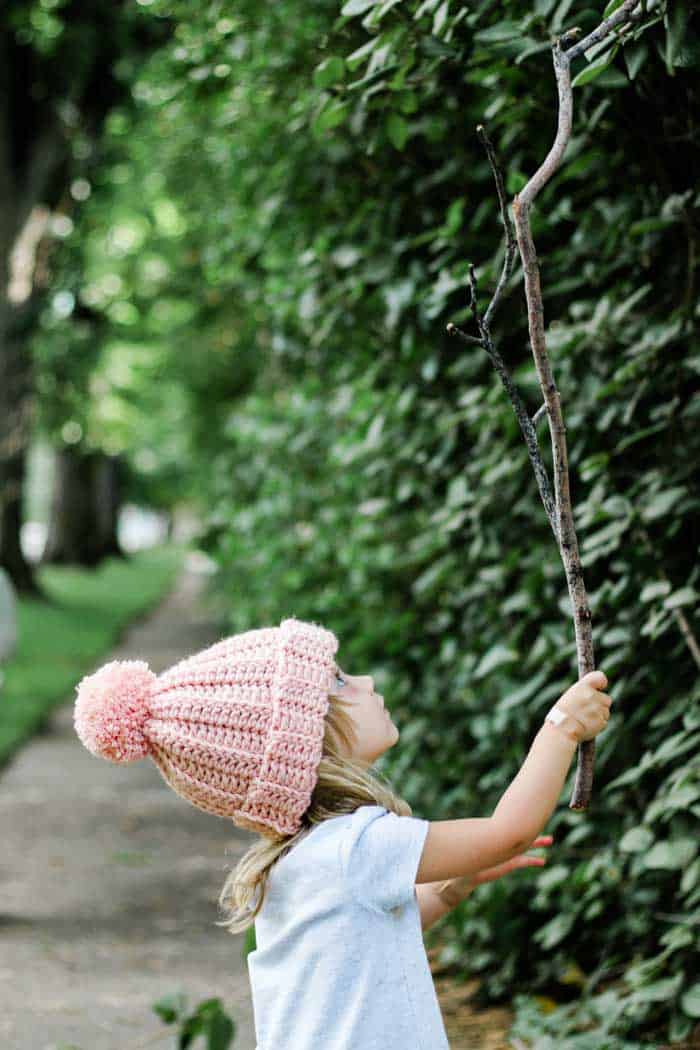
Crocheting this kids hat will allow you to practice double crochet and seaming, which are covered in the tutorial below. This is a very beginner-friendly crochet hat pattern for boys or girls!
Recommended Yarn For Making a Kids Beanie
To crochet this simple beanie, you'll need a CYC category #5 yarn. A category 5 means it's chunkier than a worsted weight yarn, but not so bulky that your kid's ears will sweat off.
This weight of yarn allows you to whiz through projects while maintaining some lovely stitch definition and flexible fabric texture--perfect for adding a little slouch to this kid's crochet beanie pattern!
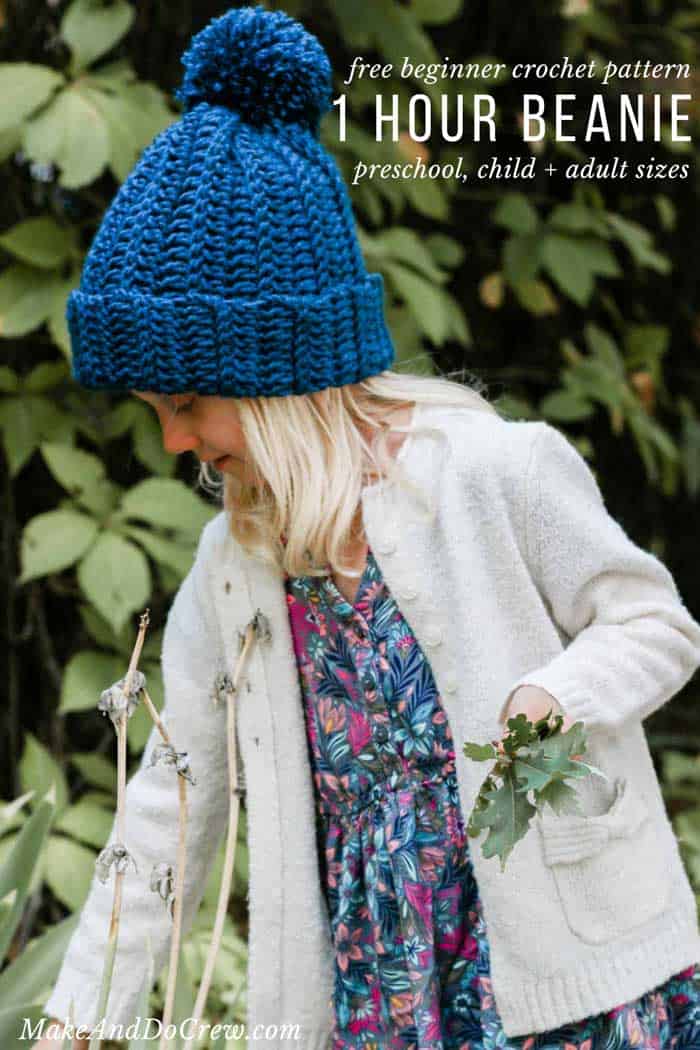
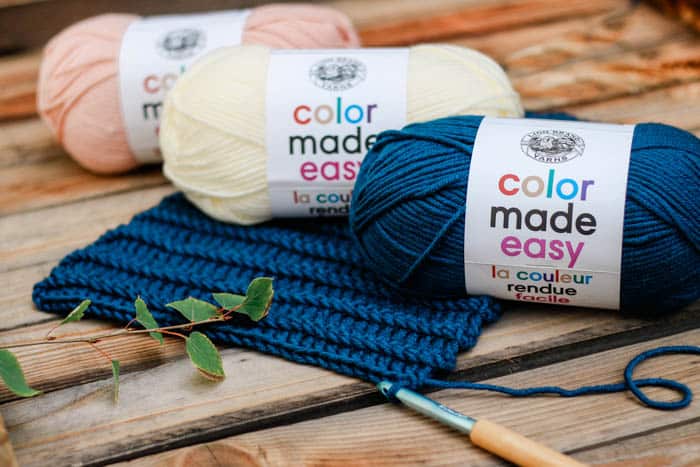
The yarn I used in the crochet toddler hat pictured here is called Color Made Easy and it delivers on its name with a beautiful palette of modern, hip colors.
Unfortunately, it's been discontinued. I now recommend Lion Brand Hue + Me as a great alternative.
Related: 35+ Easy Chunky Beanies to Crochet
Pattern Preview Video
If you'd like to see me whip up one of these crochet hats in just one hour (or actually, in just one short one-minute video), I've included a fun timelapse of this pattern coming together below.
1 Hour Child's Beanie - Free Crochet Toddler Hat Pattern
Supplies:
• Lion Brand Color Made Easy (Weight: 5/bulky - 247 yds, 7 oz) – 1 ball
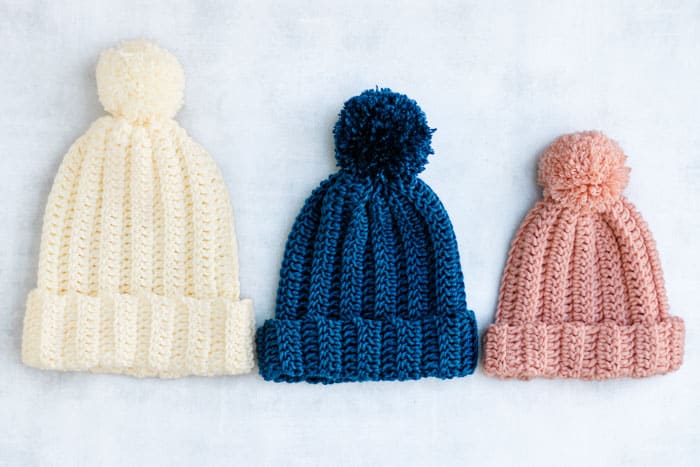
- Colors pictured: Millennial (195-194), Huckleberry ((195-110) and Alabaster (195-098)
• Tapestry needle
• Size L (8 mm) crochet hook
• Stitch markers or safety pins
• Fur pom pom or pom pom maker/small piece of cardboard
Sizes + Yarn Required:
When choosing your hat size, follow the guidance below to determine how much yarn you need.
| Hat Size | Head Size | Yarn Amount Required |
| Preschool / Toddler | 18-20" circumference | approx. 125g |
| Older Child | 19-21" circumference | approx. 160g |
| Adult | 21-23" circumference | approx. 200g |
Notes on sizing: This pattern is quite forgiving in fit. If a slouchier fit is desired, create foundation chain for next size up, but work total number of rows for appropriate size. This will require additional yarn.
Gauge:
5.25 rows = 4”
11 dc = 4”
Abbreviations and Glossary (US Terms):
ch – chain
dcblo – double crochet through the back loop only
tch – turning chain
st – stitch
sk - skip
RS – right side
WS – wrong side
rep – repeat
Helpful Resources + Tutorials:
If you're new to learning how to crochet, check out these beginner guides that will level-up your skills.
- Crochet Supplies - what to buy and what you can skip
- How to Read Crochet Patterns - tackle your next project with confidence
- How to Check Your Crochet Gauge - skipping this step is a common beginner mistake
- How to Weave in Your Ends - make this necessary evil less painful with these tips
- Blocking Your Crochet - why it matters and how to do it
How to Crochet a Hat for Beginners - Video Tutorial
You can learn how to crochet a hat even if you're a complete beginner.
Wanna save this pattern?
In this ribbed beanie tutorial, you'll find a step-by-step video tutorial that covers each part of the pattern slowly and clearly.
While the stitch counts in the video tutorial differ from the kids pattern below, this tutorial is still an excellent resource for learning how to make this easy child's crochet hat pattern (or the adult size too!)
Watch the video tutorial! learn how to crochet a rectangle beanie ⇨
Notes:
• Pattern is written in smallest size with larger sizes following in parenthesis. Preschool (Child, Adult)
• Depending on your crochet experience, plan for the preschooler size to take about an hour to create and the larger sizes 15-45 minutes longer.
• To substitute a yarn, try holding two strands of worsted weight together. In this case, it’s a good idea to make a small gauge swatch to ensure the hat will fit.
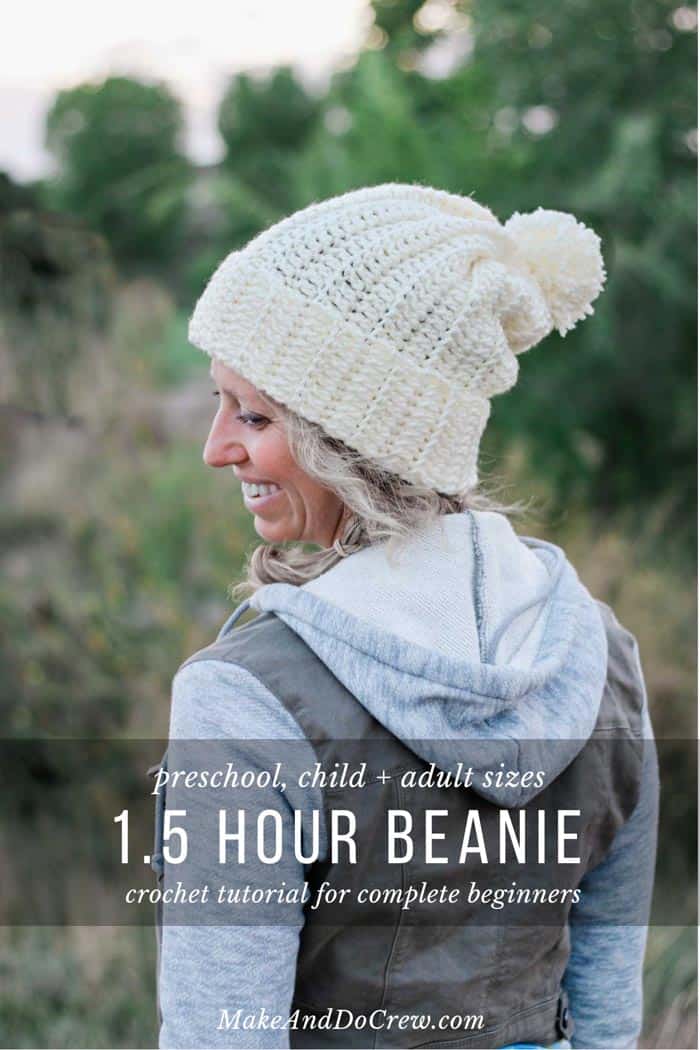
• Find a video tutorial covering all the skills (just with different stitch counts than those listed below) in the 1.5 Hour Beanie pattern.
Main Hat Rectangle:
Notes:
• This toddler beanie crochet pattern is worked back and forth in rows and seamed at the end. These rows will become the vertical ribs on the hat.
• The ch 3 at the beginning of each row doesn’t count as a st.
• After Row 1, the double crochet stitches are worked only under the back loop of the stitch from the previous row. This is always the loop farthest away from you, regardless of which side of the crocheting is facing you. (This is called dcblo.)
Foundation Row: Ch 30 (34, 42).
Row 1: 1 dc in the fourth ch from the hook and each ch to end of row; turn. (27 (31, 39)
Row 2: Ch 3, dcblo in each dc to end of row; turn. (27 (31, 39)
Rep Row 2 20 (22, 24) more times to create a total of 22 (24, 26) rows.
✨Unlock this free subscriber-exclusive pattern ✨
Follow these steps to view the full free pattern below
Closing Top of Hat:
Using tapestry needle and strand of yarn left over from previous seam, whip stitch around the top of the hat, working one whip stitch into each crochet row. Tighten circle and use tapestry needle to sew up any remaining opening in top of hat.
Related: Stylish Crochet Sun Hat Patterns for Kids + Adults
Attaching Pom Pom to the Crochet Kids Beanie:
Create a pom pom with a large pom pom maker or 2.5” piece of cardboard. See a step-by-step pom pom tutorial here.
Use tail from seam to sew fur or yarn pom pom to hat.
Fasten off and weave in ends.
Congratulations
Woohoo, you made your own children's crochet hat from a rectangle! Give your hook a high five and start planning your next project.
Pop your new kids beanie on their noggin' and get to work on making one for everyone you know!
Frequently Asked Questions
We've gathered the most common questions about how to make a children's crochet hat. Read on to learn the answers.
Measure the circumference of your child's head. Take the measurement roughly half an inch above the eyebrows, where the hat will sit. That measurement tells you how wide your hat needs to be, so you can make it in the right size for your child.
The pattern tells you exactly how many stitches to chain depending on the size of your hat. To make this pattern for a toddler, you'll need 30 stitches in your foundation chain.
More Free Modern Crochet Patterns for Babies and Kids
If you liked making this kids beanie, you might love some other free crochet patterns for little ones from Make & Do Crew! You can always find all our free patterns here.
- "Aspen Socialite" Free Crochet Headband Pattern (Baby-Adult Sizes!)
- 2-Hour Easy Crochet Slippers for Complete Beginners
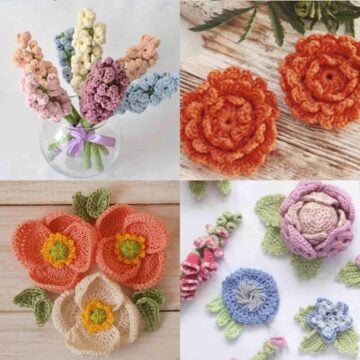
- How to Make Crochet Flowers for Beginners + 33 Easy Patterns
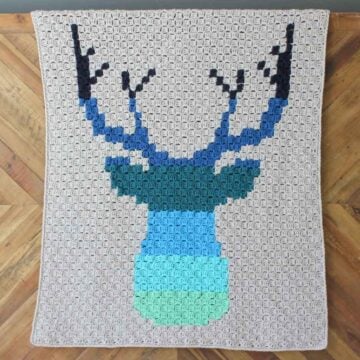
- Corner to Corner Crochet Deer Afghan - Free C2C Pattern
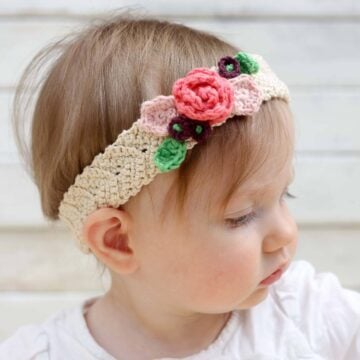
- Free Crochet Flower Headband Pattern (Baby, Toddler, Child, Adult)
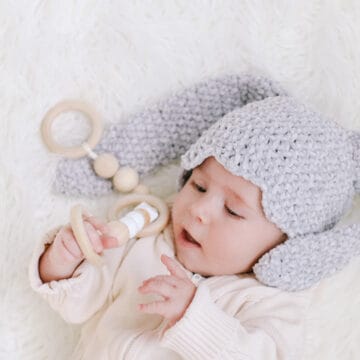
- Free Crochet Bunny Hat Pattern (Newborn, Baby, Toddler, Child)
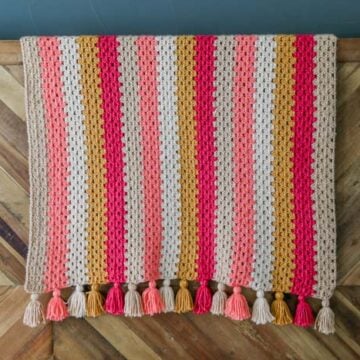
- Modern Crochet Granny Stitch Blanket - Free Pattern!
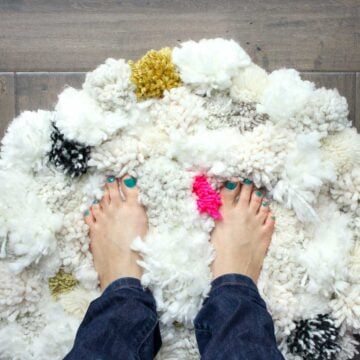
- How To Make a DIY Pom Pom Rug
That was so fun! Now what?
Invitation to our Facebook group
Come discuss crocheting hats for kids and toddlers, and lots of other projects and techniques in our Make & Do Crew Facebook group. Here thousands of helpful crocheters answer each other's questions and share their stitches.
How to Crochet a Toddler Hat
Materials
Yarn
- Lion Brand Color Made Easy Weight: 5/bulky - 247 yds, 7 oz – 1 ball
- Millennial 195-194
- Huckleberry ((195-110)
- Alabaster (195-098)
Additional Supplies
- Tapestry needle
- Size L 8 mm crochet hook
- Stitch markers or safety pins
- Fur pom pom or pom pom maker/small piece of cardboard
Abbreviations + Glossary (US Terms)
- ch – chain
- dcblo – double crochet through the back loop only
- tch – turning chain
- st - stitch
- sk – skip
- RS – right side
- WS – wrong side
- rep – repeat
Abbreviations and Glossary (US Terms):
Want some company while you crochet?
Get support (and camaraderie!) in the Make & Do Crochet Crew Facebook Group. Search “Make and Do Crochet Crew” on Facebook.com.
Permissions + Copyright
Please do not publish or share this pattern as your own. You may make items to sell with this pattern. In exchange, please link back to this page. Do NOT use my photos as your own sales photos.
Overall Pattern Notes
Instructions
How to Crochet an Easy 1 Hour Toddler Hat - Pattern Overview
- Start with the main hat rectangle with the Foundation Row: Ch 30 (34, 42).
- Row 1: 1 dc in the fourth ch from the hook and each ch to end of row; turn. (27 (31, 39)
- Row 2: Ch 3, dcblo in each dc to end of row; turn. (27 (31, 39)
- Rep Row 2 20 (22, 24) more times to create a total of 22 (24, 26) rows.
- Fasten off, leaving a 24” tail.
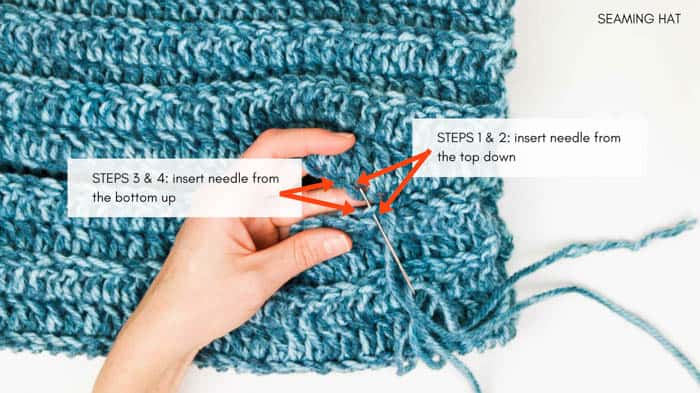
- Seam rectangle by laying the rectangle horizontally with the WS facing up. Use stitch markers or safety pins to pin seam if desired.
- Thread tapestry needle with tail from fastening off.
- Tie a simple sewing knot by inserting needle in crochet fabric to create a loop of yarn, then inserting needle through loop of yarn and pulling tight.
- Using tapestry needle and strand of yarn leftover from previous seam, whip stitch around the top of the hat, working one whip stitch into each crochet row. Tighten circle and use tapestry needle to sew up any remaining opening in top of hat.
- Create a pom pom with a large pom pom maker of a 2.5" piece of cardboard.
- Use tail from seam to sew fur on yarn pom pom to hat.
- Fasten off and weave in ends.
- Pop your new ribbed beanie on your noggin' and get to work on making one for everyone you know!


Estelle says
Hi Jess @make and do.
Im a first time learner to crochet dont you have paterns in diagram please .
Thank for sharing your patterns .
Estelle
Meryl Williamson says
You have absolutely no idea how much I, as a South African, appreciate the gesture of sharing patterns for free. Our currency is extremely weak,and your generosity is not taken for granted.
I have made several of these beanies and the recipients were delighted. For some or other reason, I am really battling with pom poms - any pearls of wisdom for me? They seem to be all floppy and messy!
Rebekah Muffatti says
How can I share a photo with you? Would love to show you how mine turned out 🙂
jan oliver says
love that this
is a quick pattern that I can use to make many hats for the homeless!
Yolanda says
Me encantan sus proyectos gracias por compartir saludos desde Colombia
Marina Matthews says
Thanks a lot for this pattern! I have made sooo many hats and they never ever end up fitting or looking the way I hoped. But I nailed tjis one! Although I had to adjust the size because my daughter’s head is small for her age and she did not want it that high or bulky, also I never have the right kind if yarn. But it worked and I am really happy with it!
Lauriice says
I am having the same problem as Mary Ann Parker with closing the beanie and the size. The 19" is right but not 14". What am I doing wrong and how do I make the pom pom on the top?
Melinda says
I just love this pattern! I've made four hats so far for gifts for ladies. I was wondering if it works well for men as well.
Jean J. says
Just finished all my Christmas shopping and all slippers, scarves, and shawls completed. This hat pattern came at just the right time. THANK YOU! Now I can use my leftover yarn for matching hats! Then I'm really done!!! LOL
Leola Fuller says
I am sharing in your joy that you are done with your Christmas shopping. Of course! I am mostly impressed with the hand made items. I hope the recipients are appreciative? I crochet very well but I don’t crochet fast. And, because I crochet by inspiration, I have several ongoing projects. You have inspired me to finish up these incomplete birthday, anniversary, wedding gift, etc gifts and deliver them for Christmas. Now won’t that be smart?
Thanks to MakeandDo for sharing!!!
Kathryn says
Hi! Is this in inches?
MaryAnn Parker says
Hello and thank you for such a cute pattern! I have read directions several times , very easy.
Here is my problem. I am using a bulky yarn and size 11 hook as directed. But when I make the foundation row 39 dbl. crochet, the vertical lines wind up going the 19” length not the 14” length. If I were to fold it in half I would wind up with 3 open sides for lines to go vertical as you show in pictures.
This is a simple pattern, what am I doing wrong?
Thank you
Rebecca says
You need a shorter foundation row if you are using a thicker yarn. You will likely need to experiment until your piece is 14 inches long. Good luck!
P.S. Write down how many chains you used for your foundation so you can do it again if you want to.
Jen says
That sounds like it's a problem with your gauge. Not everyone's tightness and stitch sizes are the same. Most patterns, including this one, include measurements so you can check your gauge and adjust accordingly so that you wind up with the same measurements.
Work up a 4 inch square in the yarn with your hook, and count stitches. It should match the gauge given in the pattern:
Gauge:
5.25 rows = 4”
11 dc = 4”
If not, then you'll need to either size up or down to get the desired effect.
Kellie J says
How do I calculate number in chain stitch and number of rows for a teenager?