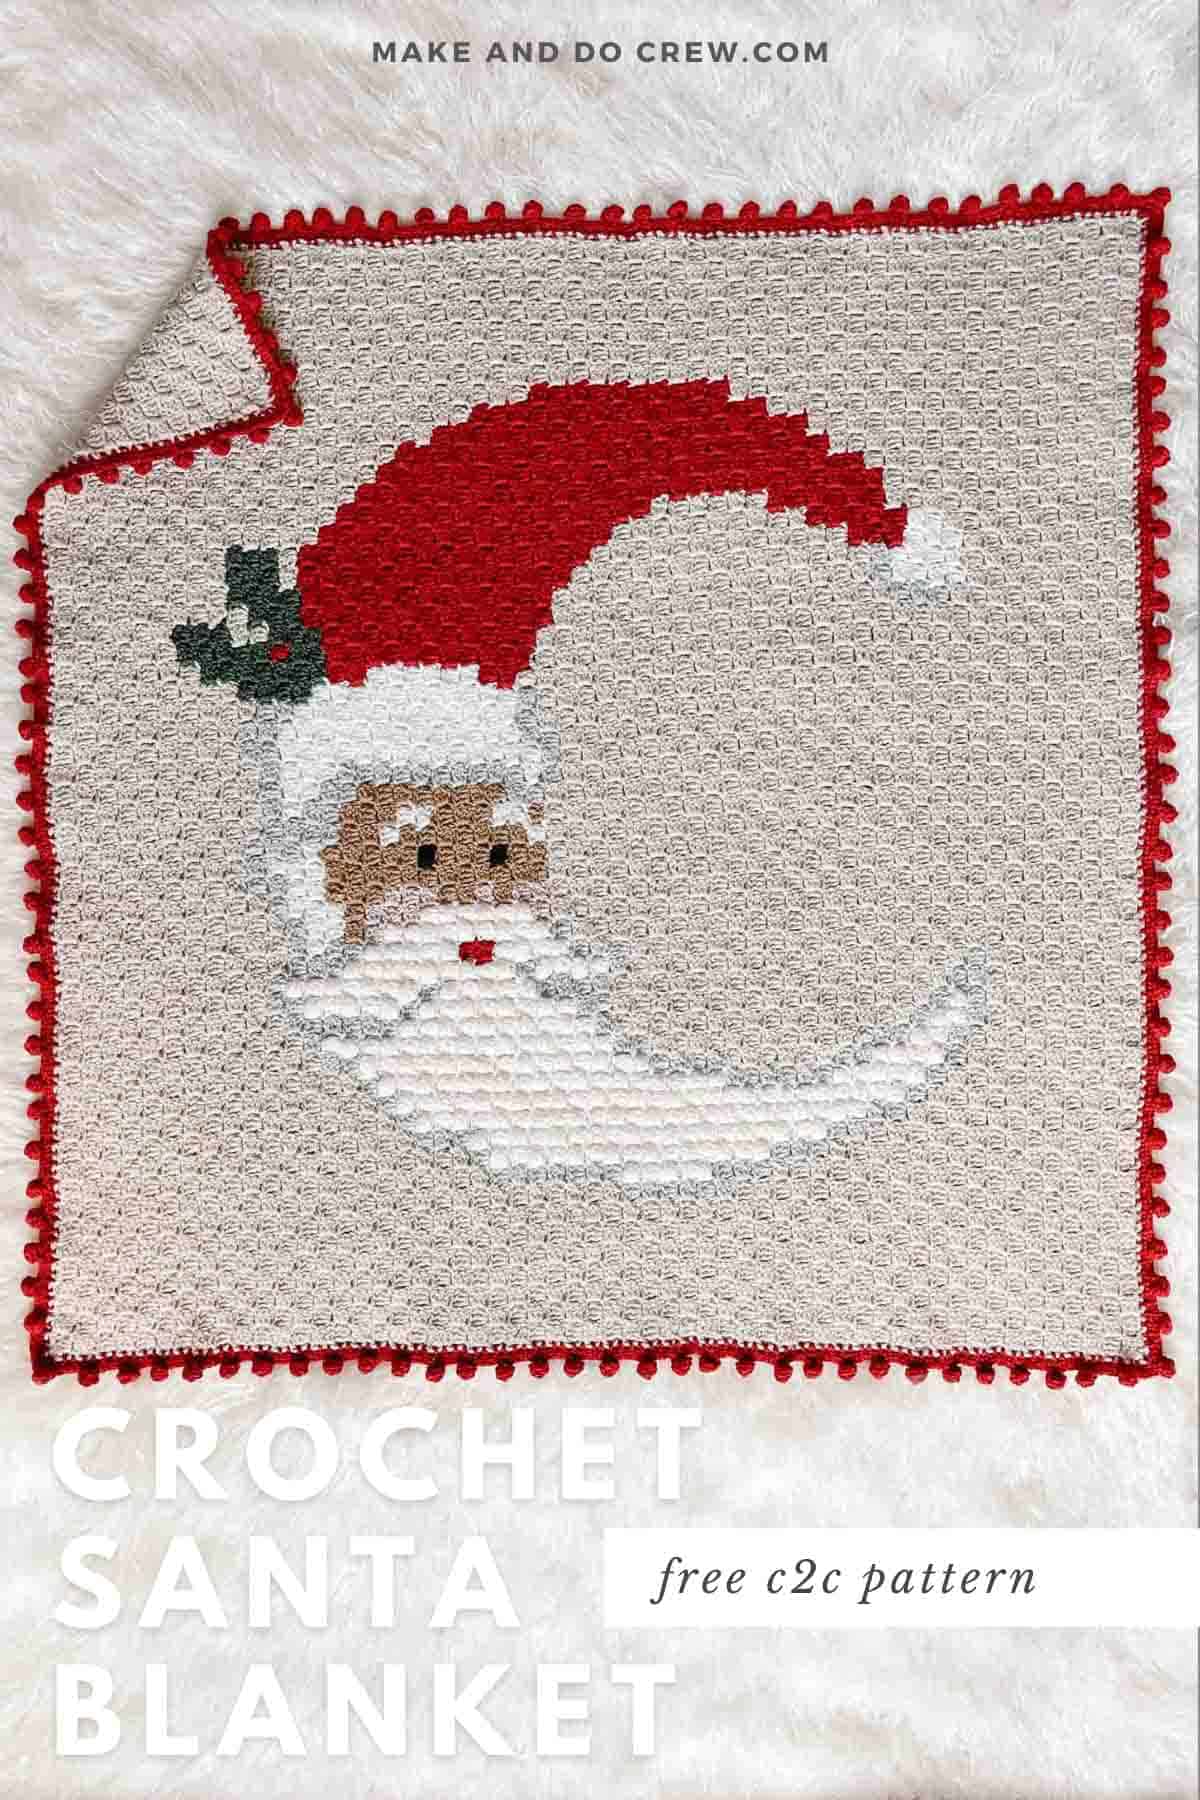
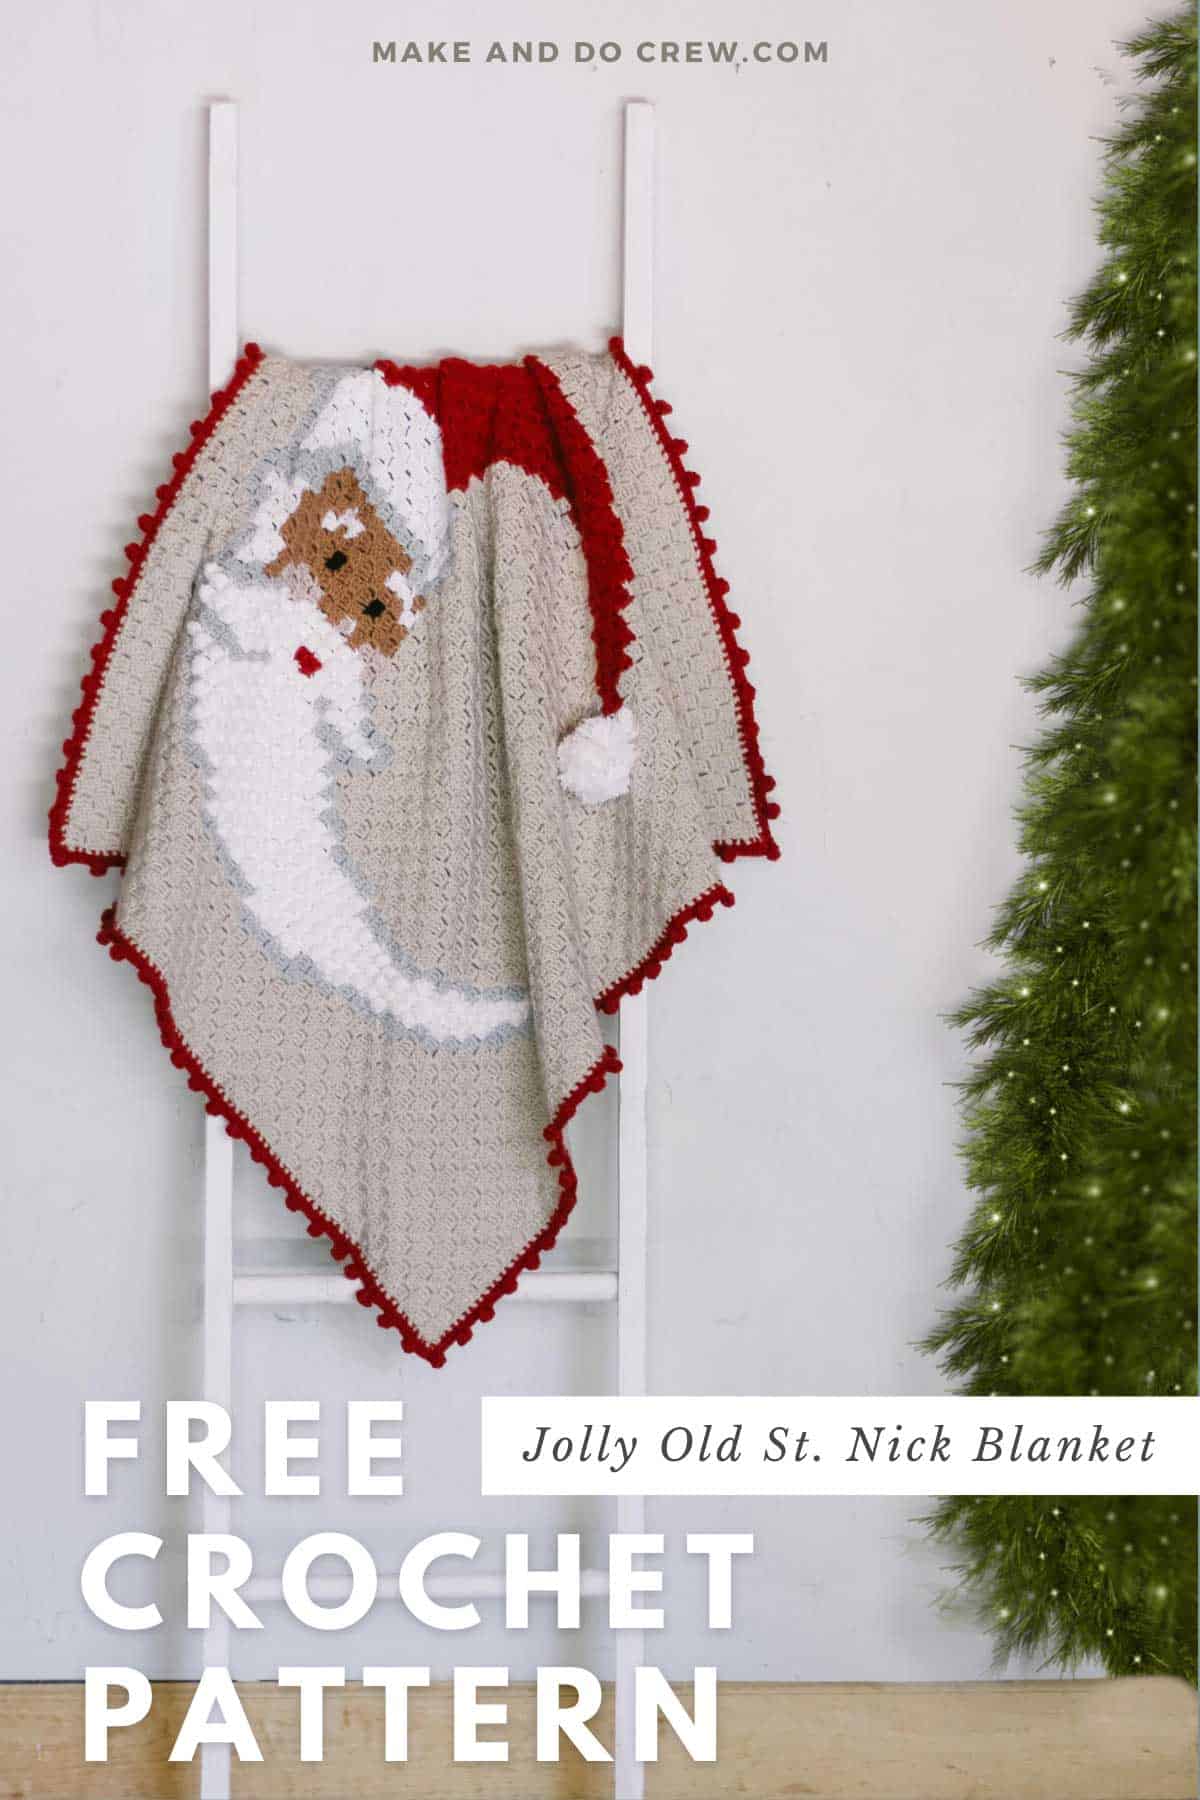
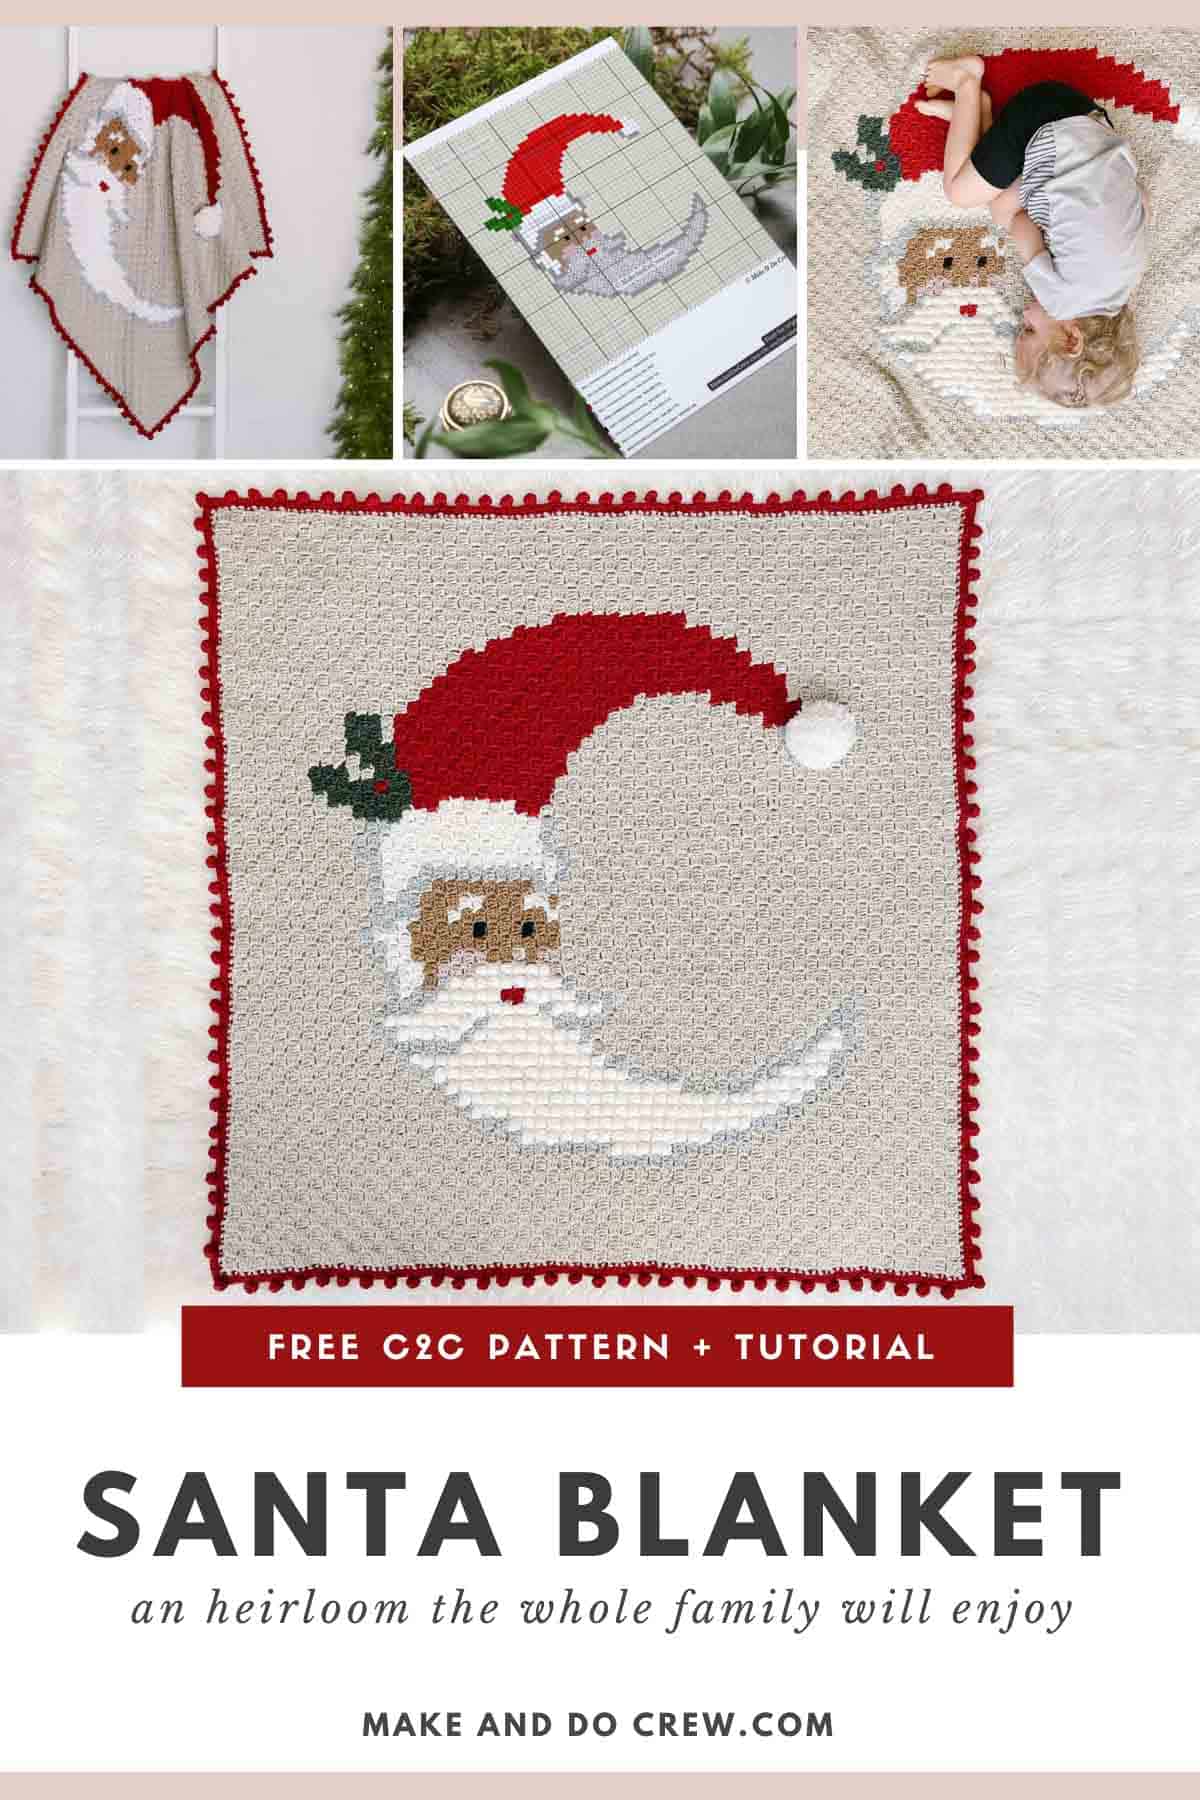
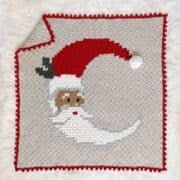
This corner-to-corner crochet Santa blanket is sure to become a family favorite! The free pattern is below or you can purchase the ad-free, printable PDF here.
This C2C crochet Santa pattern is part of a collaboration with Lion Brand Yarns. This post contains affiliate links.
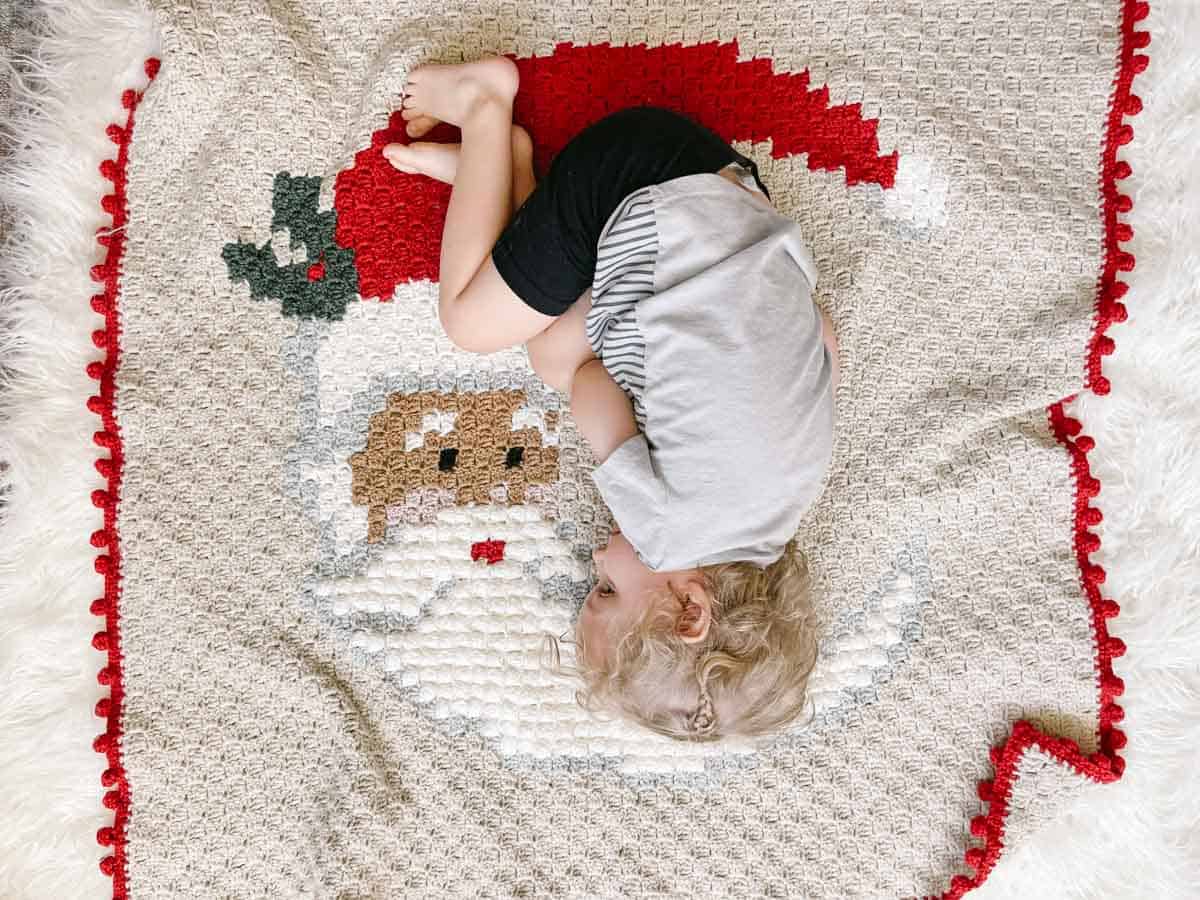
Crochet a Christmas family heirloom blanket featuring St Nick! Using a combination of typical corner to corner crochet stitches and unique popcorn stitches, you’ll crochet a blanket that will become a part of your family Christmas traditions for years to come.
Keep reading for more yarn and inspiration details or jump down to the free pattern.
Jump to:
Why you + your family will love this!
RELATED: Modern C2C Crochet Christmas Blanket Pattern - 9 Unique Designs
Pattern overview
This corner-to-corner crochet Santa blanket is an intermediate level C2C pattern. You should have some experience with corner-to-corner crochet before attempting this project, but with a little effort, you'll have a crocheted Santa blanket in no time!
In the Jolly Old Saint Nick Blanket pattern, you'll have an opportunity to practice changing colors in C2C crochet, crocheting a corner-to-corner popcorn stitch and adding a bobble stitch border.
If you're completely new to this fun technique, be sure to check out our Beginners Guide to Corner-To-Corner Crochet.
And if you're already a C2C crochet pro, you'll love this tutorial on how to design your own corner-to-corner crochet graph patterns.
Video preview
Get a closer look at the Jolly Old Saint Nick Blanket as you prepare to crochet your own C2C Santa.
(If you have an ad-blocker running, you'll need to disable it to view the video.)
Yarn + substitutions
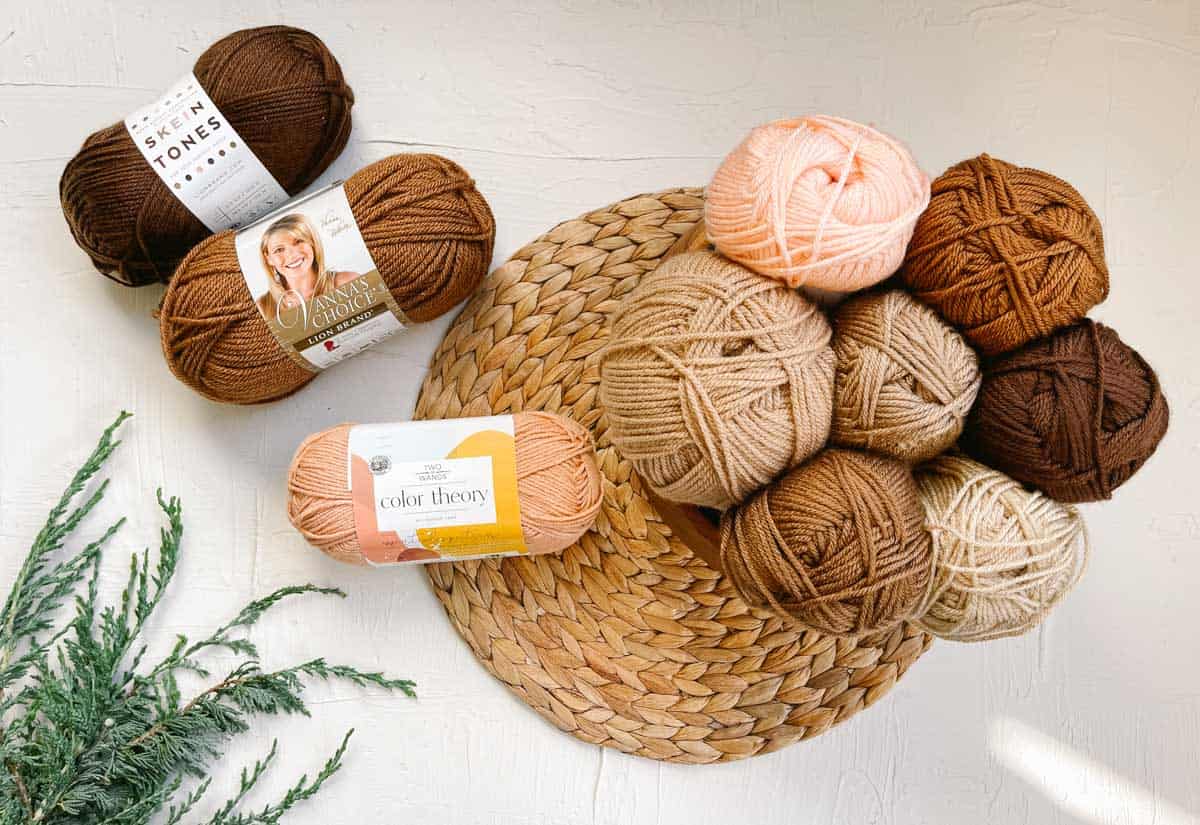
Sourcing Accent Colors - To crochet this C2C Santa pattern, you can use any washable worsted weight yarn. Since you won't need a large amount of some of the accent colors like black, green and pink, it's a great opportunity to shop your stash and use up some scraps.
Choosing a Skin Tone - Part of the joy of crocheting your own St. Nick is that you can customize the skin color to suite your vision of the old jolly fellow. I've found that Lion Brand's Basic Stitch Anti-Pilling has one of the widest ranges of "skin colored" yarns and as the name suggests, it really does resist pilling. See all the colors of Basic Stitch here.
Lion Brand's Vanna's Choice also offers some great skin toned yarns. The thickness is nearly identical to Basic Stitch so you can combine colors from both lines of yarn in one blanket very easily.
SUBSTITUTIONS: If Basic Stitch and Vanna's Choice are not available near you, you can check YarnSub.com for similar suggestions.
It can be very helpful to wind smaller balls of each color before attaching a new color. This allows you to keep the color attached when it will be used in the next row and avoid carrying contrasting colors underneath as you work.
While you can exclusively follow the free C2C Santa graph pattern, following along with the written instructions in the premium PDF can make the process much faster and help you avoid counting mistakes.
RELATED: How to C2C Crochet With Multiple Colors With WAY Less Frustration
Customizing your Santa Blanket
There is a lot of opportunity to personalize your family's Christmas blanket. Here are a few ideas:
More Free Christmas Crochet Patterns
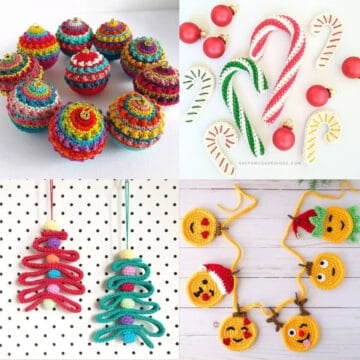
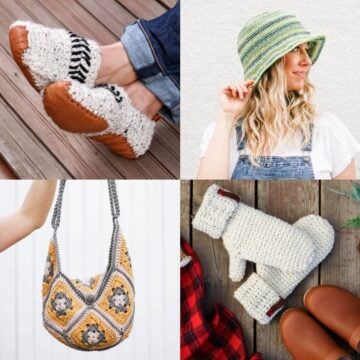
From tree ornaments to c2c crochet patterns to adorable elf hats with ears, we've got you covered with many more crochet patterns for Christmas. We also have loads of quick gifts to crochet and gift ideas for crocheters to add to your own list (hint!)
See more free Christmas crochet patterns →
RELATED: Plan your dream temperature blanket project this January
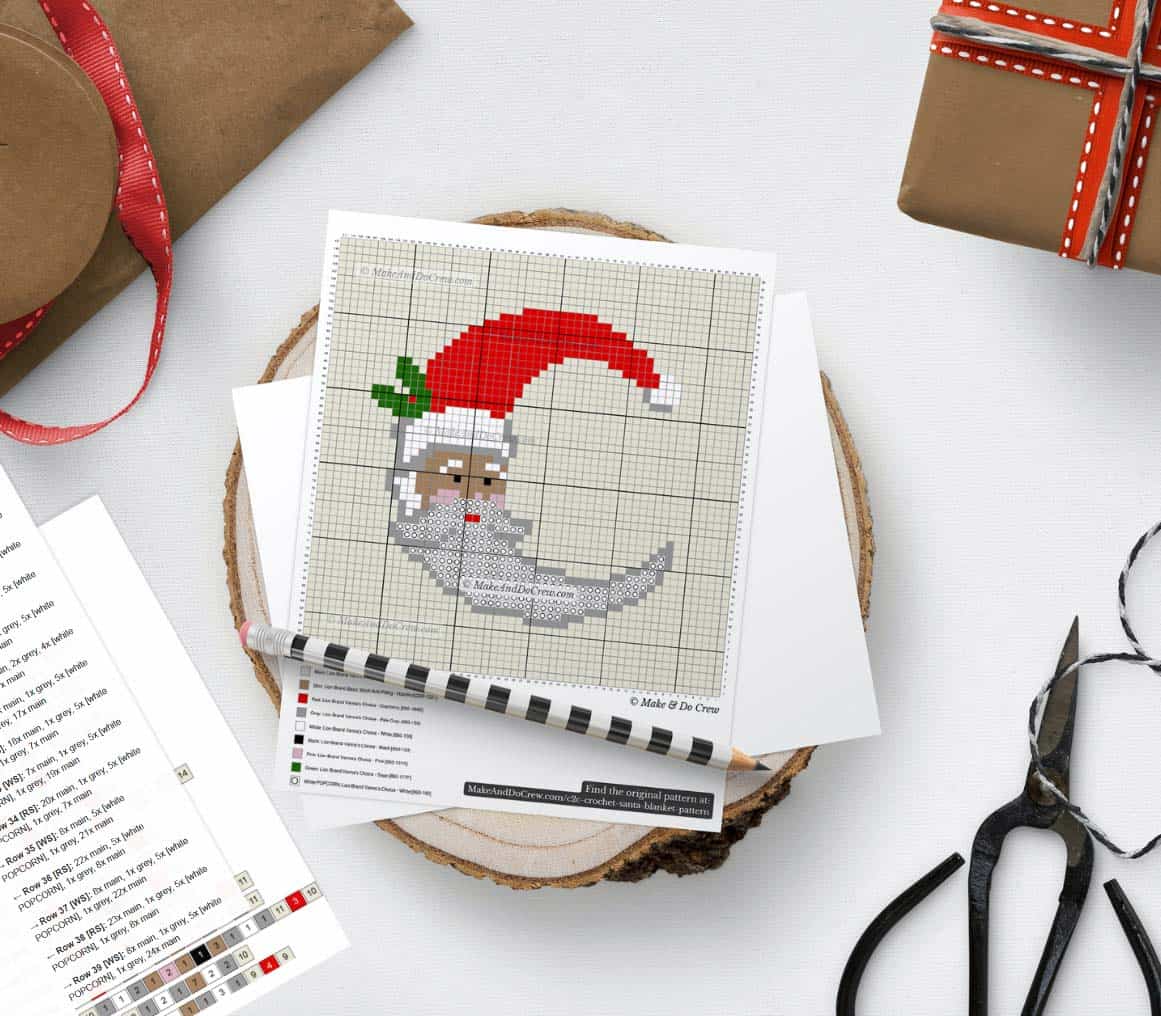
Line-by-line printable instructions
We are so grateful to those of you who support our small business by upgrading to the premium printable versions of our patterns, so we add extra bonuses whenever possible.
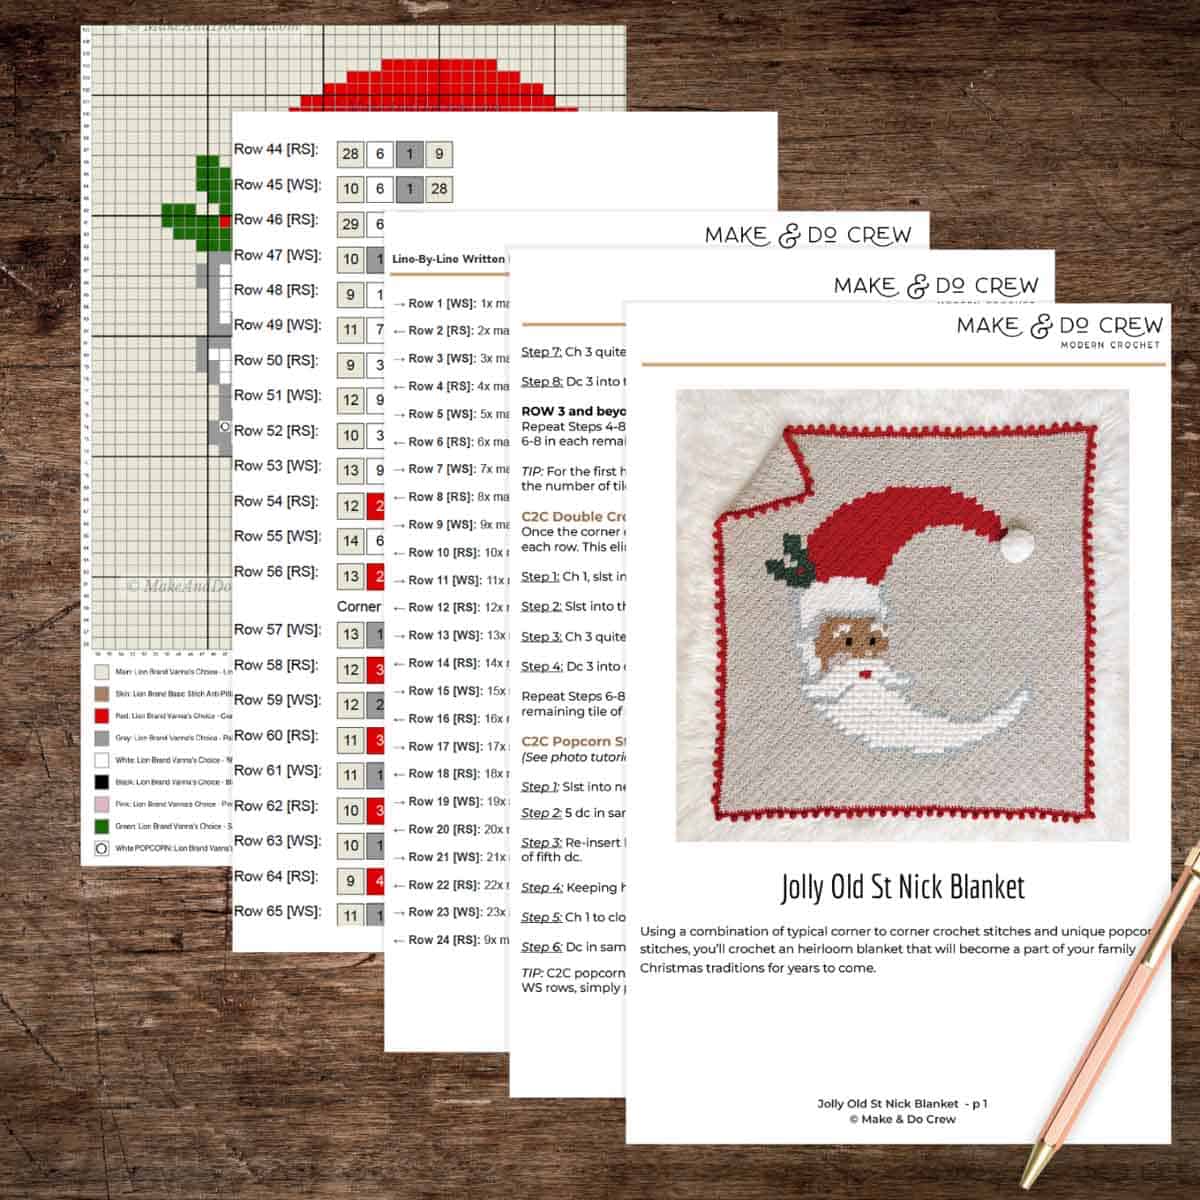
In the case of the Jolly Old St. Nick Blanket PDF, we compiled line-by-line written instructions to complement the graph pattern. And if you're a visual learner, you'll love the option of following allow with the line-by-line color block instructions instead.
Line-by-Line written or color block instructions are incredibly helpful because they:
- Reduce the likelihood of mistakes that need to be torn out.
- Allow you to crochet much faster than if counting squares in a graph.
- Make it easier to set down your work and know right where to pick the pattern back up.
Get the Santa blanket graph pattern, the written instructions, alternative color block instructions and all the tutorial photos in the downloadable Jolly Old St. Nick PDF.
Related: Design Your Own Project with These Easy Blanket Stitches
Free pattern
Great free option.
- C2C santa pattern graph only.
- Printable.
- Cross off each graph row as you crochet.
Premium PDF
Easier, faster with fewer mistakes.
- Includes line-by-line written instructions for each graph row.
- Saves time and mistakes.
- Graph pattern included as well.
All-in-one kit
If you don't live near amazing yarn stores or if you just like to get fun packages in the mail, the all-in-one crochet kit is a perfect way to make your Jolly Old St. Nick Blanket. This bundle from Lion Brand includes all the yarn you'll need, plus a bonus printable PDF of the pattern with line-by-line instructions (delivered digitally).
When you order the kit, you're able to customize any yarn colors to suit your preferences, including the "skin" color of Santa's face. Check out the Santa blanket crochet kit here.
C2C Crochet Santa Blanket
Free Pattern
Explanation:
Using a combination of typical corner to corner crochet stitches and unique popcorn stitches, you’ll crochet an heirloom blanket that will become a part of your family Christmas traditions for years to come.
Inspiration:
This C2C crochet Santa design was inspired by a few crescent shaped cross stitch designs I came across like this, this and this. Learn more about how to design your own C2C crochet patterns here.
Supplies:
Order an all-in-one kit from Lion Brand here.
• Lion Brand Vanna’s Choice (Weight: 4/medium - 170 yds, 3.5 oz, 100g)
- Black: Black [860-153] - 1 skein (3g)
- Red: Cranberry [860-180E] - 2 skeins (180g)
- Main Color: Linen [860-099H] - 8 skeins (720g)
- Grey: Pale Grey (860-150) - 1 skein (40g)
- Pink: Pink [860-101A] -1 skein (4g)
- Green: Sage [860-177F] - 1 skein (12g)
- White: White [860-100] - 3 skeins (225g + an additional 60g for optional pompom)
• Lion Brand Basic Stitch Anti-Pilling Yarn (Weight: 4/medium - 185 yds, 3.5 oz, 100 g)
- Skin: Hazelnut [202-122T] - 1 skein (15g)
• Size G (4.5 mm) crochet hook or size needed to obtain gauge
• Tapestry needle
• Steamer or iron with steam function (alternative: use a spray bottle)
• Printed copy of free Santa blanket graph pattern (download here)
RELATED: How to Shop Your Stash: The Best Patterns for Using the Yarn You Have
Measurements:
41.5 x 41.5” excluding bobble border
Gauge:
6 tiles = 4” (Each tile = approx. .8”)
Abbreviations and Glossary (US Terms):
bobbble – dc5tog + ch 1 (see below)
ch – chain
ch1sp – space created by 1 chain
ch2sp – space created by 2 chains
dc – double crochet
dc5tog – double crochet 5 together (see below)
popcorn - corner-to corner-popcorn stitch (tutorial here)
RS – right side
Rep – repeat
slst – slip stitch
sp – space
st(s) – stitch(es)
tch – turning chain
WS – wrong side
Yo – yarn over
Border Bobble Stitch (dc5tog):
Step 1: Ch 3.
Step 2: Yo, insert hook in first ch, pull up loop, yo, pull through 2 loops.
Step 3: Yo, insert hook into same ch, pull up loop, yo pull through 2 loops.
Step 4: Repeat Step 3 three more times.
Step 5: Yo and pull through all 6 loops on hook.
Step 6: Ch 1 to close. (1 bobble created)
Wanna save this pattern?
Permissions + Copyright:
Please do not publish or share this pattern as your own. You may make items to sell with this pattern. In exchange, please link back this post. Do NOT use our photos as your own sales photos.
Additional Corner-to-Corner Crochet Resources:
Help with learning corner-to-corner-crochet basics can be found here:
BOOK: Corner-To-Corner Crochet: 15 Modern Projects (I cover all the details you need to know to master C2C in this book!)
ALL THE BASICS: Intro to C2C and the skills you need to get started.
VIDEO TUTORIAL: How to increase and decrease to create a rectangle.
PHOTO TUTORIAL: How to change colors in C2C crochet.
How to Read Written Line-By-Line C2C Instructions:
Here's how to read the written corner-to-corner crochet instructions included in the premium PDF.
→ Row 27 [WS]: 9x main, 1x grey, 8x [white POPCORN], 1x grey, 8x main
- Row # is always the same as the number of tiles in that row. (Row 27 = 27 total tiles)
- Arrow indicates direction of row when RS of blanket is facing up.
- Color or word indicates which color of yarn to use. (See “Supplies” for abbreviations.)
- Number indicates how many tiles of each color to work. Therefore, for this example, you’d work 9 tiles in the main color (typical C2C stitches), 1 tile in grey, 8 tiles in white popcorn stitches, 1 tile in grey and 8 tiles in the main color.
- If you’re a visual learner, you may prefer to follow the line-by-line instructions that display color blocks instead of color names. Both sets of instructions create the same design, so choose whichever works best for you.
Overall Pattern Notes:
- Unless otherwise noted as a popcorn stitch, all tiles are worked in corner to corner (C2C) double crochet stitches as described above.
- It can be very helpful to wind smaller balls of each color before attaching a new color. This allows you to keep the color attached when it will be used in the next row and avoid carrying contrasting colors underneath as you work.
- Each pixel in the graph corresponds with one tile in your afghan. A tile = 3 ch (the tch, which counts as a dc) + 3 dc
- While you may find it faster to work predominantly from the line-by-line written instructions in the premium PDF, double checking your work against the graph pattern periodically will help catch any mistakes sooner rather than later.
- Line-by-line written instructions assume you are beginning in lower right corner of graph. (Same for right and left-handed crocheters.)
- Instead of working a separate gauge swatch, you can begin the blanket and measure gauge about 12 rows in to make sure you’re on track. While meeting pattern gauge is not essential, it will ensure finished blanket turns out expected size and uses as much yarn as listed in “Supplies” above.
Print the premium pattern!
Blanket Making Process
- Crochet main blanket by following graph pattern and written instructions.
- Push all popcorn stitches to front of blanket.
- Crochet border Rounds 1-4.
- Lightly steam block blanket. Do not actually touch steamer or iron to the yarn.
- Complete finishing touches.
Want some company while you crochet?
Get support (and camaraderie!) in the Make & Do Crew community. Join for free here.
Borders
Notes:
- Borders are worked in the round with RS of blanket facing throughout.
With Main Color yarn already attached, slst to space between 2 tiles along side of blanket.
Border 1 (RS):
Step 1: Ch 1, sc in same sp between two tiles.
Step 2: Ch 2, sk tile.
Step 3: Sc in next sp between tiles.
Rep Steps 2-3 to corner.
Corner: [sc, ch 1, sc] into corner point.
Rep Steps 2-3 around blanket, working corners as described above. At end of round: ch 2, slst to first ch of round. Fasten off. (57 ch2sps per side).
Attach Red yarn in any corner ch1sp. The remaining rounds are all worked in Red with RS facing.
Border 2 (RS):
Step 1: Ch 1 (does not count as sc), sc in first ch2sp.
Step 2: Ch 1, sc in next sc, ch 1, sc in next ch2sp.
Rep Step 2 until corner.
Corner: [Sc, ch 1, sc] in each corner ch1sp.
Rep Step 2 around blanket working corners as described above. At end of round: Ch 1, slst to sc from beginning of round to join. (112 sts per side)
Border 3 (RS):
Step 1: Ch 1 (does not count as sc), sc in first ch1sp.
Step 2: Ch 1, sk next sc, sc in next ch1sp.
Rep Step 2 until corner.
Corner: [Sc, ch 1, sc] in corner ch1sp.
Rep Step 2 around blanket working corners as described above. At end of round: Ch 1, slst to sc from beginning of round to join. (114 sts per side)
Border 4 Bobbles (RS):
See “Abbreviations” for explanation of how to crochet a bobble stitch.
Step 1: Ch 1, slst in first 7 sts, ch 3, bobble in first ch of the ch3 just made.
Step 2: Slst in next 7 sts, ch 3, bobble in first ch.
Step 3: Rep from Step 2 until 8 sts remain on side.
Corner: Slst in last 7 sts, sk corner sc, slst in corner ch, ch 3, bobble in corner sp, sk next corner sc.
Rep Steps 2-3 around blanket, working corners as described above. At end of round: Slst to slst from beginning of round to join. Fasten off. (31 bobbles per side plus 1 bobble in each corner)
Finishing
BLOCKING:
Lay blanket flat. Lightly block using a steamer, iron with steam functionality or a spray bottle. If using a steamer or iron, take not to touch yarn directly as the synthetic fibers can melt.
WEAVE IN ENDS:
Put on a great show or podcast, pour a beverage and weave remaining ends in using a tapestry needle. It’ll be worth it!
Because of the nature of C2C crochet, certain tiles of different colors can appear slightly separated when crocheted. While weaving in ends, you may choose to “tidy” up designs by visually joining disconnected tiles.

NOSE HIGHLIGHT (optional):
If Santa’s nose needs a bit of differentiation from the rest of the face, use a tapestry needle threaded with white yarn to outline the upper side and right side of the nose tile. Use any combination of whip and basting stitches to achieve the look you desire.
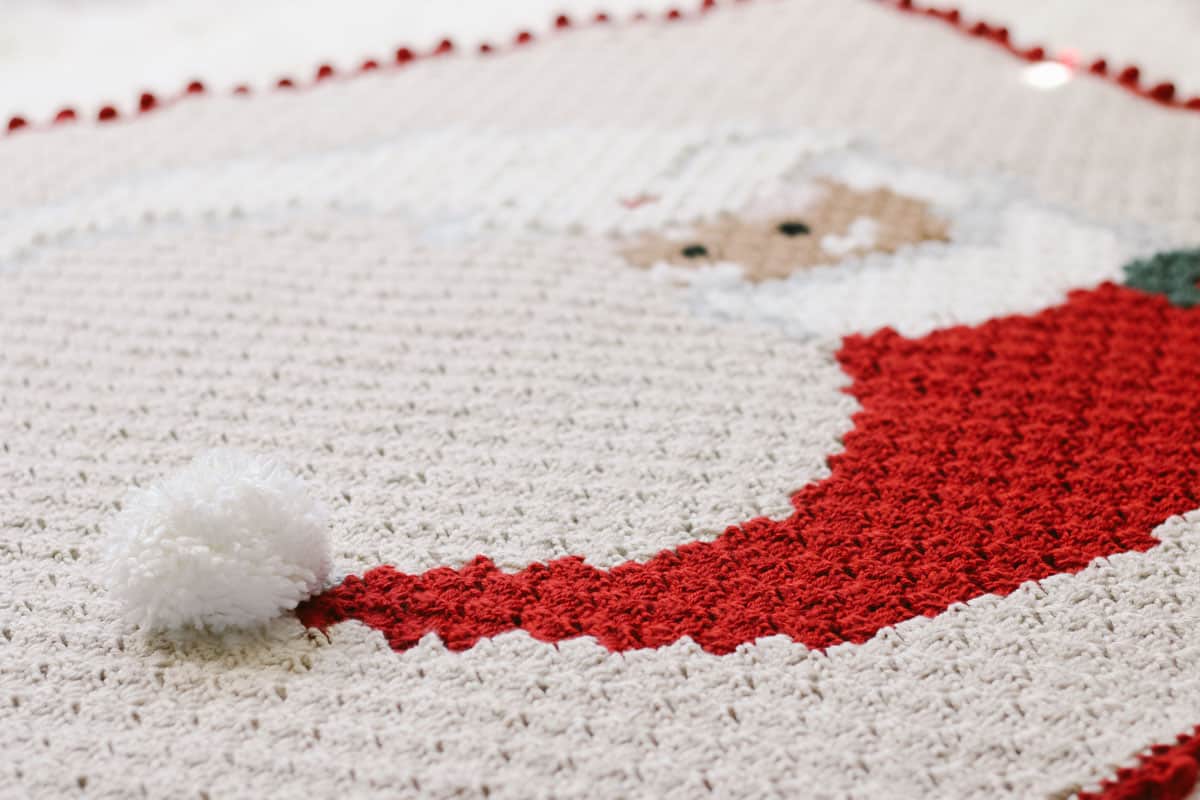
ADD A POM POM (optional):
To add a three-dimensional touch to Santa’s hat, use remaining white yarn to create two dense, full pom poms. You may use a 4” pom pom maker or a 4” piece of cardboard. (Not recommended if blanket will be used by children under 3-years-old.) Learn how to crochet a pom pom here.
- To create the fullest pom pom, make two and trim them thoroughly.
- Thread tapestry needle with doubled over white yarn and thread through the center of both pom poms. Tie them together securely.
- Use the attached white yarn and needle to attach pom pom bundle to blanket, whip stitch a few times to secure, tie off and pull yarn tails back through pom poms.
- BONUS: Tie a small jingle bell inside the pom pom bundle for a little extra Christmas magic.
Ho ho ho! You did it! Merry Christmas!
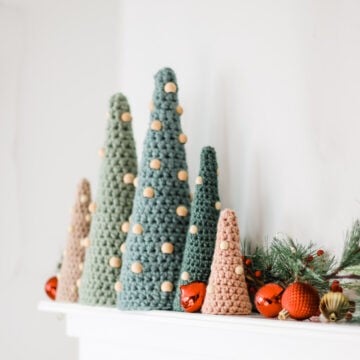
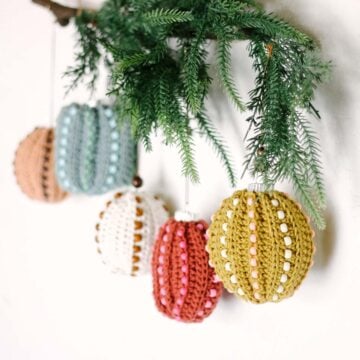
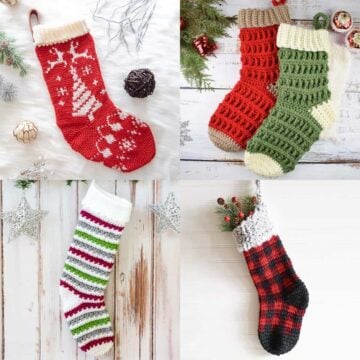
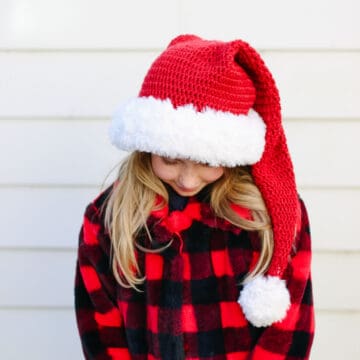
More Christmas Crochet Patterns:
Here are a few crochet Christmas patterns makers love and we think you will too!
Frequently asked questions
Unfortunately, there's not an easy way to modify the size of a C2C crochet graph pattern unless you're the original designer. Your best bet for making a larger blanket is choosing a thicker yarn (category 5 weight or higher) and the appropriate size hook. This will make each C2C tile you crochet larger, which will create a bigger blanket overall. Similarly, to make a smaller blanket, use thinner yarn (category 3 weight or lighter) and a smaller hook.
Yes, if you'd prefer a simpler border than the bobble stitch one pictured, you could follow the instructions in the C2C Crochet Monstera Blanket pattern for a reverse single crochet border.
If you'd prefer to avoid the C2C popcorn stitches in Santa's beard, simply use traditional C2C double crochet stitches like the rest of the blanket.
How to Crochet a Santa Graphgan - A Summary
Materials
Yarn
- Lion Brand Vanna's Choice - Weight: 4/medium - 170 yds, 3.5 oz, 100g) 1700-2000yds / 1000-1100g total
- Lion Brand Basic Stitch Anti-Pilling Yarn (Weight: 4/medium - 185 yds, 3.5 oz, 100 g) 15g for face skin tone
Additional Supplies
- Size G(4.5 mm) crochet hook or size needed to obtain gauge
- Tapestry needle
- Stitch markers
- Blocking board
- Steamer or iron with steam functionality
- Printed copy of free C2C graph pattern
Abbreviations + Glossary (US Terms)
- ch – chain
- dc – double crochet
- hdc – half double crochet
- rep – repeat
- RS – right side
- sc – single crochet
- slst – slip stitch
- sp – space
- st(s) – stitch(es)
- WS – wrong side
- yo – yarn over
Abbreviations and Glossary (US Terms):
Want some company while you crochet?
Get support (and camaraderie!) in the Make & Do Crochet Crew Facebook Group. Search “Make and Do Crochet Crew” on Facebook.com.
Permissions + Copyright
Please do not publish or share this pattern as your own. You may make items to sell with this pattern. In exchange, please link back to this page. Do NOT use my photos as your own sales photos.
Overall Pattern Notes
Instructions
SANTA BLANKET MAKING PROCESS
- 1. Beginning in lower right corner, crochet main blanket following graph pattern and optional written instructions.
- 2. Push all C2C popcorn stitches to front of blanket.
- 3. Crochet Border Rounds 1-4
- 4. Steam block blanket and let dry.
- 5. Complete finishing touches such as adding an optional pom pom on Santa's hat, embroidering a highlight on Santa's nose and weaving in remaining ends.
- Ho ho ho! You did it! Merry Christmas!
Overall Pattern Notes
- Crochet Santa blanket is worked in the diagonal box stitch (also called corner-to-corner crochet) using double crochet C2C stitches.
- It can be very helpful to wind smaller balls of each color before beginning a graph. This allows you to keep a color attached when it will be used in the next row and avoid carrying contrasting colors underneath as you work.
- Line-by-line written instructions in the premium PDF assume you are beginning in lower right corner of graph. (Same for right and left-handed crocheters.)
- Instead of working a separate gauge swatch, you can begin the blanket and measure gauge about 12 rows in to make sure you’re on track. While meeting pattern gauge is not essential, it will ensure finished blanket turns out expected size and uses as much yarn as listed in “Supplies” above.
Cynthia Herbert says
Love it!
Jess Coppom says
Thanks so much, Cynthia!