In this fun and easy crochet origami bag pattern, three simple squares come together to form a stylish and sturdy tote. Get the free pattern below or purchase the ad-free, printable PDF here.
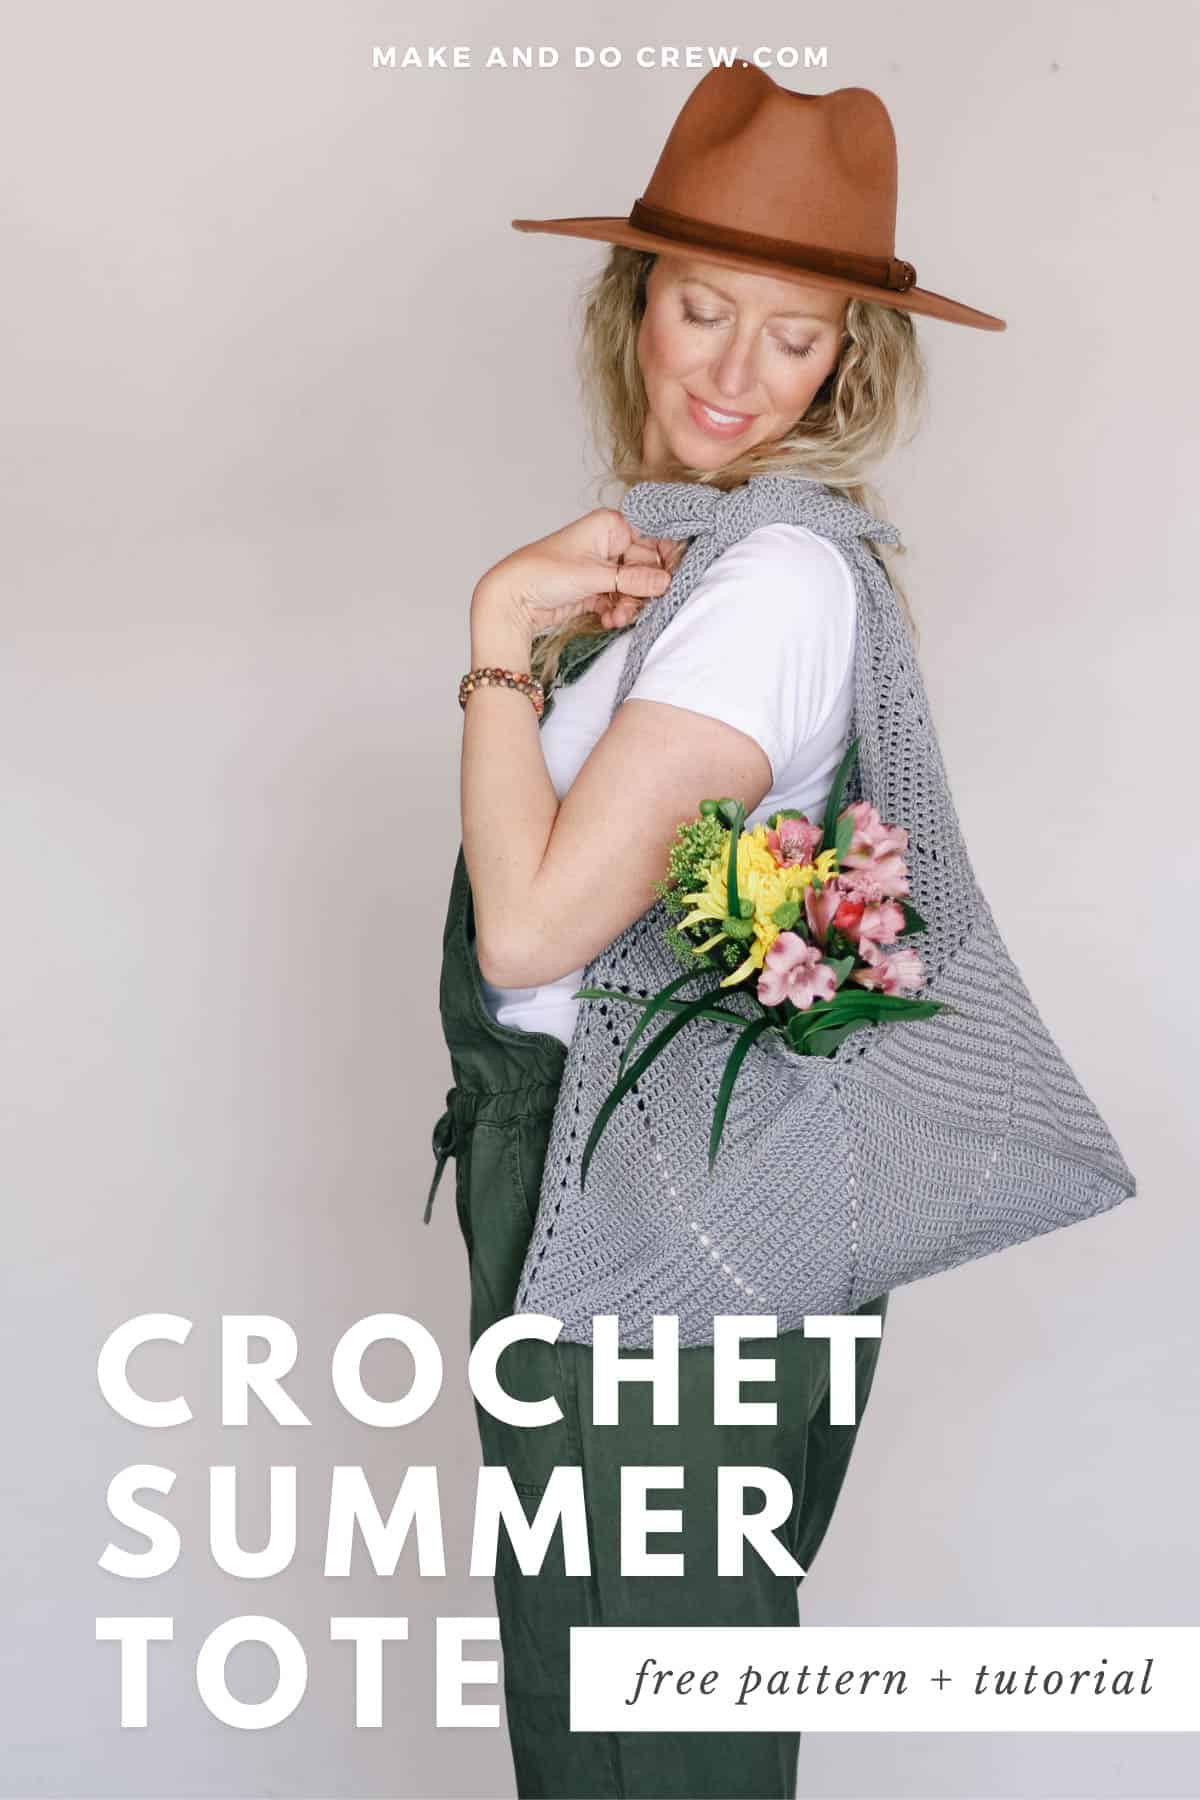
This crochet origami tote bag pattern is part of a collaboration with Lion Brand Yarns. This post contains affiliate links.
There’s zero seaming, very few ends to weave in and plenty of portable potential in this quick, surprisingly-roomy origami crochet bag.
Keep reading for all the yarn and pattern inspiration details or scroll down for the complete free pattern.
Greater Than the Sum of Its Parts
In the spirit of origami, this bag pattern uses three simple crochet squares to create something much more magical. I really love projects like this where the shapes and techniques are really easy, but the finished project looks quite complex. The Tradecraft Tote is absolutely one of those patterns. (Check out the Dwell Sweater or Miller Tote Bag for more like this!)
Pin it! Click to pin this pattern for later ⇨
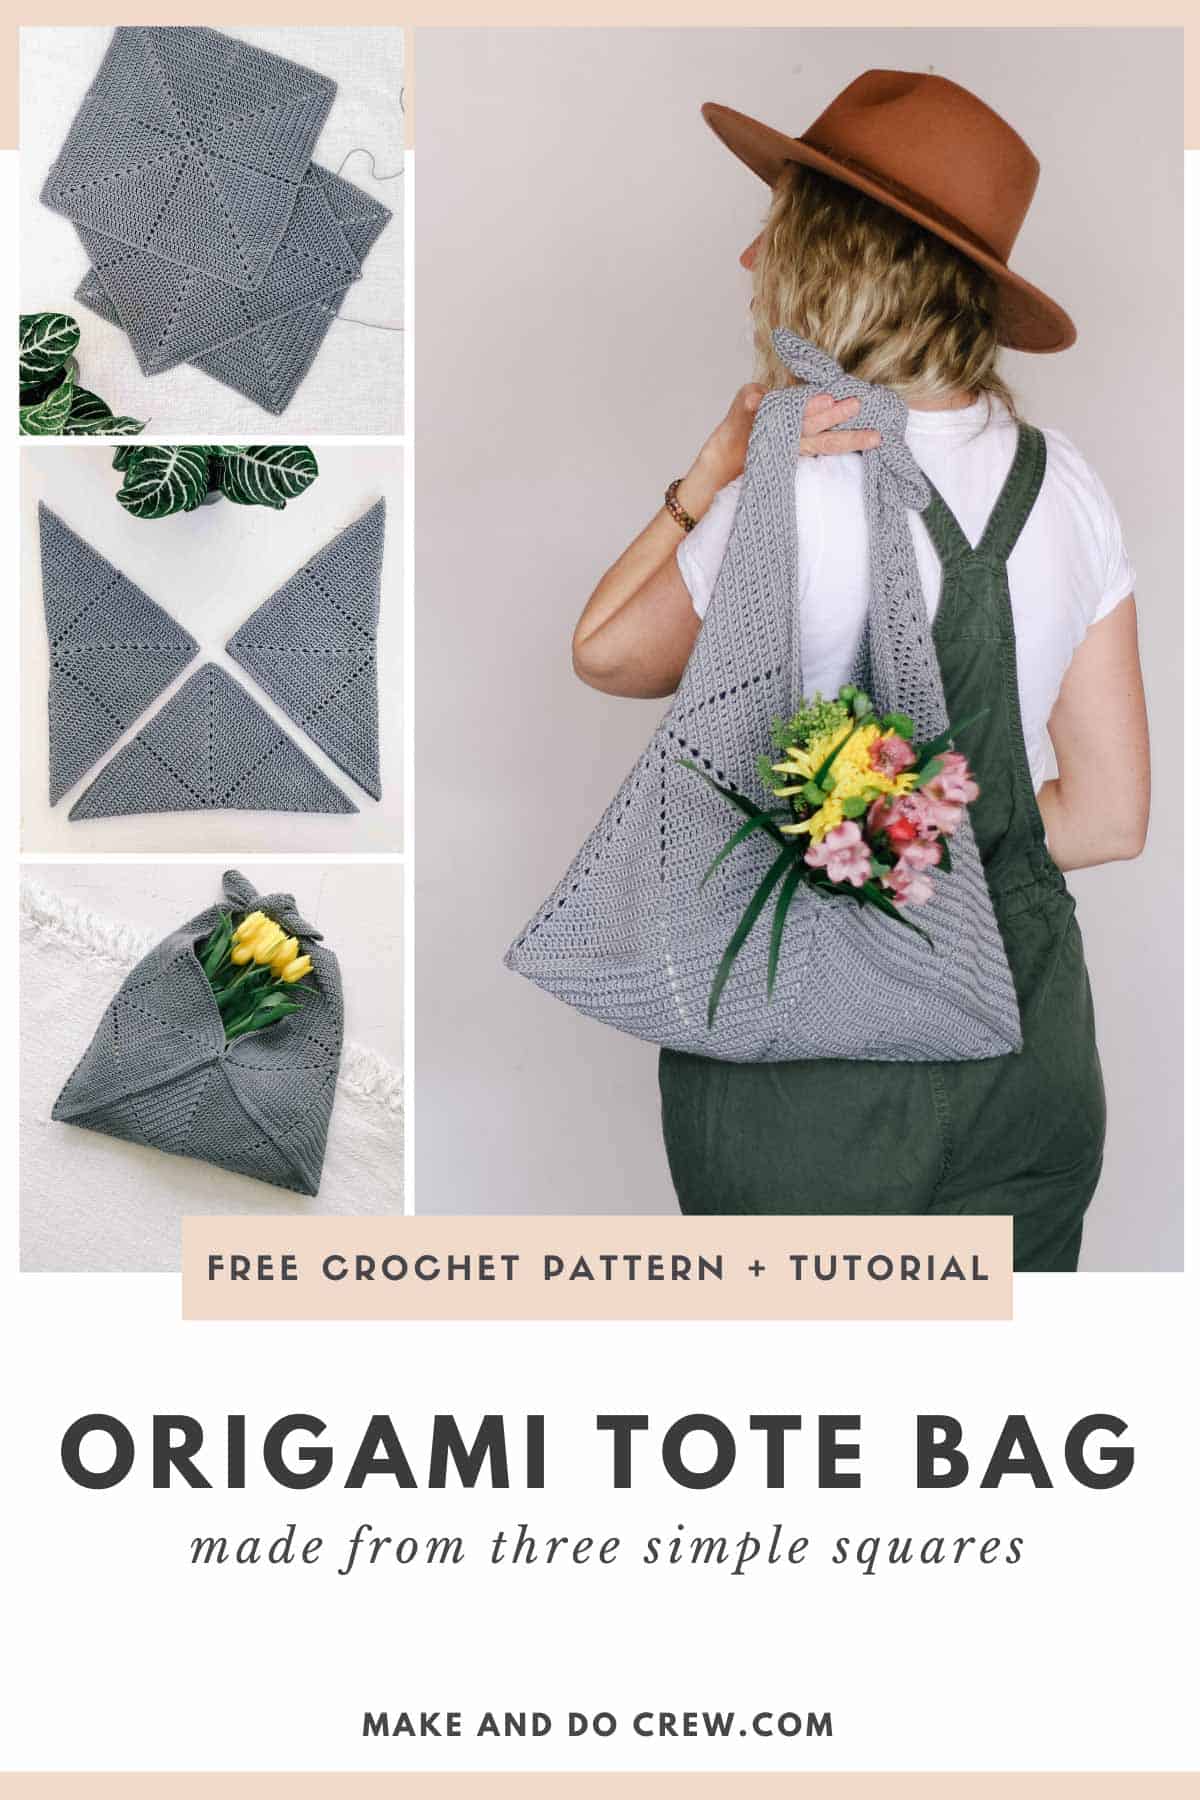
Peep The Pattern in Action
If video to be a quick way to digest information and get a good look at a project from all angles. I put together this video to give you a quick glimpse of how the Tradecraft Tote comes together. I hope it gives you a sense of the scale and versatility of its origami construction.
My Go-To Yarn for Crochet Bags and Purses
Admittedly, I'm often a little skeptical of the durability of a crochet bag. I tend to carry A LOT of stuff around with me and a wimpy, floppy purse is just not gonna cut it. In my opinion, any crochet bag needs to be able to carry a few books or your full water bottle without stretching out and begging for mercy.
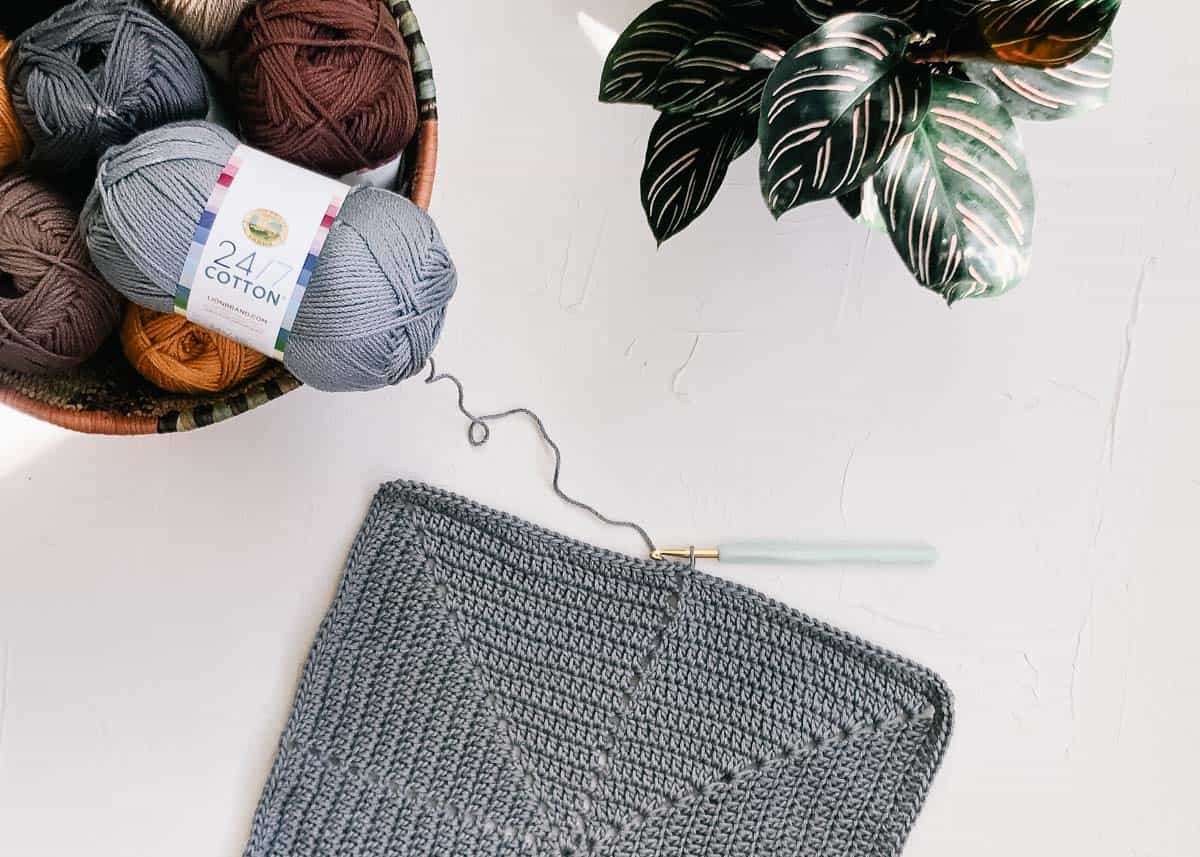
A natural fiber is always my choice for crochet bags thanks to its durability and nice organic-looking vibe. Lion Brand 24/7 Cotton is one of my favorites because it's extremely strong without being too thick. The fact that it's mercerized makes it extra strong, "non-linty" and very vibrant.
I've tried lots of cottons and 24/7 Cotton is a pretty special option, in my opinion. It's affordable, easy to find online and comes in wide variety of neutrals and bright colors. (See all the shades of 24/7 Cotton here.) It's my go-to yarn when I design crochet shoes and slippers on flip flop soles too!
Order Your Tradecraft Tote Kit
Lion Brand has created a Tradecraft Tote crochet kit that makes it super easy whip up your own origami purse. The kit includes all the yarn you'll need and a digital version of the printable PDF and it's all sent directly to you. You can customize your kit to include any color of 24/7 Cotton you'd like!
Deliver it! Click customize your all-in-one crochet kit ⇨
Nothin' But Squares
Since this origami tote bag is made from squares, the skills necessary are quite straightforward. You'll have a chance to practice working in the round, increasing (placing two stitches in the same spot), slip stitch seaming and decreasing.
Seamless, Seriously!
And speaking of seaming, there is none! (With a tapestry needle, at least.) This origami crochet bag is joined entirely by slip stitching the squares together. This creates a nice finishing detail and saves you some tedious labor.
Alright, let's learn how to crochet an origami tote bag, shall we?
Related: More free patterns made from simple shapes ⇨
Want to Print This Pattern?
If you prefer a printed pattern instead of looking at a screen while you crochet, the Tradecraft Tote PDF is for you. It's formatted for easy printing with large type and separate photo tutorials so you can choose to print them or conserve ink.
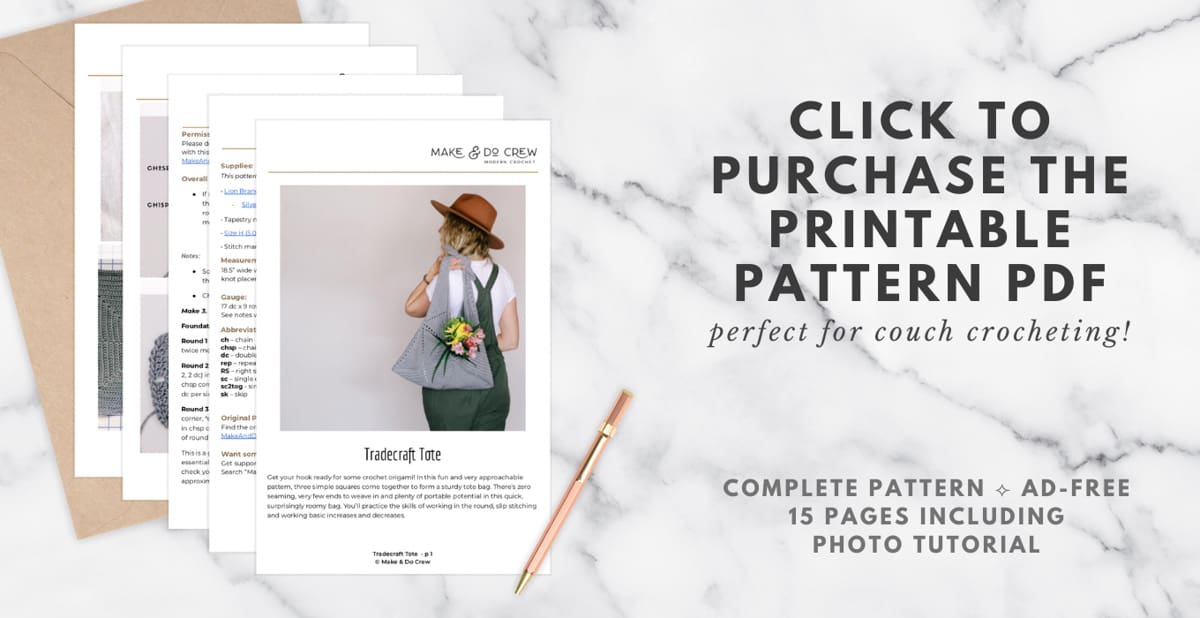
Print it! Click to purchase the ad-free, printable PDF ⇨
More Free Crochet Bag + Purse Patterns
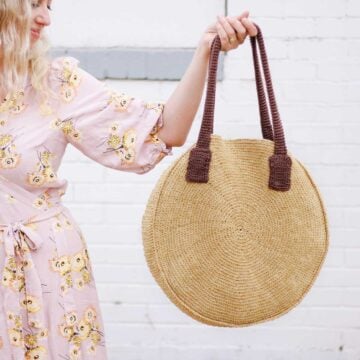
From modern granny square bags to mesh market totes to circle purses, we've got lots more free crochet bag patterns for you to enjoy. With sturdy straps and stylish details, you might just become a crochet bag-a-holic.
See more free crochet bags & purses patterns →
Tradecraft Crochet Origami Tote Bag
Free Pattern
Purchase the ad-free, printable PDF on Etsy here or LoveCrafts here.
Order your all-in-one kit here.
Save this pattern to Ravelry here.
Pin it for later here.
Explanation:
Get your hook ready for some crochet origami! In this fun and very approachable pattern, three simple squares come together to form a sturdy tote bag. There’s zero seaming, very few ends to weave in and plenty of portable potential in this quick, surprisingly-roomy bag. You’ll practice the skills of working in the round, slip stitching and working basic increases and decreases.
Supplies:
• Lion Brand 24/7 Cotton (Weight: 4/medium - 186 yds, 3.5 oz)
- Silver [761-149] – 4 balls (approx. 385 g)
• Tapestry needle
• Size H (5.0 mm) crochet hook or size needed to obtain gauge
• Stitch markers or safety pins
Deliver it! Click customize your all-in-one crochet kit ⇨
Measurements:
18.5” wide when laying flat, 21” drop from shoulder when worn (easily adjustable with knot placement)
Gauge:
17 dc x 9 rows = 4”
See notes within “Main Squares” for checking gauge.
Abbreviations and Glossary (US Terms):
ch – chain
chsp – chain space
dc – double crochet
rep – repeat
RS – right side
sc – single crochet
sc2tog - single crochet 2 together
sk – skip
slst – slip stitch
st(s) – stitch(es)
WS – wrong side
yo – yarn over
tch - turning chain
yoslst - yarn over slip stitch: yarn over, insert hook in stitch, yo and pull through stitch and existing loop on hook
Overall Pattern Notes:
• If substituting yarn of a different weight, follow measurement notes throughout instead of the number of rounds given. Simply work as many rounds for each square as it takes to meet the approximate pattern measurements.
Wanna save this pattern?

Main Squares
Notes:
• Square is worked in the round with the RS facing throughout. (Do not turn at the end of each round.)
• Ch 4 counts as a dc + ch1sp throughout.
Make 3.
Foundation Round: Ch 4, slst to first ch to join into a circle.
Round 1 (RS): Ch 3 (counts as first dc), 2 dc in circle, *ch 1, 3 dc in circle; rep from * twice more, ch 1, slst to third ch from beginning of round to join. (3 dc per side)
Round 2 (RS): Ch 4, sk middle dc of previous round’s first side, dc in next dc, (2 dc, ch 2, 2 dc) in chsp corner, *dc in next dc, ch 1, sk next dc, dc in next dc, (2 dc, ch 2, 2 dc) in chsp corner; rep from * twice more, slst to third ch from beginning of round to join. (6 dc per side)
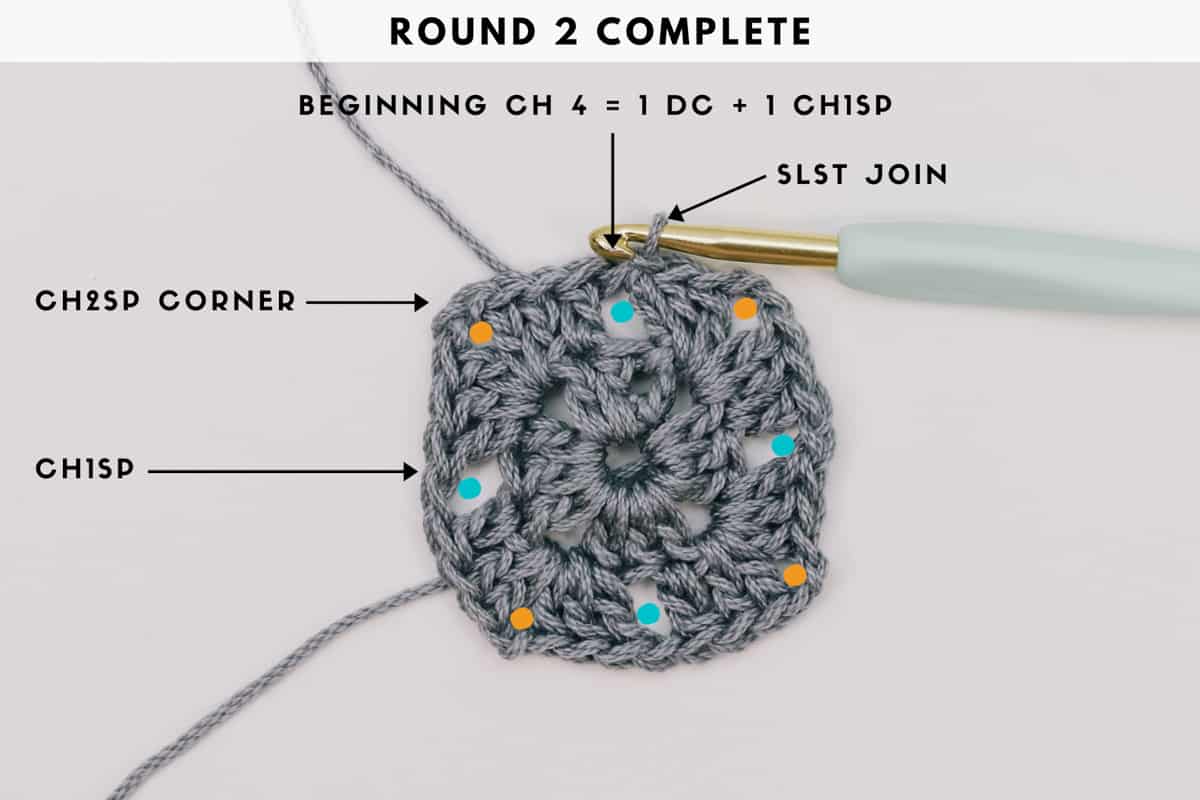
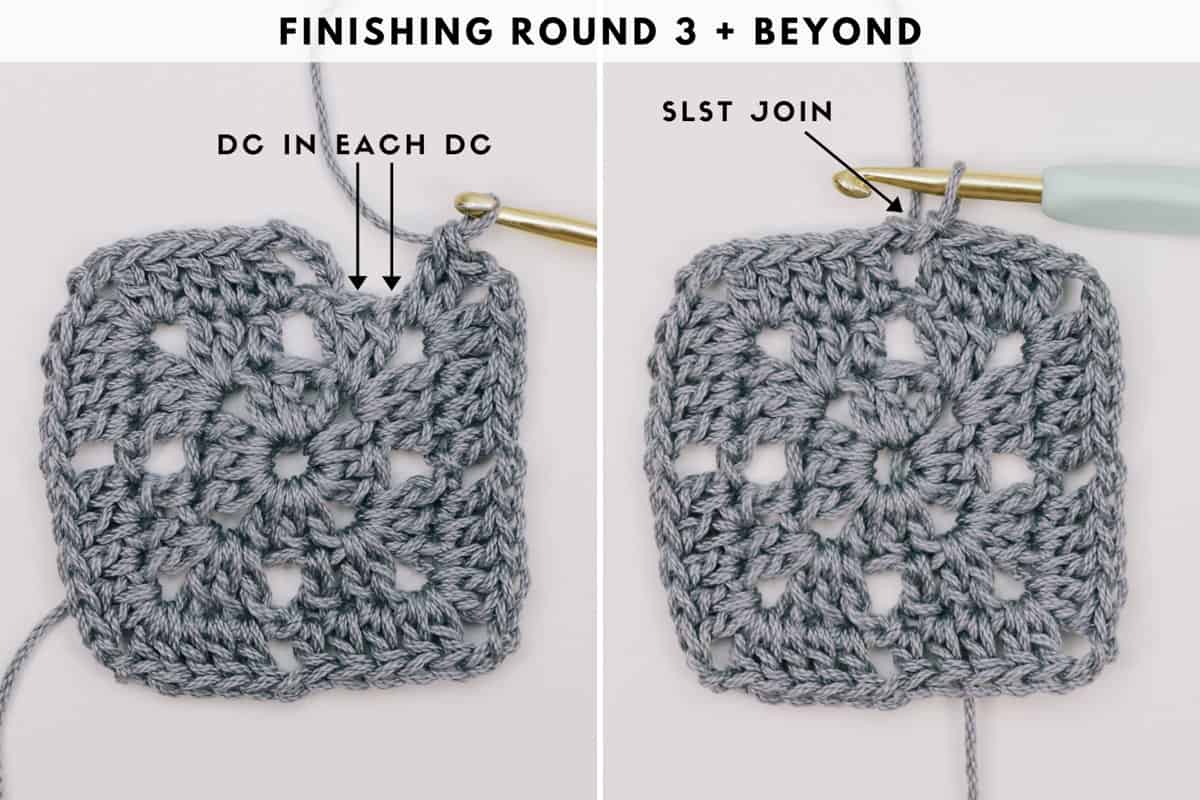
Round 3 (RS): Ch 4, sk next ch1sp, dc in each dc to corner, (2 dc, ch 2, 2 dc) in chsp corner, *dc in each dc to ch1sp, ch 1, sk ch1sp, dc in each dc to corner, (2 dc, ch 2, 2 dc) in chsp corner; rep from * twice more, dc in each dc, slst to third ch from beginning of round to join. (10 dc per side)
✨Unlock this free subscriber-exclusive pattern ✨
Follow these steps to view the full free pattern below
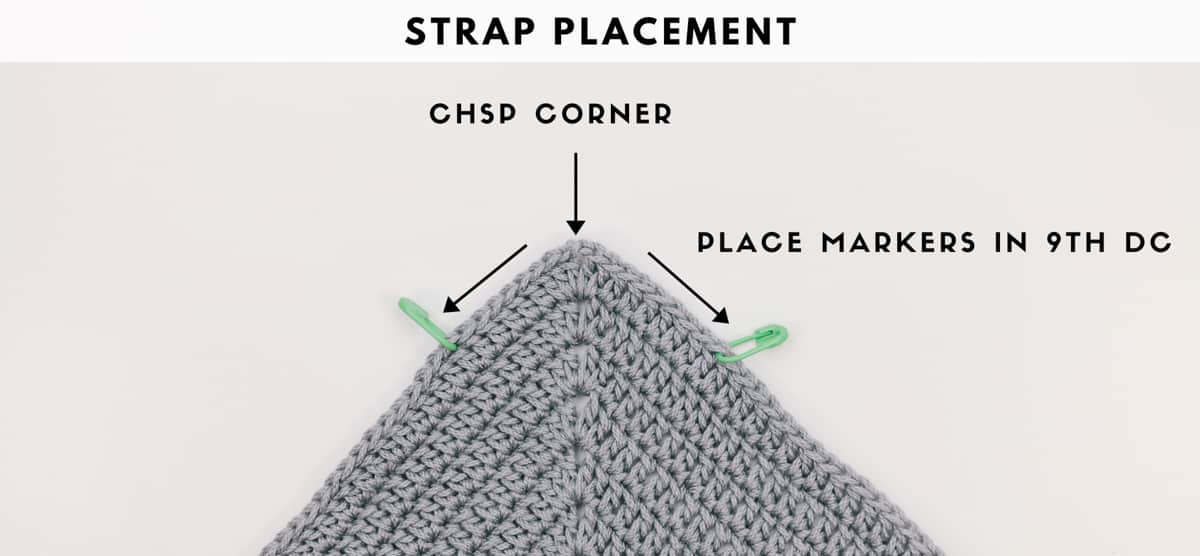
Row 1 (RS): Ch 1, sc in marked st, sc in each each dc to corner sp, (sc, ch 2, sc) in corner, sc in each dc to marked st, sc in marked st; turn. (10 sc per side)
Row 2 (WS): Ch 1, sc2tog, sc in each sc to corner sp, (sc, ch 2, sc) in corner, sc in each sc until 2 remain, sc2tog; turn. Remove markers. (10 sc per side)
Rep Row 2 fourteen more times. Strap should now measure approximately 4.5” from corner of square to corner of strap.
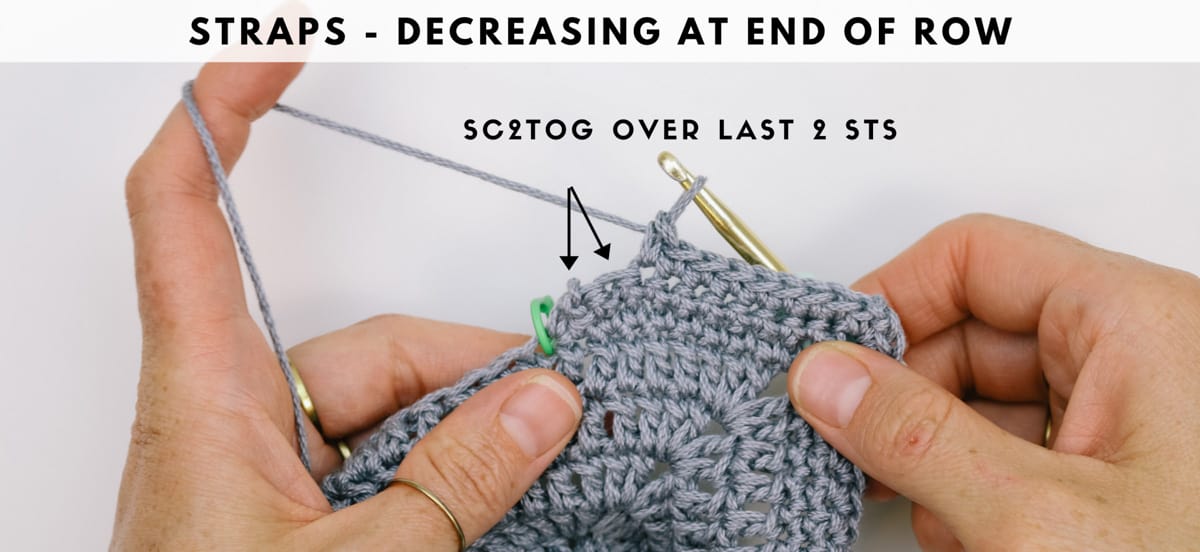
Decrease
Row 1 (RS): Ch 1, sc2tog, sc2tog, sc in each sc to corner sp, (sc, ch 2, sc) in corner, sc in each sc until 4 remain, sc2tog, sc2tog; turn. (9 sc per side)
Row 2 (WS): Ch 1, sc2tog, sc in each sc to corner sp, (sc, ch 2, sc) in corner, sc in each sc until 2 remain, sc2tog; turn. (9 sc per side)
Rep Row 2 sixteen times. Strap should now measure approximately 10” from corner of square to corner of strap.
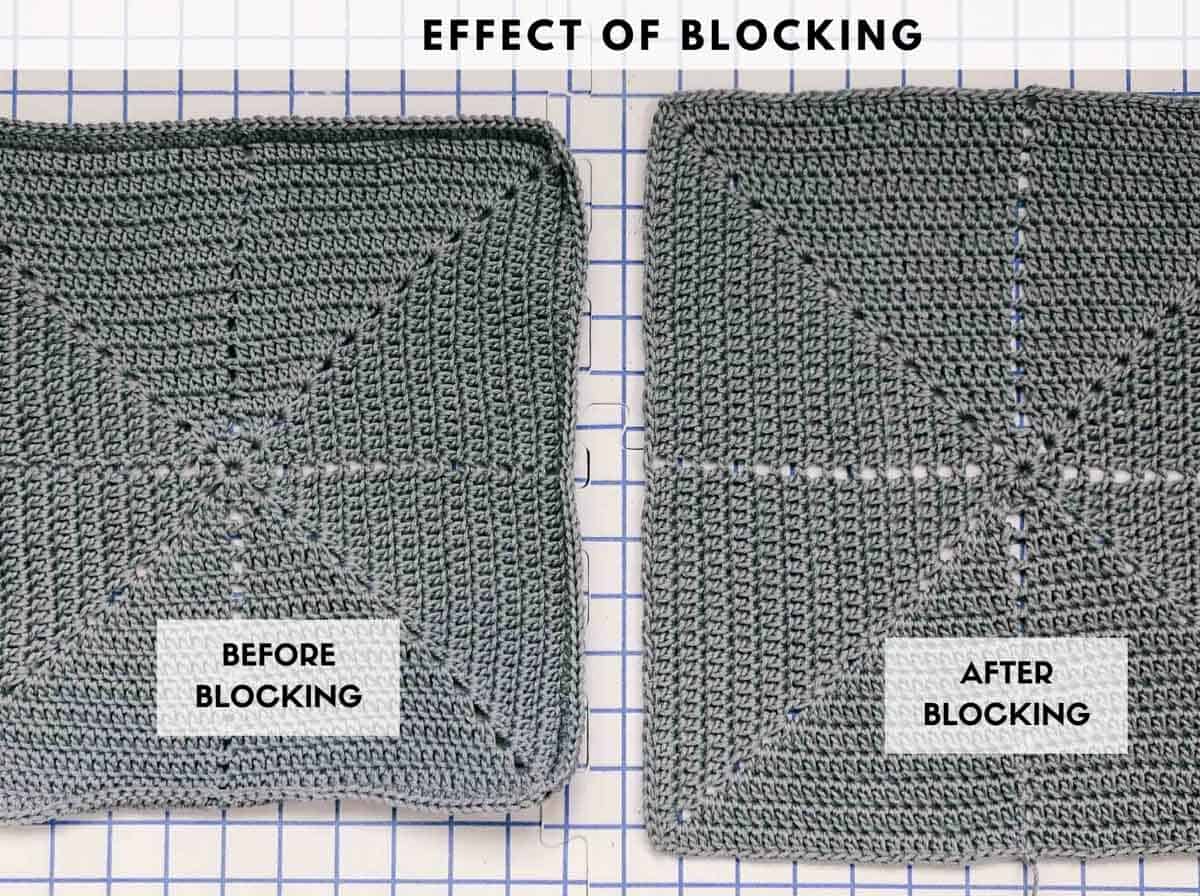
As you did with with squares, steam block bag straps now now before joining.
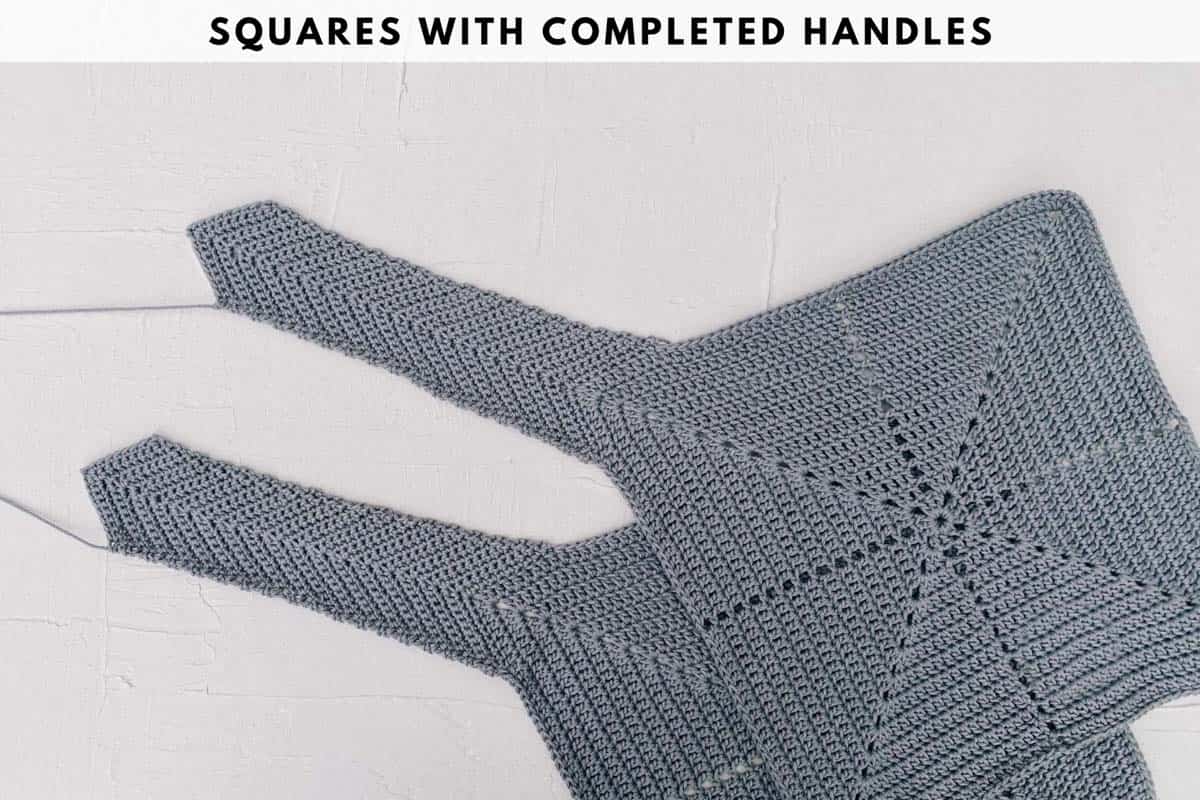
Joining Squares
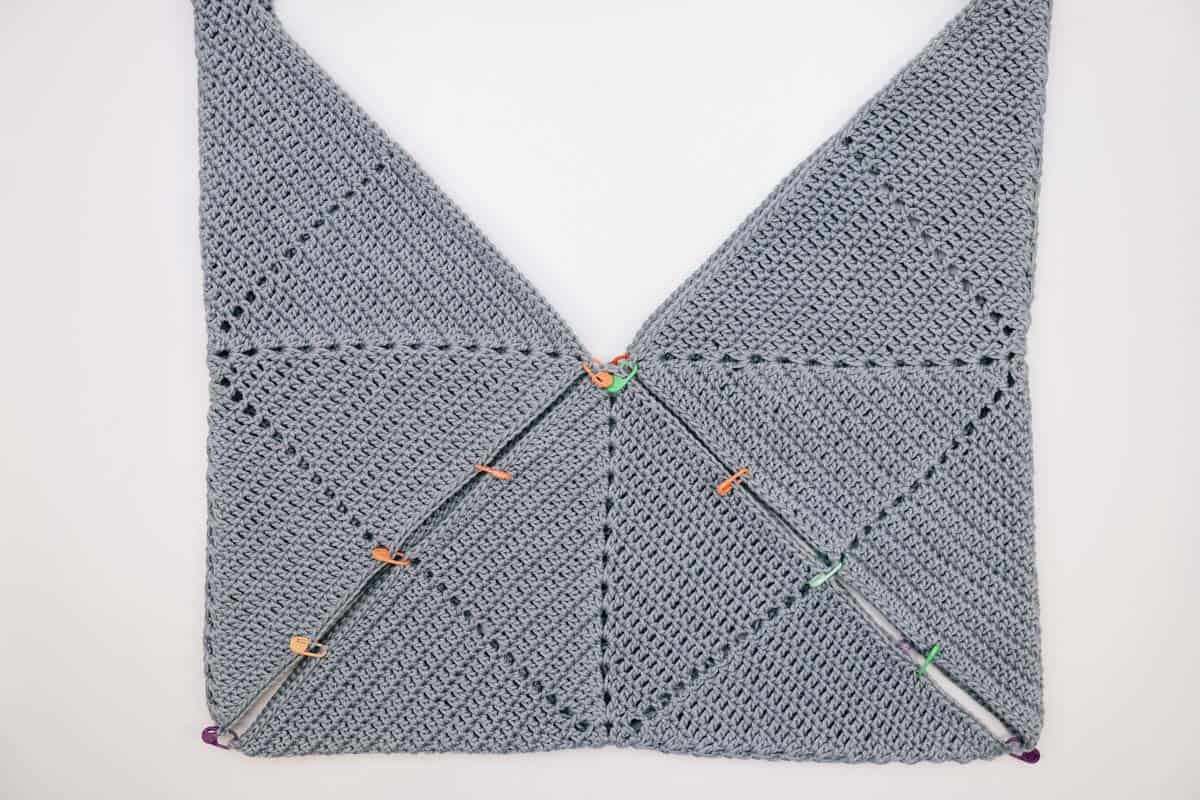
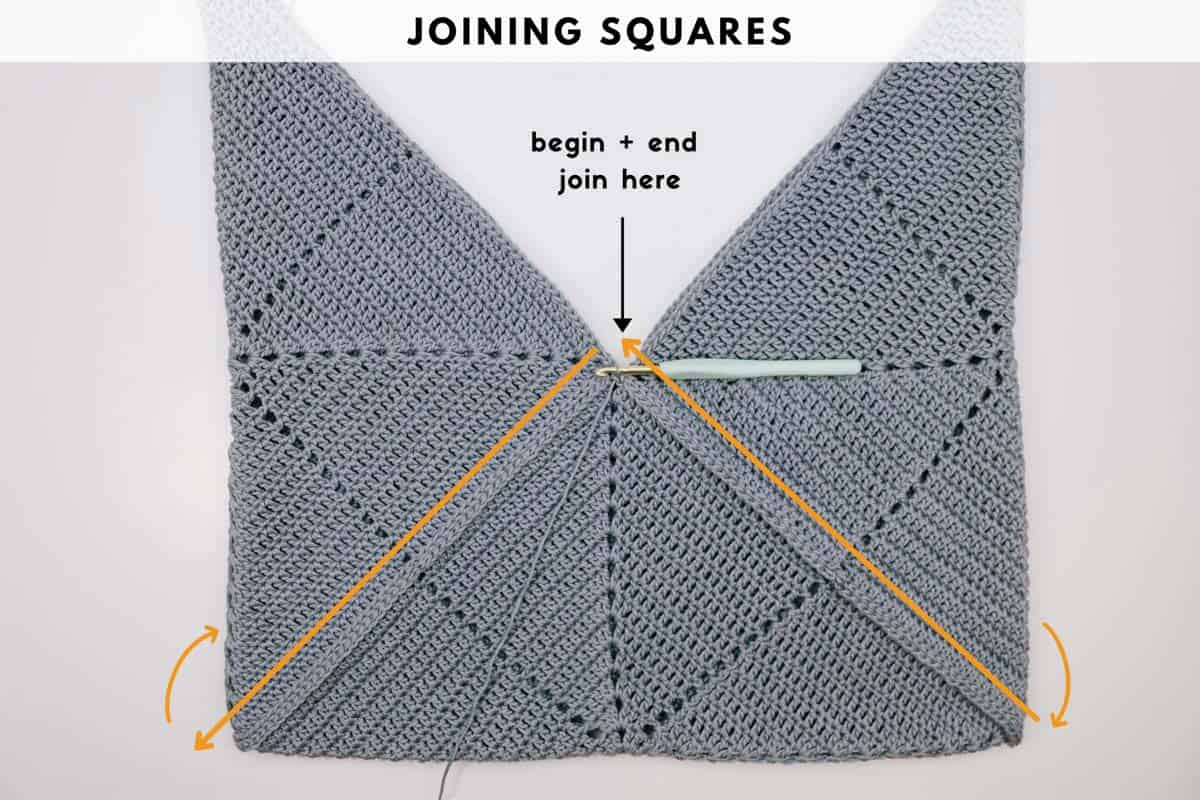
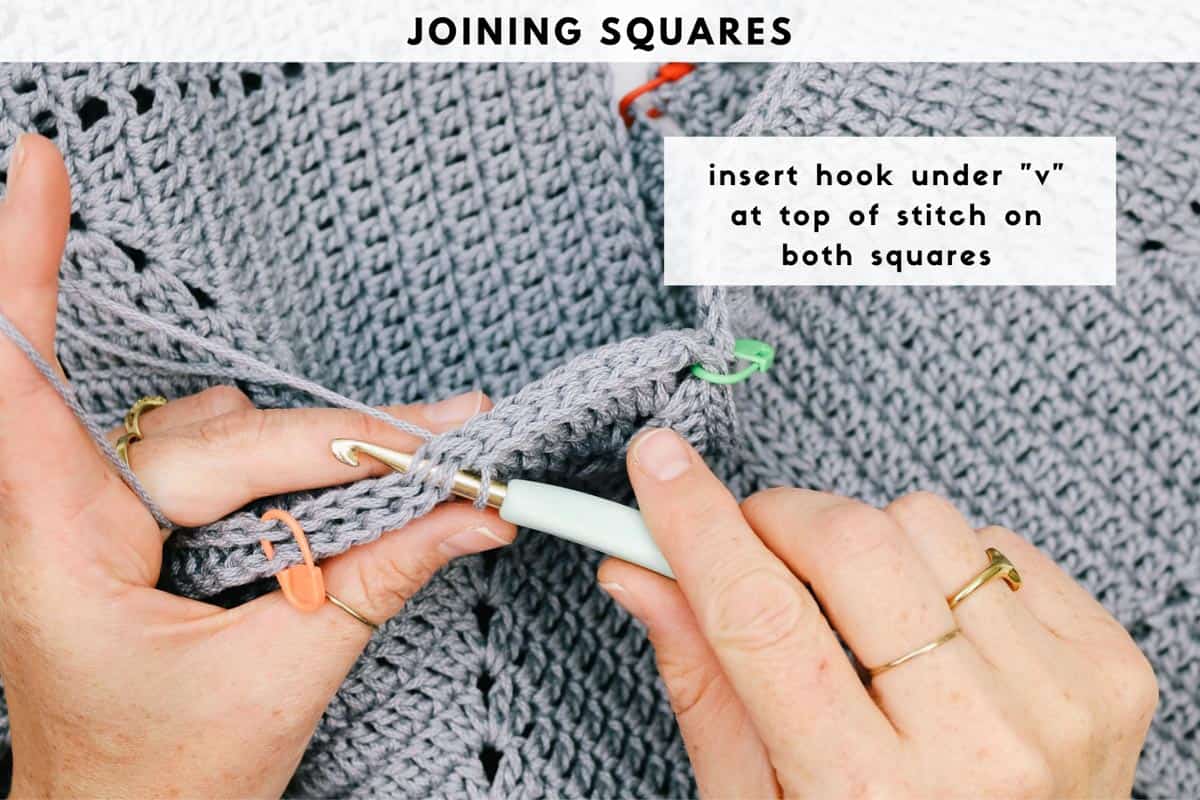
With RS of squares facing out, fold as pictured in photo below. Use stitch markers to pin squares together, taking care to line up corners and ch1sps.
Attach yarn in ch2sp corner as pictured. Right-Handed: Seam is worked toward bottom left corner. Left Handed: Seam is worked toward bottom right corner.
Joining Round (RS): Slst in each st taking care to work through both layers of fabric with each st. Once first corner is reached, flip bag over and continue slsts to middle corner join on back side of bag. Keep yarn attached, repeat the same process on the other half of bag ending back where yarn was initially attached.
Do not fasten off.
Finishing Border
With yarn still attached, flip bag WS out. With WS facing, border is worked around entire bag opening including both straps.
Border Round (WS): Yoslst in each st of the square sides around bag opening. Yoslst evening along raw row edges of straps. Slst to first st of round to join. Fasten off.
Tying
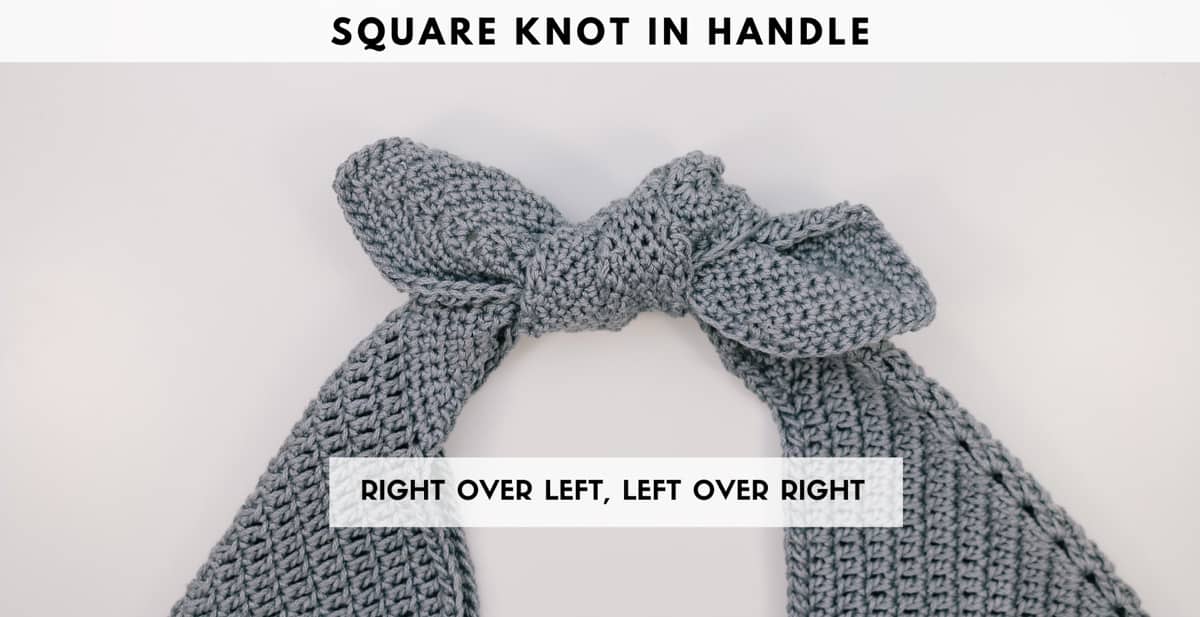
Bag is tied using a square knot. With bag laying flat, fold right strap over left strap to tie one knot. Next, fold left strap over right strap to tie a second knot. Tighten to desired position.
That was so fun! Now what?
Invitation to our Facebook group
Come discuss crocheting origami bag patterns and lots of other crochet projects and techniques in our Make & Do Crew Facebook group. Here thousands of helpful crocheters answer each others questions and share their stitches. Come join us here.
More Free Crochet Patterns for Bags + Purses
- Crochet Festival Purse Pattern - circle purse with style galore
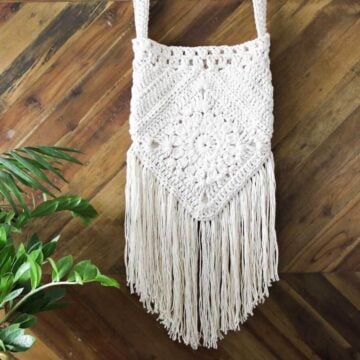
- Granny Square Crochet Bag Pattern - on-trend sling bag
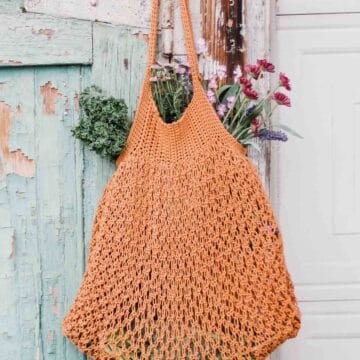
- Mesh Crochet Market Bag Pattern - perfect for the farmer's market
- Urban Nomad Boho Bag - creative construction + style
- Crochet Lunch Bag Pattern - also fun gift for kids
- Finger Crochet Bag Pattern + Video - no hook, no problem!
- Free Crochet Bag Pattern For Beginners - very simple construction
More Free Crochet Patterns
Ready for your next project? We've got lots more free crochet patterns where this came from. Browse them all here!












Leave a Reply