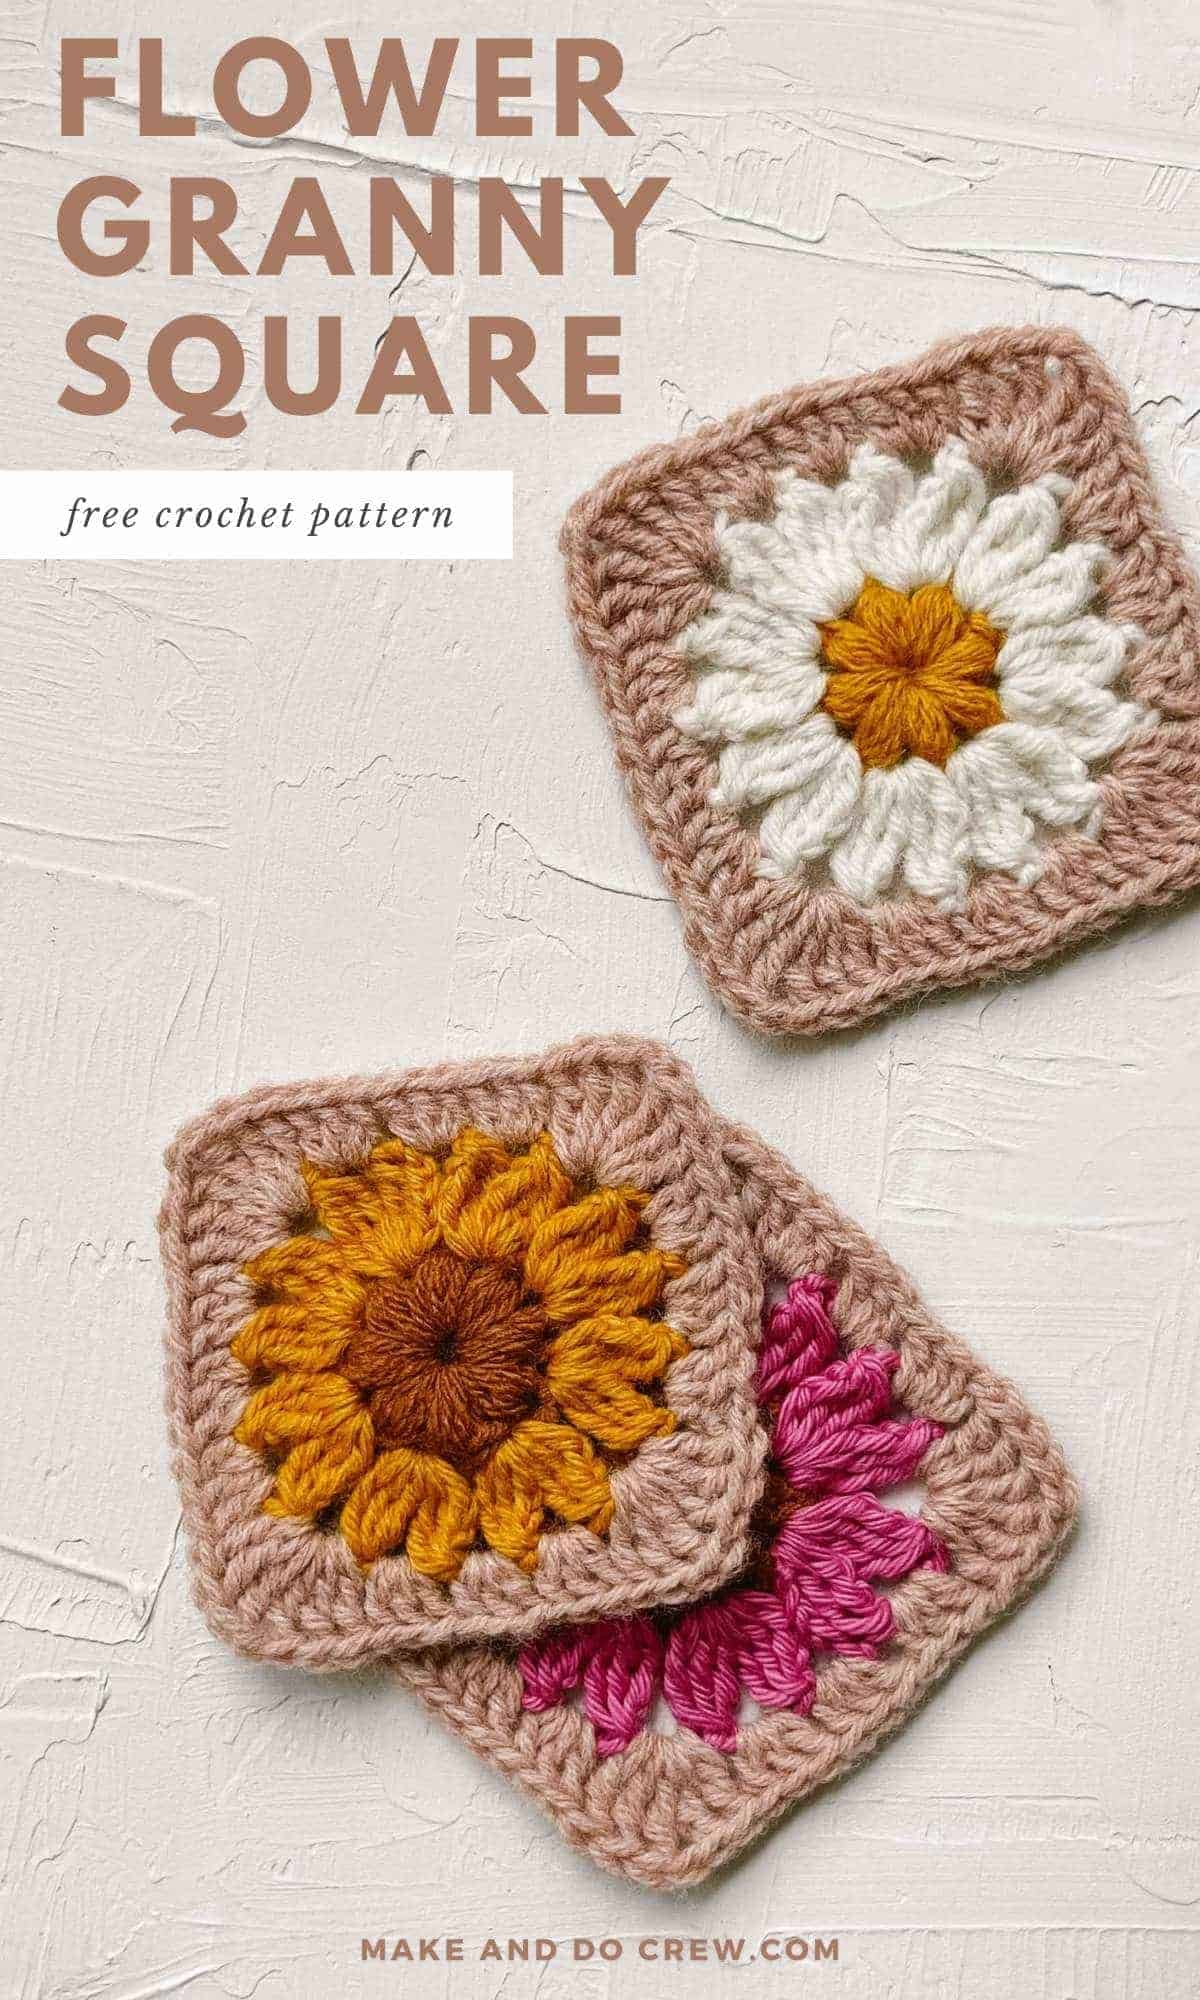
Want to make your very own flower granny square? Get ready to put a fresh, fun spin on a traditional design with this step-by-step crochet daisy tutorial!
In this guide, you’ll learn how to crochet a simple flower motif, discover tips to make the perfect square, and modify the pattern to create an array of beautiful blooms.
This step-by-step tutorial contains affiliate links.
Jump to:
- A Cheerful Daisy Granny Square Pattern
- How to Crochet a Flower Granny Square
- Video Tutorial For Beginners
- Daisy Granny Square Written Instructions
- Modifying Your Flower Motif
- What to Make With Your Grannies
- How To Change Colors In Granny Squares
- Ways to Join Crochet Squares
- Tips and Tricks for the Perfect Square
- Essential Supplies
- Invitation to our Facebook group
A Cheerful Daisy Granny Square Pattern
Granny squares are a crochet classic that can be turned into almost anything - from snuggly baby blankets and stylish sweaters to trendy bags, and even cute coasters.
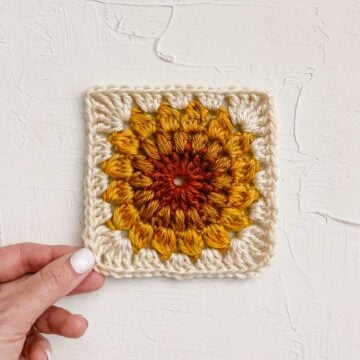
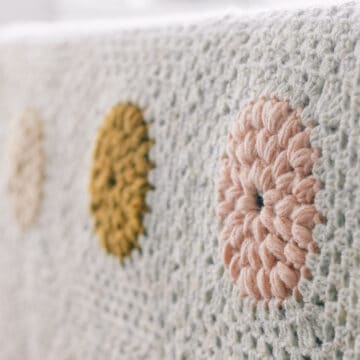
Our sunflower granny square tutorial has been well loved for its simplicity and versatility. So with summer rolling in, I'm adding a new bloom to our collection: the Daisy Granny Square.
These stunning flower motifs are a breeze to make! Plus, they’re ideal for crafting on the go and using up that scrap yarn.
How to Crochet a Flower Granny Square
This flower motif includes three simple rounds, which means your “garden” can bloom quite quickly. Here are the basic steps to crochet a daisy granny square.
Or jump to the detailed written instructions right below the video tutorial.
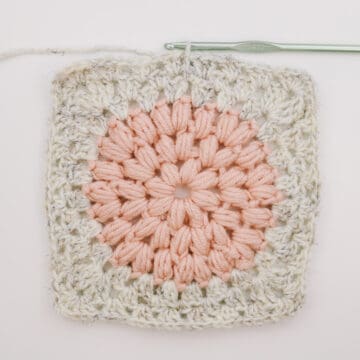
Step 1: Make a magic ring. Work eight puff stitches in the ring.
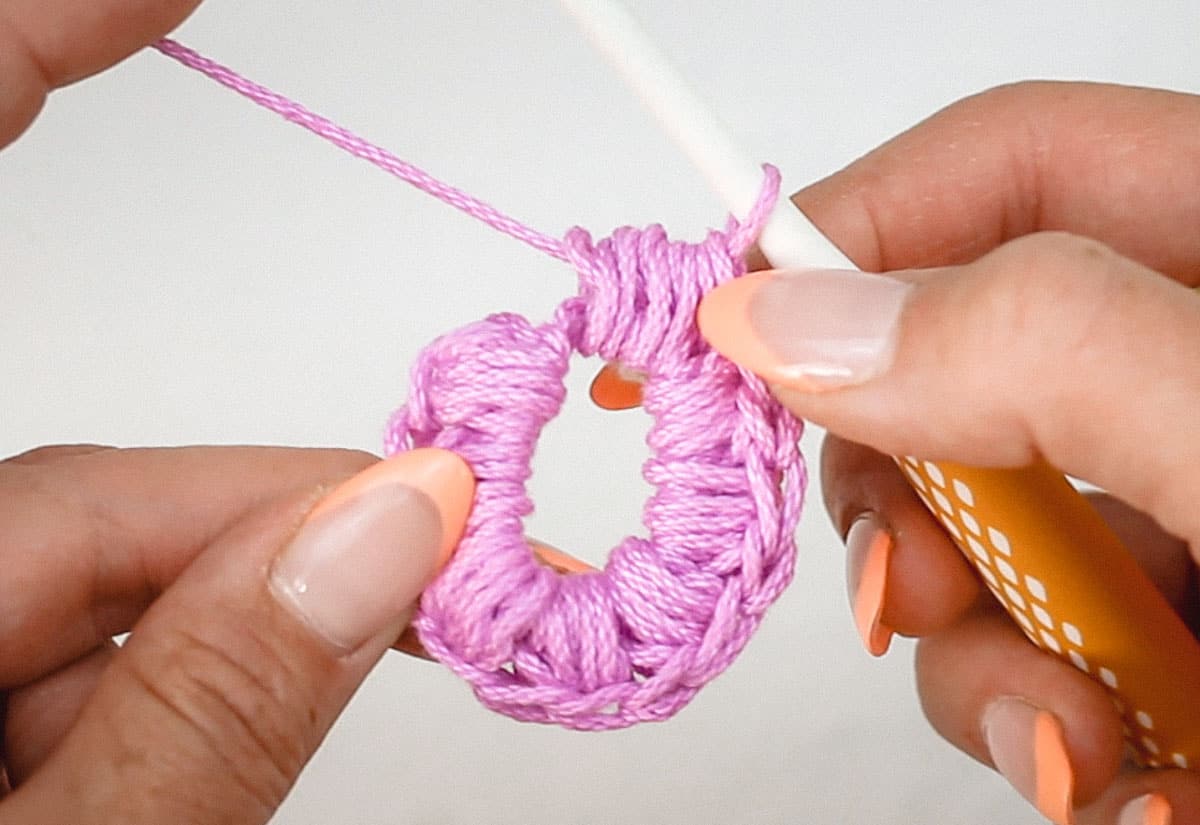
Step 2: In each chain space from the previous round, work two treble crochet petals separated by two chain stitches.
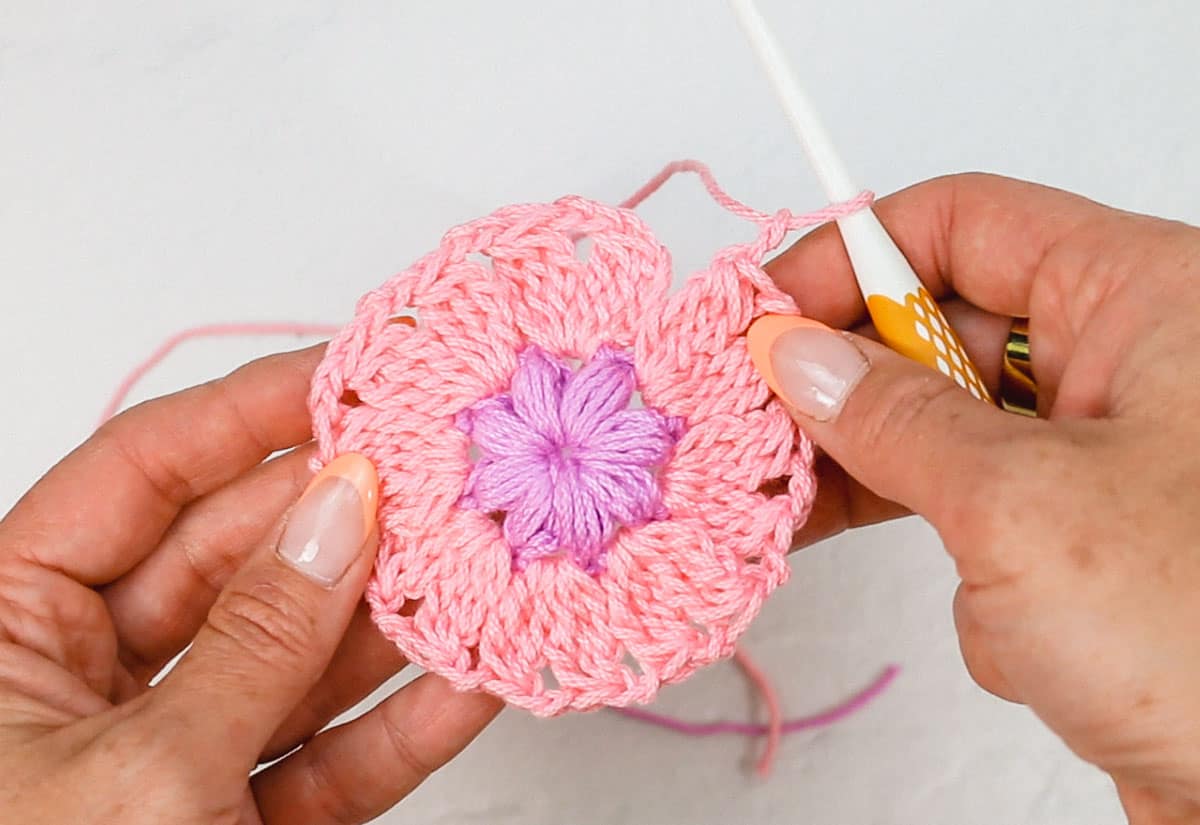
Step 3: Square off the round flower by placing three double crochet clusters on each side. Make each corner from two treble crochet clusters and two chains.
Video Tutorial For Beginners
In this video, I walk you through crocheting a flower granny square step by step. If you're new to crochet, this is a great way to learn how to make these cheerful motifs.
Scroll down for the detailed written instructions in crochet lingo.
Daisy Granny Square Written Instructions
Here are the detailed written pattern instructions on how to crochet a daisy square. If you need help reading these, check out our guide to making sense of crochet patterns.
Abbreviations + Glossary (US Terms)
ch – chain
chsp – chain space
cluster – 3 double crochet in same space
dc – double crochet
rep – repeat
RS – right side
sl st – slip stitch
sp - space
tch – turning chain
tr – treble crochet
WS – wrong side
yo – yarn over
Special Stitches
Puff – Here’s how to crochet a puff stitch for Round 1.
- Yarn over
- Insert hook in magic ring
- Pull up a loop to create three loops on the hook
- Yarn over again
- Insert hook into the same stitch and pull up a loop to create five loops on the hook
- Repeat step 5 three more times to create 11 loops on the hook
- Yarn over and pull through all 11 loops on the hook
- Chain once to close the puff stitch
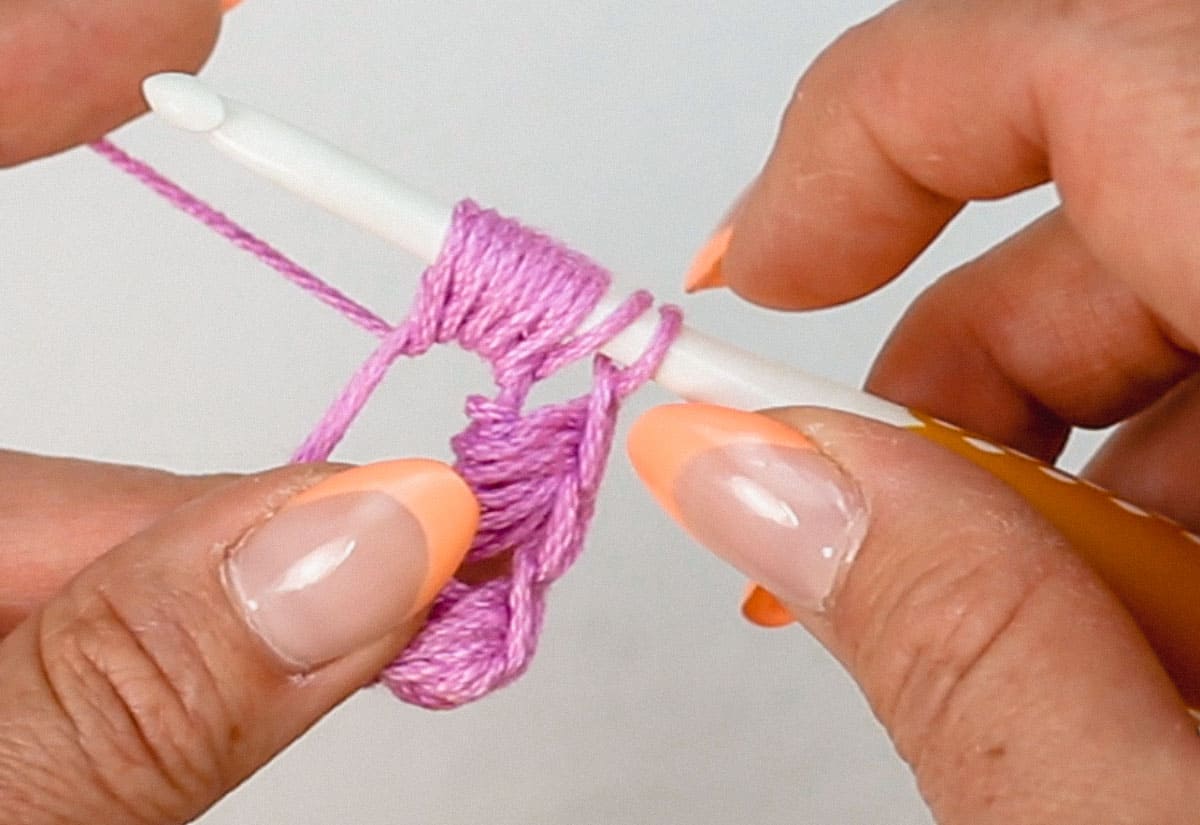
Partial Puff – This is used at the beginning of Round 1. Follow the same instructions for the full puff, but stop pulling up loops when you have nine on your hook. Chain once to close the puff stitch.
Petal – Here’s how to make one petal out of three treble crochet stitches.
- Yarn over two times
- Insert hook into the next chsp
- Pull up a loop
- Yarn over and pull through first two loops
- Yarn over and pull through next two loops
- Repeat steps 2-5 twice more, inserting hook into the same space for all three partial treble crochets (4 loops on hook)
- Yarn over and pull through all four loops on hook
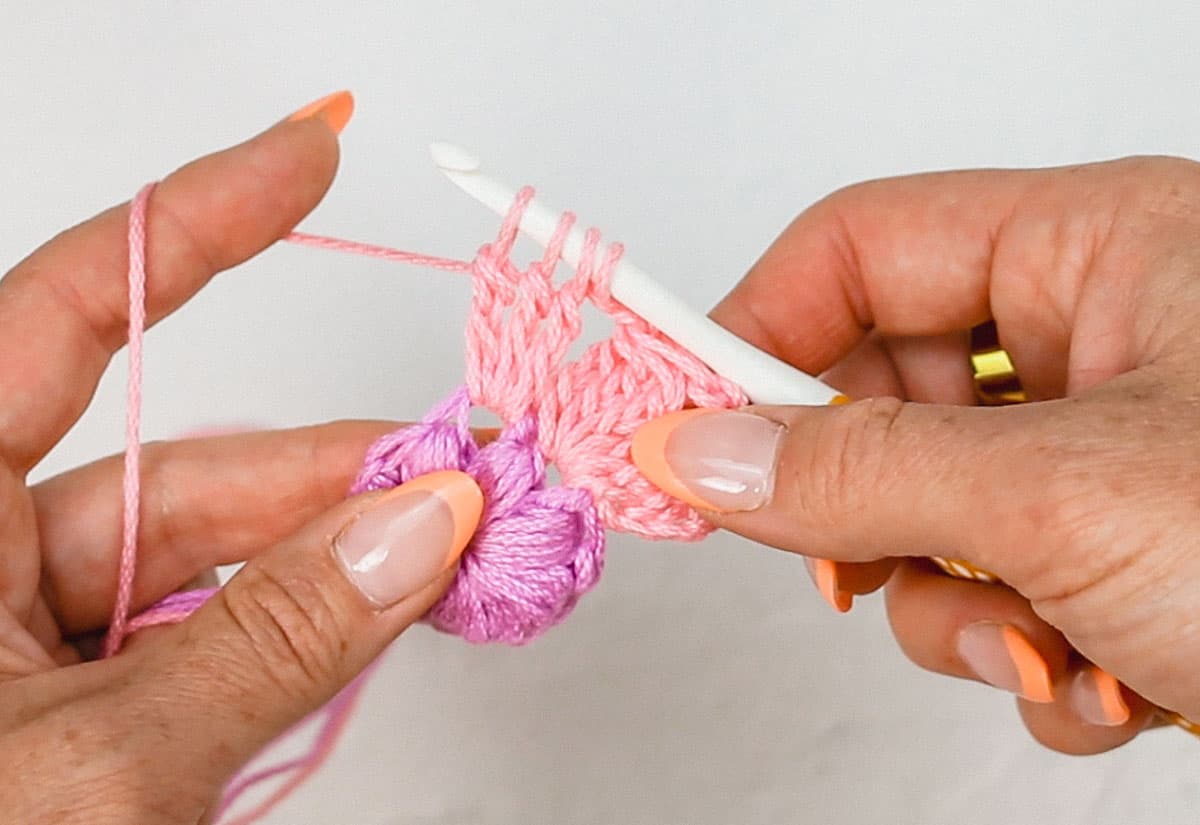
Partial Petal – This is used at the beginning of Round 2. Follow the same instructions for the full petal, but repeat steps 2-5 only once so you end up with only three loops on your hook.
Free Pattern + Step-By-Step Photos
To make this square, you’ll need three colors of yarn that are all the same weight (thickness). All three rounds are worked with the right side facing. In this tutorial, I'm using Lion Brand 24/7 Cotton.
Foundation: With your first color (Color A), make a magic ring (aka a magic loop).
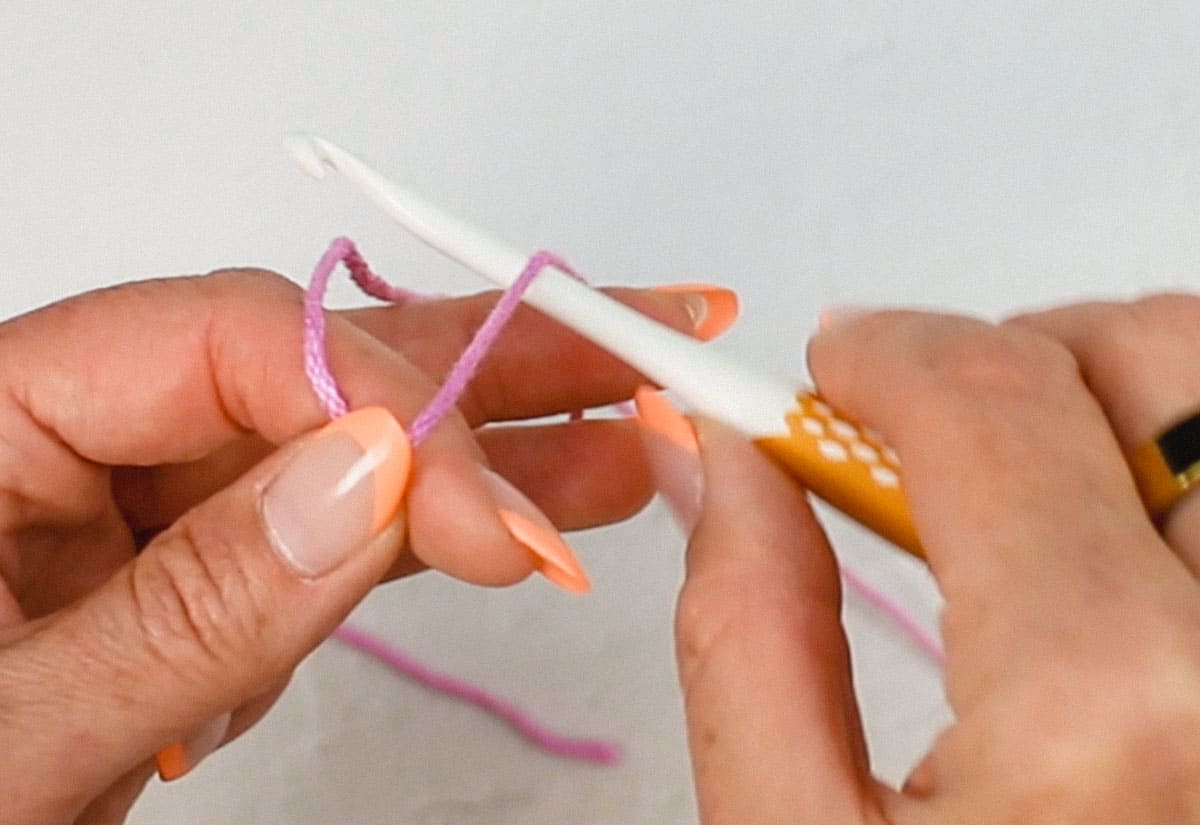
Round 1 (RS): Ch 2, 1 partial puff, 7 full puffs, sl st to top of first puff to join. Fasten off. (8 puffs)
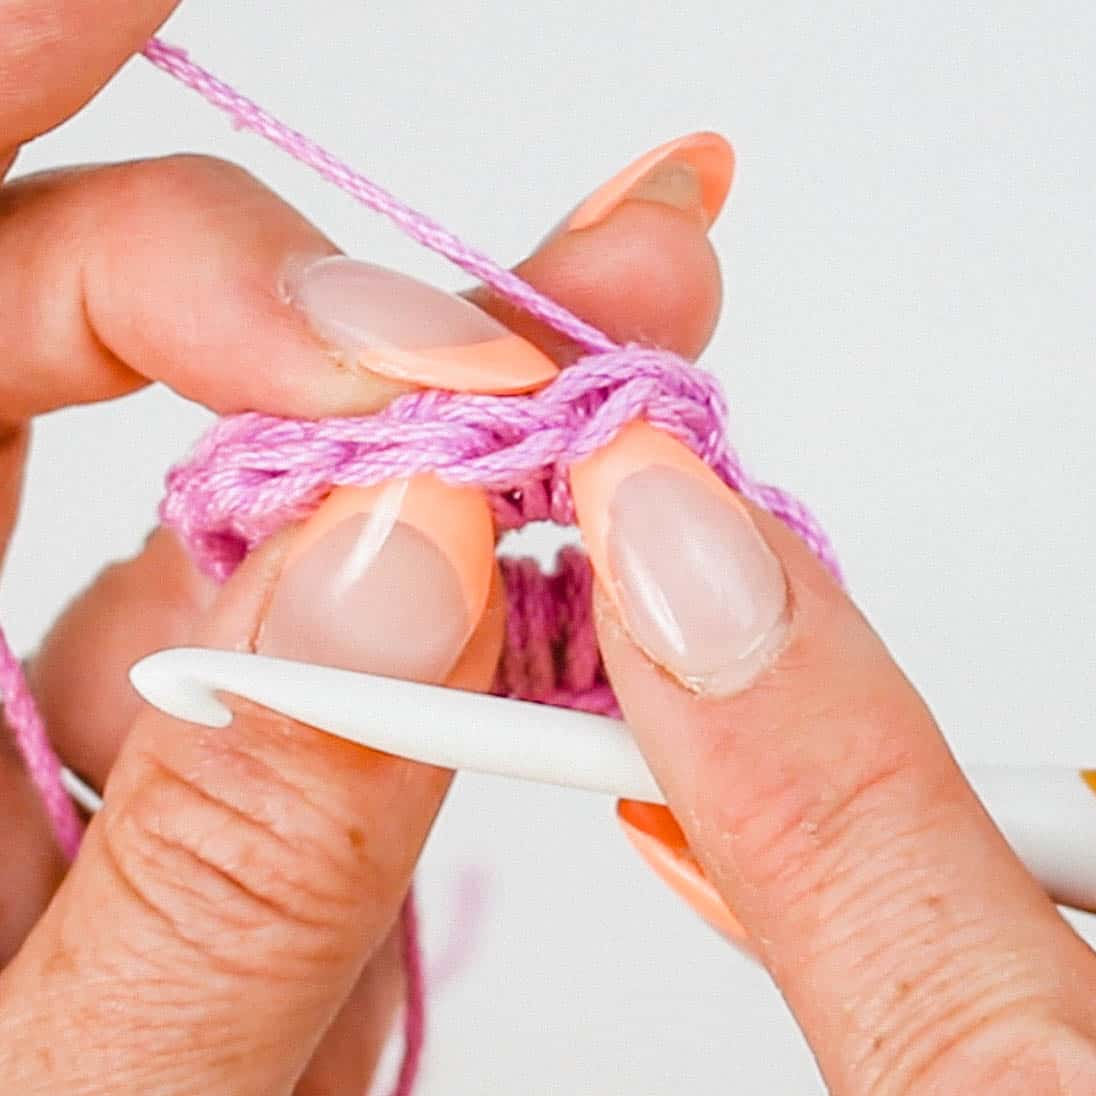
Sl st to top of first puff to join round
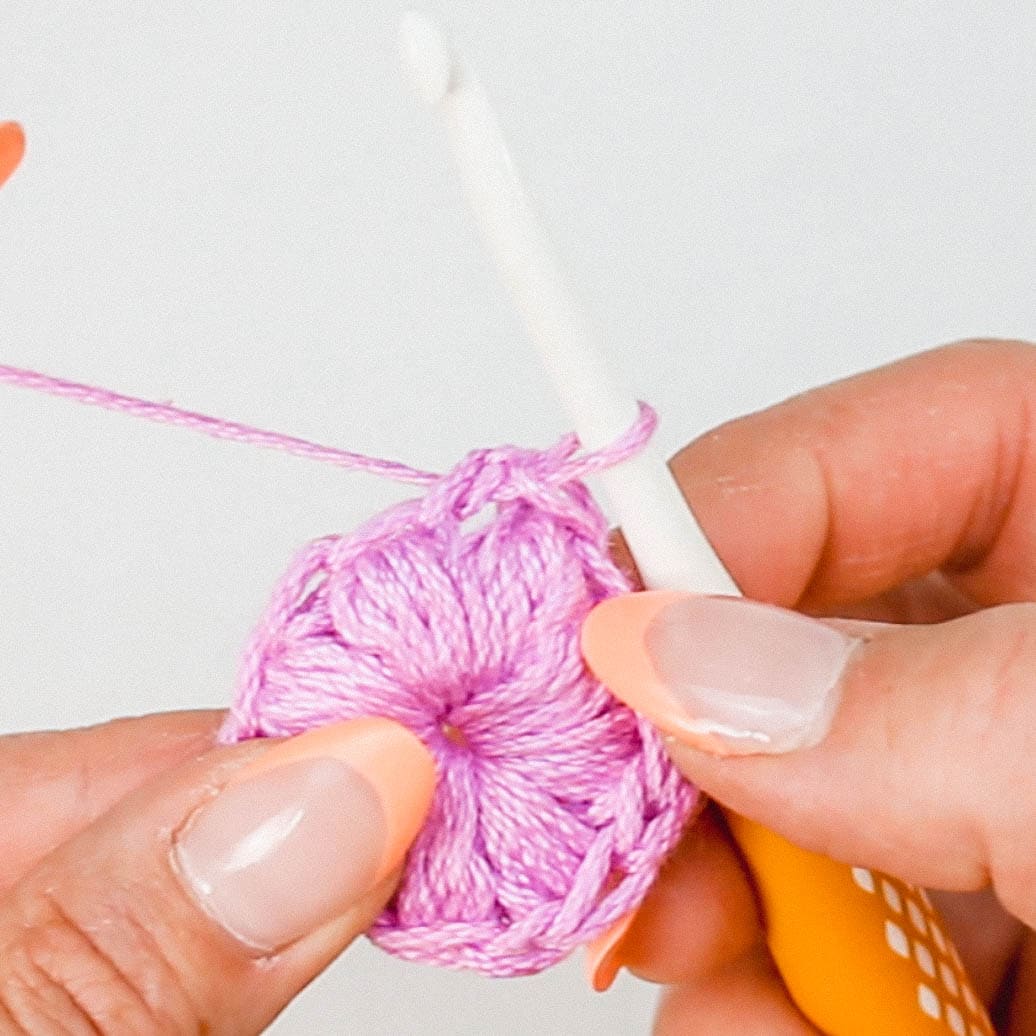
Round 1 complete (8 puff stitches)
With the right side of your flower center facing, attach your second color yarn (Color B) in any chain space.
Round 2 (RS): Ch 4 tightly, make a partial petal in the same chsp, ch 2, petal in same chsp…
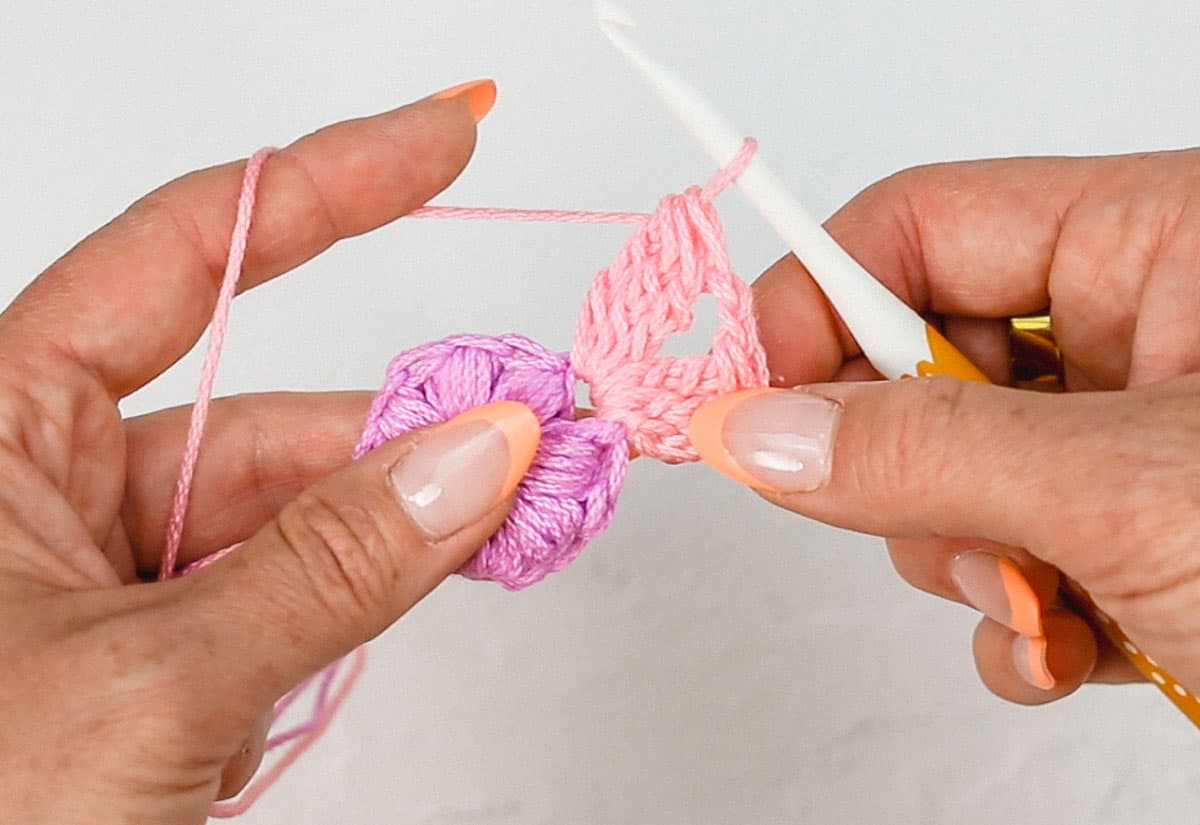
Round 2 cont.: *Ch 2, [petal, ch 2, petal] all in the next chsp…
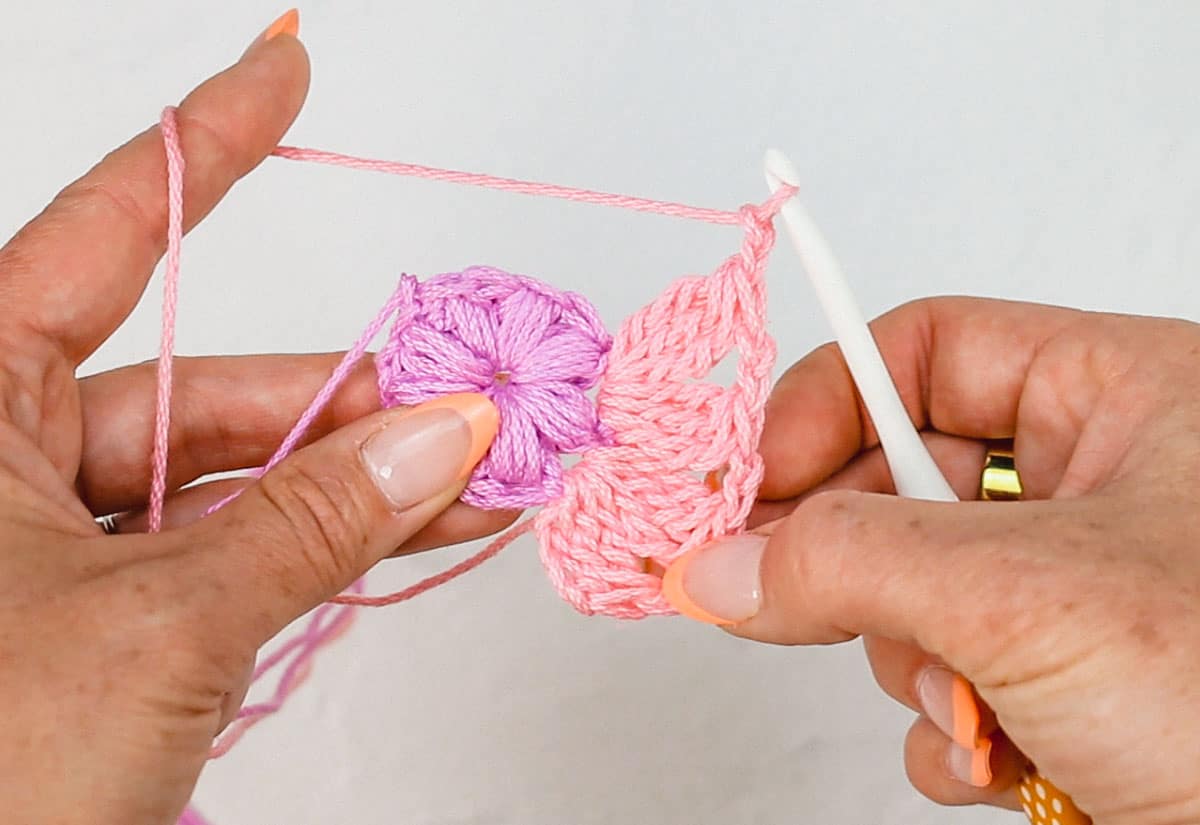
Round 2 cont.: Repeat from * six more times. Fasten off. (16 petals separated by ch2sps)
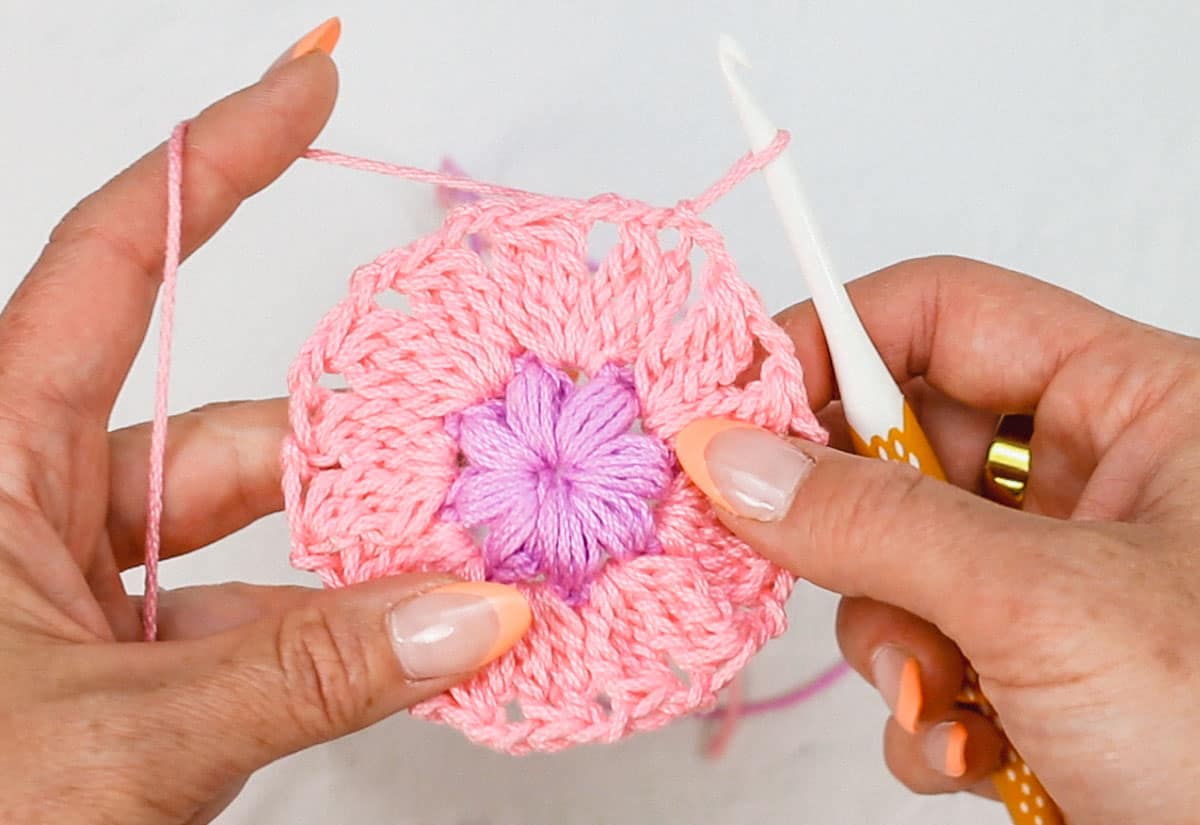
With the right side of your flower facing, attach your third color yarn (Color C) in any chain space.
Round 3: Ch 4 tightly (counts as 1 tr), 2 tr in same chsp…
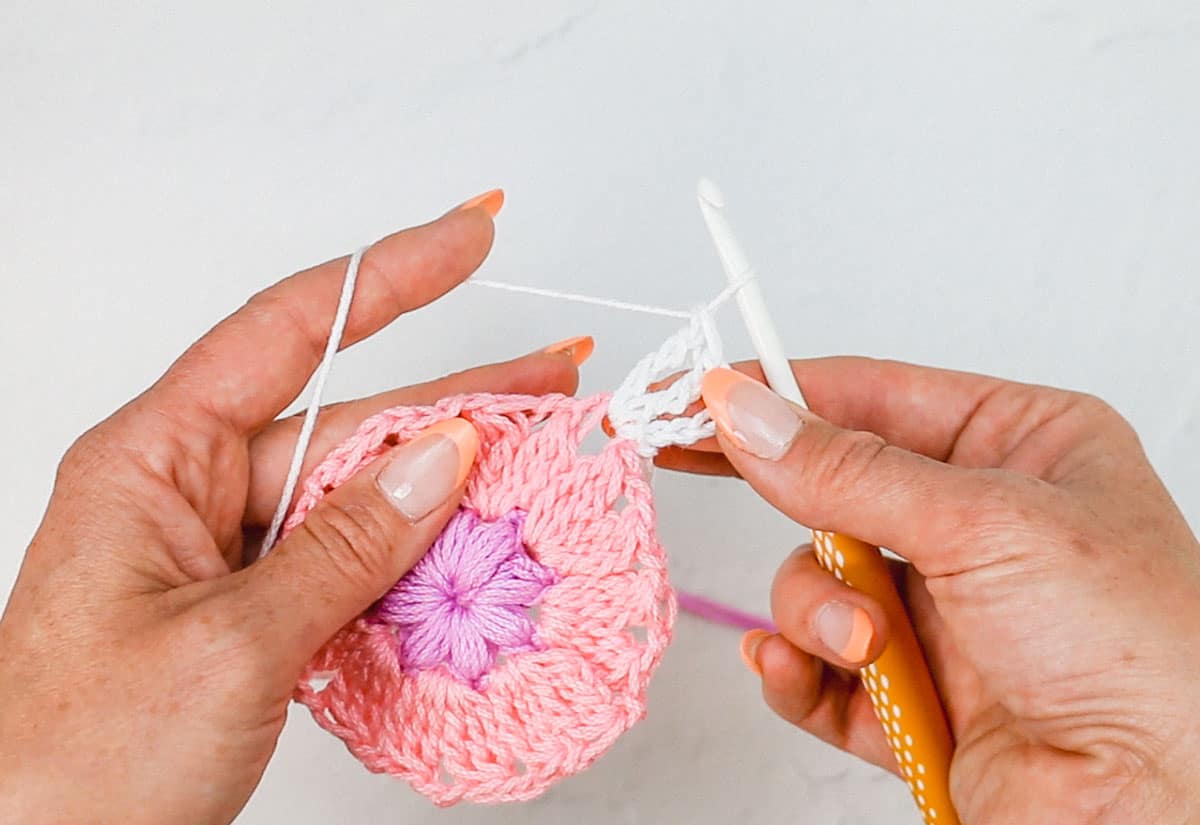
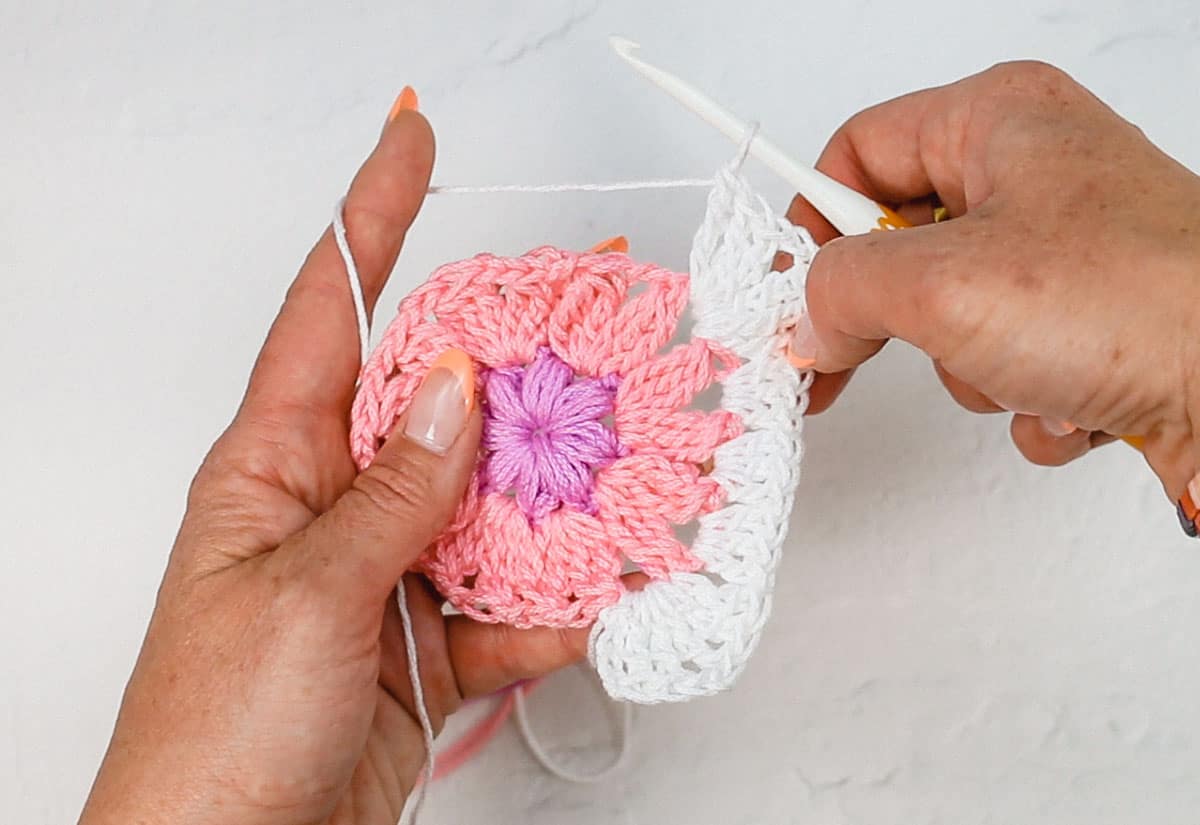
Round 3 cont.: Ch 2, 3 tr in same chsp (one corner created), *3 dc in each of next 3 chsps, [3 tr, ch 2, 3 tr] in next chsp (corner created), rep from * twice more, 3 dc in each of the next 3 chsps, sl st to top of ch to join.
Fasten off leaving a long tail for your chosen seaming method.
Want some company while you crochet?
Get support (and camaraderie!) in the Make & Do Crew community. Join for free here.
Modifying Your Flower Motif
Here are some simple tweaks to make your crochet garden bloom!
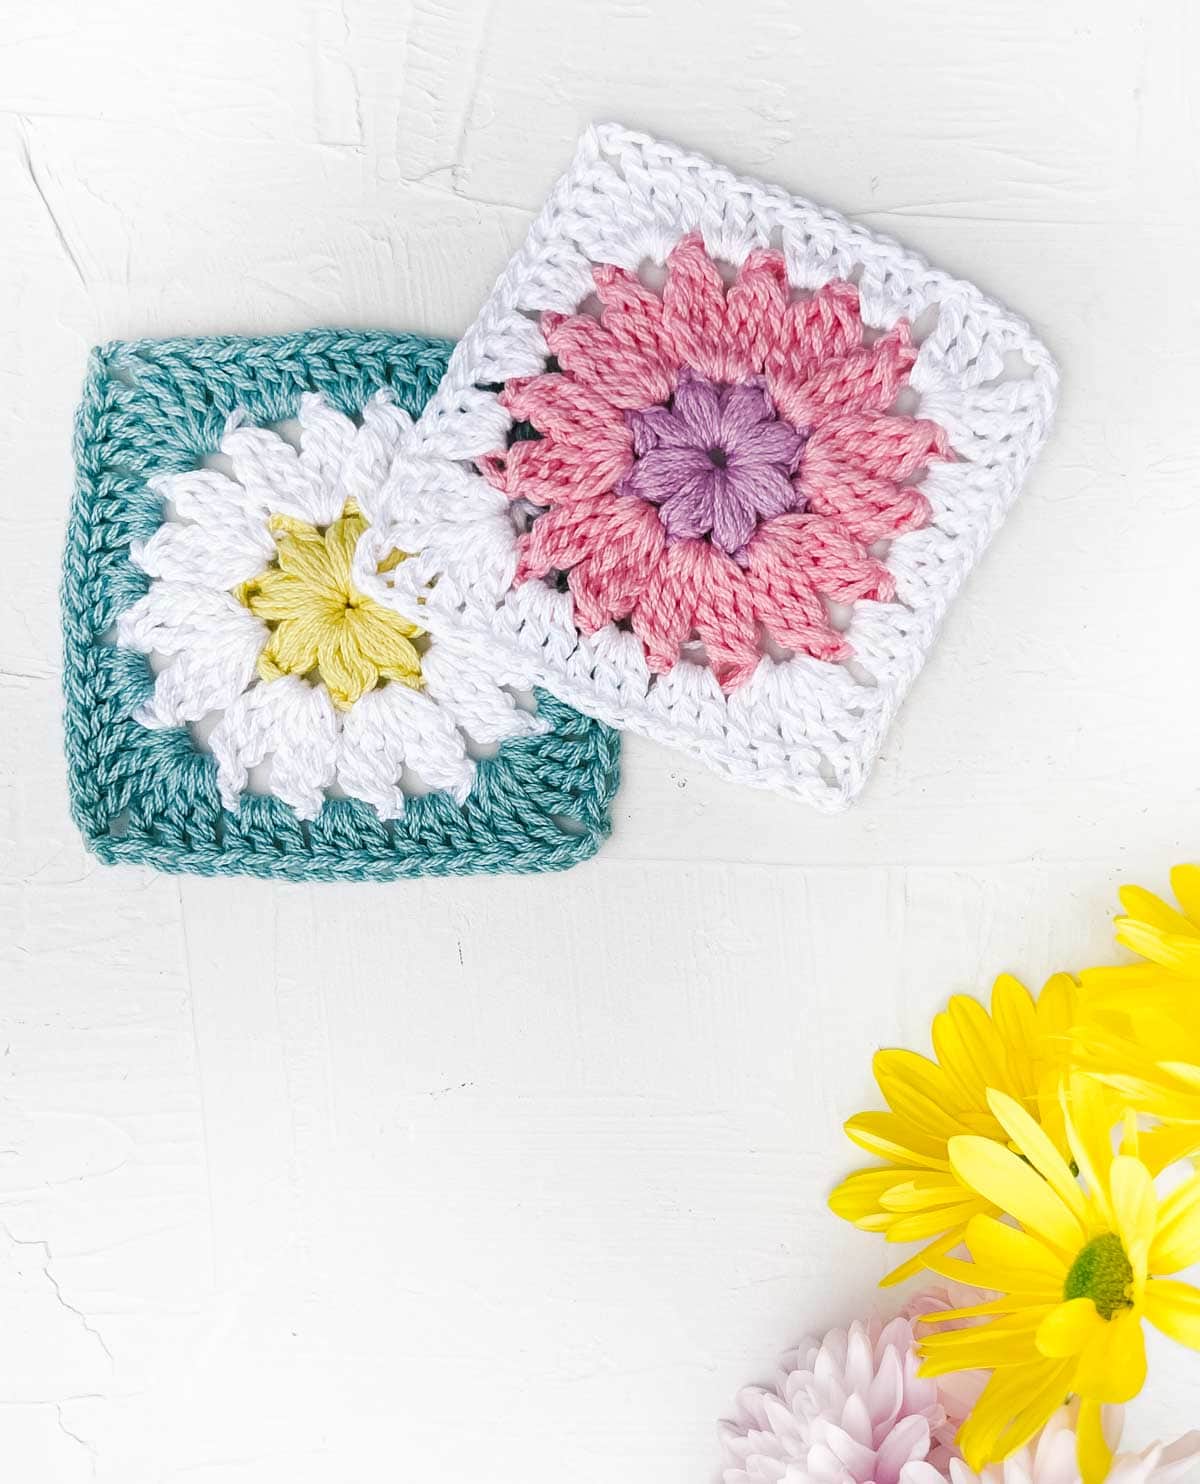
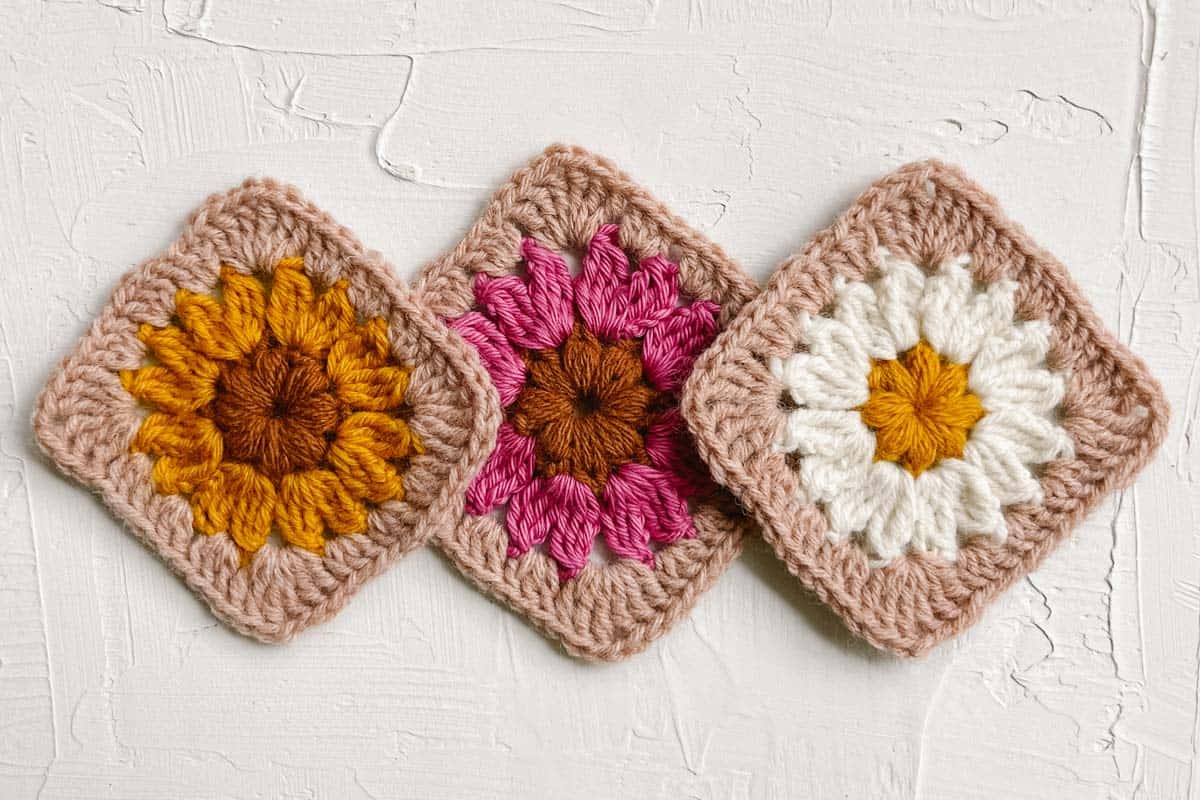
To make different types of flowers, you can just switch up the colors of your daisy’s white petals and yellow center.
Wanna save this pattern?
What to Make With Your Grannies
Once you start whipping up floral granny squares, you might wonder what you can create with them.
These square flower grannies are the perfect fit for any crochet pattern that calls for a classic granny square. Cozy afghans? Check! Plush pillows and one-of-a-kind temperature blankets? You bet! The possibilities for your crochet blooms are endless.
Here are a few granny square project ideas to spark your creativity.
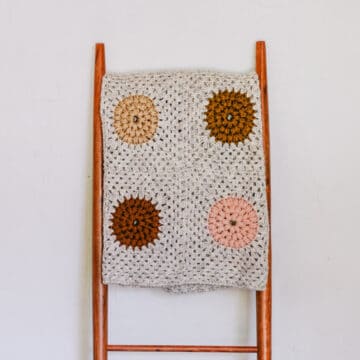
How to Make a Blanket
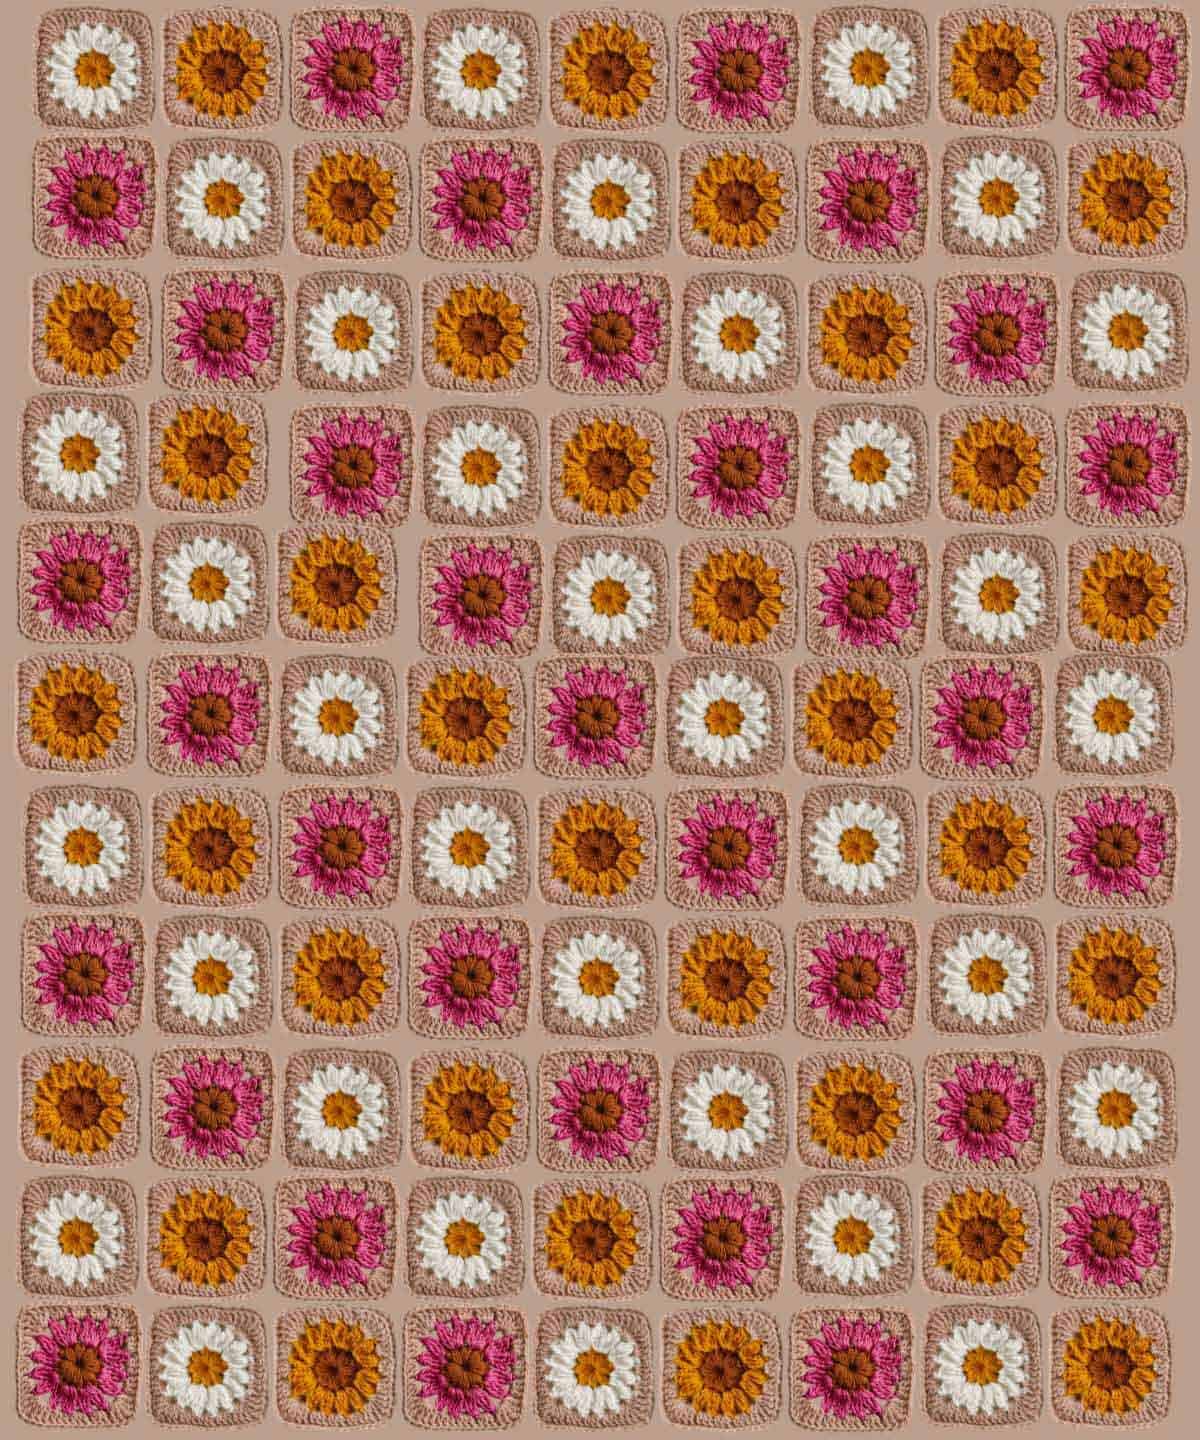
To make a daisy granny square blanket, you'll need to make a bunch of squares and join them using your prefered method.
To determine how many squares you'll need, I suggest making one and measuring it. (My flower granny squares pictured here are about four inches across.)
Then think about how wide and tall you'd like your blanket to be. Divide the height by your square measurement. Then divide the width by your square measurement. Lastly, multiply those two numbers. That's how many squares you'll need to make your flower blanket.
For example, to make a blanket that's 36 x 44":
- 36" / 4" = 9
- 44" / 4" = 11
- 9 x 11 = 99 granny squares needed
Mix + Match Designs
Why settle for just one granny square pattern when you can combine a bunch of them in a single project? Alternate our crochet daisy granny square with some traditional granny patterns for a truly one-of-a-kind blanket.
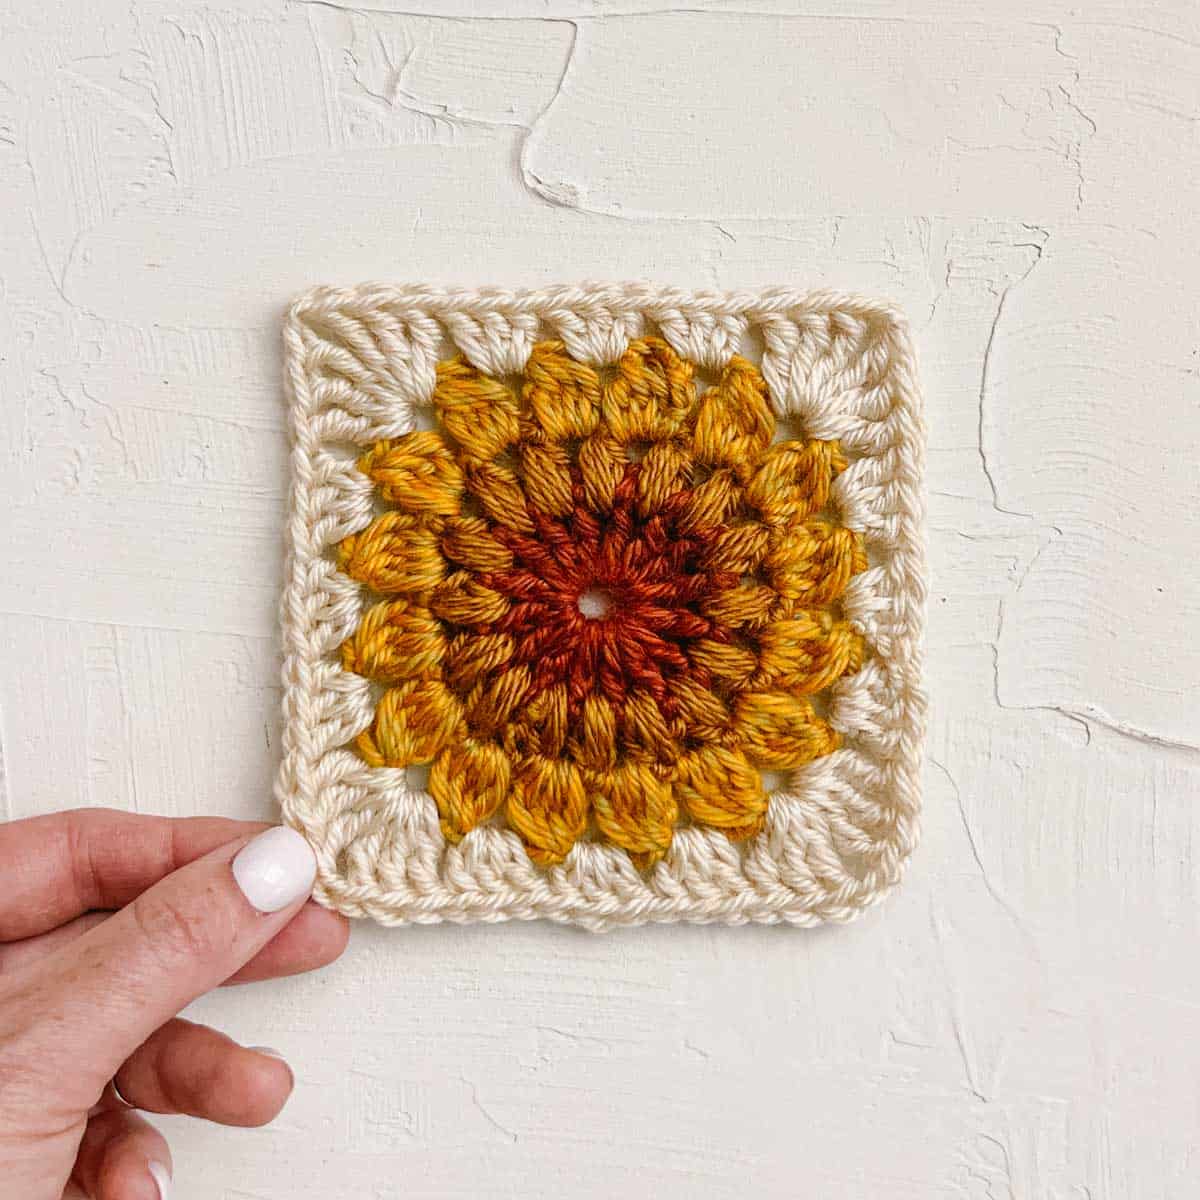
Add Edging or a Border
Crafting a border for an individual granny square is easy. Work single crochet (sc) into each stitch, using three stitches in every corner.
Oh, and if you’re stitching your granny squares into a cozy crochet afghan, add a border or fancy edging to tie it all together.
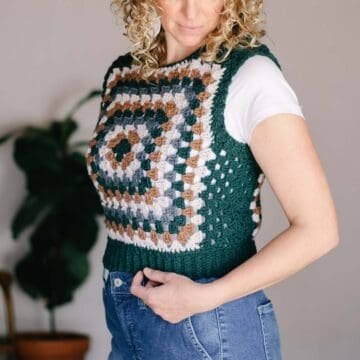
How to Make a Sweater
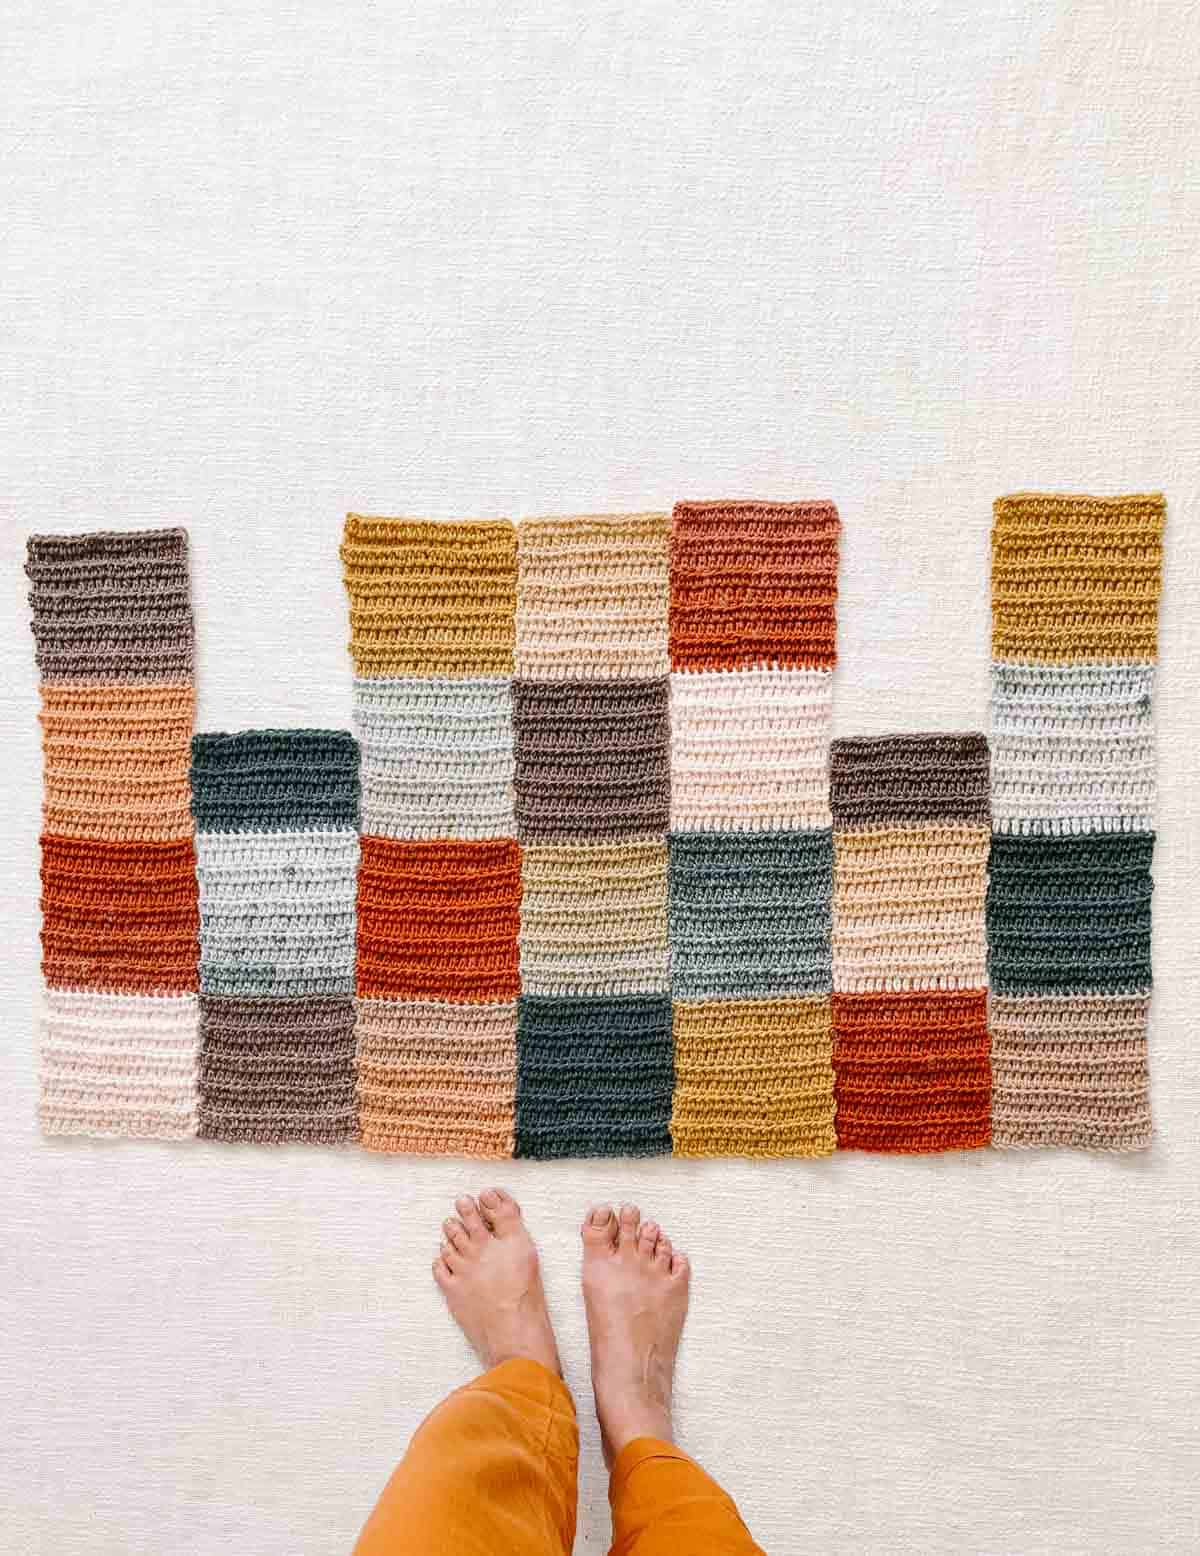
Similar to how you'd make a blanket, you can construct a simple daisy cardigan by combining squares. For the simplest version, I recommend joining squares for the sweater back and fronts and then using solid double crochet for the sleeves.
Alternatively, use this flower granny square pattern in an existing sweater design like the Revival Cardigan.
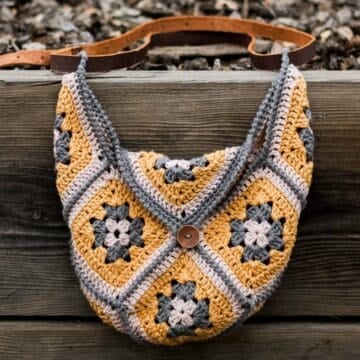
How to Make a Bag
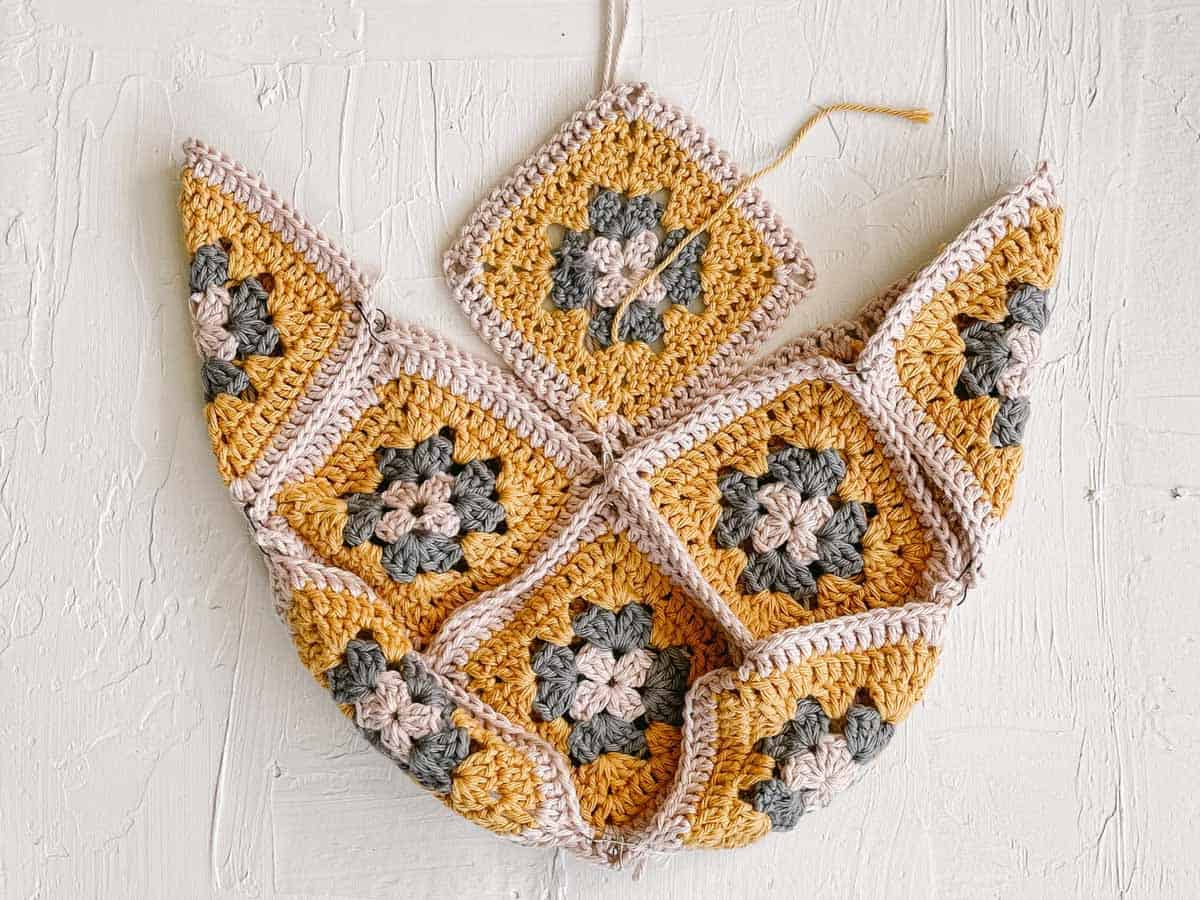
Making a bag from squares is quite easy once you understand the construction. Follow the basics of this granny square bag pattern, but substitute daisy grannies instead.
How To Change Colors In Granny Squares
Changing colors in granny squares is a piece of cake. My go-to method is using a slip stitch to introduce a new color at the beginning of a new round or row. Here's a quick rundown of the basic steps:
- Fasten off the current color at the end of the row or round.
- With your new color, form a slip knot on the hook.
- Insert the hook into the correct stitch or space to start the new round.
- Yarn over and pull a loop back through the slip knot on your hook.
Pro Tip: Even after tightening the slip knot, it tends to add a bit of height. I've found it helpful to count this slip stitch as the first chain in the new row or round.
Ways to Join Crochet Squares
Did you really think I'd just leave you hanging with a mountain of floral granny squares and no clue how to turn them into something awesome? I gotcha.
Here are a few of my favorite ways to stitch your stash of daisy granny squares together.
Tips and Tricks for the Perfect Square
Here are some top tips to ensure granny square success:
Maintain consistent tension: Uneven tension can lead to squares that vary in size and shape, making them difficult to join neatly.
Count your stitches: Trust me, you don’t want to find out you messed up in Round 1 when you’re knee-deep in round 4. Spare yourself the crafty heartache and double (or triple) check your stitch count, especially in Round 1.
Crochet over your yarn ends: Flower granny squares love to leave a trail of tails behind. While I always recommend properly weaving in your ends, you can also just crochet over them if you’re making a project that won’t get jostled around or washed often.
Block your work: Blocking whips your squares into shape, ensuring they're all the same size before you join them. Learn more about the why and how to block your grannies.
Essential Supplies
The crochet materials you need are similar to most other granny square patterns. Here are a few must-have supplies:
- Yarn: Each pattern will include yarn recommendations and alternatives.
- Crochet hook: Use the size recommended on your yarn label.
- Tapestry needle/yarn needle: This is for weaving in ends and joining.
- Other notions: Scissors, stitch markers, blocking pins, and a board (optional).
The Best Yarn for Granny Squares
Most granny square patterns call for worsted weight yarn, but they can be made with pretty much any type or weight yarn. (Be aware that using a different yarn weight than the pattern calls for will also change the finished size.)
When creating grannies, I pick yarns that come in a wide range of colors. Here are some lines of yarn that have an amazing color palette to make a crochet flower.
Using Scrap Yarn
Granny squares are a fantastic opportunity to use up leftover yarn. Just ensure the yarn scraps you use are all the same weight to achieve a consistent gauge and finish.
Watch on Youtube
If you'd like to save this video for later, here's the YouTube video tutorial to save to your crochet playlist.
More Granny Square Patterns
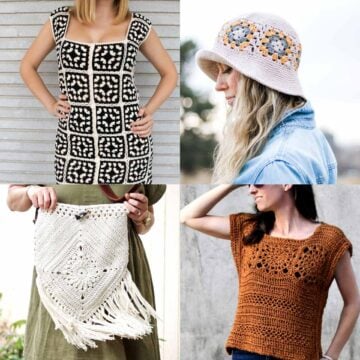
I've whipped up quite a few granny square designs over the years. If you're hunting for more inspiration, here are a few of my top picks to get your granny vibes going.
- 37 Unique Granny Square Patterns + Tips for the Perfect Square
- Modern Crochet Granny Square Cardigan - Free Pattern + Videos
- Dahlia Crochet Granny Square Blanket - Part 1
- How to Crochet a Granny Square Bag Step-By-Step
- How to Turn a Crochet Circle into a Granny Square
- Crochet Granny Square Bucket Hat Free Pattern
- Easy Granny Square Vest - Free Crochet Pattern
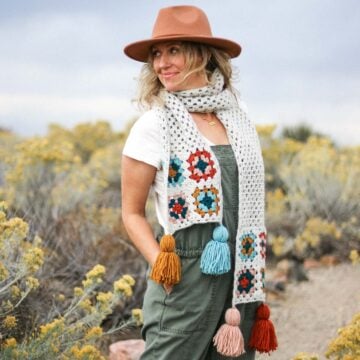
- Beginner Granny Square Scarf Pattern
That was so fun! Now what?
Invitation to our Facebook group
Come discuss crocheting flower squares and lots of other projects and techniques in our Make & Do Crew Facebook group. Here thousands of helpful crocheters answer each other's questions and share their stitches. Join us!



Leave a Reply