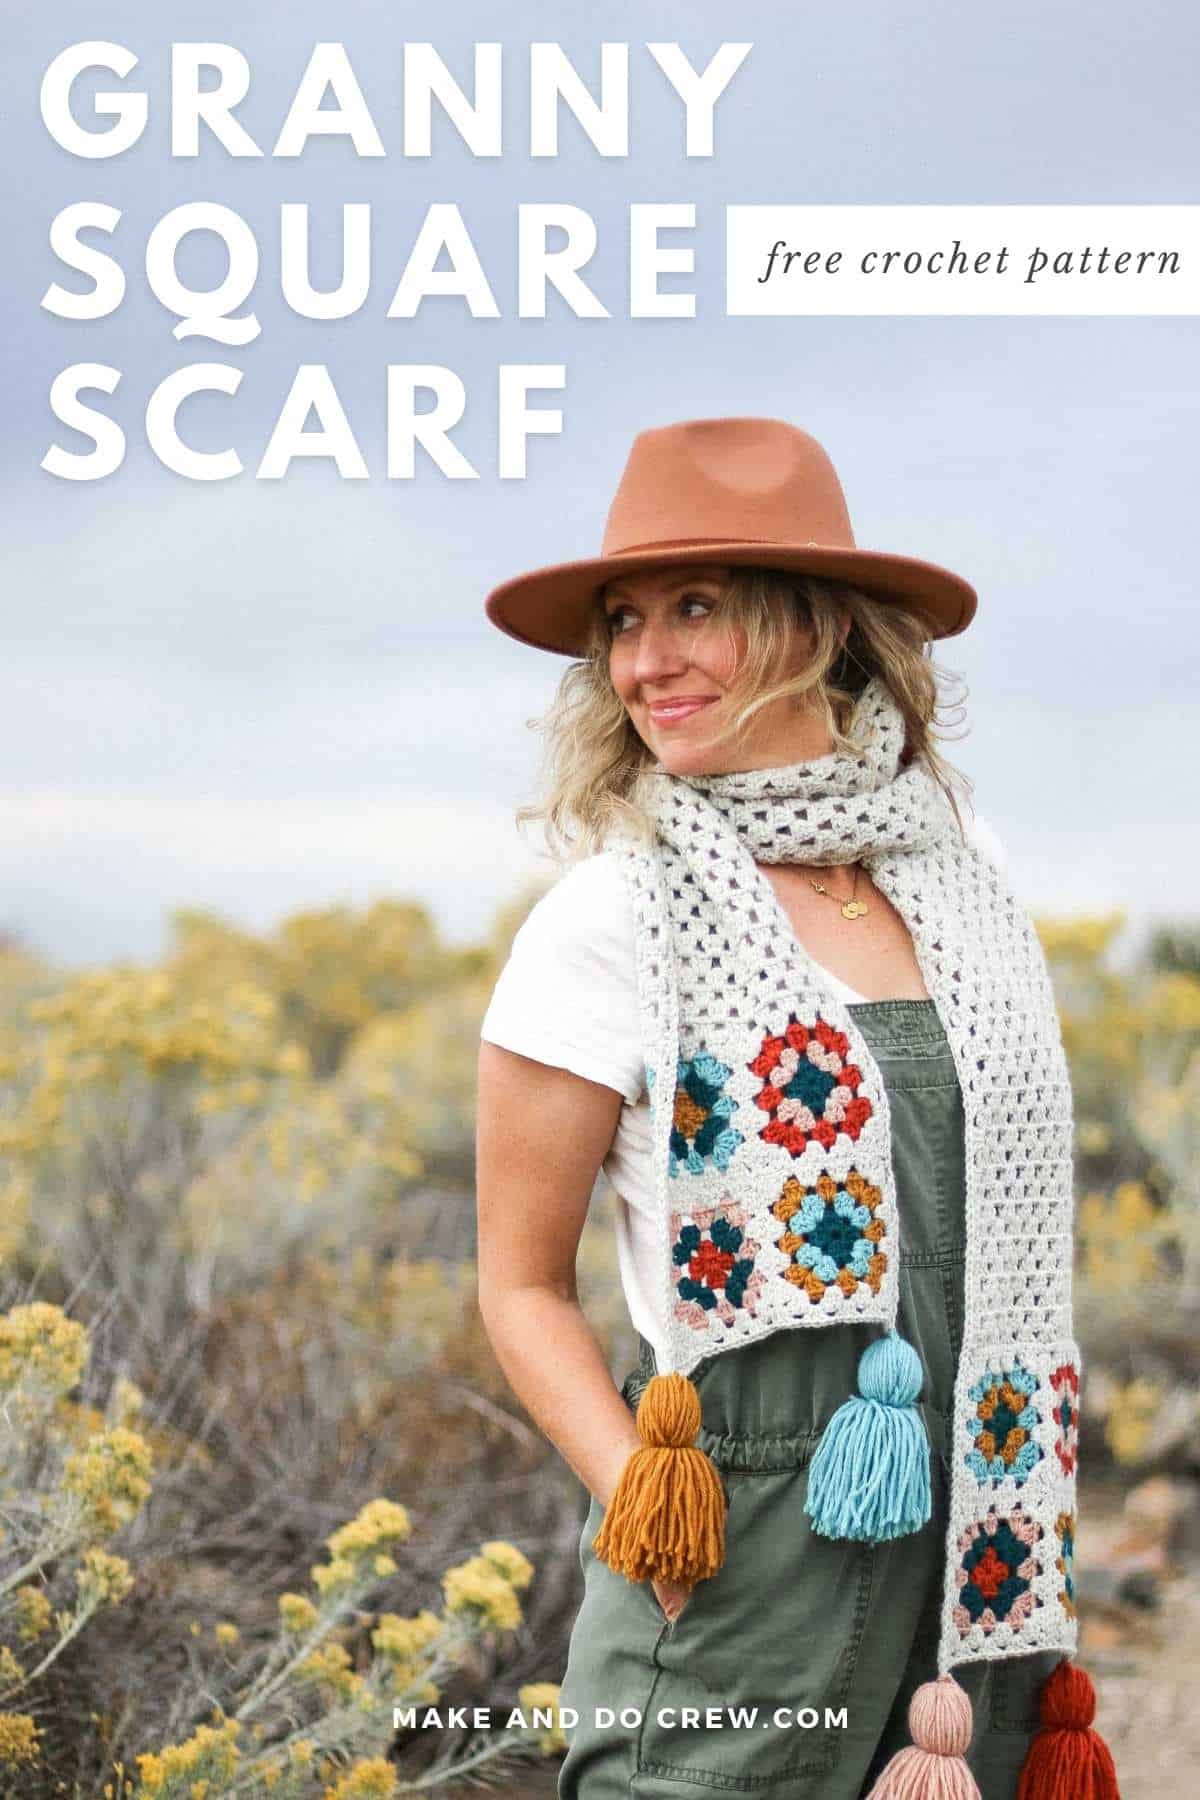
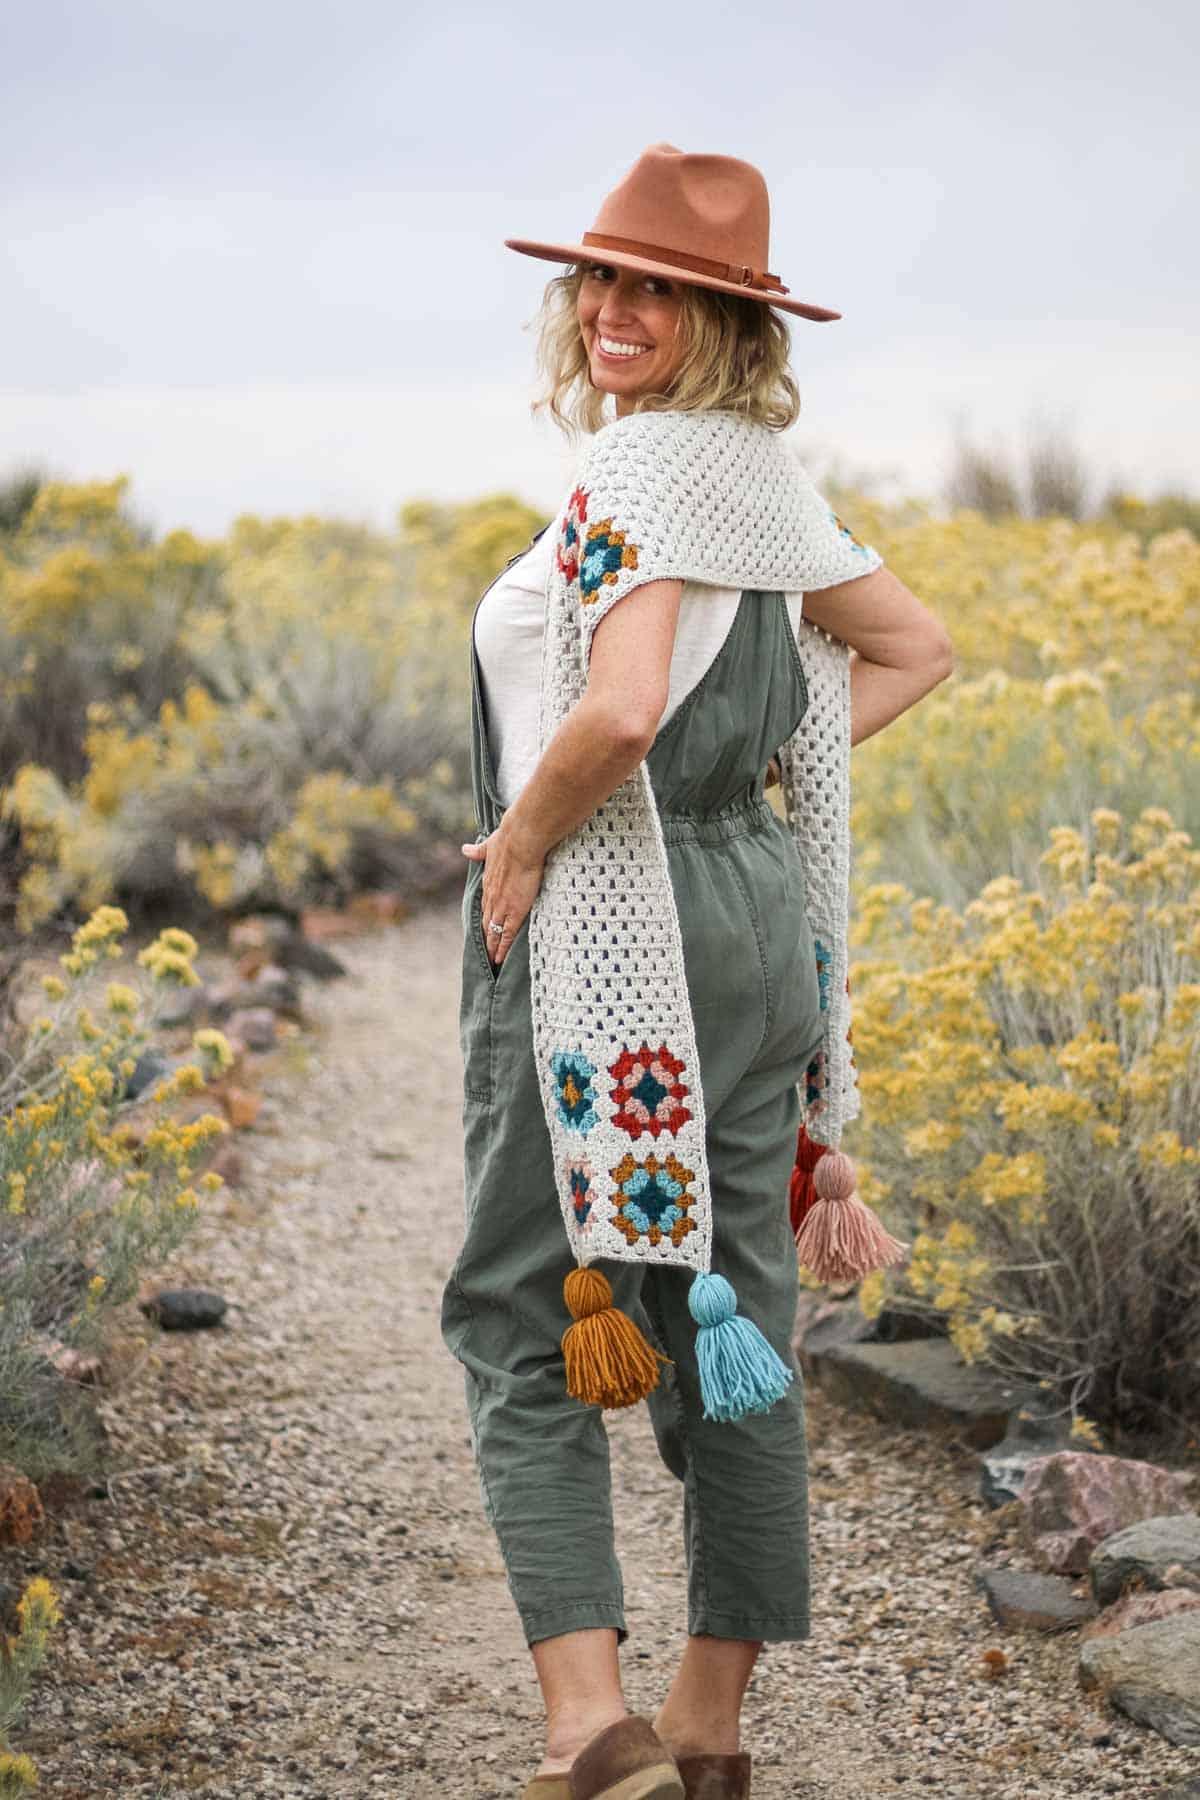
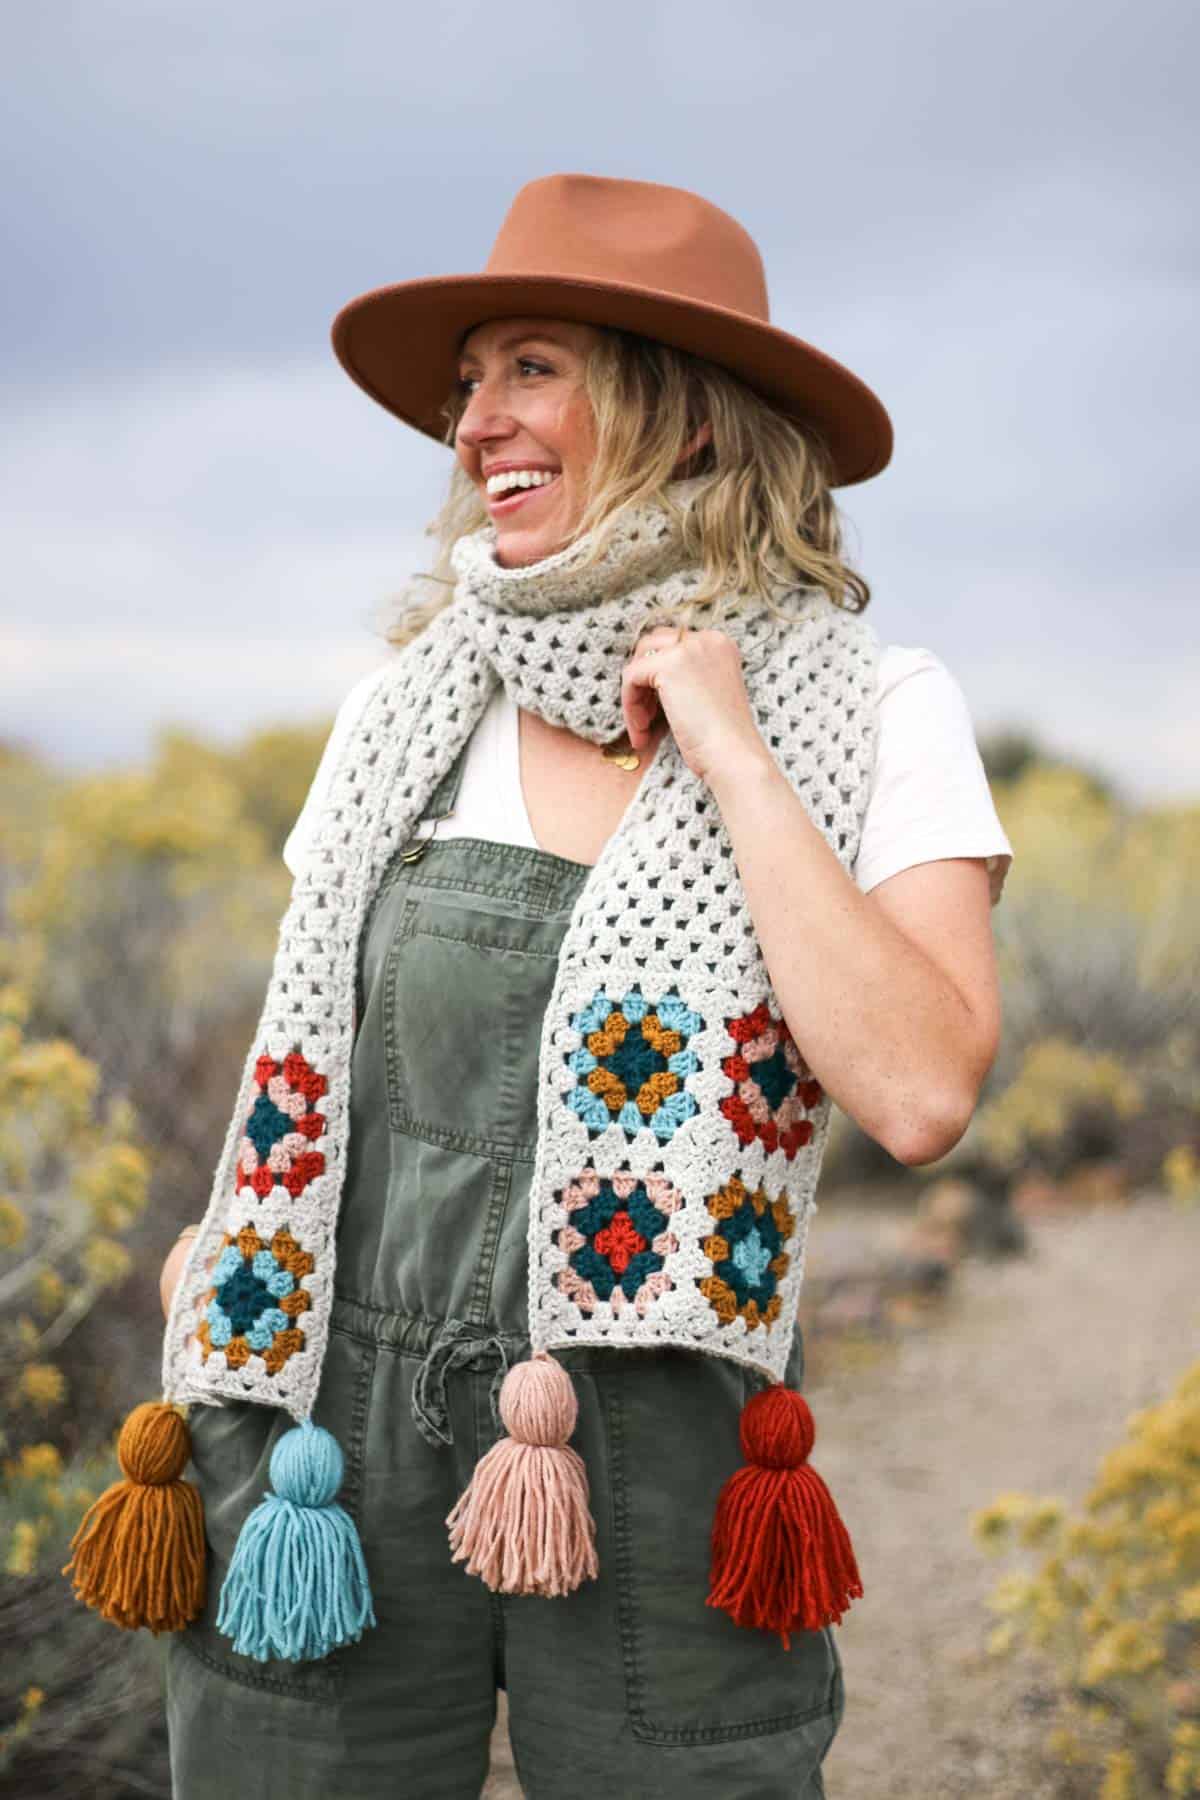
This granny square scarf pattern blends the timeless allure of granny squares with a fresh, contemporary aesthetic. Sections of crochet granny stitch rows help the squares stand out (and reduce the ends to weave in!)
Get the free scarf pattern and tutorial below, or purchase the ad-free, printable PDF.
This free crochet pattern is part of a collaboration with Lion Brand Yarns. This post contains affiliate links.
Jump to:
An Easy Granny Square Scarf Pattern
Okay, let's admit it. Having a lot of yarn tails to weave in is a necessary evil with granny squares.
For this pattern, though, I thought, what if we could create the granny look without so much seaming and so many ends to weave in?
Granny Stripes To the Rescue
By squeezing in some solid color sections, this granny scarf comes together quite easily. Plus, the granny stitch sections create a more versatile accessory to pair with a variety of outfits.
Techniques to Know
In this crochet granny scarf pattern, you’ll practice:
- Double crochet (dc)
- Making granny squares
- Changing colors
- Blocking
- Seaming
- Working in the granny stitch
Tips for "Lazy" Crocheters (or Beginners)
If you're new to learning how to crochet or just despise weaving in tails, try using a single color for each granny square instead of switching each round. You'll create a completely unique color block look with less finishing work.
Is this your first scarf ever? Check out my guide on how to crochet a scarf for beginners.
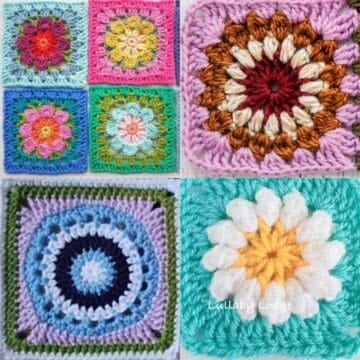
Related: How to Make a Flower Granny Square Step-by-Step
Yarn for A Granny Square Scarf
In this crochet scarf pattern, we're using a worsted-weight yarn (category 4). Aran weight works too.
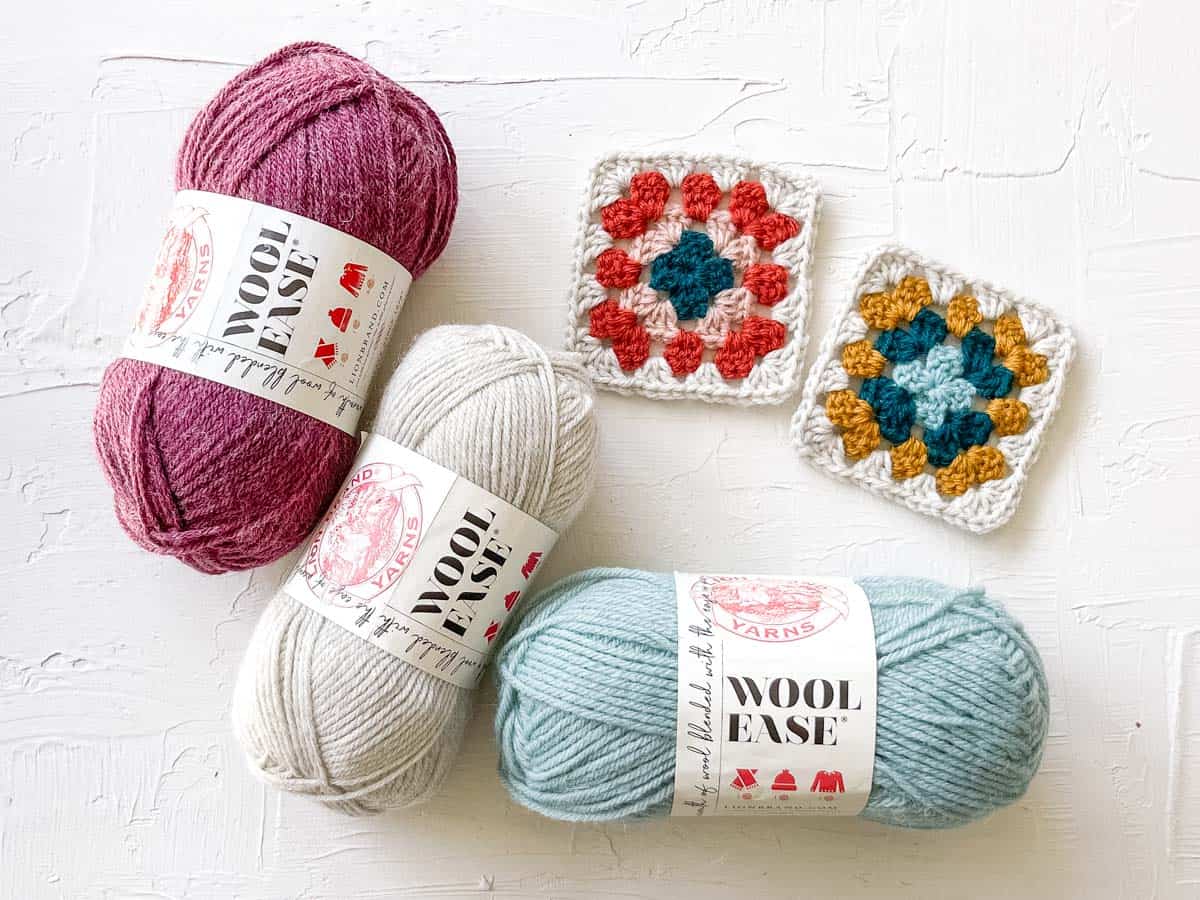
The sample pictured was made with Lion Brand Wool-Ease, which is a popular acrylic-wool blend. In my experience, this yarn gets softer and softer with machine washing – always a perk for a wearable accessory!
The pattern recommends a Size J/6.0 mm hook, but you can always adjust your hook size up or down to meet the gauge listed below. (Gauge isn't essential in this pattern, but it will help ensure your granny scarf uses the expected amount of yarn.)
Yarn Substitutions
You can substitute any category 4 weight yarn in this granny stripe scarf. If you're in the middle of a yarn freeze or have a lot of little scraps laying around, this granny square project is an awesome stash-yarn buster.
Pro Tip: You can even use DK weight scraps in your scarf if your craft room is overflowing with thin yarn. Hold two strands together to match the thickness of a worsted-weight yarn.
All-in-One Crochet Kit
The all-in-one kit is a perfect way to make your Perennial Granny Square Scarf. This bundle from Lion Brand includes all the Wool-Ease you'll need, plus a bonus printable PDF of the pattern and tutorial (delivered digitally).
Perennial Granny Square Scarf - Free Pattern
Supplies + Materials
Order an all-in-one kit from Lion Brand.
- Lion Brand Wool-Ease (Weight: 4/Medium weight - 197 yds, 3.0 oz / 85 g)
- Color A: Natural Heather [620-098] – 3 skeins (approx. 180 g)
- Color B: Arrowwood [620-087] – 1 skein (approx. 35 g)
- Color C: Stillwater [620-073] – 1 skein (approx. 35 g)
- Color D: Rainforest [620-078A] – 1 skein (approx. 35 g)
- Color E: Blush Heather [620-104] – 1 skein (approx. 35 g)
- Color F: Koi [620-033A] – 1 skein (approx. 35 g)
- Size J (6.0 mm) crochet hook or size needed to obtain gauge
- Tapestry needle (aka yarn needle)
- Steamer or iron with steam function (alternative: use a spray bottle)
- Tassel maker or piece of cardboard
Measurements
9 x 72” not including tassels
Gauge
After blocking, each finished granny square measures: 4 x 4”
Granny stitch sections: 4.5 granny clusters x 7 rows = 4”
Abbreviations + Glossary (US Terms)
ch – chain
chsp – chain space
cluster – group of three double crochets
dc – double crochet
PM – place marker
rep – repeat
RS – right side
sk – skip
slst – slip stitch
st(s) – stitch(es)
tch – turning chain
WS – wrong side
Download the PDF + Print This Pattern
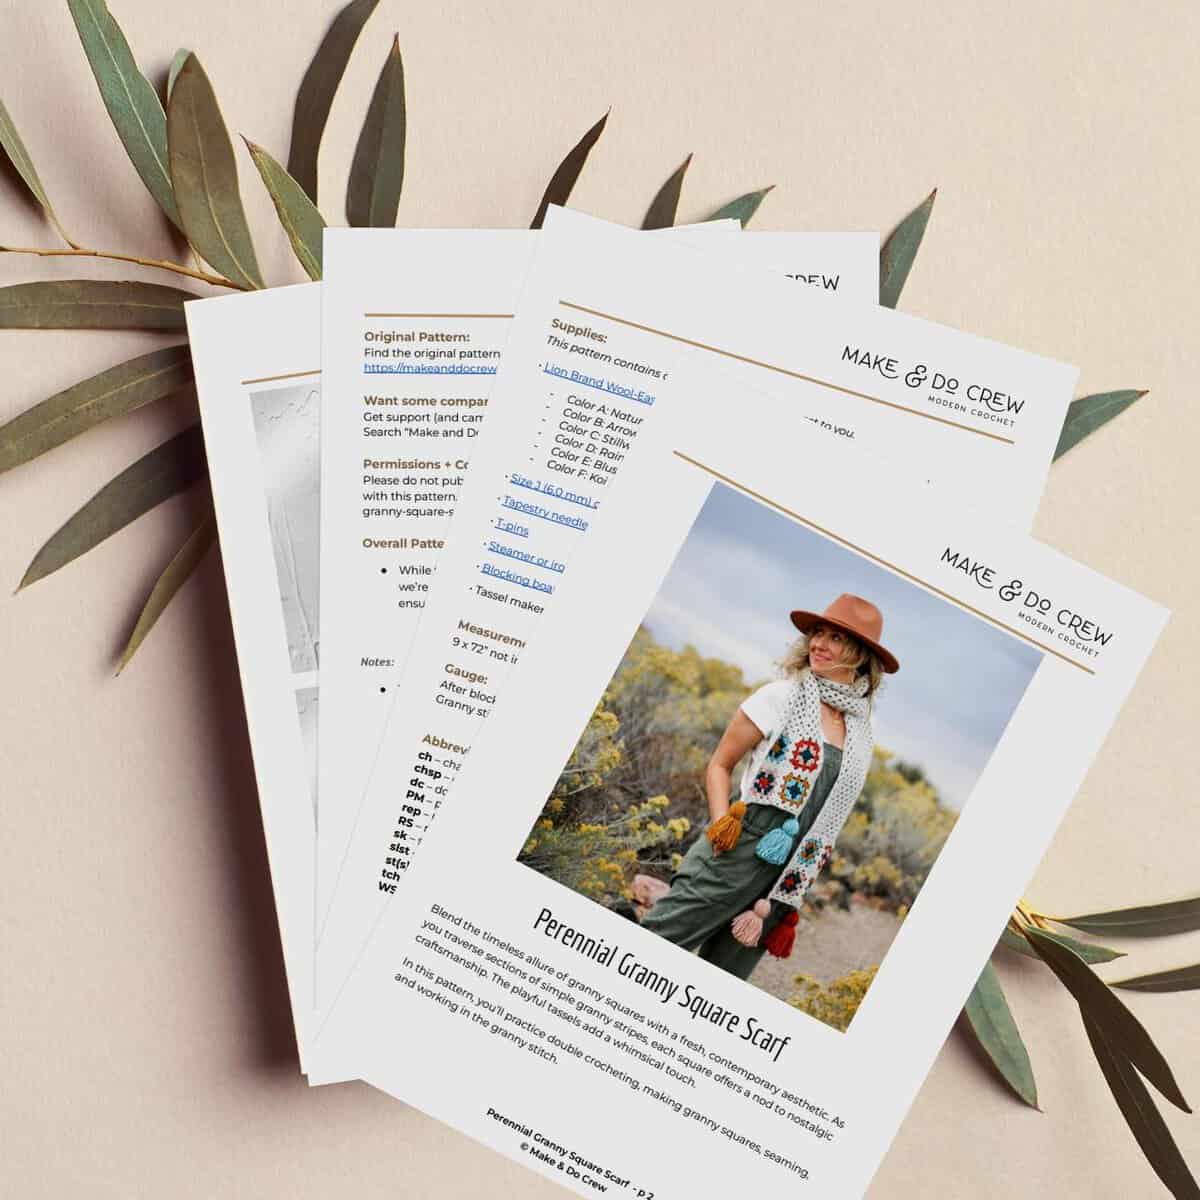
Prefer to crochet on the couch? Need a portable, printable pattern? You'll love the premium PDF! The instantly downloadable, ad-free file is formatted for easy printing and includes the complete pattern and all the photo tutorials.
Skill Level
This granny square scarf pattern requires advanced beginner crochet skills. You'll need some familiarity with changing colors, working in the round, and weaving in ends.
Overall Pattern Notes
While the finished granny stitch scarf has no right or wrong side, we’re assigning a RS/WS designation in the pattern to stay oriented. This helps ensure each row/round alternates directions.
Print This Pattern: purchase the ad-free, printable PDF
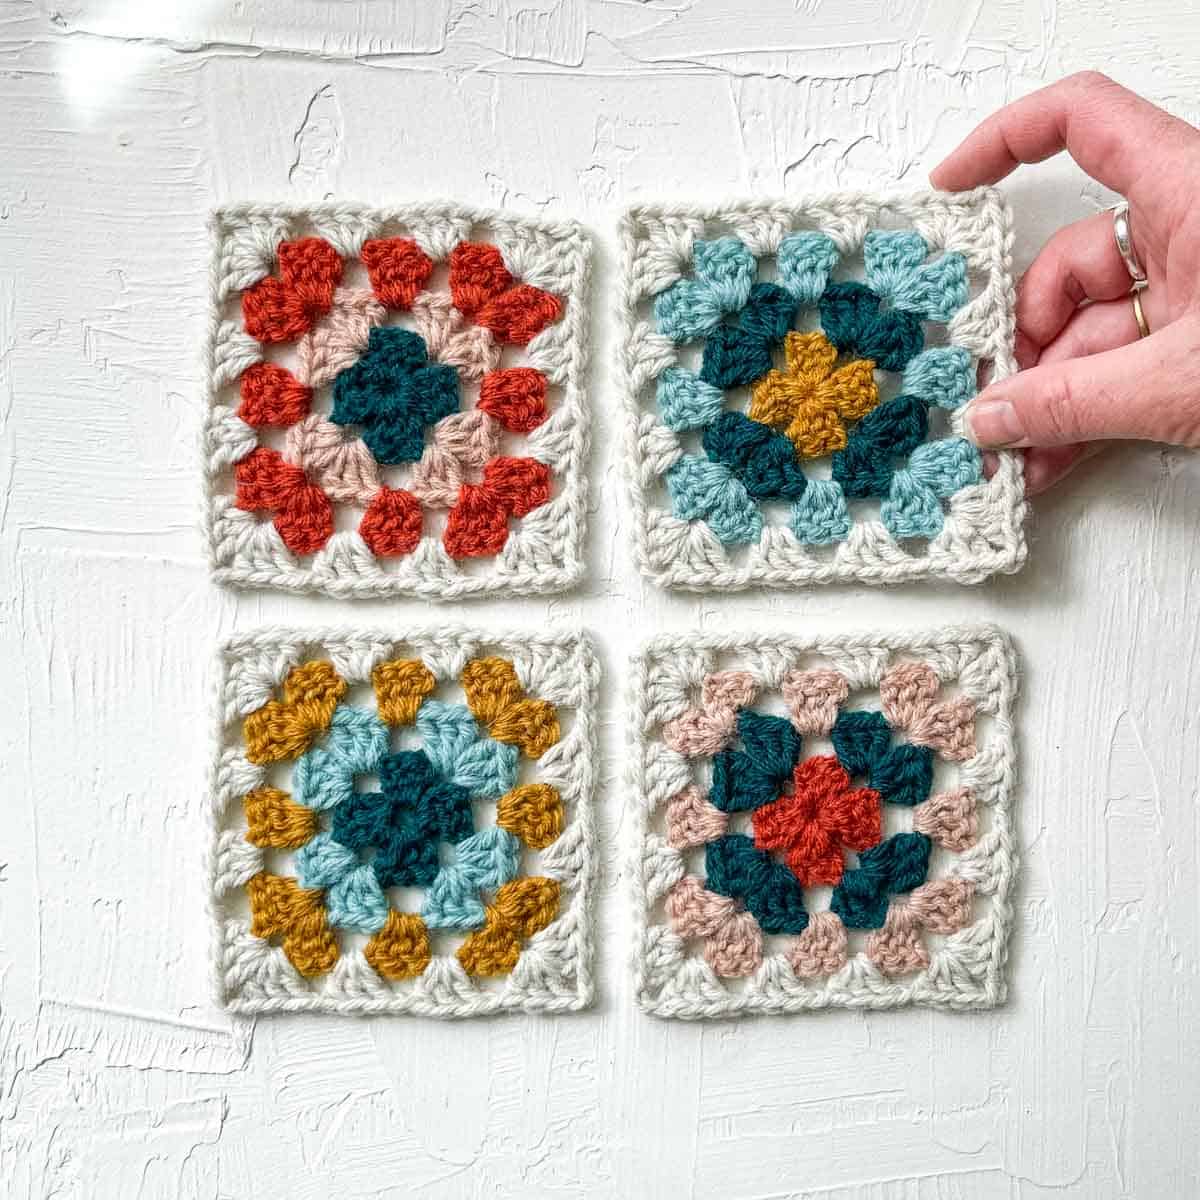
Granny Squares
Notes:
Wanna save this pattern?
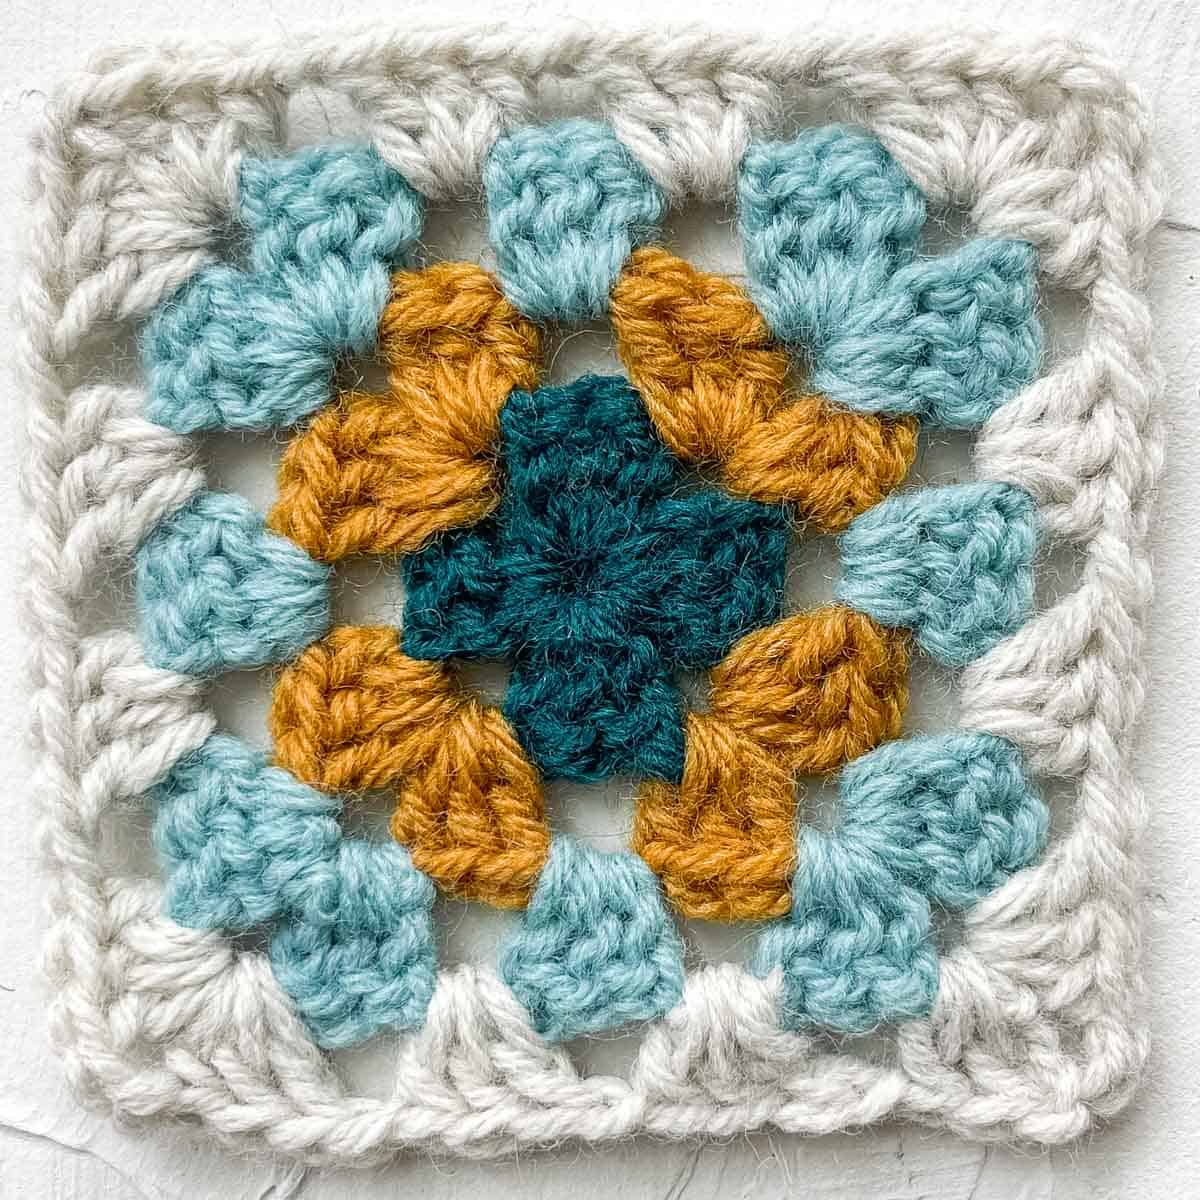
- The granny squares are made of two color schemes. Check out the photo above if you’d like to recreate the exact granny squares pictured in the sample.
- If you prefer fewer ends to weave in, work rounds 1-3 in the same color
- Chain 5 at beginning of round always counts as the first stitch (1 double crochet) and 1 chain-2-corner space.
Color Palette #1: Make six granny squares using Colors A, B, C, and D.
Color Palette #2: Make six granny squares using Colors A, D, E, and F.
Here’s how to crochet each granny square:
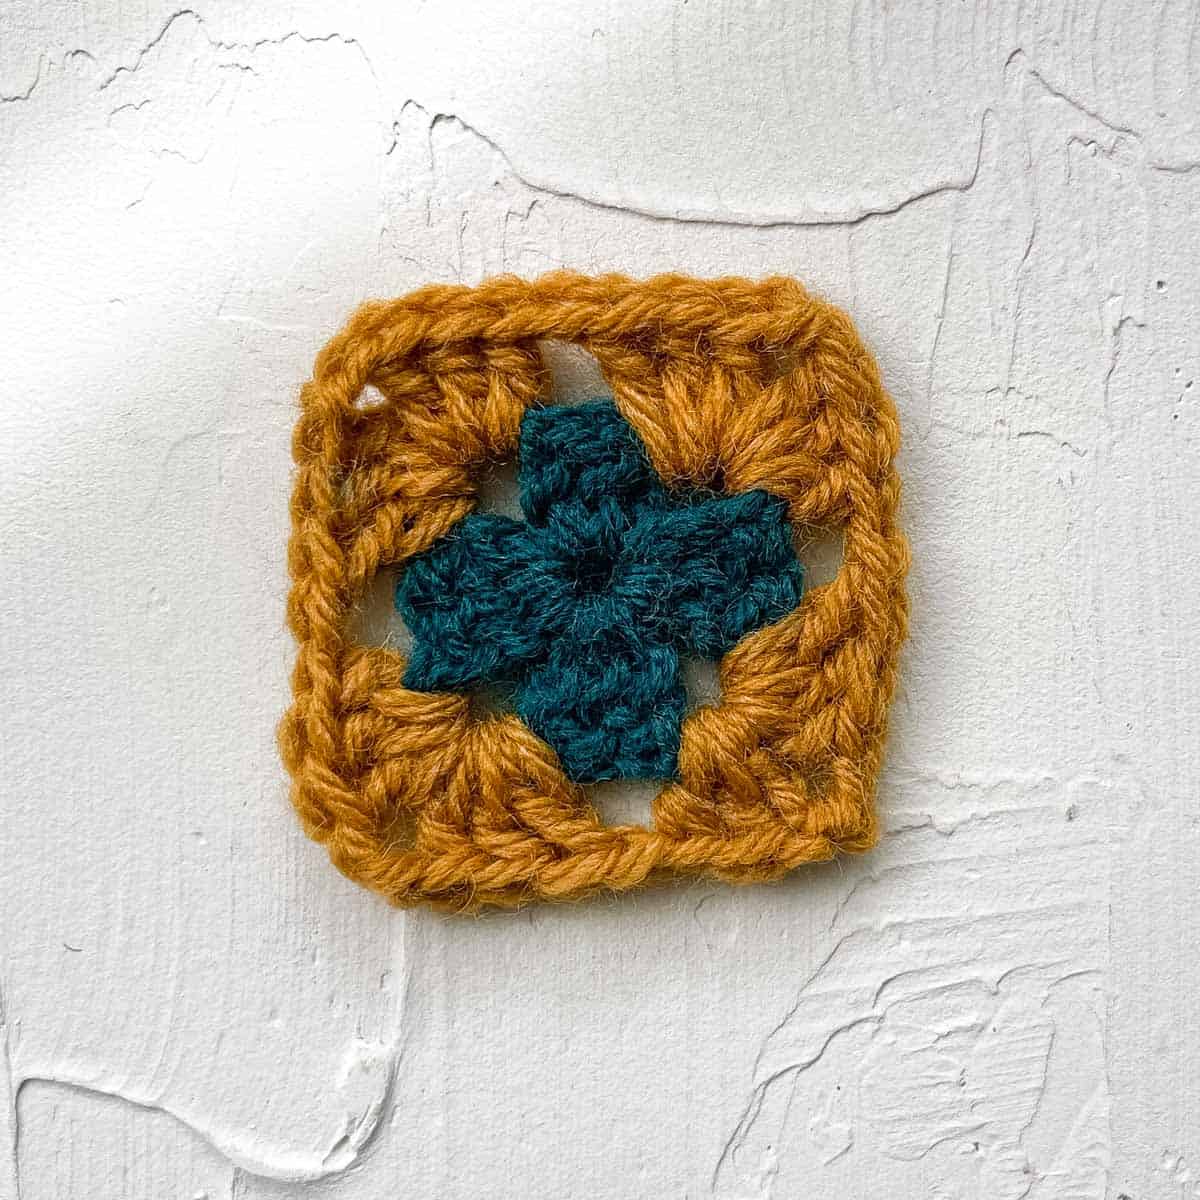
Foundation: Begin your granny square with a magic ring. Alternatively, you can begin with a small circle made of chain stitches. (Start with a slip knot, chain 4, slip stitch to the first chain to join into a loop.)
Round 1 (RS): Continuing with the same color yarn, ch 5. (This counts as 1 dc, 1 ch2sp). Then [3dc, ch 2] in the magic ring 3 times, 2 more dc in ring, slst to the third ch from the beginning of round to join. Fasten off (1 dc cluster per side)
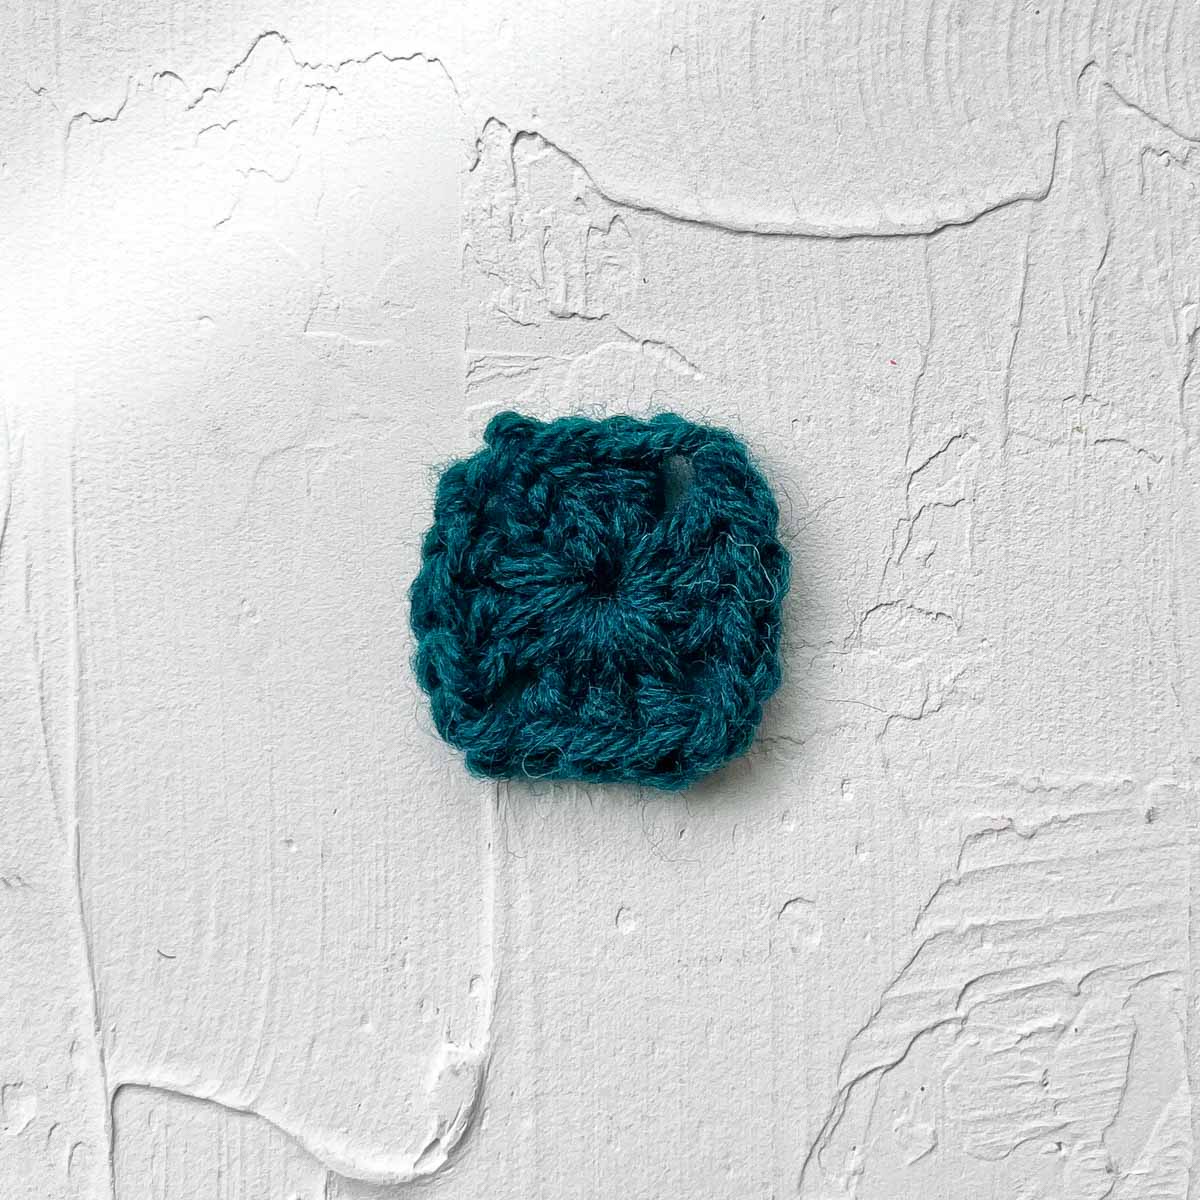
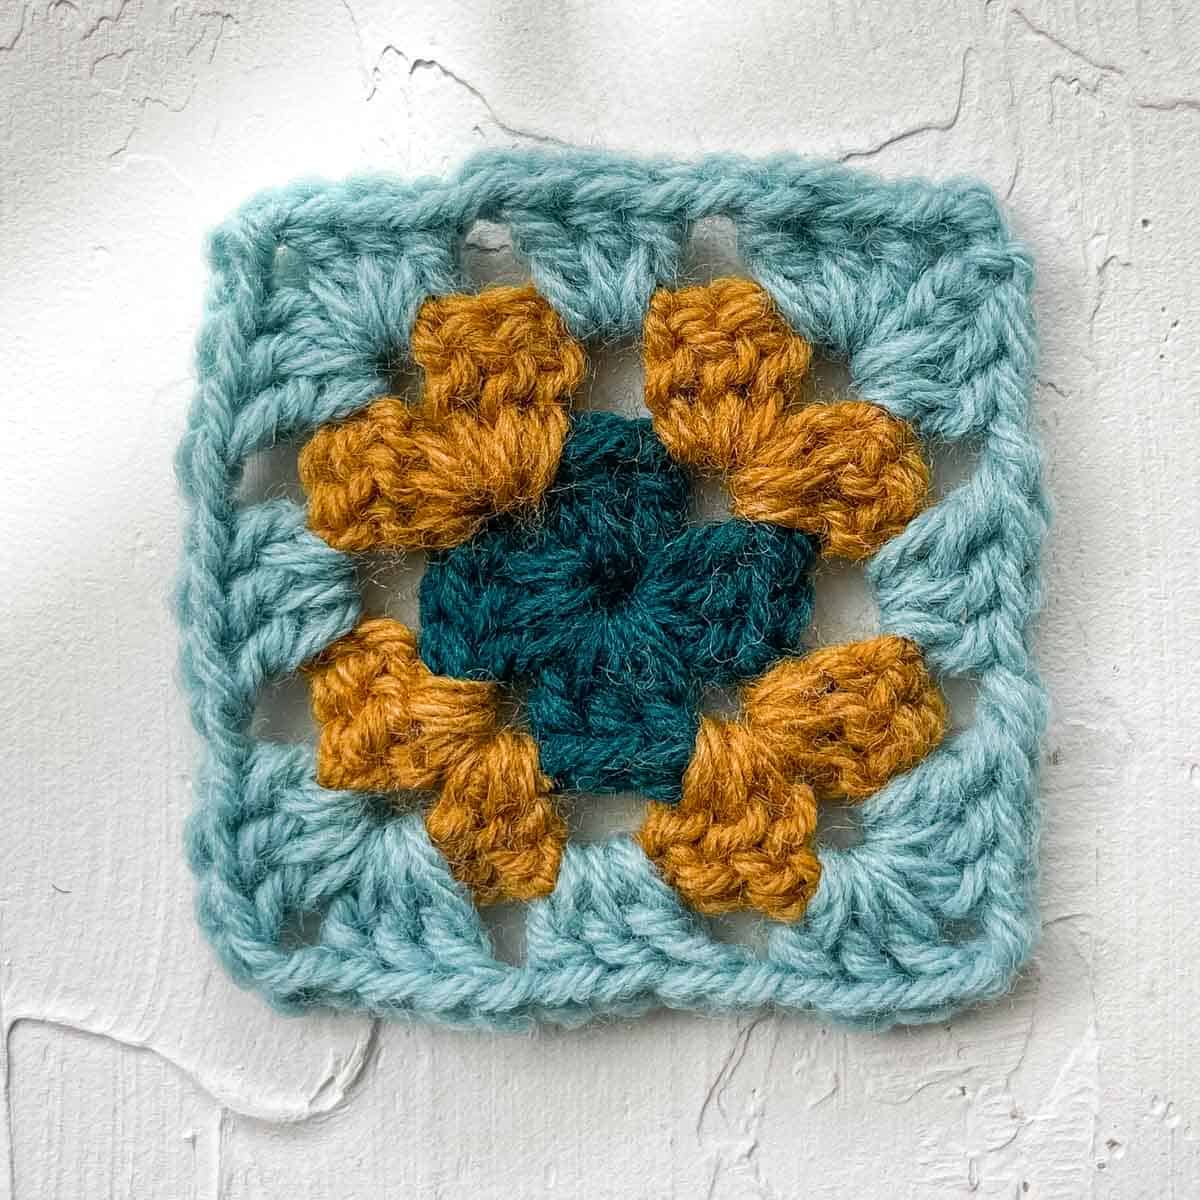
Round 2 (WS): With WS of square facing, attach next color in any corner ch2sp. Ch 5 and [3dc, ch 1] in same space yarn attached in. Then [3dc, ch 2, 3dc, ch 1] in next three corner ch2sps, 2 dc in same space yarn attached in. Slst to the third ch from the beginning of round to join. Fasten off. (2 dc clusters per side)
✨Unlock this free subscriber-exclusive pattern ✨
Follow these steps to view the full free pattern below
- In sample pictured, a #1 color scheme square is always positioned next to a #2 color scheme square.
- Pin squares together using stitch markers if you’re having trouble keeping the stitches on each square aligned.

Seam the following groups of granny squares:
3 sets of two squares
2 sets of four squares - I like to seam the first square and second square. Then keeping my yarn attached, continue onto the third and fourth squares to form one long middle seam. Next I reattach the seaming yarn to work the two remaining seams in one long section as well.
How to join:
- Thread tapestry needle with Main Color yarn tail.
- Whip stitch squares together taking care to line up corner spaces and each corresponding stitch along the granny square sides.
- Weave in yarn tail before fastening off.
- Repeat with each set of squares.
Granny Stitch Scarf Sections
You'll now begin adding sections of a basic granny stripe stitch between the blocks of joined granny squares.
First Granny Stitch Section:
With a set of four joined granny squares: Make sure WS of granny square Round 4 is facing and attach Color A yarn in any ch2sp corner.
Row 1: Ch 3 (counts as 1 dc), 2 dc in same corner ch2sp, ch 1, *3 dc in next ch1sp, ch 1; rep from * to seam in middle of row, dc in joined ch2sp corner, dc in seam, dc in next joined ch2sp corner, ch 1; rep from * until ch2sp remains at end of row, 3 dc in corner ch2sp; turn. (9 dc clusters)
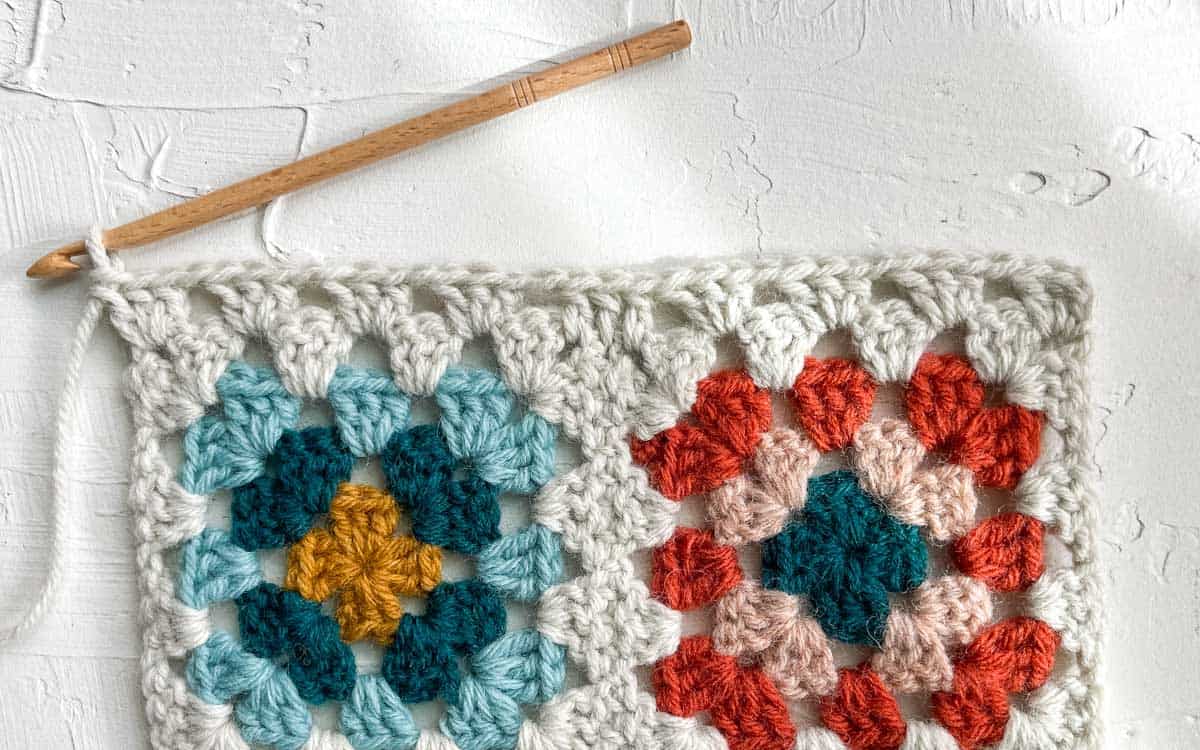
Row 2: Ch 4 (counts as 1 dc + 1 ch1sp), skip first cluster, *3 dc in next ch1sp, ch 1; rep from * to end of row, dc in top of tch; turn. (8 dc clusters + 2 dc)
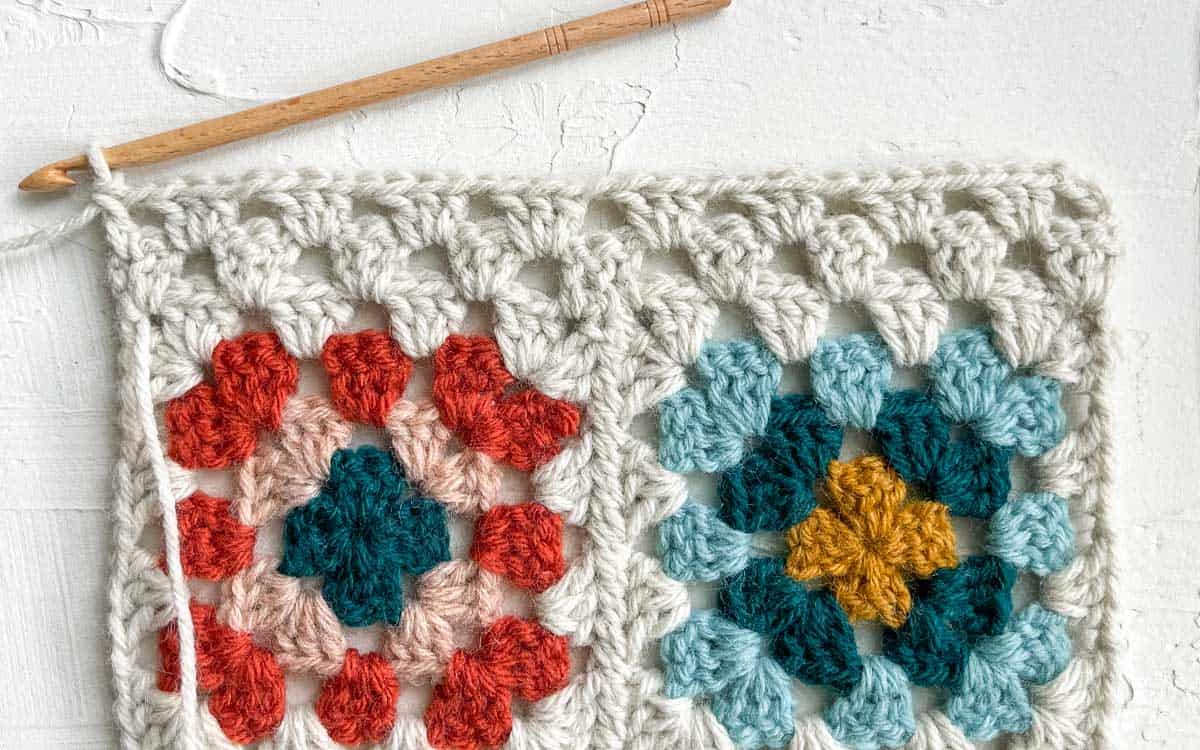
Row 3: Ch 3, 2 dc in same ch1sp, ch 1, *3 dc in next ch1sp, ch 1; rep from * until 1 ch1sp remains, 3 dc in last ch1sp; turn. (9 dc clusters)
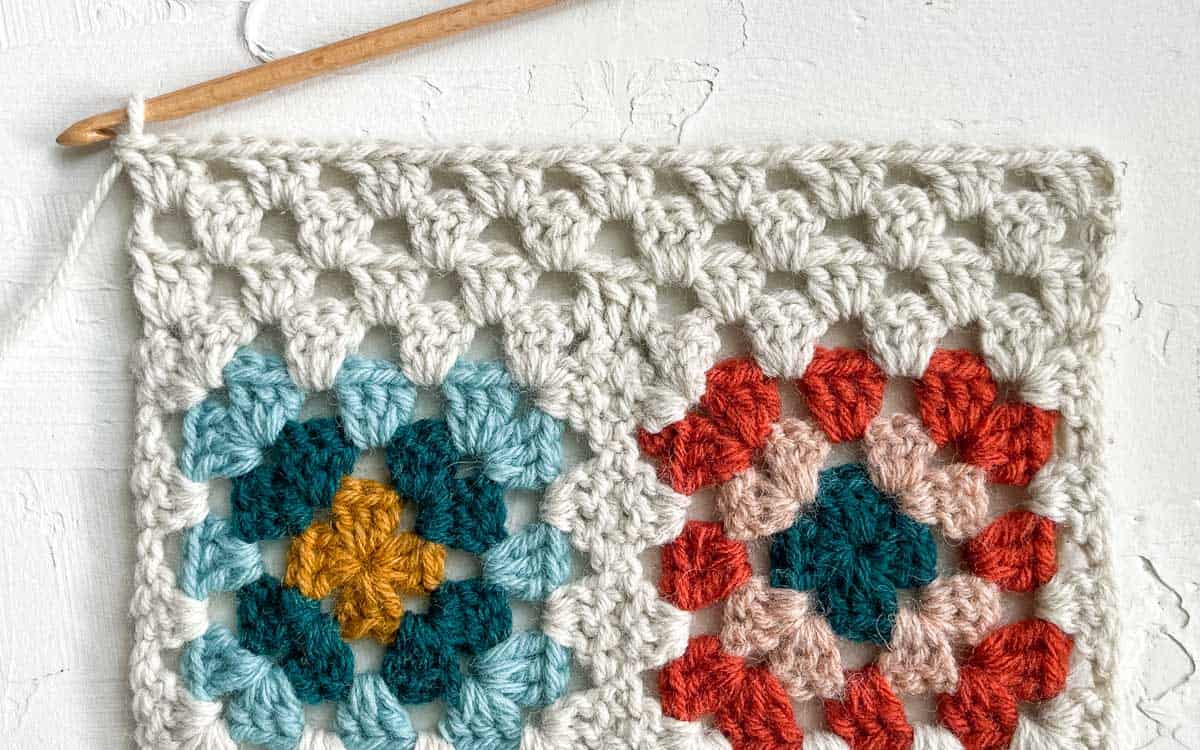
Repeat Rows 2 and 3 fourteen times. Granny stitch section should have 31 rows, not counting Round 4 of the granny squares. Fasten off leaving a 20” tail for seaming.
We’ll now seam a set of two granny squares to the in-progress scarf. Thread tapestry needle with yarn tail. With RS side of final granny stitch row facing and WS side granny square Rounds 4 facing, whip stitch together taking care to line up each stitch and corner space. Weave in tail and fasten off.
Middle Granny Stitch Section:
Make sure WS of granny square Round 4 is facing and attach Main Color yarn in right ch2sp corner (left-handed crocheters: left ch2sp corner). Repeat from *** once more.
Last Granny Stitch Section:
Make sure WS of granny square Round 4 is facing and attach Main Color yarn in right ch2sp corner (left-handed crocheters: left ch2sp corner). Repeat from *** once more, but join the remaining set of four granny squares instead of a set of two.
Scarf Border
Make sure WS of granny square Round 4 is facing and attach Main Color yarn in any corner of scarf. Work in granny stitch around entire scarf perimeter as follows:
To begin: Ch 5 and [3dc, ch 1] in same corner ch2sp yarn attached in.
Each side of scarf: *[3 dc, ch 1] in each ch1sp to next corner.
Each corner: [3dc, ch 2, 3dc, ch 1] in corner ch2sp
To finish: 2 dc in same space yarn attached in. Slst to third chain from beginning of round to join. Fasten off and weave in any remaining ends.

Adding Tassels
Make 4 tassels using any of the yarn colors from your scarf.
- With a 10” strand of yarn lying perpendicular underneath, wrap yarn around
tassel maker/cardboard about 80 times. - Tie a knot in top of 10” yarn and cut all wrapped strands at bottom.
- Tie a second 10” strand of yarn around upper tassel to create a “bulb.” Use hook
to pull these strands into middle of tassel. - Trim tassel so bottom fringe is even.
- Tie one tassel to each scarf corner. Use a hook hide yarn tails in tassel.
Here's a video tutorial on how to make a tassel if this technique is new to you.
Wrap up in your new scarf, knowing you're the coolest granny on the block!
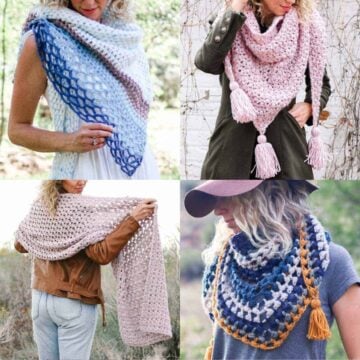
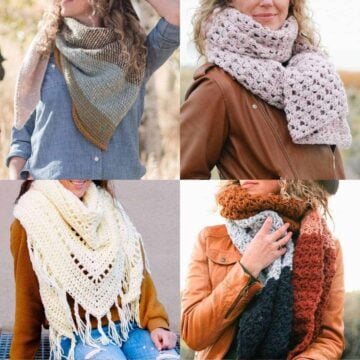
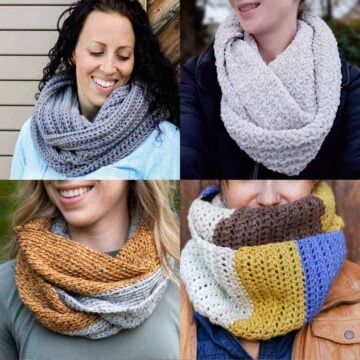
More Free Crochet Scarf Patterns
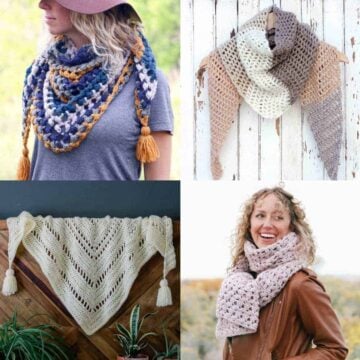
These free crochet scarf and shawl patterns will help ensure you're always cozy, comfy, and well-dressed!
That was so fun! Now what?
Invitation to our Facebook group
Come discuss crocheting granny square scarves and lots of other projects and techniques in our Make & Do Crew Facebook group. Here thousands of helpful crocheters answer each other's questions and share their stitches. Join us!



Leave a Reply