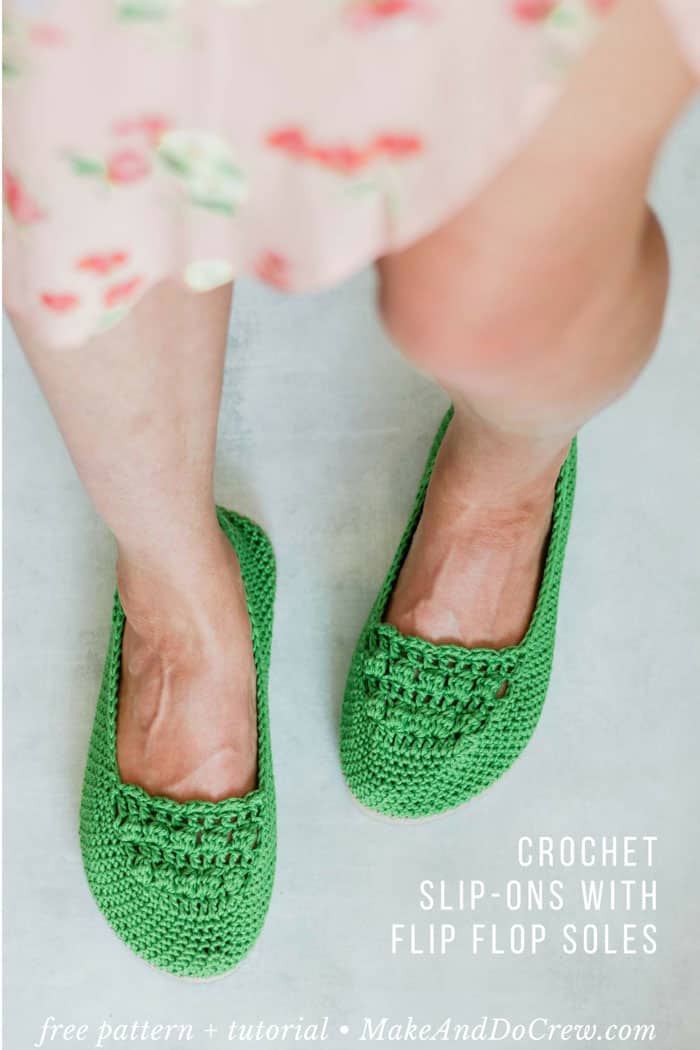
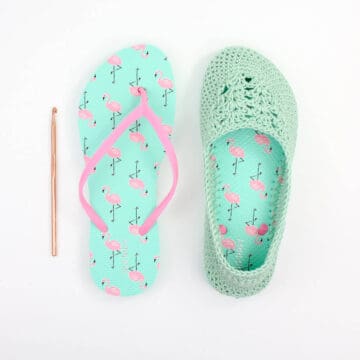
Learn how to crochet shoes with this easy free crochet pattern and tutorial. Because of their flip flop soles, these DIY kicks work well equally well as house slippers or outdoor shoes. Find the free pattern below or purchase the ad-free, printable PDF with printable hole poking ruler here.
This free crochet shoe pattern and tutorial is part of a collaboration with my friends at Lion Brand Yarn. This post contains affiliate links.
It's finally flip flop season! Crochet flip flop season, that is! If you've never crocheted on flip flops before, today's free pattern is a perfect project to learn how to crochet your own shoes. I love this pattern because it's quick, easy to customize and SO gratifying to make something so comfortable, cute and functional.
How to Crochet Shoes - An Overview
I started experimenting with crocheting on flip flip flops a couple of years ago and I've designed a lot of footwear in the process. You can find all my free crochet patterns using flip flops here. Many of them have step-by-step video tutorials too!
To transform flip flops into comfy flippers or shoes, you'll remove the straps, poke holes in the rubber sole and then crochet into the holes. Over time, I've realized that the most critical part of the process is how far apart you poke the holes in the flip flop soles. This is what has the biggest effect on the gauge and helps ensure your shoes fit well.
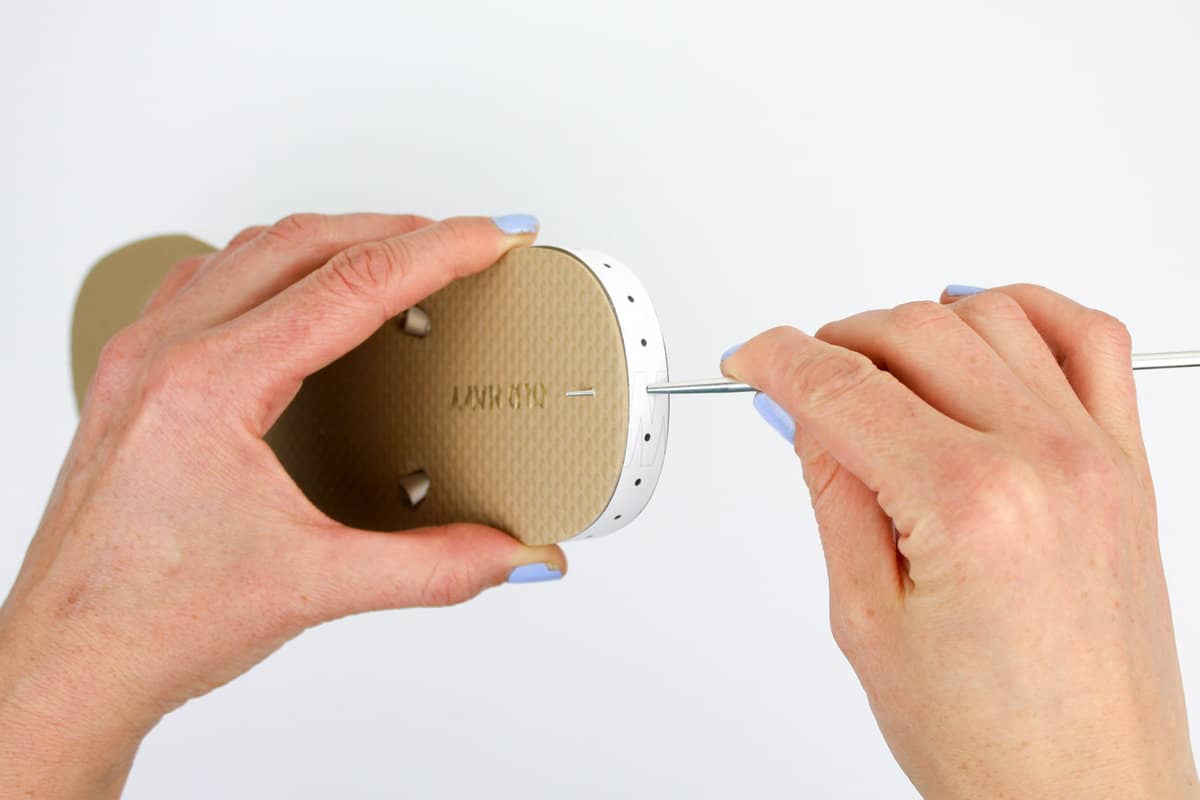
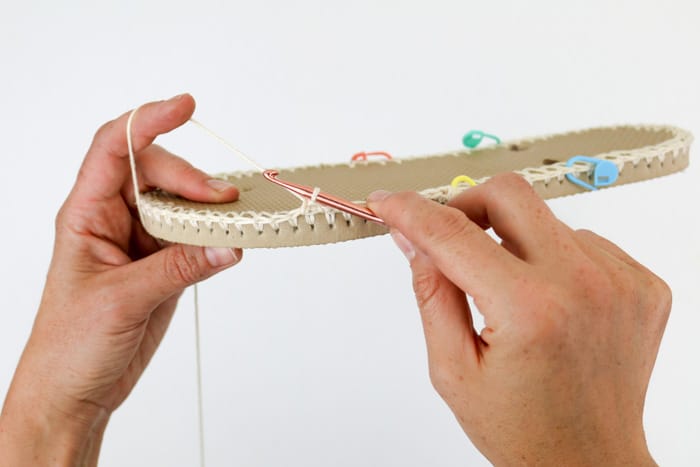
To take all the guesswork out of poking the holes, I've created a printable "ruler" of sorts that guides the placement of each hole without any measuring on your part. You can get your own copy of the ruler in the ad-free, printable PDF here. While this upgrade is optional, I find that it's by far the most helpful way to make sure your shoes start off "on the right foot." 😉
The Best Yarn For Crochet Shoes
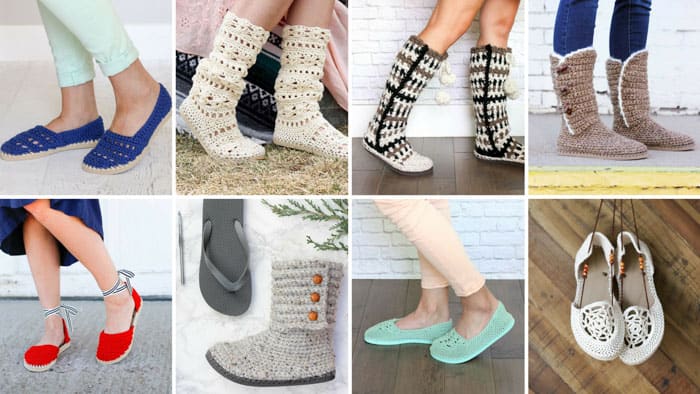
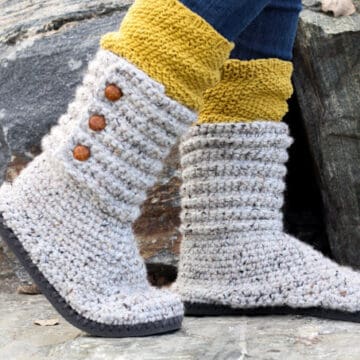
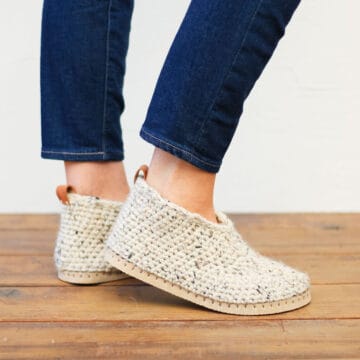
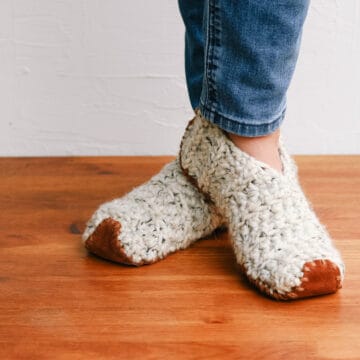
As you can see above, I've made quite a few crochet shoes over time and I have to tell you that THE BEST yarn I've found to make any summery, lightweight footwear is 24/7 Cotton from Lion Brand. As opposed to most cotton that sort of softens and falls apart over time, 24/7 Cotton is mercerized, so I find that it holds its shape, sheen and structure for a really long time. (If you'd like to know more about how crochet shoes with flip flop soles hold up in general, check out this FAQs post with photos here!)
Even if I wasn't friends with Lion Brand, I would go out of my way to hunt this yarn down. You can easily get yarn for your shoes in 24 different colors here.
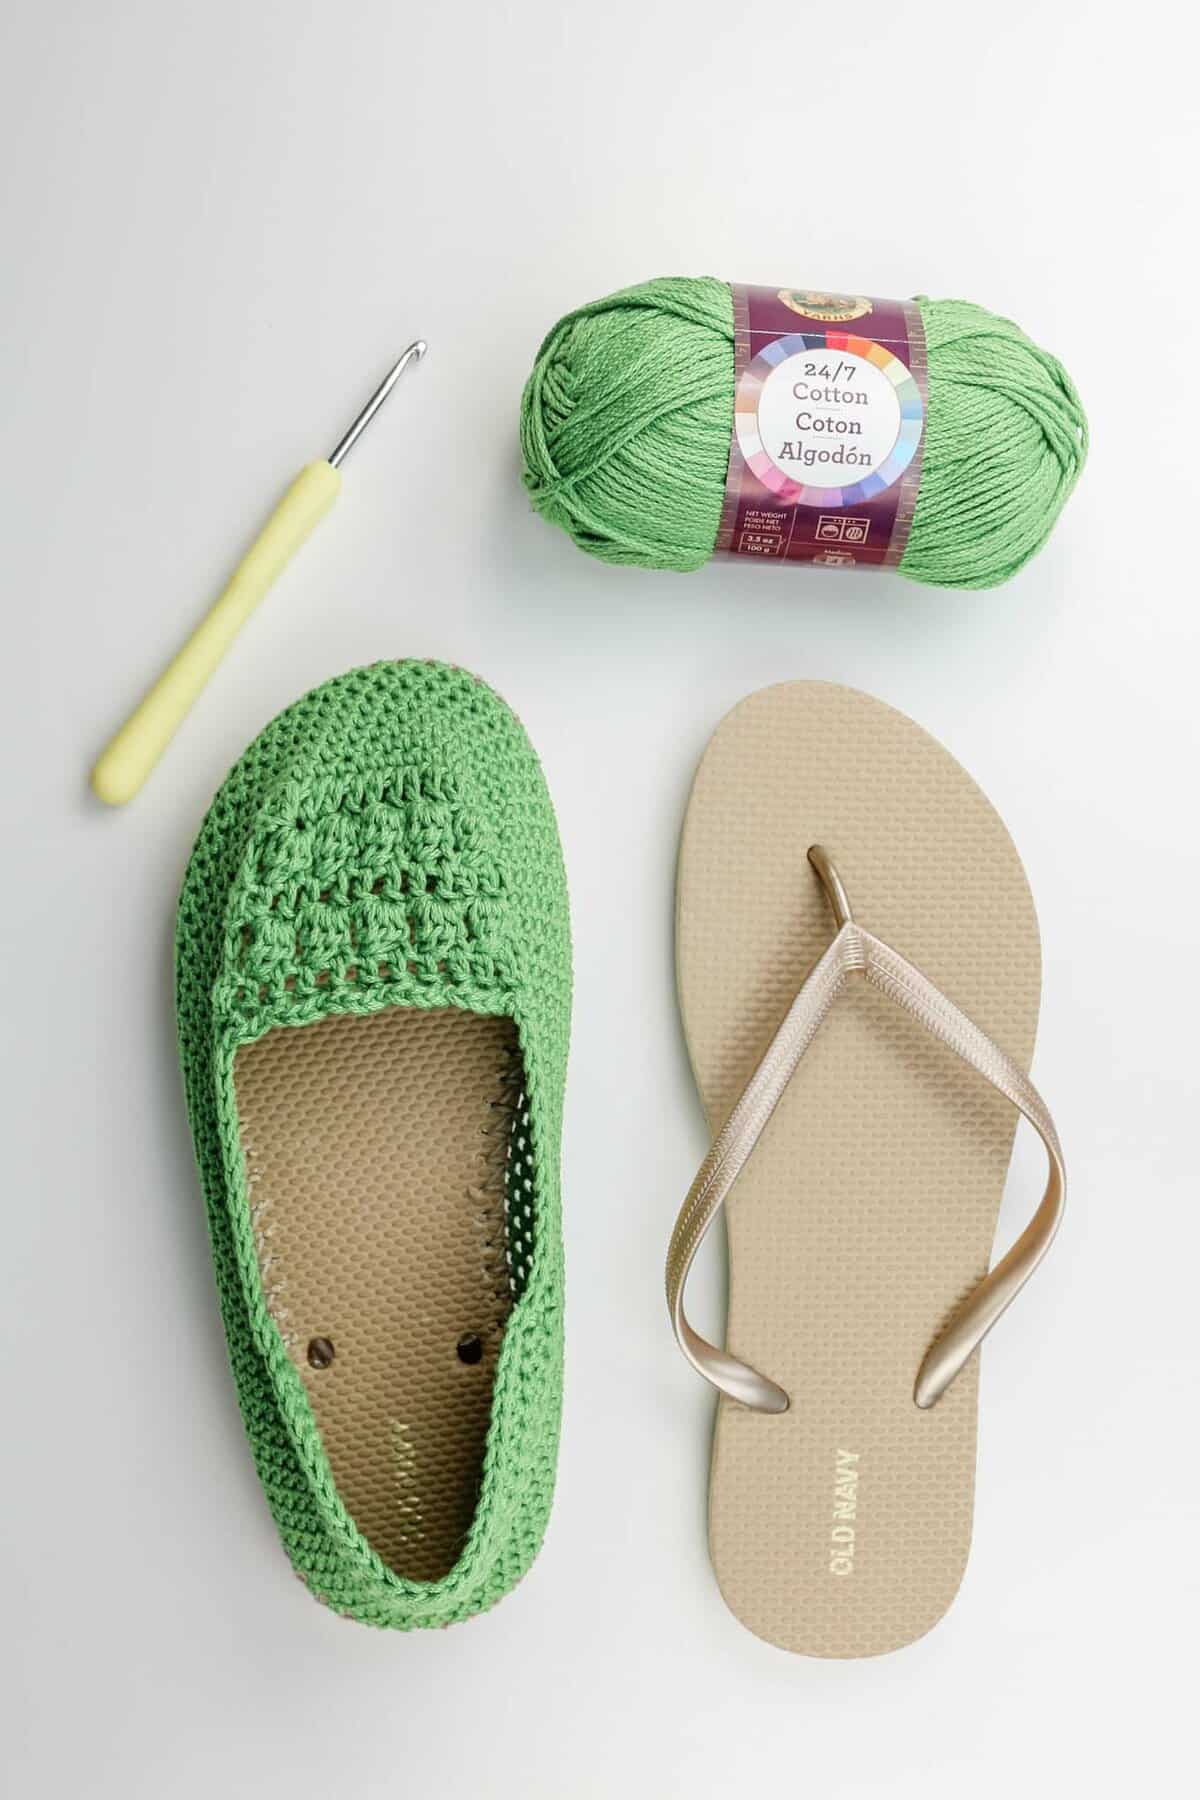
One other reason I love 24/7 Cotton is that it's fairly thin as far as cottons go. This means it's able to be worked into the flip flop sole holes with ease and create delicate, beautiful stitches on the body of the shoe. It's important to note though that while 24/7 Cotton is listed as a category 4/medium, worsted weight yarn, it's really more similar to a DK weight. I've included some notes in the pattern on what to look for in the yarn you choose to work with.
Watch This Video Tutorial for Extra Help
While the video tutorial I'm including below is for a different pattern, the basics of poking the holes and working the main portion of the shoe/slipper are exactly the same. So if you find yourself having questions, definitely check out this video tutorial for a general overview of how to crochet shoes with flip flop soles. (Please note though, this video tutorial includes a different design for the top of the shoe, so you will need to follow the written pattern below for that.)
Find Your Next Crochet Pattern on Flip Flop Soles
Crocheting on flip flops can fast track your feet straight to comfort-ville. Flip flops offer functional, non-slip soles for your crochet slippers. They also allow you to crochet shoes customized for your particular feet.
See more free crochet flip flops patterns →
Once you master this technique though, head over to the free lightweight slipper pattern featured in the video to expand your crochet footwear collection!
How to Crochet Shoes:
Summertide Slip-Ons Free Pattern + Tutorial
Purchase the ad-free, printable PDF with printable hole poking ruler here.
Add this pattern to your Ravelry favorites/queue here.
Pin it for later here.
Explanation:
These brightly colored kicks are the perfect handmade footwear to carry you comfortably through the summer months in style. The functional combo of cotton yarn and a flip flop sole make these into incredibly comfortable house or street shoes--you might never want to take them off! While the process of crocheting on flip flop soles might be new to you, this pattern is quite approachable, requiring a knowledge of single crochet, double crochet and working in the round.
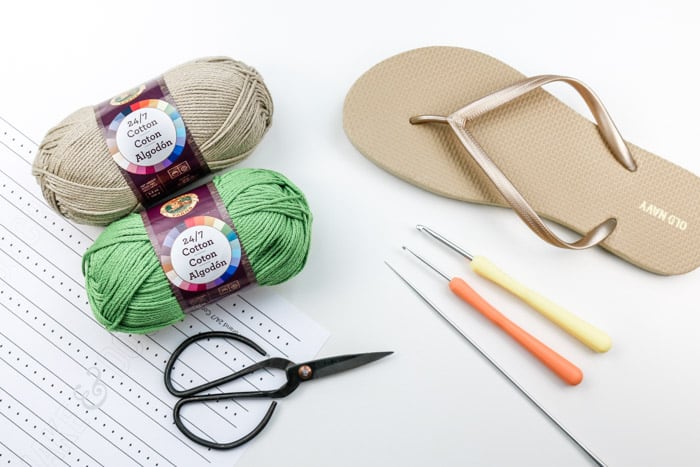
Supplies:
This pattern contains affiliate links at no extra cost to you.
• Lion Brand 24/7 Cotton< – (Weight: 4/medium* - 186 yds, 3.5 oz)
- Grass (#761-172) - 1 skein
- Taupe (#761-122) (or color to match flip flop sole) - 1 skein
• Tapestry needle
• Size B [2.25 mm] crochet hook or size needed to fit through flip flop holes
• Size G [4.0 mm] crochet hook
• 1-2 printed copies of the printable “ruler” in the pattern PDF + tape (I prefer washi tape) OR a measuring tape
• 1 pair of flip flops (One size smaller than you wear normally. See pattern notes.)
• Sharp tool to poke holes (I use this clay tool. You can also try a skewer, thin drill bit or awl.)
• Sharp scissors
• Stitch markers
• Strong glue such as E6000 to glue strap plugs to sole (optional)
* While 24/7 Cotton is listed as a category 4 worsted weight yarn, it’s more similar to a category 3 DK weight yarn. If substituting yarn, consider another DK weight cotton. To use a true worsted weight cotton, space flip flop holes further apart using the second printable ruler at the end of the pattern PDF.
Gauge:
7.5 sc = 12 rounds = 2”
Sizes:
This pattern works well for a women’s size 6-10. See notes for suggestions on making larger size.
Abbreviations and Glossary (US Terms):
ch – chain
sl st – slip stitch
sc – single crochet
tch – turning chain
st(s) – stitch(es)
sc2tog - single crochet two together
RS – right side
WS – wrong side
rep – repeat
PM – place marker
Overall Pattern + Sizing Notes:
• Transforming flip flops into shoes isn’t an exact science! Keep an open mind and don’t be afraid to customize the shoes to your liking. Check out this Flip Flop FAQs post for answers to commonly asked questions.
• You’ll likely want to size down when buying your flip flops. Look for a flop flop that offers about .25" of sole around your foot (more like the fit of a normal shoe). In the pattern sizing, the shoe sizes mentioned describe the shoe size you normally wear and not the sized-down size of your flip flops.
• The flip flops in the sample are from Old Navy--they have a great selection of colors. Find $1 flip flops on Amazon or at Walmart. Dollar Tree’s $1 flip flops tend to be a bit too flimsy, but can work if you are very careful.
Wanna save this pattern?
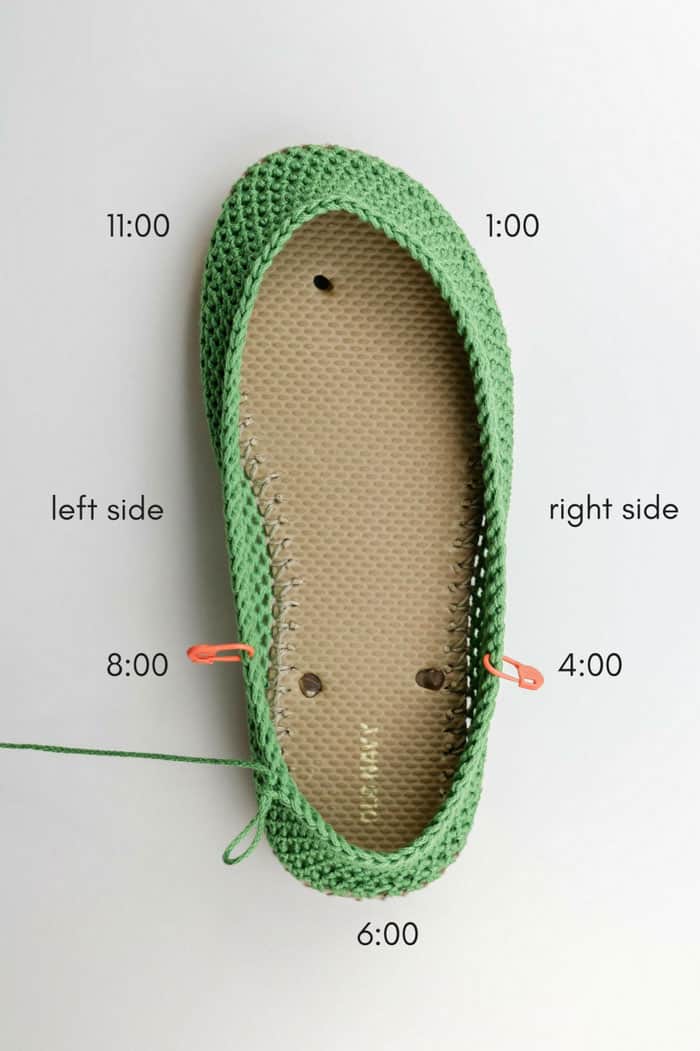
• Pattern explains locations on the flip flop as if it’s a clock where the top of the toe is 12:00 and the heel is 6:00. (See photo below.)
• Similar to some ballet flats, your shoes should curl in a bit. That’s what gets them to shape to your feet without a lot of increasing or decreasing. They will stretch out slightly with wear.
• The shoes are crocheted tightly, similar to amigurumi. Make a deliberate effort to keep your stitches tighter than normal. Check your gauge if you’re unsure.
• The shoe sides and heel are worked in a spiral, so you will not ch 1 at the beginning of each round.
• Left and right shoes are identical.
• To make a larger size shoe, try adding an additional round or two in Rounds 1-9. You may also choose to work one extra repeat of Rows 2 and 3 in the toe section.
Shoe Sides and Heel
Notes:
• Be sure to poke the same number of holes in the second flip flop as in the first. (The printable ruler makes this pretty straightforward, but it’s a good idea to count and double check if you're using a measuring tape.)
• Reference the video tutorial above for help with the sides and heel. (While it’s a different pattern, the technique is exactly the same.)
To begin:
Trim straps off flip flops by cutting the mid-foot straps at an extreme angle so you can keep them in place without feeling them inside the shoe. (See photo below for example of straps cuff off.) Save the rubber plug from the strap between your toes and glue back in place if desired.
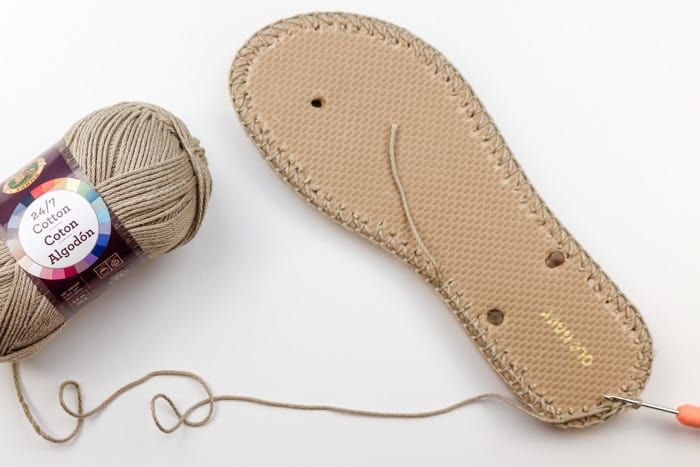
If using the printable hole-pocking ruler, trim and tape pieces together. Tape ruler around flip flop sole. Alternatively, hold a measuring tape up to the flip flop sole. With your sharp instrument, poke holes in each dot on the ruler or approximately 7 mm apart. (See photo in blog post above.) Pierce the hole at an angle from about the middle of the way down the sole to approximately .25” into the top of the sole.
Ensure your holes are far enough from the edge so that the yarn won’t rip through the rubber when you create your first row of crochet. If using heavier cotton that's more similar to a worsted weight cotton, try poking holes approximately 1 cm apart.
Tie slip knot around smaller hook. Insert hook at back of heel (6:00 position) from the top of the flip flop toward the bottom of the sole, grabbing the yarn and pulling through to the top of the flip flop and through the slip knot to attach the yarn to the flip flop. Crochet over the tail of this yarn as you work Round 1.
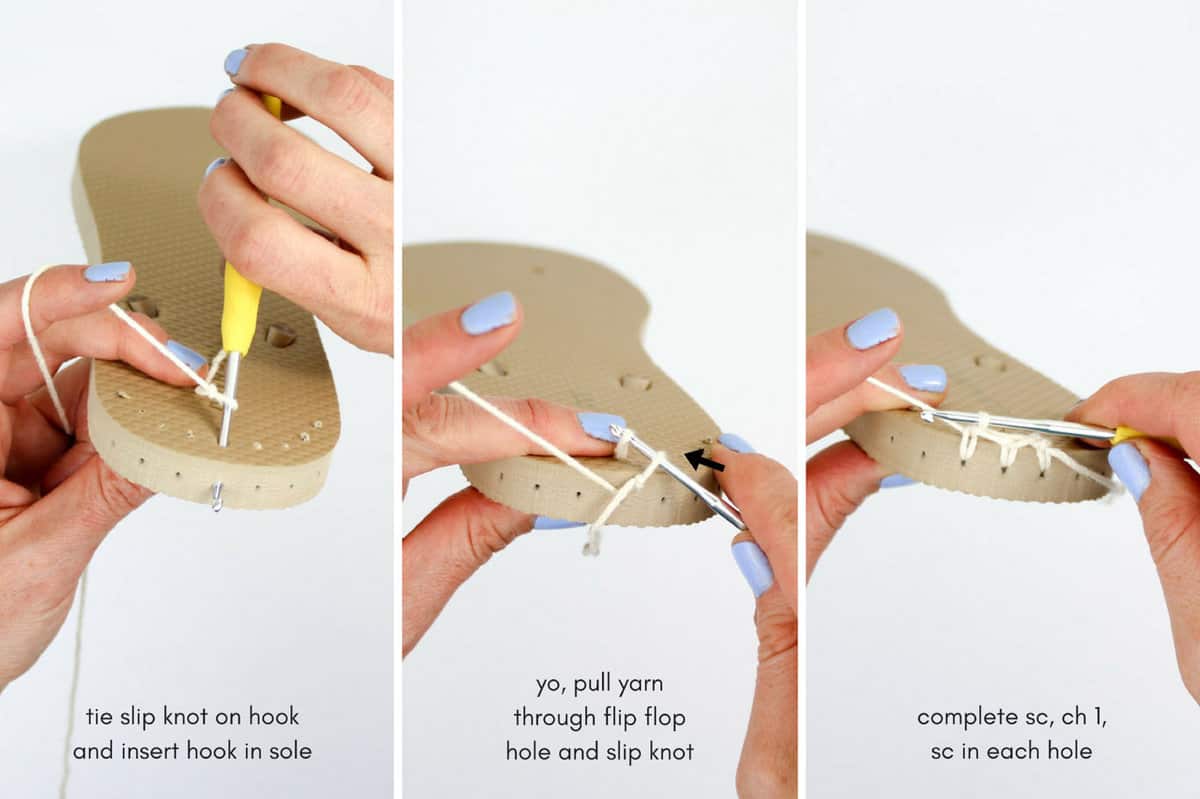
Round 1: Continuing with smaller hook, sc in each hole around sole, join with a sl st to first sc. Do not turn. Place marker in first st of round and move it up as you work each round (or just keep track of which sole hole you began in).
Rounds 2-9: With larger hook, sc in each sc around sole. Do not turn.
✨Unlock this free subscriber-exclusive pattern ✨
Follow these steps to view the full free pattern below
Top of Shoe
Notes:• Puff Stitch = [yo, insert hook in stitch, yo and pull loop through, yo, pull through two loops on hook] 4 times, yo, pull through all five loops on hook. (In layman’s terms: this puff is similar to working four incomplete double crochets and then finishing them all off at one time.)
• Left-handed crocheters: reverse all mentions of right and left.
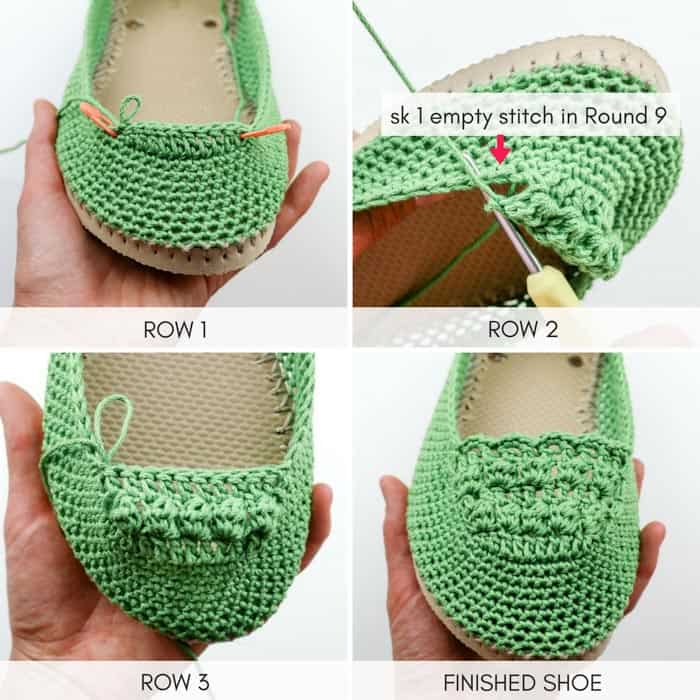
• See photo above for more details on Rows 1-5.
Find the approximate midpoint of the front of the slipper (12:00), then place stitch markers at the 1:30 and 10:30 positions with 12 sc between them.
Join yarn in 11:00 marked st. (Left handed crocheters, join in 1:00 marked st.) Weave in the tail from attaching yarn now before this section is worked or crochet over it in Row 1.
Row 1 (RS): With the toe facing toward you, sk next sc, dc in each of next 10 sc, sk next sc, sl st in next 3 sc of Rnd 9 (up left edge of shoe), turn. (10 dc)
Row 2 (WS): Sk next 3 sl sts, [1 puff st in next dc, ch 1, sk next dc] 5 times, sk next empty sc of Rnd 9, sl st in next 3 sc of Rnd 9 (up left edge of shoe), turn. (5 puff sts, 5 chs)
Row 3 (RS): Sk next 3 sl sts, dc in each puff stitch and ch to create 10 total dc, sk next empty sc up left edge of shoe, sl st in next 3 sc of Rnd 9 (up left edge of shoe), turn. (10 dc)
Row 4 (WS): Rep Row 2. (5 puff sts, 5 chs)
Row 5 (RS): Rep Row 3, but do not turn at end of row. (10 dc)
Round 1 is worked clockwise (left-handed crocheters: counter clockwise) from where yarn is currently attached, around heel and back to wear Row 5 began. It then continues on to create one final row of the toe section. Crochet over yarn tail at heel as you work. While crocheting over heel lip short rows, work stitches at whatever frequency necessary to create the smoothest edge. (See photo below.)
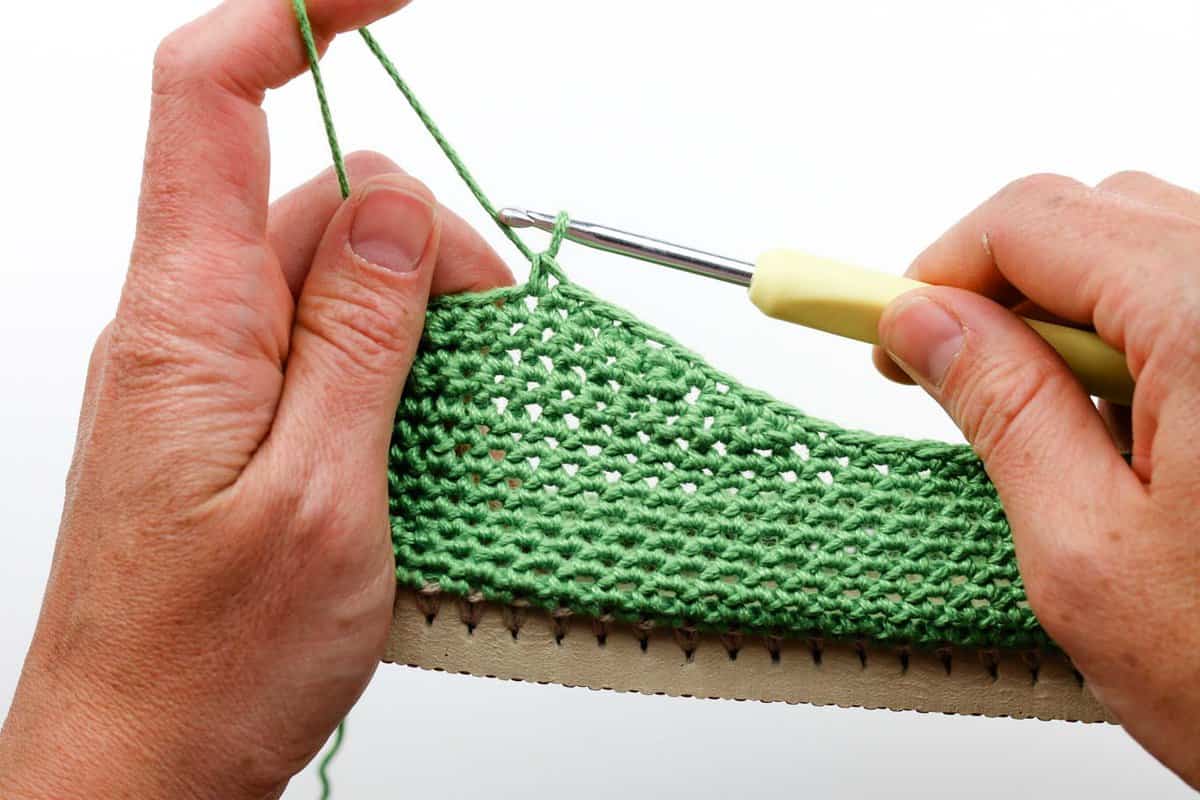
If the shoe is fitting a bit loose, work 2-3 decrease stitches (sc2tog) near the heel as you crochet Round 1.
Round 1: Sc in each empty sc st around sides and heel of shoe stopping once you reach the shoe top section; to finish toe section with a scalloped edge: [3 sc in first dc, sl st in next dc] 5 times, sl st in next 2 sts from beginning of round.
Head out to frolic through a field of clover. Grass stains have nothin’ on you with these crochet kicks!
That was so fun! Now what?
Invitation to our Facebook group
Come discuss crocheting shoe patterns and lots of other crochet projects and techniques in our Make & Do Crew Facebook group. Here thousands of helpful crocheters answer each others questions and share their stitches. Come join us here.

Marjorie Underhill says
Been waiting all winter for additional slipper patterns from you Bought a dozen flip flops when wal-mart had them on sale last fall and have my supplies all around now to start my my slippers for my retired neighbors here in my apartment complex. Since they are all over the age of 65 I wanted something with a sole so they would not slip on the tile floors. Thank you so very,very much.
maria elena says
Què pena que no tengas una pàgina en Youtube, serìa mucho màs fàcil seguir tus explicaciones!
Emily says
Absolutely love the pink floral dress in your photos! So pretty!!
Luz says
Thanks,can you explain it in spanish,I like it,but I don’t understand weell English.