Lion Brand Mandala yarn does all the hard work of creating beautiful ombre, fabric-backed cushions in this free crochet pillow pattern.
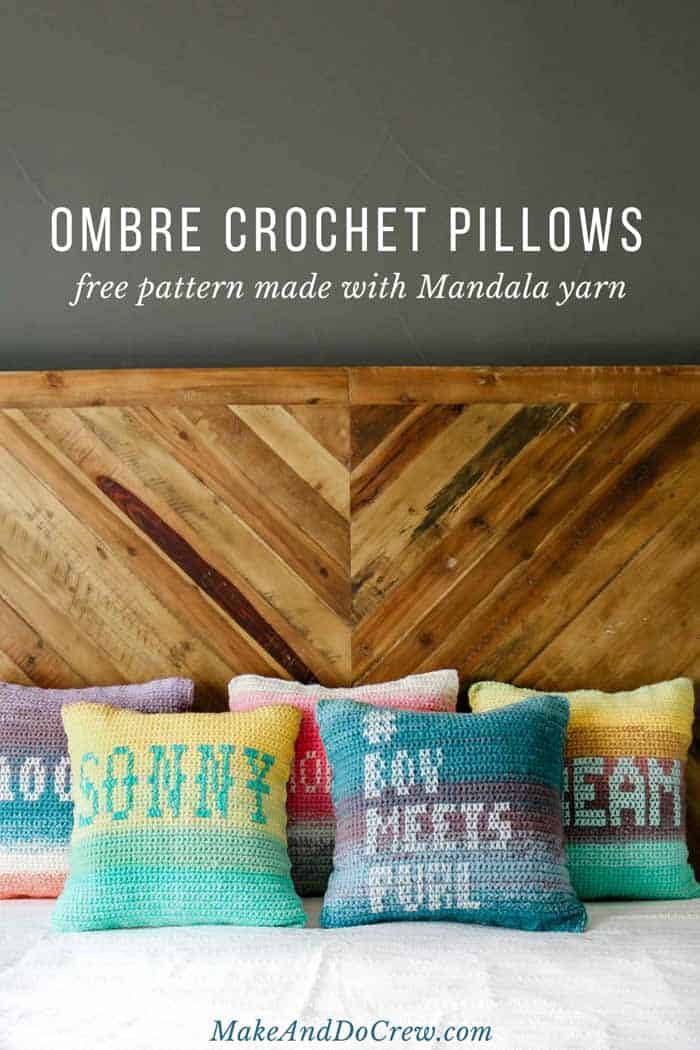
This free crochet pillow pattern is part of a collaboration with my friends at Lion Brand Yarn. This post contains affiliate links.
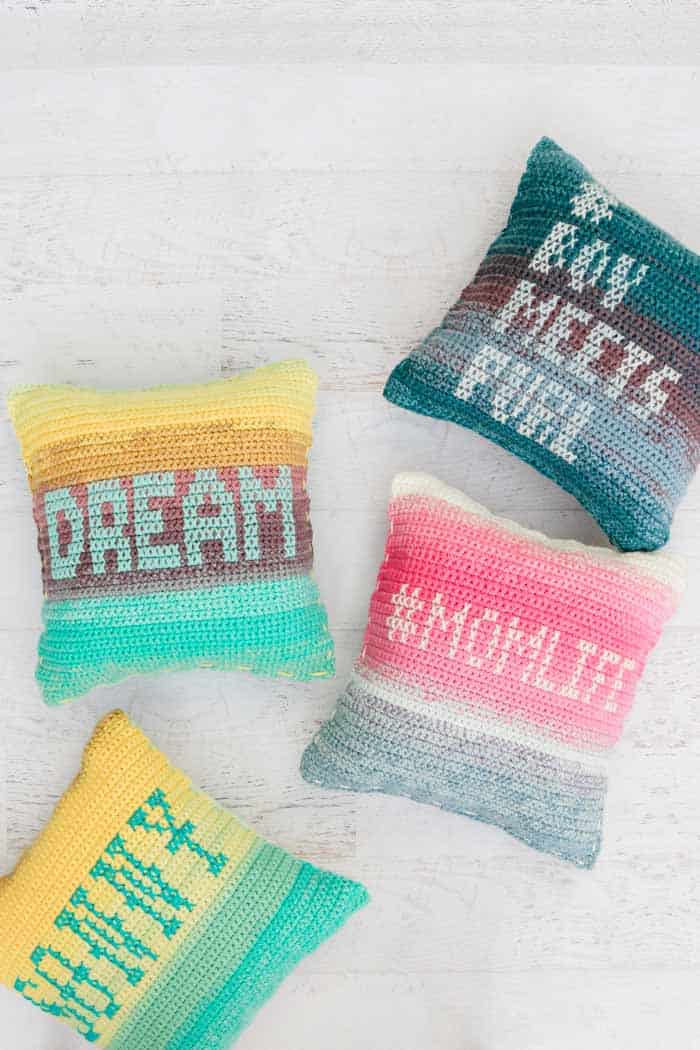
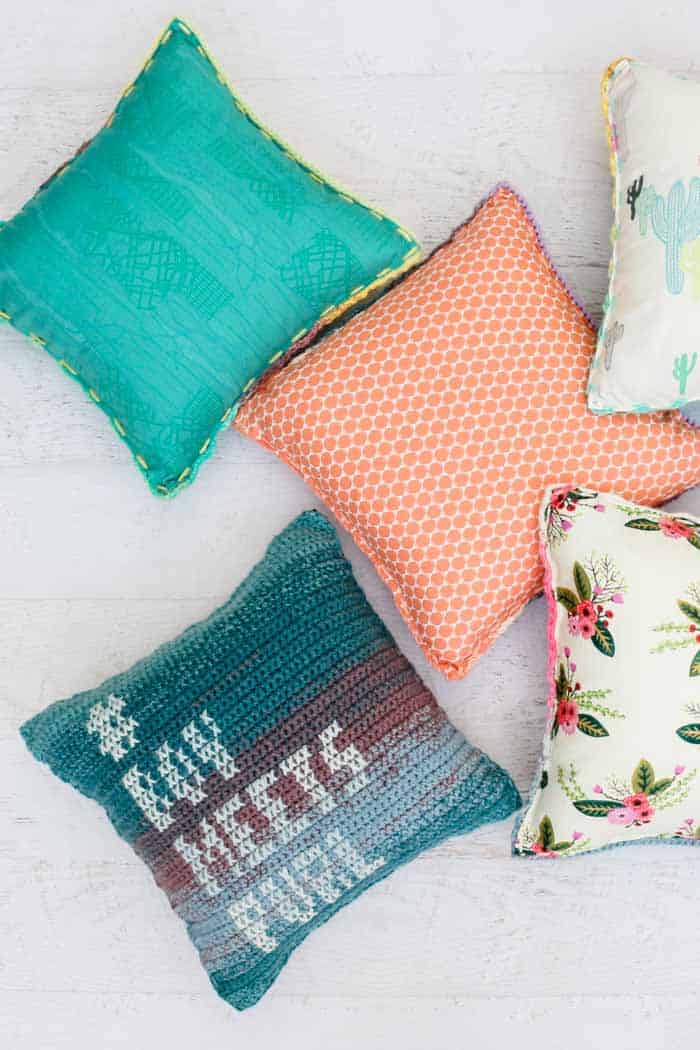
When Lion Brand Mandala yarn was released last summer, I had the fun opportunity to partner with Walmart to make pillows for some yarn enthusiasts on Instagram. After thinking about several ways the pillows could be personalized, including using corner-to-corner crochet or embroidery, I saw this fantastic project from Purl Soho and got inspired to cross stitch on the crochet pillow fronts.
Naturally, my next step was to call my mom and ask for help. Because, you know, five personalized pillows is a lot for two hands to make alone.
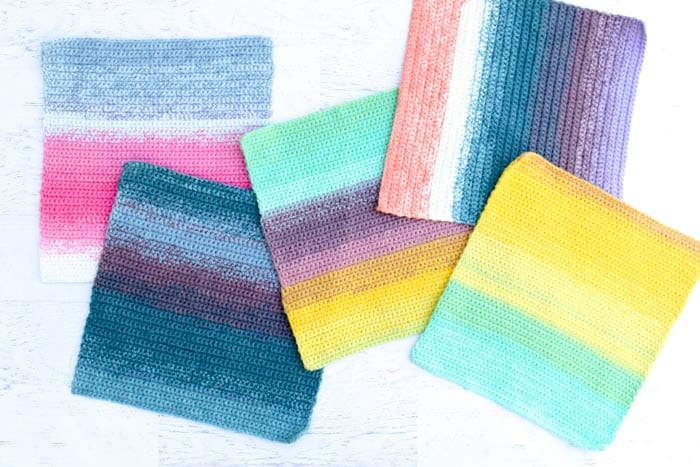
Since then, so many of you have asked for the more details on how to replicate the look of these ombre pillows. Later this week I'll share a full, in-depth tutorial on how to design your own cross stitch patterns to personalize the cushions you make. Today though, let's cover how to crochet this super easy crochet pillow pattern!
Yet Another Fun Crochet Pattern Idea with Mandala Yarn
It's no secret that I'm a big fan of Lion Brand Mandala yarn. Part of what I love about it is that you can use the wide range of colorways in this cake yarn to achieve really different effects. Can you believe all the free crochet patterns below are made with Mandala yarn (or it's cousin, Lion Brand Cupcake yarn)? They're such versatile yarns!

1. Remix Cardigan / 2. Tributary Blanket / 3. Rising Tide Shawl / 4. Dawn Till Dusk Triangle Scarf
So Many Colors in One Yarn Cake
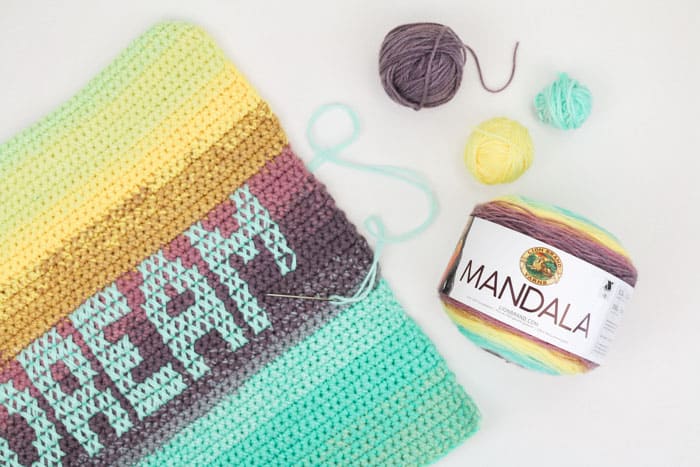
When my mom and I set out to make these pillows, we wanted to highlight the best part of Mandala yarn--all gorgeous colors in one skein! The thing about Mandala though is boy-oh-boy does it come with a lot of yarn per skein. 590 yards to be exact. To make this easy crochet pillow pattern today, we'll be doing two key things to achieve the chunkier, ombre look in the samples.
• First, each pillow front is made with three strands of Mandala yarn held together. This makes the project cruise by quickly and gives you an adequately sized cross stitch "grid" to work with.
• Secondly, you'll want to cut and reattach your yarn after a few rows of each color in order to accomodate all the colors in the skein in one pillow front. You'll end up with plenty of leftover yarn that you can use to crochet more pillows!
Personalized Ombre Pillows
Free Crochet Pattern
Add this pattern to your Ravelry queue or favorites here.
Pin it for later here.
Explanation:
Paint your perfect palette with this ombre pillows made from gorgeous Lion Brand Mandala yarn cakes. Three strands held together throughout creates a chunkier look while the cross stitch detailing allows you to personalize a message for everyone you know.
Supplies:
Yarn:
You'll need three total cakes in one colorway of Lion Brand Mandala or Cupcake yarn. Here are some yarn options that will offer every color you can imagine!
• Lion Brand Mandala (Weight: 3/light - 590 yds, 5.3 oz)
• Lion Brand Mandala Baby (Weight: 3/light - 590 yds, 5.3 oz)
• Lion Brand Cupcake (Weight: 3/light - 590 yds, 5.3 oz)
• Lion Brand Mandala Sparkle (Weight: 3/light - 328 yds, 3.5 oz)
Additional Supplies:
• Upholstery needle
• Size J (6.00 mm) crochet hook
• Stitch markers
• Safety pins or straight pins
• 16" square pillow form (this is intentionally 2" larger than finished pillow dimensions)
• Approx. 15-16" square of fabric for backing
Measurements:
Approx. 14.5 x 14.5"
Wanna save this pattern?
Gauge:
13.5 sc = 4"
16.5 rows = 4"
Abbreviations and Glossary (US Terms):
ch - chain
sc - single crochet
tch - turning chain
rep - repeat
Overall Notes:
• In order to create a tidy "canvas" to crochet on, the pillow fronts are intended to be worked quite tightly. Check your gauge and adjust your hook size if necessary to help ensure tight stitches.
• To create a smaller or larger pillow, add or remove multiples of 3 ch from the foundation chain. Each 3 ch will add or remove approx. one inch. Similarly, adjust number of rows to achieve desired size taking care to work an even number of total rows.
• The ombre look of the samples was achieved by cutting Mandala yarn after a few rows were worked in a color and reattaching at color, working a few rows and reattaching at next color. To ensure the smoothest color transitions, be sure to include the "in between" colors of the yarn that help blend from one color to another. You'll have left over yarn at the end of this! Use it to make more pillow or try my free Remix Cardigan pattern (pictured below) which is made from deconstructed Mandala cakes!
• If you're planning to cross stitch on the pillow front, plan a section of lower contrast yarn transitions where the design will go. This will help make sure the cross stitch doesn't get lost in a sea of busy stripes. (See photos of samples above.)
PILLOW FRONT PATTERN
Pattern is worked with 3 strands of yarn held together throughout. Attempt to begin each skein of Mandala at the same point in the color transitions so as to make it look like there is one chunkier strand of yarn.
Foundation Row: Ch 51.
Row 1: Sc in second ch from hook, sc in remaining chs to end of row. (50 sc)
Rows 2-60: Ch 1, sc in each sc to end of row. (50 sc)
Note: Achieving a square pillow front is more important than the total number of rows. Increase or decrease total number of rows if necessary taking care to work an even number of rows.
✨Unlock this free subscriber-exclusive pattern ✨
Follow these steps to view the full free pattern below
With right sides of pillow front and back facing out, place pillow form in between. Use safety pins or straight pins to secure in place.
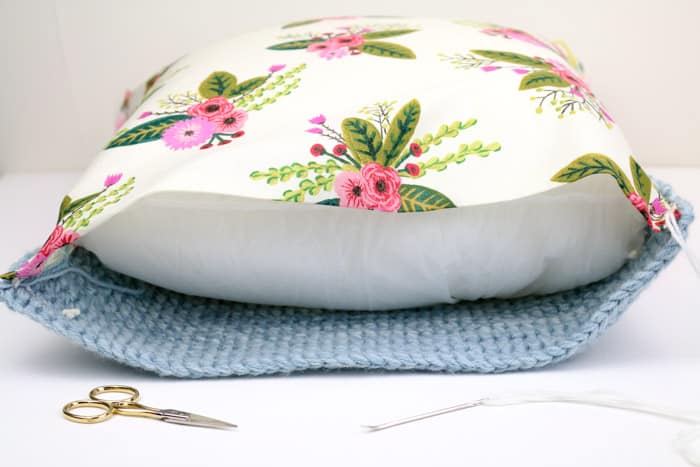
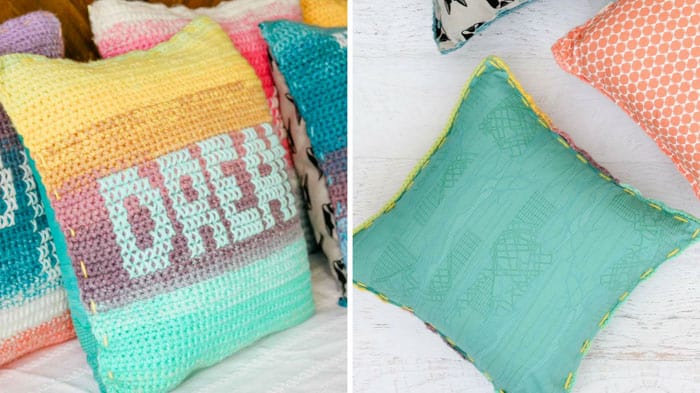
Using a doubled over strand of Mandala yarn and an upholstery needle (this is basically a sharper tapestry needle), sew a basting stitch around edge of pillow. In the sample, my stitches were about .75-1" apart. As you can see below, the sewing yarn will be visible on both the front and the back of the pillow, so choose a color that coordinates with both.
And there you go, that's all there is to making these easy crocheted pillows!
More Colorful Free Crochet Patterns
If ombre color is your thing, you'll love these free colorful crochet patterns and tutorials. You can always find all our free patterns here.
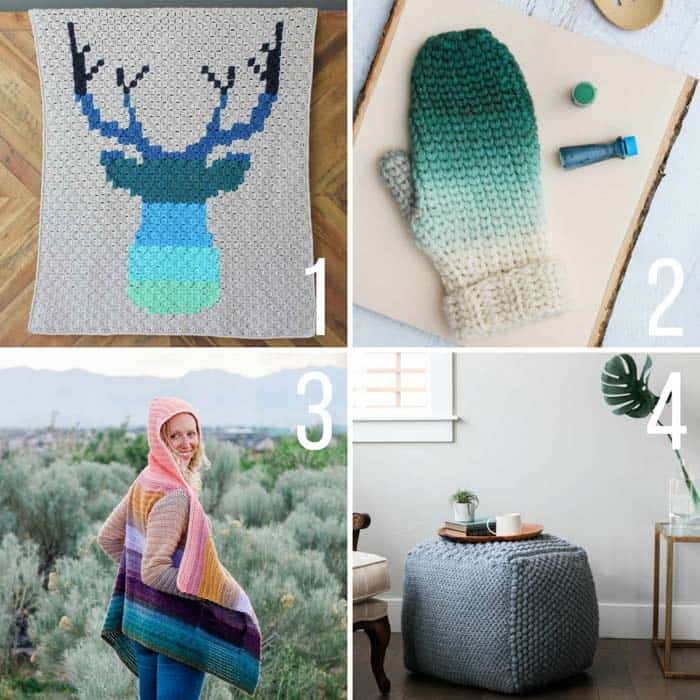
1. Be a Deer - free C2c afghan pattern for babies or adults
2. Morning Mittens - free mitten pattern and tutorial on dip dying finished items with food coloring
3. Remix Cardigan - free crochet pattern and video tutorial on deconstructing yarn cakes
4. Sampler Pouf - free crochet pattern (Okay, it's not ombre, but it can be if you make each side a different color!)


Darlene says
Great Patterns- would enjoy the link for the letter pattterns. Thank you!!