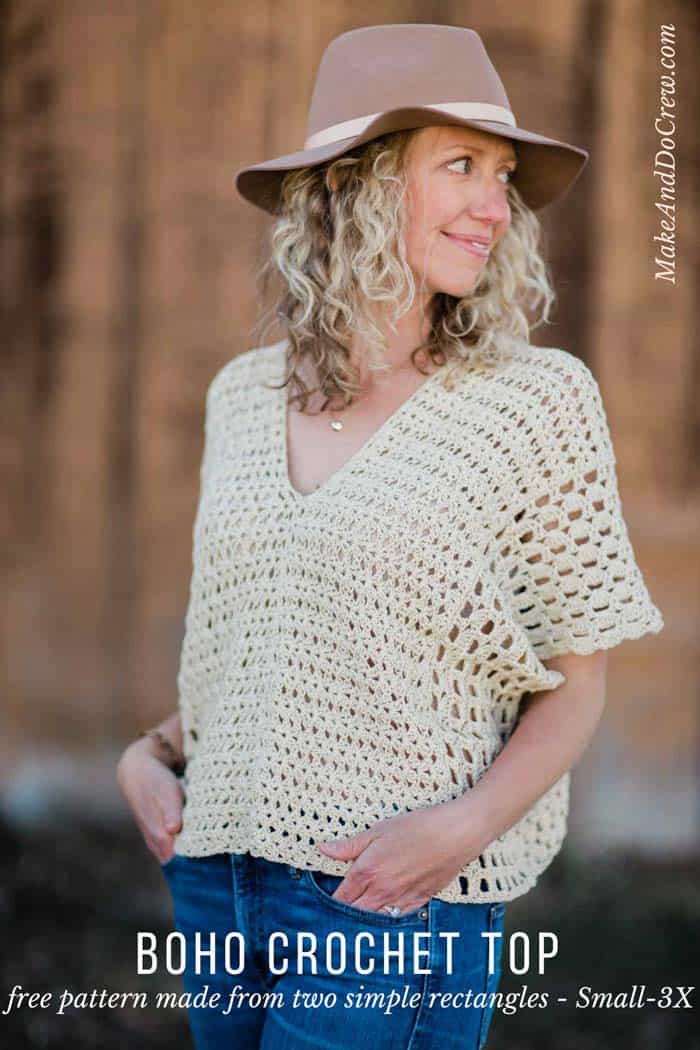
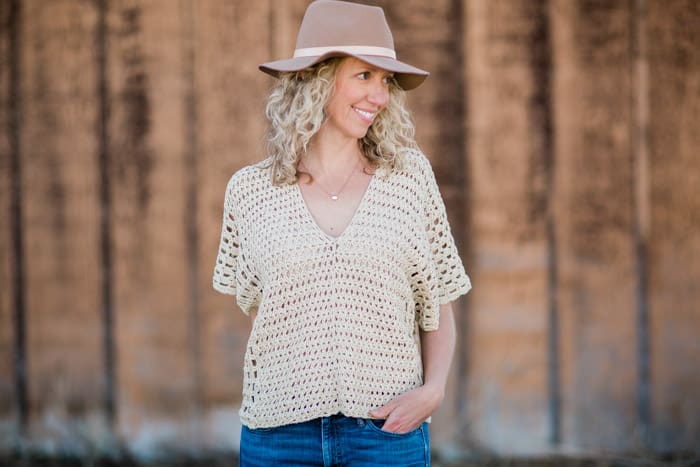
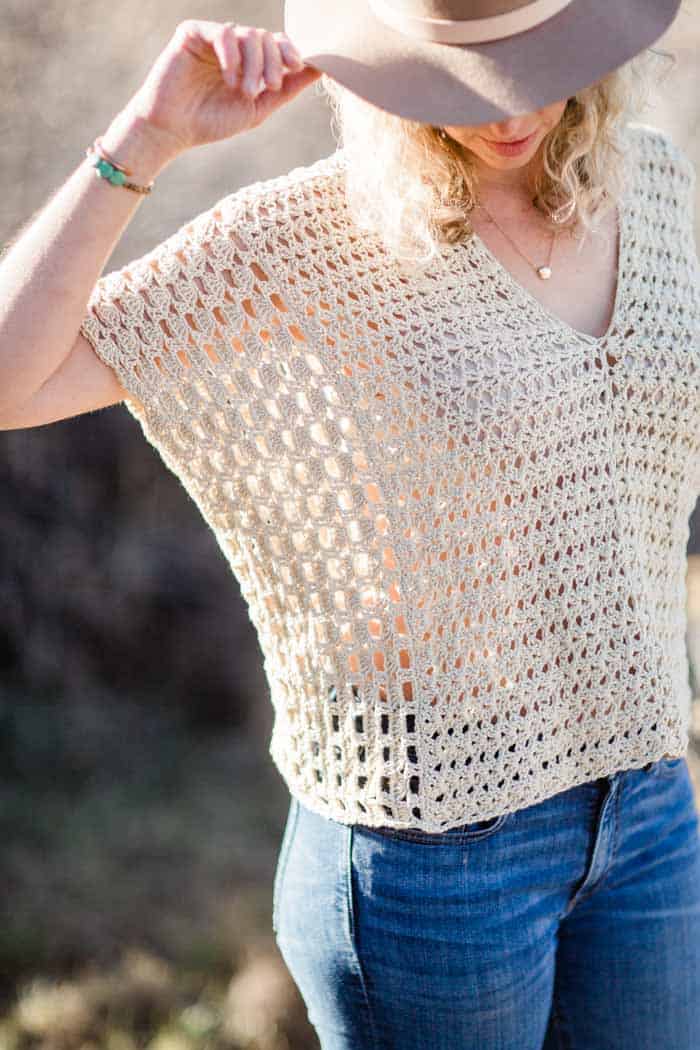
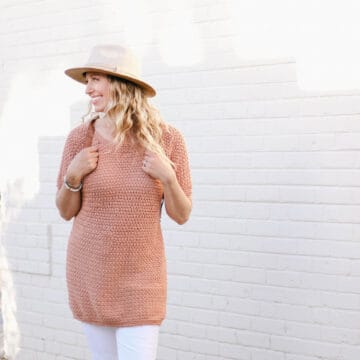
Made from two simple rectangles, this summer crochet top will take you effortlessly from music festival to BBQ to beach vacay this season. Get the free pattern below or purchase the ad-free, printable PDF with stitch chart here.
This free summer crochet top pattern is part of a collaboration with my friends at Lion Brand Yarns. This post contains affiliate links.
Spring is officially upon us, which means summer is right around the corner! You may feel tempted to let your crochet hook hibernate from now until October, but then you'd be missing out on some of my favorite types of crochet patterns--the lacy, boho-inspired projects that are just PERFECT for crocheting! (You can find all my boho-style crochet patterns here.)
Spring and Summer Crochet Inspiration
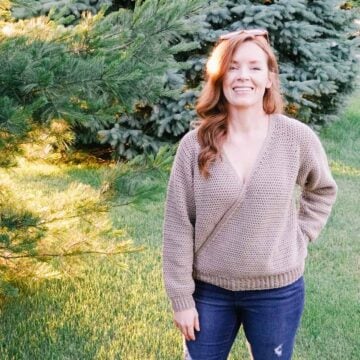
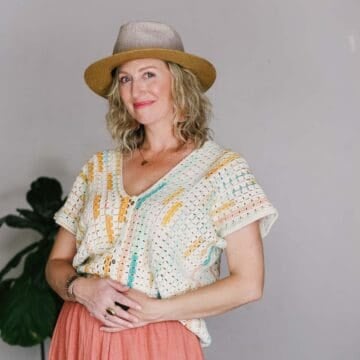
Below are a few of my favorite free spring and summer crochet patterns from last year. Do they convince you that there's some pretty good stitches to be had from now till Halloween? Great! You can find all my warm-weather patterns here.
More Free Crochet Shirts + Tops Patterns
From peplum-style pullovers to easy, breezy lace blouses, crop tops and everything in between, you'll find your next wearable crochet project here.
See more free crochet shirts + tops patterns →
The Yarn
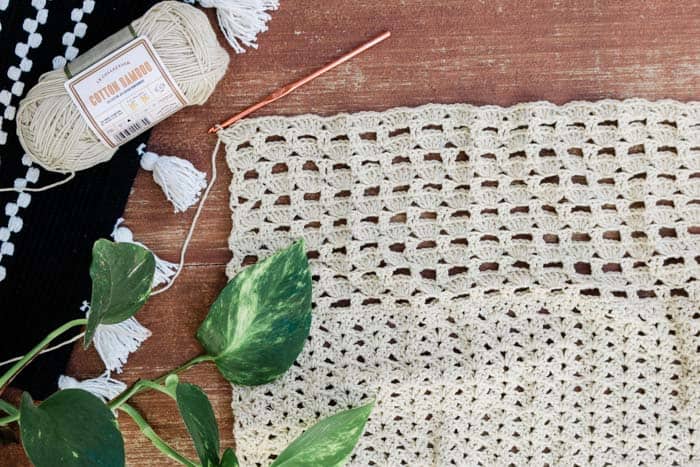
Today, I'm excited to show you a summer crochet top my mom and I designed together using one of my favorite lightweight summery yarns, LB Collection Cotton Bamboo from Lion Brand. As it sounds, this yarn is a super supple mix of cotton and bamboo, which lends a beautiful floppy drape to this boho poncho shirt pattern. It's actually the exact same yarn I used in the Canyonlands Boho Top last summer. The first time I wore the Canyonlands Top, my husband remarked that it made me look "rich." Ha. I think that was totally a commentary on this luxurious yarn!
How to Crochet a Summer Top For Beginners
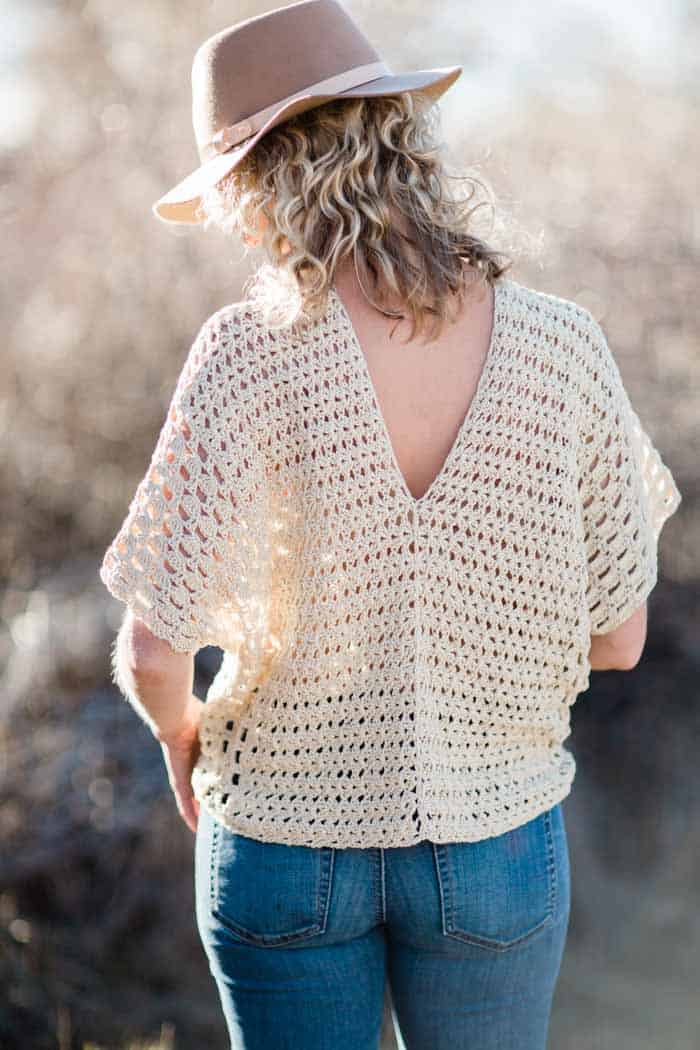
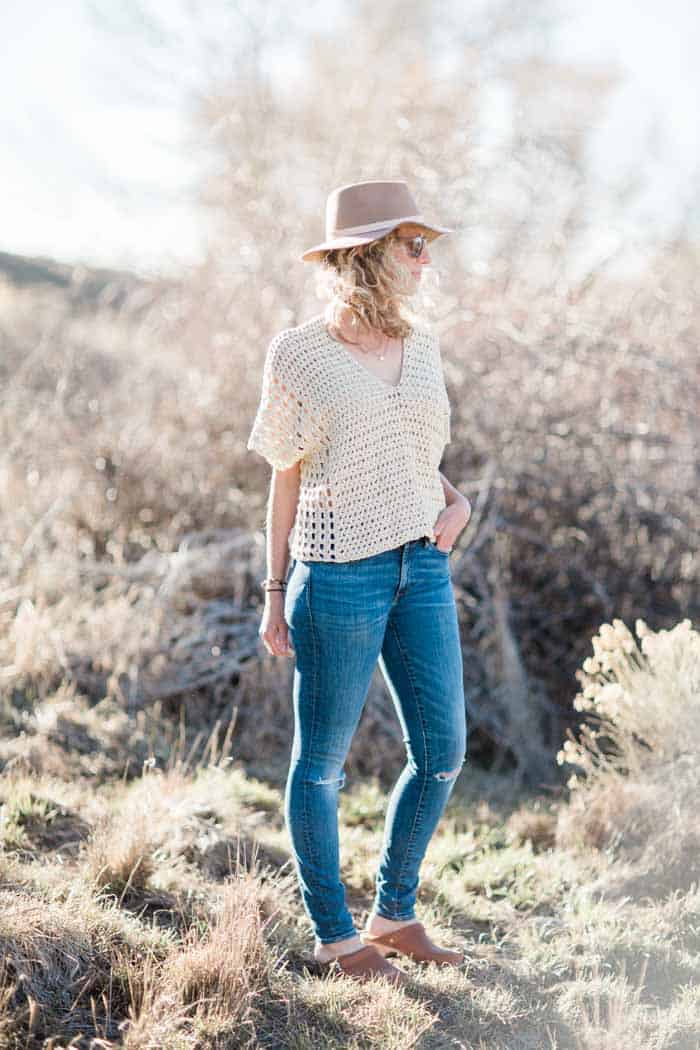
The Saratoga Poncho Top is constructed from two rectangles, making this about the easiest summer crochet top you could put together. And while the lace stitches might look a little fancy, I promise you that they're just interesting enough to keep you engaged, but definitely not too complex to do while you're watching TV.
Don't let the delicate look of this crochet top deter you--my mom made it in less than a week and she works full time. (But also, please don't feel bad if it takes you a few weeks. Crochet is about the destination AND the journey along the way. 🙂 )
Related: 30+ Stunning Dresses to Crochet
How to Make This Poncho Top Extra Beginner-Friendly
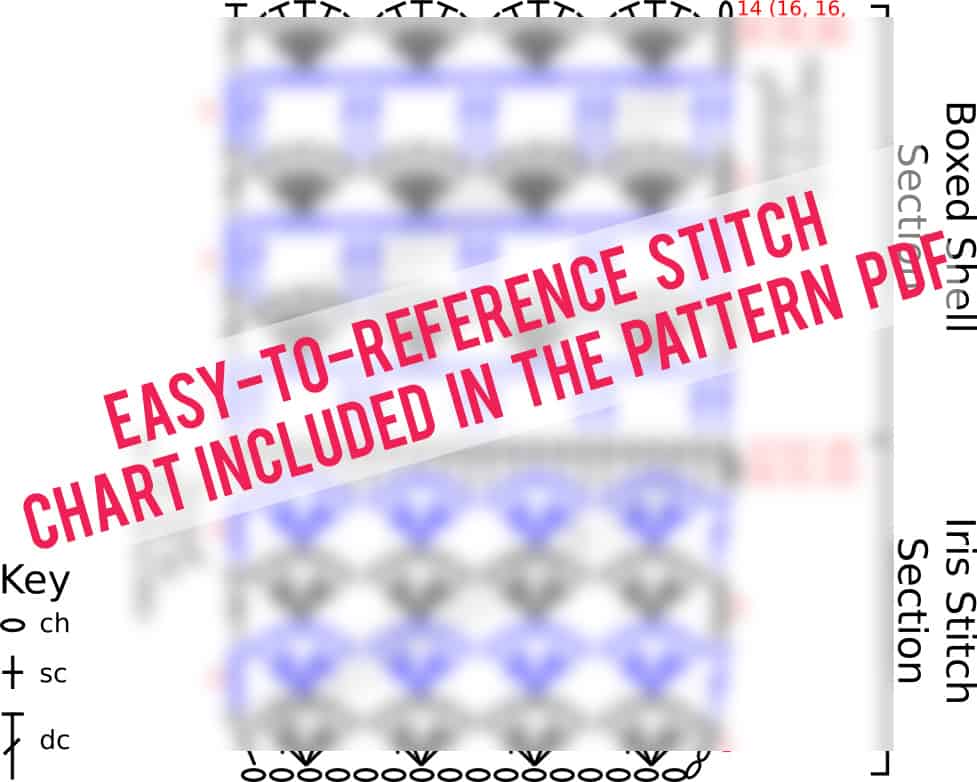
If you're a visual learner like me, you might really benefit from the stitch chart I've included in the ad-free, printable PDF. Sometimes pattern language can sound complex, but a helpful crochet stitch chart can reveal how easy a concept really is. You can pick up the printable PDF here. (It's great for mobile viewing too.) Scroll down for the full free pattern below!
I've also been thinking about putting together a video tutorial for this simple summer crochet top. If that's something you'd be interested in, please leave a comment and let me know!
Saratoga Poncho Top
Summer Crochet Top Free Pattern
Supplies:
This pattern contains affiliate links at no extra cost to you.
• Lion Brand LB Collection Cotton Bamboo (Weight: 3/light - 245 yds, 3.5 oz)
- Magnolia (#487-098) – 5 (5, 6, 6, 6, 7)) skeins [(approx. 400 (440, 480, 520, 560, 600)) g]
• Tapestry needle
• Size G (4.0 mm) crochet hook
• Stitch markers or safety pins
Sizes:
S, M, L, XL, 2X, 3X
Bust: 32-36 (36-40, 40-44, 44-48, 48-52, 52-56)
See “Notes” below on choosing a size.
Individual Rectangle Measurements When Laying Flat:
S: 43 x 14”
M: 44 x 14.75”
L: 45 x 15.5”
XL: 46 x 16.5”
2X: 47 x 17.5”
3X: 48 x 18.25”
Finished & Assembled Measurements:
Length from Shoulder: 21.5 (22, 22.5, 23, 23.5, 24)”
Total Width: 28 (29.5, 31, 33, 35, 36.5)”
Gauge:
20.2 sts x 8.5 rows = 4”
Boxed Shell Stitch Section: 21 sts x 9 Rows = 4
Abbreviations and Glossary (US Terms):
ch – chain
ch1sp - space created by one chain
dc – double crochet
PM – place marker
RS – right side
rep – repeat
sp – space
sl st – slip stitch
st(s) – stitch(es)
tch – turning chain
WS – wrong side
Wanna save this pattern?
Overall Pattern Notes:
• Pattern is worked in two identical rectangles and then seamed.
• Tweaking the sizing of this top is very simple. Choose your size based on bust measurements as this will impact the number of rows you work. Then add or remove chains from the foundation chain in multiples of 4 to adjust the length of the shirt.
Main Pieces
Notes:
• Ch 3 at beginning of row counts as a dc.
See stitch chart in printable ad-free PDF for detailed visual explanation of stitches.
Make 2.
Iris Stitch Section
Foundation: Ch 175 (179, 183, 187, 191, 195).
Row 1 (RS): Sk first 4 ch, [2 dc, ch 1, 2 dc] in fifth ch from hook, *sk 3 ch, [2 dc, ch 1, 2 dc] in next ch; rep from * until 2 ch remain, sk 1 ch, 1 dc in last ch; turn. [217 (222, 227, 232, 237, 242) dc, 43 (44, 45, 46, 47, 48) Iris clusters]
Rows 2-16 (16, 18, 18, 20, 20): Ch 3, sk first 3 dc, *[2 dc, ch 1, 2 dc] in ch1sp, sk next 4 dc; rep from * until 2 dc remain, sk last 2 dc, 1 dc in tch; turn.
Row 17 (17, 19, 19, 21, 21) (RS): Ch 1, sc in first dc, *sc in next 2 dc, sc in ch1sp, sc in next 2 dc; rep from * to end of row, sc in tch; turn. [217 (222, 227, 232, 237, 242) sc])
✨Unlock this free subscriber-exclusive pattern ✨
Follow these steps to view the full free pattern below
Finishing
Front and Back Seams:
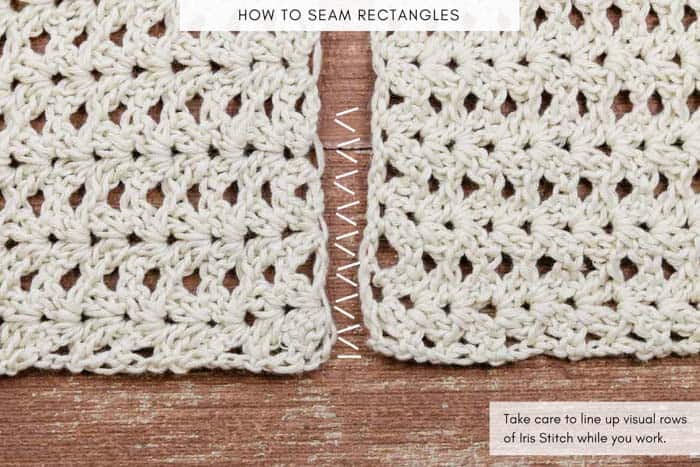
Lay both rectangles out next to each other, WS facing up, with chain edges touching. Use safety pins or stitch markers to lightly pin rectangles together taking care to line up each cluster of iris stitches. Measuring from bottom front edge of shirt, place marker at 12” (12.5, 12.75, 13.25, 13.5, 14). Repeat from bottom of back of shirt so that there is approximately a 19” (19, 19.5, 19.5, 20, 20) space between markers.
Working from the bottom front edge of the shirt up, seam rectangles together using a zig zag seam. (Think of how you’d lace shoes: Insert needle in from under fabric and pull through to top, repeat on opposite piece of fabric. See photo below.) Stop at maker and fasten off. Repeat with second seam on back side of shirt.
Side Seams:
With RS facing in, pin side seam so that shells align. Place marker 10” from bottom of shirt. Working from the bottom edge up, use the mattress stitch to seam until marker. 11.5 (12, 12.5, 13, 13.5, 14)” remains unseamed for arm openings. Fasten off. Repeat with side seam on second side.
Weave in remaining ends.
Pop on your new lace poncho shirt, stash a flower behind your ear and frolic through the rest of summer!
I love to see your finished projects. Tag me (@makeanddocrew) on Instagram and use #makeanddocrew to show off your stitches!
That was so fun! Now what?
Invitation to our Facebook group
Come discuss crocheting poncho top patterns and lots of other crochet projects and techniques in our Make & Do Crew Facebook group. Here thousands of helpful crocheters answer each others questions and share their stitches. Come join us here.
More Shirts + Tops Free Crochet Patterns
- Springtide Crochet Tunic Pattern
- Ballet Wrap Crochet Sweater Pattern
- Boho Crochet Dress Pattern
- Crochet Crop Top Free Pattern
- Raglan Crochet Top Pattern
- Beginner Tunisian Crochet Top
- Lightweight Crochet Top Free Pattern
- Lace Boho Crochet Top Pattern
Now that you've finished your Saratoga crochet top, here are more bohemian-style free patterns that your inner boho princess might love:
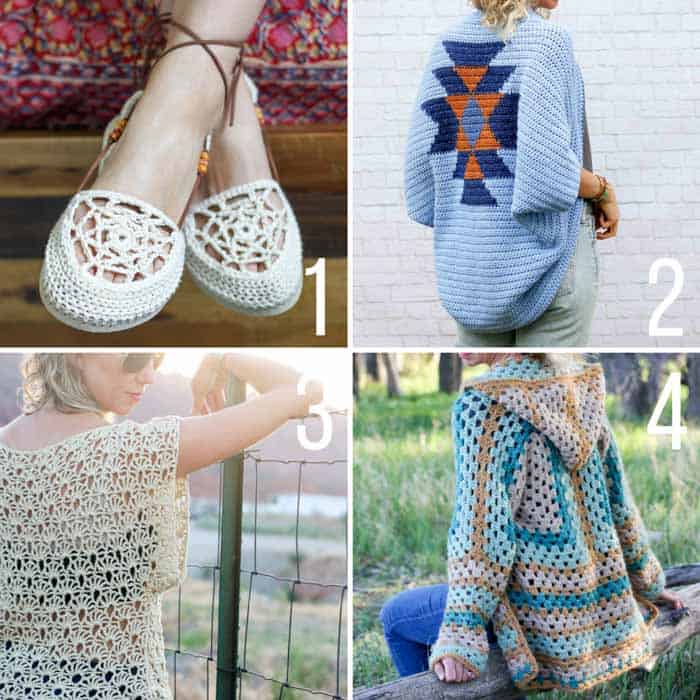
1. Dream Catcher Crochet Sandals with Flip Flop Soles - free crochet shoe pattern
2. Navajo Shrug - free, easy crochet pattern with video tutorial
3. Canyonlands Boho Top - free bohemian crochet lace shirt pattern
4. Campfire Cardigan - free crochet sweater pattern made from two hexagons



anna says
Superbe !
Anna
Patty says
Yes please video tutorial! Love your patterns, can't wait to try this and the Campfire Cardi for next fall.
Jess @ Make and Do Crew says
Thanks for letting me know!
Jess
Marcia says
I wonder if there is an easy way to modify the neckline - more scooped or rounded (or even boatneck), since I don't like v-necklines on me. I may just try to figure it out, but tips would be welcomed!
Jess @ Make and Do Crew says
Hmm. The basic construction of two rectangles kinda lends itself to the V neck. One thought it so make a separate shorter rectangle to have as the middle of the front and the middle of the back, which would make it more of a square neckline. 🙂
Janelice Bastiani says
Olá,
Vou publicar no meu blog e colocar crédito do seu blog.
Vou fazer e publicar no blog.
Obrigada
Janelice
Ryana says
I would love a video tutorial for this top. It’s amazinhv
Eadie says
A video would be very helpful. Thank you.
Jess @ Make and Do Crew says
Looks like I'll be making a video soon! Thanks for letting me know. 🙂
barb says
so cute! I am a bit older, in my 40s and I am thinking it looks great on you... it may look decent on me? I can give it to my daughter if not. She is yougthful 🙂 thanks for the pattern
Jess @ Make and Do Crew says
Yes! Barb, I think you can rock it at any age and my mom and I really tried to design it with lots of diff women in mind. My mom is actually making one for herself soon. If you want to adjust the length for any reason, you can check out the "notes" section of the pattern to learn how. 🙂
Happy crocheting!
Jess
Frances says
Love this top - sending it to my crochet group and I've pinned it also!
Thanks for sharing the pattern!
Dorothy says
Can’t wait for the video. It will be so helpful.
Jess @ Make and Do Crew says
Yay! I'll be able to work on it soon. 🙂
Amelia says
Yes yes please do a video. That will be amazing
Jess @ Make and Do Crew says
Thanks for letting me know. I'll get working on it soon. 🙂
April Diane says
Hey there. Starting g this project with my local crochet group. They’d love a video to follow along. Thanks for the pattern. Looking forward to working on this beauty. Cheers❣️
Jess @ Make and Do Crew says
Oh how fun! I'd love to see pics if you'd like to share. It sounds like there's enough interest in a video, so I'm hoping I can get it up sometime in May. 🙂
Jess
Christina says
I’d love a video, too! This top is beautiful. I have some Jeans yarn that I’m dying to use...do you think that would work? It’s a cat. 4 but I feel like it’s on the lighter side but haven’t seen the cotton bamboo in person. Also, my G hook says 4.25mm. Does G come in more than one size?
Camille Cardarella says
Yes, video tutorial, please.