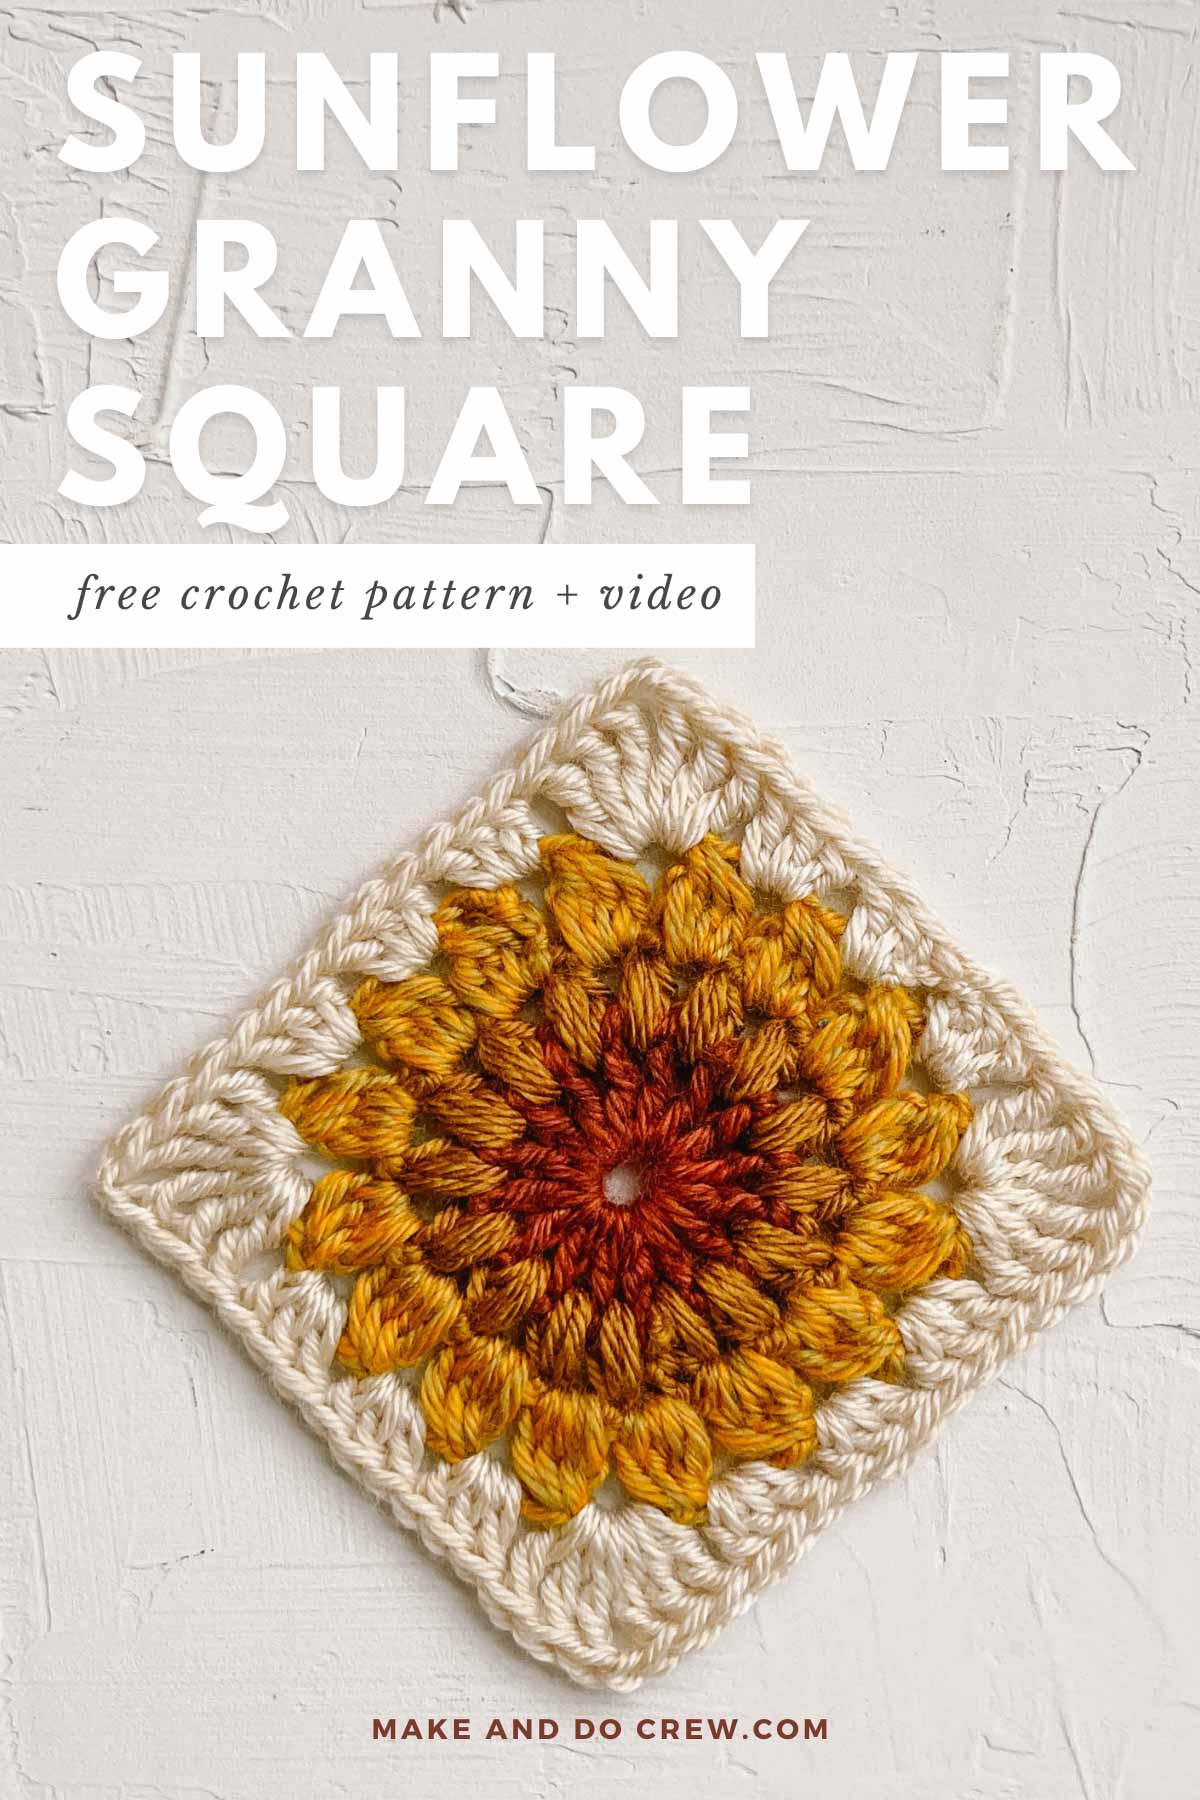
Would you like to learn how to crochet a sunburst granny square? Follow this step-by-step tutorial or watch the video below to make this easy starburst granny square.
Then, try this sunburst granny square pattern using yellow, orange, and brown yarn to crochet sunflower squares. This sunflower granny square pattern is perfect to use in blankets, jackets, sweaters, and bags!
This crochet sunburst granny square pattern is part of a collaboration with Lion Brand Yarns. This post contains affiliate links.
Jump to:
- How Is a Sunburst Granny Square Different?
- Sunburst Granny Square: Step-By-Step Photos
- How to Crochet a Sunburst Granny Square Video Tutorial
- What To Make With Your Granny Squares
- Recommended Yarn And Crochet Hooks
- Tips for Making Granny Squares
- Crochet Sunflower Granny Square Pattern
- How to Change Colors in Granny Squares
- How to Join Crochet Granny Squares Together
- How to Modify The Size of Your Granny Square
- How Many Sunburst Granny Squares Do I Need for a Blanket?
- More Beautiful Granny Square Patterns
- That was so fun! Now what?
- Invitation to our Facebook group
- How to Crochet a Sunburst Granny Square
How Is a Sunburst Granny Square Different?
A crochet sunburst (or starburst) granny square pattern differs from a traditional granny square in that the center is a circle instead of a square.
Although the classic granny is arguably slightly easier to learn because there's really only one round to remember, I love the textured and more contemporary look of a sunburst granny square.
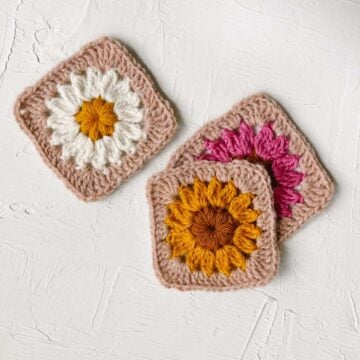
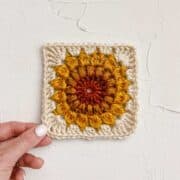
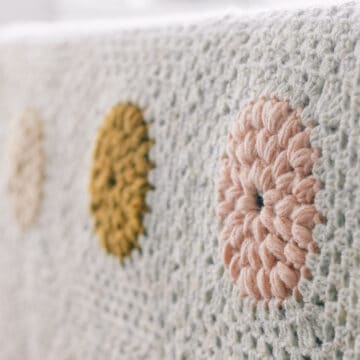
Plus, if you use shades of yellow and brown yarn, your sunburst square will look like a crocheted sunflower granny square!
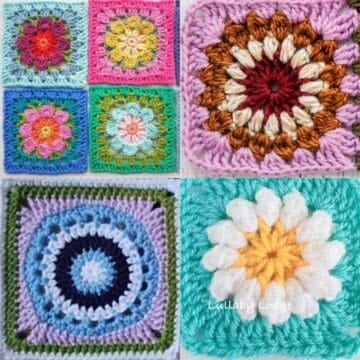
Check out our daisy granny square pattern for another fun floral motif.
Sunburst Granny Square: Step-By-Step Photos
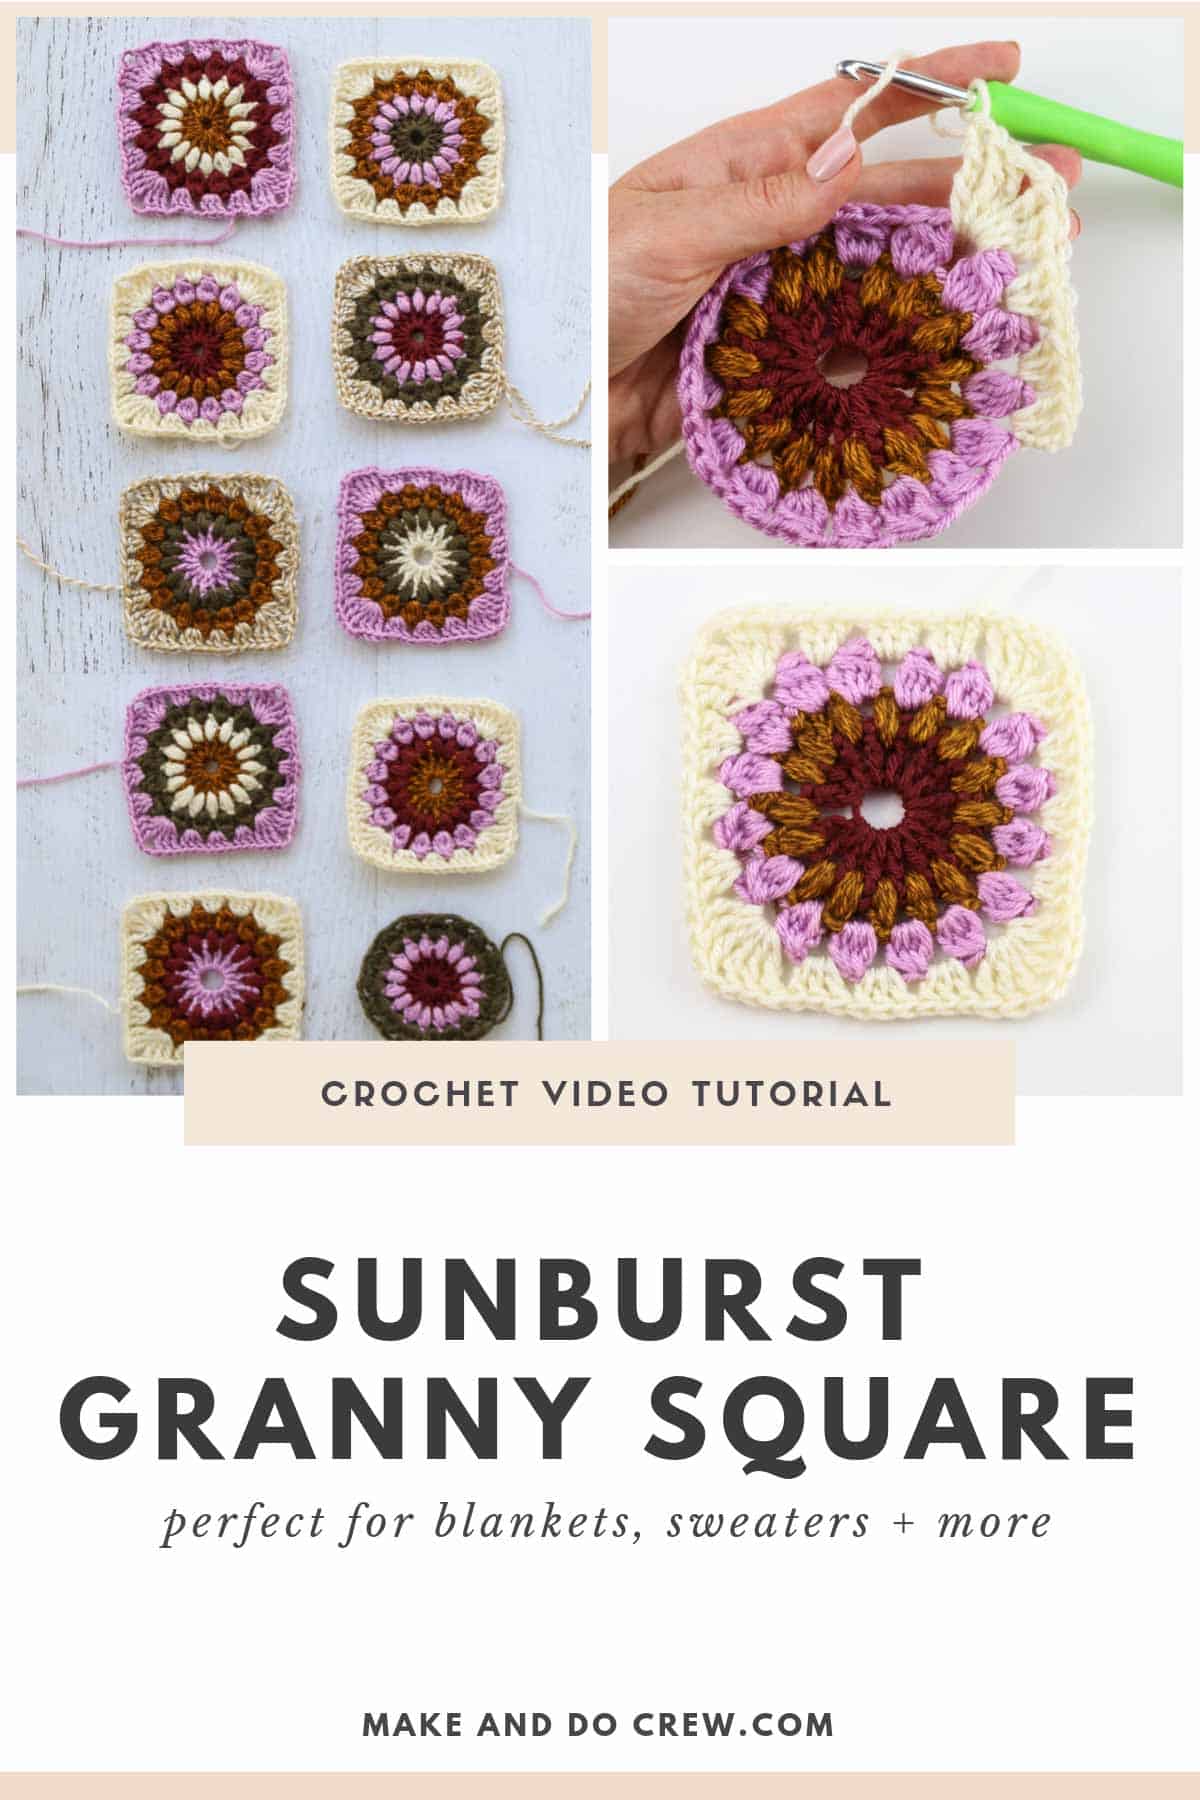
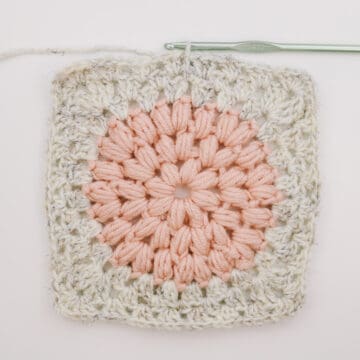
The sunburst granny square pattern includes four distinct rounds. Here's how you'll crochet this unique motif.
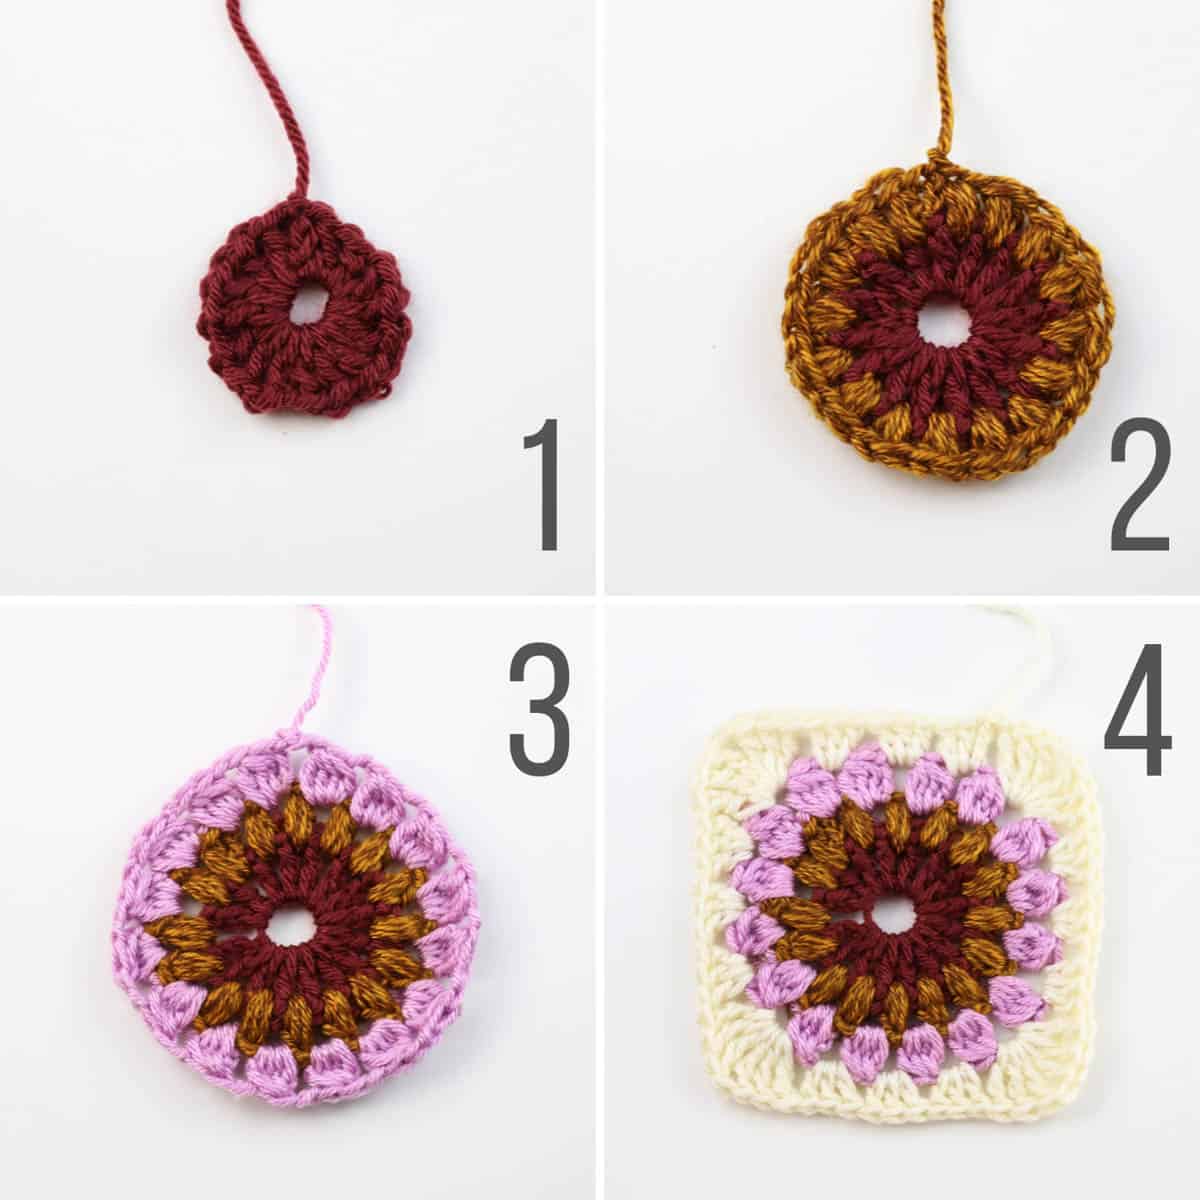
- A sunflower granny square begins with a magic ring (aka magic loop). The first round uses double crochet stitches, each followed by a chain stitch. These are worked directly into the magic ring.
- The second round is made by working puff stitches into the chain spaces from the previous round.
- Round three adds a circle of cluster stitches, which are a bit flatter than puff stitches.
- The circle is squared off in round four. Double crochets are used along the sides of the square, while taller treble crochet stitches create the corners.
Watch the video tutorial or follow the sunburst granny square crochet pattern below for specific details and stitch counts.
Related: 40+ Best Crochet Crochet Stitches for Blankets
How to Crochet a Sunburst Granny Square Video Tutorial
To learn how to crochet a sunburst granny square, watch the step-by-step video tutorial below. Scroll down for detailed written pattern instructions.
What To Make With Your Granny Squares
Once you're pumping out sunburst granny squares like a grandma on a mission, you'll be ready to decide what to make with them.
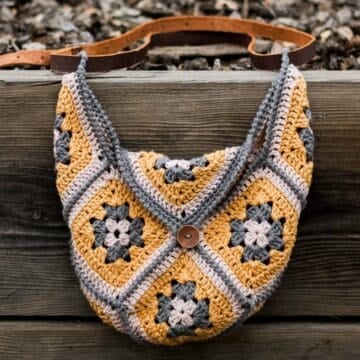
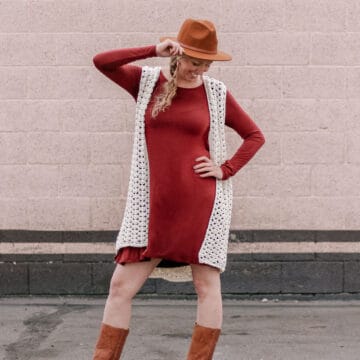
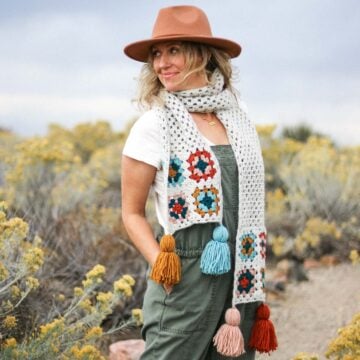
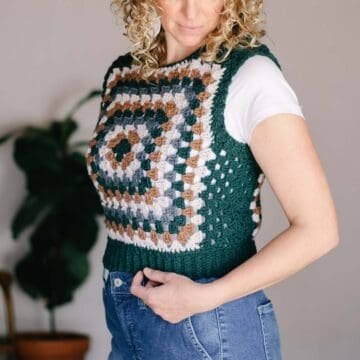
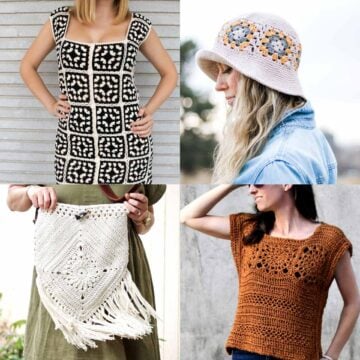
These sunburst grannies work beautifully in most patterns where a traditional granny square is be used. Afghans and throws, retro jackets, cardigans, pillows, cushions, and even temperature blankets are all possible sunflower granny square projects!
Here are some granny square project ideas to get your wheels turning.
See more granny square projects →
Recommended Yarn And Crochet Hooks
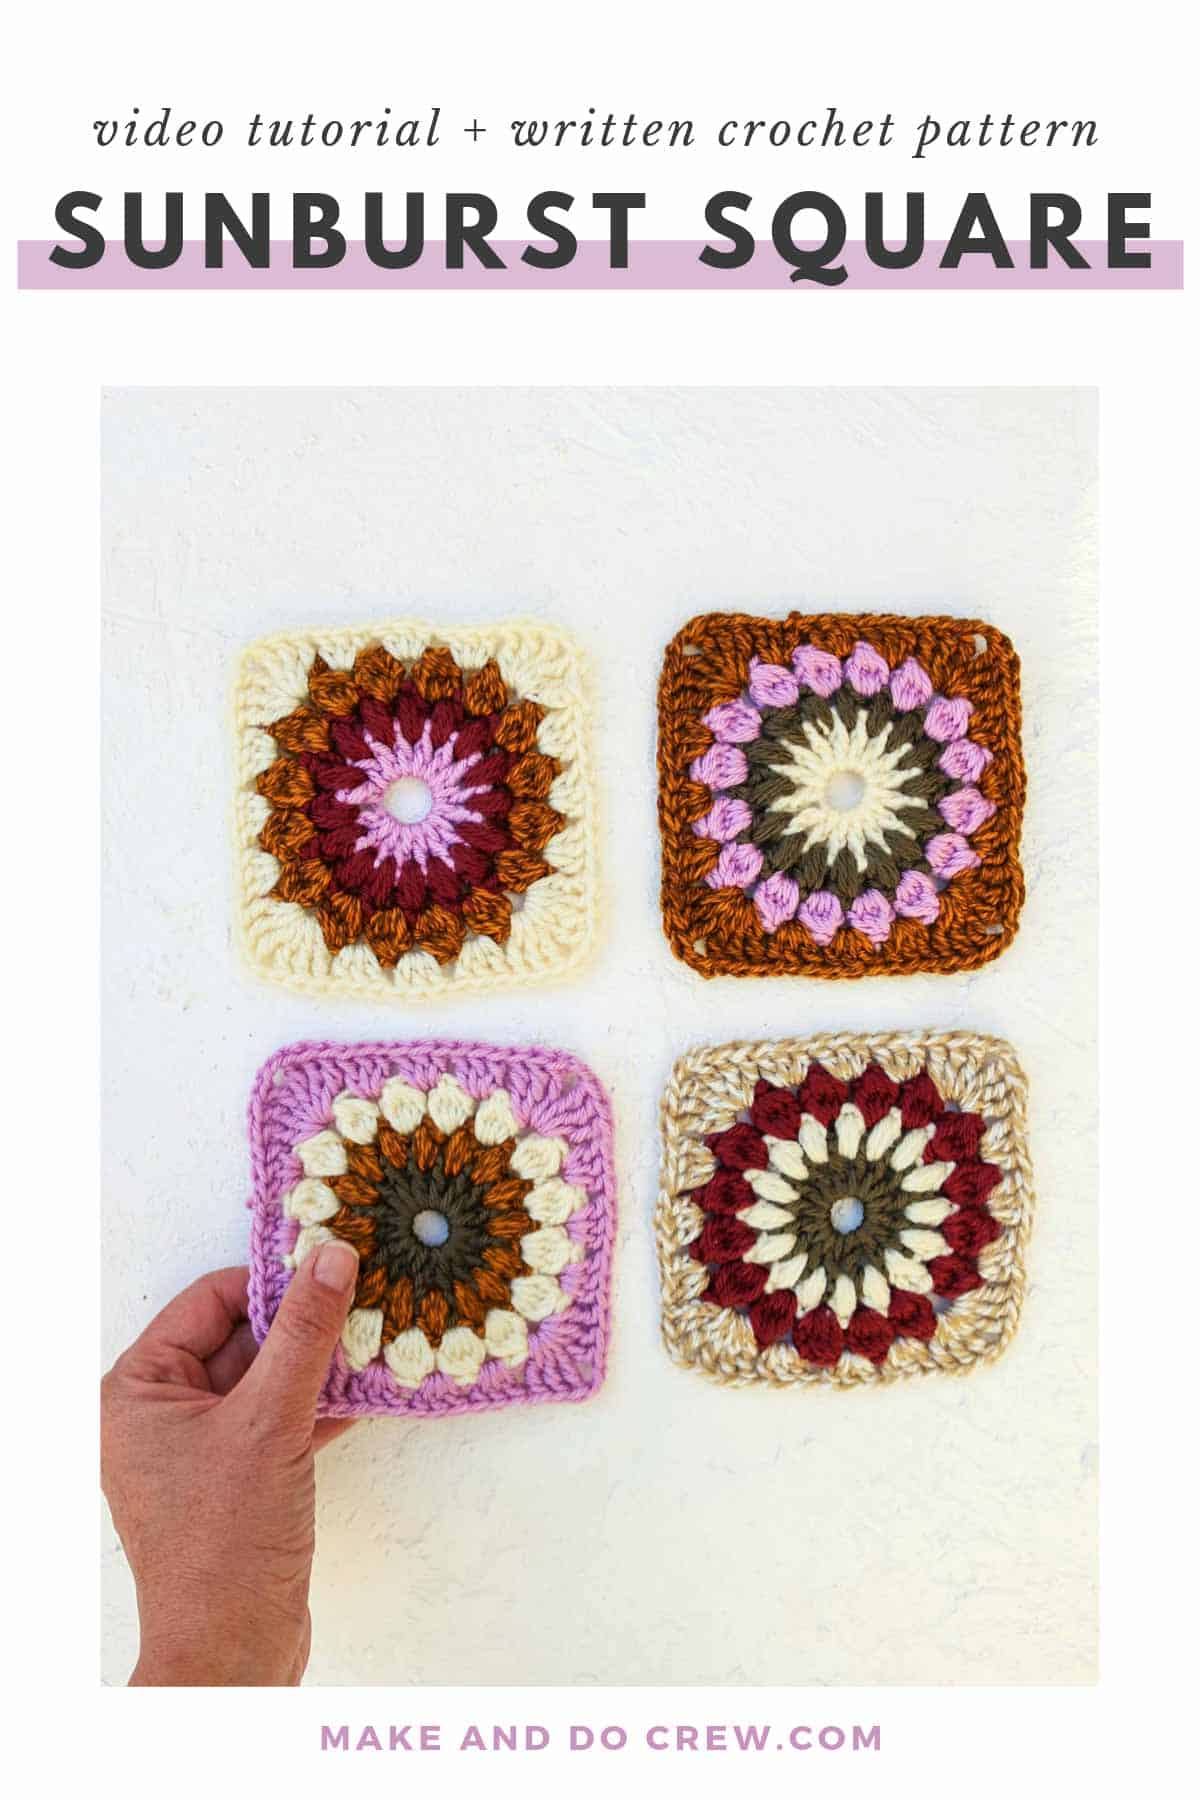
One of the great things about granny squares is how customizable they are. You can delight in choosing any colors you love for your sunburst squares. I often use up scrap yarn to make mine even more unique.
While using the same brand of yarn for each color is not essential, you'll want to ensure all the yarns are the same weight (thickness).
Sunflower Granny Square Yarn Color Suggestions
If you like the idea of making a sunflower crochet granny square, you'll need a few specific colors in shades of yellows, browns, and oranges.
Here are a few shades of worsted weight yarn that'll help you get that perfect retro sunflower granny square look:
| Sunflower Granny Square Yarn | Colors to Try |
|---|---|
| Basic Stitch Anti-Pilling | Adobe, Honey, and Mustard |
| Jeans | Topstitch |
| Heartland | Bryce Canyon, Sequoia, and, Canyonlands |
| Wool-Ease | Arrowwood and Umber |
Crochet Hook Size For Granny Squares
If you crochet your sunburst granny square with worsted weight yarn, you'll want to use a size H (5.0 mm), I (5.5 mm), or J (6.0 mm) hook. If your crochet pattern lists a gauge, make sure to measure your square and adjust your hook size if necessary.
If no gauge is listed, make sure your tension is tight enough that the gaps aren't too large in your sunburst square. If the square feels a little loose and lacks structure, try a smaller crochet hook.
More Inspiration: 27+ Free Crochet Hats and Beanies for Adults
Tips for Making Granny Squares
Sunburst granny squares are an easy crochet project. They can be very relaxing and meditative because the pattern is quite simple to memorize.
Here are some tips to ensure granny square success:
Related: How to Crochet a Cute Daisy Granny Square
Crochet Sunflower Granny Square Pattern
Follow along with these step-by-step instructions to crochet a sunburst granny square in sunflower colors.
Skill Level
Advanced-beginner to intermediate
Materials
- Yarn: Lion Brand Basic Stitch Anti-Pilling yarn
- Hook: Size J (6.0 mm) crochet hook
- Scissors
- Tapestry needle to weave in ends
- Measuring tape to check the granny square size
Abbreviations and Glossary (US Terms)
ch(s) – chain(s)
ch1sp – space created by 1 ch
ch2sp – space created by 2 ch
dc – double crochet
rep – repeat
sl st – slip stitch
sp – space
st(s) – stitch(es)
tr – treble crochet
yo – yarn over
Special Stitches
Cluster – 4 double crochet cluster - yo, insert hook in the designated stitch, yo and pull up a loop, yo and pull yarn through 2 loops (2 loops on hook). Yo, insert hook in same stitch, yo and pull up a loop, yo and pull through 2 loops (3 loops on hook). Yo, insert hook in same stitch, yo and pull up a loop, yo and pull through 2 loops (4 loops on hook). Yo, insert hook in same stitch, yo and pull up a loop, yo and pull through 2 loops (5 loops on hook). Yo and pull through all 5 loops.
Puff – [yo, insert hook in the designated stitch, yo and pull up a loop] three times in the same stitch, yo and pull through all 7 loops on hook, ch 1 to close puff. See this tutorial to learn how to crochet a puff stitch step-by-step.
Partial Puff – [yo, insert hook in the designated stitch, yo and pull up a loop] twice in the same stitch, yo and pull through all 5 loops on hook, ch 1 to close puff.
Pattern Notes
• Watch the video tutorial above for extra visual guidance while learning how to crochet a sunburst granny square.
• This pattern is worked in the round without turning. Each round is finished with a slip stitch to the first stitch of the round before fastening off the color.
• The three chains at the beginning of a round always count as one double crochet. Work these chains quite tightly so as to minimize the potential gap they can create in a round.
Pin this tutorial to reference later ⇨
Pattern Instructions
Begin with the darkest brown or orange yarn you plan to use.
Foundation:
Begin your sunflower granny square with a magic ring. Alternatively, you can begin with a small circle made of chain stitches. (Start with a slip knot, chain 4, slip stitch to the first chain to join into a loop.)
Round 1 - Burnt Orange or Brown Yarn:
Continuing with the same color yarn, ch 4. (This counts as 1 dc, 1 ch1sp). Then [dc, ch 1] in the magic ring 15 times, sl st to the third ch from the beginning of round to join. (16 dc + 16 ch1sps)
Cut yarn and fasten off.
Round 2 - mustard yellow yarn:
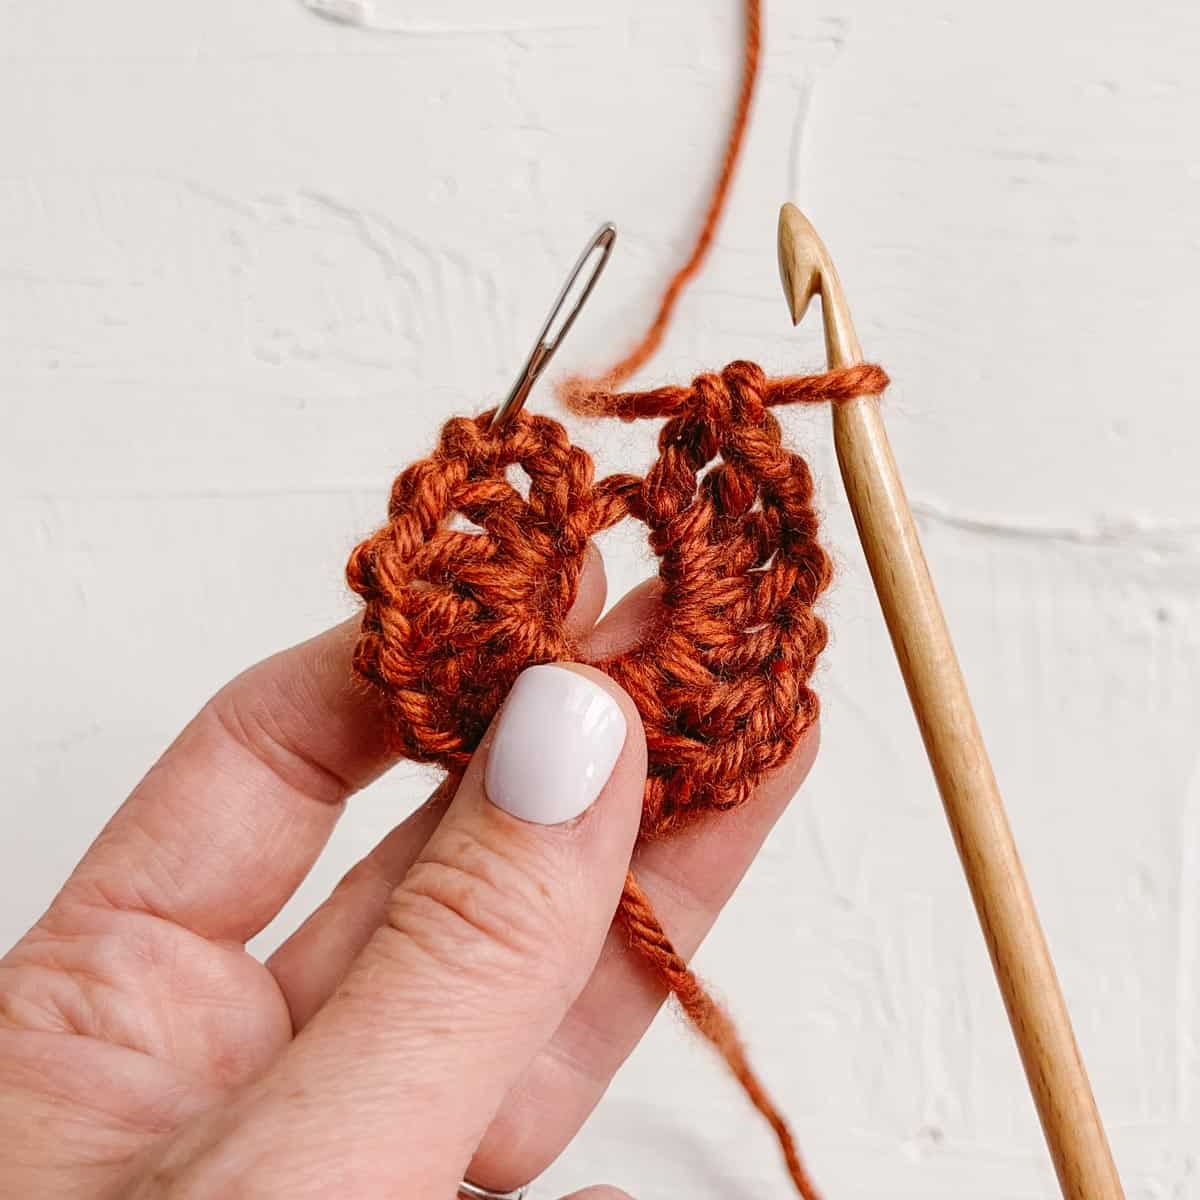
Use a slip stitch to attach a deep mustard yellow worsted-weight yarn in any ch1sp.
Ch 3, partial puff in same ch1sp yarn attached in, puff in next ch1sp 15 times, sl st to top of first puff stitch to join. (16 puff stitches + 16 ch1sps)
To puff stitch:
- Yarn over and insert hook in the designated stitch. Yarn over and pull up a loop. (3 loops on hook)
- Yarn over, insert hook in the designated stitch again, pull up a loop. (5 loops on hook) (For a partial puff only: yarn over and pull through all 5 loops. Move onto step 5.)
- Yarn over, insert hook in the designated stitch again, pull up a loop. (7 loops on hook)
- Yarn over and pull through all 7 loops on hook.
- Chain 1 to close puff.
Fasten off.
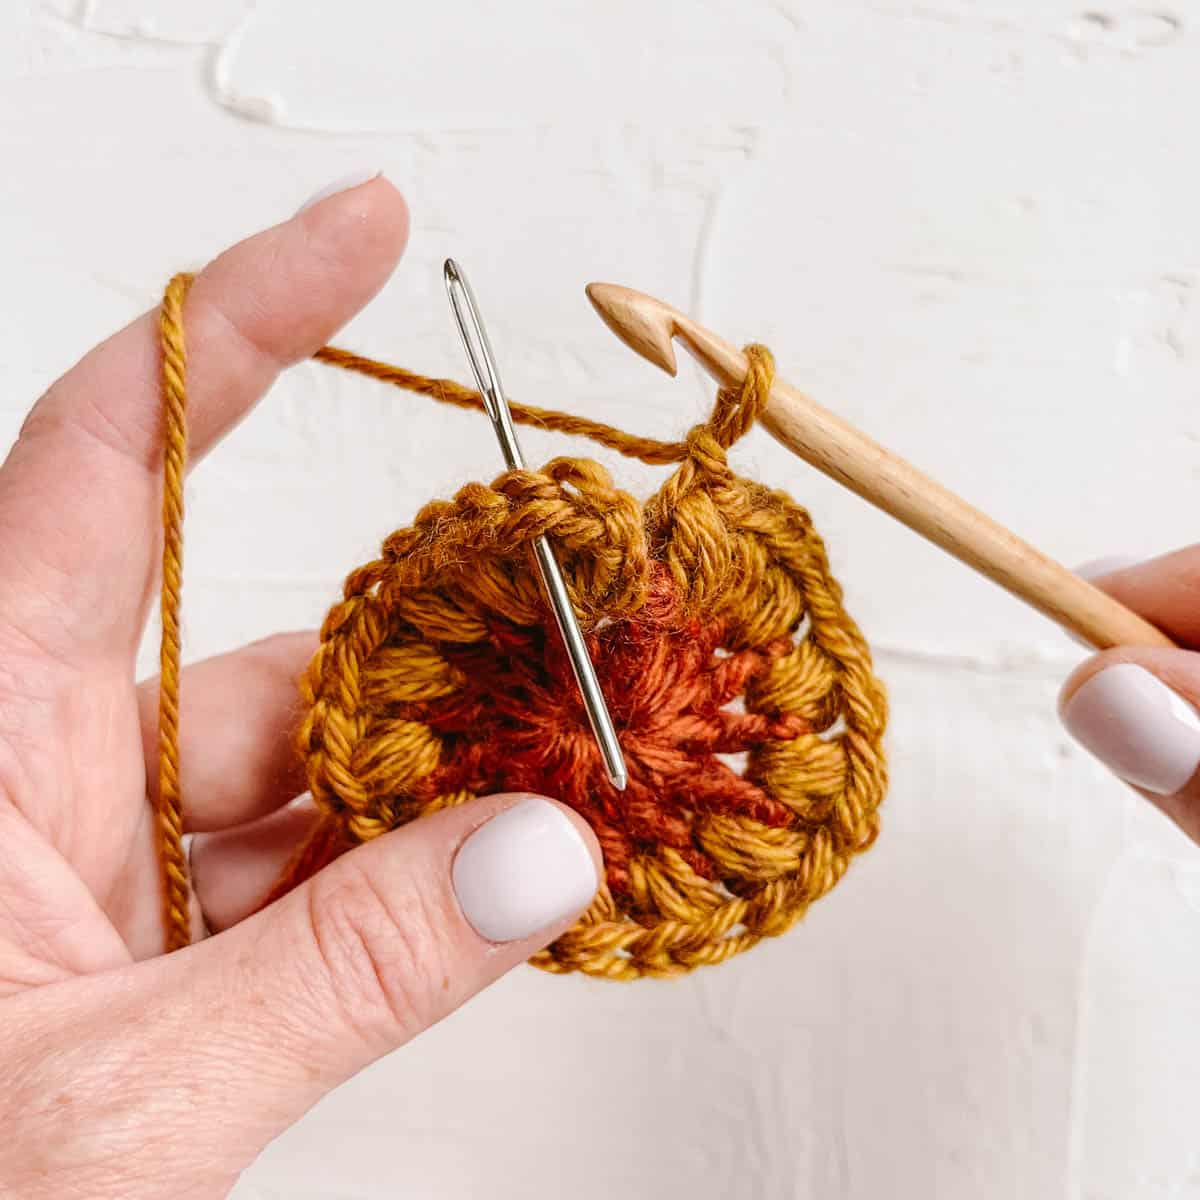
Round 3 - bright yellow yarn:
Use a slip stitch to attach the brightest yellow yarn in any ch1sp.
This round uses cluster stitches. You can think of a cluster as several incomplete double crochets that are finished off with one single yarn over that's pulled through them all.
Wanna save this pattern?
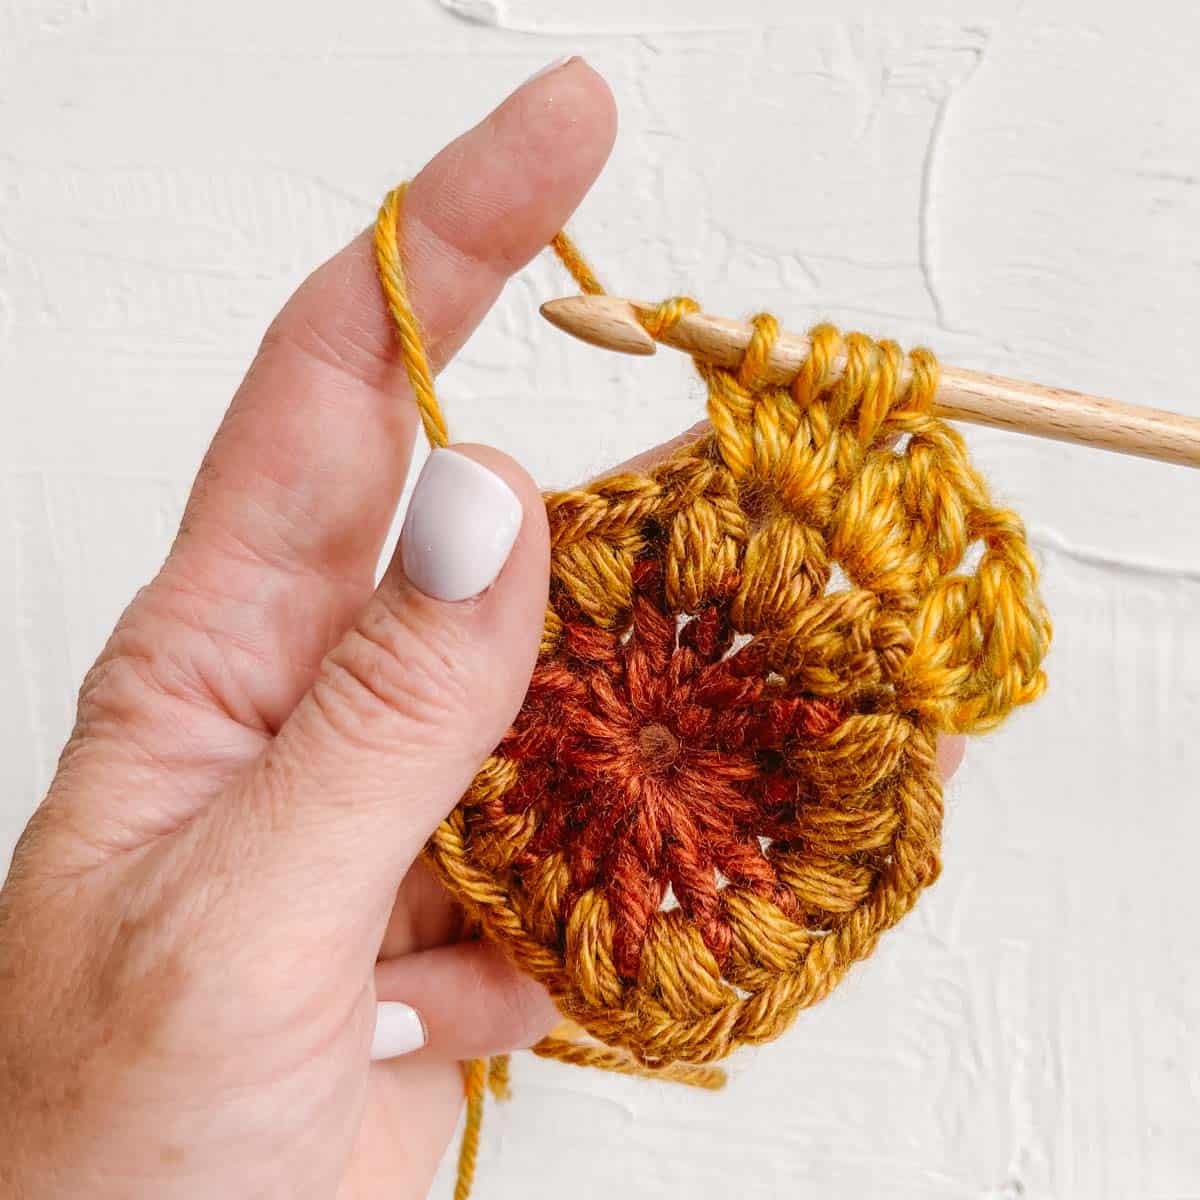
The first cluster includes fewer double crochets because it begins with a chain.
Here's how to start this round with a partial cluster: Ch 2, *yarn over, insert hook in the same ch1sp yarn attached in, yarn over and pull up a loop, yarn over and pull through 2 loops** (2 loops on hook). Repeat this process twice more. There should be four loops on the hook. Yarn over and pull through all 4 loops. (First cluster complete.) Chain 2.
Then work a cluster in the next ch1sp, then ch 2. Repeat (cluster + ch 2) in each ch1sp, slip stitch to top of first cluster stitch to join. (16 clusters + 16 ch2sps)
Fasten off.
How to crochet a 4 dc cluster:
- Yarn over and insert hook in the designated stitch. Yarn over and pull up a loop. Yarn over and pull yarn through 2 loops. (2 loops remain on hook)
- Yarn over, insert hook in same stitch, yarn over and pull up a loop, yarn over and pull through 2 loops. (3 loops remain on hook)
- Yarn over, insert hook in same stitch, yarn over and pull up a loop, yarn over and pull through 2 loops. (4 loops remain on hook)
- Yarn over, insert hook in same stitch, yarn over and pull up a loop, yarn over and pull through 2 loops. (5 loops remain on hook)
- Yarn over and pull through all 5 loops. Cluster complete.
Round 4 - background color:
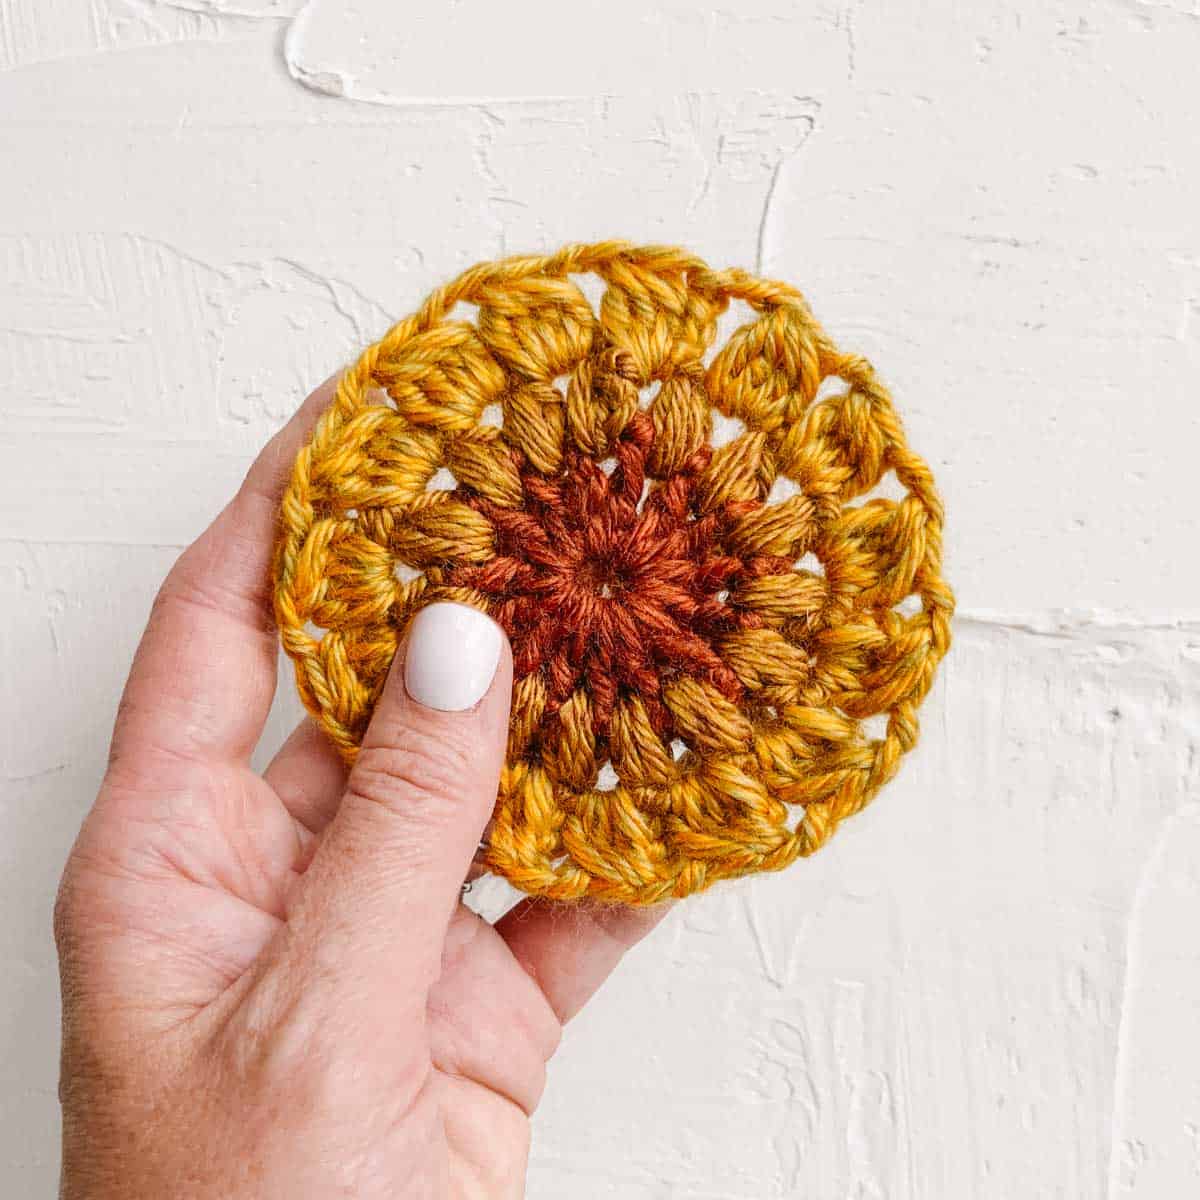
Now we will turn our granny circle into an official granny square with four distinct sides. Use a slip stitch to attach the final yarn color in any ch2sp.
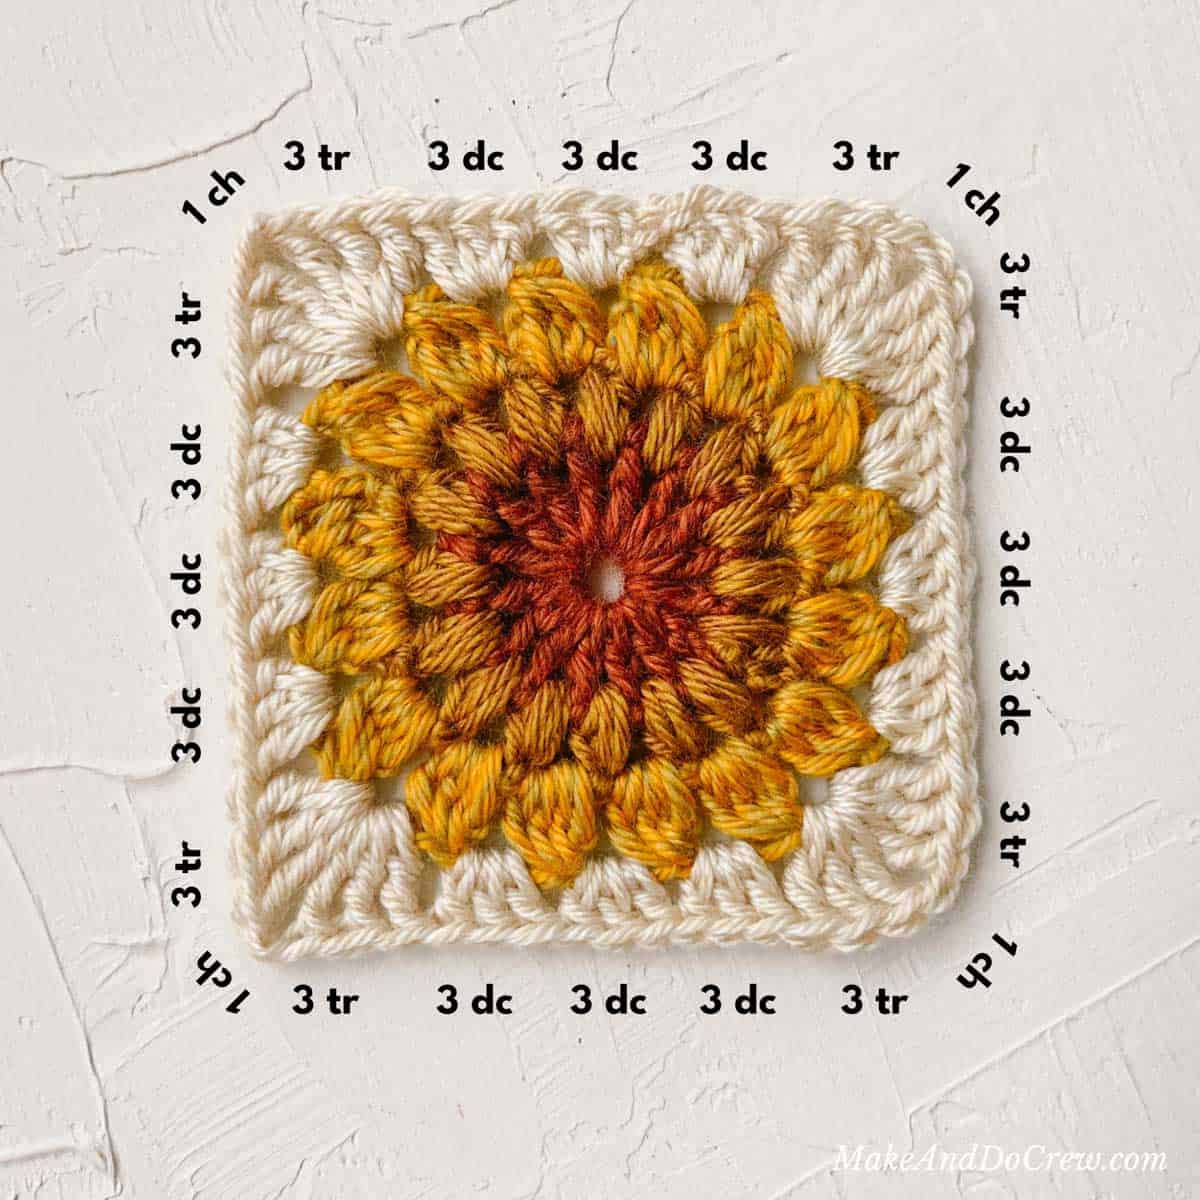
First side: Ch 3 (counts as 1 dc), 2 dc in same space yarn attached in, 3 dc each of next two ch2sps...
First Corner: Place [3 tc, ch 1, 3 tc] all in the next ch2sp...
Second Side: 3 dc each of next three ch2sps...
Second Corner: Place [3 tc, ch 1, 3 tc] all in the next ch2sp...
Third Side: 3 dc each of next three ch2sps...
Third Corner: Place [3 tc, ch 1, 3 tc] all in the next ch2sp...
Fourth Side: 3 dc each of next three ch2sps...
Fourth Corner: Place [3 tc, ch 1, 3 tc] all in the next ch2sp, sl st to third chain from beginning of round to join.
Fasten off and weave in the ends. Or to make your sunburst granny square larger, you may work additional rounds as described below until you're happy with the size.
Round 5 and Beyond (Optional):
Here's how to add additional rounds to your sunflower granny squares. Note that because the piece is no longer a circle, we're working double crochets into the corners instead of treble crochets.
First Side: Ch 3 (counts as 1 dc), 2 dc in space between same granny clusters, 3 dc in each space between granny clusters until corner...
Each Corner: Place [3 dc, ch 1, 3 dc] in corner ch1sp...
Final Three Sides: 3 dc in each space between granny clusters until corner...
After the last corner, sl st to third chain from beginning of round to join.
How to Change Colors in Granny Squares
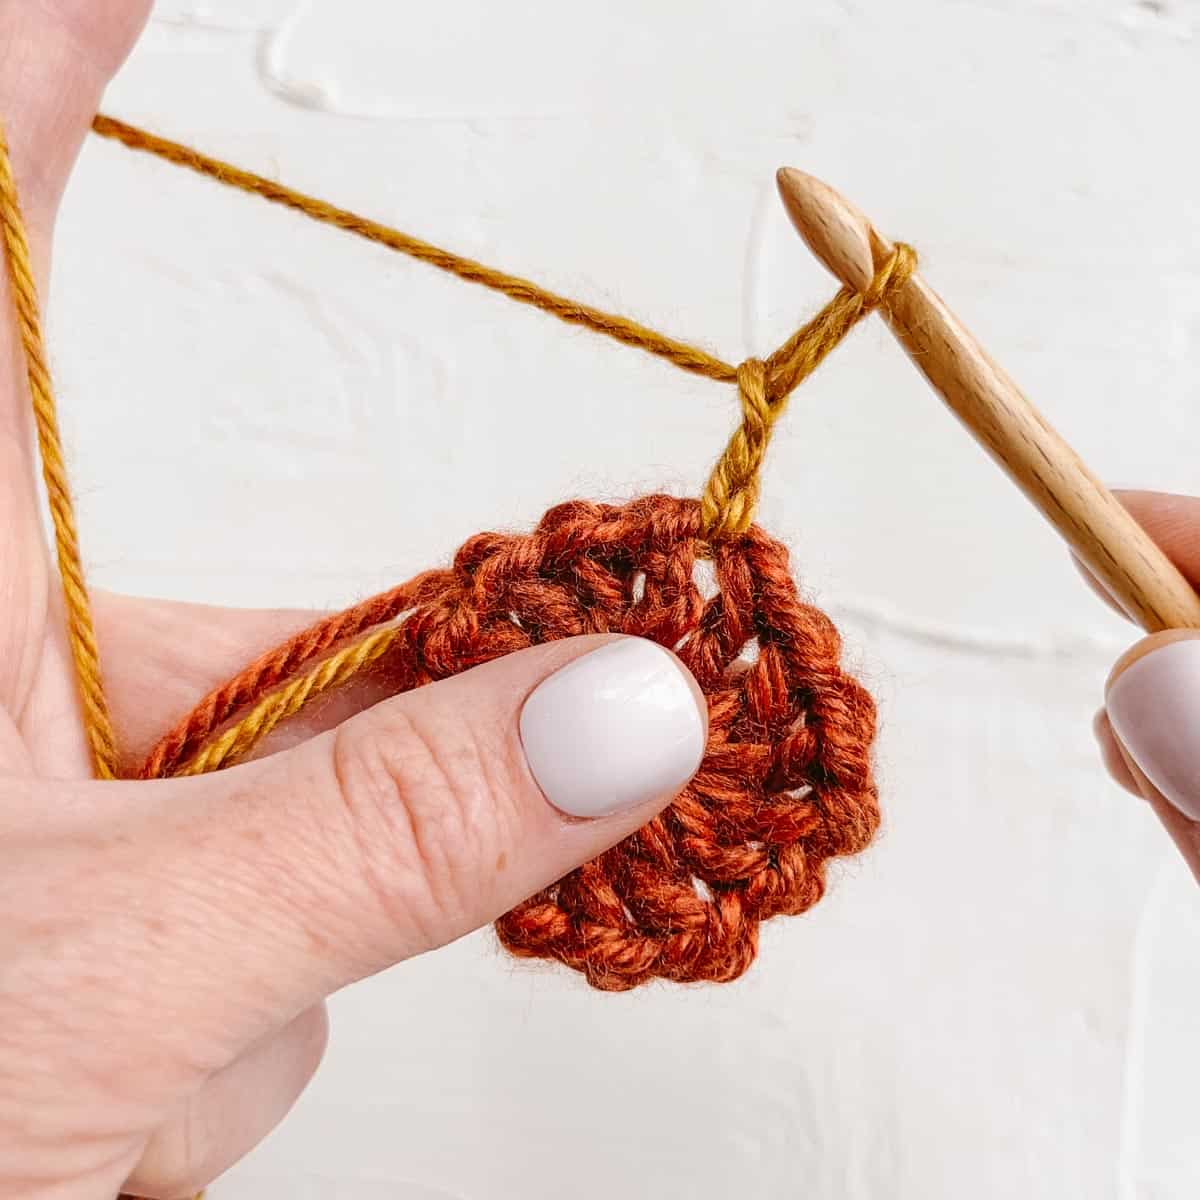
Changing colors in granny squares is quite easy. My favorite method is to use a slip stitch to attach the new color at the beginning of the next round or row.
Here's how to do a slip stitch to attach a new yarn at the beginning of a row/round.
- Fasten off the first color at the end of the round as if the project is complete.
- Using the new color, tie a slip knot around the hook. Then insert hook in the appropriate stitch or space where the round should begin.
- Yarn over and pull a loop through the slip knot on your hook.
Pro Tip: Even when you tighten the slip knot after joining, I find the slip knot still creates some height. I like to treat this slip stitch join as my first chain at the beginning of a row or round.
How to Join Crochet Granny Squares Together
Did you think I was just going to leave you out in the cold with 900 granny squares and no way to join them into something useful? No way!
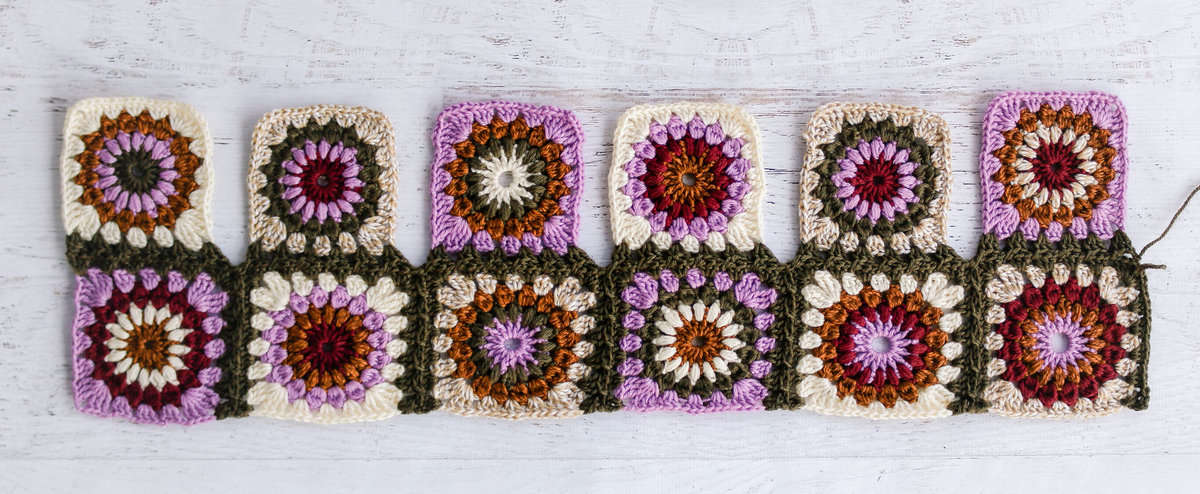
Once you have a collection of sunflower squares, try joining them into a crochet blanket, granny square bag, or even a vintage-style bucket hat.
Here are a few methods to connect your granny squares.
Join As You Go (JAYG)
If you've always shied away from granny square projects because of the finishing work involved, learning how to join squares as you go will change your life.
This method allows you to seamlessly join your sunflower granny squares without fastening off. Hooray for fewer ends to weave in!
Follow this video tutorial to learn how to do a continuous granny square join.
Other Joining Methods
While join-as-you-go is my favorite technique to join granny squares, it's not the only way. Here are two more methods to try.
Joining Granny Squares With a Whip Stitch
Sunburst granny squares can be joined with some good old-fashioned sewing as well. For this method, you'll need a tapestry needle and a strand of yarn in the outermost color of your squares.
- Hold two squares together with the right sides facing out. If your squares are large, try pinning them together with stitch markers.
- Working from right to left (left-handed: left to right), whip stitch under the loops of each crochet stitch on both squares. Ensure your crochet stitches are lined up as you whip stitch.
- Repeat steps one and two to join all sunflower granny squares.
Joining Granny Squares With Crochet Slip Stitches
This method of joining sunburst granny squares is my second favorite because it can quickly complete and reduces the ends to weave in. You'll need the same crochet hook and yarn used on the final square round to connect granny squares with slip stitches.
Check out this tutorial on how to slip-stitch crochet motifs together for more detailed instructions.
- Hold granny squares so wrong sides are facing out. Join yarn to right corner (left-handed: left corner) with a slip knot. (With a slip knot on hook, insert hook in corner, yarn over and pull loop through slip knot.)
- Insert hook under the outer loops of each granny square stitch. On the square facing you, this is the closest loop. On the square facing away from you, this is the farthest loop from you.
- Yarn over and pull a loop through all three loops on your hook.
- Repeat steps 2 and 3 in each stitch to opposite granny square corner.
If you've made a baby blanket or larger throw from your sunburst granny squares, try adding a border to finish your blanket.
How to Modify The Size of Your Granny Square
While the center of this starburst granny is a circle, in the fourth round we begin conforming to the traditional granny square style. We do this by placing sets of three double crochets between the clusters of the previous row. In this round only, we use treble crochet stitches to create the corners.
This makes your circle into a square.
Once you've established the square shape, it's easy to increase the size of your sunburst granny square by working additional rounds in the classic granny stitch style of three clusters of double crochet. (Instructions included above – see Round 5.)
How Many Sunburst Granny Squares Do I Need for a Blanket?
The number of sunburst granny squares you'll need for a blanket depends on the size of your granny squares and the size of the blanket you want.
Here's how to figure out how many squares to make.
- Divide the desired blanket width by the width of one granny square. This will give you the number of columns of squares you'll need.
- Then divide the desired blanket height by the height of one granny square. This will give you the number of rows of squares you'll need.
- Multiple the number of columns by the number of rows to get the number of total squares your blanket will require.
Adjust that figure depending on how big your squares are and how big you want your blanket to be.
More Beautiful Granny Square Patterns
If you're looking for more easy and creative ways to use the crochet granny stitch, here are a few patterns you might love. You can always check out all our free crochet patterns using the granny stitch.
See more granny square ideas →
Final Thoughts on Starbursts, Sunbursts, and Sunflowers
Granny square crochet projects are kind of addicting, aren't they? Whether you choose to crochet sunburst granny squares or use warm colors to make sunflower squares, I hope you find these as fun as I do.
More Crochet Stitch Tutorials
Would you like to learn more unique crochet stitches that are far simpler than they look? You'll love these!
You must use the category name, not a URL, in the category field.See more crochet stitch tutorials →
That was so fun! Now what?
Invitation to our Facebook group
Come discuss your favorite unique granny squares and lots of other projects and techniques in our Make & Do Crew Facebook group. Here thousands of helpful crocheters answer each other's questions and share their stitches. Come join us.
How to Crochet a Sunburst Granny Square
Materials
Yarn
- Lion Brand Basic Stitch Anti-Pilling yarn
Other Supplies
- Size J (6.0 mm) crochet hook
- Scissors
- Tapestry needle
- Measuring tape
Abbreviations + Glossary (US Terms)
- ch(s) – chain(s)
- ch1sp – space created by 1 ch
- ch2sp – space created by 2 ch
- dc – double crochet
- rep – repeat
- sl st – slip stitch
- sp – space
- st(s) – stitch(es)
- tr – treble crochet
- yo – yarn over
Abbreviations and Glossary (US Terms):
Want some company while you crochet?
Get support (and camaraderie!) in the Make & Do Crochet Crew Facebook Group. Search “Make and Do Crochet Crew” on Facebook.com.
Permissions + Copyright
Please do not publish or share this pattern as your own. You may make items to sell with this pattern. In exchange, please link back to this page. Do NOT use my photos as your own sales photos.
Overall Pattern Notes
Instructions
How to Crochet a Sunburst Granny Square - A Summary
- Round 1: Begin with a magic ring (aka magic loop). In the first round, we place 16 double crochet in the magic ring. Each dc is separated by a chain stitch.
- Round 2: The second round is made by working 16 total puff stitches into the chain spaces from the previous round.
- Round 3: Round three adds cluster stitches, which are a bit flatter than puff stitches.
- Round 4: This is when corners are made and the circle becomes a true sunflower granny square. Double crochets are used along the sides of the square, while taller treble crochet stitches create the corners.


Anita Joan Weller says
i would love to see a video about the armhole section of this pattern.
is there one available anywhere? I am stuck, but love, love this sweater,
Carolyn N Warren says
I love this sunburst square! It's so pretty.
Sherry Slaughter says
I am trying to order the yarn and pattern from the website Lion Yarn, for the Revival Granny Square cardigan, but am having no luck. Would like patterns for a variety of your granny square cardigans/vests. Campfire cardigan, the hobo hooks cardigan/crochet lacy crochet jacket, GG gorgeous gal cardigan with scarf. So many nice ones. Thank you!
Carly says
Hi! I am hanging to make the revival cardigan but cant find the video on your blog. Can you tell me where to look?
Emily says
Hi! I’m not sure when this was posted (I couldn’t find a date) but I was wondering if you posted a tutorial on joining the granny squares. I’ve never made a granny square blanket and I’m thinking I want to try!
Lee says
Do you have the instructions on how to sew all these sunburst afghan granny squares together?