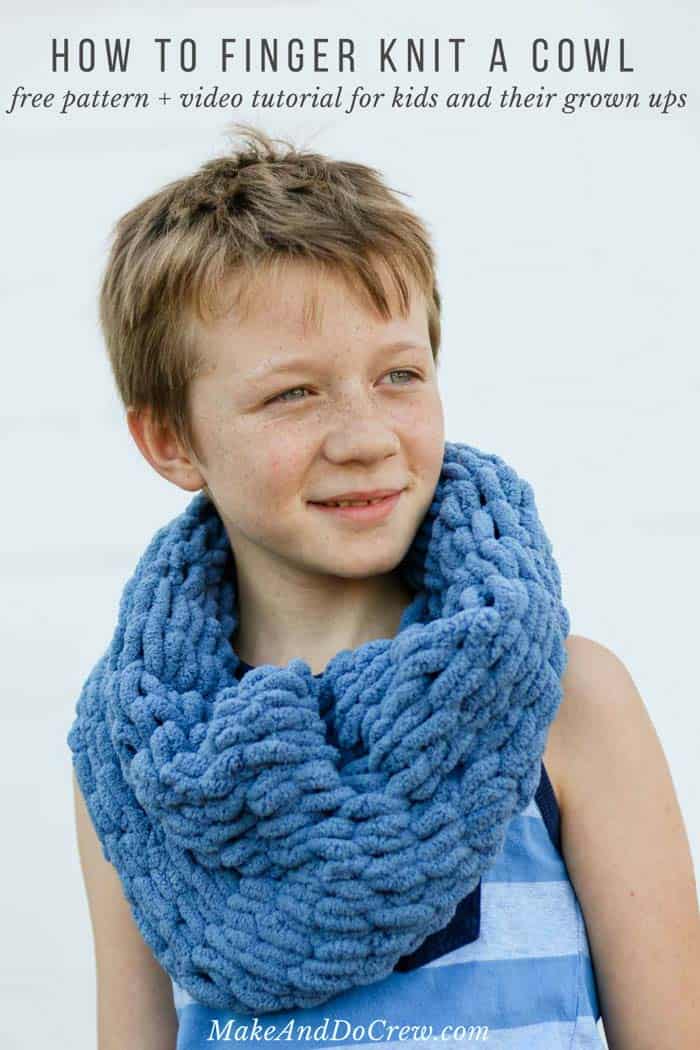
Kids (and adults, too!) can learn how to finger knit with loop yarn while making a very simple comfy cowl. Get the free pattern and step-by-step video tutorial below or purchase the ad-free, printable PDF here.
This how to finger knit video tutorial is part of a collaboration with Lion Brand Yarn. This post contains affiliate links.
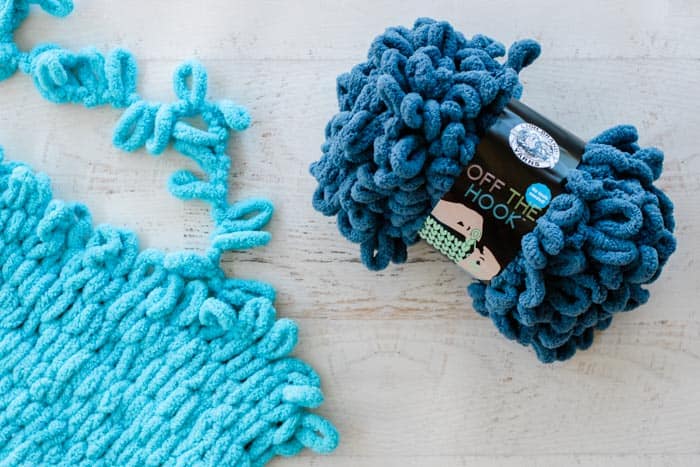
All you need is two hands and one ball of Lion Brand Off the Hook yarn to make this very easy finger knitting cowl. A perfect beginner project for both kids and adults, you’ll learn all the basic skills of finger knitting while making a cozy scarf in the process. No other knitting skills or tools are required!
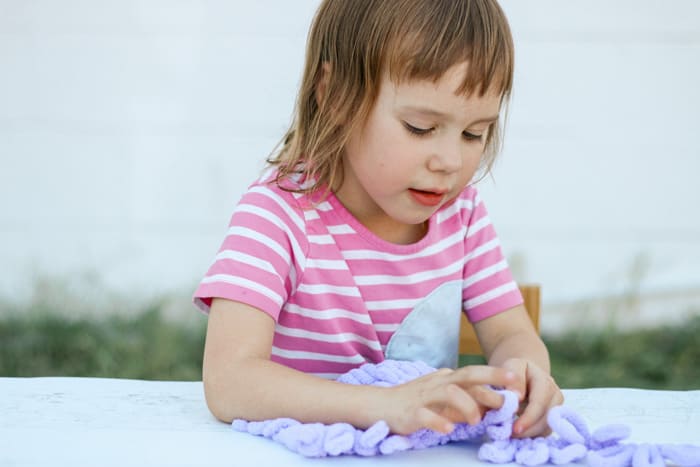
As a perpetual maker and doer, encouraging my kids' creativity has been important to me since before said kids even existed!
About 12 seconds after learned I was pregnant with my first baby, I began counting down the days till my un-born child would be old enough to learn how to knit and crochet with me. Well, after just under six years of patiently waiting, my 5-year-old learned how to finger knit with me using Lion Brand's new Off the Hook Yarn.
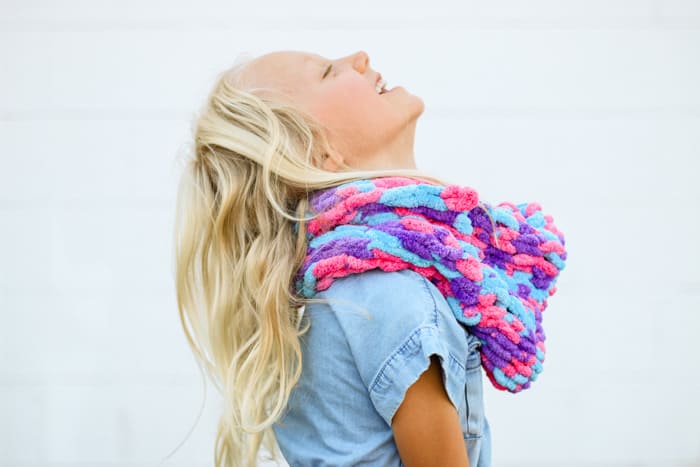
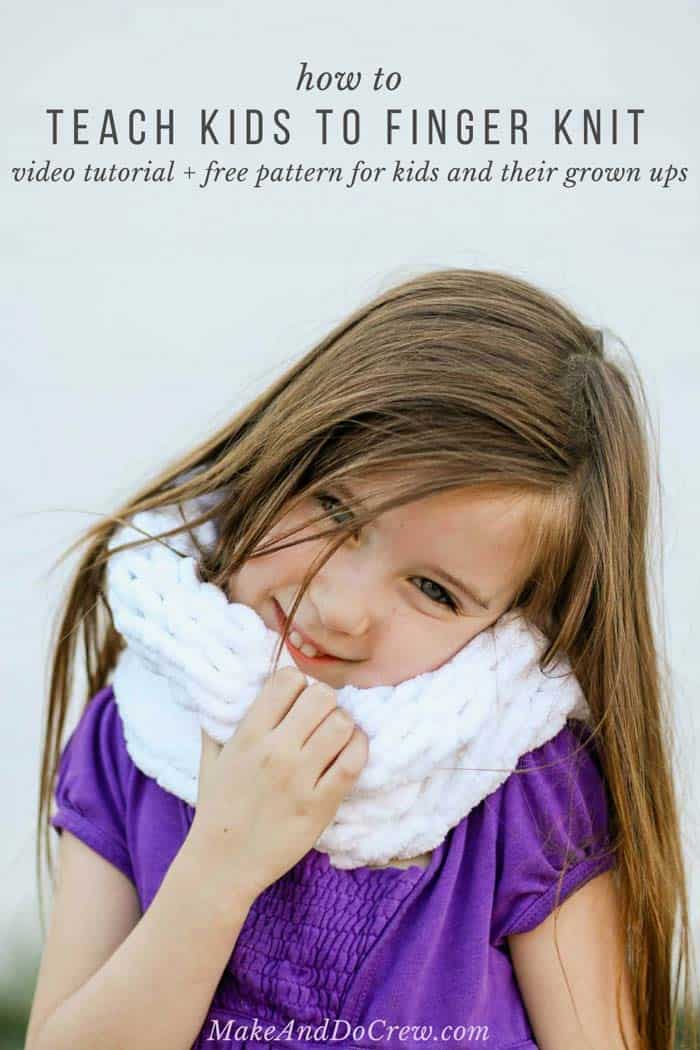
Look at her in the photo above--even with a couple visible mistakes, does that not look like a kid who is thrilled she knit her very own cowl?!
The Fidget Spinner of Yarn
My daughter and I both struggle with some anxiety, especially when situations are overwhelming to our senses--really loud, busy places, strong smells, too much touching at once--that kind of thing.
One thing I've learned from looking for tools to help with anxiety and restlessness is that fidgets can be really helpful in settling a person's body and allowing them to focus.
(A fidget is basically any little tool or toy that lets you perform a small, quick movement over and over again--yes, like the infamous fidget spinner.) If you have anyone in your family with sensory processing disorder or ADHD, you might already be familiar with this concept.
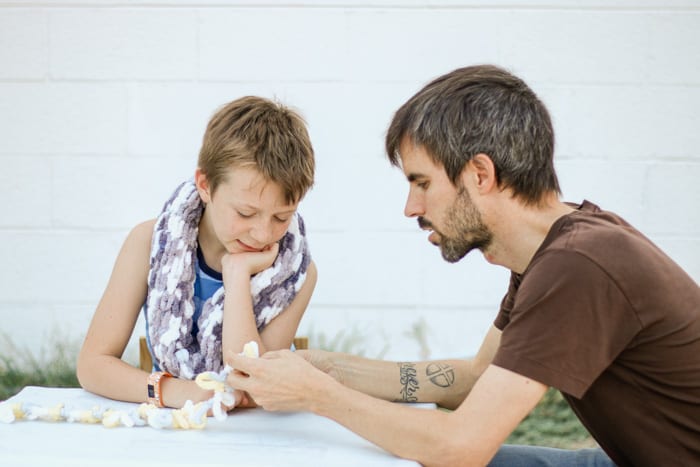
When I was finger knitting the Twisted Rope Blanket with this same yarn, I was amazed at how soothing and relaxing it felt to keep my hands busy with these simple stitches. It dawned on me that my daughter might love finger knitting for the same reason--it delivers zen in the form of soft, squishy yarn!
I then moved on to teaching several young friends to finger knit and they picked up on it incredibly quickly. This yarn makes the whole process of learning to knit by hand SO SIMPLE. I think finger knitting with loop yarn like this is a wonderful hobby for young and old alike.
For people who cannot finger-knit themselves because of dementia, age, or other circumstances, I love the idea of creating busy blankets to keep hands occupied.
How to Use This Finger Knitting Video Tutorial and Pattern
This video tutorial is a little different than my usual tutorials because I made it especially with kids in mind. It's something an elementary schooler or teenager can watch on their own to learn how to finger knit with loop yarn. But if you're an adult unfamiliar with the technique, of course, you're welcome too!
This step-by-step video tutorial will show you all the steps in finger knitting your own cowl with one ball of Lion Brand Off the Hook yarn. And once you get "hooked," you can try a larger project like our Twisted Rope Blanket. (You can get the free pattern and video tutorial here.) You can also find more free pattern ideas using Off the Hook yarn on LionBrand.com here.
More Free Crochet Scarves + Shawls Patterns
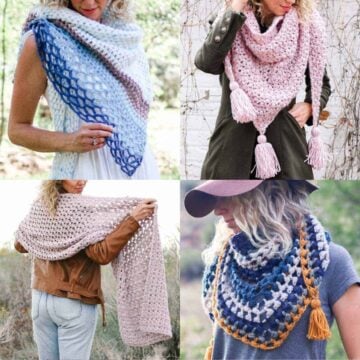
Whether you adore c2c crochet scarves, Tunisian crochet shawls or gorgeous lace scarves, we've got you covered. Many of these patterns make quick gifts to crochet and great gift ideas for Mother's Day.
See more free crochet scarves + shawls patterns →
Okay, let's learn how to finger knit! The complete video tutorial is below and you can find the free pattern right below the video player.
Learn to Finger Knit Cowl
Free Pattern and Video Tutorial
Purchase the ad-free, printable PDF with photo tutorial here.
Save this pattern to your Ravelry here.
Pin it for later here.
Explanation:
All you need is two hands and a ball of Lion Brand Off the Hook yarn to make this very easy finger knitting cowl. A perfect beginner project for both kids and adults, you’ll learn all the basic skills of finger knitting while making a cozy scarf in the process. No other knitting skills or tools are required!
Follow the included video tutorial for helpful step-by-step instruction. Pattern includes notes for modifying size for both children and adults.
Supplies:
• Lion Brand Off the Hook (Weight: 7/Jumbo - 3.5 oz) - 1 skein
Colors pictured:
- Hugs and Kisses (#516-201)
- King’s Crown (#516-157)
- Lemon Drop (#516-203)
- Sailor Moon (#526-106)
• Tapestry needle
• Paper clip or safety pin
Measurements:
Rectangle = 10” x 27-30” before seaming
Gauge:
6 sts x 4 rows = 4”
The loops in the yarn take care of keeping the gauge even, so no need to worry!
Abbreviations and Glossary (US Terms):
right side - side of project that is facing you the entire time. This will become the outside of cowl.
working yarn - yarn that is connected to project but hasn’t been knit yet
wrong side - side of project that is facing down the entire time. This will become the inside of cowl.
Important Tips For Finger Knitting with Off the Hook Yarn:
• Untwist loops so they lay flat before knitting them.
Wanna save this pattern?
• At the end of each row, flip project over and check that no loops were skipped in the working yarn. Then flip it back over so the right side is facing up to continue with the next row. (See video tutorial for more information.)
• Unlike regular knitting, you won’t turn your project back and forth as you work. Instead, keep the front of the project facing you and work from right to left and then back from left to right and so on.
• Loops of working yarn are always pulled through from back to front.
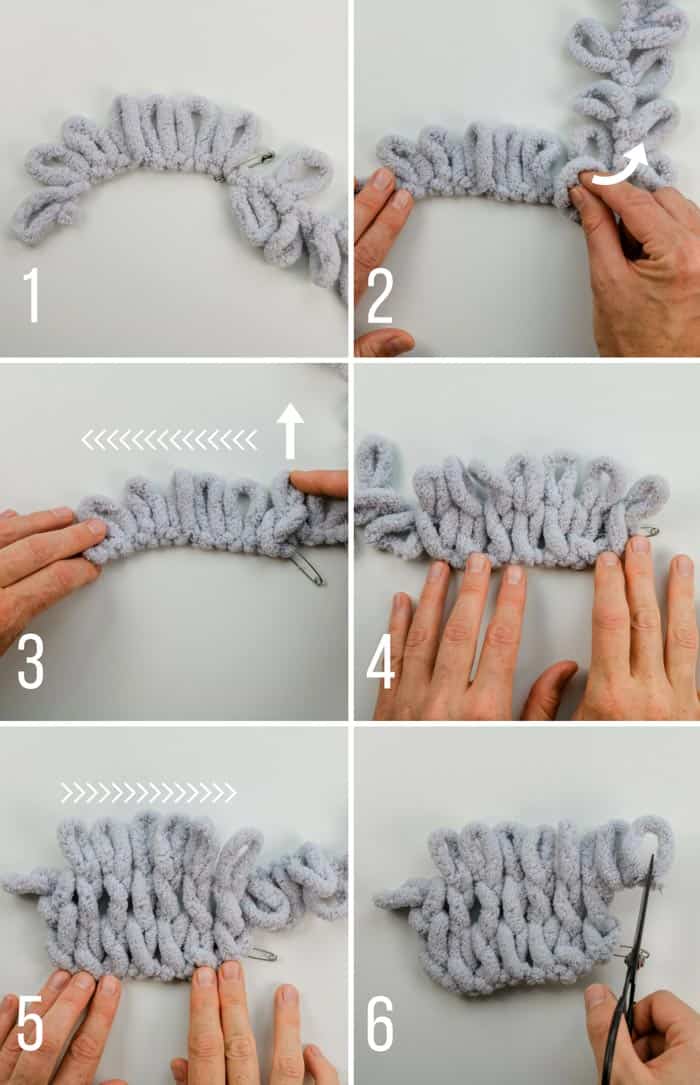
Starting Your Cowl
Notes:
• Instructions are same for right and left handed crafters.
• See video tutorial or photo A for helpful visual explanations.
Count 15 loops from end of yarn. Place paper clip or stitch marker right after 15th loop.
Put first loop of yarn toward the left and paper clip toward the right.
Row 1 (left to right): Making sure 15th loop is not twisted, grab first loop of working yarn (16th loop) and pull it through 15th loop.
Continuing left, grab next loop of working yarn (17th loop) and pull it through 14th loop on bottom row.
Continue like this to end of row by pulling next loop of working yarn through corresponding loop on bottom row.
At end of row, do not turn. Row should contain 15 stitches.
Row 2 (right to left): Making sure first loop in previously worked row is not twisted, grab first loop of working yarn and pull it through first loop in previous row.
Continue like this to end of row by pulling next loop of working yarn through corresponding loop in row below. At end of row, do not turn.
Row 3 (left to right): Making sure first loop in previously worked row is not twisted, grab first loop of working yarn and pull it through first loop in previous row.
Continue like this to end of row by pulling next loop of working yarn through corresponding loop in row below. At end of row, do not turn.
Growing Your Cowl
Continue in the same way by alternating Rows 2 and 3 until you have 27-30 total rows or your yarn is used up. Be sure to stop before you have fewer than 15 loop of working yarn left because you won’t be able to complete an entire row with fewer than 15.
A note on sizing: For a tighter cowl, work fewer rows. For a looser cowl, work more rows. A cowl for a smaller child can use as few as 25 rows. Most children and adults will feel most comfortable with 27-30 rows.
Lay strand of Color B out above project, lining up beginning of Color B with end of Color A. Like Color A, snip bottom of first two loops of Color B to create a yarn tail.
Finishing Your Cowl
Cut working yarn leaving two unworked loops attached to project. Snip both loops at bottom to create a yarn tail to weave in later. (See photo grid above.)
Lay rectangle out flat with the right side of cowl facing up. Fold Row 1 so it’s touching the last row.
Pull each loop of the last row through the corresponding loop of Row 1.
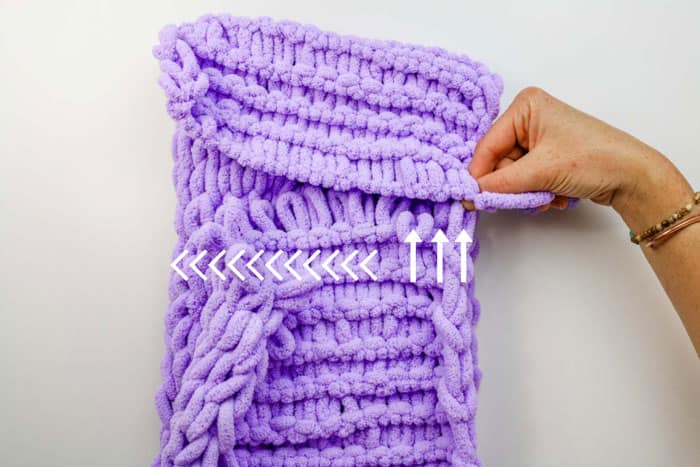
Beginning on opposite side from last row’s yarn tail, pull 2nd loop through 1st loop. Pull 3rd loop through 2nd loop. Pull 4th loop through 3rd loop. Continue like this to end of row. Pull yarn tail through last loop to fasten off.
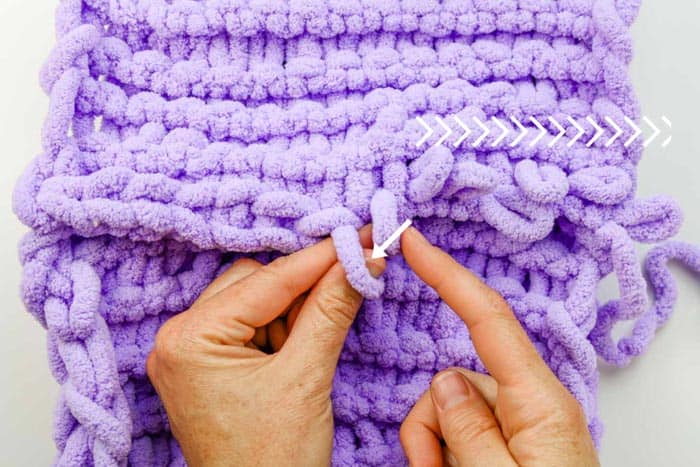
To weave in ends, thread tapestry needle with yarn tail. Pass needle through thickest parts of nearby stitches, which is likely on the wrong side of project. Pass back and forth 3 times to secure tail completely. Cut yarn. Repeat with additional yarn tail.
Put on your new, squishy cowl and give yourself a neck hug!
That was so fun! Now what?
Invitation to our Facebook group
Come discuss crocheting 2 finger knitting patterns and lots of other crochet projects and techniques in our Make & Do Crew Facebook group. Here thousands of helpful crocheters answer each others questions and share their stitches. Come join us here.
More Free Scarves + Shawls Crochet Patterns
- Easy Crochet Shawl Tutorial
- Asymmetrical Shawl Crochet Pattern
- Mandala Triangle Scarf Pattern
- Lion Brand Mandala Crochet Scarf Pattern
- Boho Blush Crochet Shawl Tutorial
- Crochet Cowl Pattern
- Granny Square Shawl Pattern
- Bobble Scarf Crochet Pattern
More Free Finger Knitting Patterns
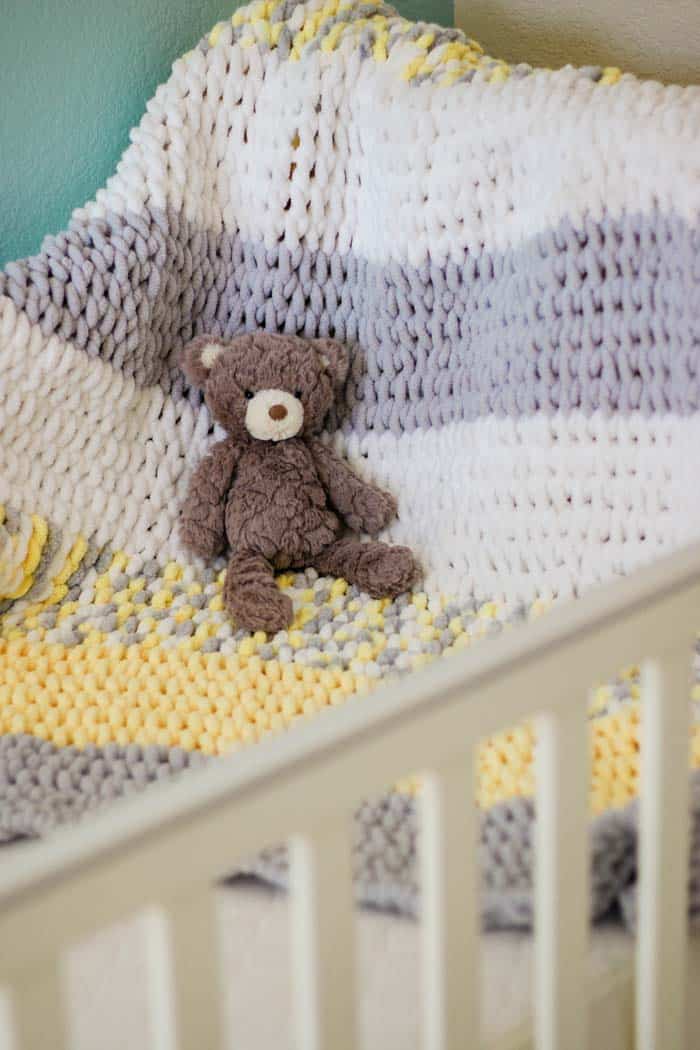
Now that your fingers are warmed up, you might enjoy making the Twisted Rope Finger Knitting Blanket pictured below. You can also always find all my free crochet patterns here!


Ange says
loved watching finger loop knitting video
cant wait to try it
Jess @ Make and Do Crew says
Yay! I hope you enjoy it. I find it so meditative and calming. 🙂
Jess