These slouchy, stylish and easy crochet slippers come together with surprisingly simple construction and, most importantly, very few ends to weave in! Get Part 1 of this super cozy free pattern below or purchase the ad-free, printable PDF of the complete pattern here. (Part 2 is here.)
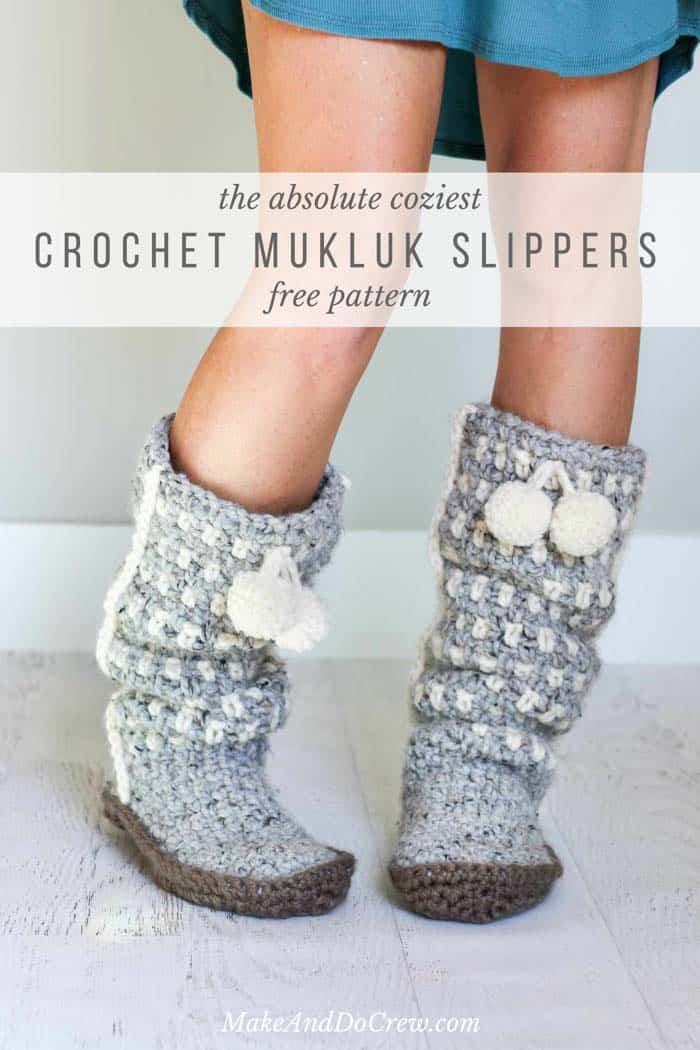
This tall crochet slippers pattern is part of a collaboration with Lion Brand yarn. This post may contain affiliate links.
Looking back over the free crochet patterns I’ve shared recently, it seems as if this year has been the year of the foot fetish. All told I’ve published nine free crochet patterns for slippers or shoes and we’re only three quarters of the way through the year. (You can find them all here.) There is no reason ANYONE should have cold feet this winter. Nope, not on my watch.
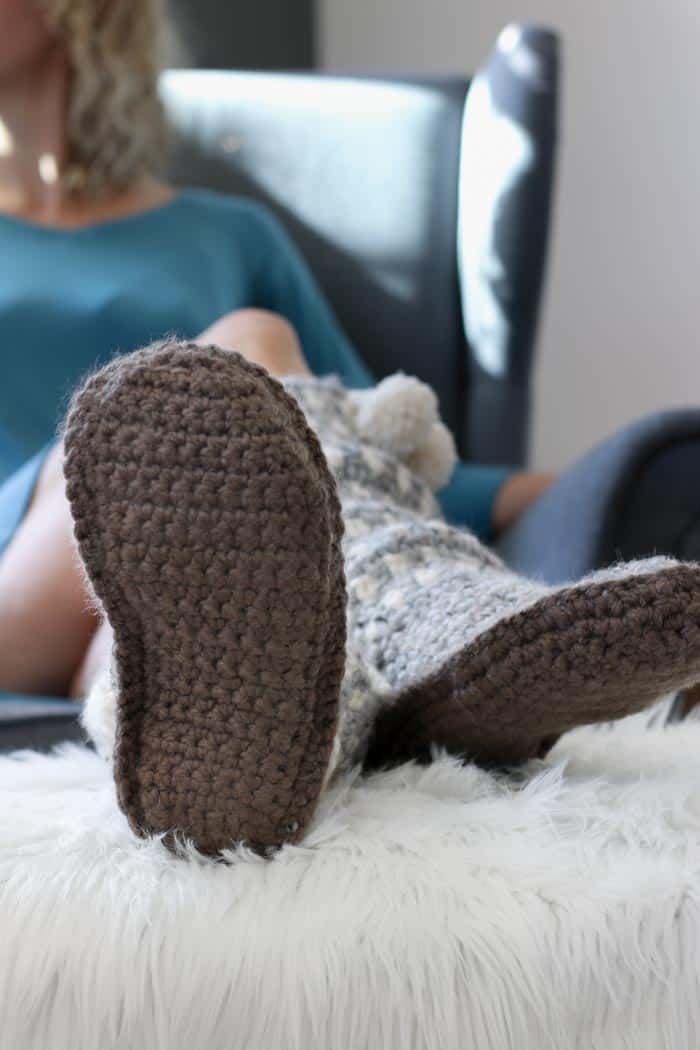
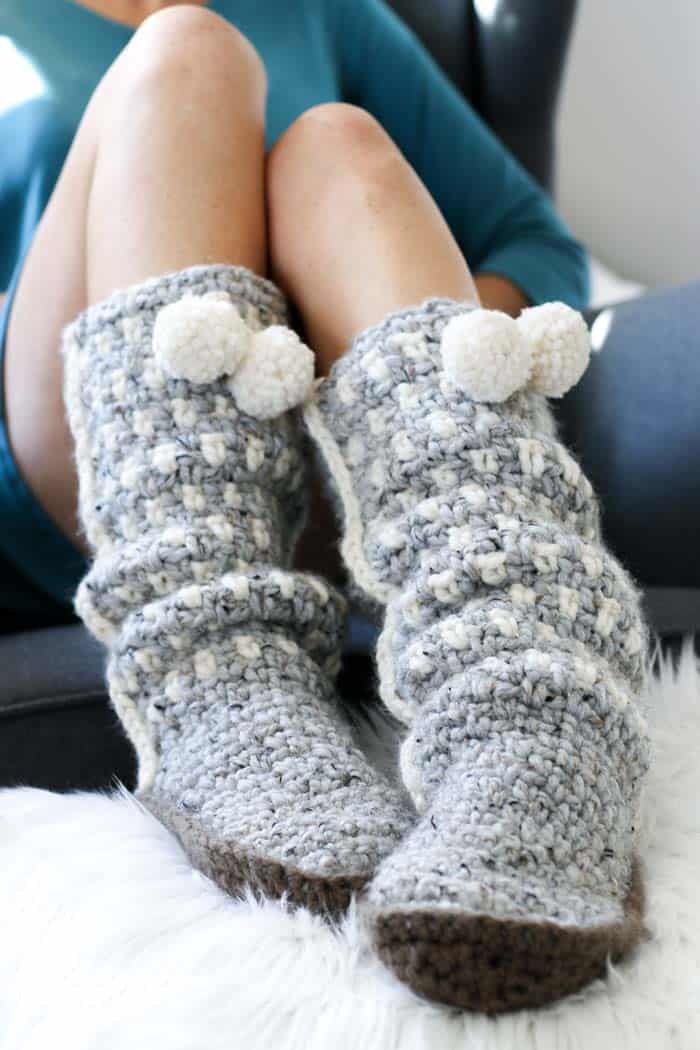
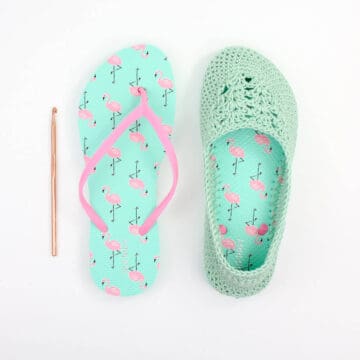
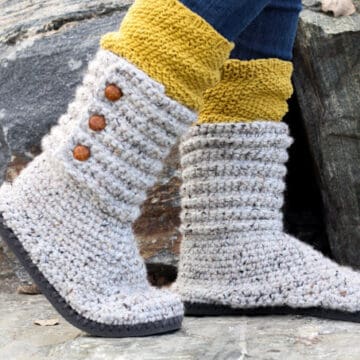
The newest iteration of easy crochet slippers to slide out of my brain and onto my hook came straight from the free Taos Slipper Boots pattern I shared last month. The Taos boots are attached to flip flop soles, making them perfect for indoor and outdoor use all winter long. What I love about crocheting on flip flops is that the slipper soles aren’t slippery, which is pretty helpful to someone like me who does a banana peel fall down the stairs at least once a month.
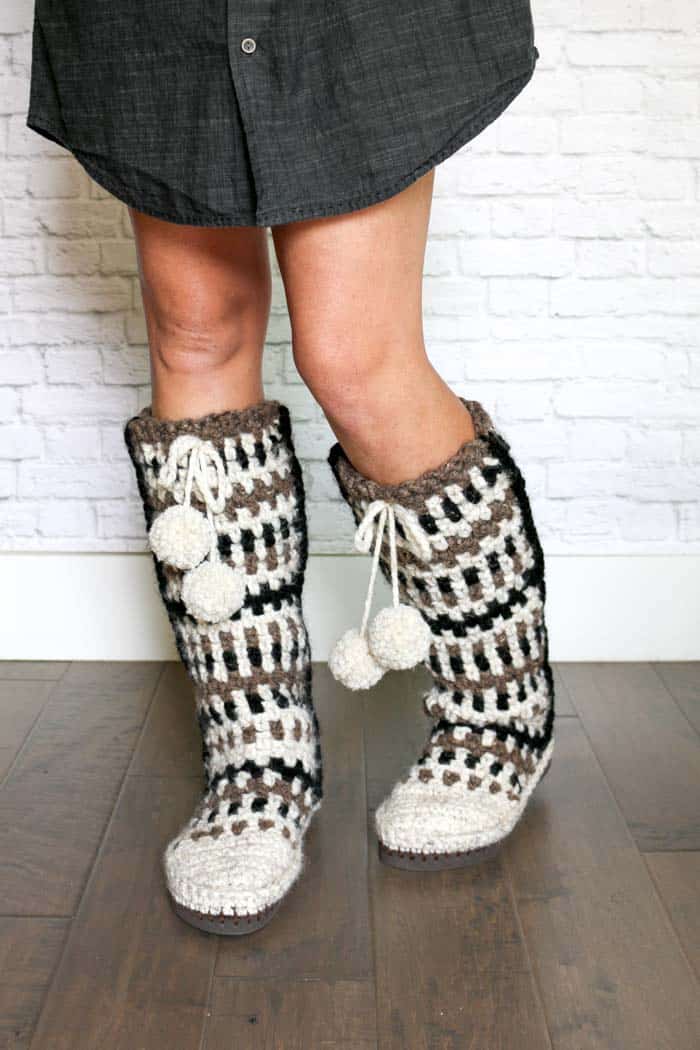
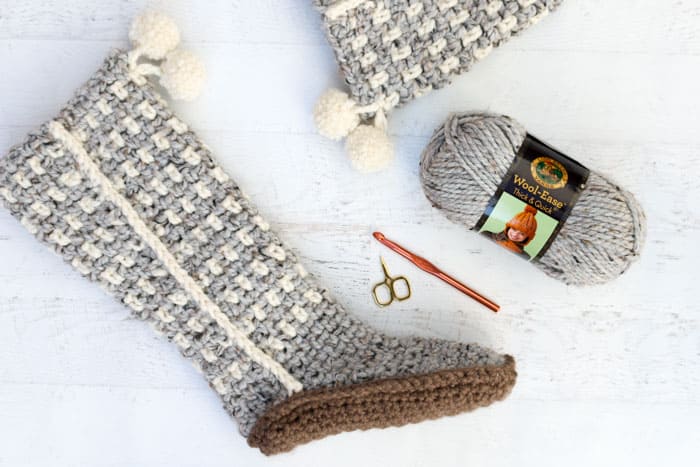
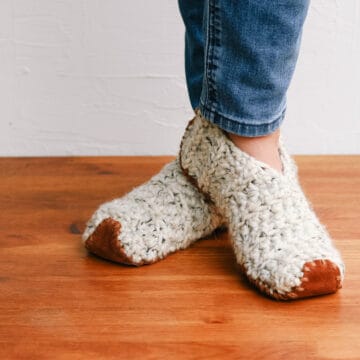
But I know not everyone has access to flip flops year round, so I wanted to create some quick crochet slippers made entirely of yarn based on the same simple stitches and concepts as the Taos Slipper Boots. I have to say, I really had fun using different colors of Wool-Ease Thick & Quick to give this pair of slippers a totally different vibe. I feel like these Sierra Slippers are the chill, laid back cousin of the Taos Boots.
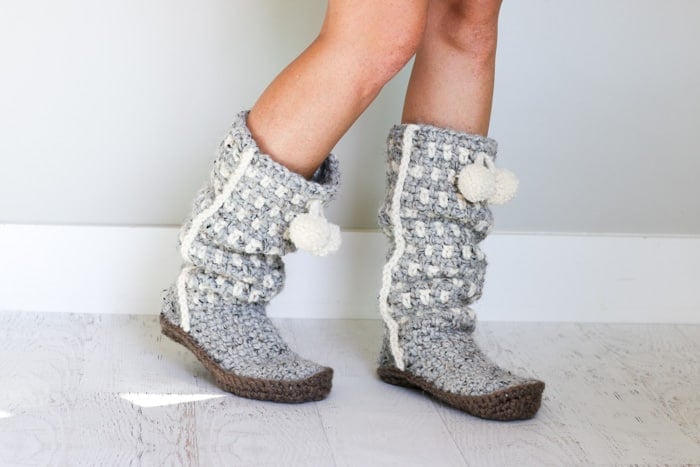
Perhaps the best part though is that both patterns for these slipper boots are interchangeable, so you can use the Taos pattern on the Sierra crochet sole or the Sierra slipper section on the Taos flip flop sole. In either case, you’ll work the main slipper sections of the foot and ankle, seam them together and then either crochet them onto a flip flop or onto the crochet sole. Wool-Ease Thick & Quick comes is a really wide variety of colors, so I can’t wait to see how you put your own spin on these easy crochet slippers.
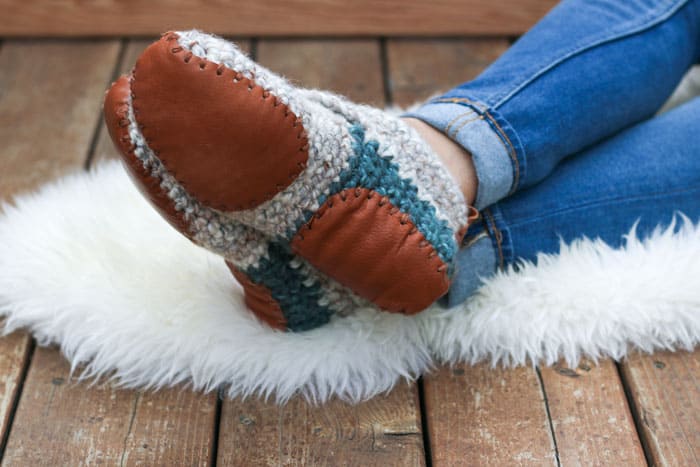
And if you’d like to add some grip to the bottom of your crochet soles, check out the free Sunday Slippers pattern for a full tutorial and template on how to make leather soles from a thrifted jacket.
Because this crocheted slipper pattern has a few distinct sections, I’ve divided it into two parts. You can find Part 2 here or you can purchase the complete ad-free, printable PDF here.
Find Your Next Crochet Slippers Pattern
Crochet slipper patterns can be the perfect blend of function, style and speed. Most of these slippers and slipper socks can be crocheted in a weekend or less and rank high in the cozy category. Whether you want to learn how to crochet on flip flop soles or add leather to the bottom of crochet slippers, we’ve got you covered!
See more free crochet slippers & socks patterns →
Thanks to my friends at Lion Brand Yarn for sponsoring this easy crochet slippers pattern and enabling more free crochet patterns on Make & Do Crew! Lion Brand has put together a handy kit that includes the printed pattern plus all the yarn necessary to make these slippers. Pick up your kit here!
Sierra Easy Crochet Slippers
Free Pattern – Part 1
Purchase the ad-free, printable pattern with Parts 1 & 2 here.
Add this pattern to your Ravelry favorites here.
Pin it for later here.
Explanation:Slide your feet into a little piece of heaven with these easy crochet slippers. These slippers are made with a very simple moss stitch pattern in three separate pieces and then seamed together. The creative construction means there’s not a ton of ends to weave in or increasing and decreasing, making this pattern appropriate for confident beginner to intermediate crocheters who would like to practice pattern reading and switching colors at the end of a row.
Supplies:
So you can spend more time making slippers and less time shopping, this pattern contains affiliate links at no extra cost to you.
Purchase a kit with all the yarn you’ll need, plus a printed copy of the pattern here.
• Lion Brand Wool-Ease Thick & Quick (Weight: 6/super bulky – 106 yds, 6 oz)
– Color A: Grey Marble (#154) – 2 skeins
– Color B: Fisherman (#99)– 1 skein
– Color C: Taupe (#122) – 1 skein
• Tapestry needle
• Size K (6.5 mm) crochet hook
• Size L (8 mm) crochet hook
• Size N (10 mm) crochet hook
• Sharp scissors
• Stitch markers
• Pom pom maker or a small piece of cardboard
Abbreviations (US Terms):
ch – chain
sc – single crochet
sk – skip
ch1sp – space created by one chain
sl st – slip stitch
st(s) – stitch(es)
sc2tog – single crochet two stitches together (decrease)
RS – right side
WS – wrong side
Sizing:
Slippers fit loosely enough to wear with socks. Pattern includes details to make two sizes:
• Smaller: Women’s shoe sizes 6-8
• Larger: Women’s shoe sizes 9-11
Gauge:
Toe and sole: 5 sc x 6 rows = 2”
Upper Ankle: 5 pairs of [sc, ch 1] x 9 rows = 4”
Main Slippers Pieces
Notes:
• Pattern uses the entire two skeins of Color A. Please check your gauge to make sure you’ll have enough yarn.
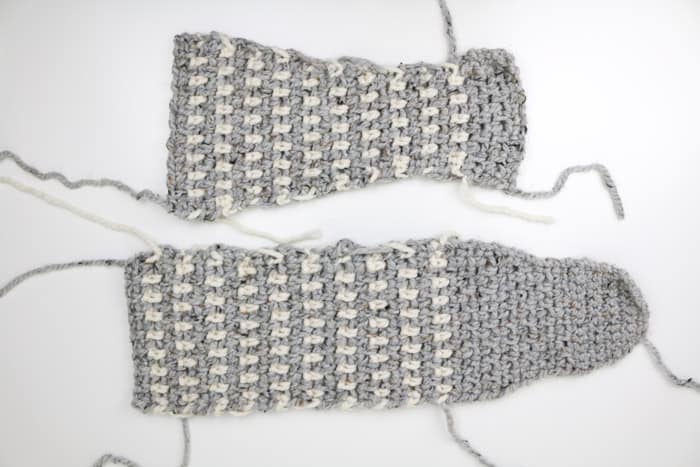
• You can avoid having very many ends to weave in by using two different balls of working yarn in Color A. Any yarn that is then carried up along the side can be tucked into the boot when you seam the pieces together. (See photo above.)
• To change colors between rows, complete the final yo of the last sc of the row with the new color. Pattern is written with the assumption that the last sc before a color change will be worked this way.
• The ch 1 at the beginning of each row never counts as a stitch.
• The first nine rows using the size K hook are intended to be worked tightly, similar to amigurumi.
Top/Front of Slipper
Make 2.
Foundation: With size K hook and Color A, ch 6.
Row 1 (RS – increase): 2 sc in second ch, 1 sc in each of next 3 ch, 2 sc in last ch; turn. (7)
Row 2 (WS – increase): Ch 1, 2 sc in first sc, sc in each sc until 1 sc remains, 2 sc in last sc; turn. (9)
Row 3 (RS increase): Repeat Row 2. (11)
Rows 4-6: Ch 1, sc in each sc; turn. (11)
Row 7 (RS increase): Repeat Row 2. (13)
Shoe sizes 6-8, move on to Row 10. Shoe sizes 9-11, work Rows 8 and 9 as described.
Rows 8-9: Repeat Row 4. (13)
IMPORTANT: Switch to size L hook. Continue using Color A.
Row 10 (WS): Ch 1, 1 sc in first sc, *ch 1, sk 1 sc, 1 sc in next sc; rep from * to end; turn. (13)
Row 11 (RS): Ch 1, 1 sc in first sc, 1 sc in next ch1sp, *ch 1, 1 sc in next ch1sp; rep from * to last sc, sc in last sc; turn. (13)
Row 12 (WS): Ch 1, 1 sc in first sc, *ch 1, 1 sc in next ch1sp; rep from * to last 2 sc, ch 1, sk 1 sc, sc in last sc; turn. (13)
Row 13 (RS): Repeat Row 11. (13)
Row 14 (WS increase): Ch 1, 2 sc in first sc, *ch 1, 1 sc in next ch1sp; rep from * to last 2 sc, ch 1, sk 1 sc, 2 sc in last sc; turn. (15)
Row 15 (RS): Ch 1, sc in first sc, *ch 1, 1 sc in next ch1sp; rep from * to last 2 sc, ch 1, sk 1 sc, sc in last sc; turn. (15)
IMPORTANT: Switch to size N hook. Continue using Color A.
Row 16 (WS): Repeat Row 11. (15)
Row 17 (RS increase): Repeat Row 14. (st count will be 17 onward)
Row 18 (WS): Repeat Row 15.
Row 19 (RS): Repeat Row 11.
Row 20 (WS): Repeat Row 12.
Row 21 (RS): Repeat Row 11.
Row 22 (WS): Repeat Row 12.
Beginning now, work color changes as described in the notes above.
Row 23 (RS): With Color B, repeat Row 11.
Wanna save this pattern?
Attach a second ball of Color A. Moving forward, pick up strand of whichever ball is on the side the row begins on.
Row 24 (WS): With Color A, repeat Row 12.
Row 25 (RS): With Color A, repeat Row 11.
Row 26 (WS): With Color B, repeat Row 12.
Repeat Rows 11 and 12, working 2 Color A rows, followed by 1 Color B row until there are 9 total Color B stripes. Work one additional repeat of Rows 11 and 12 in Color A. Fasten off.
Back of Slipper
Make 2.
Foundation: With size N hook and Color A, ch 14.
Row 1 (RS): Sc in second ch from hook and each sc across; turn. (13)
Row 2 (WS): Ch 1, 1 sc in first sc, *ch 1, sk 1 sc, 1 sc in next sc; rep from * to end; turn. (13)
Row 3 (RS): Ch 1, 1 sc in first sc, 1 sc in next ch1sp, *ch 1, 1 sc in next ch1sp; rep from * to last sc, sc in last sc; turn. (13)
Rows 4 (WS): Ch 1, 1 sc in first sc, *ch 1, 1 sc in next ch1sp; rep from * to last 2 sc, ch 1, sk 1 sc, sc in last sc; turn. (13)
Row 5 (RS decrease): Sc2tog over first sc and ch1sp, *ch 1, sc in next ch1sp; rep from * until last ch1sp, ch 1, sc2tog over last ch1sp and last sc; turn. (11)
Row 6 (WS): With Color B, repeat Row 3. (11)
Attach a second ball of Color A. Moving forward, pick up strand of whichever ball is on the side row begins on.
Row 7 (RS): With Color A, repeat Row 4. (11)
Row 8 (WS): With Color A, repeat Row 3. (11)
Row 9 (RS): With Color B, repeat Row 4. (11)
Row 10 (WS): With Color A, repeat Row 3. (11)
Row 11 (RS): With Color A, repeat Row 4. (11)
Row 12 (WS): With Color B, repeat Row 3. (11)
Row 13 (RS): With Color A, repeat Row 4. (11)
Row 14 (WS): With Color A, repeat Row 3. (11)
Row 15 (RS increase): With Color B, ch 1, 2 sc in first sc, *ch 1, 1 sc in next ch1sp; rep from * to last 2 sc, ch 1, sk 1 sc, 2 sc in last sc; turn. (13)
Row 16 (WS): With Color A, ch 1, sc in first sc, *ch 1, 1 sc in next ch1sp; rep from * to last 2 sc, ch 1, sk 1 sc, sc in last sc; turn. (13)
Row 17 (RS): With Color A, repeat Row 3. (13)
Row 18 (WS): With Color B, repeat Row 4. (13)
Row 19 (RS): With Color A, repeat Row 3. (13)
Row 20 (WS increase): With Color A, repeat Row 15. (15)
Row 21 (RS): With Color B, repeat Row 16. (15)
Row 22 (WS): With Color A, repeat Row 3. (15)
Row 23 (RS increase): With Color A, repeat Row 15. (17)
Row 24 (WS): With Color B, repeat Row 16. (17)
Row 25 (RS): With Color A, repeat Row 3. (17)
Row 26 (WS): With Color A, repeat Row 4. (17)
Row 27 (RS): With Color B, repeat Row 3. (17)
Row 28 (WS): With Color A, repeat Row 4. (17)
Row 29 (RS): With Color A, repeat Row 3. (17)
Row 30 (WS increase): With Color B, repeat Row 15. ( st count will be 19 onwards)
Row 31 (RS): With Color A, repeat Row 16.
Row 32 (RS): With Color A, repeat Row 3.
You should have 9 Color B stripes at this point. Fasten off.
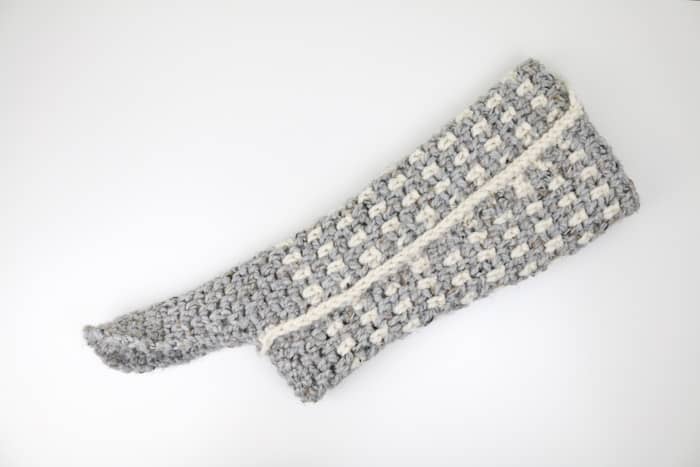
Joining Top & Back of Slippers
Notes:
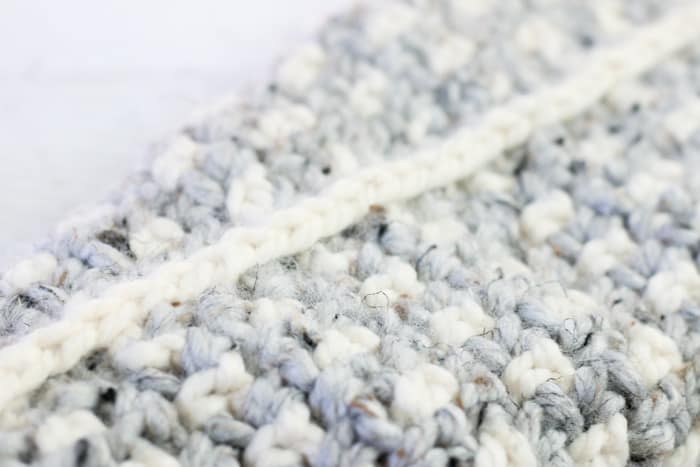
• The ankle seams can make or break the look of your boots. If you’re not happy with your first attempt, just rip it out and try again! (See photos above and below.)
• Weave in any ends before seaming the boot pieces together.
• The boot pieces are seamed together with single crochet. You’ll want the “front” of the single crochet stitches showing on the front of the slippers on both seams. This means you’ll work one seam from the ankle up to the top of the boot and then the second side you’ll seam in the opposite direction.
With right sides facing out, use stitch markers to pin the “top” piece of the boot to the “back” piece of the boot. Take care to align each stripe and tuck any strands of yarn you carried when switching colors into the inside of the slipper shaft.
Attach Color B to the point where the back and top pieces meet. Use size L hook.
Seam Row: Ch 1, sc along edge, working at the frequency that gives you the smoothest looking seam. Err on the side of stitches that are closer together.
Fasten off. Repeat in opposite direction on second side.
To finish up your Sierra Slippers, head to Part 2 of the free pattern here.
That was so fun! Now what?
Invitation to our Facebook group
Come discuss crocheting Mukluk slipper patterns and lots of other crochet projects and techniques in our Make & Do Crew Facebook group. Here thousands of helpful crocheters answer each others questions and share their stitches. Come join us here.
More Free Crochet Slippers + Socks Patterns
- 2 Hour Crochet Slippers Pattern – made from rectangles, so easy!
- How to Crochet on Flip Flops Soles – and will they fall apart?
- Unisex Crochet Slippers Pattern – my go-to gift for dads and grandpas
- Crochet Slippers with Leather Soles – modern take on a classic
- Easy Crochet Slipper Socks – a great basic pattern
- Gender Neutral Slipper Socks Pattern – the coziest ever!
- Tall Crochet Mukluks Slippers Pattern – super comfortable + stylish
On the way, you may enjoy these other free patterns and tutorials from Make & Do Crew:
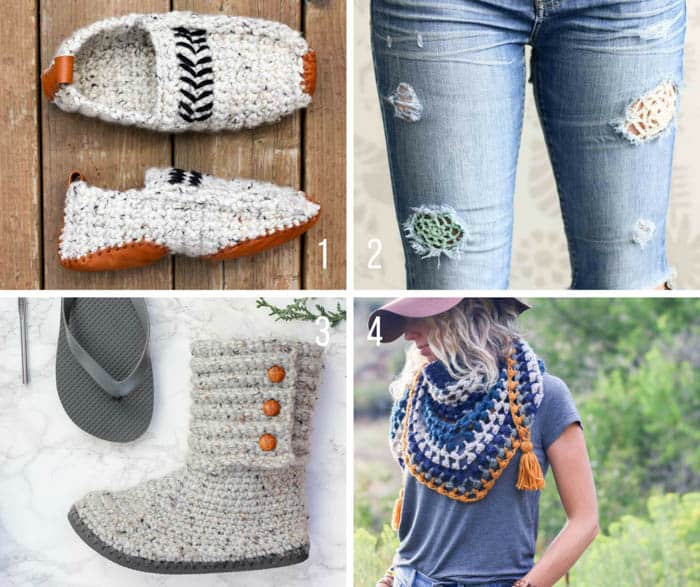
1. The Saturday Slippers – free easy crochet slipper pattern (unisex)
2. How to Patch Jeans with Crochet
3. Cabin Boots with Flip Flop Soles – free pattern and video tutorial
4. The Revival Scarf – free pattern and video tutorial

Mary says
Do you ever need testers for your patterns? If so sign me up!
Amanda says
I would like to know how to make these in a woman’s size 3/4. I made these in a size 8 and they’re awesome but now my daughter wants some!
Jess @ Make and Do Crew says
Hmm. I haven’t made them in a 3/4, but my guess would be shortening the toe/top of foot section by working fewer rows and then working the ankle pretty similarly to how it’s written. Perhaps you’d want to have 2 fewer stitches in the width of all areas (the toe, the front ankle and the back ankle).
Hope that is helpful? I’m sorry I don’t have personal experience with this yet!
Jess
Laila says
This pattern is working up great! Thank you for sharing. One question though. In the pattern you mention there should be 9 total stripes in the cream color once you complete all the rows for the front and back parts of the slipper. But, in your photos there are clearly10 rows in the cream color. I can’t figure out where that extra stripe is coming from in the pattern notes. Am I crazy?
Thanks!!
Laila
Jess @ Make and Do Crew says
Haha, no you’re not crazy, but you do have hawk eyes! 🙂 That’s just because I had enough yarn over to make one more stripe, but then I got worried that if someone’s skein was short a bit of yarn, they wouldn’t be able to complete both slippers. Since skeins vary a bit my weight, I decided to play it safe and write the pattern with 9 stripes. If you have enough yarn, feel free to add an extra stripe.
Happy crocheting!
Jess
Laila says
Thank you so much! I finished the boots for my sister’s birthday and she LOVED them. My mom has “demanded” a pair for her now 🙂
Laila
Jess @ Make and Do Crew says
I love hearing that! I really hope you all enjoy them!
Shawna says
Is the yarn amounts listed for one or two slippers???
Jess @ Make and Do Crew says
Two! 🙂
Chriissy says
I am allergic to wool what other yarn could I use?
Jess @ Make and Do Crew says
You could check out YarnSub.com for some ideas!
Jennifer Jones says
I’m confused about something. You say to repeat rows 24-25 eight more times with color A but should it be color A and color B? Help!
Jess @ Make and Do Crew says
Hey again, Jennifer 🙂 Yes, I totally see how it was confusing. I’ve re-written that section to make it make better sense. Will you let me know if you find it clear now or if you think it needs more work? I appreciate your questions and thoughtful proofreading!
Jess
Jennifer Jones says
Thank you so much for helping with that! I was so confused. ?
You are so good to respond and help out when someone has a question or when they’re confused.
Leeah says
If I wanted to make these with worsted weight yarn (4) how could I adjust to fit?
Rachel says
I’m a little confused on the to part of the pattern when you mention doing rows 23-25 repeatedly. How would I do row 23 on row 25 when they’re both RS stitches? Would I repeat row 12 instead of row 11 and continuously flip-flop the rows accordingly? Beautiful pattern I’m rally enjoying it already, thank you!
Jess @ Make and Do Crew says
Thank you so much for catching that, Rachel! You’re correct–that would never work! 🙂
I’ve corrected it to say “repeat rows 24-25.” Thanks again for pointing that out!
Jess
Juli says
These are beautiful! I love them. Adding them to my things to make right now. Thanks for publishing free patterns! By the way, how do you come up with the names for your projects?
Jess @ Make and Do Crew says
Usually I’m coming up with the names around midnight and texting my sisters to see if they like them. 😉
I’m so glad you’re enjoying the patterns, Juli!
Jessica says
I love these!! How can I adjust to make them for children/toddlers? I’d love to have a matching pair for my daughter. Thank you
Gail says
ty so much for the time you take to give us free patterns..huggzz
Jess @ Make and Do Crew says
It’s my pleasure, Gail! 🙂
kim says
wonder why you guys never make these beauties in shoe form, like the flip flops, so can show them off outside the house. theyre too nice for inside