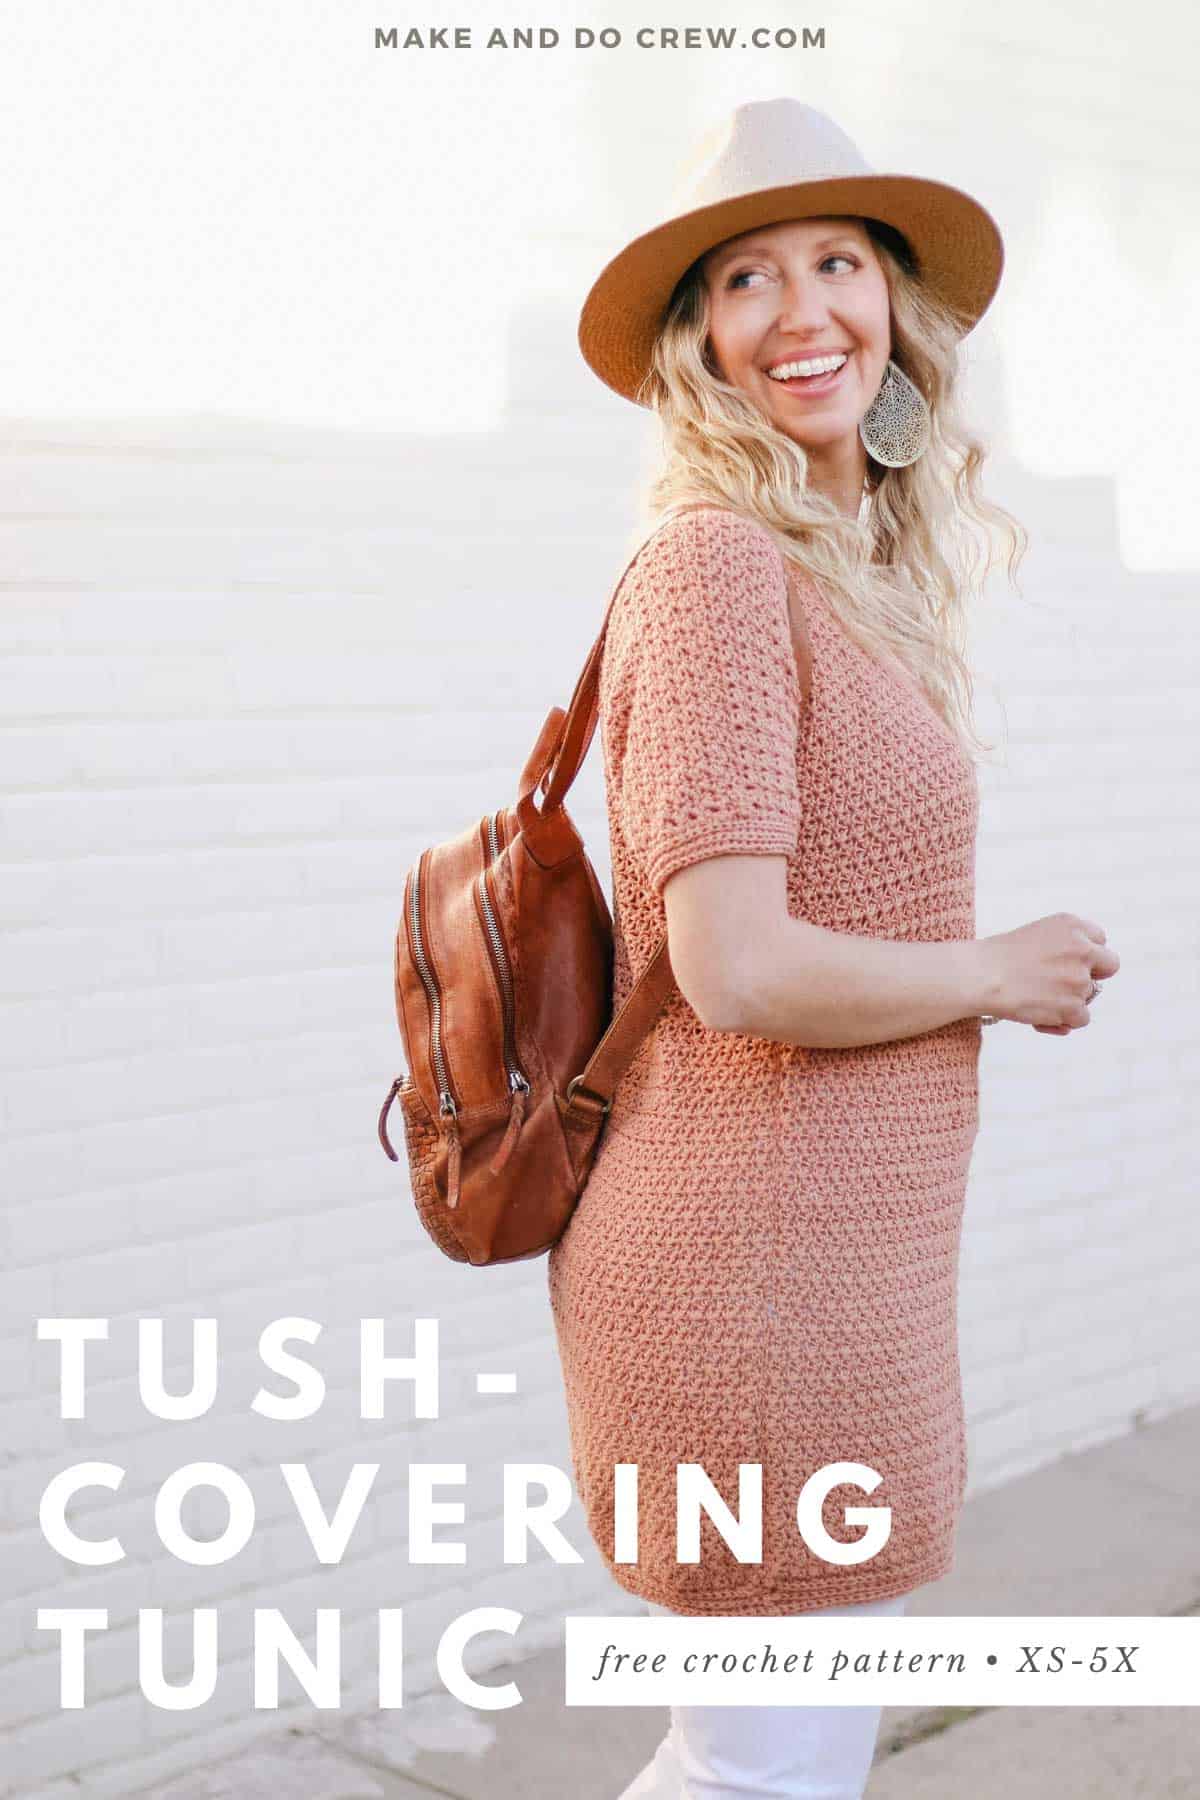
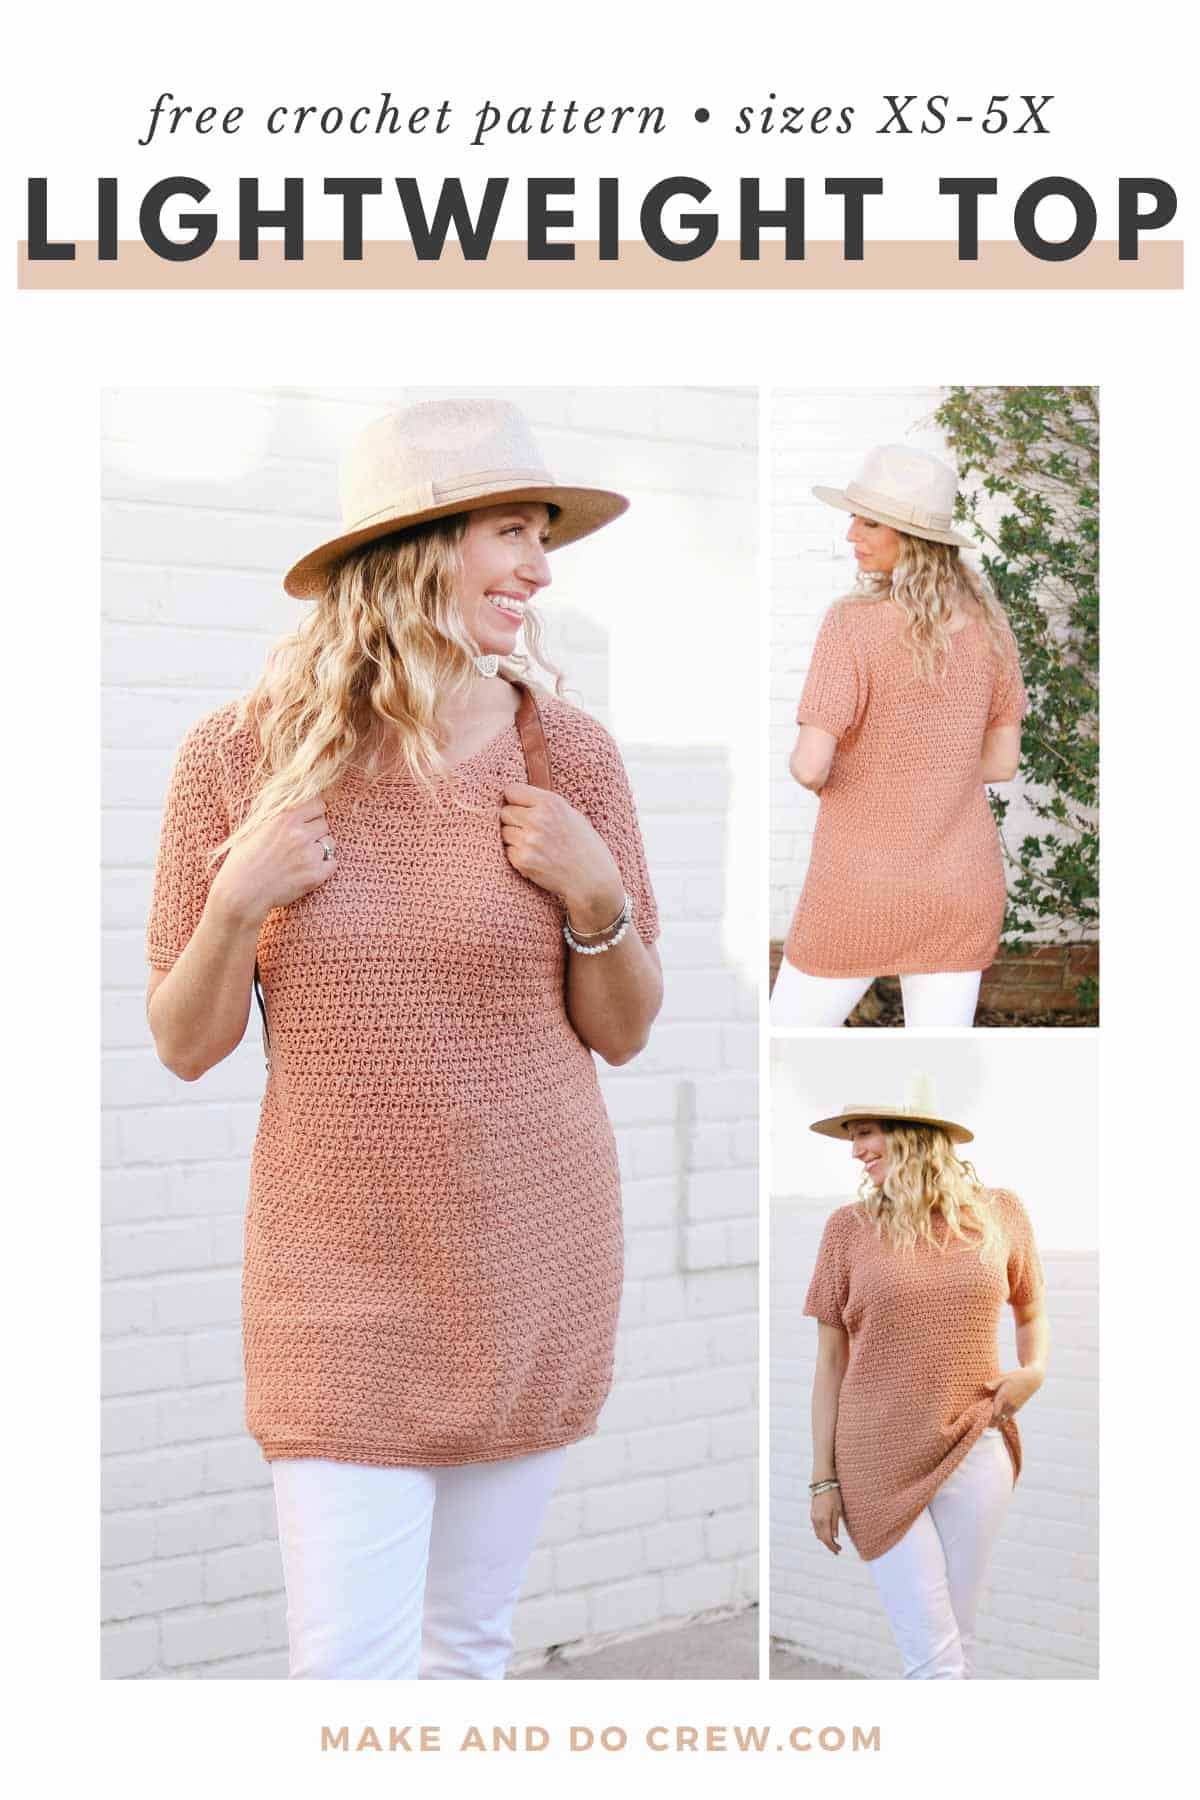
With just the right coverage for your tush and upper arms, this free crochet tunic pattern will keep you feeling comfortable and stylish. Pair it with leggings or pixie pants – even toss it on over a swimsuit! The free pattern is below or you can purchase the ad-free, printable PDF here.
This crochet tunic free pattern is part of a collaboration with Lion Brand Yarns. This post contains affiliate links.
Simple stitches, a relaxed fit and the flattering drape of Lion Brand Truboo yarn make this long crochet tunic a piece you’ll reach for all season.
Keep reading for more yarn and inspiration details or scroll down for free pattern.
Springtide Tunic :: Table of Contents:
Pattern Overview
Yarn + Material Details
How do I print the pattern?
Free Pattern
Springtide Crochet Top - Video Overview
Wondering how the Springtide Tunic looks and feels in real life? See the soft, comforting drape of this wardrobe staple in action in the brief video below!
(If you have an ad-blocker running, you'll need to disable it to view the video.)
Cap-Sleeves and Tush Coverage
The Springtide Crochet Tunic pattern is the answer to a request I've gotten often:
"A lightweight top that covers my tush and upper arms, PLEASE!"
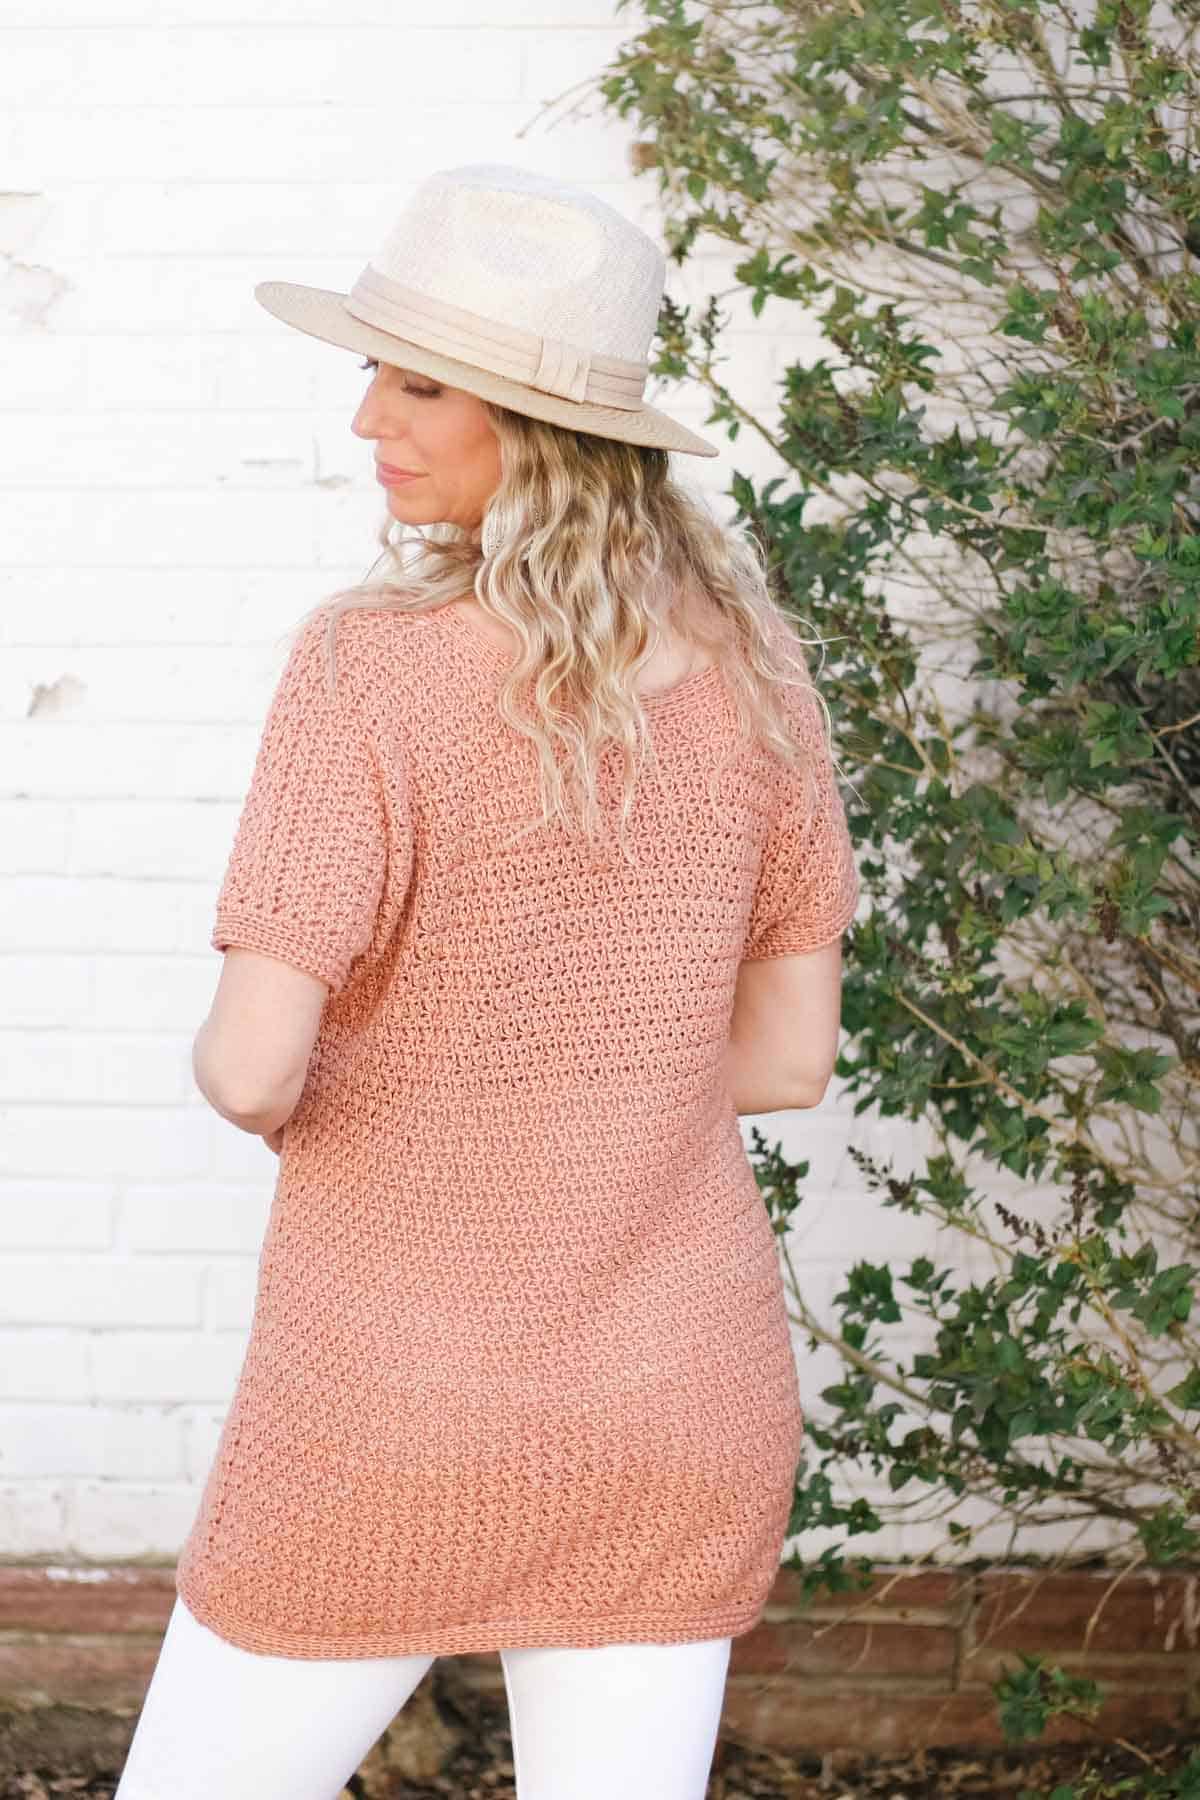
Well, here it is! This short-sleeved, but long-torso-ed crochet blouse has just the right coverage for your backside and arms while still maintaining a lightweight, summer feel.
The Springtide Tunic uses very simple construction and drapey bamboo yarn to create a look that compliments many beautiful body types. Written in nine sizes, XS - 5X, you'll be able to crochet a tunic that is just right for you.
The Construction of the Springtide Tunic
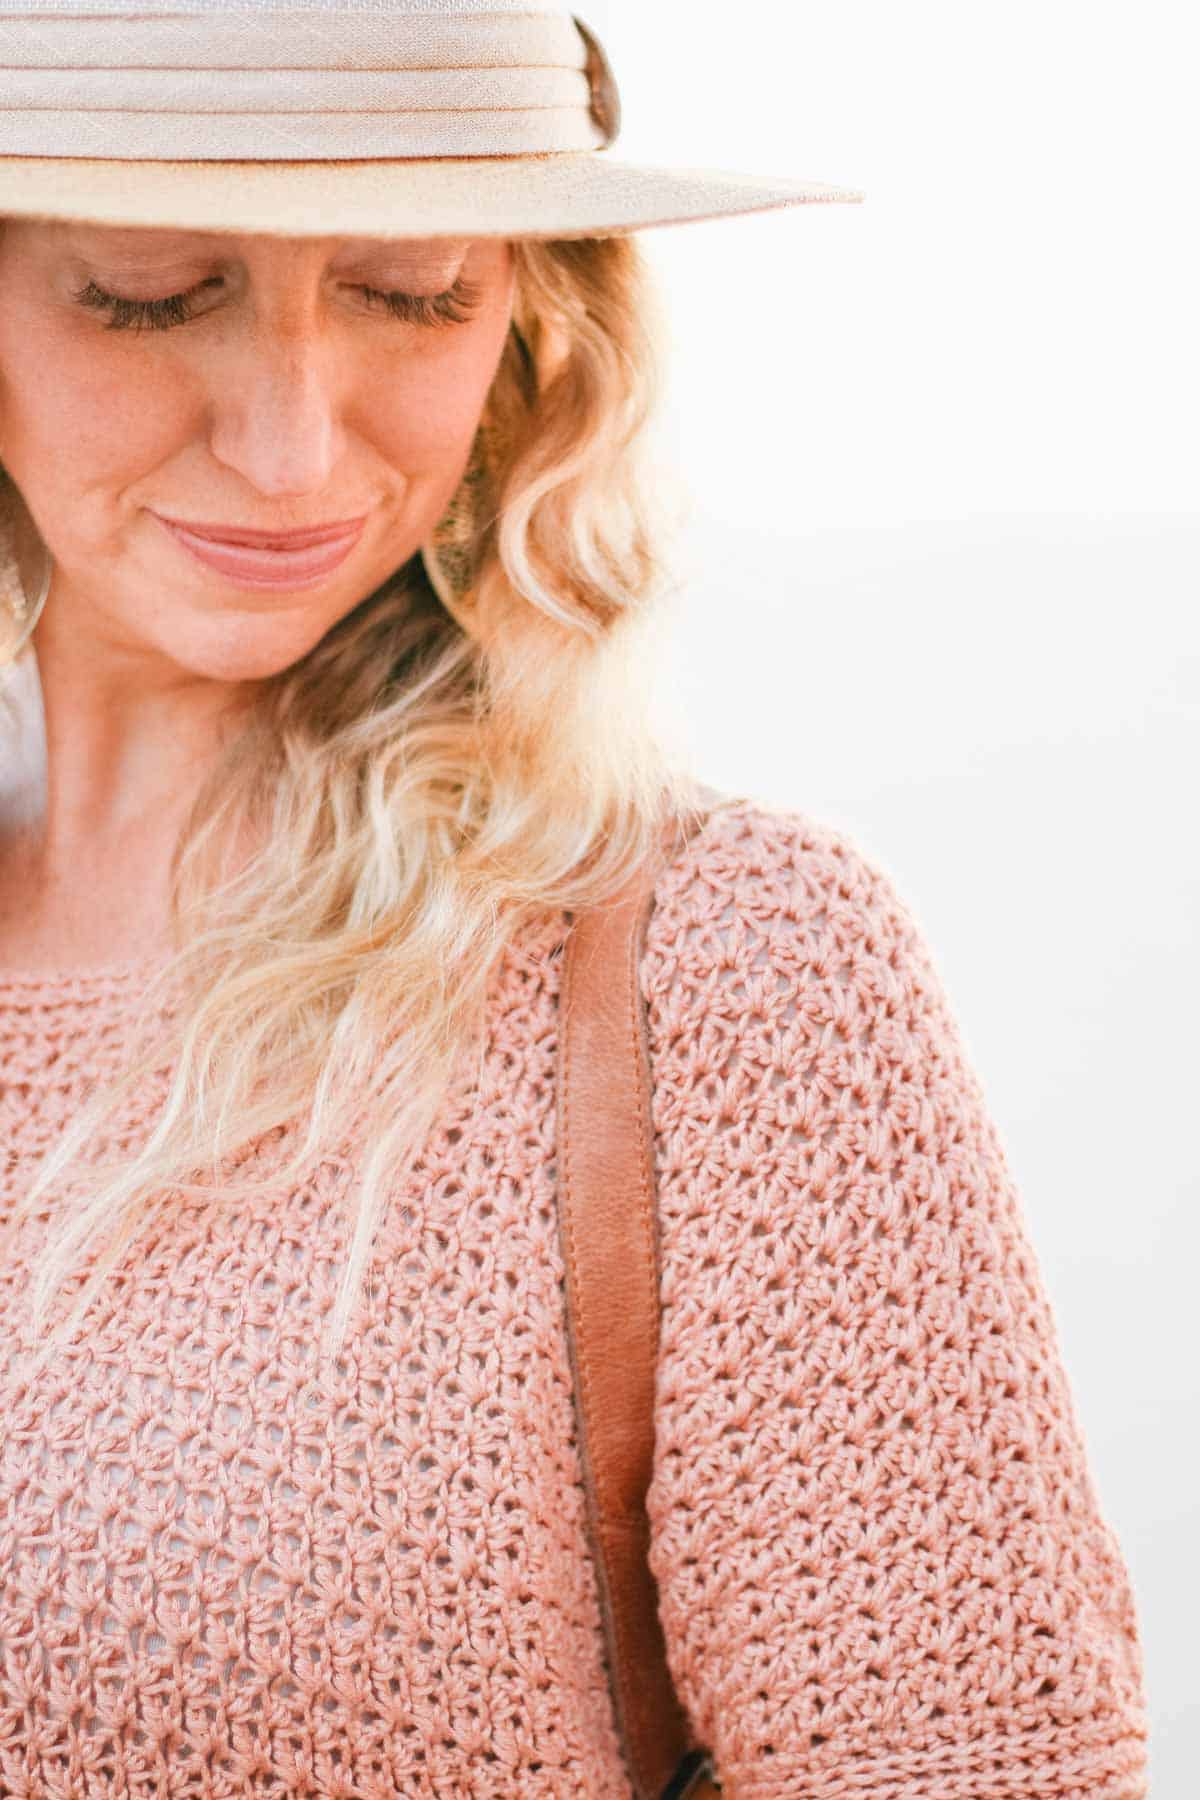
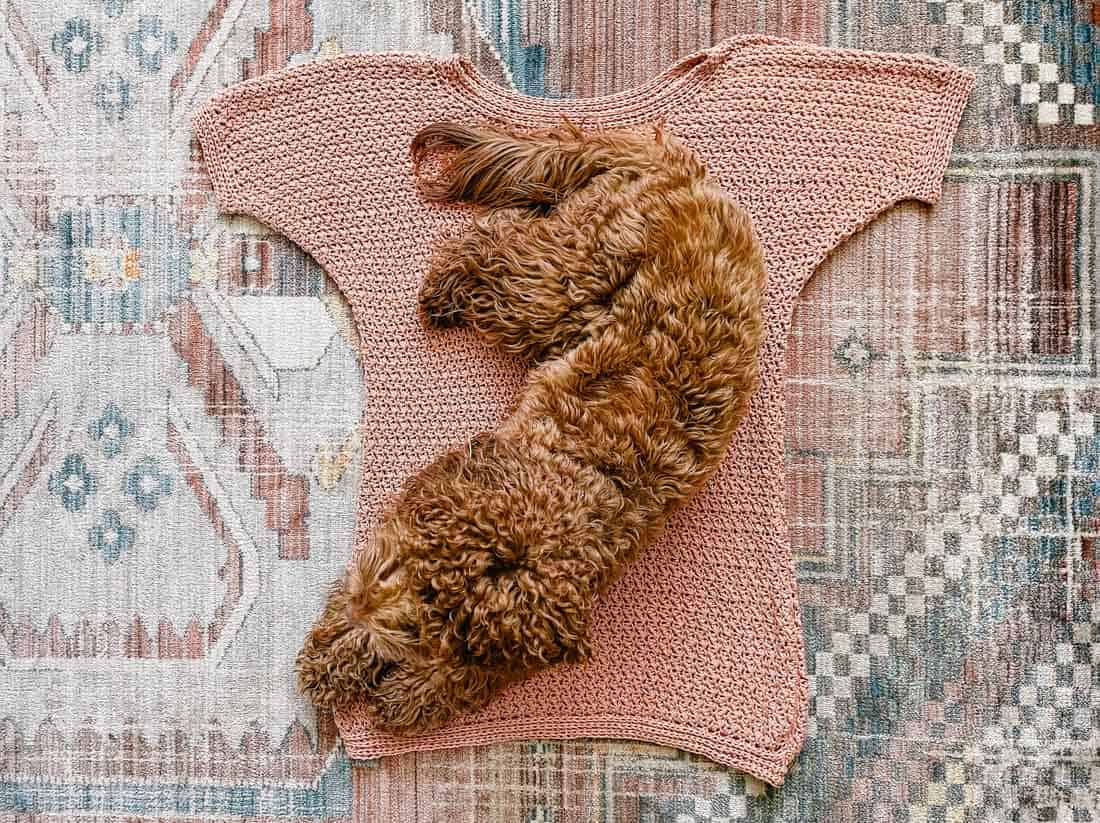
This easy crochet top is made of two identical pieces that involve just a bit of shaping to form the shoulders and arms.
The pattern is worked from the bottom up, so there's a fair amount of crochet cruise control before you begin to increase for the sleeves. Once the sleeves are in progress, you'll do a bit of shaping to form the scoop neck and that's about it!
Two crochet "T" shapes later and you'll be doing some simple seaming and finishing edging to add the finishing touches to your long crochet tunic.
Materials and Substitutions
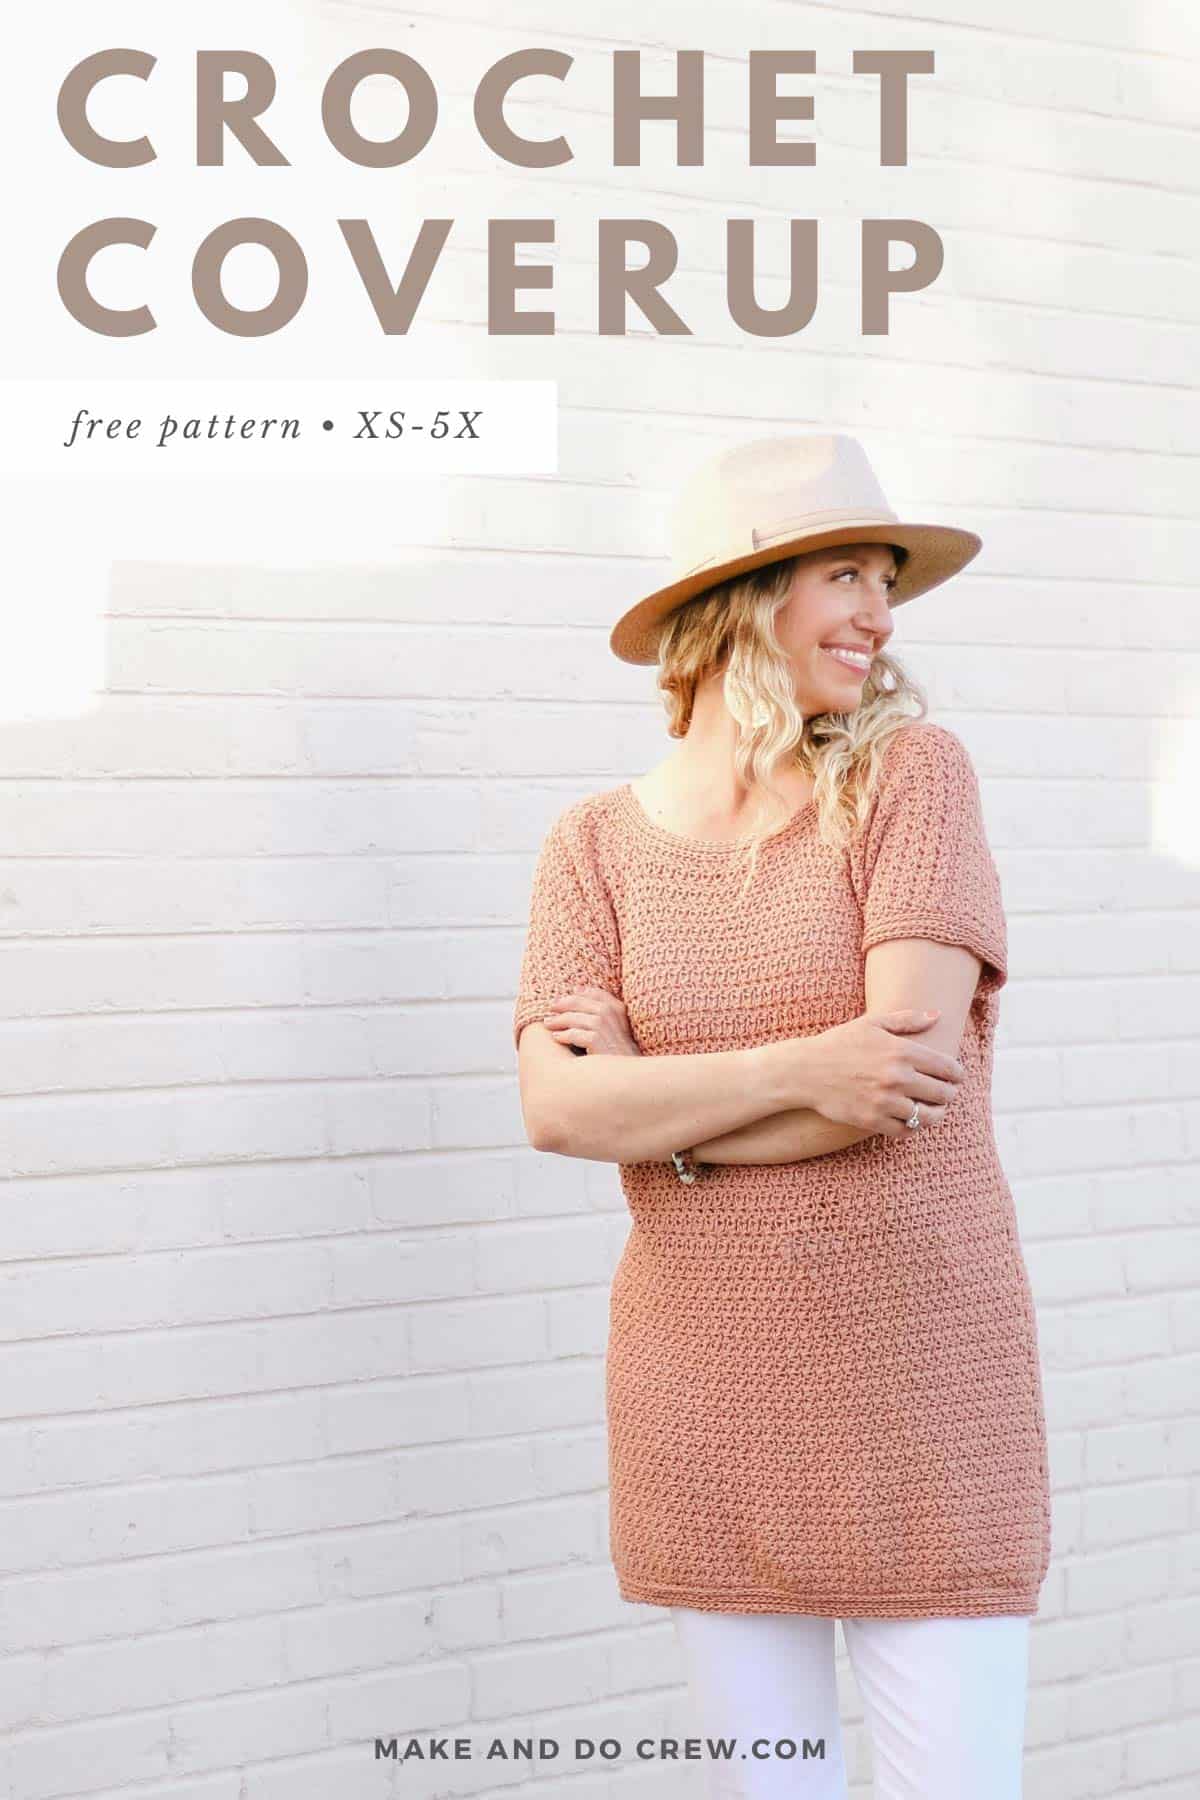
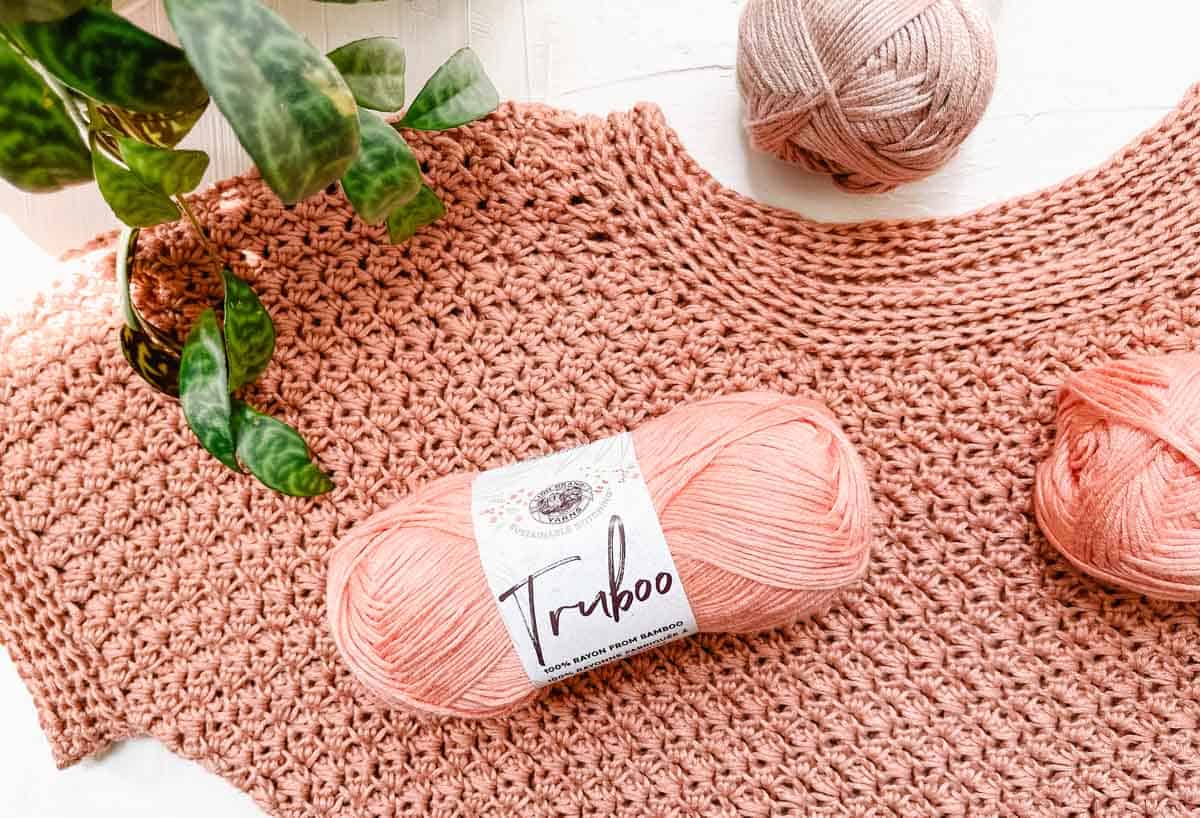
There's no slinkier, lightweight yarn that I know of for warm weather than Lion Brand Truboo. This 100% bamboo yarn is so smooth to work with and drapes beautifully in crochet garments. It has a slight sheen and is available in a range of nice summer shades. (See all the colors here!)
Another yarn that would substitute really well is Lion Brand Coboo. Coboo is a 50/50 blend of cotton and bamboo and has a really nice drape as well. Coboo is what we used in the Mezzo Cardigan pattern and it's just so soft and wearable without being hot.
If Truboo or Coboo are not available near you, you can check YarnSub.com for similar alternatives.
Crop Tops + Other Easy Tunic Customizations
I know we crocheters like to customize and this easy crochet top is a great "foundation" pattern to put your own stamp on. Because it's worked from the top up, it's very easy to adjust the length from crop-top to crochet dress!
Here are a few suggestions for how the Springtide Tunic pattern could be customized:
• Crop-Top Version: Crochet fewer inches of the "Main Body" section before increasing for the sleeves.
• Beach Coverup Version: Similarly, you can add a few inches to the "Main Body" section before increasing for the sleeves to create more of a dress-length tunic. For a comfy and casual swimsuit coverup, you may also consider going up one size from what you normally wear.
• Skip the Sleeves: If you'd prefer a true-cap sleeve (i.e. shorter sleeve), you can eliminate the sleeve increases and instead work even (just as in the Main Body) for the recommended inches in the Sleeve section. Essentially, this will create a long rectangle top with a scoop neck. Simple and chic!
Pin it! Click to pin this pattern for later ⇨
Get an All-In-One Crochet Kit
If you don't live near well-stocked yarn stores or if you just like to get exciting packages in the mail, the all-in-one crochet kit is a perfect way to make your Springtide Tunic. This bundle from Lion Brand includes all the Truboo yarn you'll need, plus a free printable PDF of the pattern (delivered digitally).
Deliver it! Click to purchase the an all-in-one crochet kit ⇨
How Do I Print This Crochet Pattern?
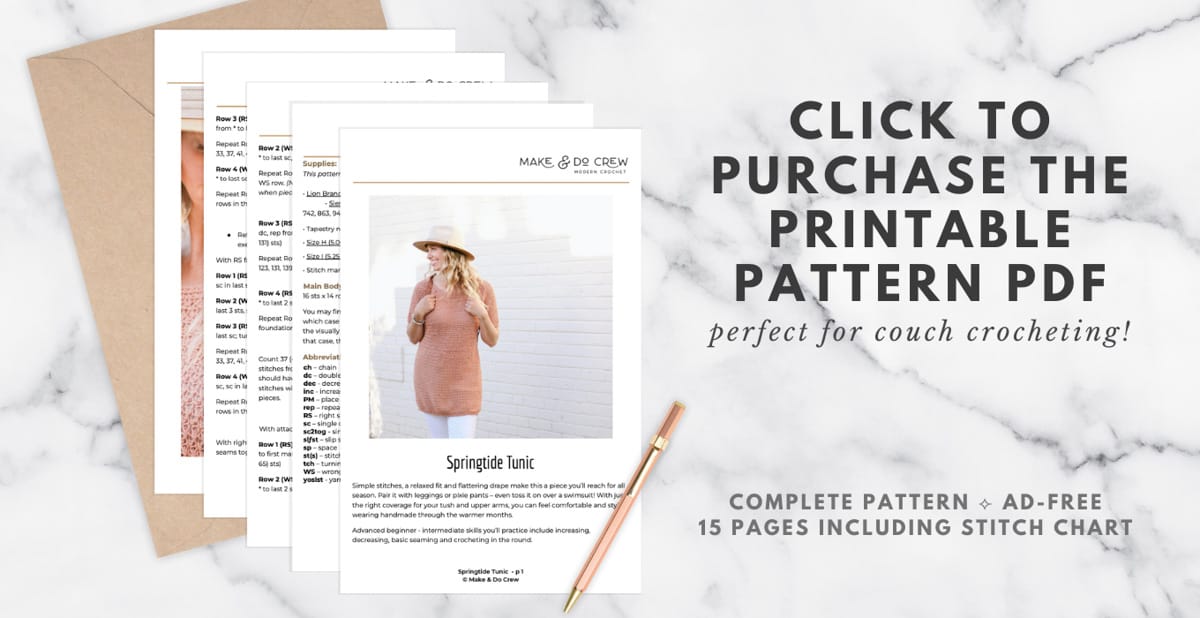
We know many people like to work from a paper copy of their crochet pattern. This is why we love offering our patterns in large-type, ad-free PDFs that are formatted for easy printing.
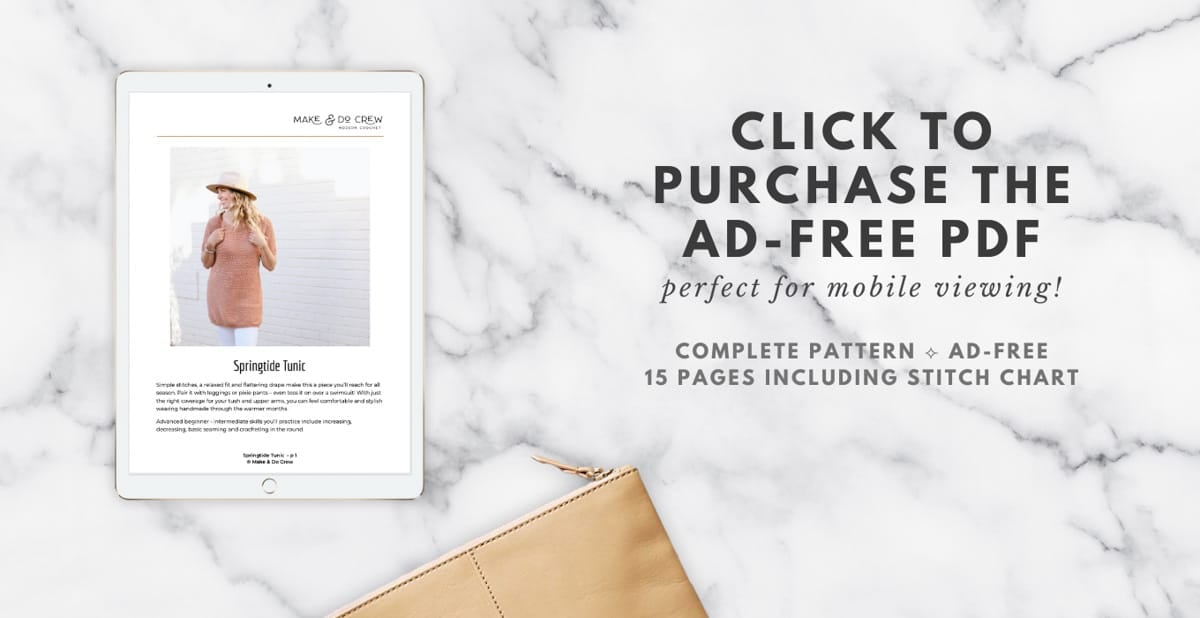
We are so grateful to those of you who support our small business by upgrading to the premium printable versions of our patterns, so we add extra bonuses to our PDFs whenever we have something helpful to share. In the case of the Springtide Tunic PDF, we created an easy-to-reference stitch chart exclusively for the paid pattern.
Offering paid PDF patterns helps us continue to keep designing and we hope they give you comfortable way to crochet!
Print it! Purchase the ad-free PDF ⇨
More Free Crochet Shirts + Tops Patterns
From peplum-style pullovers to easy, breezy lace blouses, crop tops and everything in between, you'll find your next wearable crochet project here.
See more free crochet shirts + tops patterns →
Springtide Tunic
• Free Crochet Tunic Pattern •
Purchase the ad-free, printable PDF on Etsy here and on LoveCrafts here.
Save this pattern to your Ravelry here.
Pin this pattern for later here.
Explanation:
Simple stitches, a relaxed fit and flattering drape make this a piece you’ll reach for all season. Pair it with leggings or pixie pants – even toss it on over a swimsuit! With just the right coverage for your tush and upper arms, you can feel comfortable and stylish wearing handmade through the warmer months.
Advanced beginner - intermediate skills you’ll practice include increasing, decreasing, basic seaming and crocheting in the round.
Materials and Tools:
Order an all-in-one kit from Lion Brand here.
• Lion Brand Truboo (Weight: 3/light - 241 yds, 3.5 oz/100g)
- Sienna [837-184T] – 5 (6, 7, 7, 8, 9, 10, 11, 12) skeins [approx. 458 (533, 616, 685, 742, 863, 945, 1045, 1110) g] balls (approx. 385 g)
• Tapestry needle
• Size H (5.0 mm) crochet hook or size needed to obtain main body gauge
• Size I (5.25 mm) crochet hook for ribbing
• Stitch markers or safety pins
Measurements:
| Size | Fits Up To Actual Bust | Tunic Length (neckline to bottom) |
| XS | 30" | 24" |
| S | 34" | 25" |
| M | 38" | 26" |
| L | 42" | 26.5" |
| 1X | 46" | 26.5" |
| 2X | 50" | 28.5" |
| 3X | 54" | 29" |
| 4X | 60" | 30.5" |
| 5X | 62" | 30.5" |
Main Body Gauge:
16 sts x 14 rows = 4”
You may find it easier to count the [sc, dc] clusters instead of individual stitches, in which case there should be 8 clusters in 4”. Similarly, you may find it easier to count the visually identifiable sets of two rows together instead of the individual rows. In that case, there should be 7 row sets in 4”.
Abbreviations and Stitch Glossary (US Terms):
ch – chain
dc – double crochet
dec - decrease
inc - increase
PM – place marker
rep – repeat
RS – right side
sc – single crochet
sc2tog - single crochet decrease
slƒst – slip stitch
sp – space
st(s) – stitch(es)
tch – turning chain
WS – wrong side
yoslst - yarn over slip stitch
Overall Pattern Notes:
• If substituting yarn of a different weight, follow measurement notes throughout instead of the number of rounds given. Simply work as many rounds for each square as it takes to meet the approximate pattern measurements.
!! Crochet Tunic Pattern Gauge Check !!
Please don’t skip this step or you will risk your tunic not fitting as expected.
With larger hook:
Wanna save this pattern?
Foundation Row: Ch 31.
Row 1 (RS): Sc in second ch from hook, dc in next ch, sk 1 ch, *[sc, dc] in next ch, sk next ch, rep from * to last 2 ch, sk 1 ch, sc in last ch; turn. (29 sts)
Row 2 (WS): Ch 1, [sc, dc] in first sc, sk next dc, *[sc, dc] in next sc, sk next dc, rep from to last 2 st, sk next dc, sc in last sc; turn.
Rep Row 2 27 times. Lightly steam block swatch. Measure center four inches of swatch vertically and horizontally. Compare to pattern gauge listed above. If there are too many stitches in 4” horizontally, increase your hook size and re-swatch. If there aren’t enough stitches in 4” horizontally, decrease your hook size and re-swatch.
Main Tunic Body
Notes:
• Main body is worked in two identical flat pieces, a front and a back.
• Pattern is written in size XS with sizes S, M, L, 1X, 2X, 3X, 4X and 5X following in parentheses. It can be very helpful to go through pattern and highlight all the numbers related to your size before beginning.
• Larger hook is used for the entire Main Body.
Front and Back Pieces
Make 2.
Leave a 30” tail at beginning of foundation chain to use later for seaming.
Foundation: Ch 67 (75, 83, 91, 99, 107, 115, 123, 131).
Row 1 (RS): Sc in 2nd ch from hook, dc in next ch, sk 1 ch, *[sc, dc] in next ch, sk next ch, rep from * to last sc, sc in last ch; turn. (65 (73, 81, 89, 97, 105, 113, 121, 129) sts)
✨Unlock this free subscriber-exclusive pattern ✨
Follow these steps to view the full free pattern below
Dividing for Neckline and Shoulders:
Count 37 (41, 43, 47, 51, 55, 57, 61, 65) sts in from each side of your work and PM. The stitches from each edge to the marker will be worked to form the shoulders. You should have 25 (25, 29, 29, 29, 29, 33, 33, 33) sts between the two markers. These stitches will remain unworked and will make up the neckline on the Front and Back pieces.
First Shoulder/Sleeve:
With attached yarn:
Row 1 (RS): Ch 1, [sc, dc] in first sc, sk next dc *[sc, dc] in next sc, sk next dc, rep from * to first marked st, sc in marked st (remove marker); turn. (37 (41, 43, 47, 51, 55, 57, 61, 65) sts)
Row 2 (WS dec): Ch 1, sc in first sc, sk next dc, *[sc, dc] in next sc, sk next dc, rep from to last 2 sts, sk next dc, sc in last sc; turn. (36 (40, 42, 46, 50, 54, 56, 60, 64) sts)
Row 3 (RS dec): Ch 1, [sc, dc] in first sc, sk next dc, *[sc, dc] in next sc, sk next dc, rep from * to last two sc, sc2tog. (35 (39, 41, 45, 49, 53, 55, 59, 63) sts)
Repeat Rows 2 and 3 four more times, creating a total of 11 rows in this section. (27 (31, 33, 37, 41, 45, 47, 51, 55) sts)
Row 4 (WS): Ch 1, [sc, dc] in first sc, sk next dc, * [sc, dc] in next sc sk next dc, rep from to last sc, sc in last sc: turn. (27 (31, 33, 37, 41, 45, 47, 51, 55) sts)
Repeat Row 4 0 (2, 4, 4, 4, 6, 8, 10, 10) more times for a total of 1 (3, 5, 5, 5, 7, 9, 11, 11) rows in this section. Fasten off leaving a 24” tail for shoulder seam.
Second Shoulder/Sleeve:
• Reference stitch chart on p9 for visual representation of how the decreases are executed.
With RS facing attach yarn in remaining marked stitch.
Row 1 (RS): Ch 1, [sc, dc] in first sc, sk dc *[sc, dc] in next sc, sk dc, rep from * to last sc, sc in last sc; turn. (37 (41, 43, 47, 51, 55, 57, 61, 65) sts)
Row 2 (WS dec): Ch 1, [sc, dc] in first sc, sk dc *[sc, dc] in next sc, sk dc, rep from * to last 3 sts, sc in next sc, sk dc, sc in last sc; turn. (36 (40, 42, 46, 50, 54, 56, 60, 64) sts)
Row 3 (RS dec): Ch 1, sk the first sc, *[sc, dc] in next sc, sk dc, rep from * to last sc, sc in last sc; turn. (35 (39, 41, 45, 49, 53, 55, 59, 63) sts)
Repeat Rows 2 and 3 four more times creating a total of 11 rows in this section. (27 (31, 33, 37, 41, 45, 47, 51, 55) sts)
Row 4 (WS): Ch 1, [sc, dc] in first sc, sk dc, *[sc, dc] in next sc, sk dc, rep from * to last sc, sc in last sc; turn. (27 (31, 33, 37, 41, 45, 47, 51, 55) sts)
Repeat Row 4 X (2, 4, 4, 4, 6, 8, 10, 10) more times for a total of 1 (3, 5, 5, 5, 7, 9, 11, 11) rows in this section. Fasten off leaving a 24” tail for shoulder seams.
Seaming Sides and Shoulders Together:
With right sides of both Main Body pieces facing in, use stitch markers to pin side seams together. Beginning at bottom of garment and working toward underarm, use leftover foundation chain tails and a running stitch to sew both side seams. Fasten off.
With right sides together, sew shoulder seams using running stitch. Use existing yarn tails where possible. Fasten off.
Crochet Tunic Pattern Ribbing
Notes:
• All ribbing is worked in turned rounds.
• All ribbing is worked using smaller hook.
• Exact stitch count of each section of ribbing is less important than the ribbing looking even and consistent.
Neckline Ribbing:
With RS facing, attach yarn at one of the shoulder seams. You will work into the ends of the shoulder rows for the neckline shaping, and into the stitches across the front and back between the shoulder sections.
Round 1 (RS dec): Ch 1, *yoslst in next 17 (7, 4, 4, 4, 3, 2, 2, 2) sts, sk next st, rep from * around neckline and yoslst in any remaining sts, join with slst to first yoslst; turn. (93 (93, 98, 98, 98, 98, 98, 103, 103) sts)
Round 2 (WS): Ch 1, yoslst in first st and in each st around neck edge, join with slst to first yoslst; turn. (93 (93, 98, 98, 98, 98, 98, 103, 103) sts)
Round 3 (RS dec): Ch 1, *yoslst in next 9 (9, 8, 8, 8, 8, 14, 8 ,8) sts, sk next st, rep from * around and yoslst in any remaining sts, join with slst to first yoslst; turn. (84 (88, 88, 88, 88, 88, 92, 92, 92) sts)
Round 4 (WS): Repeat Row 2.
Repeat Row 4 two more times creating a total of six rounds. Fasten off.
Armhole Ribbing:
Right and left armholes are worked identically.
With RS facing, attach yarn at side seam in underarm.
Round 1 (RS): Ch 1, yoslst in first row, yoslst in each row around armhole, join with slst to first yoslst; turn.
Repeat Row 1 five more times creating a total of six rounds. Fasten off.
Bottom Ribbing:
With RS facing, attach yarn at either side seam.
Round 1 (RS dec): Ch 1, *yoslst in next 7 sts, sk next st, rep from * around bottom of piece and yoslst in any remaining sts, join with slst to first yoslst, turn. (114 (128, 142, 156, 170, 184, 198, 212, 226) sts)
Round 2 (WS): Ch 1, yoslst in first st and in each st around, join with slst to first yoslst, turn.
Repeat Row 2 four more times creating a total of six rounds. Fasten off.
Weave in any remaining ends.
Blocking
Use an iron or steamer to lightly steam block tunic, if desired. Take care to not to overblock yarn as this fiber naturally loosens a bit with wear. Similarly, after washing, lay flat to dry and reshape when wet to avoid too much stretching.
Skip into springtime knowing you’ve got a one-of-a-kind tunic to wear wherever the sun is shining.
That was so fun! Now what?
Invitation to our Facebook group
Come discuss crocheting tunic patterns and lots of other crochet projects and techniques in our Make & Do Crew Facebook group. Here thousands of helpful crocheters answer each others questions and share their stitches. Come join us here.
More Shirts + Tops Free Crochet Patterns
- Ballet Wrap Crochet Sweater Pattern
- Boho Crochet Dress Pattern
- Easy Crochet Summer Top Pattern
- Crochet Crop Top Free Pattern
- Raglan Crochet Top Pattern
- Beginner Tunisian Crochet Top
- Lightweight Crochet Top Free Pattern
- Poncho-Style Crochet Top
Ready to Find Your Next Project?
Whether you're into crochet sweaters, C2C crochet blankets, Tunisian or crocheting your own fedora hat, we've got you covered. You can find all our free crochet patterns here.









Leave a Reply