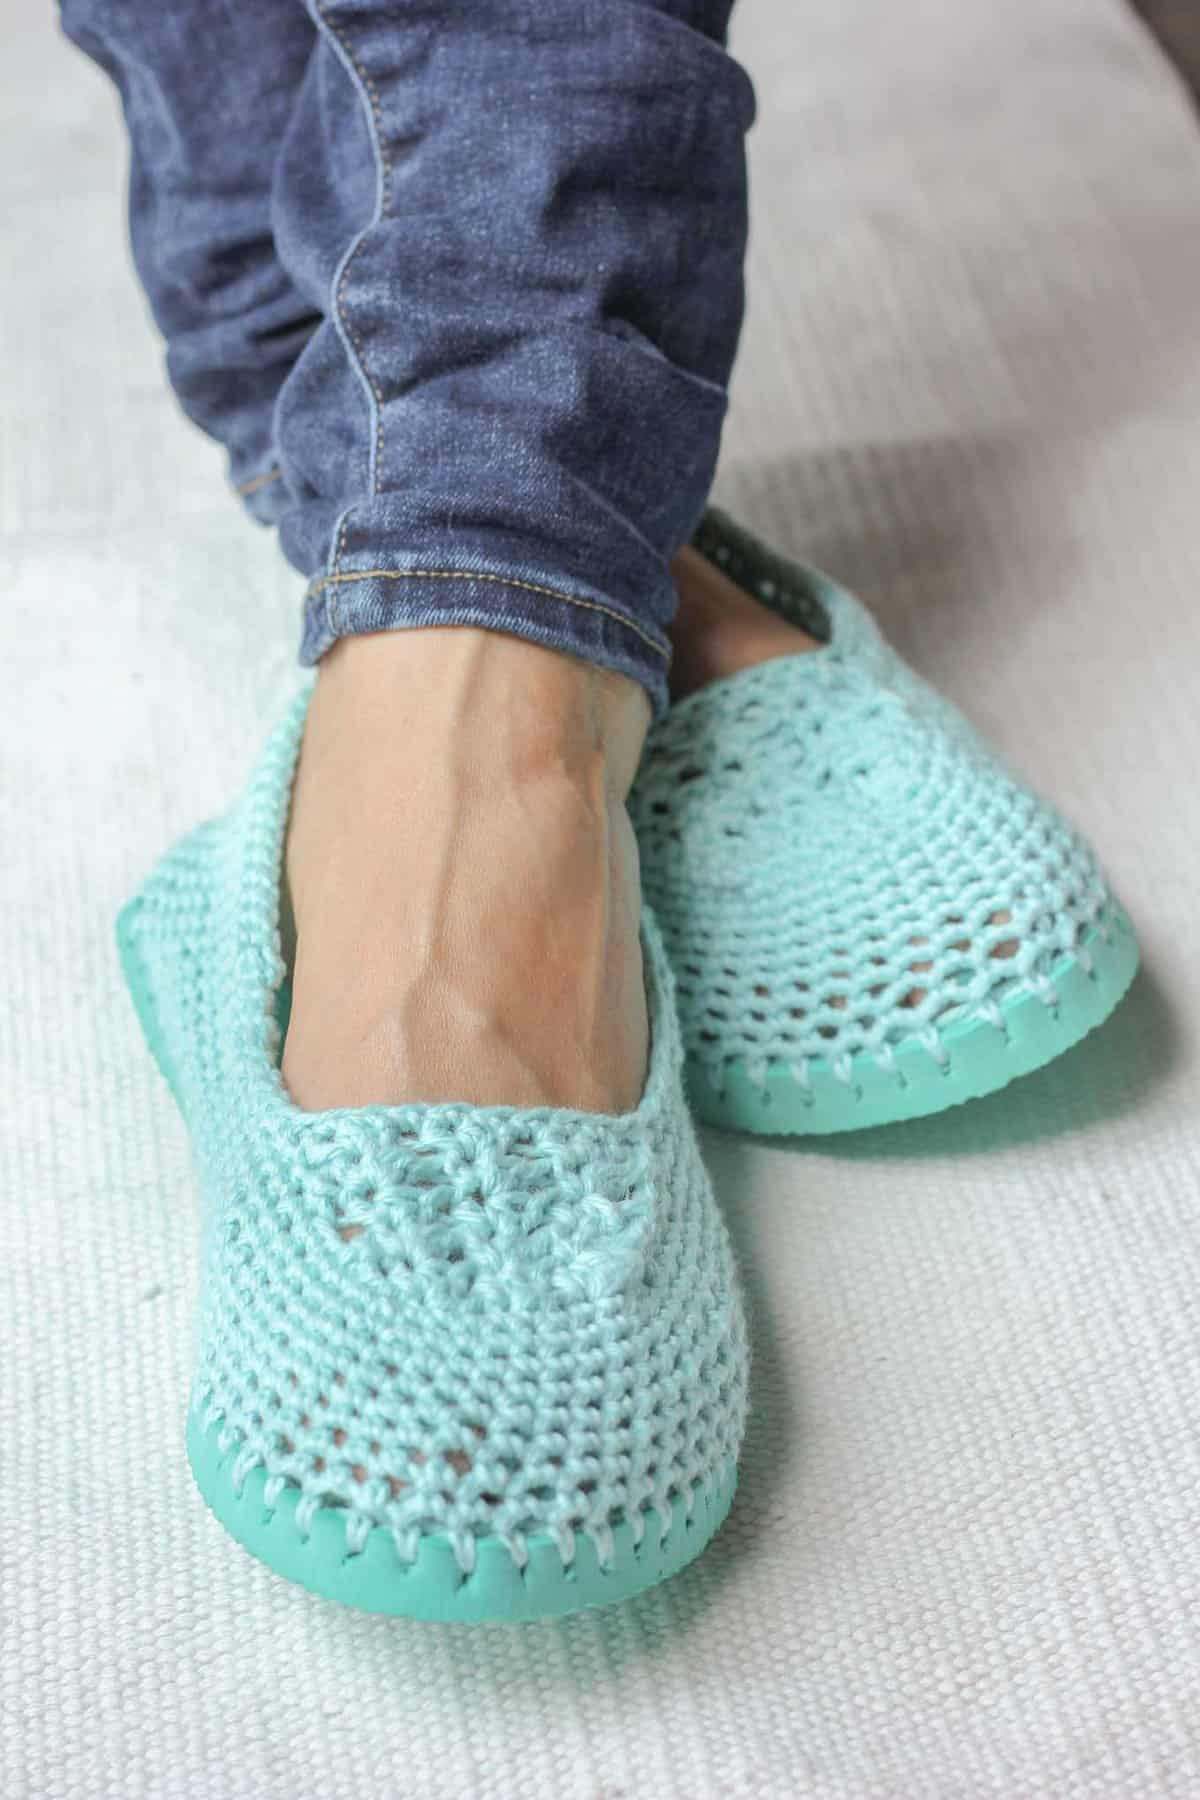
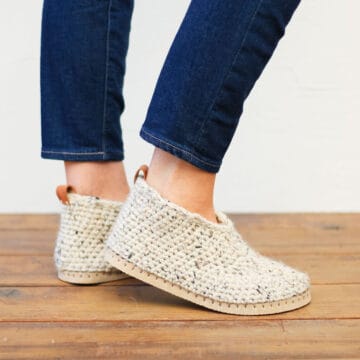
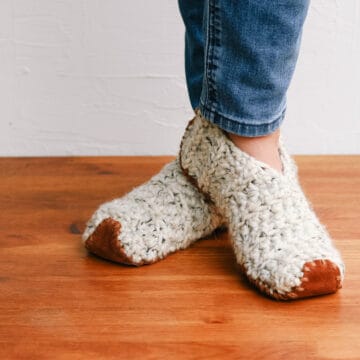
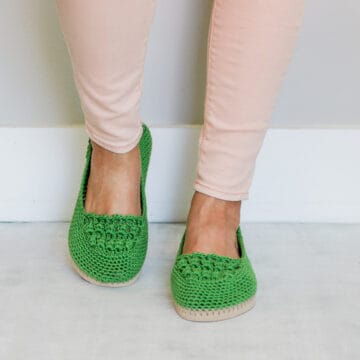
Are you ready for some flip-flop-moccasin super shoes!? In this free pattern and video tutorial, I'll show you how to crochet shoes with flip flop soles that are super comfortable, function as shoes and/or slippers and can be customized to adult shoe size.
As always, the free pattern and video tutorial are below, or you can purchase an ad-free, printable pdf of this pattern here.
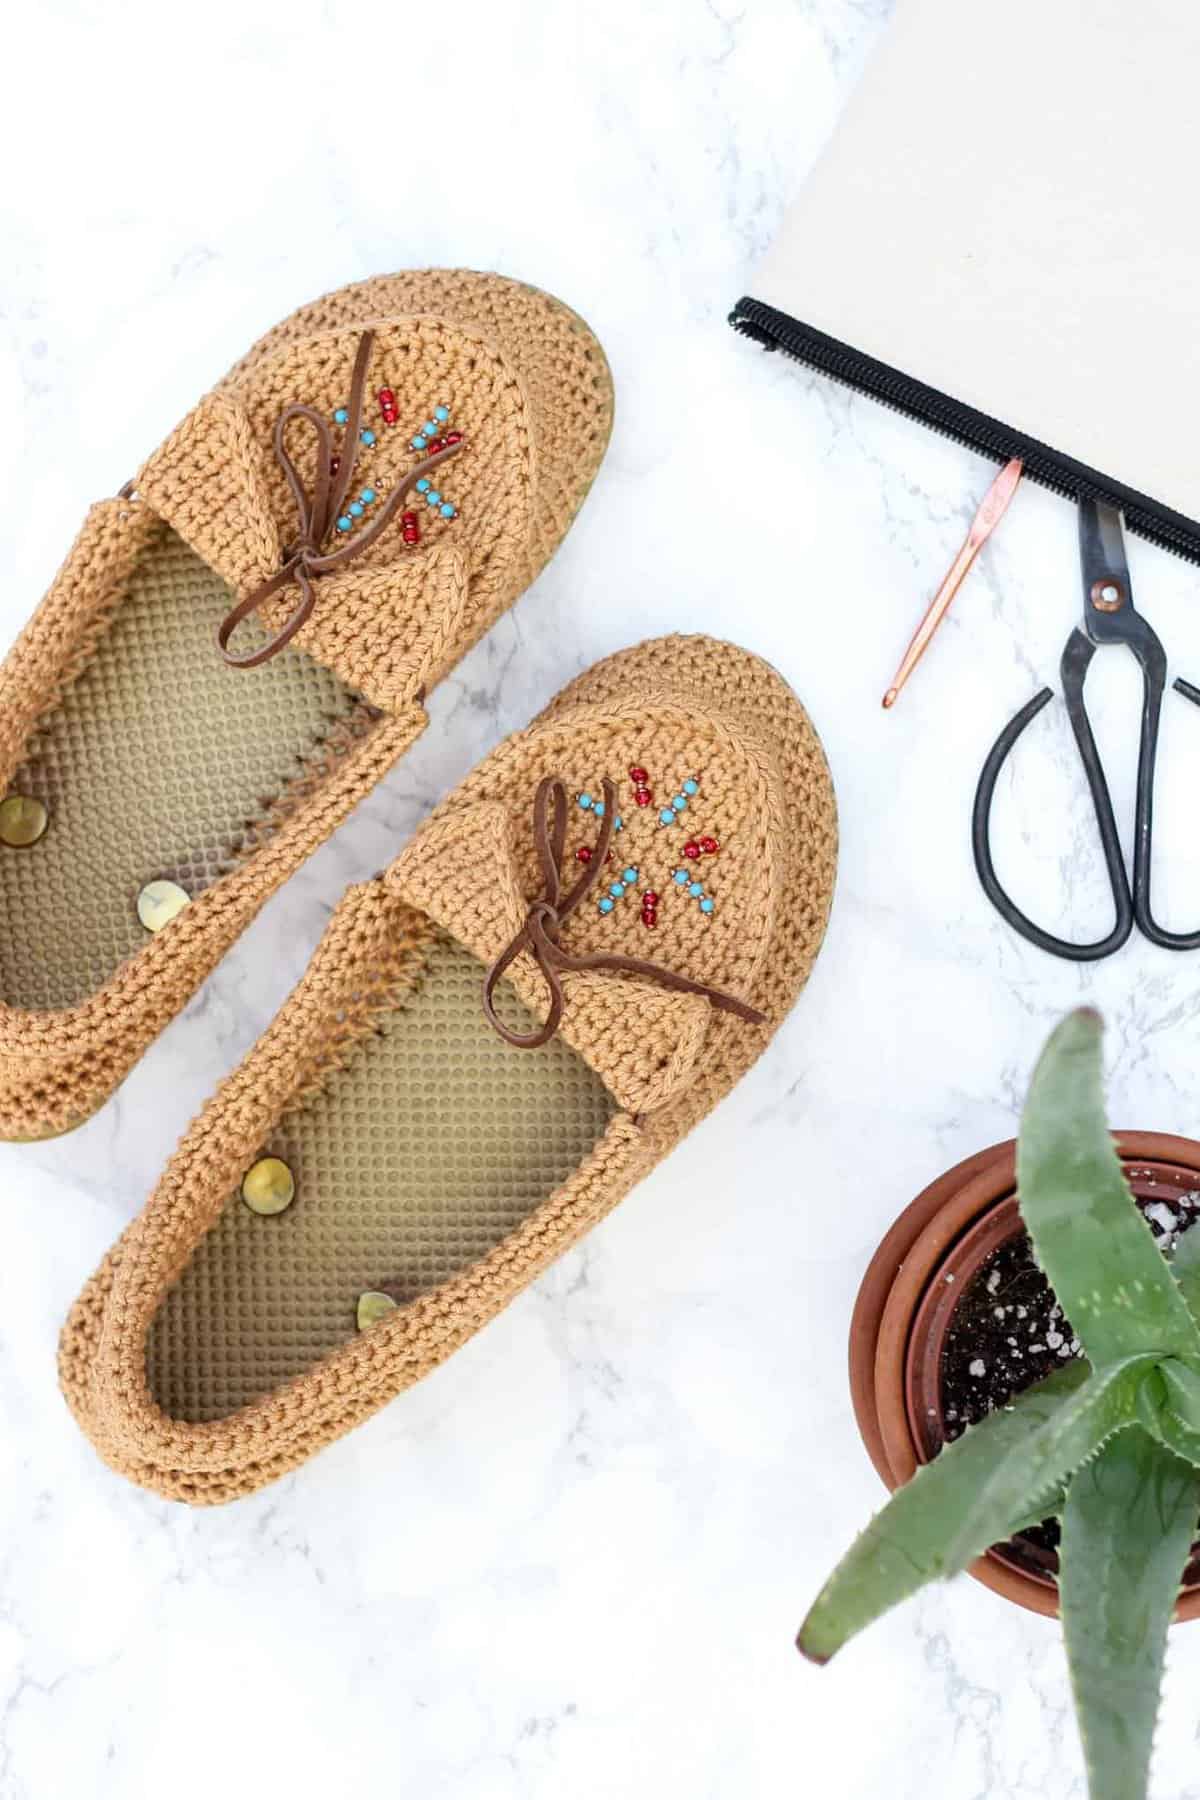
 When I was a kid, we'd go to the mountainy tourist town near where we lived and in the midst of all the candy apples, weird keychains and ubiquitous screen printed t-shirts, the only thing I desperately longed for was a pair of "real" native American moccasins. The beads. The fringe. All of it. I was obsessed. For years.
But alas, moccasins in mountainy tourist towns don't come cheap. It wasn't until I was about 28 that I got my first pair on a trip through New Mexico. My feet have rarely been moccasin-free since.
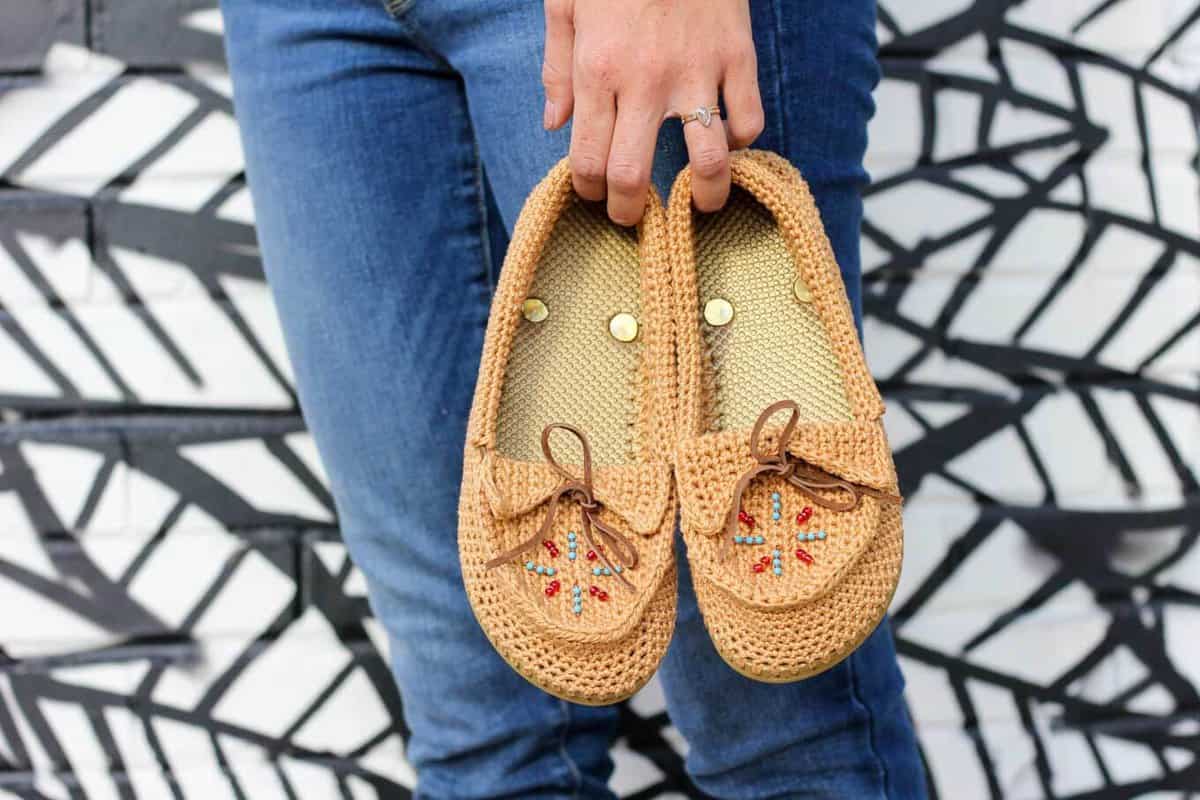 But in all my moccasin ownership, not a single pair has been crocheted. (Hard to believe, I know!)
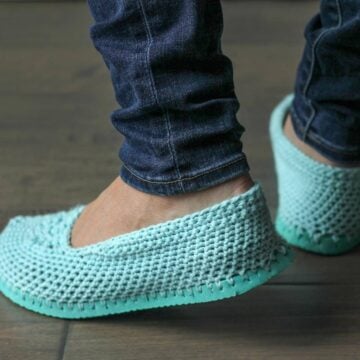
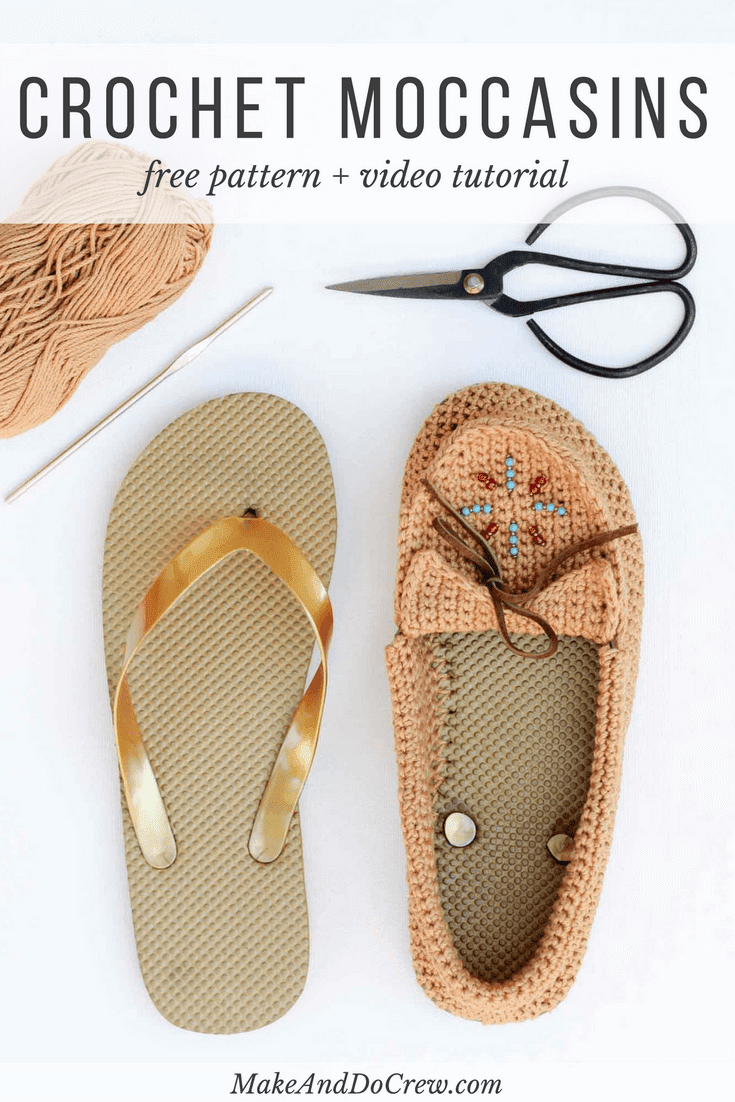 After I designed these crocheted summer slippers using flip flops for the sole, I knew a pair of crocheted flip flop moccasin hybrid super shoes was in my future.
 So when my sister recently arrived home from a year of traveling abroad with her husband, a pair of crocheted shoes seemed like a perfect welcome home present. (Because, why not?!)
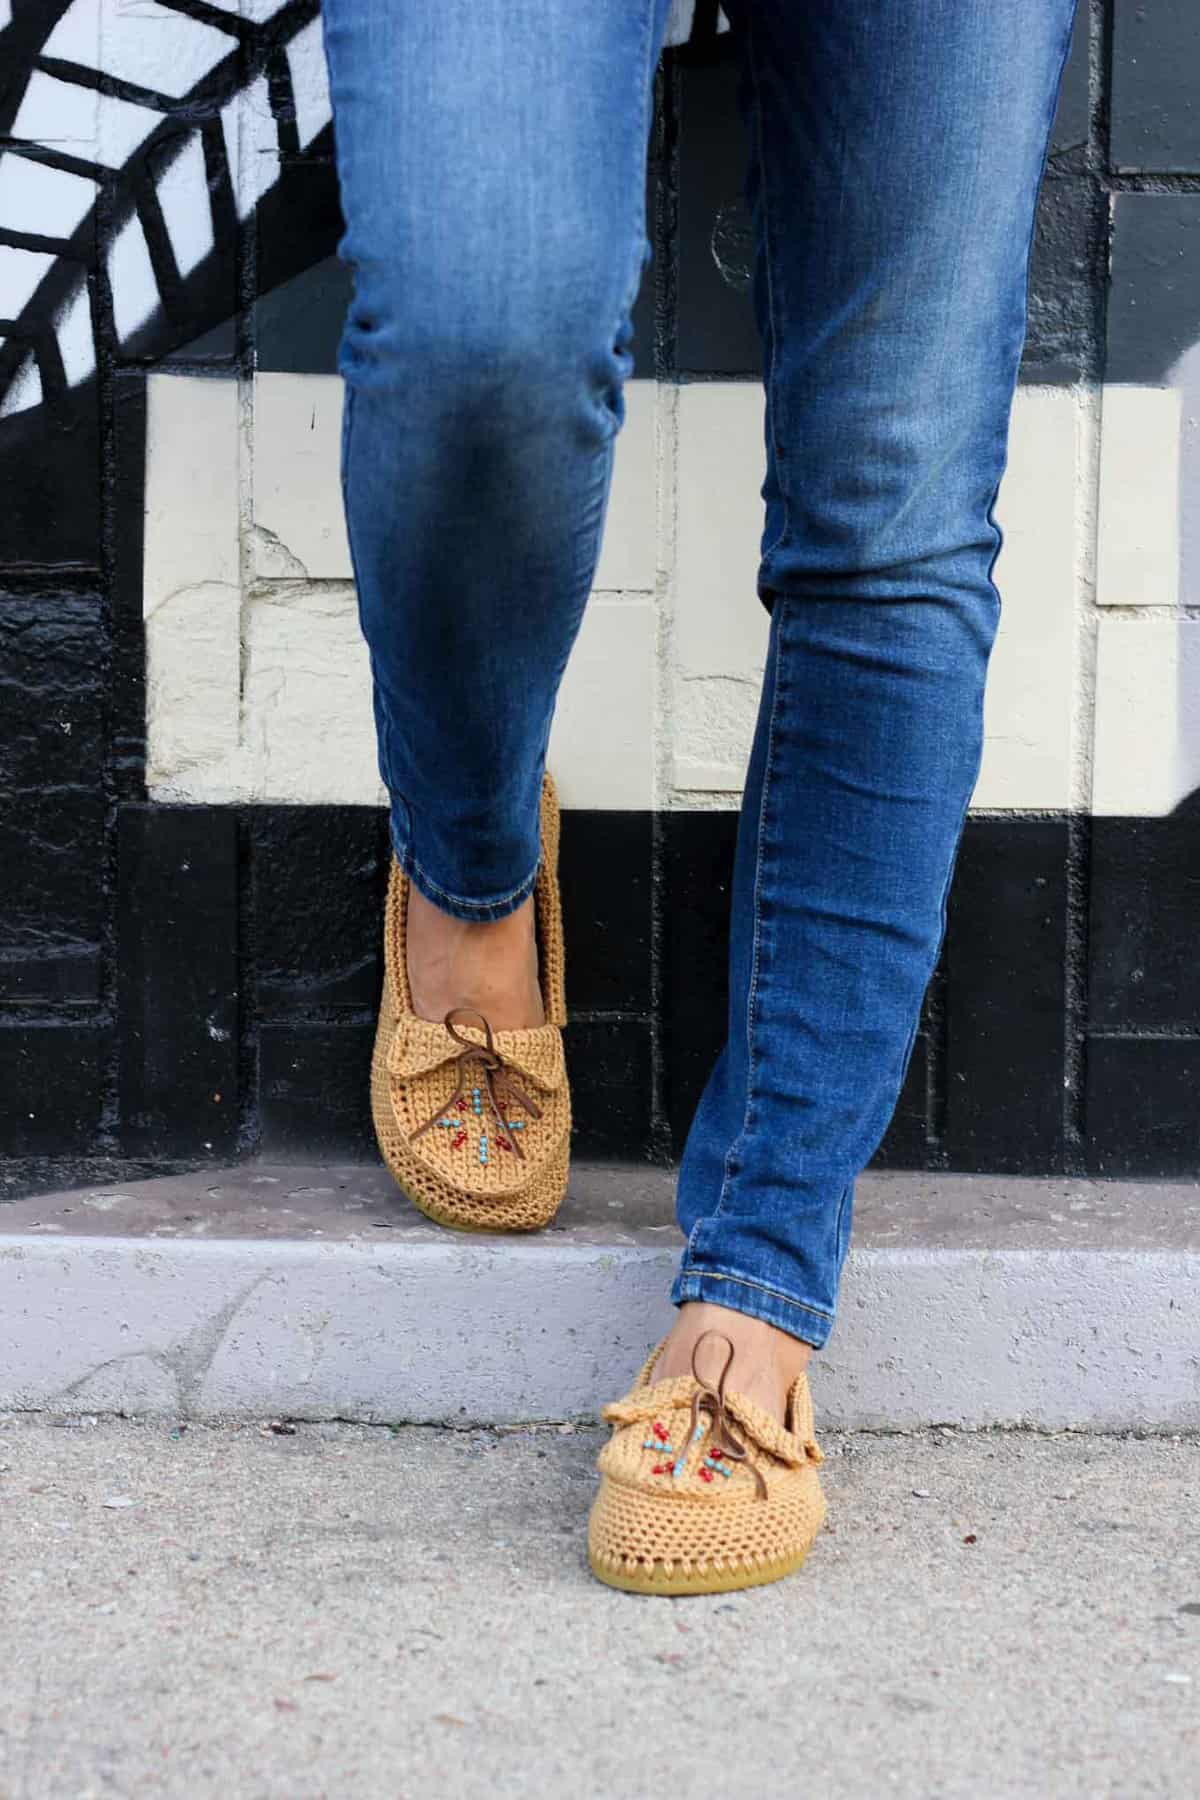
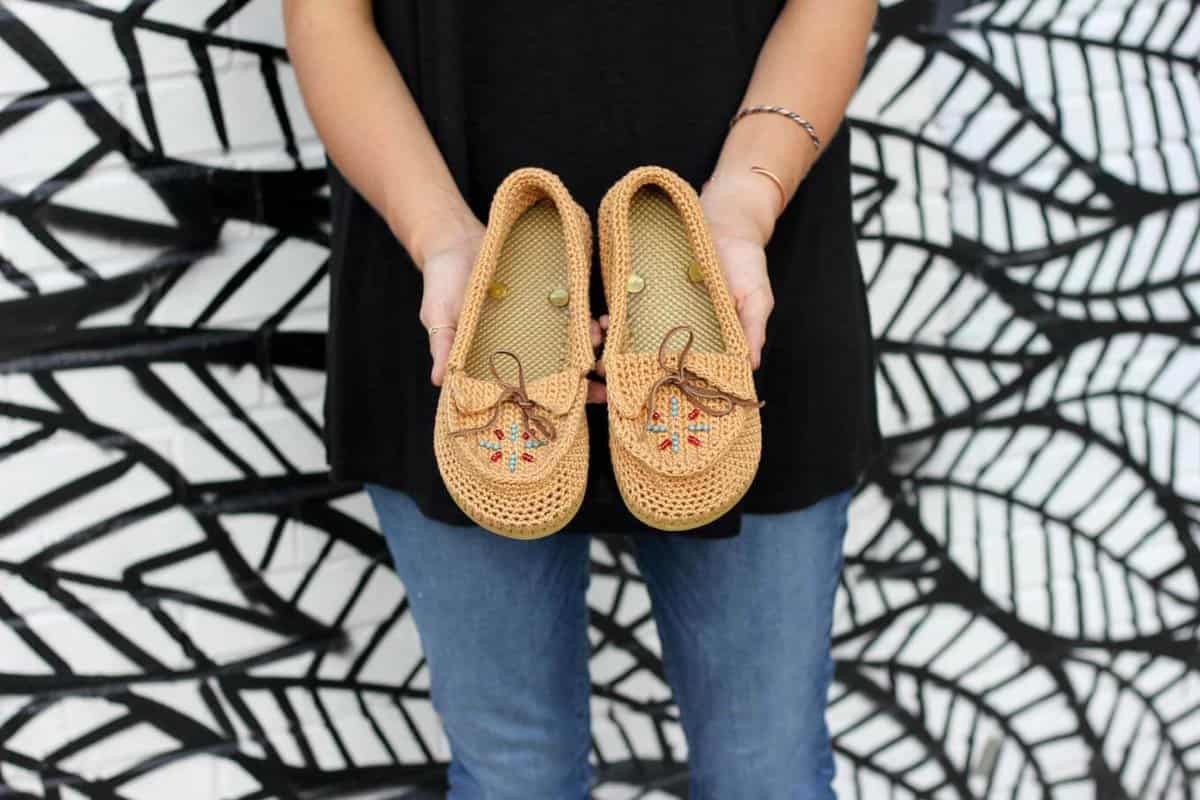 I am so psyched on how they turned out. And I'm even more excited that I have a written pattern AND a detailed video tutorial to help you learn how to make your own pair of crochet shoes with flip flop soles.
They're comfortable. They're bohemian. They're inexpensive. They give you some serious hipster street cred.
 I'm just going to be honest and say that editing this video took about 150 million times longer than I thought it would. This is a pretty thorough video tutorial. In it, I walk you through exactly how to make these crochet shoes.
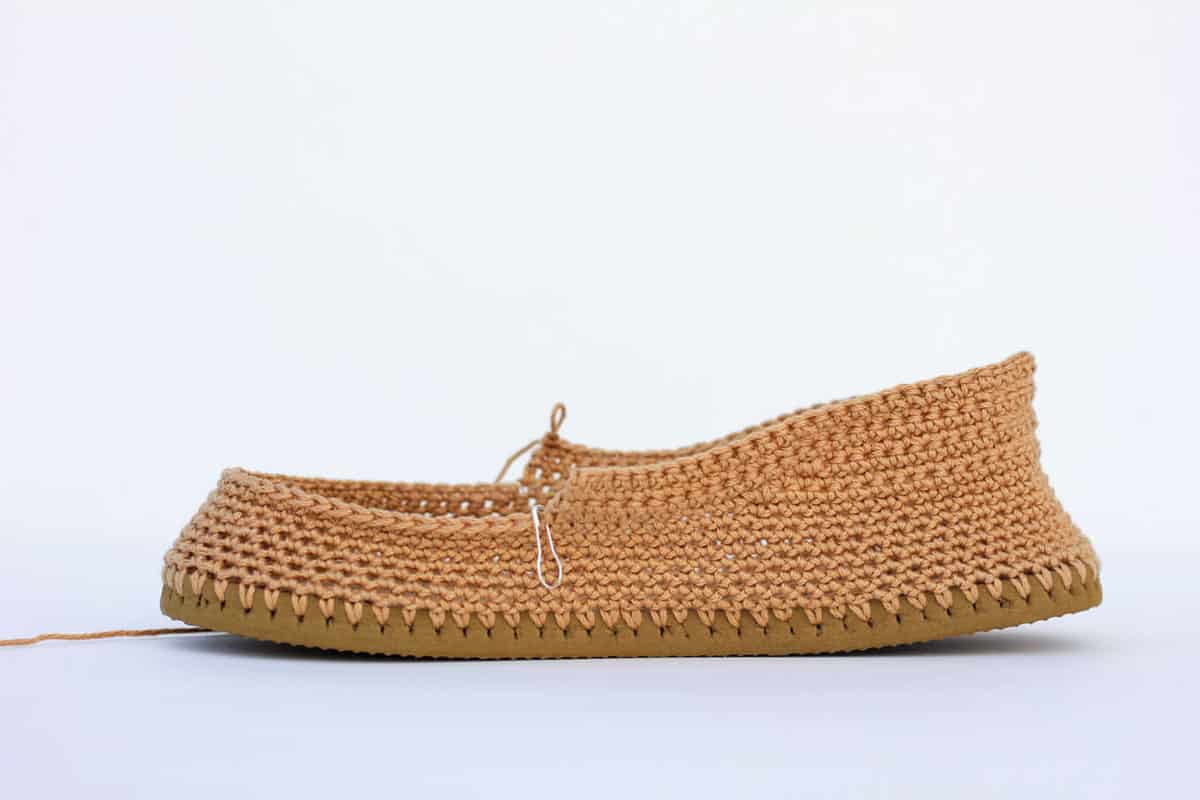 So if you're the type of person who prefers to learn visually or doesn't have a lot of pattern-reading experience, you should be able to watch these videos and make yourself some totally awesome crochet shoes with flip flop soles.
(And you can check out my other video tutorials here!)
UPDATE: Many readers have asked how these crochet moccasins with flip flop soles hold up over time. I've answered that question and many more in my FAQs about crocheting on flip flops.
Find Your Next Crochet Pattern on Flip Flop Soles
Crocheting on flip flops can fast track your feet straight to comfort-ville. Flip flops offer functional, non-slip soles for your crochet slippers. They also allow you to crochet shoes customized for your particular feet.
See more free crochet flip flops patterns →
If you're the traditional-pattern-reading type, scroll down for the full written pattern!
Crochet Moccasins with Flip Flop Soles - Free Written Pattern
Download the printable, ad-free pdf.
Add this pattern to your Ravelry queue.
Sizes: Adult women’s 5 and up (Pattern provides details to make any women’s shoe size.)
Supplies:
So you can spend more time making mocs and less time shopping, this post contains affiliate links at no extra cost to you.
• Lion Brand 24/7 Cotton – 1 skein (100g/186 yds) – color: Camel
• Tapestry needle
• 1 pair of flip flops (One size smaller than you wear normally. See pattern notes.)
• Stitch markers
• Size B [2.5 mm] crochet hook or size needed to fit through flip flop holes
• Size E [3.5 mm] crochet hook (I really like this affordable set!)
• Sewing needle
• Sharp tool to poke holes in flip flops (skewer, thin drill bit or tapestry needle)
• Approx 2 yards leather laces cut into 1-yard pieces
• Sharp scissors
• Monofilament (fishing line) - optional
• Seed beads - optional
Gauge:
8 sts and 7 rows/rnds = 1 inch [2.5 cm] in single crochet
Gauge will vary a bit based on distance between poked holes on flip flop sole.
Abbreviations:
sc – single crochet
sk – skip
sl st – slip stich
st – st
MC – main color
cont – continued
Overall Pattern Notes:
- Transforming flip flops into slippers isn’t an exact science! Unlike other crochet patterns, these slippers have some variables, most significant of which is the size of flip flops used and the number of holes poked. This pattern provides general guidelines and some troubleshooting tips to help keep the process fun. 🙂
- You might want to size down when buying your flip flops. Since your foot won't be held in by the flip flop strap, your normal size of flip flops might feel a bit roomy as crocheted shoes.
- The shoes pictured are a women’s size 8-9 and they have 89 holes poked on each sole. To make shoes with bigger or smaller flip flops, just adjust the number of holes, poking them about every .25 inches. The moccasin top pattern should fit most women’s sizes. See notes in “moccasin top” section on making it wider if necessary.
- Find $1 flip flops on Amazonor at Walmart. Dollar Tree’s $1 flip flops tend to be a bit too flimsy, but can work if you are careful.
Moccasin Sides and Heel
Notes:
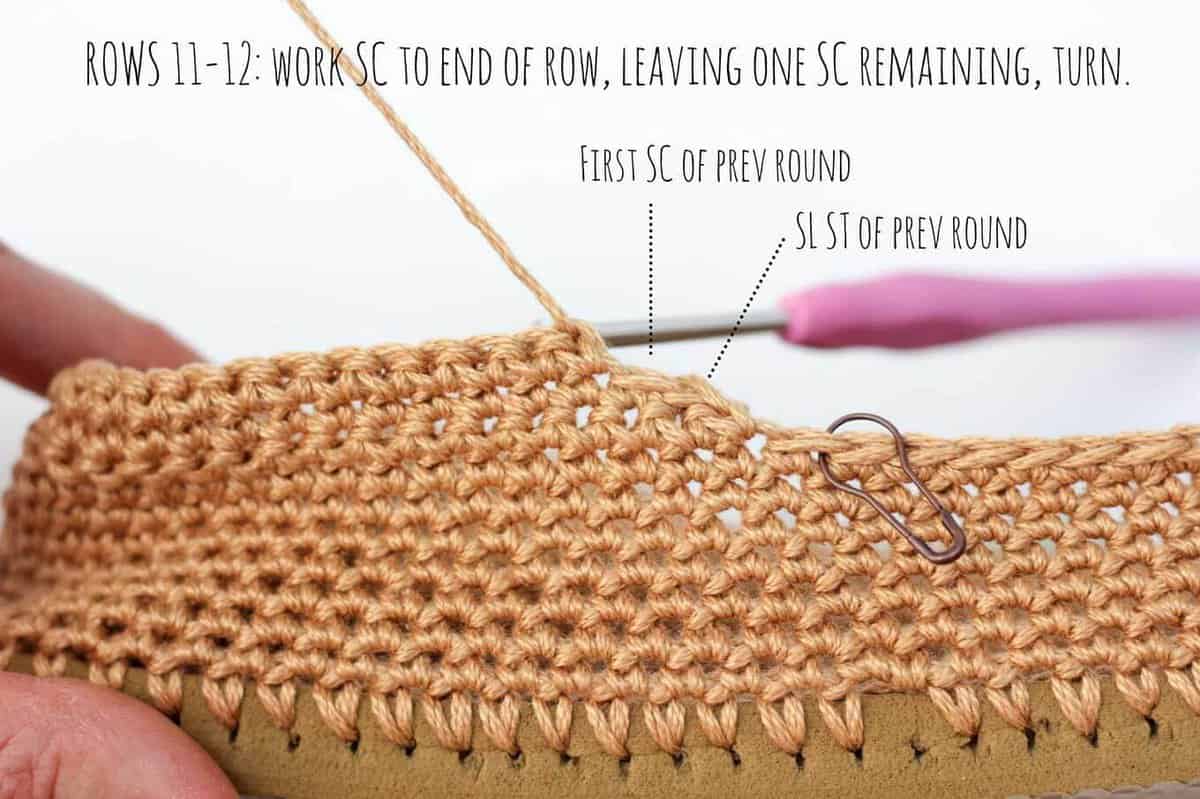
This section is worked in a spiral. Therefore there is no need to join or ch 1 at the beginning of each round.
To begin:
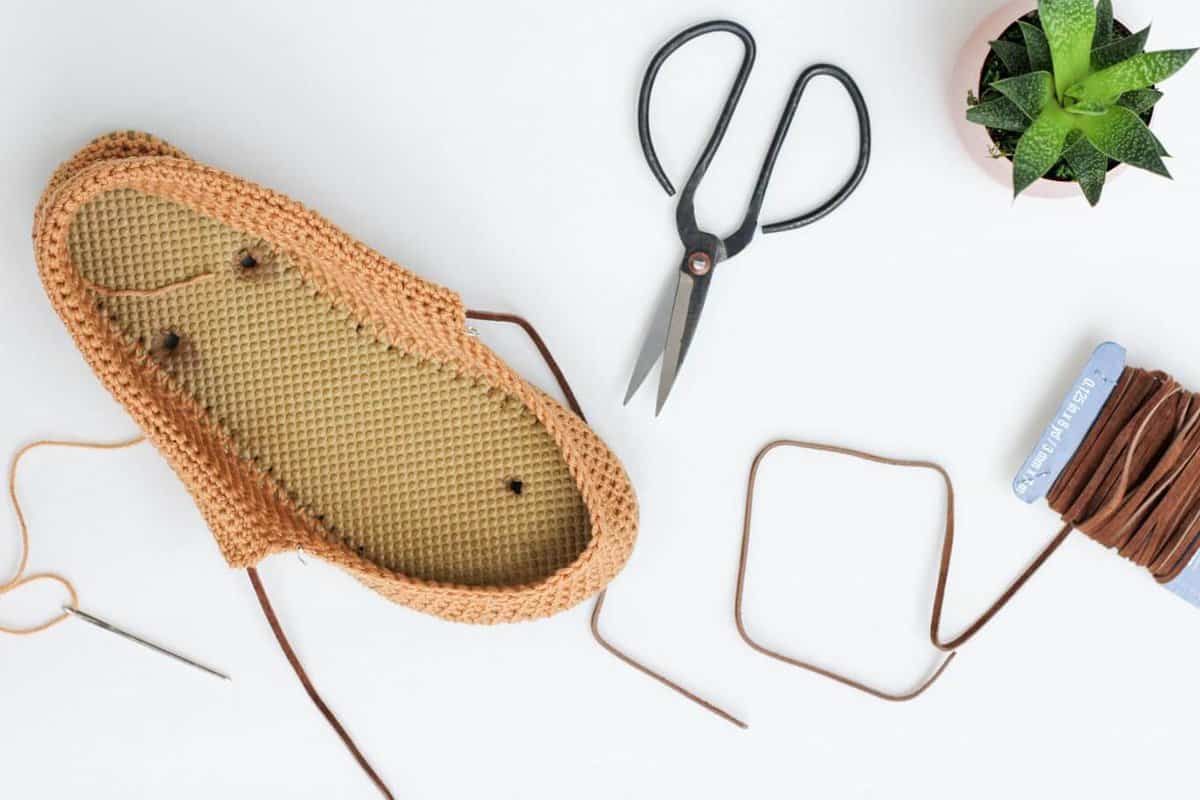
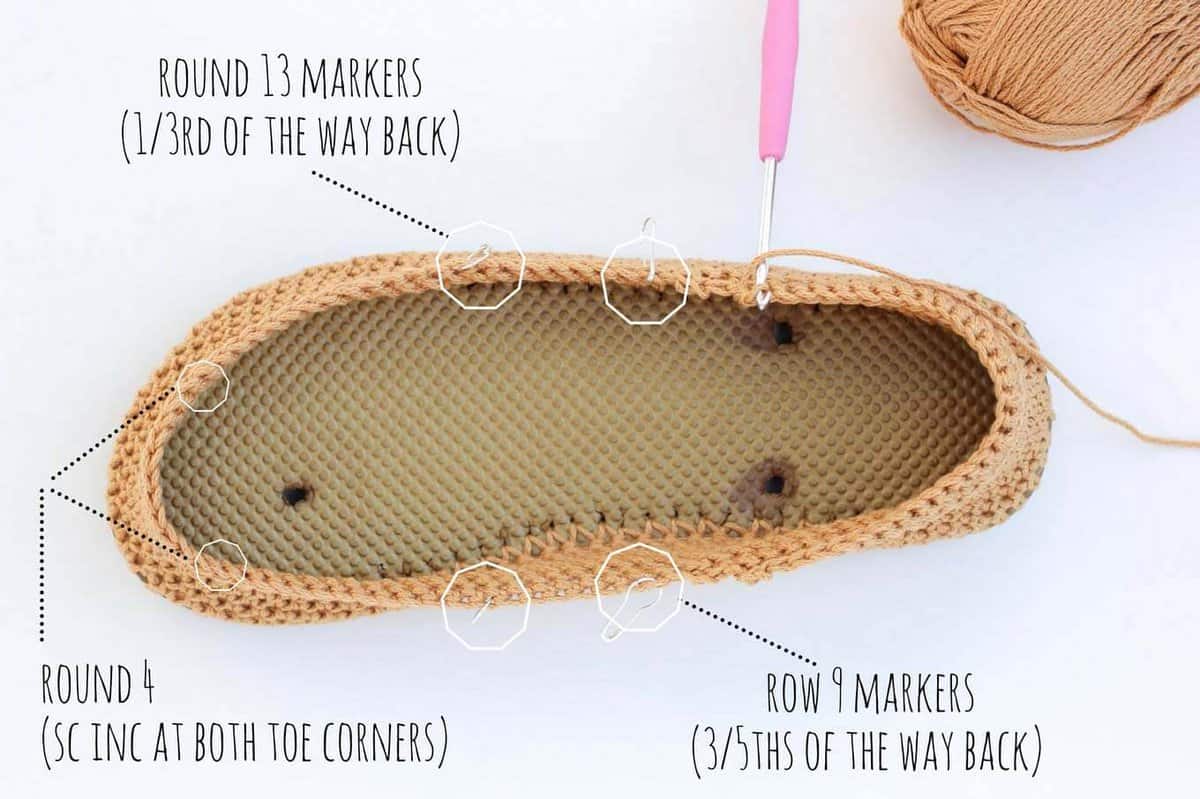
Use sharp instrument to poke holes every ¼ inch (.25”) around each flip flop sole. You want the hole to go at an angle from about the middle of the way down the sole to about a ¼ inches into the top of the sole. Make your holes far enough from the edge that the yarn won’t rip through the rubber. (See this pattern for more photos on this process.)
With smaller hook, attach MC yarn at the back of the heel by inserting your hook from the top of the flip flop toward the bottom of the sole, grabbing the yarn and pulling through to the top of the sole. Ch 1 through the loop you’ve created. (See Photo B.) The resulting tail inside the flip flop marks first st of this and subsequent rows. Add a proper stitch marker here if desired.
Round 1: (using smaller hook) sc into each hole on the flip flop sole, sl st to join. Do not turn.
Wanna save this pattern?
Rounds 2-3: (switch to larger hook) sc in each sc around. Do not turn.
✨Unlock this free subscriber-exclusive pattern ✨
Follow these steps to view the full free pattern below
Notes:
The following rows are worked back and forth. Pattern notes assume flip flop is positioned with the heel toward you and the toe away from you when the “right” or “left” stitch marker is mentioned.
Rows 14, 16, 18: (work counterclockwise) ch 1, sc in each st ending in left marked st, turn.
Row 15, 17, 19: ch 1, sc in each st ending in right marked st, turn.
Row 20: sc in each st ending at marked st at back of heel. Fasten off yarn and weave in ends.
Finishing leather laces “tube”:
Fold the flap just created over and tuck one yard of the leather laces inside. With MC yarn and a tapestry needle, sew the laces into the tube using a whip stitch. (Reference video for more detail.)
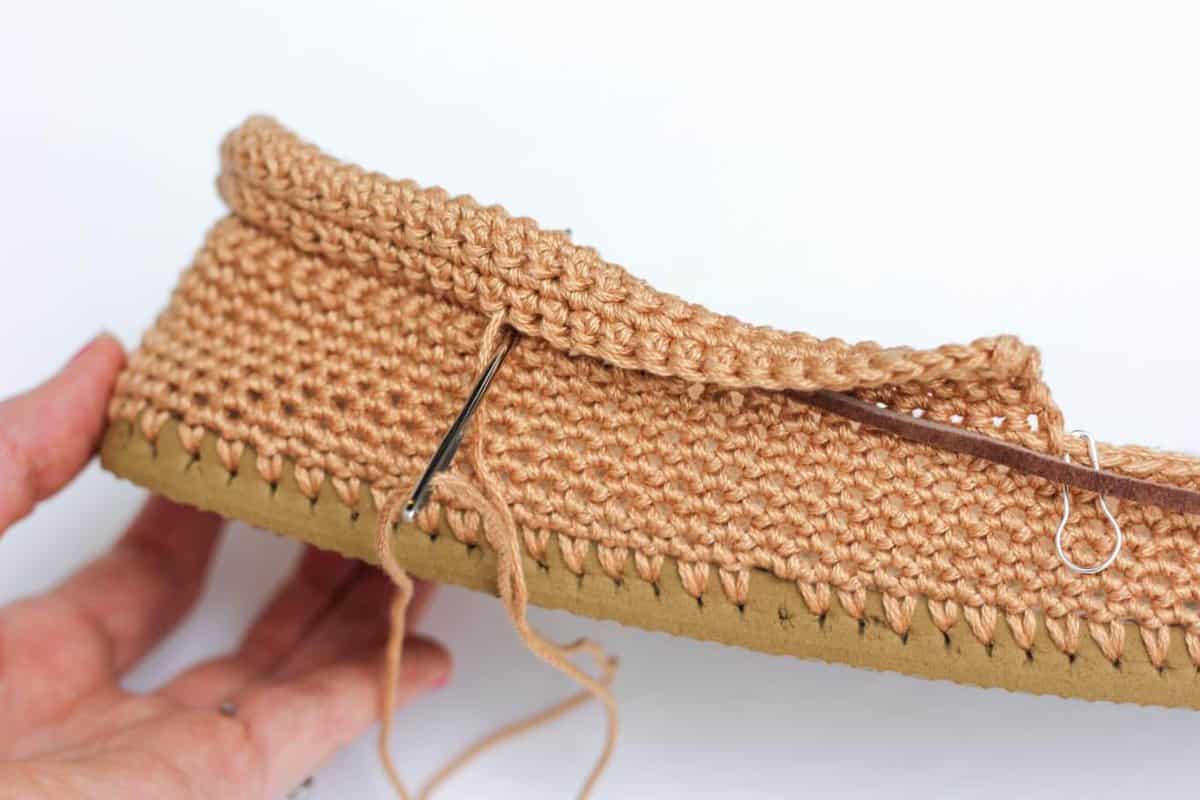
Moccasin Top
Row 1: (using larger hook) ch 19, turn.
Row 2: working into second ch from the hook, sc in each ch, turn.
Rows 3, 5, 7: ch 1, sk first sc, sc in next st, sc in each st until 1 st remains, sc 2 in last st, turn.
Row 4, 6, 8: ch 1, sc 2 in first st, sc in each st, turn.
Row 9: ch 1, sk first st, sc in next sc, sc in each st, turn.
Row 10: ch 1, sc in each st, turn.
Row 11: repeat row 9.
Row 12: repeat row 10.
Sizing Note:
If your foot is on the wider side, add 2 or 4 rows of sc here to make the top toe section wider. (Simply repeat row 10 twice or four times.)
Row 13: ch 1, sc 2 in first sc, sc in each st, turn.
Rows 14, 16, 18, 20: ch 1, sk first sc, sc in next st, sc in each st until 1 st remains, sc 2 in last st, turn.
Rows 15, 17, 19: ch 1, sc in each st until 2 st remain, sk 1 st, sc in last st, turn.
Row 21: ch 1, sc in each st until 2 st remain, sk 1 st, sc in last st. Do not turn. Place marker in last st of this row.
Note:
The follow round is worked around the entire top piece. Take care to keep stitches loose enough that the fabric doesn’t pucker. 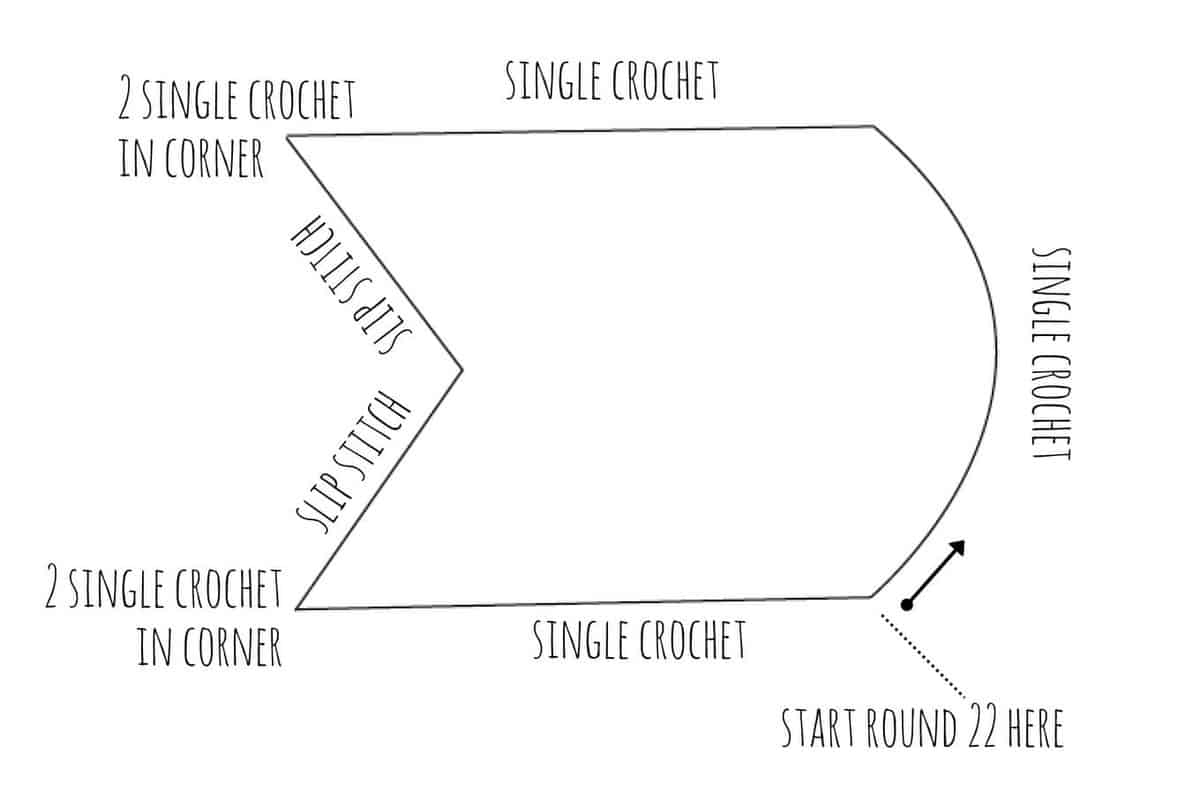 Round 22: (Without turning) work in sc around curved toe section and up the flat side of the piece. At the corner of the moccasin “point,” sc 2 in the corner and sl st down the slant of the point and back up the other slant, sc 2 in the other “point,” sc in each sc across the last flat side ending in st before marker. (See Diagram F.) Fasten off and weave in ends.
Finishing
Sewing Together:
Block the top piece if desired. Identify the best looking side of your top piece--specifically look at the points because one edge should be smoothest due to the slip stitching. This side should face your foot—the points will be folded over, revealing the smoothest edge.
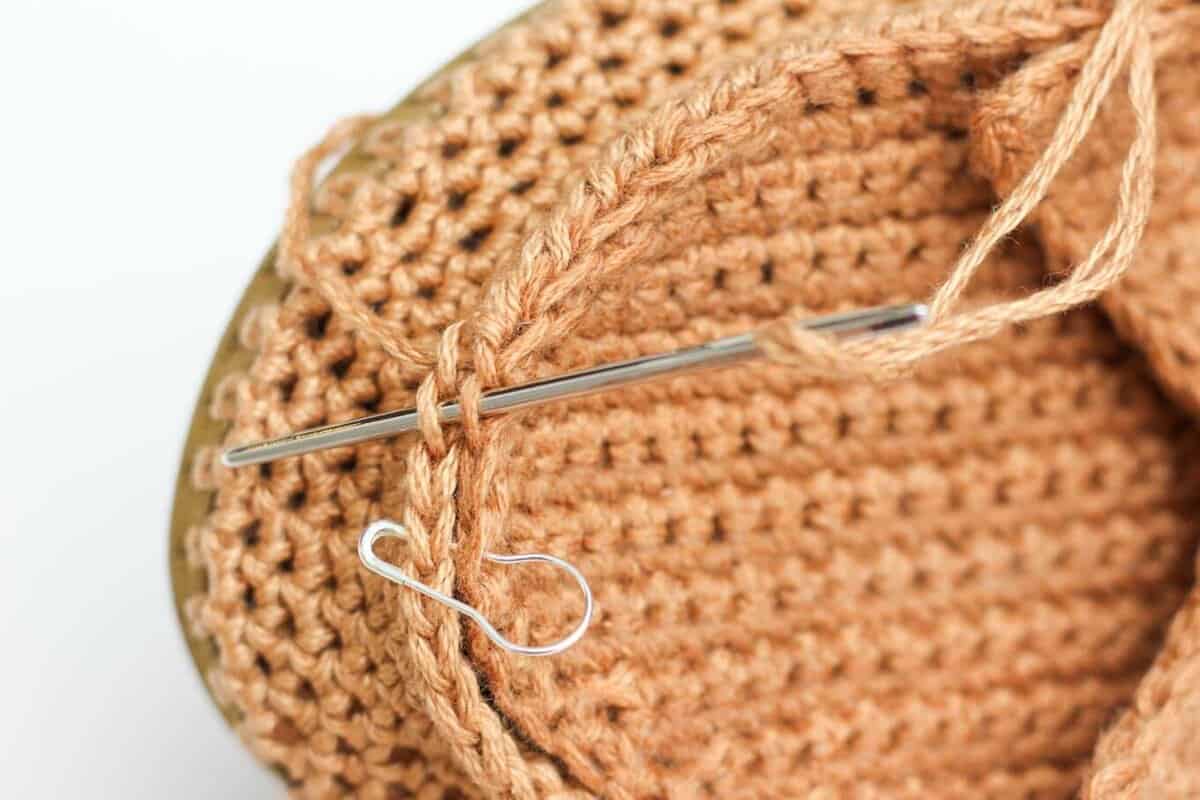 Align the toe with the shoe rim and pin using stitch markers or safety pins. Using one strand of yarn (not doubled up), attach yarn inside the shoe at right corner side of the top piece.
Whip stitch around toe, working from the top piece into the shoe rim as pictured. (See Photo G.) Work from the top down, going through the bottom loop of the top piece and the bottom loop of the shoe rim.)
Before tying off yarn, do one stitch through the moccasin top into each folded over “point” to keep them tacked down. Fasten off yarn.
Adding Beads:
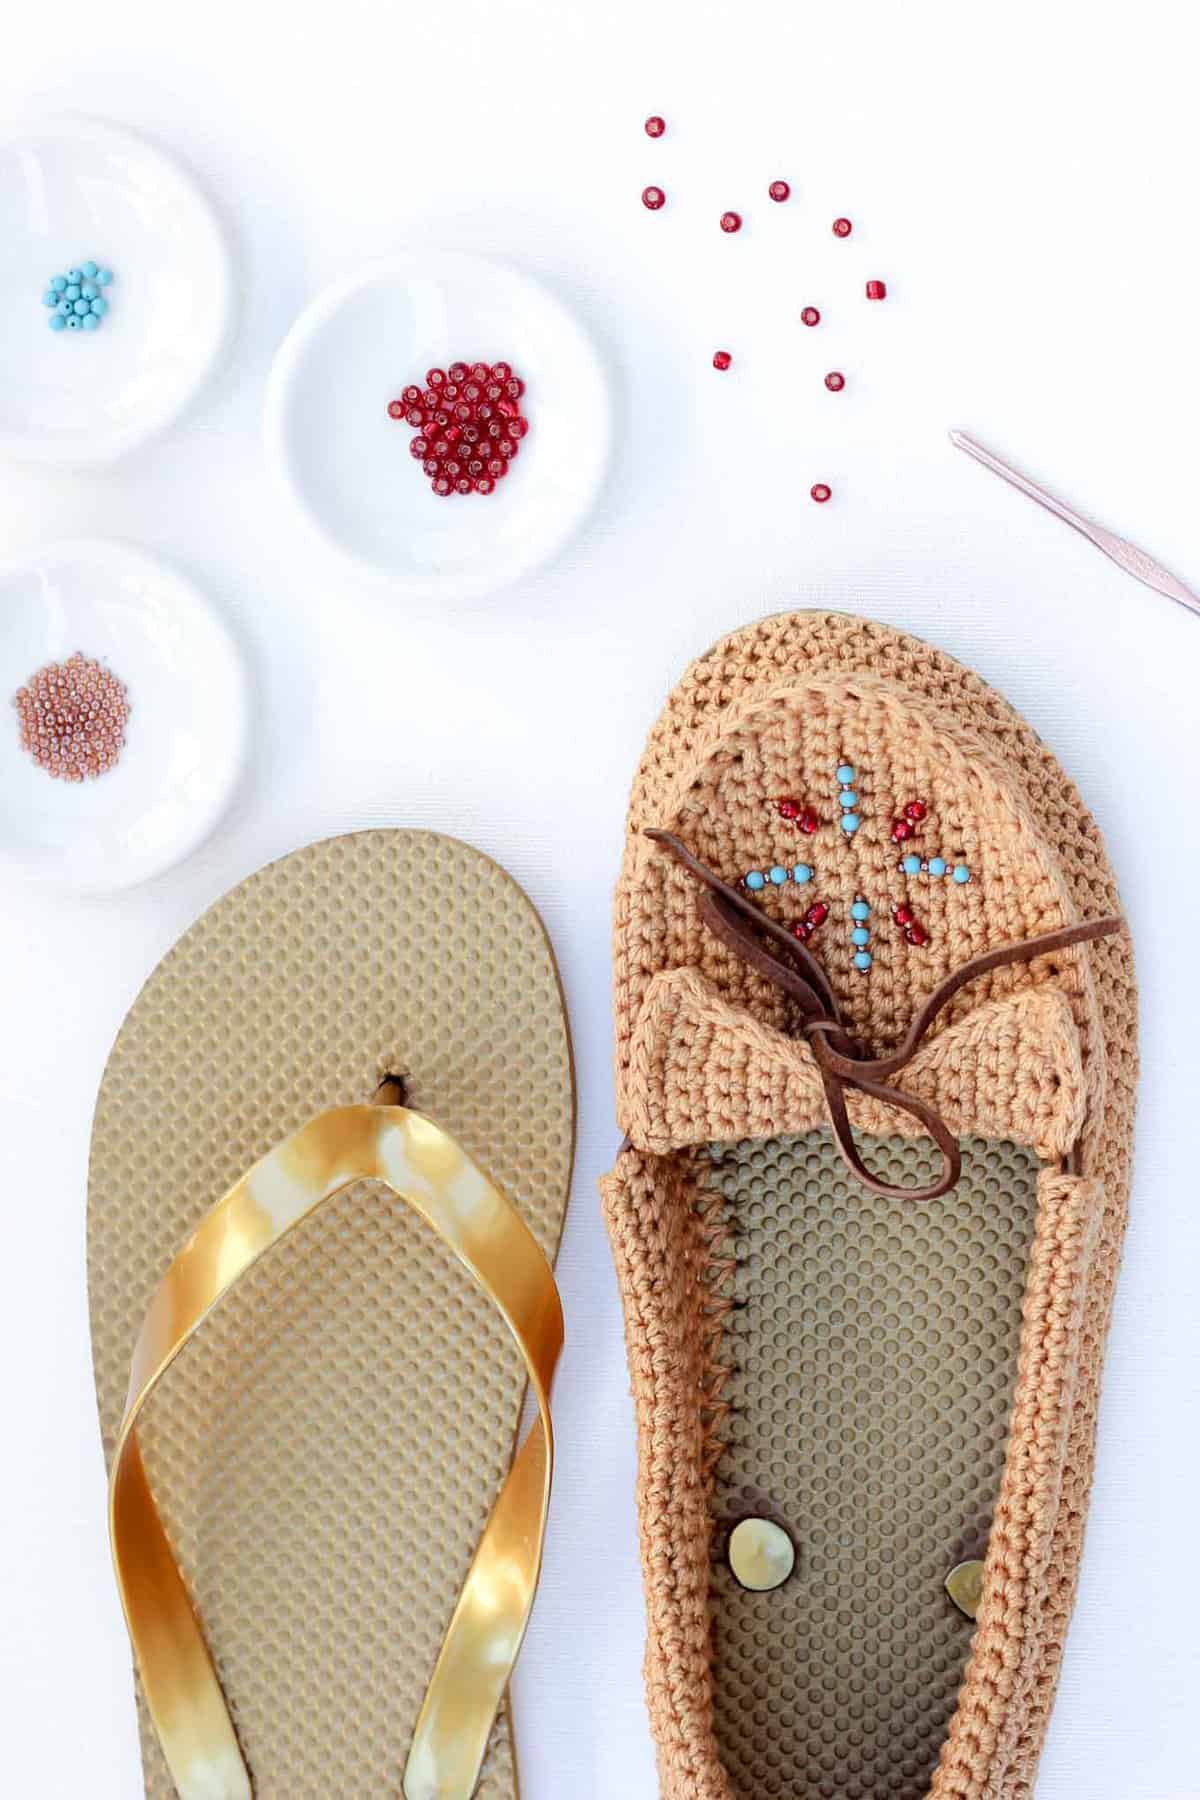
Using a sewing needle, attach monofilament inside moccasin with a knot. Pull monofilament to outside top of slipper and add beads (you may, unfortunately, have to remove the needle for this and then rethread after adding the beads), putting the needle back into the shoe once one strand of beads has been added. Repeat for each spoke of the design. (See Photo H.)
 Party Time:
Do a little jig—you just crocheted your own shoes! High five!
That was so fun! Now what?
Invitation to our Facebook group
Come discuss crocheting Moccasin slipper patterns and lots of other crochet projects and techniques in our Make & Do Crew Facebook group. Here thousands of helpful crocheters answer each others questions and share their stitches. Come join us here.
More Free Crochet Patterns Using Flip Flop Soles
- FAQS: How to Crochet on Flip Flops - and will they fall apart?
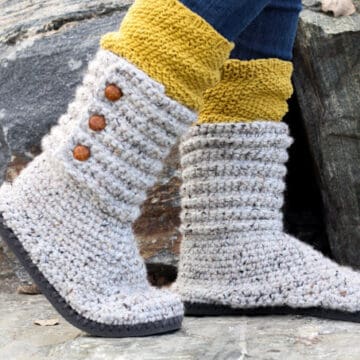
- Crochet Boots With Flip Flops Soles
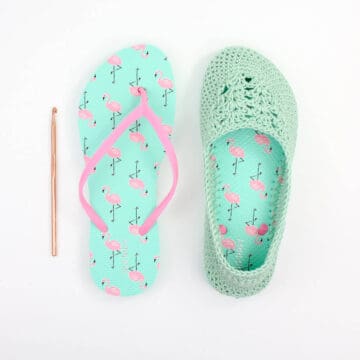
- Lightweight Crochet Slippers with Flip Flop Soles
- Free Crochet Ugg Boot Pattern
- Crochet Mukluk Slipper Pattern
- Crochet Slipper Boots Pattern
- Lacy Crochet Sandals Pattern
- Boho Crochet Sandals Pattern
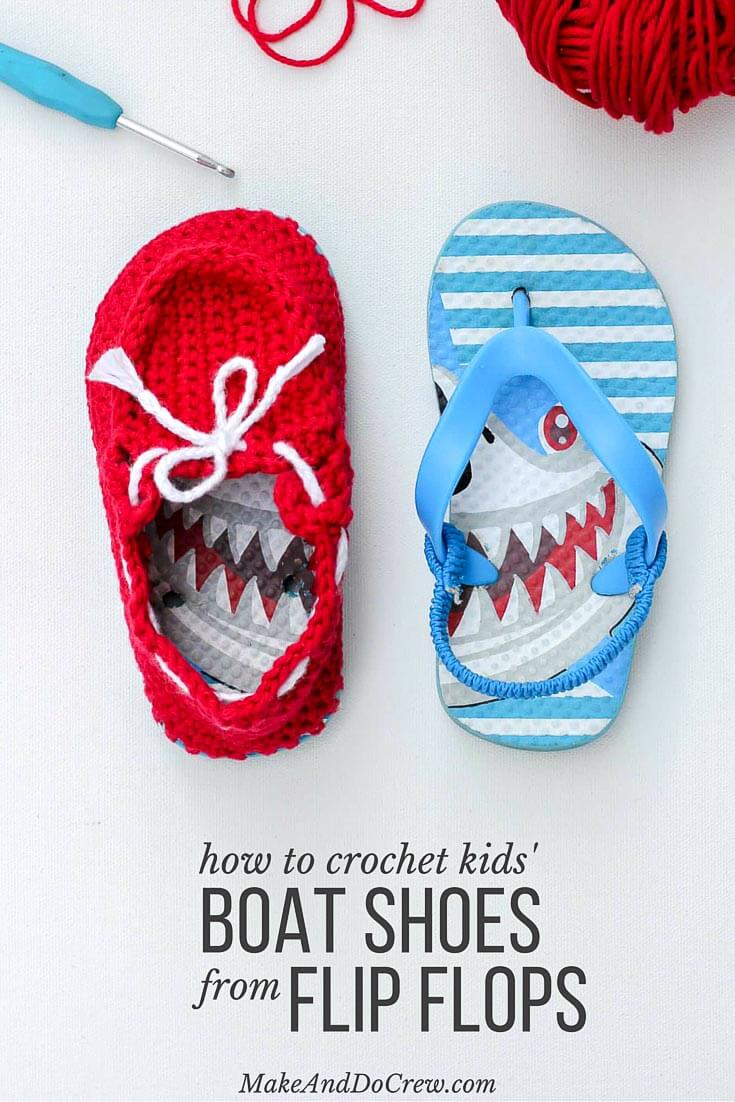
Got a kid who also has feet? They might enjoy this crocheted boat shoe slipper pattern (using flip flops, of course!)
[convertkit form=4869877]


Jess @ Make and Do Crew says
Oh yes, I think they'd be totally gender neutral that way. What a great idea! I'd love to see a pic when you finish. 🙂
Isabel Luna says
To Miss Make And Do Crew,
I came across this pattern of the Summer Crochet Slippers with Flip Flop Soles that you shared on the internet and it caught my attention. At first it was confusing and then it got easier, then I decided to make the second pair, it was a little challenging for me. I want to say Thank You for sharing the pattern and it was fun.
Jess @ Make and Do Crew says
Hey Isabel,
Thanks for taking the time to let me know! I'm so happy to hear that the pattern was useful for you!
I have another flip flop pattern coming very soon that you might enjoy. 🙂
Jess
Brittany says
I have a question, my moccasins are coming out bigger! Do I need to put less holes in the sole? Or change the gauge of my needle?
Can you help me with this problem I'm having, I am using 'I love this cotton' because I couldn't find lions brand Cotton. I'm making the moccasins for a size 7/8 and Im using a size small. This is the third time I'm trying this and i don't know what I'm doing wrong here! Please help!!
Jess @ Make and Do Crew says
Hey Brittany!
In my experience, "I Love This Cotton" is thicker than the Lion Brand cotton. So, most likely, you'll want fewer holes around your flip flop. If it's too hard to achieve that at this point because you've already poked the holes, you could always do some single crochet decreases over the first few rows to reduce your number of stitches. I think using a smaller hook would also be a good idea to reduce the overall gauge.
For the moccasin tops then, you might want to just chain fewer stitches to begin with so that your piece doesn't end up a lot bigger from the thicker yarn. I'd also skip the two rows of just single crochet in the very middle of the top too. This will keep it from getting to wide with the thicker yarn.
I hope that is all useful! Lmk if you have other questions!
Jess
Kim says
I am in the process of making these moccasins right now. I found when I was done making the sides of the first shoe, and I tried it on to see how it fits, it was pretty big! But the flip flop was my normal size, a woman's 9. The conclusion I came to..... the flip flop was pretty wide. I tried my foot on the flip flop that I haven't started crocheting on yet, and it is a wide flip flop. If I try some of my other flip flops on that I have around the house, some are narrow and some are wide. So I think if I pick a narrower one next time they will fit properly. That's what I found for myself, not sure if it's the same issue for you. Good luck and hope you make a pair that YOU can wear soon!
Jess @ Make and Do Crew says
I think that's great feedback, Kim! I've had the best success with sizing the flip flops to my actual foot, since you don't need all the extra rubber around your foot that you'd usually have with flip flops. Therefore, I bet that a narrow flip flop would work really well.
Brittany says
Hello!
Thank you for sharing your pattern! I absolutely love this idea, only problem i have had with making these is that it seems they are always too big! I am doing a size 7 I dropped the size down which was fine, should I also drop down a size on the hook?
This is really bothering me I need your help!
Jess @ Make and Do Crew says
Hey Brittany,
Let me know if my other response doesn't help you out. 🙂
Amanda says
Love these moccasins! Thank you so much for sharing your pattern. I see quite a few of these in my future. 😉
Jess @ Make and Do Crew says
Yay! They are so fun to make (and give as gifts!) I'd love to see a pic of what you make if you'd like to share one.
fritz says
Thi would like to try this. Thank you for sharing. Your pattern.
Jess @ Make and Do Crew says
You're welcome, Fritz!
carol s says
I love these slippers, but have not been able to down load the pattern or view the video.Please help.Thank you,carol
Amie says
I love this pattern! Working on my first pair right now. I would like to make a suggestion & a request, though..
Save yourself the headache of busting the holes on the sole by NOT trying to single crochet for the first row. Instead, try using a tapestry needle to whip stitch the yarn onto the sole... it serves the same purpose as the single crochet, in this case. I tried this after struggling to do the sc on the sole. It worked like a charm & I didn't bust the holes on the shoe!!
As for my request: the top part of the shoe is a pain. I've ripped my work 5 times for this part. I consider myself a pretty decent crocheter, as I've been crocheting for 30 years (not alot of patterns similar to this one, though). It would really help if each row of the top part of the shoe included the number of stitches worked in that row. Without that, at least for me, this part is pretty much guesswork as to where the last stitch on each row is... it gets confusing. Being able to count stitches for accuracy would help alot!
Again, this is a wonderful pattern!! I can't wait to finish my first pair & try them out! Ty!
Amie says
Feel free to share the suggestion, if you'd like. Never mind about the request, though... I've simplified the pattern, figured out the number of stitches on each row of the simplified version, & it came out absolutely perfect!! I'm a very determined person & could not let the matter rest until I figured it out! Lol
Thanks for sharing this wonderful pattern... I just know I'll get alot of use out of it!
Jess @ Make and Do Crew says
Hey Amie,
Im glad you got it working! I love the idea of attaching the yarn with a tapestry needle. I've done something sort of similar and it worked pretty well. I might demonstrate that in my next video tutorial!
Were you watching the video tutorial to figure out the top? I'm just curious if it was helpful at all because they take a ton of time, so I only want to make them if people find them super helpful 🙂
Hope you enjoy your mocs!
Jess
Amie says
It works sooo much easier with the tapestry needle... I hope you do add it. It took me only one pair of busted flip flops to decide using the crochet hook wasn't worth it. Lol
For the top I tried the tutorial & the pattern. I found it was easier to figure out if I did a decrease at the beginning & an increase at the end of rows 3, 5 & 7. And an increase in the beginning & decrease at the end of rows 4, 6 & 8. I then did a decrease in the beginning & increase at the end of rows 14, 16, 18 & 20. And an increase at the beginning & decrease at the end of rows 15, 17, 19 & 21. It came out in just the right shape.
I also figured out how many stitches needed to be in each row... counting stitches on projects like this help me keep my work straight & save me time.
Stitches per row:
Rows 3-8 have 18 stiches each
Rows 9 & 10 have 17 stitches each
Rows 11 & 12 have 16 stitches each
Rows 13-21 have 18 stitches each
Mare says
I agree! I need stitch counts too!
Edna Siu says
Wow, these videos are brilliant, you are demonstrating so well and so detail-y that even the beginner like me can follow through, thanks again for these tutorials. It is awesome.
Jess @ Make and Do Crew says
Thank you so much, Edna! "Detail-y" is what I always aim to be (without dragging things out too much, of course.) I really appreciate the feedback!
Ivy Pitchermakeanddo says
Why can't I find the crochet flip flop slipper pattern for the white with black sole
Sue says
I love these - they are so cute! Unfortunately, I do not crochet. You wouldn't happen to have a knit version would you? I would love to make a pair!
Judi says
Jess,
How about pulling up the first row in crochet and then using circular needles for the rest? The KnitPick needles have extremely flexible cables. Or can you not mention Knit Picks on this site because of Lion Brand sponsoring you?
Judi
Jess @ Make and Do Crew says
Yes, I think that's a great idea. I've wondered about that myself. I haven't used those Knit Picks needles, but my sister in law loves them. I'll see if maybe I can try hers. I also think I might be able to make all the "fabric" pieces separately and then sew them onto the flip flop at the end. I'm seeing my mom this weekend who is a knitting whiz, so I'll do a little brainstorming with her too!
Thanks for your ideas! I really appreciate them!
Momma says
I am excited about making these. I agree you have always been obsessed with moccasins. It makes perfect sense that you would figure out a way to design these. I love them.