Fun + Easy Crochet Patterns for Kids
Discover modern crochet patterns for babies and children. We have lots of free patterns for sweaters, cardigans, cowls, hats, and other accessories that are comfy enough for your kiddos to play in all day.
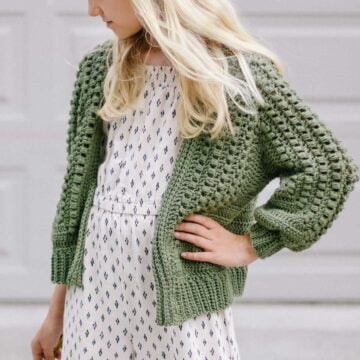
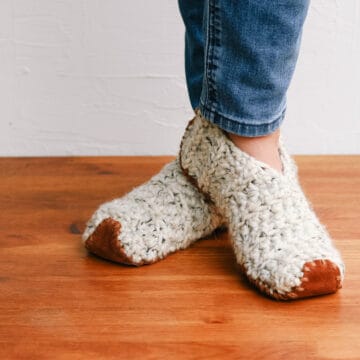
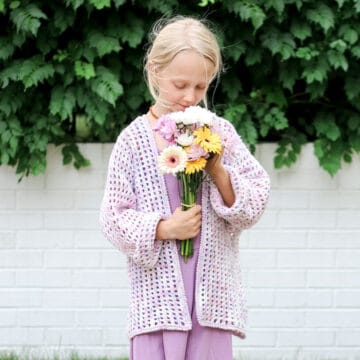
This crochet hexagon cardigan is the perfect back-to-school sweater. And if you're looking for quick and cozy footwear, our beginner crochet slippers are so easy!
Don't miss our free children's crochet hat patterns. You'll find stylish hats for every season, including:
-
1.5 Hour Crochet Pumpkin Hat Pattern | Babies - Adults
-
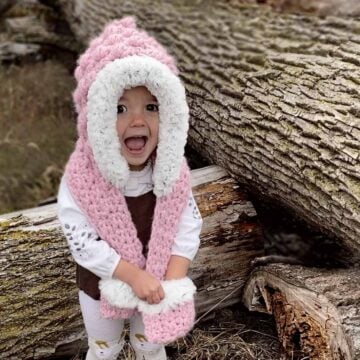
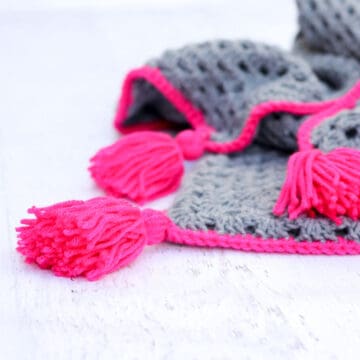
Children's Crochet Pocket Scarf - by Bonnie May Blue
-
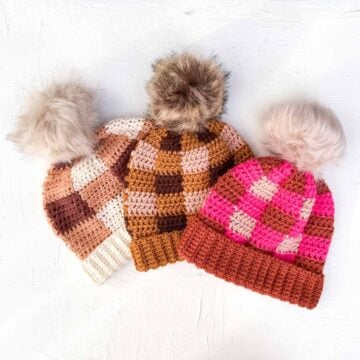
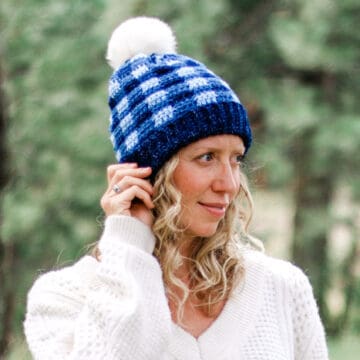
How to Crochet a Plaid Beanie Pattern + Video (Baby-Adult)
-
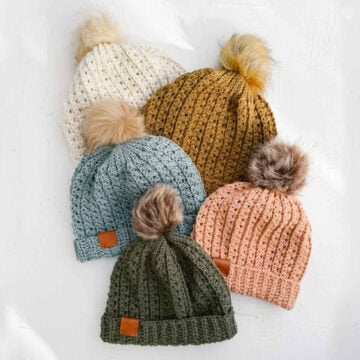
Sundowner Textured Crochet Hat Pattern (Baby-Adult)
-
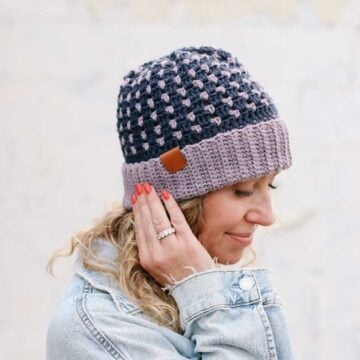
Multicolor Beanie Crochet Pattern For Babies - Adults
-
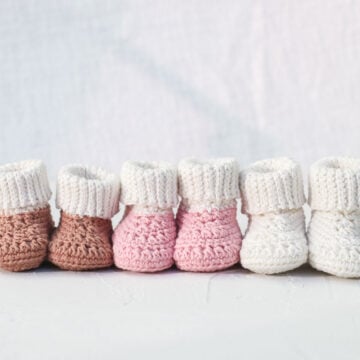
Crochet Baby Booties - Quick and Easy Free Pattern
-
Mini Mezzo Crochet Cardigan - Kids Sizes 4-12
-
2-Hour Easy Crochet Slippers for Complete Beginners
-
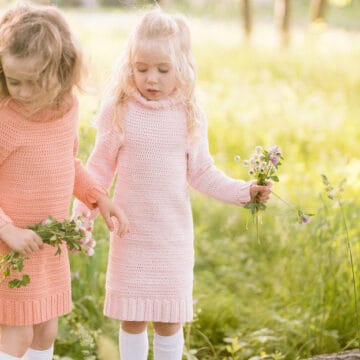
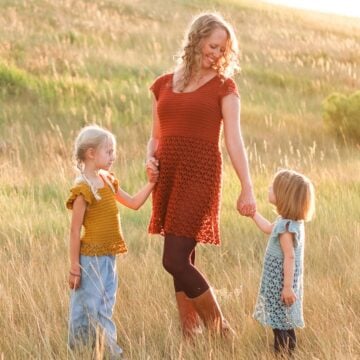
Kid's Crochet Sweater Dress - Free Pattern by Esme & Aven
-
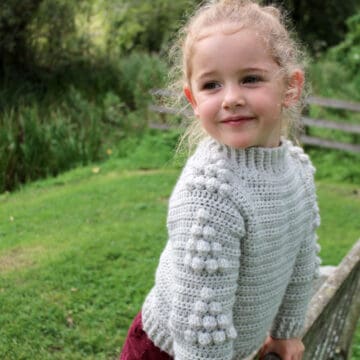
Kaleidoscope Kids Crochet Sweater Pattern - Free
-
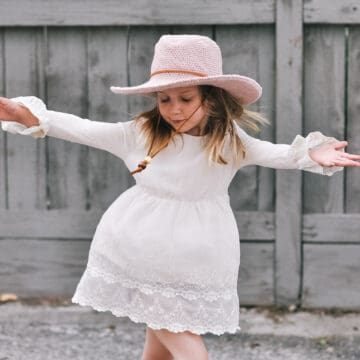
The Cleo Fedora Mini - Free Crochet Sun Hat Pattern for Kids
-
Easiest Crochet Baby Hat - Free 1 Hour Pattern
-
Raglan Crochet Baby Sweater - Free Pattern
-
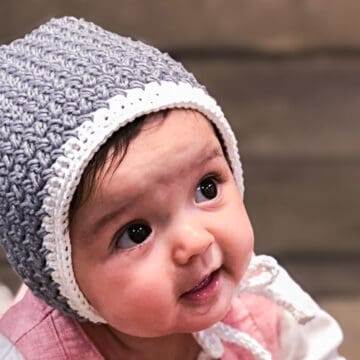
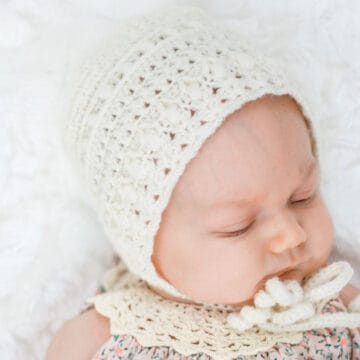
Easy Crochet Baby Bonnet - Free Pattern
-
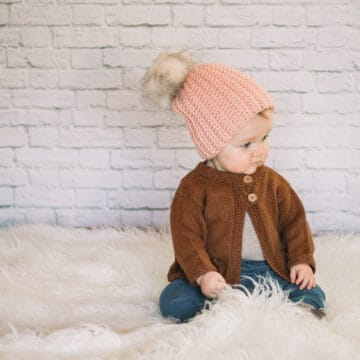
1 Hour Easy Child's Crochet Hat Pattern With Toddler Sizes
-
Child's Crochet Hexagon Cardigan Pattern With Toddler Sizes
-
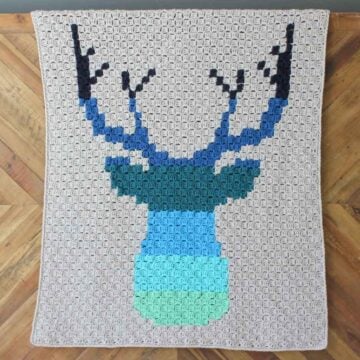
Corner to Corner Crochet Deer Afghan - Free C2C Pattern
-
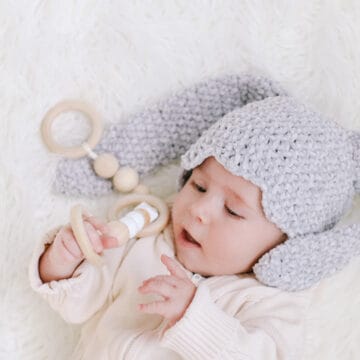
Free Crochet Bunny Hat Pattern (Newborn, Baby, Toddler, Child)
-
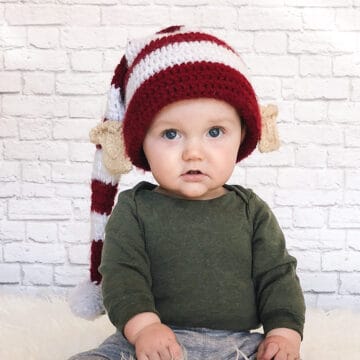
Free Crochet Elf Hat Pattern (With Ears!) - Baby-Adult Sizes
-
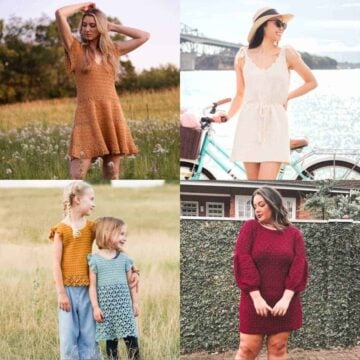
30 Free Crochet Dress Patterns - Easy to Advanced
-
Free Crochet Plaid Hat Pattern for Kids, Women + Men
-
Free Crochet Baby Bonnet Pattern
-
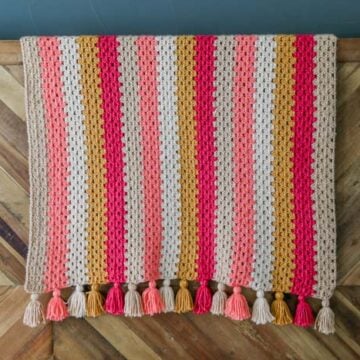
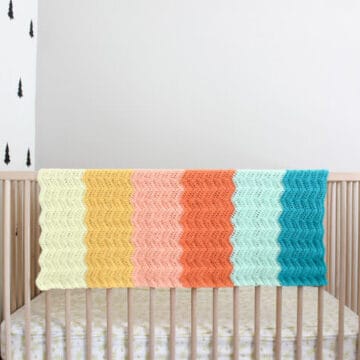
Modern Crochet Granny Stitch Blanket - Free Pattern!
-
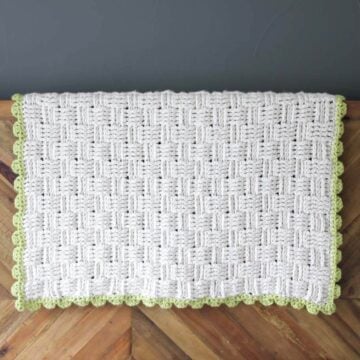
"Lineage" Crochet Basket Weave Blanket - Free Pattern
-
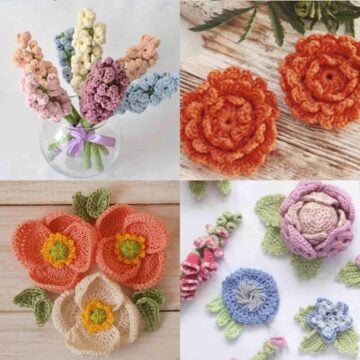
How to Make Crochet Flowers for Beginners + 33 Easy Patterns
-
How to Crochet a Baby Hat Video Tutorial (With Child + Adult Sizes, Too!)
-
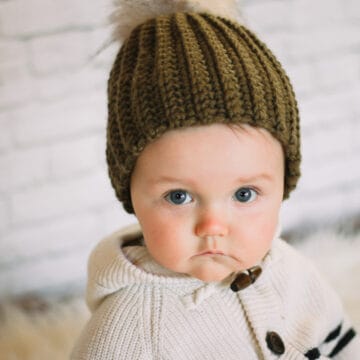
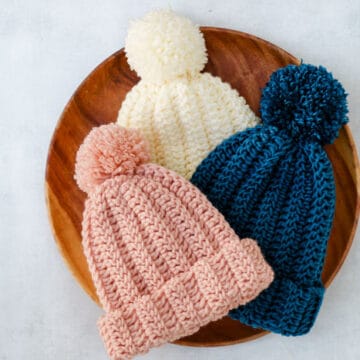
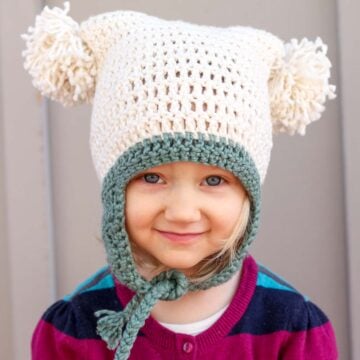
"Pom Pom Party" Free Beginner Crochet Hat Pattern (Newborn - Adult)
-
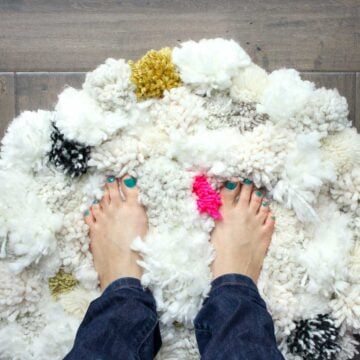
How To Make a DIY Pom Pom Rug
-
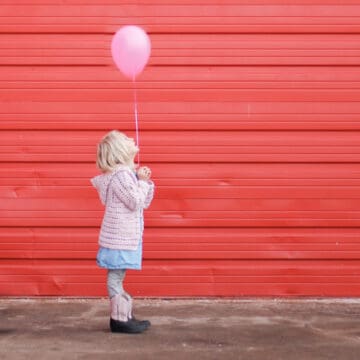
Free Girls Crochet Cardigan Pattern Part 2
-
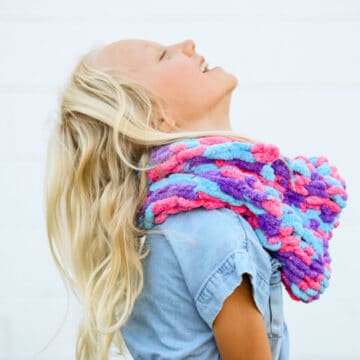
Teaching Kids to Finger Knit - Video Tutorial + Pattern
-
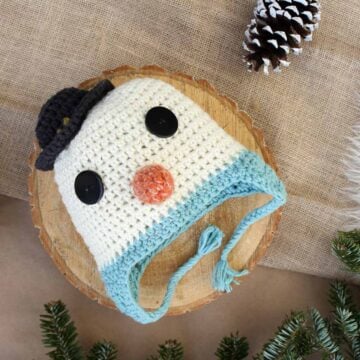
Free Crochet Hat Pattern--a Baby Snowman!
-
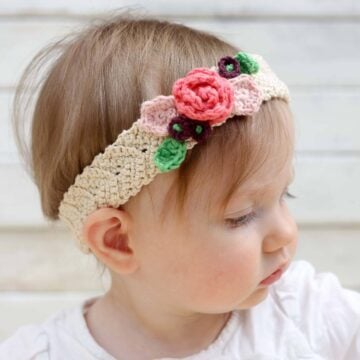
Free Crochet Flower Headband Pattern (Baby, Toddler, Child, Adult)
-
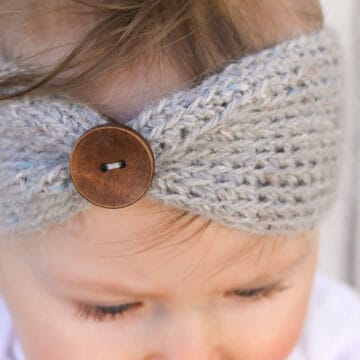
"Aspen Socialite" Free Crochet Headband Pattern (Baby-Adult Sizes!)
-
Boho Women's Crochet Dress - Free Pattern
-
Gender Neutral Crochet Baby Blanket - Free Pattern
-
Crocheting and Knitting for Charity - What to Make + Where to Donate
-
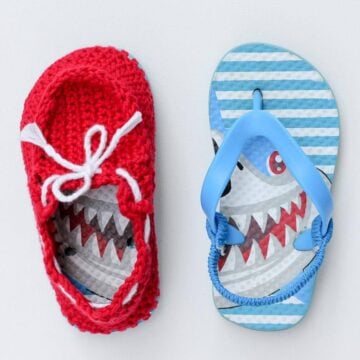
Crochet toddler “boat shoe” slippers with flip flop soles - free pattern!
-
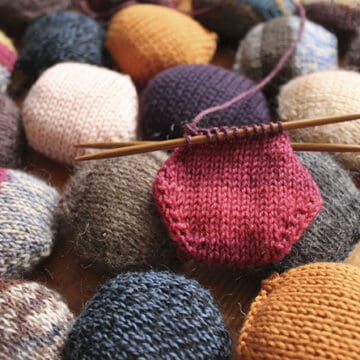
Beekeeper's Quilt Progress Report #1